Articles
How To Hang Gym Mirrors
Modified: January 23, 2024
Looking for articles on how to hang gym mirrors? Find all the tips and tricks you need to complete your DIY project and create the perfect workout space.
(Many of the links in this article redirect to a specific reviewed product. Your purchase of these products through affiliate links helps to generate commission for Storables.com, at no extra cost. Learn more)
Introduction
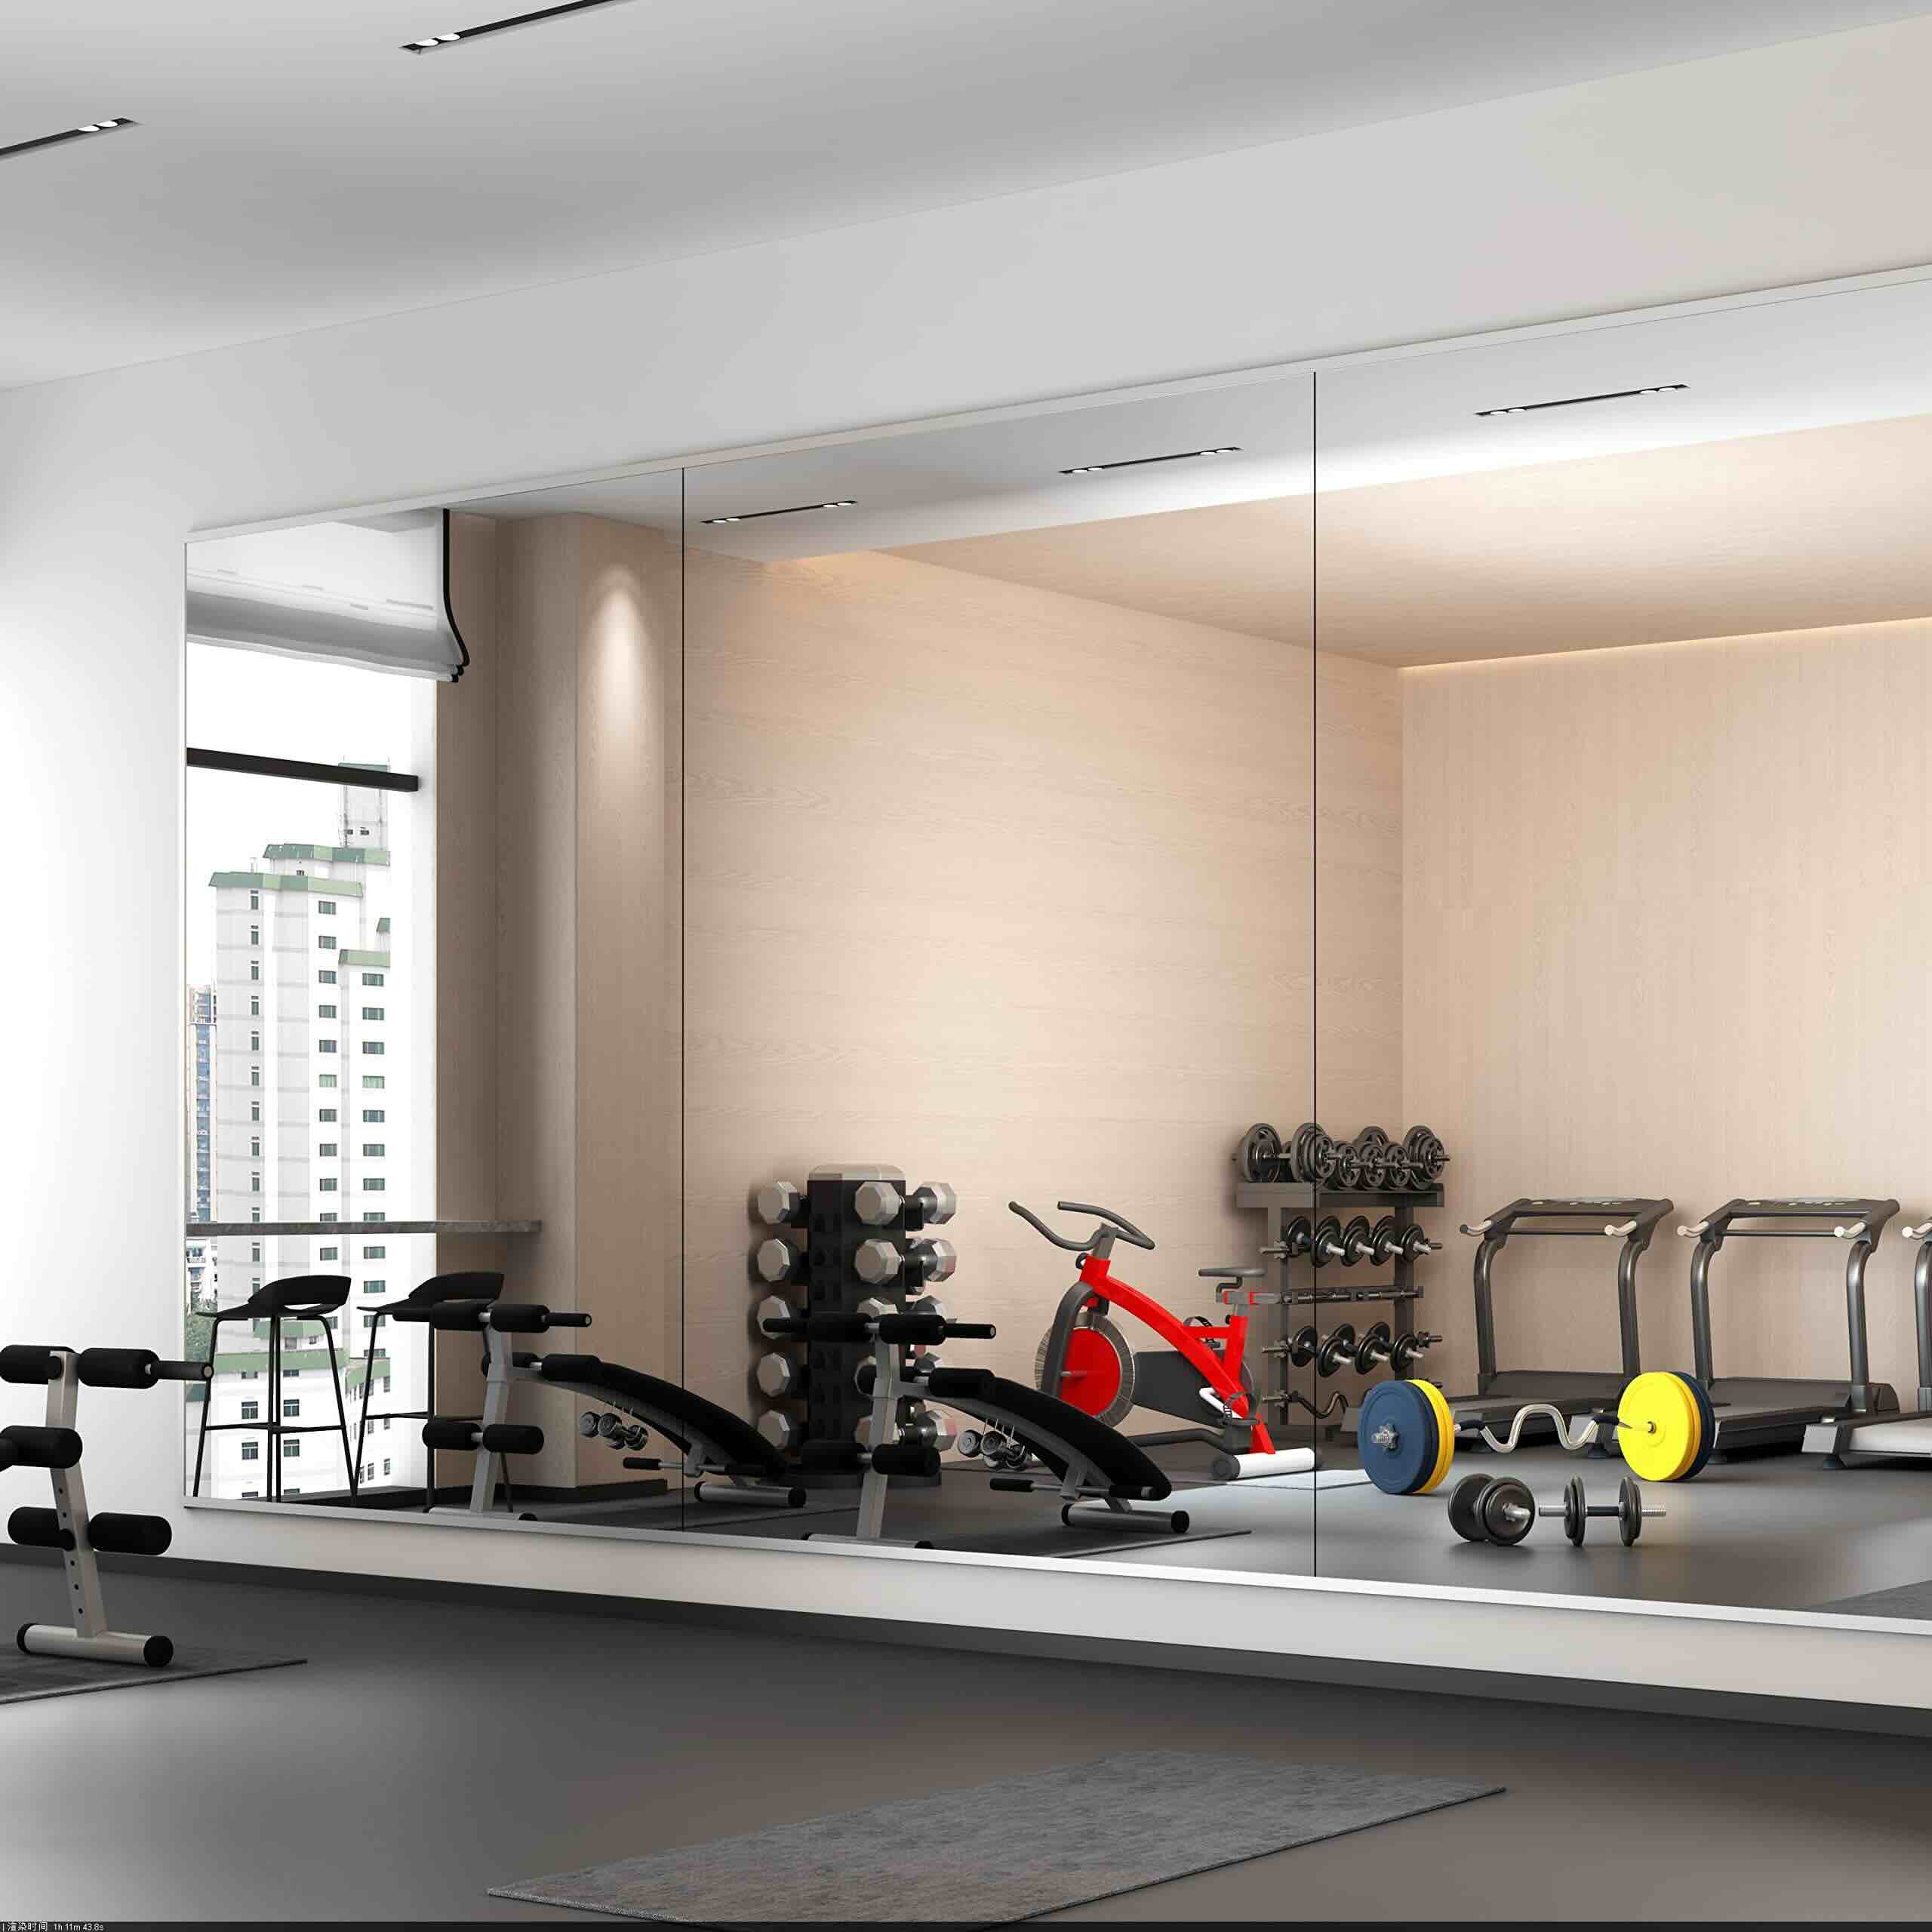
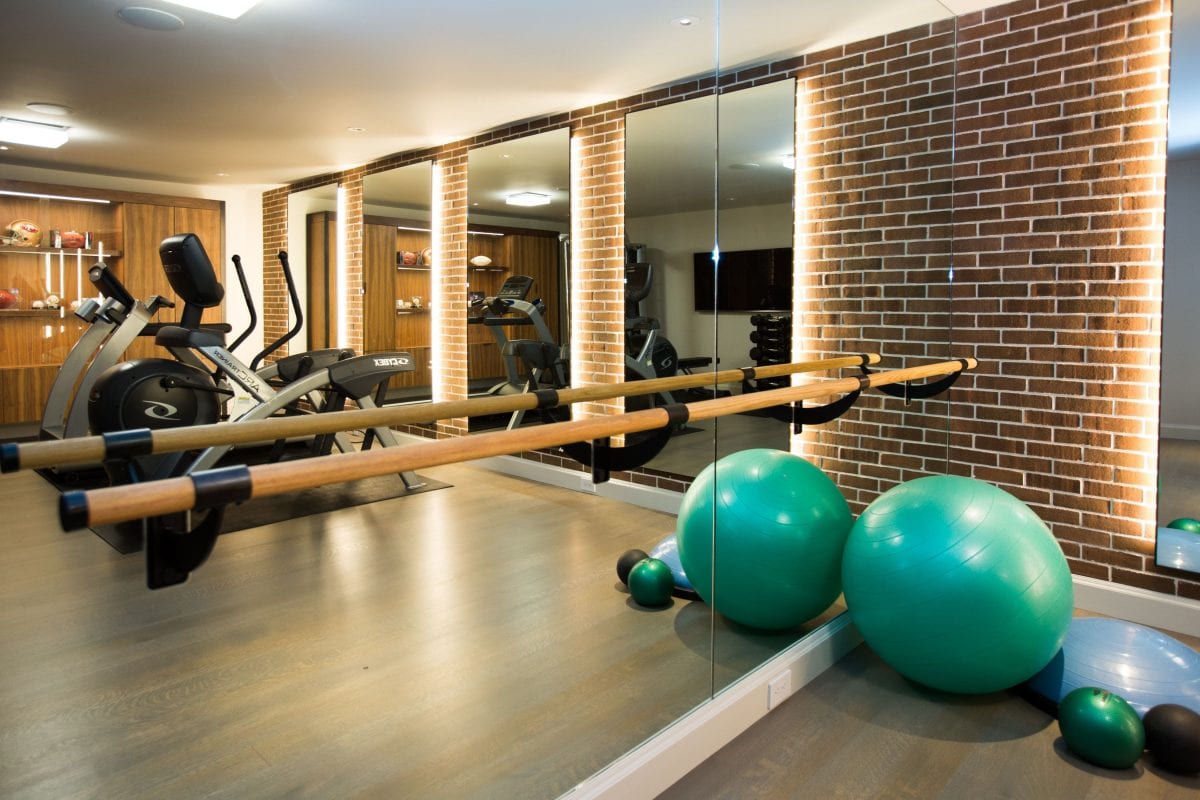
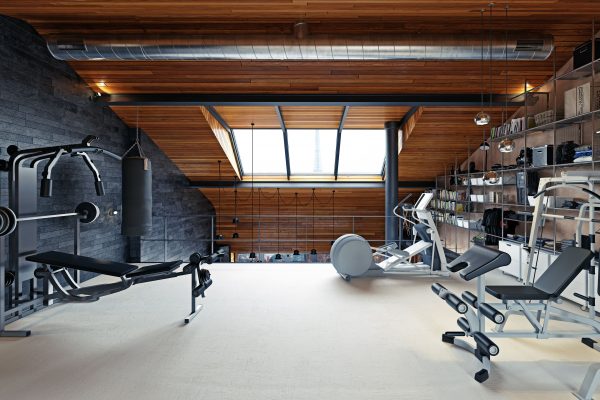
When it comes to setting up a gym or workout space, one essential feature that cannot be overlooked is the installation of gym mirrors. Gym mirrors not only enhance the overall aesthetic appeal of the space but also serve a functional purpose by providing users with a clear view of their movements and form during their workouts.
However, hanging gym mirrors may seem like a daunting task for those who are unfamiliar with the process. That’s where we come in. In this article, we will provide you with a step-by-step guide on how to hang gym mirrors, ensuring a secure and professional installation.
Before we dive into the process, it is crucial to keep in mind that safety should always be the top priority. Make sure to follow all safety guidelines and precautions, such as wearing protective gear and using sturdy ladders or step stools.
Key Takeaways:
- Hanging gym mirrors requires careful planning, precise measurements, and secure installation to create a functional and visually appealing workout space. Safety, proper tools, and alignment are essential for a successful setup.
- Properly hung gym mirrors not only enhance the aesthetic appeal of a gym but also provide users with a clear and spacious reflection, enabling them to monitor their form and technique during workouts. Regular maintenance and cleaning are crucial for preserving the quality and longevity of gym mirrors.
Step 1: Determine the location
The first step in hanging gym mirrors is to determine the ideal location for installation. Consider the layout of your gym or workout space and identify the wall or walls where mirrors will provide the maximum benefit.
Some factors to consider when choosing the location for your gym mirrors include:
- The size and shape of the wall: Ensure that the wall is wide enough and tall enough to accommodate the desired size of mirrors.
- Lighting conditions: Opt for a wall that is well-lit or can be easily illuminated to ensure optimal visibility when using the mirrors.
- Distance from workout equipment: Place the mirrors at a suitable distance from workout equipment to prevent any accidental damage.
- Accessibility: Ensure that the mirrors are easily accessible for installation and future maintenance.
Once you have identified the location, use a level and measuring tape to mark the area where your gym mirrors will be installed. This will help you visualize the final result and ensure proper placement.
Remember, it is always a good idea to consult with a professional if you have any doubts regarding the location or if you need assistance with the installation process.
Step 2: Gather the necessary tools and materials
Before starting the installation process, it is essential to gather all the necessary tools and materials. Having everything on hand will save time and ensure a smooth and efficient process.
Here is a list of the tools and materials you will need:
- Measuring tape
- Level
- Stud finder
- Pencil or marker
- Drill
- Screwdriver
- Toggle bolts or wall anchors
- Mounting brackets
- Screws
- Gym mirrors
Make sure that you have the correct size and type of mirror and that all the tools are in good working condition.
If you are unsure about the specific tools or materials needed for your particular type of gym mirror, consult the manufacturer’s instructions or seek guidance from a professional.
It is also a good idea to use proper safety equipment, such as safety glasses and gloves, while working with tools and handling mirrors to prevent any injuries.
Step 3: Measure and mark the desired height
Now that you have gathered the necessary tools and materials, it’s time to measure and mark the desired height at which you want the gym mirrors to be hung. This step is crucial for ensuring proper alignment and a visually appealing installation.
Here’s how to measure and mark the desired height:
- Measure the height of the wall where the mirrors will be installed using a measuring tape. Take into consideration any baseboards or trim that may be present.
- Determine the desired height at which you want the bottom of the gym mirrors to be placed. This will depend on factors such as the average height of the individuals who will be using the mirrors and the specific exercises or activities that will be performed in front of them.
- Using a level, draw a horizontal line on the wall at the desired height. This will serve as a guide for the installation process.
- Next, measure and mark the center point of the wall using a measuring tape and a pencil or marker. This will be the starting point for hanging the mirrors.
Remember, accuracy is key during this step. Take your time to ensure precise measurements and markings to achieve the desired outcome.
If you plan to hang multiple mirrors side by side, repeat this process for each mirror, ensuring that they are evenly spaced and aligned.
Once you have measured and marked the desired height, you are ready to move on to the next step, which involves installing the mounting brackets.
Step 4: Install the mounting brackets
With the measurements and markings in place, it’s time to install the mounting brackets that will securely hold the gym mirrors in position. Mounting brackets provide stability and support, ensuring that the mirrors are safely attached to the wall.
Follow these steps to install the mounting brackets:
- Identify the studs: Use a stud finder to locate the wall studs within the marked area. Studs offer a sturdy and secure base for mounting the brackets.
- Position the brackets: Place the brackets on the wall, making sure they are in line with the marked height and centered on the wall. Use a level to ensure they are perfectly straight.
- Mark the screw holes: Use a pencil or marker to mark the screw holes on the wall through the bracket mounting holes.
- Pre-drill the holes: Use a drill with the appropriate drill bit to pre-drill the marked screw holes. This will make it easier to insert the screws and prevent the wall from splitting or cracking.
- Attach the brackets: Securely attach the brackets to the wall using screws. Make sure the brackets are tightly fastened and level.
Repeat this process for each mounting bracket, ensuring that they are evenly spaced and aligned according to your measurements.
It’s important to note that if you are unable to locate studs within the desired area, you can use toggle bolts or wall anchors to provide additional support for the mounting brackets. These anchors are designed to distribute the weight evenly and ensure a secure installation.
Once the mounting brackets are properly installed, you’re ready to move on to the next step: hanging the gym mirrors.
When hanging gym mirrors, use heavy-duty mirror clips or J-bars to securely mount the mirrors to the wall. Make sure to measure and mark the placement of the mirrors before installation to ensure they are level and evenly spaced.
Read more: How To Hang Mirror On The Ceiling
Step 5: Hang the gym mirrors
Now that the mounting brackets are securely installed, it’s time to hang the gym mirrors. This step requires careful handling and attention to detail to ensure a safe and proper installation.
Follow these steps to hang the gym mirrors:
- Place the gym mirror on a soft surface: Lay a soft blanket or foam padding on the floor or a sturdy table. This will protect the mirror from scratches or damage during the hanging process.
- Align the mirror with the mounting brackets: Lift the gym mirror and align it with the mounting brackets on the wall. Make sure it is centered and level.
- Carefully lift the mirror onto the brackets: With the help of another person or a secure lifting mechanism, carefully lift the gym mirror onto the mounting brackets. Ensure that it rests firmly and securely in place.
- Adjust the mirror if necessary: Step back and assess the alignment and positioning of the mirror. If adjustments are needed, gently slide the mirror along the brackets until it is positioned correctly.
It’s important to use caution and proper lifting techniques when handling the gym mirrors to prevent any injuries or damage. Additionally, ensure that the mirror remains steady and does not slip or move once it is hung.
If you are hanging multiple mirrors side by side, repeat this process for each mirror, ensuring that they are evenly spaced and aligned.
Once the gym mirrors are hung securely, you can proceed to the next step: securing the mirrors in place.
Step 6: Secure the mirrors
After hanging the gym mirrors, it’s crucial to secure them in place to ensure stability and prevent any accidents or damage. Securing the mirrors adds an extra layer of protection and gives you peace of mind during your workouts.
Follow these steps to properly secure the gym mirrors:
- Check alignment: Step back and carefully inspect the mirrors to ensure they are level and properly aligned. Make any necessary adjustments to achieve the desired positioning.
- Secure the mirrors with screws: Once you are satisfied with the alignment, use a screwdriver or drill to secure the gym mirrors to the mounting brackets. Insert screws through the pre-drilled holes on the sides or corners of the mirrors and into the brackets. Make sure the screws are tightened evenly to avoid any uneven pressure on the mirrors.
- Double-check stability: Gently shake the mirrors to check for any wobbling or instability. If the mirrors move, reinforce the mounting brackets or adjust the screws to ensure a secure attachment.
Additionally, if you are using multiple mirrors side by side, you may want to consider using mirror clips or adhesive strips to connect them. These can help maintain a seamless appearance and prevent any gaps between the mirrors.
Always refer to the manufacturer’s instructions for specific guidelines on securing your particular type of gym mirrors.
By properly securing the gym mirrors, you can have confidence in their stability and enjoy your workouts without any concerns about their safety.
Step 7: Ensure proper alignment and adjust if necessary
Once the gym mirrors are securely hung and properly secured, it’s important to ensure that they are aligned correctly for optimal functionality and visual appeal. Proper alignment will provide users with a clear and accurate reflection while performing exercises or movements in front of the mirrors.
Follow these steps to ensure proper alignment of the gym mirrors:
- Stand back and assess the overall alignment: Step away from the mirrors and observe them from different angles. Look for any discrepancies or misalignments.
- Check for levelness: Use a level to ensure that the mirrors are perfectly level horizontally and vertically. Adjust if necessary by loosening the screws and making small adjustments until the mirrors are level.
- Measure the spacing between mirrors: If you have multiple mirrors, measure the distance between them to ensure they are evenly spaced and aligned. Make any necessary adjustments to achieve the desired symmetry.
- Adjust lighting conditions if needed: Consider the lighting conditions in the gym or workout space. Make any adjustments to lighting fixtures or install additional lighting to ensure a well-lit environment that enhances visibility in the mirrors.
Remember, proper alignment is crucial for an effective gym mirror installation. Take the time to fine-tune the positioning to create a visually pleasing and functional space.
If you are unsure about the alignment or need assistance, consider consulting with a professional to ensure an accurate and optimal setup.
Once you are confident in the alignment of the gym mirrors, you are ready to move on to the final step: cleaning and finalizing the installation.
Step 8: Clean and finalize the installation
After ensuring proper alignment and adjustments, it’s time to give your gym mirrors a final touch to make them shine and complete the installation process.
Follow these steps to clean and finalize the installation:
- Remove any protective film: If your gym mirrors came with a protective film, gently peel it off to reveal the clear reflection.
- Clean the mirrors: Use a glass cleaner or a mixture of water and vinegar to clean the mirrors and remove any smudges or fingerprints. Spray the cleaner onto a soft cloth or paper towel, and wipe the mirrors in a gentle circular motion. Avoid using abrasive materials that may scratch the surface of the mirrors.
- Inspect for any imperfections: Carefully examine the mirrors for any imperfections or defects. If you notice any cracks, chips, or other issues, consult the manufacturer or supplier for assistance.
- Finalize the installation: Double-check all mounting brackets, screws, and mirror clips to ensure they are securely in place. Tighten any loose screws if needed.
Once you have cleaned and inspected the mirrors, step back and admire your finished gym mirror installation. Take pride in creating a functional and visually appealing space that will enhance your workouts and provide users with a clear and spacious reflection.
Remember to periodically clean and maintain the gym mirrors to keep them in optimal condition and extend their lifespan. Regular cleaning will prevent buildup of dirt and smudges, allowing for a clear and unobstructed reflection.
With the installation finalized, you’re ready to enjoy your gym mirrors and make the most out of your workouts in a well-equipped and visually pleasing environment.
Congratulations on successfully hanging your gym mirrors!
Read more: How To Hang A Dresser Mirror On The Wall
Conclusion
Hanging gym mirrors can be a challenging task, but with the right steps and guidance, it can be accomplished smoothly and successfully. By following the step-by-step guide provided in this article, you can confidently install gym mirrors in your workout space, enhancing both its functionality and aesthetic appeal.
Remember that safety should always be a priority during the installation process. Use proper lifting techniques, wear protective gear, and follow all safety guidelines to prevent any injuries.
Determining the ideal location, gathering the necessary tools and materials, measuring and marking the desired height, installing the mounting brackets, hanging the gym mirrors, securing them in place, ensuring proper alignment, and finalizing the installation are all crucial steps in achieving a professional and secure installation.
Take the time to measure accurately, align the mirrors correctly, and clean them thoroughly to create a clear and spacious reflection, ensuring an optimal workout experience. Regular maintenance and cleaning will help preserve the quality and longevity of your gym mirrors.
Whether you are setting up a home gym or a commercial fitness facility, properly hung gym mirrors can greatly benefit users by enabling them to monitor their form and technique during workouts.
With this comprehensive guide, you are now equipped with the knowledge and understanding to confidently hang gym mirrors and create a motivating and visually appealing workout space that inspires you to achieve your fitness goals.
So, what are you waiting for? Get started on installing your gym mirrors and transform your workout space into a professional and inspiring environment!
Frequently Asked Questions about How To Hang Gym Mirrors
Was this page helpful?
At Storables.com, we guarantee accurate and reliable information. Our content, validated by Expert Board Contributors, is crafted following stringent Editorial Policies. We're committed to providing you with well-researched, expert-backed insights for all your informational needs.


0 thoughts on “How To Hang Gym Mirrors”