Furniture
How To Hang A Hanging Lamp
Modified: December 7, 2023
Learn how to hang a stylish hanging lamp in your home with these easy step-by-step instructions. Create a cozy and trendy atmosphere with the right furniture and lighting choices.
(Many of the links in this article redirect to a specific reviewed product. Your purchase of these products through affiliate links helps to generate commission for Storables.com, at no extra cost. Learn more)
Introduction
There is something magical about a hanging lamp that can instantly transform a space and create a warm and inviting atmosphere. Whether you are looking to add a touch of elegance to your dining room or create a cozy reading nook in your living room, knowing how to hang a hanging lamp correctly is essential.
With the right tools, materials, and careful planning, you can easily install a hanging lamp in your home and enjoy the soft, ambient lighting it provides. In this guide, we will take you through the step-by-step process of hanging a lamp, ensuring that it not only looks beautiful but is also safe and secure.
Before we get started, it’s important to note that if you are not comfortable with electrical work, it is always best to hire a professional electrician to ensure the installation is done correctly and safely.
Now, let’s dive into the exciting world of hanging lamps and get ready to elevate your home’s interior design!
Key Takeaways:
- Elevate your home’s ambiance and design with a hanging lamp. Follow our step-by-step guide for a safe and beautiful installation, or consult a professional for electrical work.
- Enjoy the cozy glow and elegance of your newly installed hanging lamp. Experiment with different light settings, keep it clean, and ensure its stability for a welcoming atmosphere.
Read more: How To Hang A Swag Lamp
Step 1: Gather Your Materials
Before you begin the process of hanging a lamp, it’s important to gather all the necessary materials. This will ensure that you have everything you need on hand and won’t have to interrupt your progress to search for missing items. Here are the materials you’ll need:
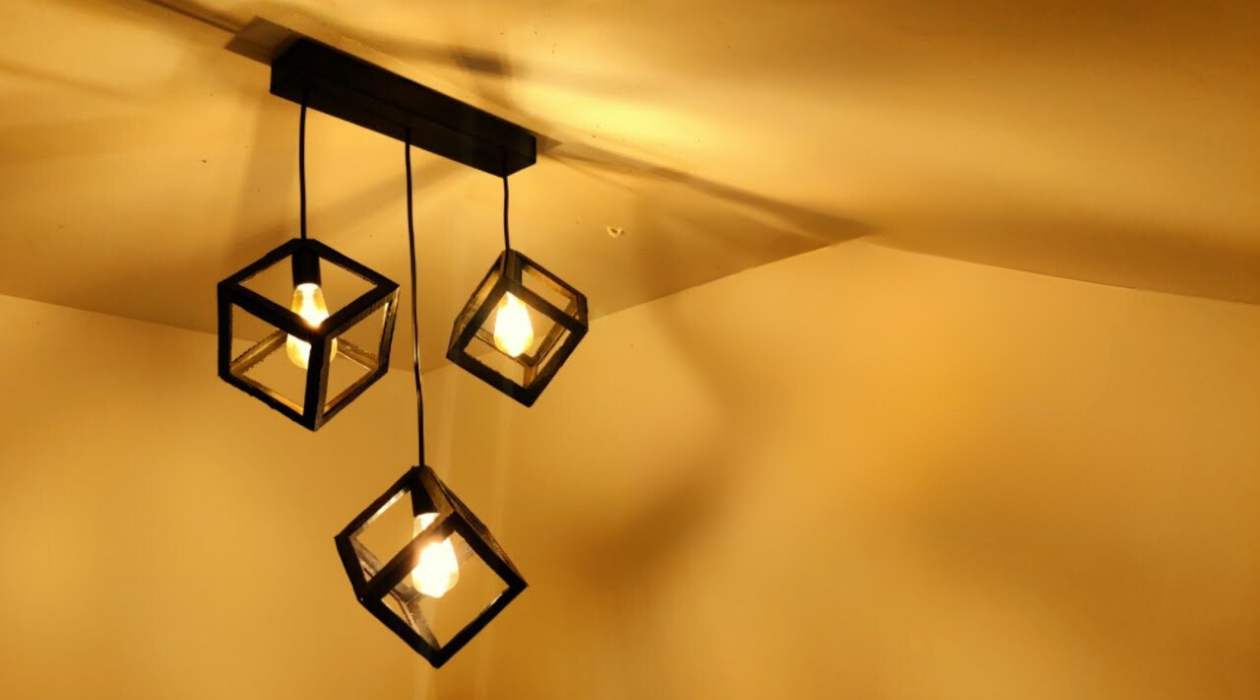
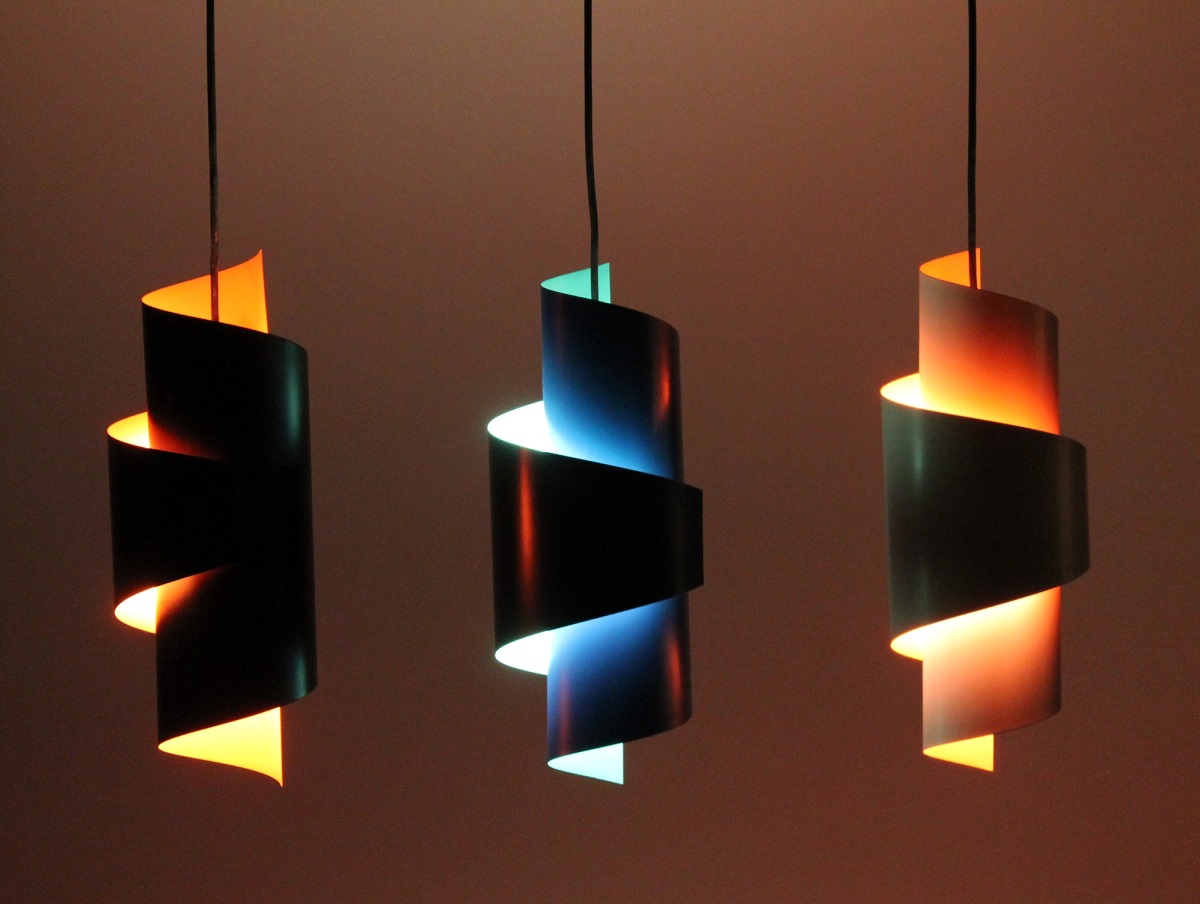
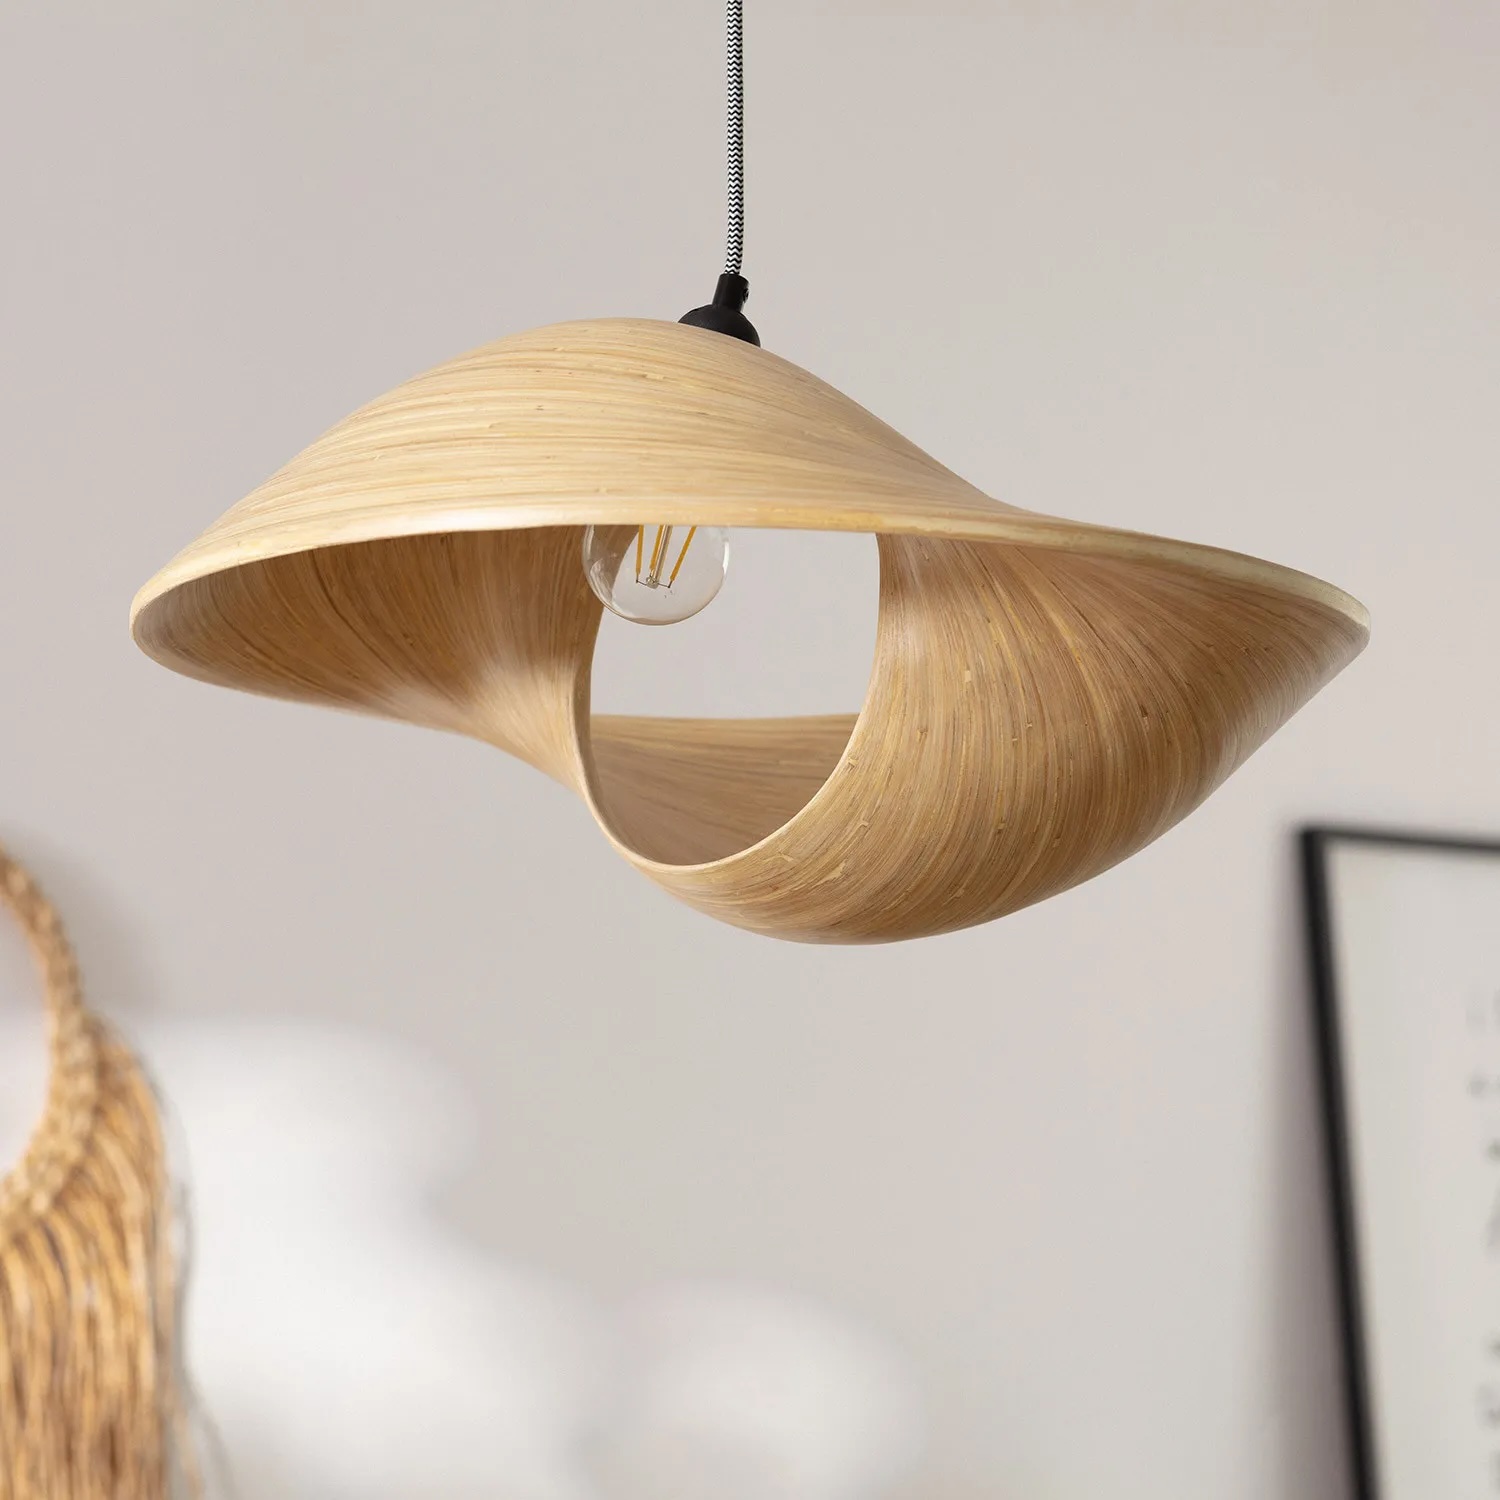
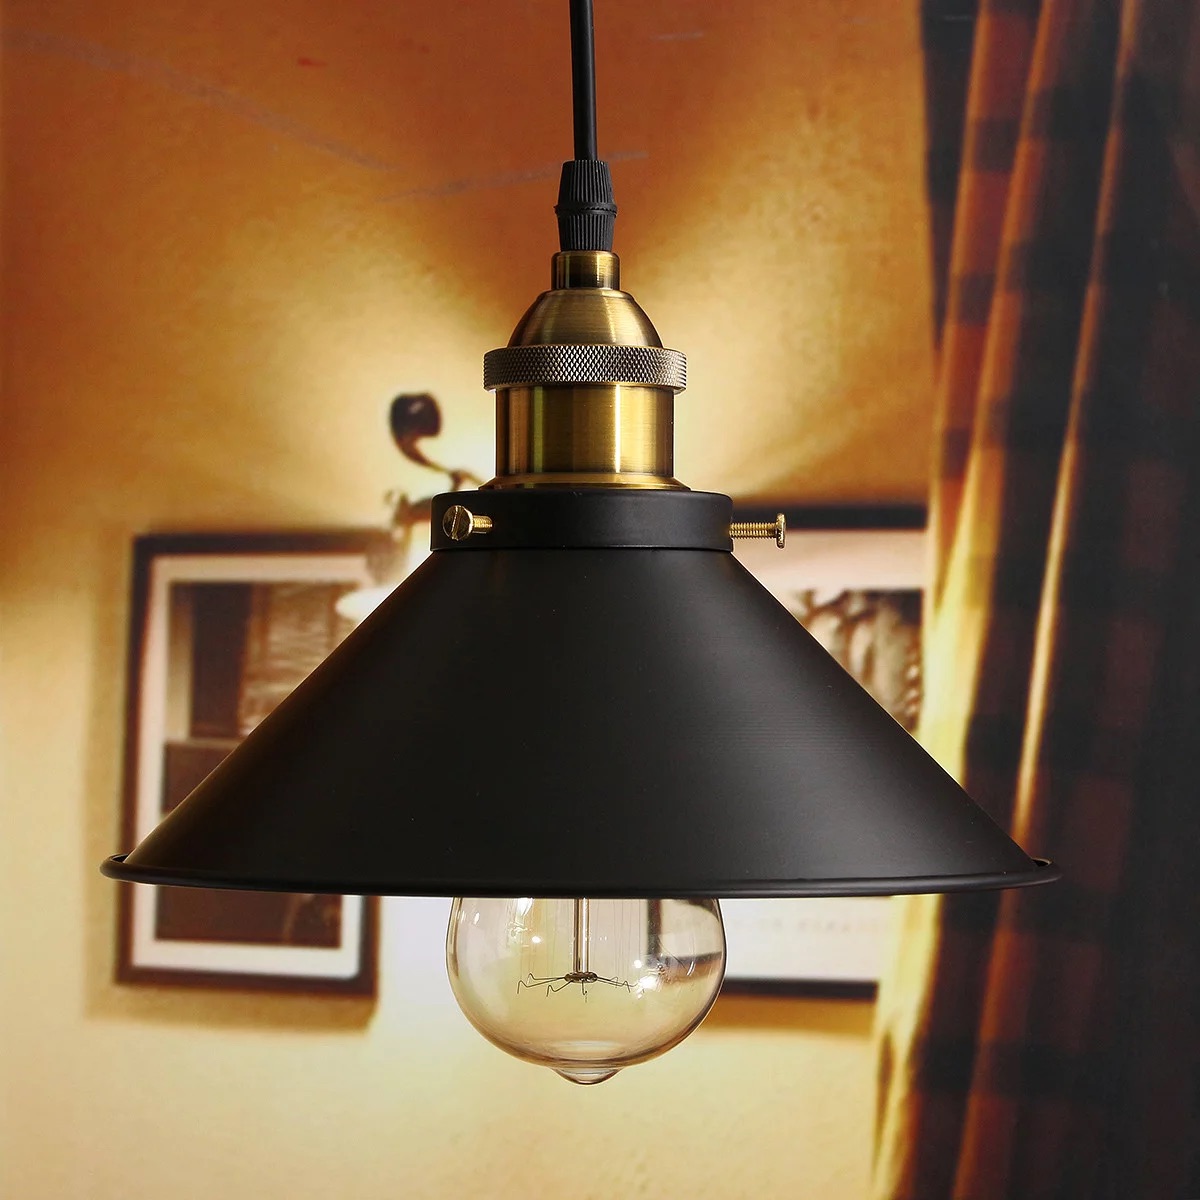
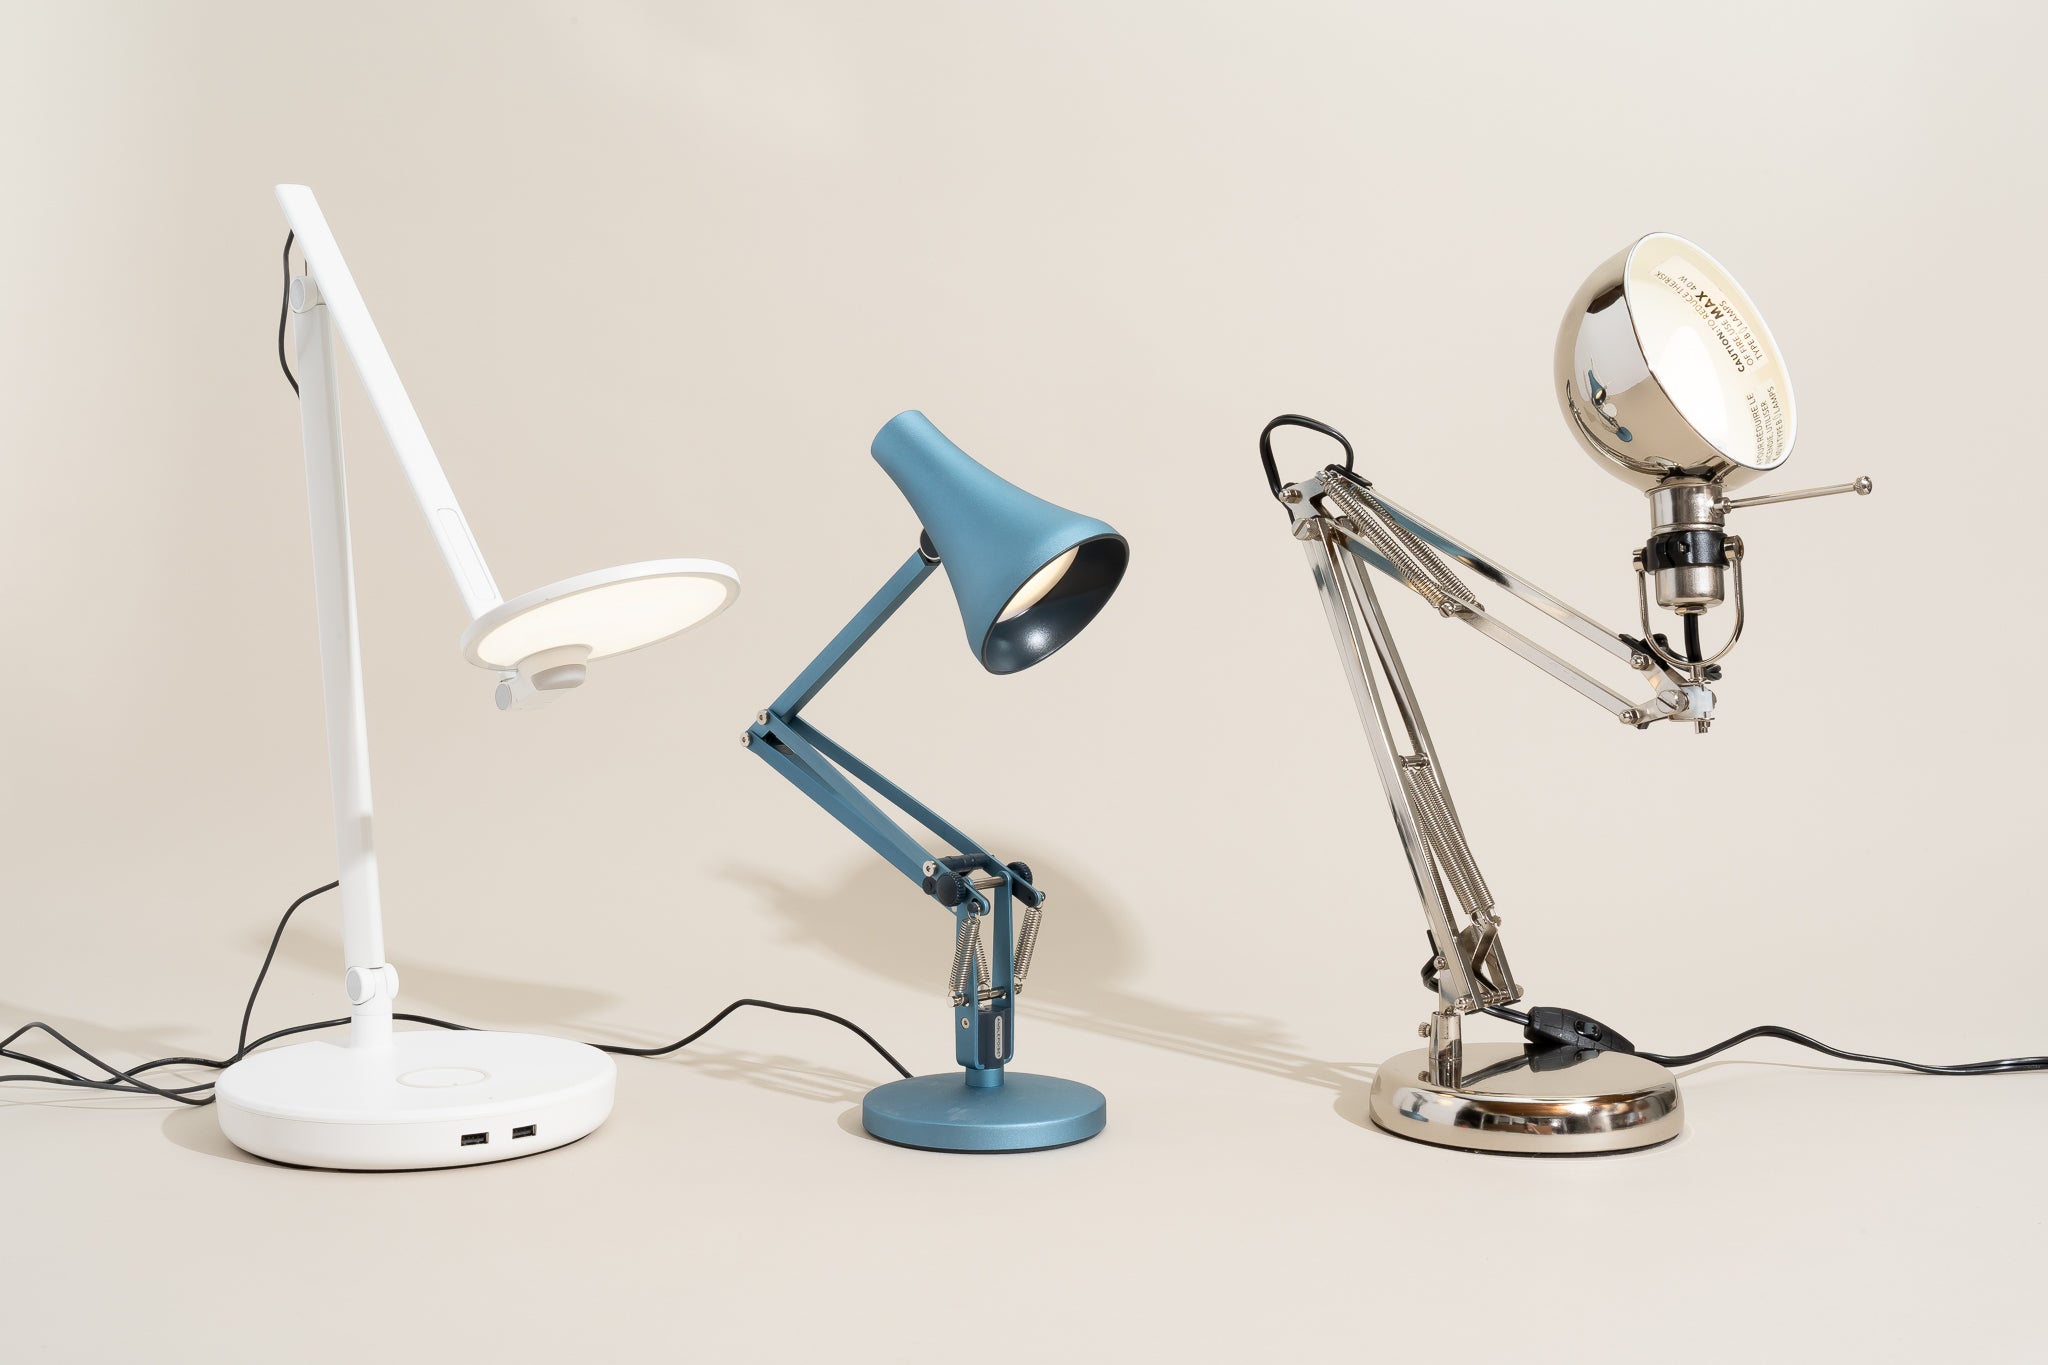
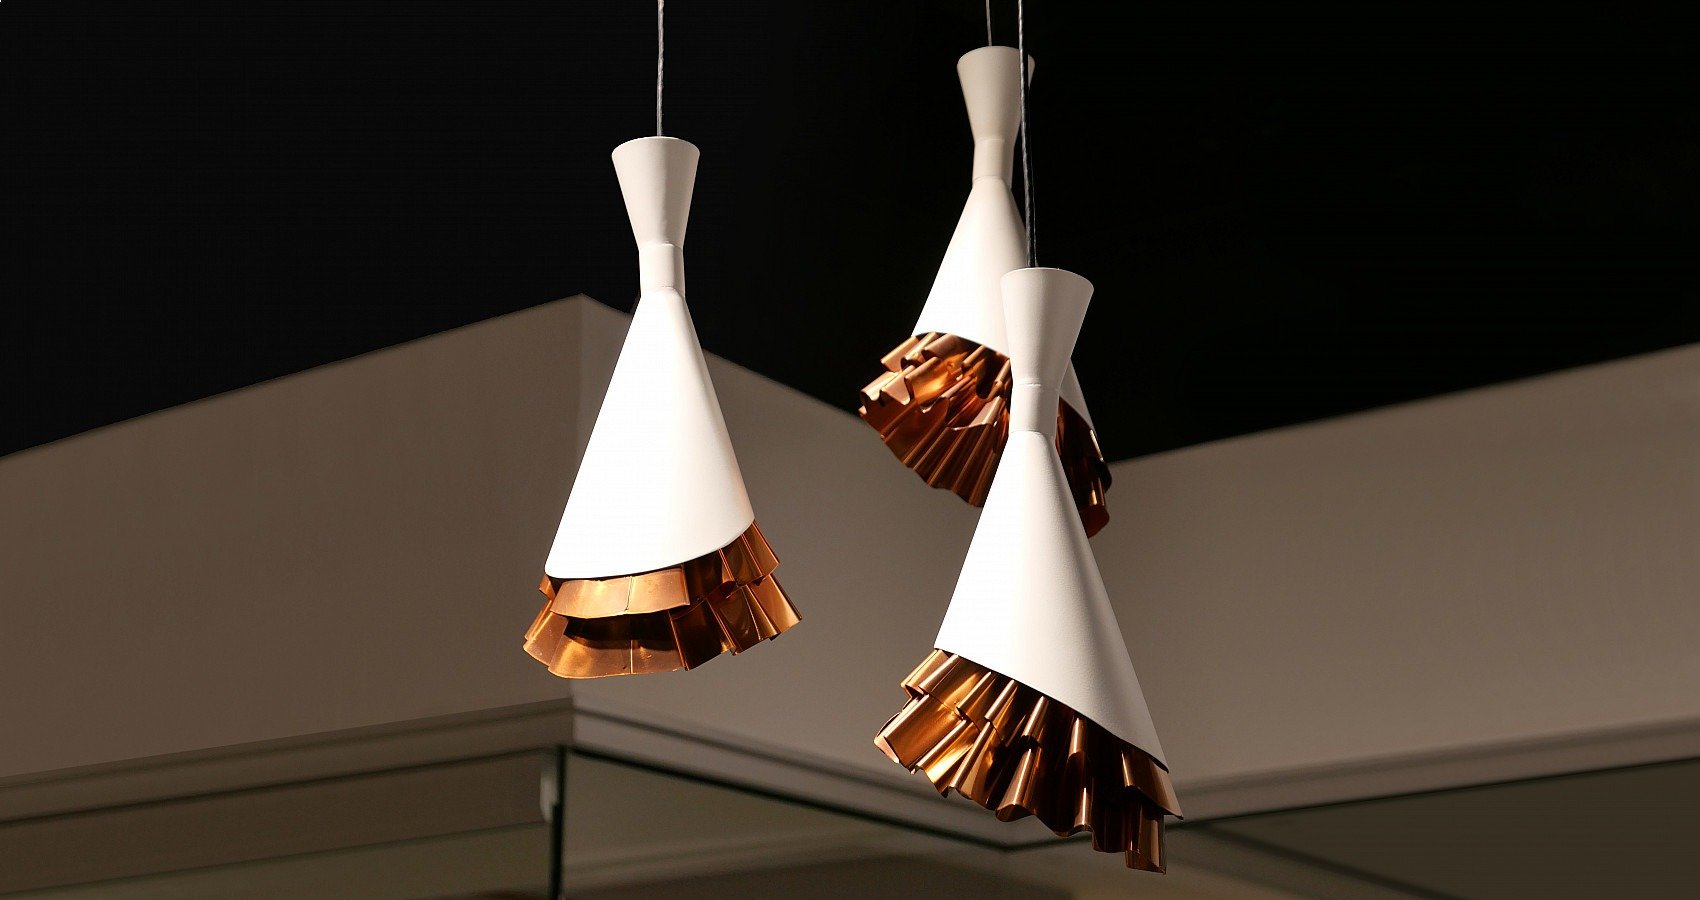
- Hanging lamp: Choose a lamp that fits your style and complements the decor of the room you plan to install it in.
- Ceiling hook: Look for a sturdy and reliable ceiling hook that can support the weight of your lamp.
- Chain or wire: Depending on the design of your hanging lamp, you’ll need either a chain or wire to suspend it from the ceiling hook.
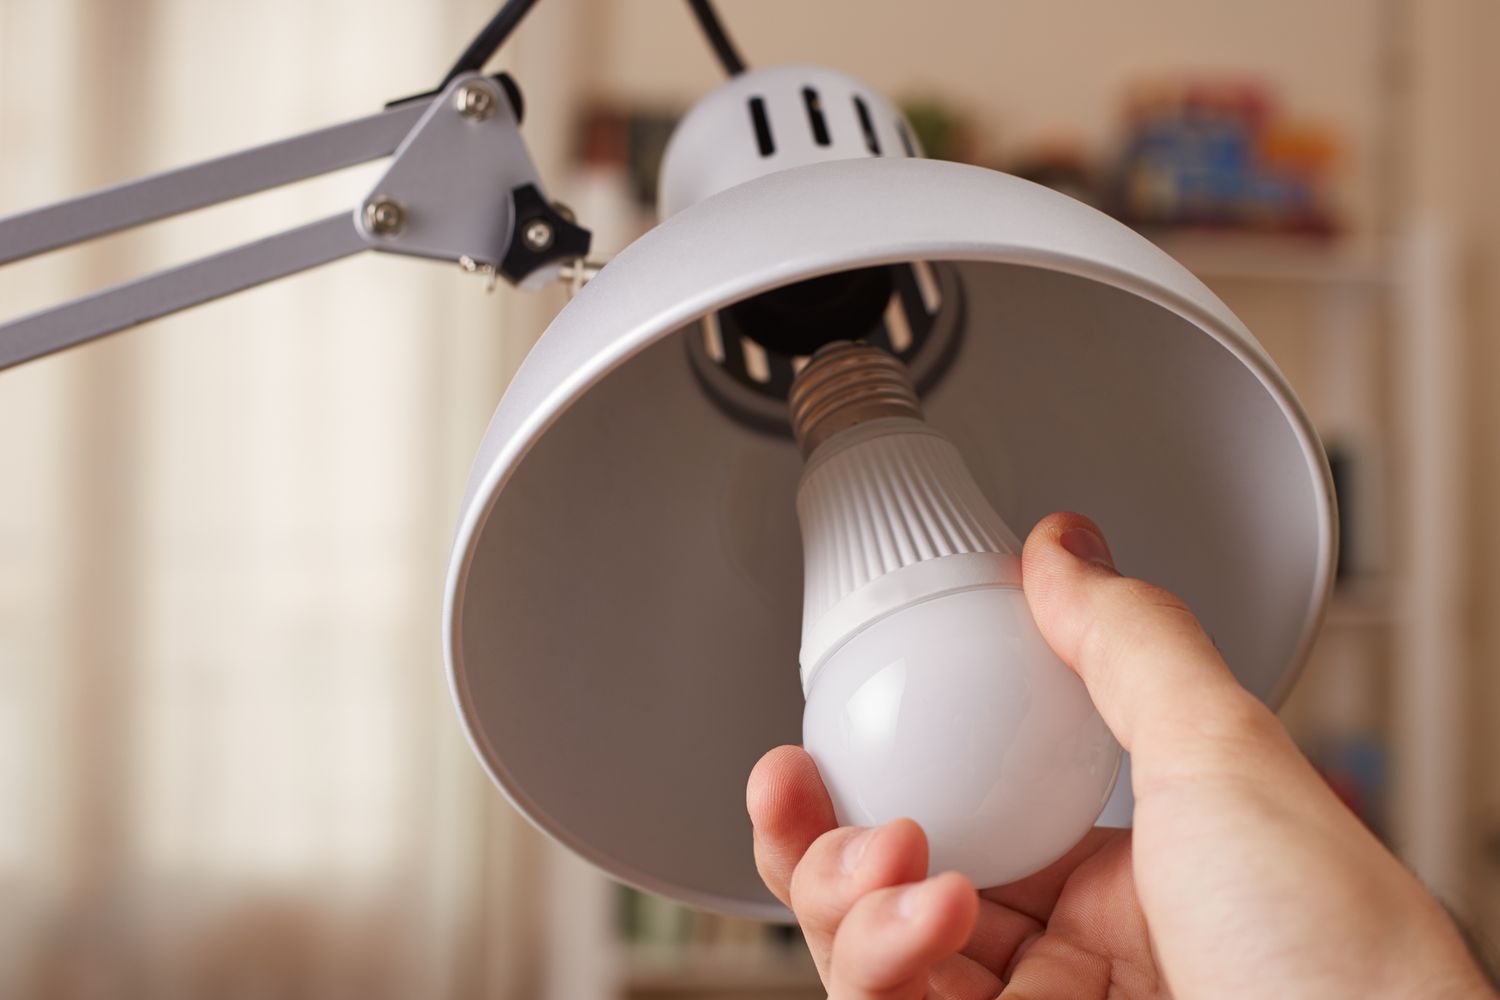
- Bulb: Make sure you have the right type and wattage bulb for your hanging lamp.
- Ladder or step stool: You’ll need a stable surface to reach the ceiling for installation.
- Electrical tester: This is optional but recommended for testing the electrical connections.
- Screwdriver or drill: Depending on the type of ceiling hook, you’ll need the appropriate tool for installation.
- Measuring tape: Use a measuring tape to determine the correct height and placement of the lamp.
Once you have gathered all the necessary materials, you are ready to move on to the next step: choosing the right location for your hanging lamp.
Step 2: Choose the Right Location
Choosing the right location for your hanging lamp is crucial for both its aesthetic appeal and functionality. Here are a few factors to consider when selecting the perfect spot:
- Room ambiance: Think about the overall ambiance you want to create in the room. Do you want the hanging lamp to be a focal point or provide ambient lighting?
- Room size: Consider the size of the room and how the hanging lamp will fit in the space. Ensure that there is enough clearance and that it won’t obstruct any furniture or walkways.
- Ceiling height: Take into account the height of your ceiling. For higher ceilings, you may opt for a longer chain or wire to create a dramatic effect.
- Lighting requirements: Determine the purpose of the hanging lamp. Is it meant to provide task lighting or serve as a decorative accent?
It’s also important to check for any obstructions on the ceiling, such as beams or vents, that could interfere with the installation. Additionally, consider the proximity to electrical outlets, as you will need to connect the lamp to a power source.
Once you have assessed these factors, mark the ideal location on the ceiling using a pencil or tape as a reference point for installation. With the right location in mind, you can now proceed to the next step: measuring and marking the position.
Step 3: Measure and Mark the Position
Accurate measurements are crucial to ensure that your hanging lamp is positioned correctly and securely. Follow these steps to measure and mark the precise location for installation:
- Measure the distance from the ceiling to the desired height of the hanging lamp using a measuring tape. Take into account the length of the lamp and the desired amount of clearance from the floor or any furniture below.
- Using a pencil, mark the center of the desired location on the ceiling. This will serve as your reference point for installing the ceiling hook.
- If your hanging lamp comes with a template, use it to mark the locations for any additional screws or hardware needed for installation.
Ensure that your markings are clear and easily visible. Double-check your measurements to avoid any mistakes that could affect the stability or visual appeal of the hanging lamp.
It’s also important to consider the weight of the lamp and choose a ceiling hook that can support it. If you’re unsure about the weight limit, consult the manufacturer’s instructions or seek professional advice.
Once you have accurately measured and marked the position, you can move on to the next step: installing the ceiling hook.
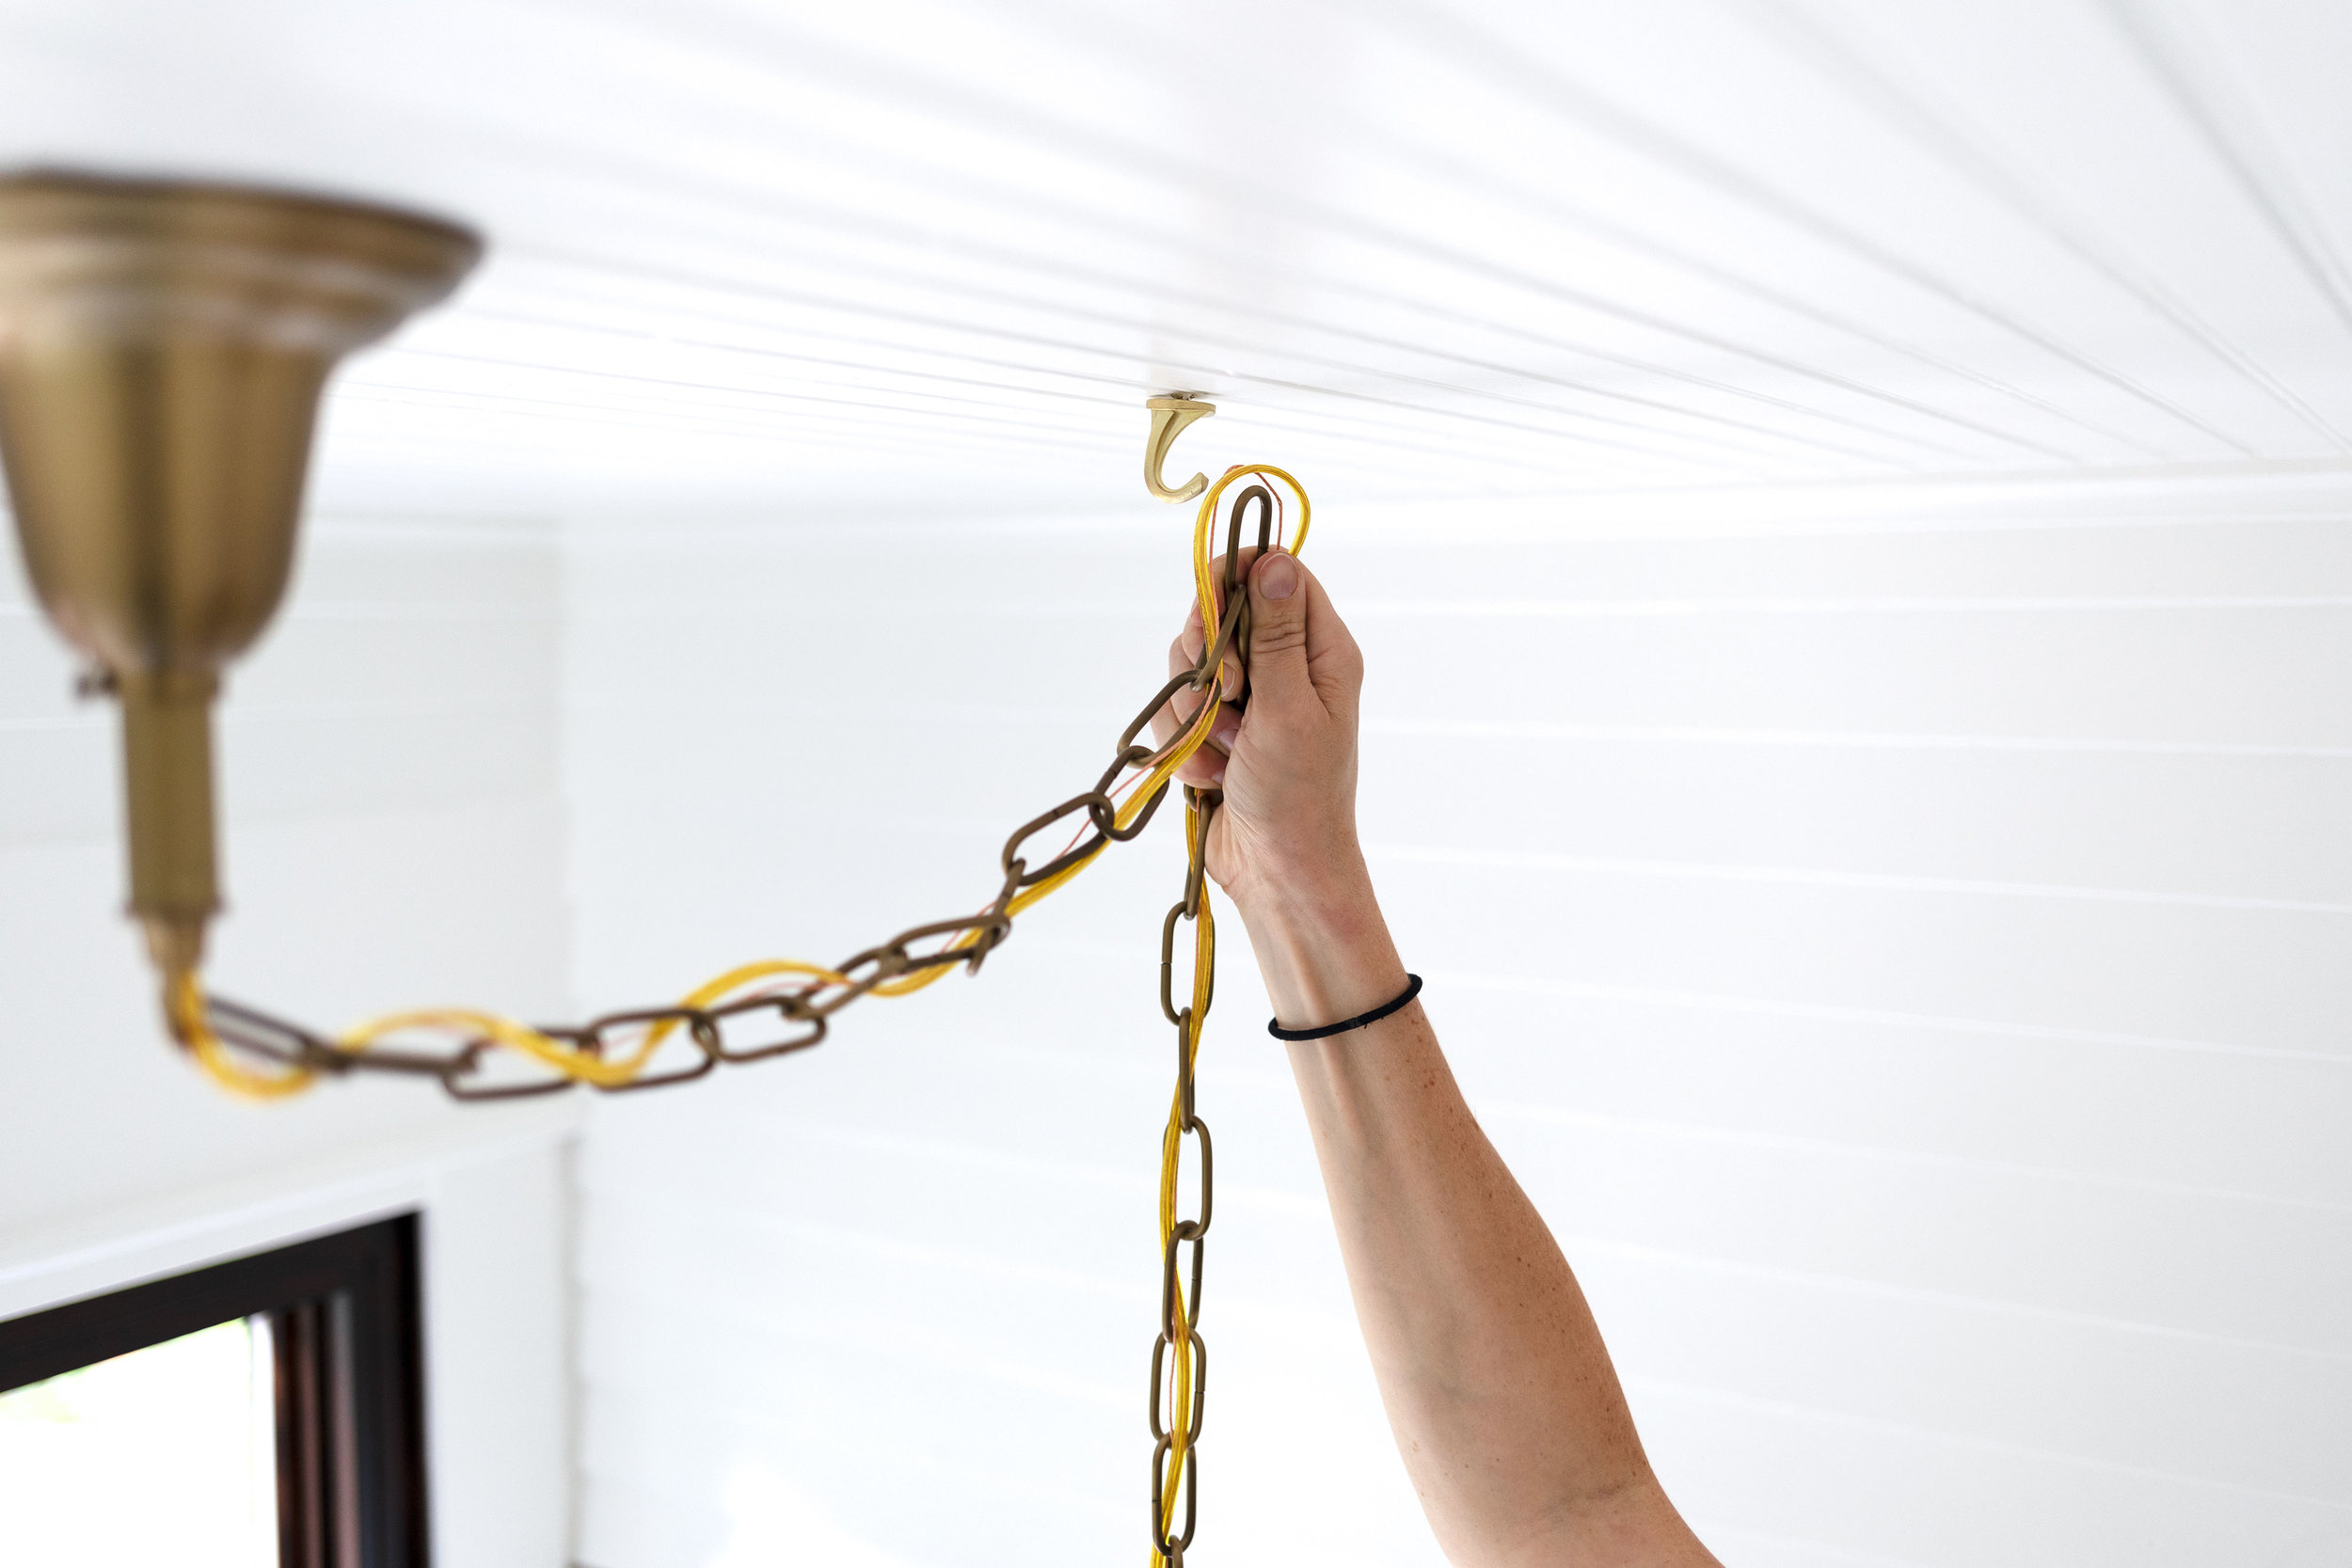
Step 4: Install the Ceiling Hook
Installing the ceiling hook properly is crucial for the stability and safety of your hanging lamp. Follow these steps to ensure a secure installation:
- Using a drill or screwdriver, carefully screw the ceiling hook into the marked center point on the ceiling. Make sure it is tightly secured to provide proper support.
- If necessary, use a ladder or step stool to reach the ceiling. Ensure the ladder is stable and secure before climbing.
- For added security, you may consider using a wall anchor or toggle bolt if your ceiling material requires additional support. Consult the manufacturer’s instructions for proper installation.
Make sure to check that the ceiling hook is level and aligned with your markings. This will ensure that the hanging lamp hangs straight and doesn’t tilt to one side.
Once the ceiling hook is securely installed, you can move on to the next step: attaching the chain or wire.
When hanging a hanging lamp, always make sure to use a sturdy ceiling hook or mounting bracket to support the weight of the fixture. It’s important to follow the manufacturer’s instructions for installation to ensure safety and proper function.
Read more: How To Hang A Heat Lamp
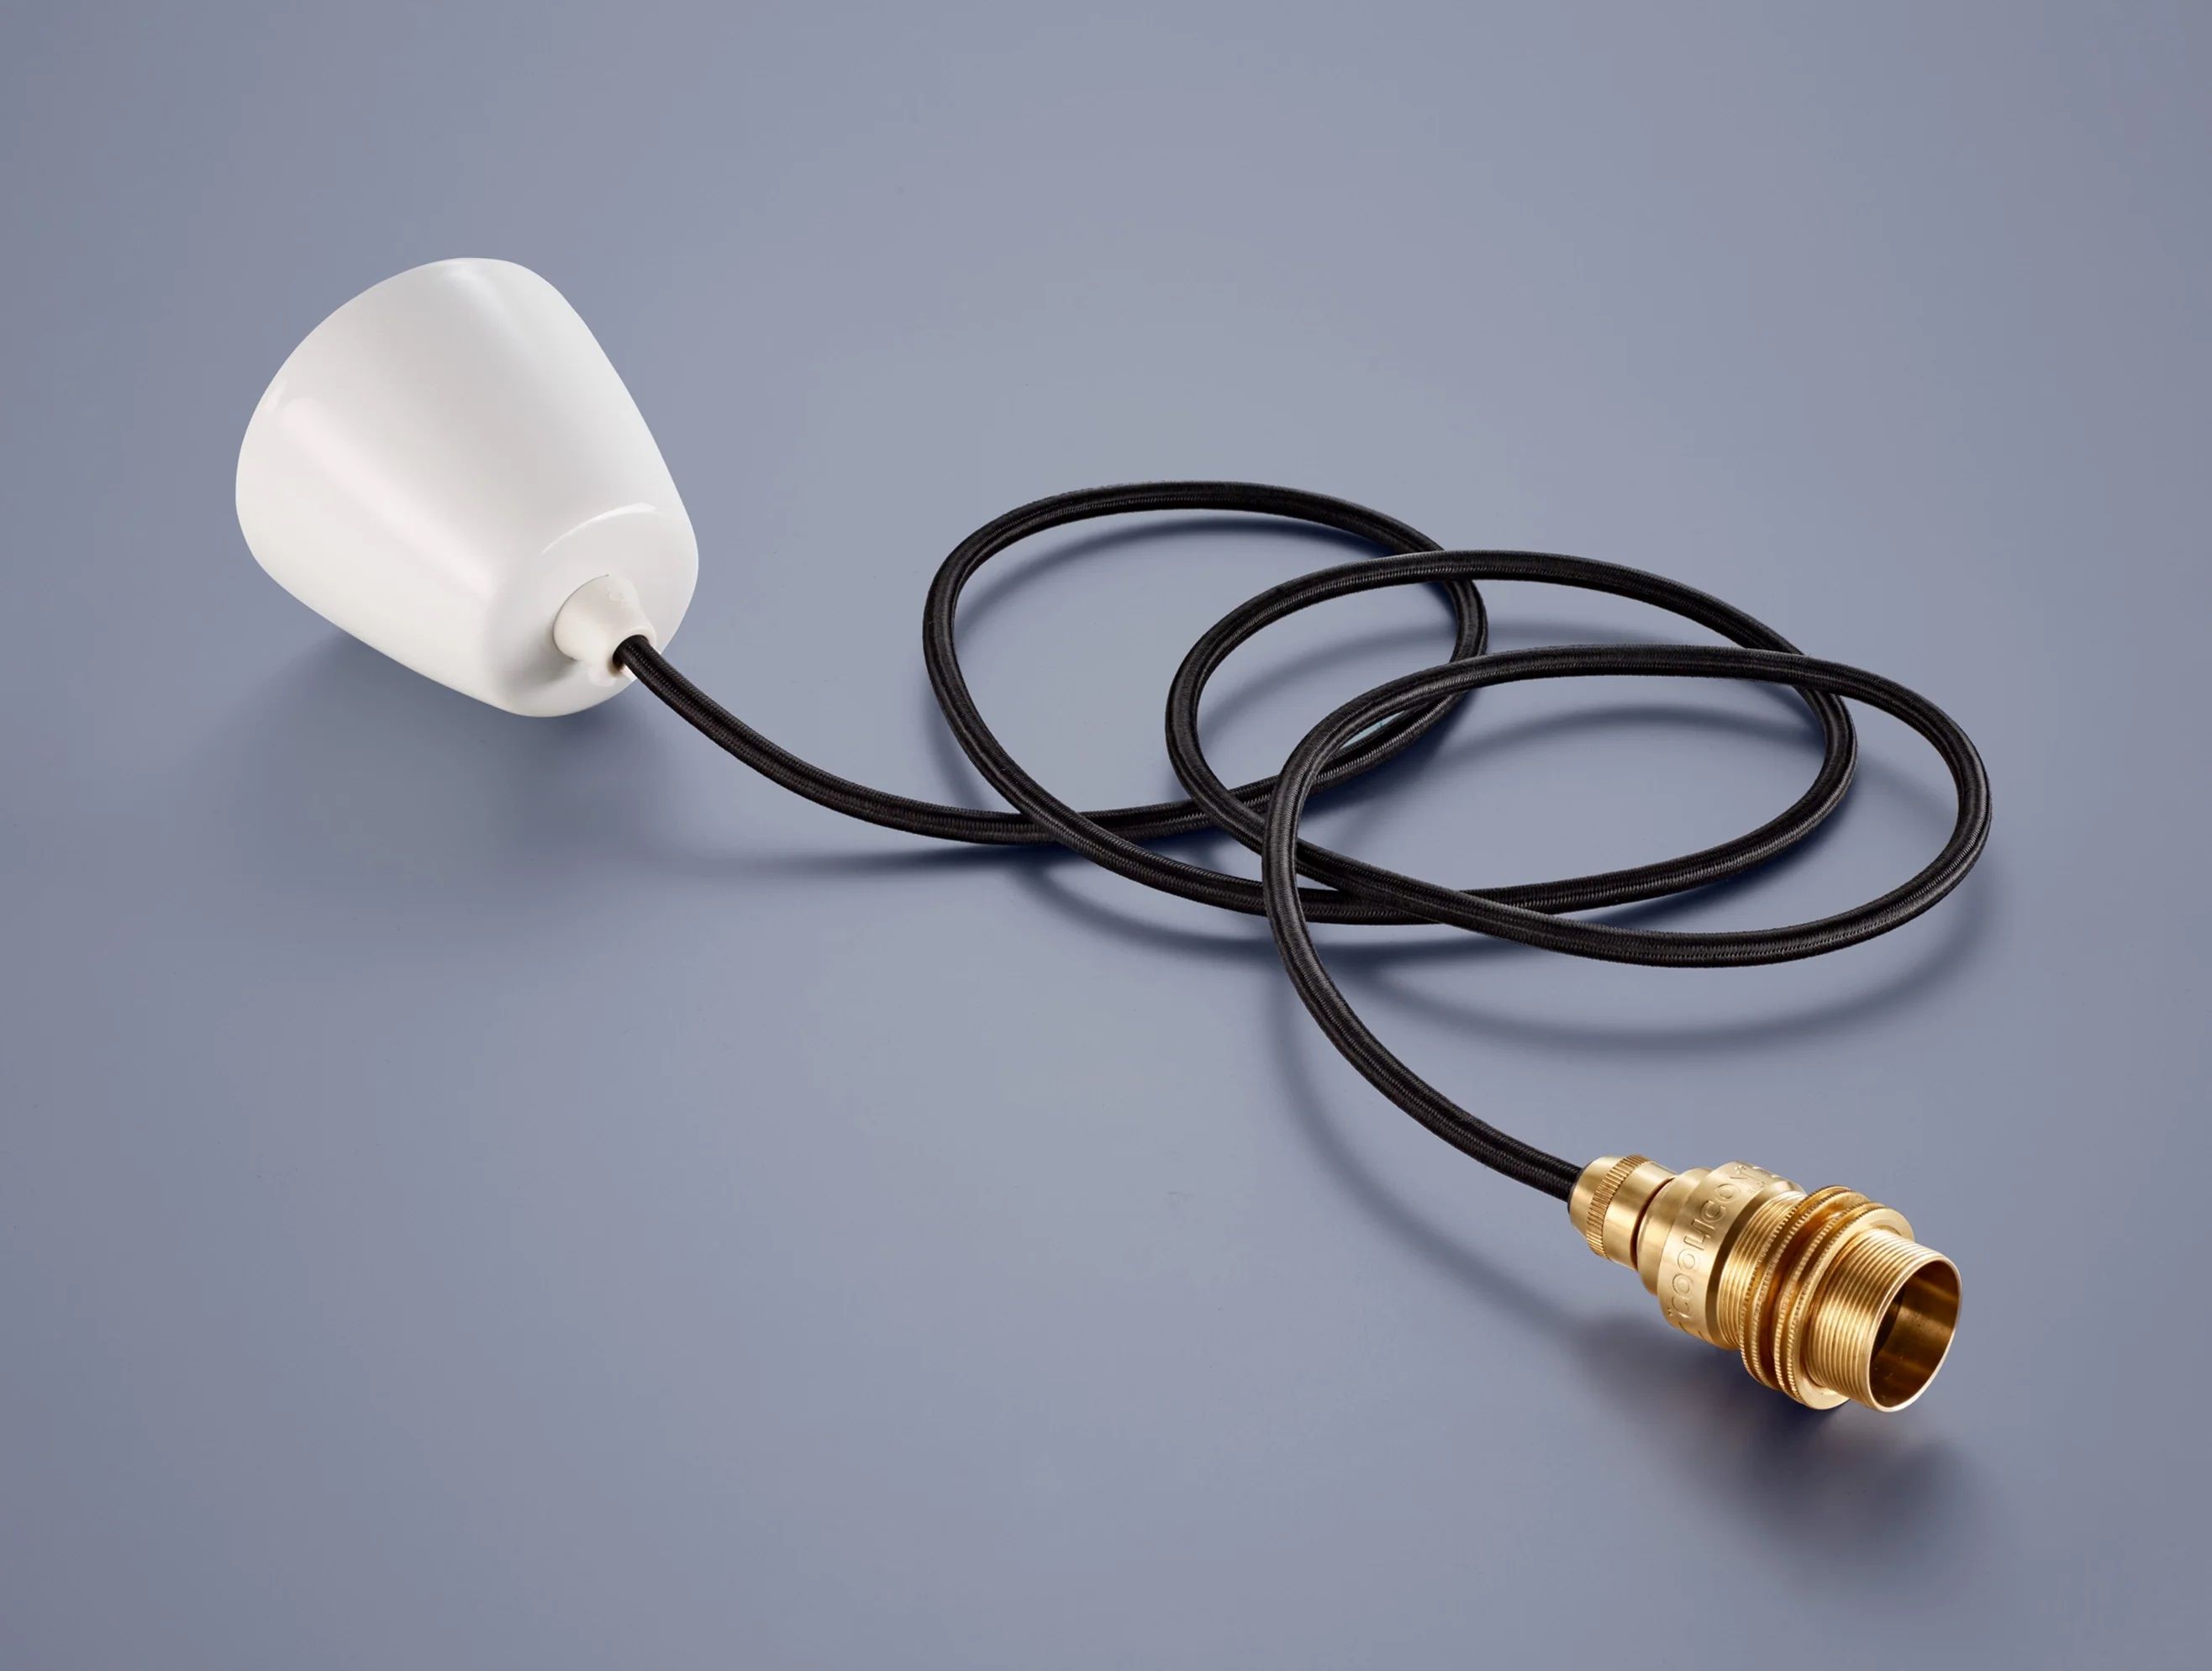
Step 5: Attach the Chain or Wire
Attaching the chain or wire to your hanging lamp is an important step that ensures proper suspension and stability. Here’s how you can attach it:
- Measure the length of chain or wire needed to properly suspend your hanging lamp from the ceiling hook. Consider the desired height and clearance from the floor or furniture.
- Using wire cutters or pliers, carefully cut the chain or wire to the desired length. Make sure to account for any additional hardware or connectors that may be required.
- Attach one end of the chain or wire to the hanging lamp. Follow the manufacturer’s instructions or use the provided hardware, such as S-hooks or connectors, to secure it firmly.
- Attach the other end of the chain or wire to the ceiling hook. Ensure that it is securely fastened and can support the weight of the lamp.
Take your time to make sure the chain or wire is properly connected to both the lamp and the ceiling hook. This will provide a secure and stable hanging mechanism for your lamp.
Before proceeding to the next step, gently test the suspension by slightly lifting the lamp to ensure the chain or wire holds its position. If there is any sign of instability, readjust the connections or seek professional assistance to ensure the safety of the installation.
Now that the chain or wire is properly attached, you can move on to the next step: connecting the lamp to the chain or wire.
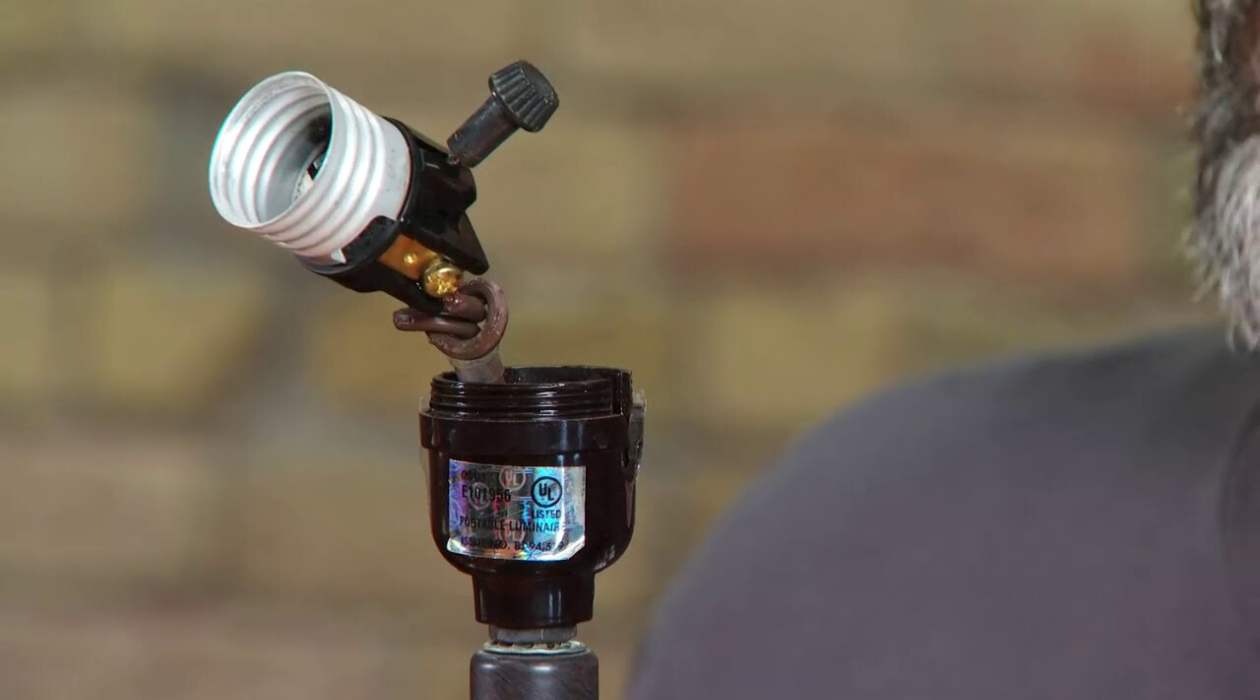
Step 6: Connect the Lamp to the Chain or Wire
Connecting the hanging lamp to the chain or wire is the final step in the installation process. Follow these steps to ensure a secure and stable connection:
- If your hanging lamp requires any additional assembly, follow the manufacturer’s instructions to put it together before connecting it to the chain or wire.
- Locate the attachment point on the lamp where the chain or wire will be connected. This is typically a small loop or hook on the top or back of the lamp.
- Align the chain or wire with the attachment point on the lamp and insert it through the loop or hook. Make sure it is securely fastened.
- If necessary, use pliers or connectors provided by the manufacturer to ensure a tight and secure connection.
Double-check the stability of the lamp by gently tugging on the chain or wire. It should hold firmly without any signs of looseness or instability.
Once you are satisfied with the connection, step back and admire your newly installed hanging lamp. The lamp is now ready to be illuminated and add a touch of charm to your living space.
Before turning on the lamp, ensure that the power is turned off at the main switch. If you are uncertain about the electrical connections, it is always recommended to consult a professional electrician.
With the lamp securely connected to the chain or wire, you can now proceed to the final step: testing the stability and making any necessary adjustments.
Step 7: Test the Stability and Adjust as Needed
Ensuring the stability of your hanging lamp is essential for both safety and visual appeal. Follow these steps to test the stability and make any necessary adjustments:
- Stand back and observe the hanging lamp from different angles to ensure it appears level and balanced. Make note of any adjustments that may be needed.
- Gently shake the lamp to test its stability. If it swings excessively or feels loose, you may need to tighten the connections or make adjustments to the chain or wire.
- If the lamp hangs at an angle, adjust the length of the chain or wire on one side to even it out. Make equal adjustments on both sides if necessary.
- If needed, use pliers or connectors to ensure a secure and stable connection between the lamp, chain, and ceiling hook.
Take your time during this step to ensure the lamp is secure and free from any wobbling. Make any necessary adjustments until you are satisfied with the stability and appearance of the hanging lamp.
If you are unable to achieve the desired stability or have any concerns about the installation, it’s recommended to seek professional assistance to ensure the safety of your hanging lamp.
Once you are confident in the stability and adjustment of the lamp, you can move on to the final step: enjoying your newly installed hanging lamp!
Step 8: Enjoy Your Hanging Lamp
Congratulations! You have successfully hung your new lamp and it’s time to bask in the beauty and ambiance it brings to your space. Here are a few final tips to help you fully enjoy your hanging lamp:
- Turn on the lamp and revel in the warm and cozy glow it emits. Adjust the brightness level as desired by choosing the appropriate bulb wattage.
- Experiment with different light settings to find the perfect ambiance for different occasions. Dimmers or smart light bulbs can be great options for controlling the brightness and creating different moods.
- Consider the lamp’s position in relation to other furniture and decor in the room. Ensure that it complements the overall aesthetic and doesn’t obstruct any sightlines.
- Regularly clean and dust your hanging lamp to maintain its pristine appearance. Use a soft cloth or brush to gently remove any accumulated dirt or debris.
- Take safety precautions by keeping flammable materials away from the lamp and ensuring that it is well-ventilated to prevent overheating.
- Periodically check the stability of the lamp and its connections to ensure everything remains secure. If you notice any issues, address them promptly to maintain a safe and reliable installation.
- Lastly, invite friends and family over to admire your new hanging lamp and revel in the inviting ambiance it creates. It’s sure to be a conversation starter and a focal point in your home.
Now it’s time to sit back, relax, and enjoy the cozy glow and elegance brought to your space by your newly installed hanging lamp. Let it illuminate your surroundings and enhance the atmosphere in your home for years to come.
Remember, if you ever decide to change the location of your hanging lamp or replace it with a new one, simply follow these steps in reverse to safely uninstall and reinstall it elsewhere.
Thank you for following this guide on how to hang a hanging lamp. We hope it has been helpful and that you enjoy the enhanced beauty and ambiance it brings to your living space.
Frequently Asked Questions about How To Hang A Hanging Lamp
Was this page helpful?
At Storables.com, we guarantee accurate and reliable information. Our content, validated by Expert Board Contributors, is crafted following stringent Editorial Policies. We're committed to providing you with well-researched, expert-backed insights for all your informational needs.