Articles
What Is The Right Height To Hang Your Mirrors
Modified: August 26, 2024
Discover the ideal height for hanging mirrors with our informative articles. Improve your home decor and create the perfect mirror placement.
(Many of the links in this article redirect to a specific reviewed product. Your purchase of these products through affiliate links helps to generate commission for Storables.com, at no extra cost. Learn more)
Introduction
When it comes to home decor, mirrors are a versatile and essential element that can add style, functionality, and even the illusion of space to a room. However, hanging mirrors at the right height is crucial to ensure their optimal use and visual impact. Whether you are decorating your home, designing a retail store, or setting up a workspace, understanding the appropriate height for hanging mirrors is key.
In this article, we will explore the standard guidelines for mirror height and discuss how to adjust it for different users and various settings. From bathrooms to bedrooms, living rooms to dressing rooms, we will cover the ideal mirror height for each space, helping you create a polished and visually appealing environment.
Before diving into the specifics, it is important to note that these guidelines are not set in stone, and personal preferences can play a role in how you choose to hang your mirrors. However, keeping these recommendations in mind will ensure better functionality and aesthetics.
So, let’s get started and discover the optimal mirror height for different areas!
Key Takeaways:
- Choose mirror height based on specific needs, such as children, tall individuals, and wheelchair users, to ensure comfort and usability in various settings.
- Consider mirror height for different spaces, from bathrooms to retail stores, to create visually appealing, functional environments that maximize the benefits of mirrors.
Read more: Where To Hang Mirrors In Your Home
Standard Mirror Height
When it comes to the standard height for hanging mirrors, there are a few general guidelines to consider. The typical range for mirror height is between 57 inches to 65 inches from the floor, with the average being around 63 inches. This height is based on the average eye level of an adult standing at around 5 feet 6 inches tall.
The reason behind this standard height is to ensure that the mirror is easily accessible and provides a clear reflection for most individuals. Hanging mirrors at this height allows people of different heights to comfortably see their reflection without having to strain or bend down.
It’s worth noting that this standard guideline may not apply to all situations. For example, if you have children in your home, you may want to lower the mirrors to their eye level to make it easier for them to use. Similarly, in spaces that cater to individuals with disabilities, such as accessible bathrooms, you may need to adjust the mirror height to accommodate wheelchair users.
Ultimately, the standard mirror height serves as a starting point for most settings, but it can be adjusted based on individual needs and specific design considerations.
Adjusting Mirror Height for Different Users
While the standard mirror height provides a good baseline, it is essential to consider the needs of different users when hanging mirrors in shared spaces or accommodating specific individuals. Here are some factors to keep in mind when adjusting mirror height:
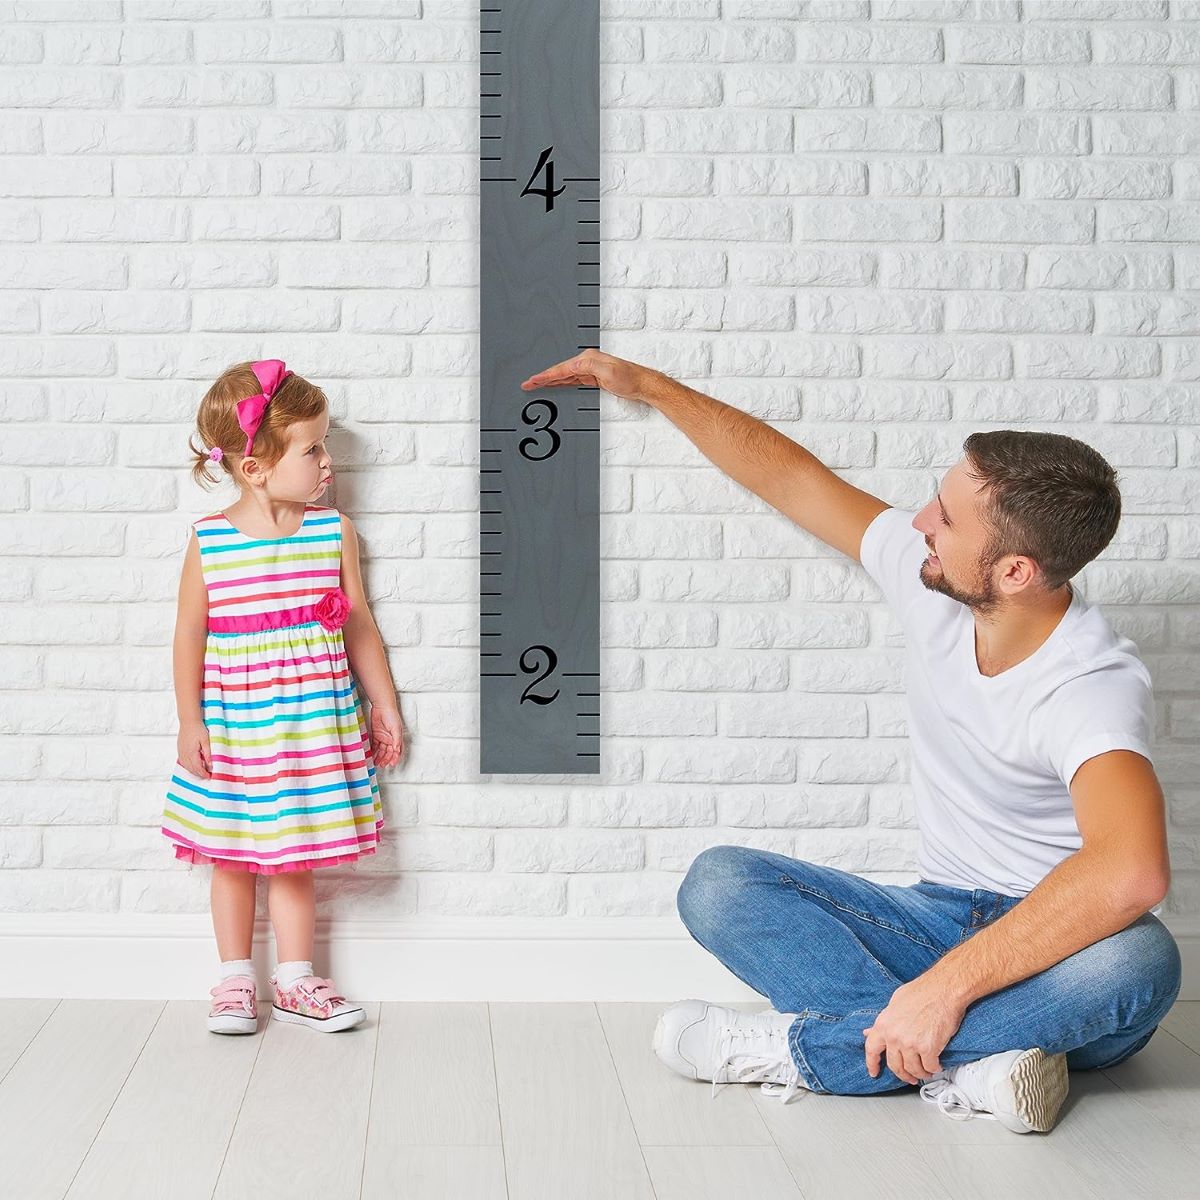
1. Children: If you have children in your home, it is beneficial to lower the mirror height to their eye level. This allows them to see their reflection easily and promotes independence in grooming activities. Aim to hang the mirror at a height of around 36 to 42 inches from the floor for younger children and gradually increase the height as they grow.
2. Tall Individuals: For individuals taller than the average height, it may be necessary to raise the mirror slightly above the standard height. This ensures that they are able to see their full reflection without having to bend down. Consider hanging the mirror between 65 to 70 inches from the floor for taller individuals.
3. Wheelchair Users: In spaces that cater to individuals with disabilities, such as accessible bathrooms, it is essential to consider mirror height that accommodates wheelchair users. Hang the mirror lower and angle it appropriately to allow individuals using a wheelchair to see themselves comfortably. Aim for a mirror height of around 45 to 55 inches from the floor for wheelchair accessibility.
4. Shared Spaces: In areas where multiple individuals with varying heights will be using the mirrors, consider finding a middle ground height that allows everyone to see their reflection comfortably. This may involve adjusting the mirror height lower or higher than the standard depending on the specific needs of the users.
Remember, these are general guidelines, and it’s essential to assess the needs of the individuals who will be using the mirrors to ensure their comfort and usability.
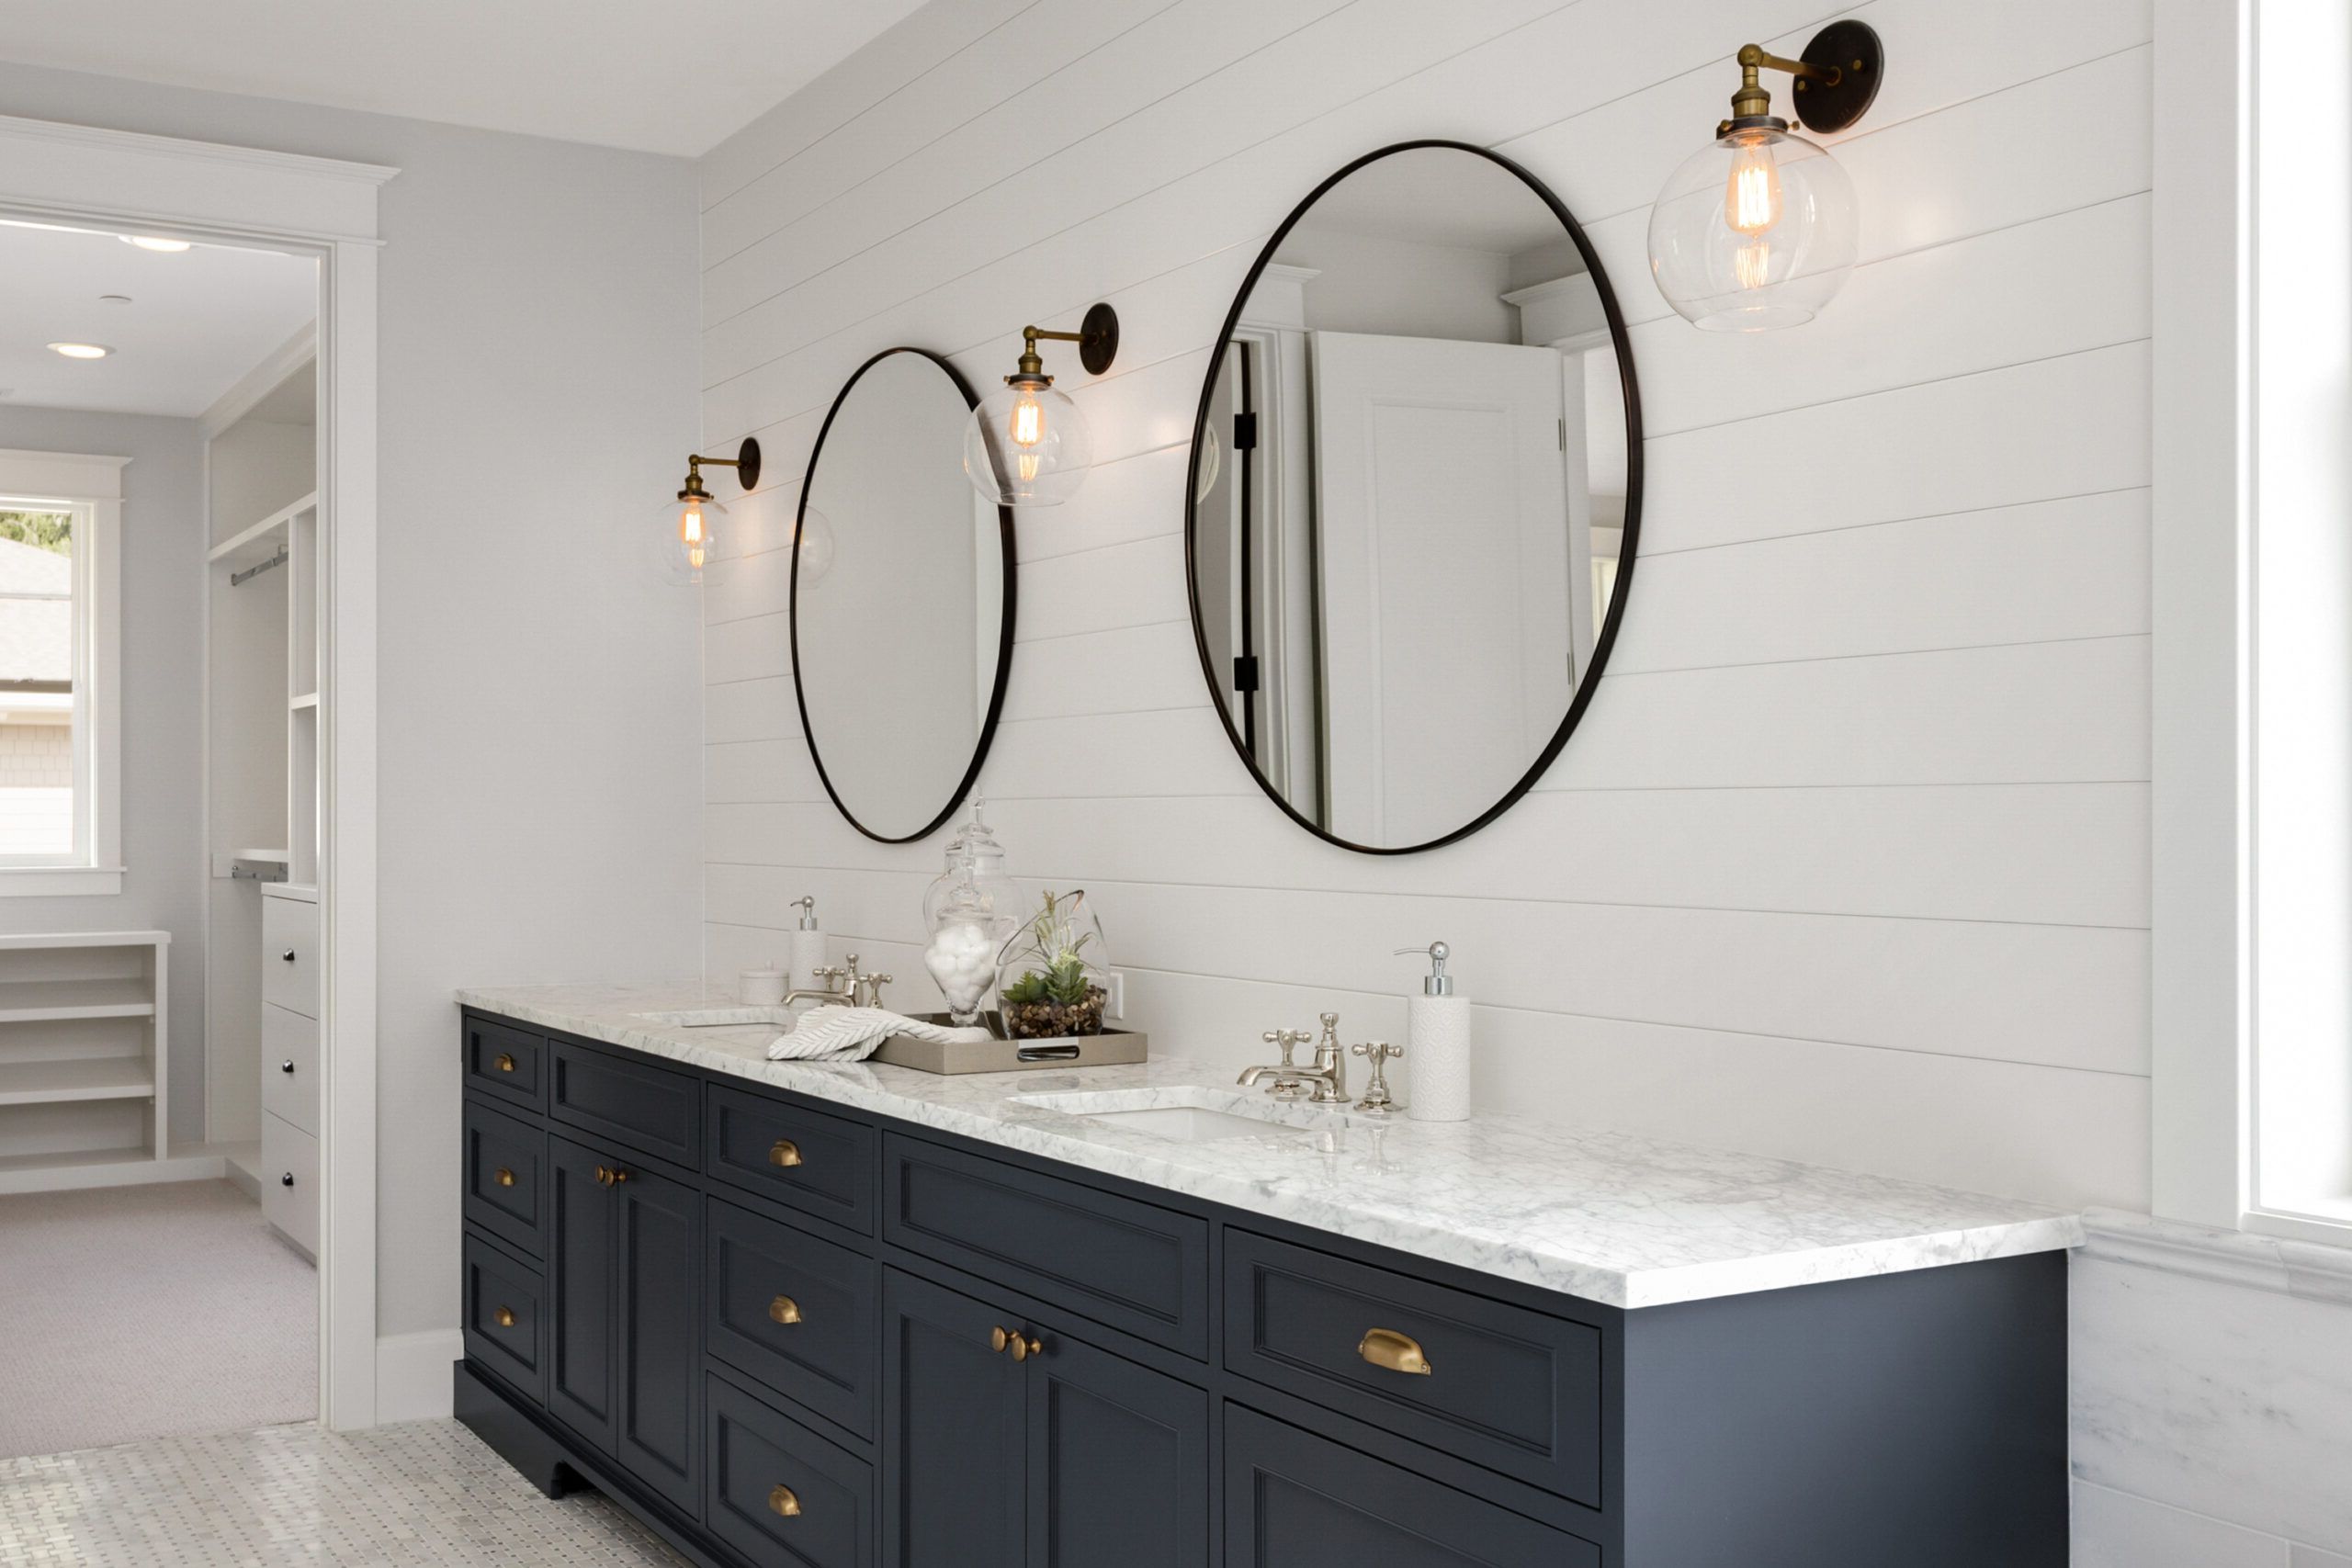
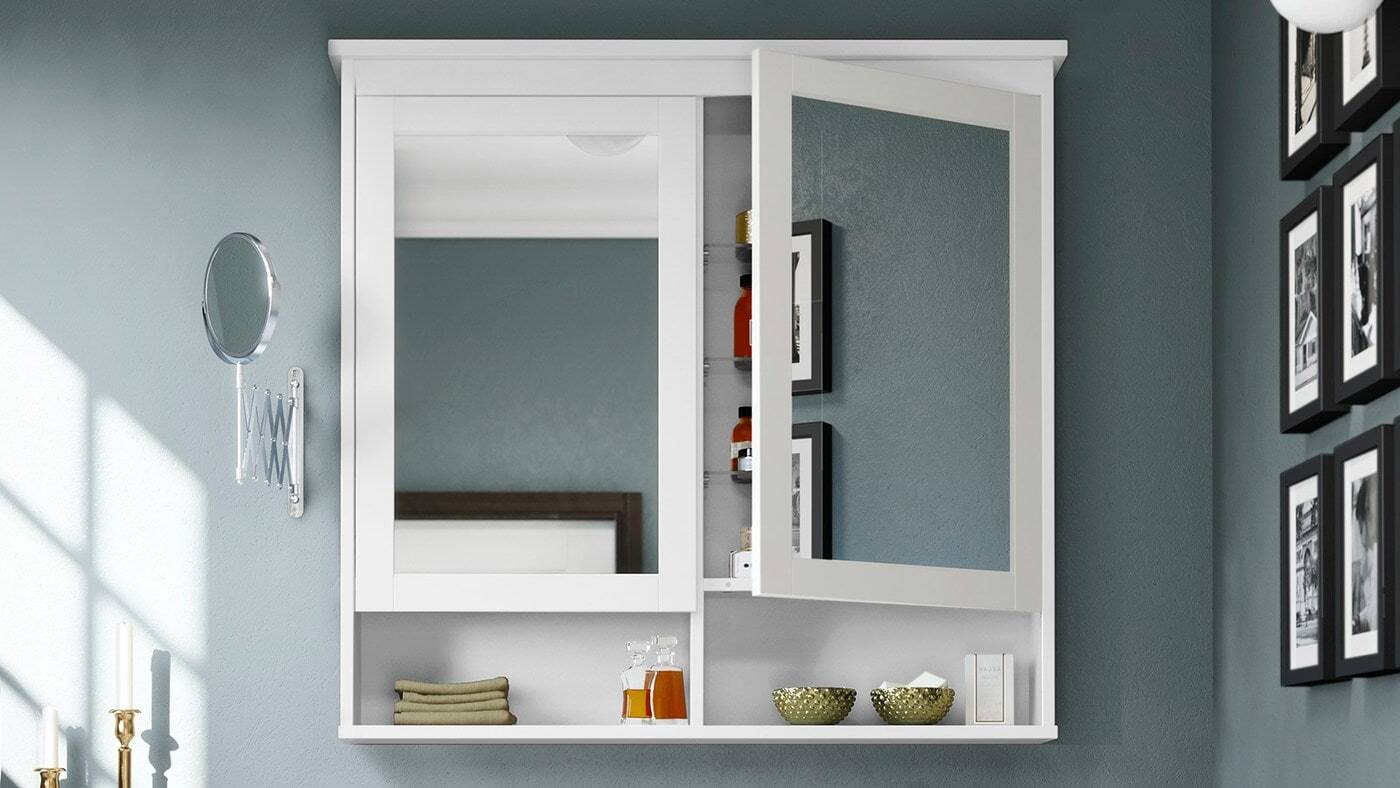
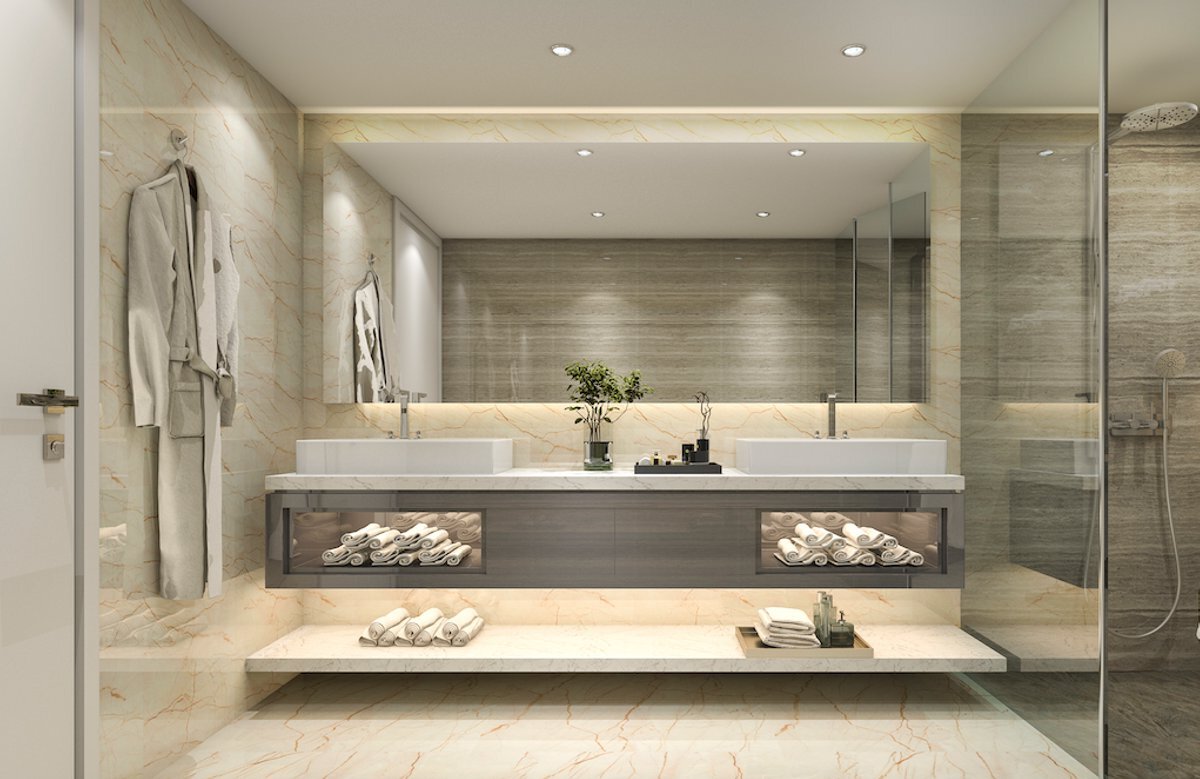
Mirror Height in Bathrooms
Bathrooms are one of the most common areas where mirrors are utilized for grooming, makeup application, and personal hygiene tasks. The ideal mirror height in bathrooms depends on various factors, such as the height of the vanity or sink, the placement of lighting fixtures, and personal preferences. Here are some considerations for mirror height in bathrooms:
1. Above the Sink: In most cases, the mirror should be centered and aligned with the sink or vanity. The bottom edge of the mirror should be a few inches above the top of the faucet or countertop. This ensures that the mirror provides a clear reflection of the face and upper body when standing in front of the sink. Aim for a mirror height of around 36 to 42 inches from the floor.
2. Full-Length Mirrors: In larger bathrooms or if you have sufficient wall space, you may choose to install a full-length mirror. These mirrors are typically mounted on the wall and extend from the floor to the ceiling. When hanging a full-length mirror, consider positioning it in a place where there is enough space to stand back and view your entire reflection comfortably.
3. Multiple Mirrors: In bathrooms with double sinks or larger vanity areas, you may opt for two separate mirrors instead of a single large one. In this case, each mirror should be centered above its respective sink or vanity. Use the same guidelines mentioned earlier for mirror height, ensuring that the bottom edge is a few inches above the faucet or countertop.
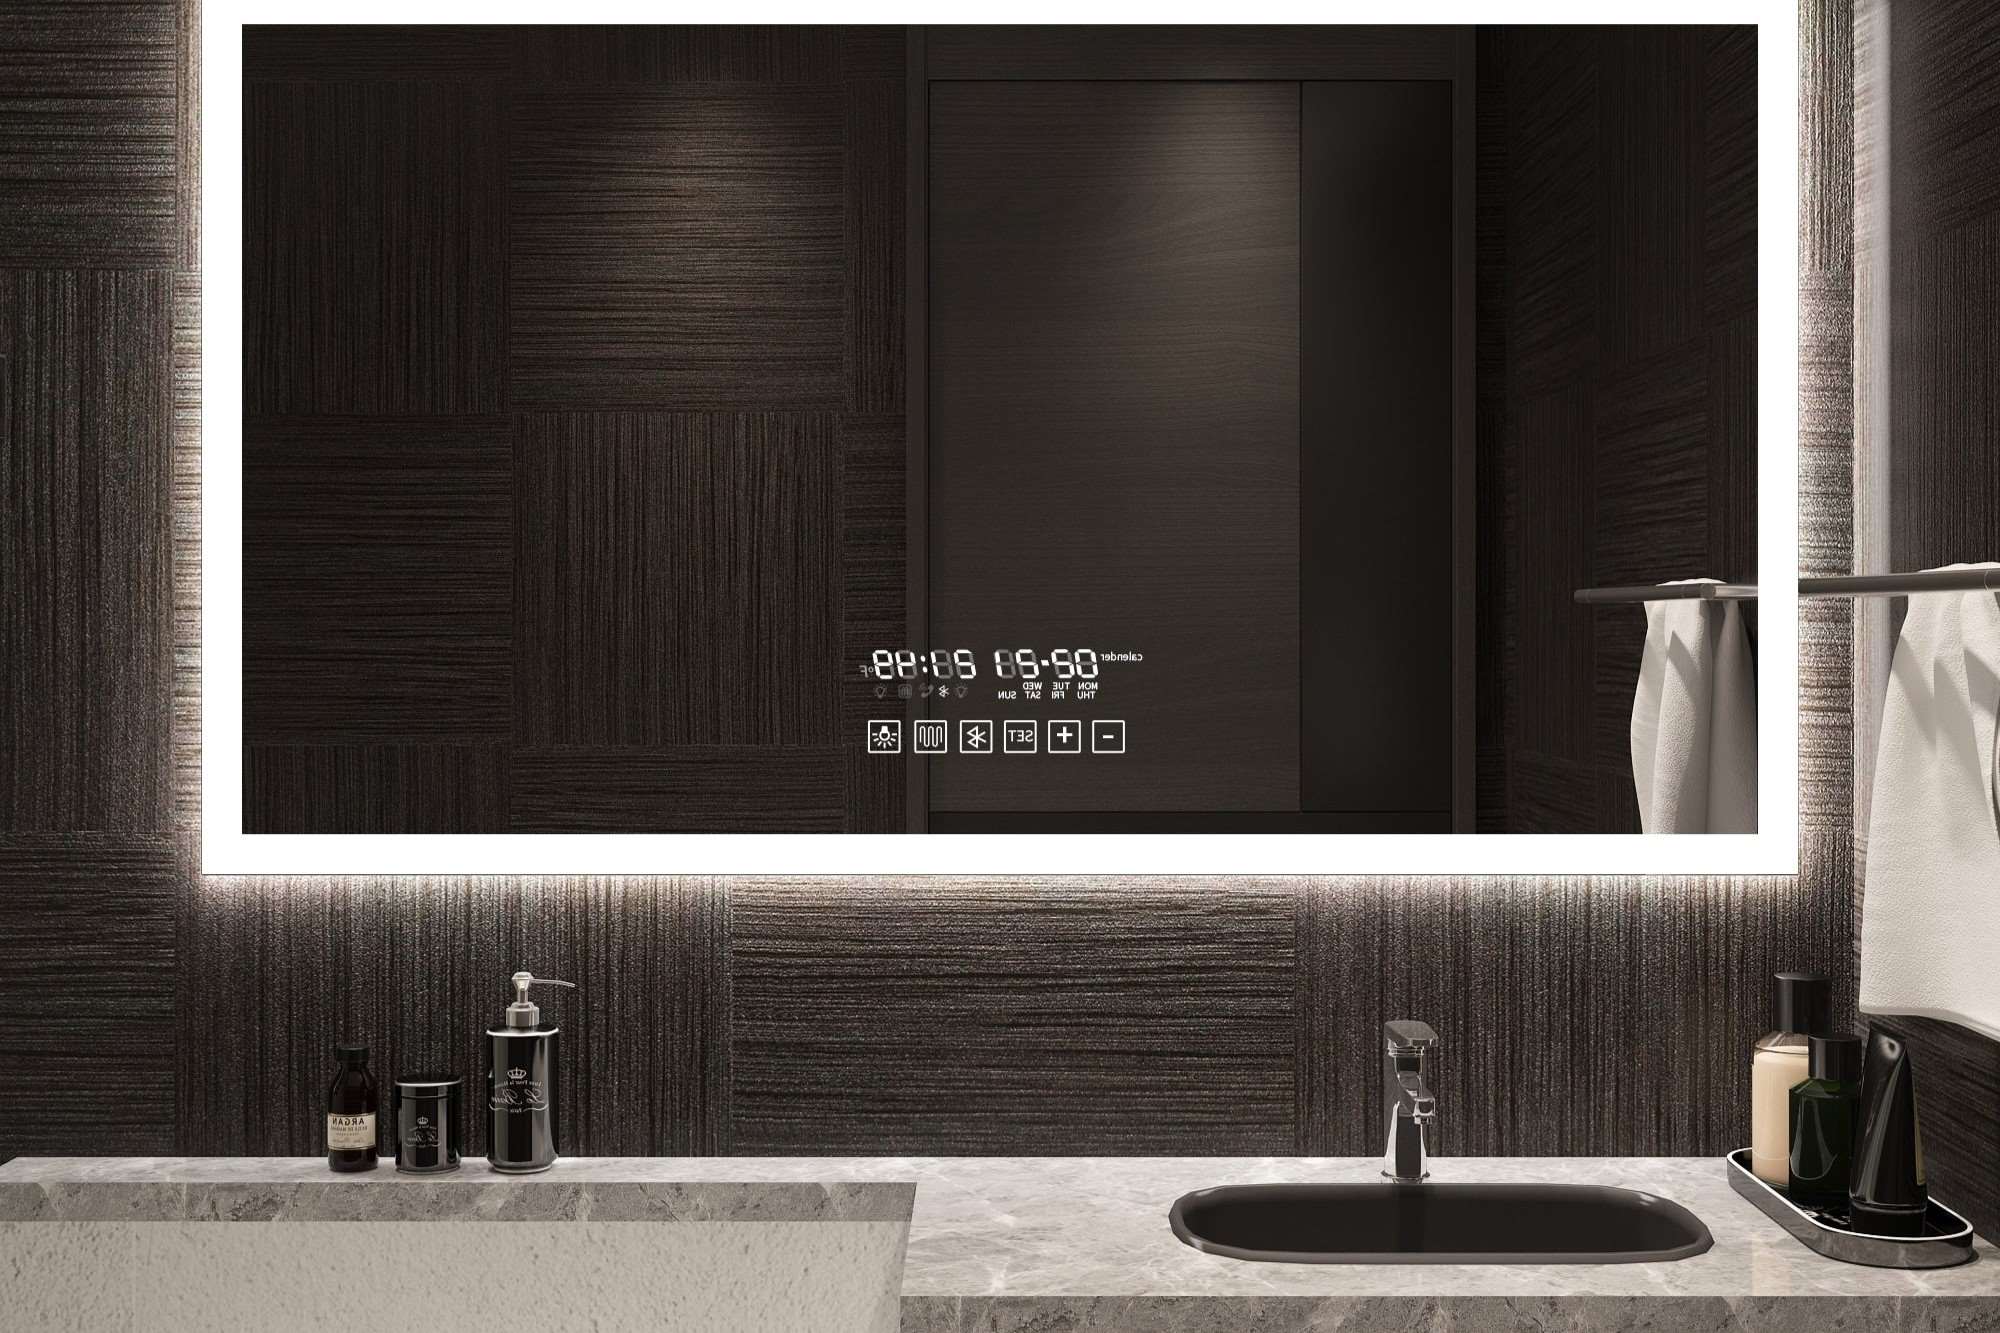
4. Consider Lighting Placement: When determining the height of the mirror, it’s important to take into account the placement of lighting fixtures. Ideally, the mirror should be positioned in such a way that it reflects natural or artificial light onto the face without creating shadows. If possible, incorporate sconces or vanity lights on both sides of the mirror to provide even illumination.
Remember to consider the specific needs and preferences of the individuals using the bathroom when determining the mirror height. Adjust accordingly to accommodate children, taller individuals, or individuals with disabilities, if necessary.
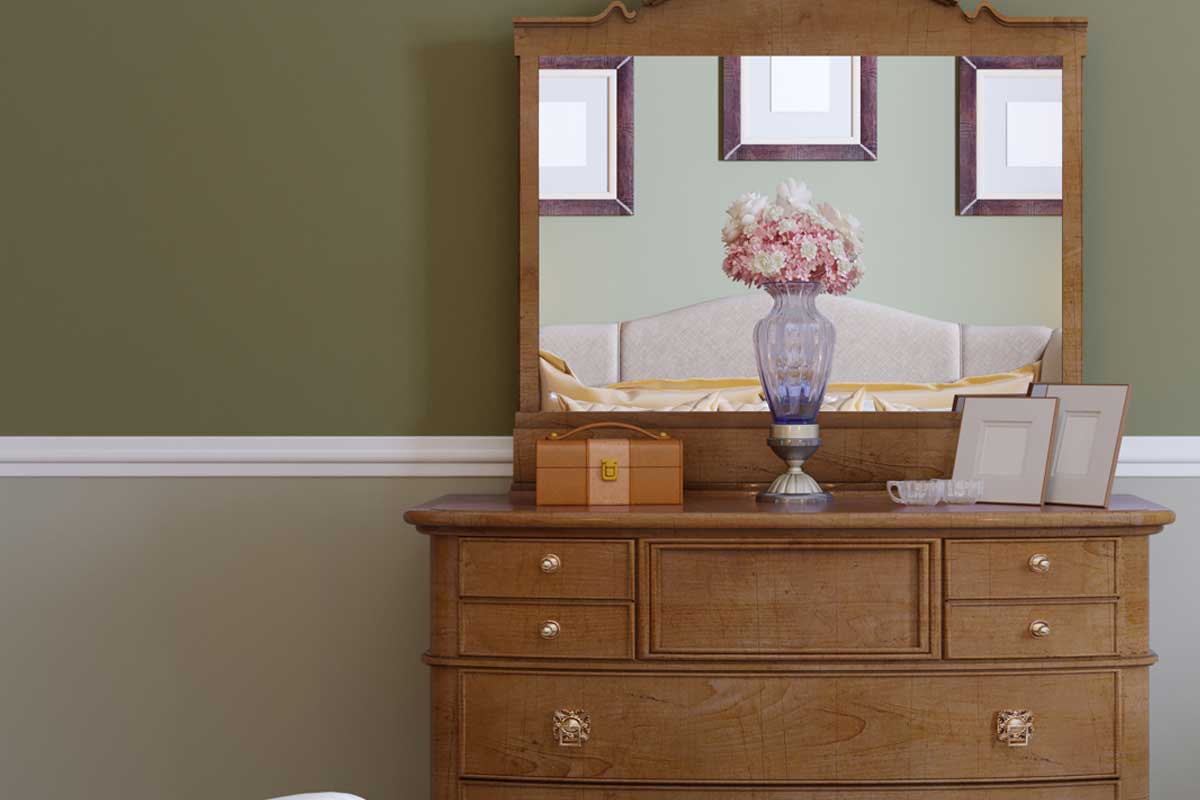
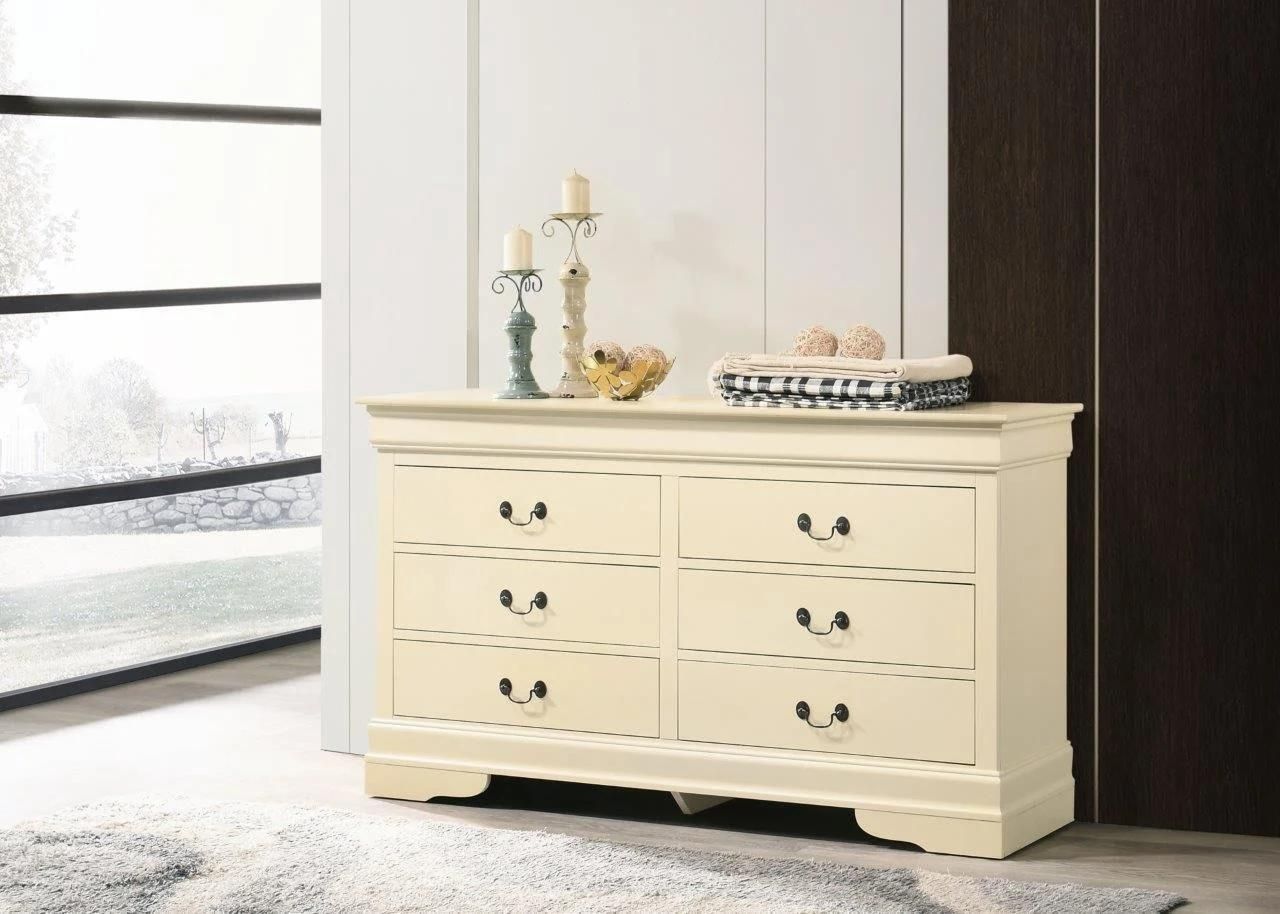
Mirror Height in Bedrooms and Dressing Areas
In bedrooms and dressing areas, mirrors play a crucial role in getting ready, trying on outfits, and checking one’s appearance. The height at which mirrors should be hung in these spaces depends on various factors, including the type of mirror, the location, and the intended use. Here are some considerations for mirror height in bedrooms and dressing areas:
1. Full-Length Mirrors: Full-length mirrors are particularly useful in bedrooms and dressing areas, as they allow you to see your entire outfit from head to toe. When hanging a full-length mirror, it’s important to position it so that it provides a clear and unobstructed view of your reflection. Aim for a height that allows you to see yourself from head to toe without having to stoop or bend. Typically, a mirror height of around 60 to 72 inches from the floor works well for full-length mirrors.
2. Vanity Mirrors: If you have a vanity table or a dedicated makeup area, you may want to consider hanging a vanity mirror. These mirrors are usually smaller and can be adjustable or fixed to the wall. The height of the vanity mirror should be based on personal preference and comfort. It’s recommended to hang the mirror at a height that allows you to see your face and upper body clearly when sitting at the vanity. Aim for a mirror height of around 28 to 36 inches from the tabletop.
3. Wall-Mounted Mirrors: In bedrooms and dressing areas, wall-mounted mirrors can be versatile and functional. These mirrors can be hung at various heights based on their size and the desired effect. For decorative wall-mounted mirrors, consider hanging them slightly above eye level to create an aesthetically pleasing focal point. If the mirror is intended for practical use, such as checking your appearance before leaving the room, position it at a height that allows easy visualization without straining or adjusting your posture.
4. Customized Heights: Personal preference and individual requirements can influence the height at which mirrors are hung in bedrooms and dressing areas. Some individuals may prefer taller mirrors to accommodate their height, while others may choose lower heights for ease of use. Consider the needs of the primary users and adjust the mirror height accordingly.
Remember that mirrors in dressing areas should be placed in a well-lit space to ensure accurate color perception and a clear reflection. Additionally, consider the available wall space and the overall aesthetics of the room when determining mirror placement and height.
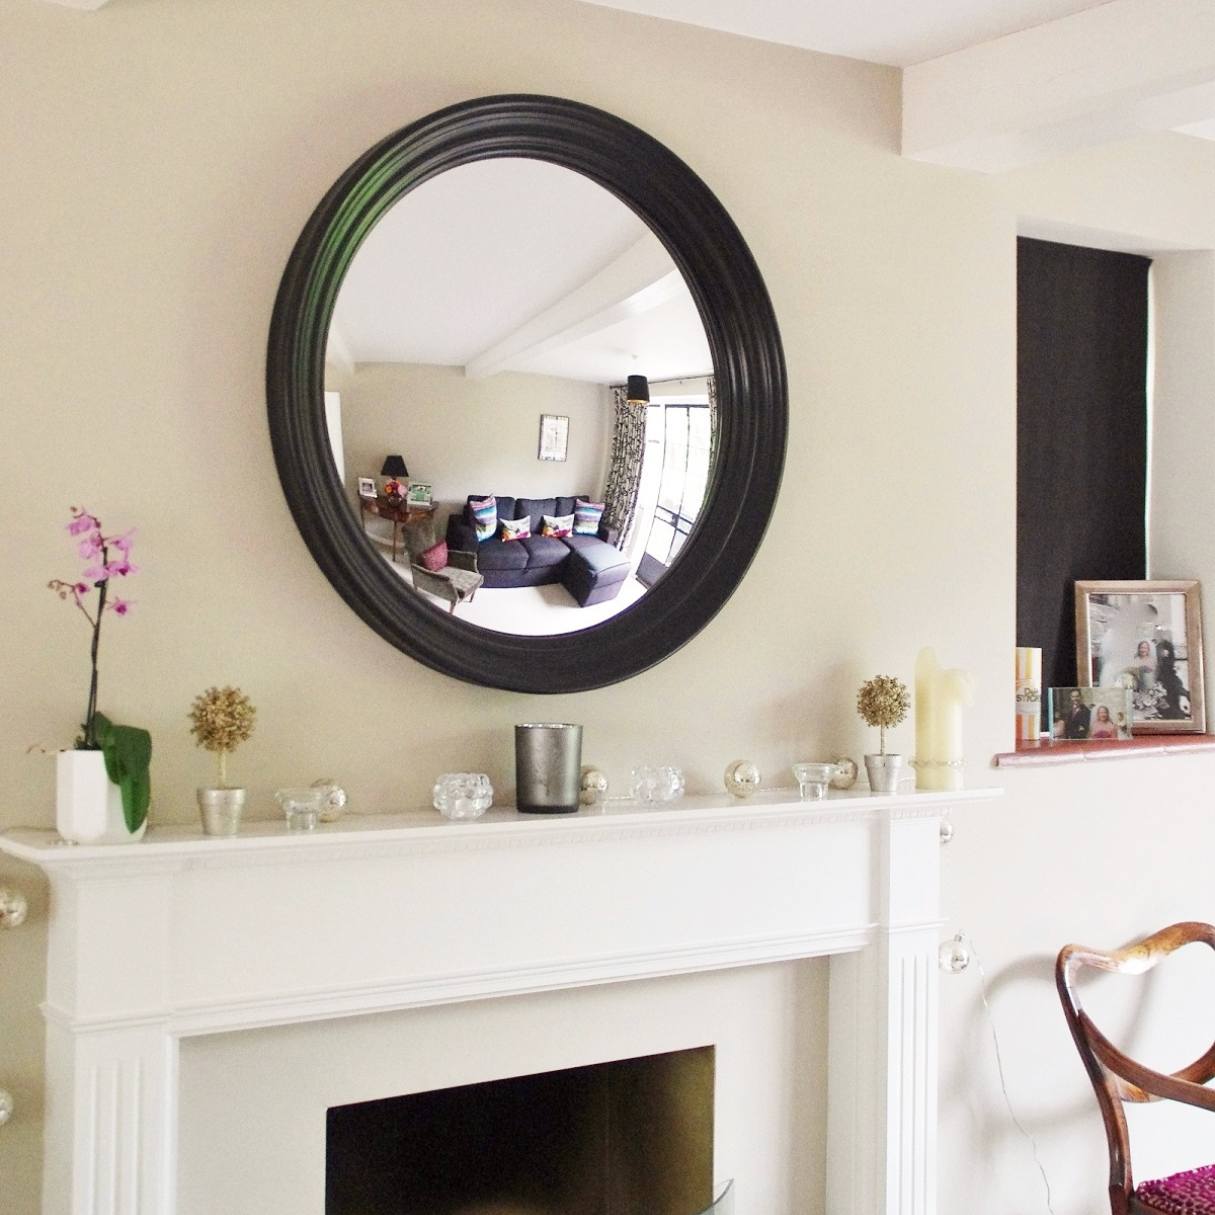
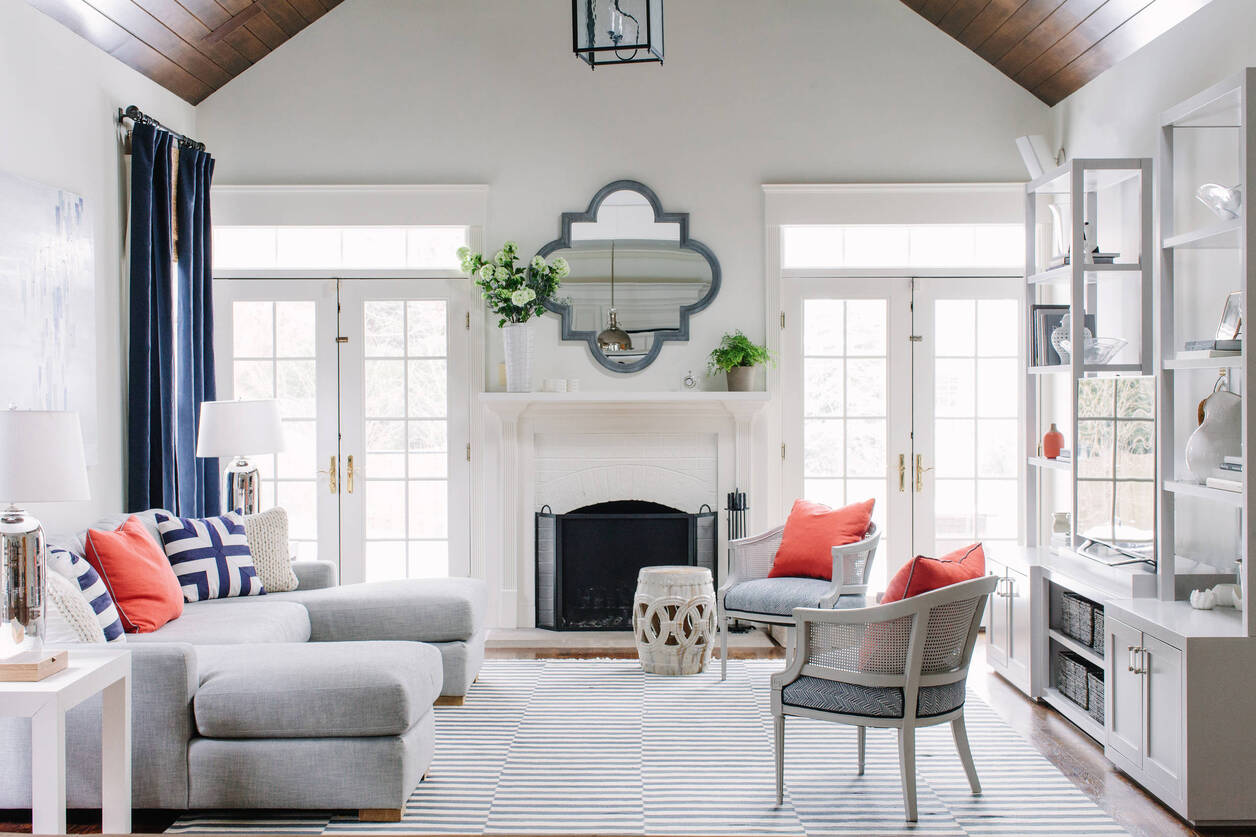
Mirror Height in Living Rooms and Entryways
When it comes to mirror placement in living rooms and entryways, they serve both functional and decorative purposes. Mirrors can enhance the visual appeal of a space, create the illusion of a larger area, and provide a convenient spot for a last-minute outfit check before leaving the house. Here are some considerations for mirror height in living rooms and entryways:
1. Focal Point Mirrors: Large, decorative mirrors are often used as focal points in living rooms and entryways. When hanging a mirror as a focal point, consider positioning it at eye level or slightly above. This placement ensures that the mirror catches the attention of anyone entering the room and adds visual interest to the space. Aim for a mirror height of around 60 to 65 inches from the floor, or adjust based on the height of the furniture or feature it will be complementing.
2. Functional Mirrors: In entryways, it’s important to have a mirror at an appropriate height that allows individuals to check their appearance before heading out. Consider hanging a functional mirror at a height that accommodates the majority of users. Aim for a mirror height of around 48 to 54 inches from the floor, allowing individuals to see their upper body and make any necessary adjustments to their appearance.
3. Statement Wall-Mounted Mirrors: Wall-mounted mirrors in living rooms and entryways can create a stylish and artistic ambiance. When hanging statement mirrors, you have more flexibility in determining the height based on the desired visual effect. Consider hanging the mirror at a height that complements the surrounding furnishings and decor. If the mirror is placed above a console table or mantel, ensure that it is centered and proportionate to the furniture below.
4. Reflective Surfaces: Mirrors in living rooms and entryways can also be incorporated as part of a larger reflective surface, such as mirrored accent walls or mirrored furniture. In these cases, the height of the mirror will depend on the overall design and the desired effect. Consider consulting with a professional or experimenting with different heights to achieve the desired aesthetic impact.
Remember, the mirror height in living rooms and entryways can be adjusted based on personal preferences and the specific layout of the space. Consider the functionality and visual appeal when determining the appropriate mirror height.
When hanging mirrors, the general rule is to position the center of the mirror at eye level, which is around 57-65 inches from the floor. This ensures that the mirror is easily accessible and functional for most people.
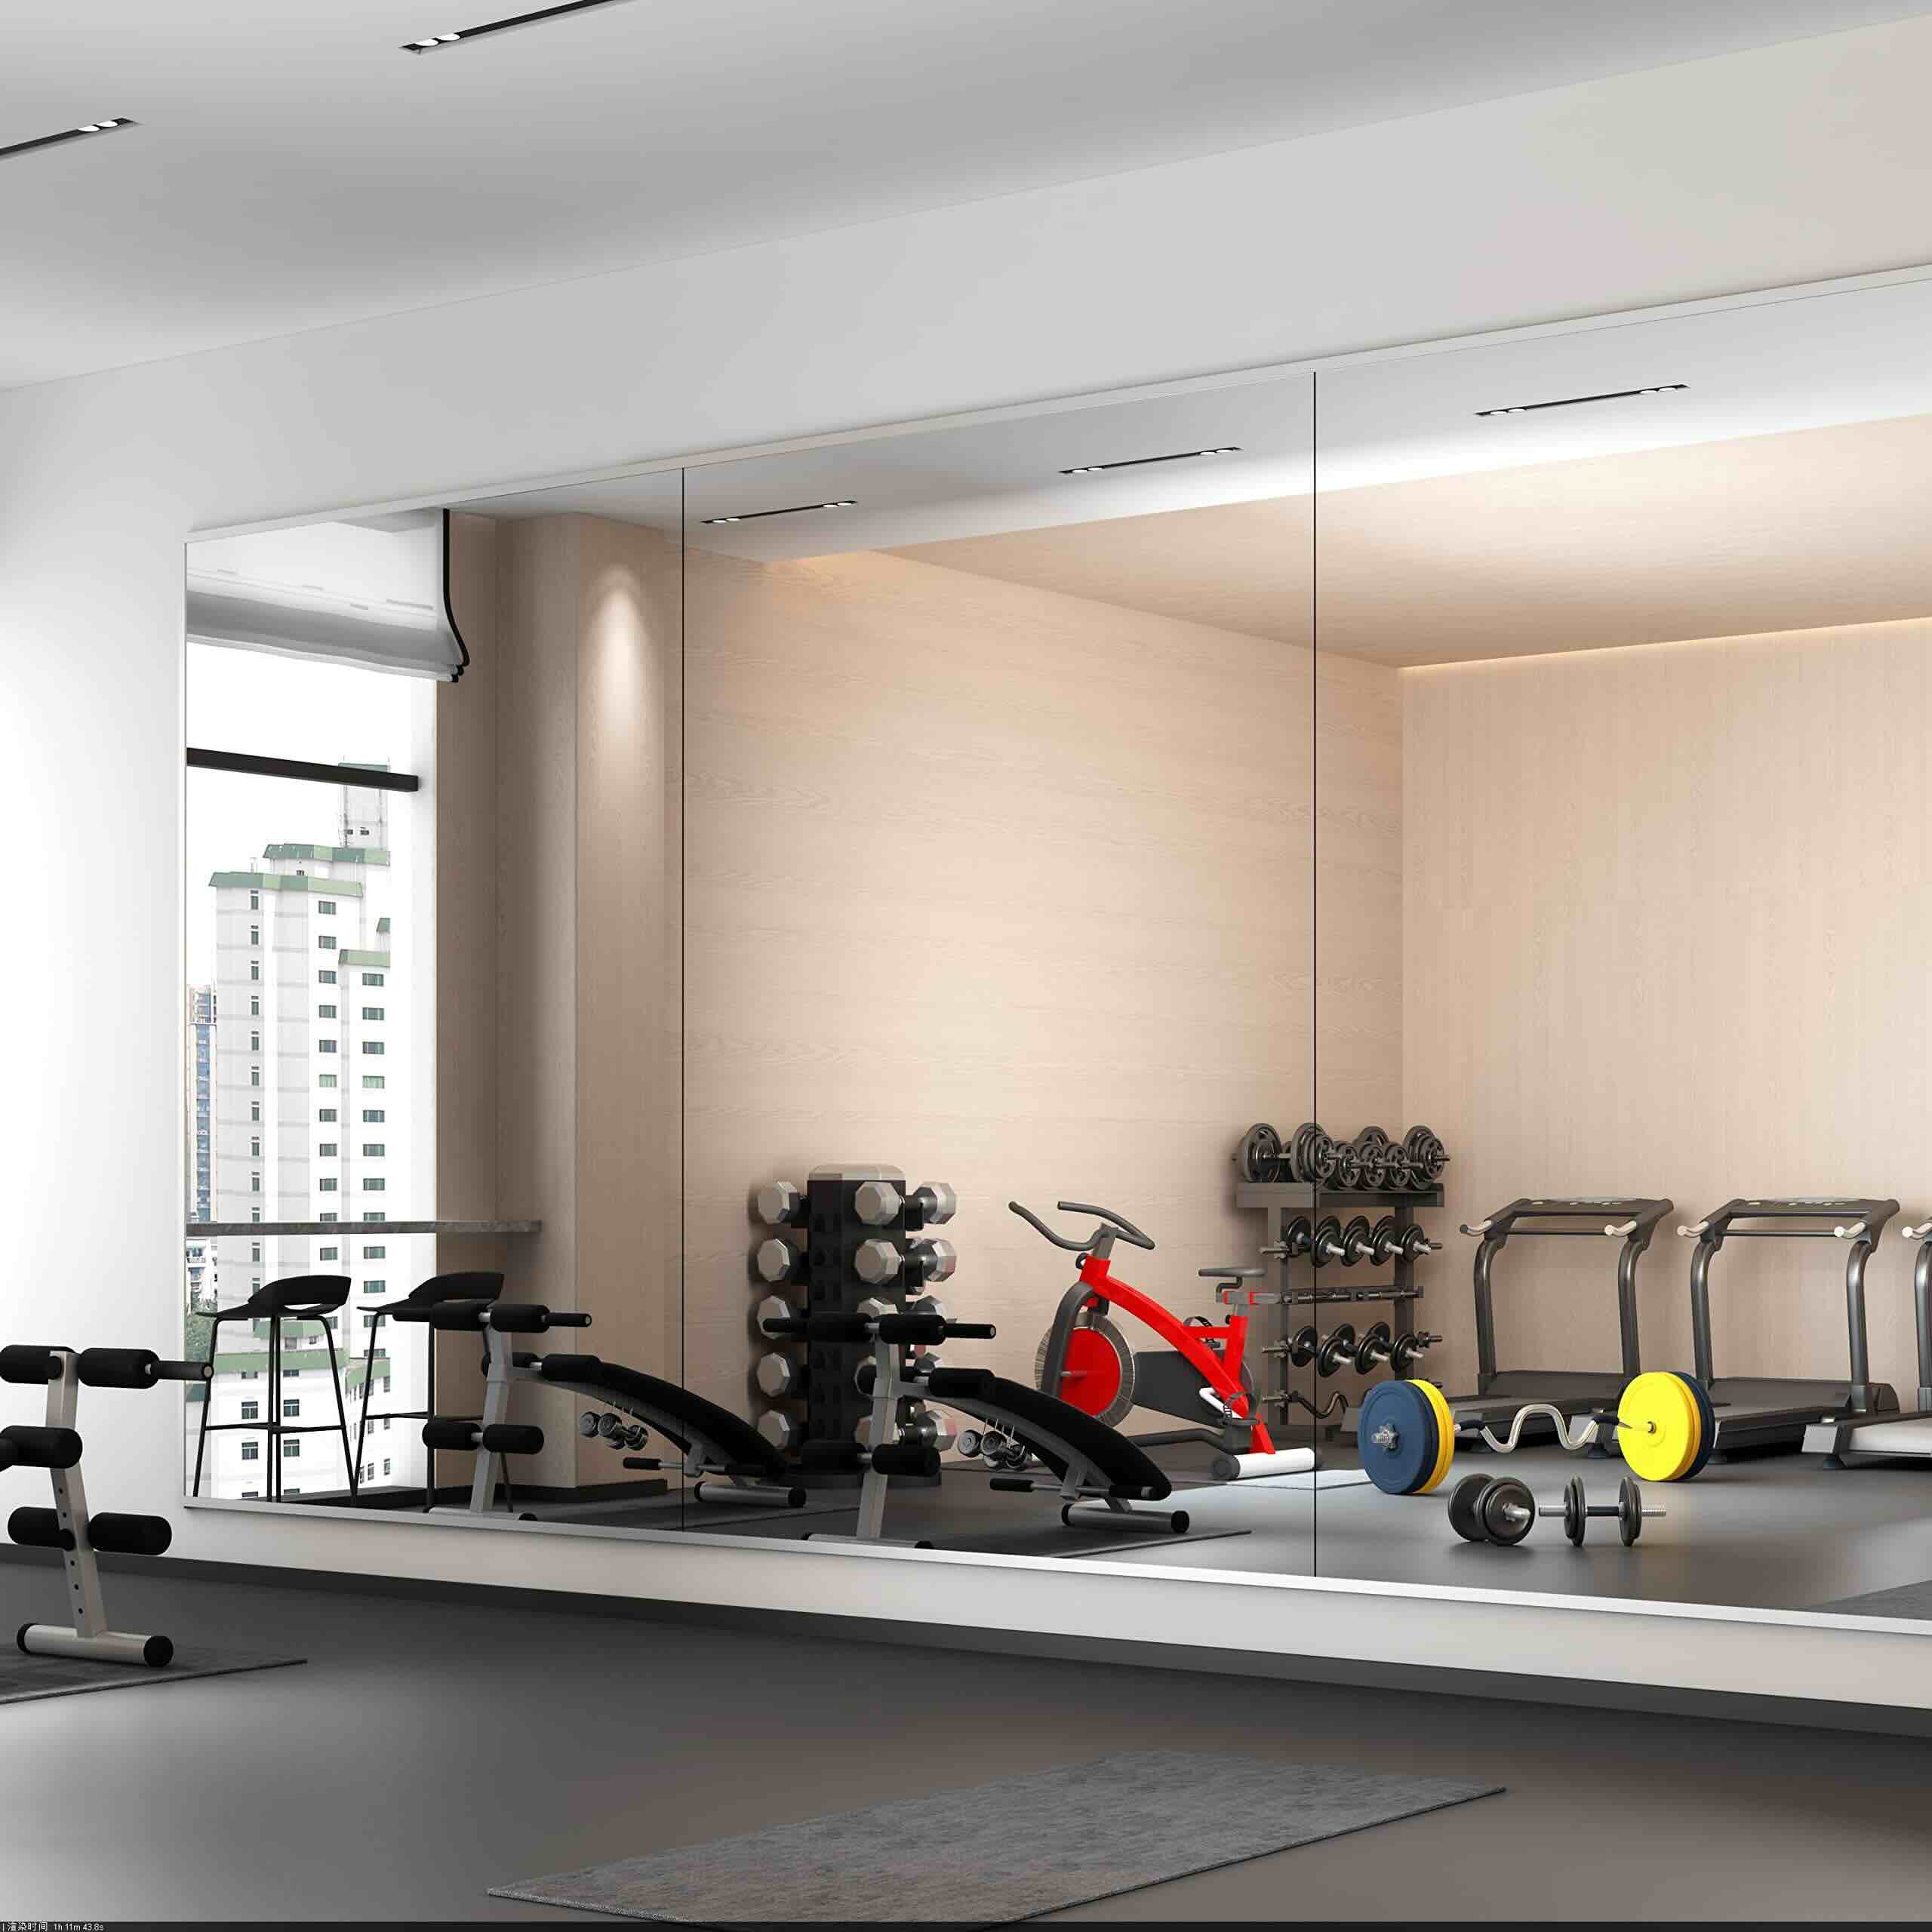
Mirror Height in Exercise Rooms and Studios
In exercise rooms and studios, mirrors are a crucial component for form correction, posture alignment, and self-assessment during workouts or physical activities. They not only provide a visual reflection but also serve as motivational tools. Here are some considerations for mirror height in exercise rooms and studios:
1. Full-Wall Mirrors: In larger exercise rooms or studios, full-wall mirrors are commonly used to provide a complete view of the body during workouts, dance routines, or yoga sessions. These mirrors are typically floor-to-ceiling and cover one or more walls. The mirror height should be tall enough to allow users to see their entire body while standing or in various exercise positions. Aim for a mirror height of around 60 to 72 inches from the floor, or adjust based on the average height of the users in the space.
2. Partial Mirrors: In smaller exercise rooms or studios, where full-wall mirrors may not be feasible, you can still incorporate smaller, strategically placed mirrors. Consider hanging mirrors at a height that allows users to focus on specific areas of their body or perform specific exercises with proper form and alignment. For example, if the exercise primarily involves upper body movements, position the mirror at a height that allows users to focus on their upper body’s form and alignment.
3. Angling the Mirrors: In some cases, angling the mirrors can provide a better view of specific exercise movements or equipment. For example, if there is a specific area or piece of equipment where users need to monitor their form closely, angling the mirror towards that area can be beneficial. Experiment with different angles to find the most suitable position for the mirrors.
4. Multiple Mirrors: Depending on the layout of the exercise space or the types of exercises performed, it may be necessary to use multiple mirrors to provide adequate coverage. Consider placing mirrors strategically to create a seamless reflection and eliminate blind spots.
Remember, the height and placement of mirrors in exercise rooms and studios are crucial for users to monitor their form and technique effectively. Pay attention to the positioning, angle, and size of the mirrors to ensure a safe and productive workout environment.
Mirror Height in Retail Stores and Dressing Rooms
In retail stores and dressing rooms, mirrors play a significant role in helping customers make purchasing decisions and ensuring a positive shopping experience. The height at which mirrors are hung in these spaces can greatly impact the customer’s ability to see themselves and evaluate their appearance. Here are some considerations for mirror height in retail stores and dressing rooms:
1. Dressing Room Mirrors: Dressing rooms are where customers try on clothes and assess the fit and style. The mirror height in dressing rooms should be suitable for customers of varying heights and body types. Aim to position the mirror at a height that allows customers to see their entire body from head to toe. Typically, a mirror height of around 60 to 65 inches from the floor works well. Consider using full-length mirrors that are securely mounted to the walls for optimal functionality.
2. Multiple Mirrors: In larger dressing rooms or communal spaces in retail stores, incorporating multiple mirrors can be beneficial. This allows customers to view themselves from different angles and get a better sense of how the clothing looks on them. Place the mirrors strategically, ensuring they are accessible and positioned at different heights, providing the opportunity for customers to see their outfits from multiple perspectives.
3. Fitting Area Mirrors: Apart from dedicated dressing rooms, retail stores often have fitting areas with mirrors for customers to quickly assess the fit of garments. The mirror height in these areas should be at a comfortable eye level when individuals are standing. Aim for a height of around 48 to 54 inches from the floor, allowing customers to easily see their upper body and make necessary adjustments to the fit.
4. Visual Merchandising: In retail stores, mirrors are often strategically placed to enhance the visual merchandising and create an appealing shopping environment. Mirrors can be used to highlight certain products or create the illusion of a larger space. Consider incorporating mirrors at different heights to provide multiple reflecting points that capture the attention of customers and guide them through the store.
Remember to regularly clean and maintain the mirrors in retail stores and dressing rooms to ensure a clear and accurate reflection. Additionally, consider the layout, lighting, and overall aesthetics of the space when determining mirror placement and height to create an inviting and functional shopping experience.
Mirror Height in Offices and Workspaces
In offices and workspaces, mirrors can serve both functional and aesthetic purposes. From checking one’s appearance before meetings to adding depth and light to the space, mirrors can play a valuable role in enhancing the work environment. Here are some considerations for mirror height in offices and workspaces:
1. Personal Workspace Mirrors: Mirrors in personal workspaces, such as individual desks or cubicles, are often used for quick grooming checks and maintaining a professional appearance. For these mirrors, consider hanging them at a height that allows users to conveniently see their face and upper body while seated at their workspace. Aim for a mirror height of around 18 to 24 inches from the desk surface, positioning it at eye level or slightly above when seated.
2. Shared Spaces: In shared spaces, such as conference rooms or common areas, mirrors may be used for functional purposes or to create a more open and visually appealing environment. Depending on the placement and intended purpose, adjust the mirror height accordingly. For example, if the mirror is intended for checking appearance before meetings, hang it at a height similar to personal workspace mirrors. If the mirror serves a decorative purpose, consider the overall aesthetics of the space and position it accordingly.
3. Reflective Surfaces for Light: Mirrors can also be strategically placed to reflect natural or artificial light, creating a brighter and more vibrant workspace. Consider placing mirrors near windows, light fixtures, or in darker areas to maximize the reflection of light. The height at which these mirrors are hung will depend on their placement and the desired effect. Aim to position them at an angle that optimizes the reflection of light, enhancing the overall brightness of the workspace.
4. Accent Mirrors for Visual Interest: Occasionally, mirrors can be used as accent pieces in office decor to add visual interest and create a stylish and modern vibe. When incorporating accent mirrors, consider their placement and how they interact with other elements in the space. Experiment with different heights and angles to achieve the desired aesthetic impact without compromising functionality or creating distractions.
Remember, in office and workspace settings, the functionality and practicality of mirrors are essential. Consider the purpose of the mirror, the preferences of the individuals using the space, and the overall design aesthetics when determining the appropriate height for hanging mirrors.
Read more: How To Hang Mirror On The Ceiling
Mirror Height in Restaurants and Bars
In restaurants and bars, mirrors can serve multiple purposes, such as enhancing the ambiance, visually expanding the space, and adding a decorative touch. The height at which mirrors are hung in these establishments can greatly impact the overall atmosphere and functionality. Here are some considerations for mirror height in restaurants and bars:
1. Expanding the Space: Mirrors are often used strategically in restaurants and bars to create an illusion of a larger space, especially in smaller establishments. When using mirrors to expand the visual perception of the area, consider hanging them at various heights, ensuring they reflect key focal points or architectural features. Aim for a balance between functionality and aesthetic appeal.
2. Decorative Mirrors: Mirrors can be decorative elements in restaurants and bars, adding a touch of elegance and style. These mirrors are often positioned to create a focal point or as part of a larger art installation. The height at which decorative mirrors are hung will depend on the intended purpose and the overall design concept. Consider the surrounding decor and architectural elements when determining the appropriate height, ensuring that the mirrors complement the overall aesthetic of the space.
3. Bar and Lounge Areas: In bars and lounges, mirrors can be strategically placed to add interest and create a visually appealing backdrop. These mirrors may be positioned behind the bar or near seating areas. When hanging mirrors in the bar area, consider the height of the bartenders and the line of sight for customers. Aim for a mirror height that allows both the bartenders and customers to easily see themselves, without obstructing the view of the bartenders who need to access ingredients and equipment.
4. Accentuating Lighting: Mirrors can be used to reflect and enhance ambient or decorative lighting in restaurants and bars. Consider hanging mirrors in areas where they can effectively reflect light and create a warm and inviting atmosphere. Adjust the mirror height to optimize the reflection of light and create a visually stunning display.
Remember, the height at which mirrors are hung in restaurants and bars depends on the desired effect, functionality, and design concept. Consider the specific purpose of the mirror, the layout of the space, and the overall ambiance you wish to create when determining the appropriate mirror placement and height.
Conclusion
Choosing the right height for hanging mirrors is essential to ensure their functionality, visual appeal, and overall impact on different spaces. From homes to retail stores, offices to restaurants, mirror placement can greatly affect how we perceive our surroundings and ourselves. While there are general guidelines to follow, it’s important to consider individual needs, design aesthetics, and specific requirements for each setting.
In bathrooms, mirrors should be positioned above the sink at a height that allows for comfortable use and clear reflection. Bedrooms and dressing areas benefit from full-length mirrors placed at heights that give users a complete view of their outfits or appearance. In living rooms and entryways, mirrors can be focal points or decorative elements, and their height should be based on the desired effect and visual appeal.
Exercise rooms and studios require mirrors that enable users to monitor their form and technique, typically placed at various heights based on the type of exercise performed. Retail stores and dressing rooms benefit from mirrors that cater to customers of different heights, ensuring they can evaluate their appearance and make confident purchasing decisions.
In office and workspace settings, mirror height should be adjusted to accommodate individual workstations, reflect light effectively, and enhance the overall aesthetics. Finally, in restaurants and bars, mirrors play a dual role of expanding the space and adding decorative elements, making careful placement and height crucial to creating the desired ambiance.
While these guidelines provide a starting point, it is essential to consider personal preferences, accessibility, and the specific needs of individuals using the spaces when determining mirror height. By doing so, you can create a visually pleasing, functional, and well-designed environment that maximizes the benefits of mirrors in various settings.
So, whether you’re hanging mirrors in a bathroom, dressing room, office, or restaurant, remember to consider the purpose, location, and intended users, ensuring the mirrors are placed at the appropriate height for an optimal experience.
Now that you've got the hang of mirror placement, why not tackle some hands-on home upgrades? Our guide on DIY home improvement offers practical steps to transform your space without breaking the bank. And if you're jazzing up a leased property, don't miss our savvy decorating tips tailored for rental homes. Both articles are packed with insights to keep your abode looking chic and functional.
Frequently Asked Questions about What Is The Right Height To Hang Your Mirrors
Was this page helpful?
At Storables.com, we guarantee accurate and reliable information. Our content, validated by Expert Board Contributors, is crafted following stringent Editorial Policies. We're committed to providing you with well-researched, expert-backed insights for all your informational needs.


0 thoughts on “What Is The Right Height To Hang Your Mirrors”