Articles
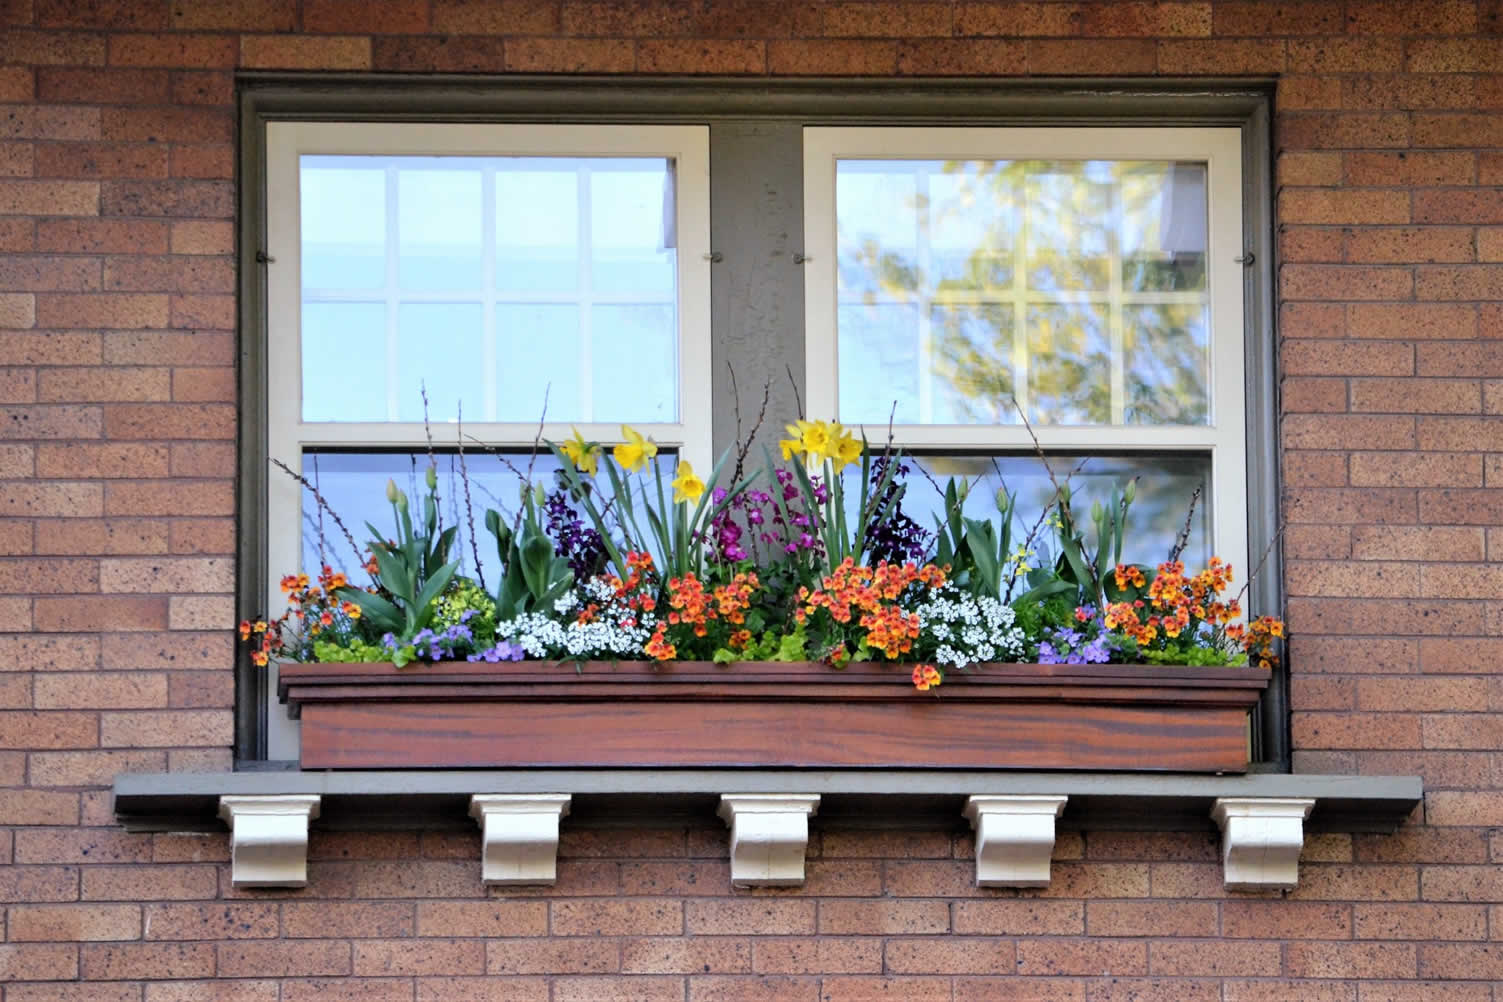
How To Install A Window Box
Modified: May 6, 2024
Learn how to install a window box with our step-by-step articles. Transform your space with beautiful flowers and enhance your home's curb appeal.
(Many of the links in this article redirect to a specific reviewed product. Your purchase of these products through affiliate links helps to generate commission for Storables.com, at no extra cost. Learn more)
Introduction
Welcome to this comprehensive guide on how to install a window box. Window boxes are a charming addition to any home, adding a touch of beauty and color to your windows. Whether you have a green thumb or are just starting to explore gardening, installing a window box is a great way to showcase your favorite plants and enhance the overall aesthetic of your home.
In this step-by-step guide, we will walk you through the process of installing a window box from start to finish. We will cover everything from gathering the necessary materials to maintaining your window box once it is installed. Whether you are a seasoned DIY enthusiast or a novice looking to embark on your first project, this guide is here to assist you.
Before we dive into the installation process, let’s take a moment to discuss the benefits of having a window box. Not only do window boxes add visual appeal to your home, but they also provide a myriad of other advantages. They can help to improve the air quality around your home by absorbing carbon dioxide and releasing oxygen. Additionally, having plants near your windows can reduce the amount of heat that enters your home during the summer months, helping to improve energy efficiency.
Now that we understand the benefits, let’s get started on installing your window box. Follow the steps outlined in this guide, and soon you’ll have a beautiful window box that will become the envy of your neighbors.
Key Takeaways:
- Installing a window box is a rewarding DIY project that adds beauty to your home, improves air quality, and enhances energy efficiency. Follow the step-by-step guide for a successful and visually appealing window box display.
- After installation, regular care and maintenance, including watering, pruning, fertilizing, and pest control, are essential for the long-term health and beauty of your window box. Enjoy the process and appreciate the positive impact on your home and the environment.
Read more: How To Plant In Window Boxes
Step 1: Gather Materials
The first step in installing a window box is gathering all the necessary materials. Having everything prepared beforehand will save you time and ensure a smooth installation process. Here are the materials you will need:
- Window box: Choose a window box that fits the size and style of your window. It should be made of a durable material, such as wood, metal, or plastic.
- Bracket or support system: Depending on the weight of your window box, you will need a support system to hold it in place. This can include brackets, mounts, or hanging hardware. Make sure the support system is suitable for the material of your window box and the type of window you have.
- Screws or mounting hardware: Select screws or mounting hardware that are appropriate for your window and the support system you are using.
- Drill and drill bits: You will need a drill to create pilot holes for the screws or mounting hardware.
- Measuring tape: Accurate measurements are crucial for proper installation, so make sure you have a measuring tape on hand.
- Pencil or marker: Use a pencil or marker to mark the placement of the support brackets on the wall.
- Level: A level will help ensure that your window box is installed straight and level.
- Screwdriver or wrench: Depending on the type of screws or mounting hardware you are using, you may need a screwdriver or wrench to tighten them.
- Soil and plants: Once your window box is installed, you will need potting soil and plants to fill it. Choose plants that are suitable for the amount of sunlight your window receives and the climate in your area.
- Watering can or hose: You’ll need a watering can or hose to water your window box regularly.
Ensure that you have all these materials gathered before you begin the installation process. Having everything at hand will make the installation process smoother and more efficient.
Step 2: Decide on Window Placement
Before installing your window box, it’s important to decide on the placement of your window. Consider the following factors when choosing the location:
- Sunlight: Assess the amount of sunlight the window receives throughout the day. Most plants require at least 6 hours of direct sunlight daily, so choose a window that gets adequate sunlight for your desired plants.
- Aesthetics: Determine which window will enhance the overall appearance of your home. Consider the architectural style, color scheme, and overall curb appeal.
- Accessibility: Think about how easy it will be to access and maintain the window box. Make sure you can reach the window comfortably for watering, pruning, and cleaning.
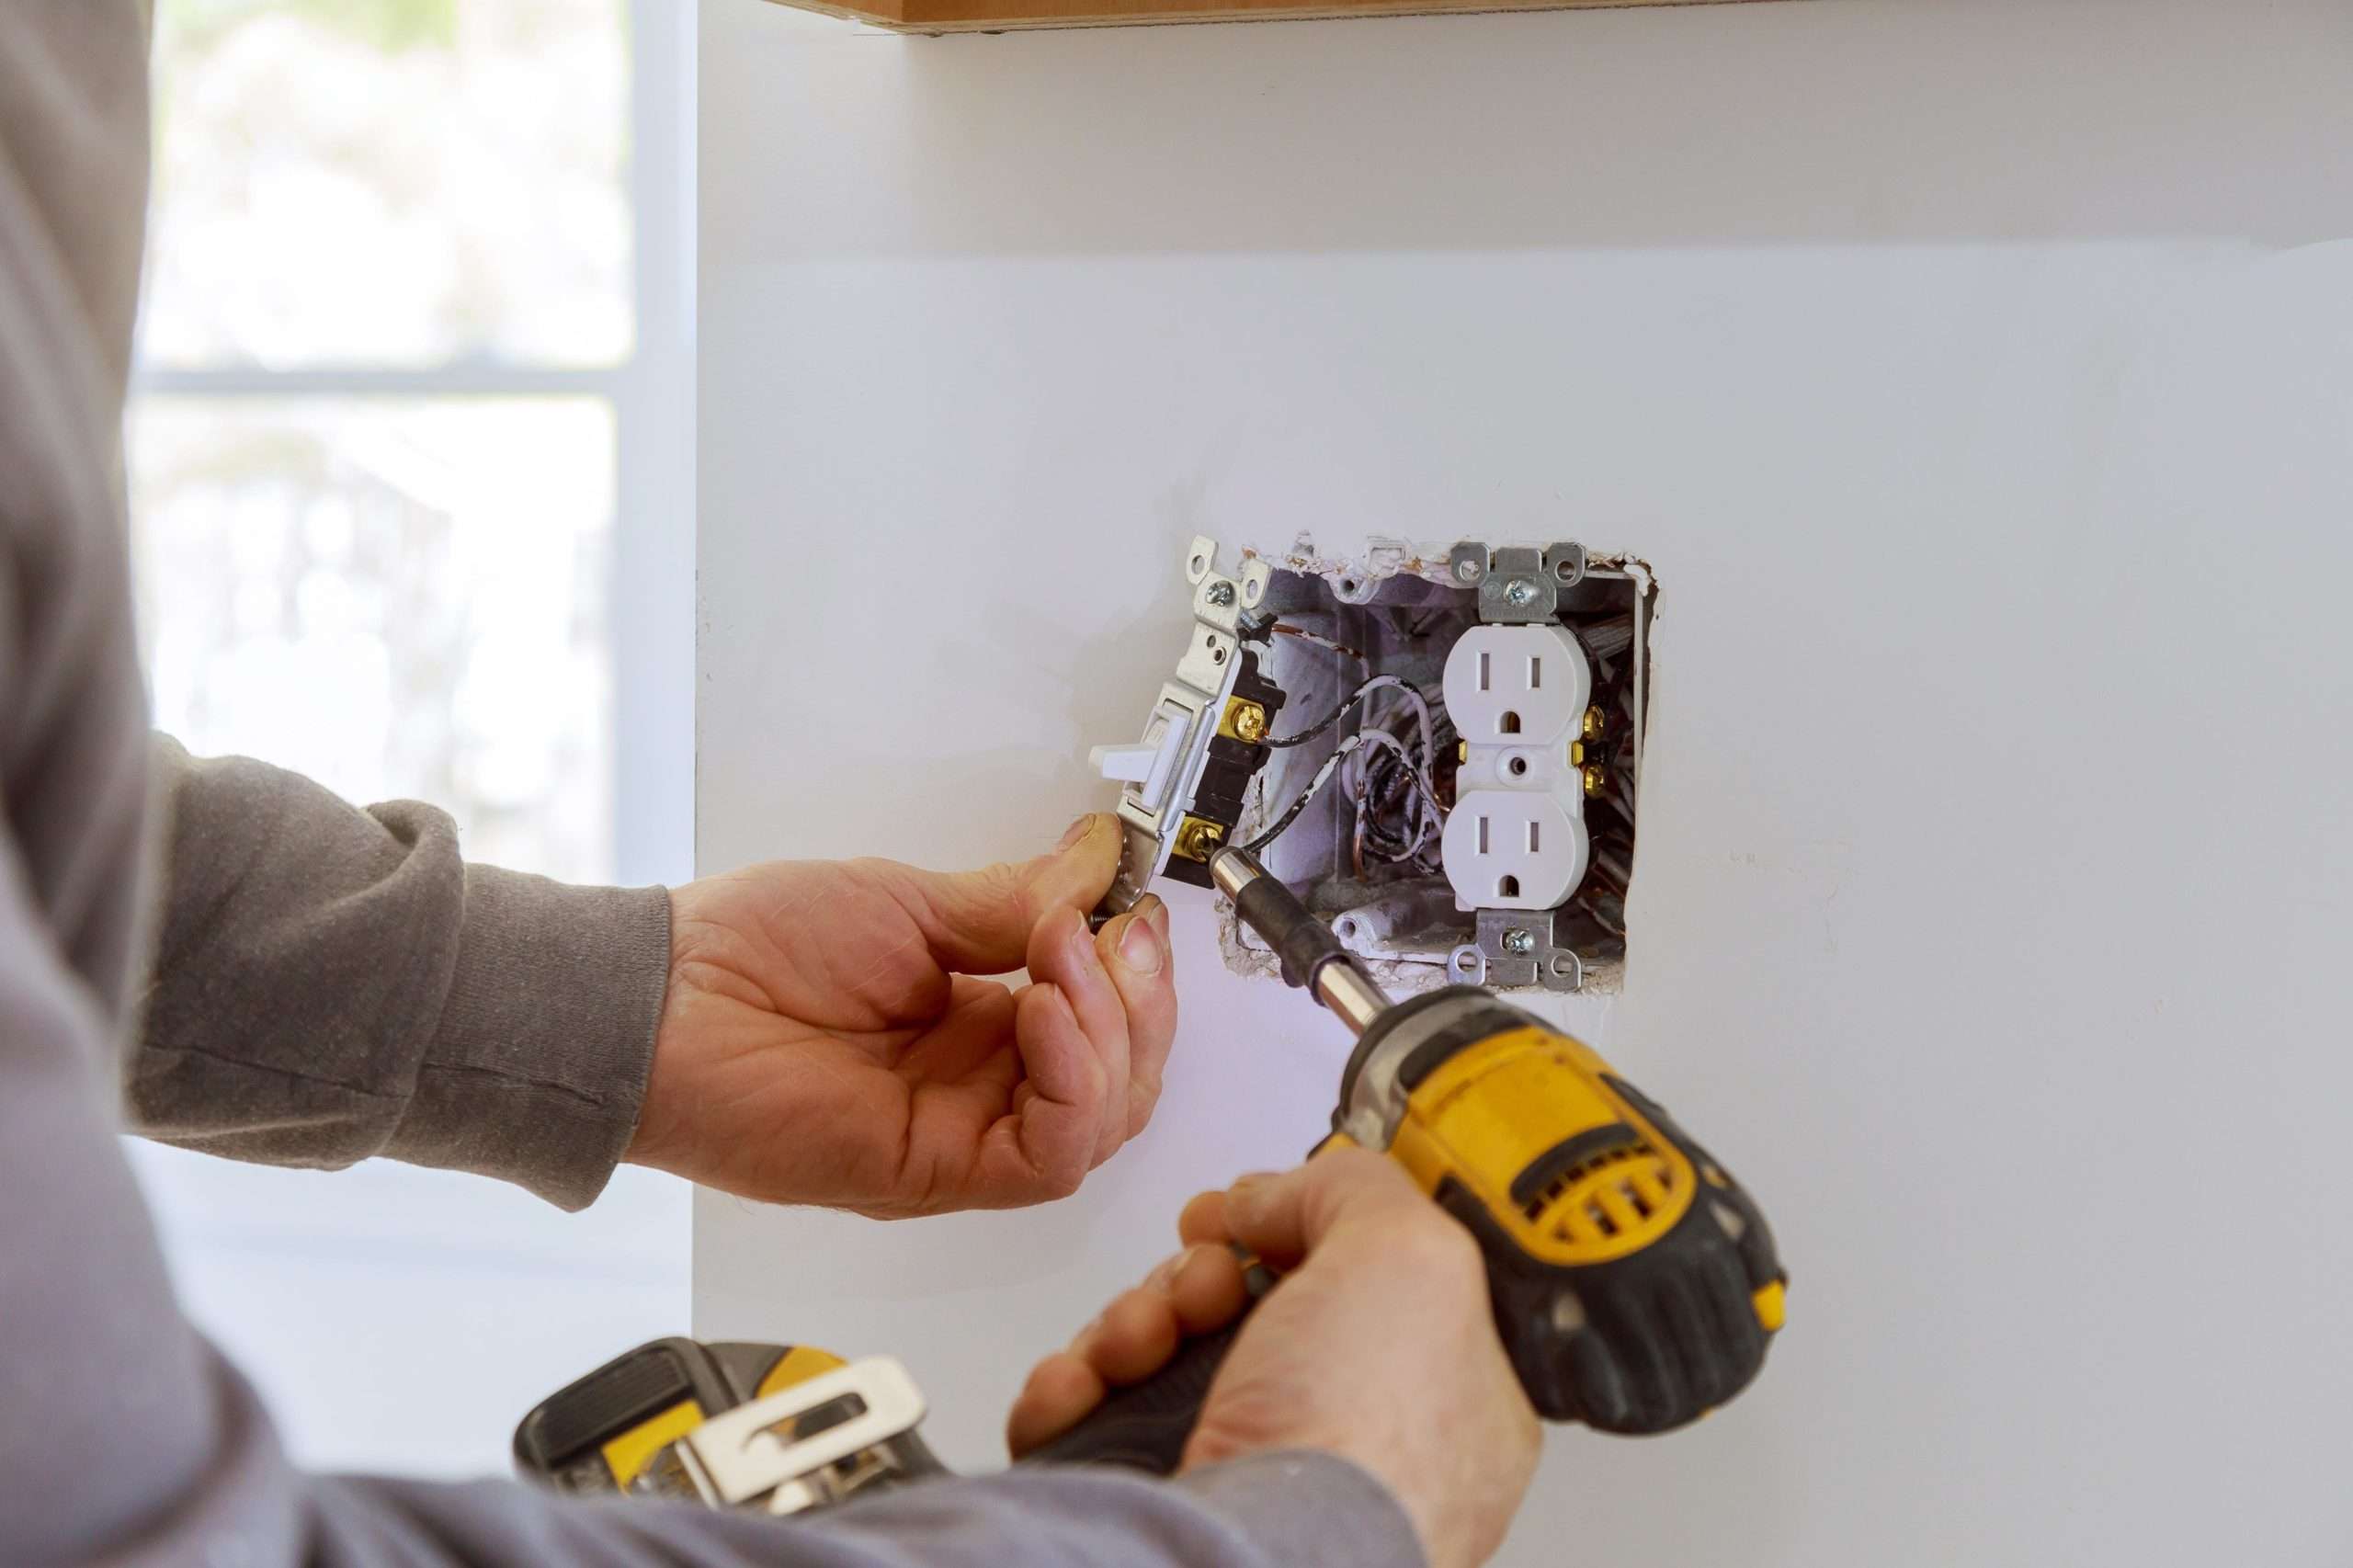
- Obstructions: Look for any obstructions that may interfere with the window box installation, such as downspouts, air conditioning units, or electrical wiring. Clear any obstructions or choose a different window if necessary.
Once you’ve considered these factors, make a final decision on the window placement. Remember that the window box will become a focal point, so choose a location that enhances the overall aesthetic of your home.
Take a step back and visualize how the window box will look from different angles both inside and outside your home. Consider how the plants will complement the surrounding landscape and whether the window box will obstruct any views.
If you’re still unsure about the placement, consider consulting with a gardening professional or seeking inspiration from online resources and gardening magazines. The goal is to create a visually pleasing window display that enhances the beauty of your home.
Once you have decided on the window placement, move on to the next step: measuring and marking the location for your window box.
Step 3: Measure and Mark
Now that you have chosen the window placement for your window box, it’s time to measure and mark the location. This step is crucial for ensuring that your window box is installed in the correct position and at the desired height. Follow these steps:
- Measure the window width: Use a measuring tape to determine the width of the window where you plan to install the window box. Write down this measurement for reference.
- Decide on the desired height: Consider how high or low you want your window box to be. Generally, a height of 6-10 inches above the bottom of the window frame is recommended. Adjust this height based on your personal preference and the size of your window box.
- Mark the installation points: Using a pencil or marker, mark the installation points for the support brackets or hardware. These marks should align with the desired height of your window box and be evenly spaced to provide proper support. For example, if installing two brackets, mark the points on each side of the window with equal distance from the window edges.
- Check for level: Use a level to ensure that the marks are straight and level. Adjust as necessary to achieve a level position for your window box.
Take your time during this step to ensure accurate measurements and markings. Remember that precision is crucial for a secure and visually pleasing installation.
If you’re unsure about the measurements or placement, consider seeking guidance from a professional or consulting online resources that provide guidelines for window box installation.
Once you have measured and marked the installation points, you’re ready to move on to the next step: installing the support brackets or system for your window box.
Step 4: Install Support Brackets
With the measurements and markings in place, it’s time to install the support brackets for your window box. The brackets will provide stability and ensure that your window box stays securely in place. Follow these steps:
- Prepare the brackets: If your window box came with a specific bracket or mounting system, refer to the manufacturer’s instructions for assembly or preparation. Make sure the brackets are sturdy and suitable for the weight and size of your window box.
- Position the brackets: Align the brackets with the marked installation points on either side of the window. Ensure that they are level and symmetrical, providing equal support on both sides.
- Mark the screw hole locations: Once you have positioned the brackets, use a pencil or marker to mark the locations of the screw holes on the wall or window frame. These marks will guide you during the drilling process.
- Drill pilot holes: Use an appropriate drill bit to create pilot holes at the marked locations. The size of the drill bit should match the size of the screws or mounting hardware you will be using.
- Secure the brackets: Place the brackets back in position and align the pilot holes with the brackets’ mounting holes. Insert the screws or mounting hardware and use a screwdriver or wrench to tighten them securely. Ensure that the brackets are firmly attached to provide stable support for your window box.
It’s important to follow the instructions provided by the manufacturer for installing the specific brackets or mounting system that came with your window box. If you’re unsure or don’t have instructions, consult with a professional or refer to online resources for guidance.
Once you have installed the support brackets, it’s time to move on to the next step: attaching the window box to the brackets.
When installing a window box, make sure to use sturdy brackets or supports that can hold the weight of the box and the plants. Also, consider using a liner to protect the wood of the window sill.
Read more: How To Install A Bay Window
Step 5: Attach Window Box
Now that you have securely installed the support brackets, it’s time to attach the window box. This step will bring your installation one step closer to completion. Follow these instructions:
- Prepare the window box: Ensure that your window box is clean and free from any debris. If your window box has pre-drilled holes or hooks for attachment, make sure they are accessible.
- Position the window box: Carefully place the window box onto the installed brackets. Make sure it is centered and level on the brackets, aligning it with the markings or pre-drilled holes if applicable. Adjust as necessary to achieve proper positioning.
- Attach the window box: Depending on the type of brackets or mounting system you are using, follow the instructions provided by the manufacturer to attach the window box to the brackets. This may involve inserting hooks, sliding the box onto the brackets, or securing it with screws.
- Ensure stability: Once the window box is attached, check for stability. Give it a gentle shake to ensure it is securely fastened and will not move or fall. If necessary, tighten any screws or adjust the attachment to ensure a stable installation.
It’s important to follow the specific instructions provided by the manufacturer for attaching your window box. Different types of brackets and mounting systems may require different methods of attachment. If you are unsure, consult with a professional or refer to online resources for guidance.
Now that your window box is securely attached, it’s time to move on to the next step: securing the window box to prevent tipping or damage.
Step 6: Secure Window Box
After attaching your window box, it’s important to take additional steps to secure it in place. This will ensure that your window box remains stable and prevents any potential tipping or damage. Follow these instructions to secure your window box:
- Check for stability: Give the window box a gentle shake to test its stability. Ensure that it is securely attached to the support brackets and does not wobble or move.
- Use additional support: Depending on the weight and size of your window box, it may be necessary to add extra support to prevent it from sagging or tipping. This can be done by installing additional brackets or using supportive brackets specifically designed for heavier loads.
- Consider reinforcing the attachment: If you notice any weakness or movement in the attachment, consider reinforcing it with additional screws or fasteners. This will provide extra stability and ensure the longevity of your window box installation.
- Inspect for any gaps: Check for any gaps between the window box and the support brackets. If there are gaps, insert shims or wedges to fill them, ensuring a snug and secure fit.
- Make adjustments if needed: If the window box is not aligned properly or if it is uneven, make adjustments by loosening the attachment and repositioning it. Use a level to ensure that the window box is straight and level.
By taking these steps to secure your window box, you can ensure its stability and prevent any potential damage. It’s important to regularly check the attachment and make any necessary adjustments or repairs to maintain the integrity of your window box installation.
Now that your window box is securely fastened and stable, it’s time to move on to the next step: adding soil and plants to bring your window box to life.
Step 7: Add Soil and Plants
With your securely attached window box, it’s time to bring it to life by adding soil and plants. This step will transform your window box into a vibrant display of color and greenery. Follow these instructions:
- Select the appropriate soil: Choose a high-quality potting mix that is suitable for the types of plants you intend to grow in your window box. Avoid using garden soil, as it tends to be too heavy and may not provide adequate drainage.
- Fill the window box with soil: Start by filling the window box with the potting mix, leaving about an inch or two of space at the top. Gently press down the soil to remove any air pockets and create a firm planting surface.
- Choose your plants: Select plants that are suitable for the amount of sunlight your window receives and the climate in your area. Consider the height, color, and texture of the plants to create an aesthetically pleasing arrangement.
- Arrange the plants: Before planting, arrange the plants in the window box to determine the best placement. Place taller plants in the back or center and shorter plants towards the front or edges. This will create a visually appealing arrangement with proper visibility for all plants.
- Plant the chosen plants: Once you have finalized the arrangement, dig holes in the soil and carefully plant each selected plant. Gently firm the soil around the roots to ensure good contact.
- Water the plants: After planting, thoroughly water the window box to settle the soil around the plants. Ensure that the soil is evenly moist, but not waterlogged.
Remember to consider the specific watering and care needs of the plants you have chosen. Some plants may require more frequent watering, while others may prefer drier conditions. Regularly monitor the moisture level of the soil and adjust your watering schedule accordingly.
Adding soil and plants to your window box is the exciting part that brings beauty and nature right outside your window. Enjoy the process and be creative in your plant selection to create a stunning display.
Now that your window box is filled with soil and plants, it’s time to move on to the final step: watering and maintaining your window box.
Step 8: Water and Maintain Window Box
Once your window box is planted and thriving with beautiful plants, it’s important to provide regular care and maintenance to keep them healthy and ensure long-lasting beauty. Follow these essential steps to water and maintain your window box:
- Establish a watering routine: Depending on the type of plants and the weather conditions, establish a regular watering routine. It’s important to keep the soil evenly moist and avoid both overwatering and underwatering. Check the moisture level of the soil regularly and adjust your watering schedule as needed.
- Monitor plant growth: Keep an eye on the growth of your plants. Prune or trim them as needed to maintain their shape and prevent overcrowding. Remove any dead or yellowing leaves or flowers to promote healthy growth.
- Fertilize as necessary: Depending on the plants you have chosen, consider fertilizing them periodically to provide them with essential nutrients. Choose a fertilizer that is suitable for your plants and follow the instructions for application rates and frequency.
- Protect from pests and diseases: Keep an eye out for any signs of pests or diseases, such as aphids, snails, or fungal infections. Take appropriate measures to control and prevent damage, such as using organic insecticides or fungicides if necessary.
- Rotate and replace plants: Over time, plants may grow or change in appearance. Consider rotating or replacing certain plants to maintain a balanced and visually appealing arrangement. This will also provide an opportunity to introduce different colors or textures to your window box.
- Clean and maintain the window box: Regularly clean the window box to remove any debris, fallen leaves, or weeds. This will help prevent the build-up of pests or diseases. Additionally, check the brackets and attachment points to ensure they remain secure.
Remember to enjoy the process of caring for your window box and appreciate the beauty it brings to your home. By providing regular care and maintenance, you can ensure that your window box remains a captivating and vibrant focal point.
Congratulations! You have successfully completed all the steps to install, plant, and maintain your window box. Enjoy the beauty of your window box and the joy it brings to your home.
Now that you have learned how to install and care for a window box, you can continue experimenting with different plant combinations and techniques to enhance your gardening skills and create even more stunning displays.
Best of luck with your window box, and may it continue to bring you joy and beauty throughout the seasons!
Read more: How To Install A Shed Window
Conclusion
Congratulations on successfully installing and maintaining your window box! By following the steps outlined in this comprehensive guide, you have created a beautiful and vibrant display that adds charm and aesthetic appeal to your home. Your window box brings the beauty of nature right to your windows, providing a delightful sight for you and your neighbors to enjoy.
Throughout this guide, we discussed the importance of gathering the necessary materials, deciding on the window placement, measuring and marking the location, installing support brackets, attaching the window box, securing it properly, adding soil and plants, and maintaining your window box through regular care and maintenance.
Remember to provide adequate sunlight, water appropriately, prune and trim as needed, fertilize, and protect your plants from pests and diseases. By following these maintenance steps, your window box will continue to flourish and bring joy for seasons to come.
Don’t be afraid to get creative with your plant selection and arrangement. Experiment with different colors, textures, and plant combinations to create a unique and stunning display that reflects your personal style and preferences.
As you continue to care for your window box, take a moment to appreciate the beauty it brings to your home and the positive impact it has on the environment. Your window box not only enhances the curb appeal of your home but also contributes to cleaner air and a greener surroundings.
Thank you for following this guide and investing your time and effort in creating a beautiful window box display. We hope that this comprehensive guide has provided you with the necessary knowledge and inspiration to install, plant, and maintain your window box effectively.
Enjoy the beauty and tranquility your window box brings, and happy gardening!
Now that you've mastered window box installation, consider taking your outdoor space to the next level with our guide on unique garden fence ideas, perfect for any gardening enthusiast. If you're feeling inspired and ready for more hands-on tasks, dive into the benefits of DIY projects, where creativity meets practicality. Don't forget, building more flower boxes could be your next weekend project—simple, fun, and rewarding.
Frequently Asked Questions about How To Install A Window Box
Was this page helpful?
At Storables.com, we guarantee accurate and reliable information. Our content, validated by Expert Board Contributors, is crafted following stringent Editorial Policies. We're committed to providing you with well-researched, expert-backed insights for all your informational needs.


0 thoughts on “How To Install A Window Box”