Home>Articles>How To Increase Water Pressure For Garden Hose
Articles
How To Increase Water Pressure For Garden Hose
Modified: August 16, 2024
Learn how to increase water pressure for your garden hose with our expert gardening tips. Enhance your gardening experience and achieve better results.
(Many of the links in this article redirect to a specific reviewed product. Your purchase of these products through affiliate links helps to generate commission for Storables.com, at no extra cost. Learn more)
Introduction
Welcome to the world of gardening! Whether you are an avid gardener or just starting out, one of the key elements for a successful garden is good water pressure. Having adequate water pressure ensures that your plants receive a consistent and sufficient supply of water, which is essential for their growth and health.
However, many gardeners often face the challenge of low water pressure in their garden hoses. This can be frustrating, as it can result in weak water flow, making it difficult to water plants effectively or use attachments like sprinklers and pressure washers.
If you find yourself in such a situation, fear not! This article will guide you through the process of increasing water pressure for your garden hose, allowing you to fully enjoy the benefits of a well-watered and thriving garden.
In the following sections, we will explore the various reasons behind low water pressure in garden hoses and provide you with practical solutions to address this issue. By following these steps, you can ensure that your garden hose delivers a strong and consistent water flow to keep your plants healthy and your gardening tasks a breeze.
So, let’s dive in and discover how you can increase the water pressure for your garden hose!
Key Takeaways:
- Maintaining optimal water pressure in your garden hose is crucial for healthy plant growth. By understanding and addressing common causes of low water pressure, you can ensure efficient watering and use of attachments like sprinklers and pressure washers.
- From checking and adjusting the water pressure regulator to using water pressure booster pumps, there are practical solutions to increase water pressure for your garden hose. Prioritize safety, regular maintenance, and enjoy the benefits of a well-watered garden.
Read more: How To Increase Water Pressure In Sink
Understanding Water Pressure Issues
Before we jump into the solutions for low water pressure in your garden hose, it’s important to understand the common causes behind this issue. By having a clear grasp of these factors, you will be better equipped to troubleshoot and resolve any water pressure problems you may encounter.
Water pressure refers to the force at which water is delivered through a pipe or hose. It is typically measured in pounds per square inch (psi) and can vary depending on the location and water source. In most residential settings, the ideal water pressure for a garden hose is between 40 and 60 psi.
Several factors can contribute to low water pressure in your garden hose:
- Supply Line Issues: If the main water supply line to your property has low pressure, it will directly impact the water pressure in your garden hose. This can be due to factors such as a poorly designed water supply system, plumbing leaks, or restrictions in the supply line.
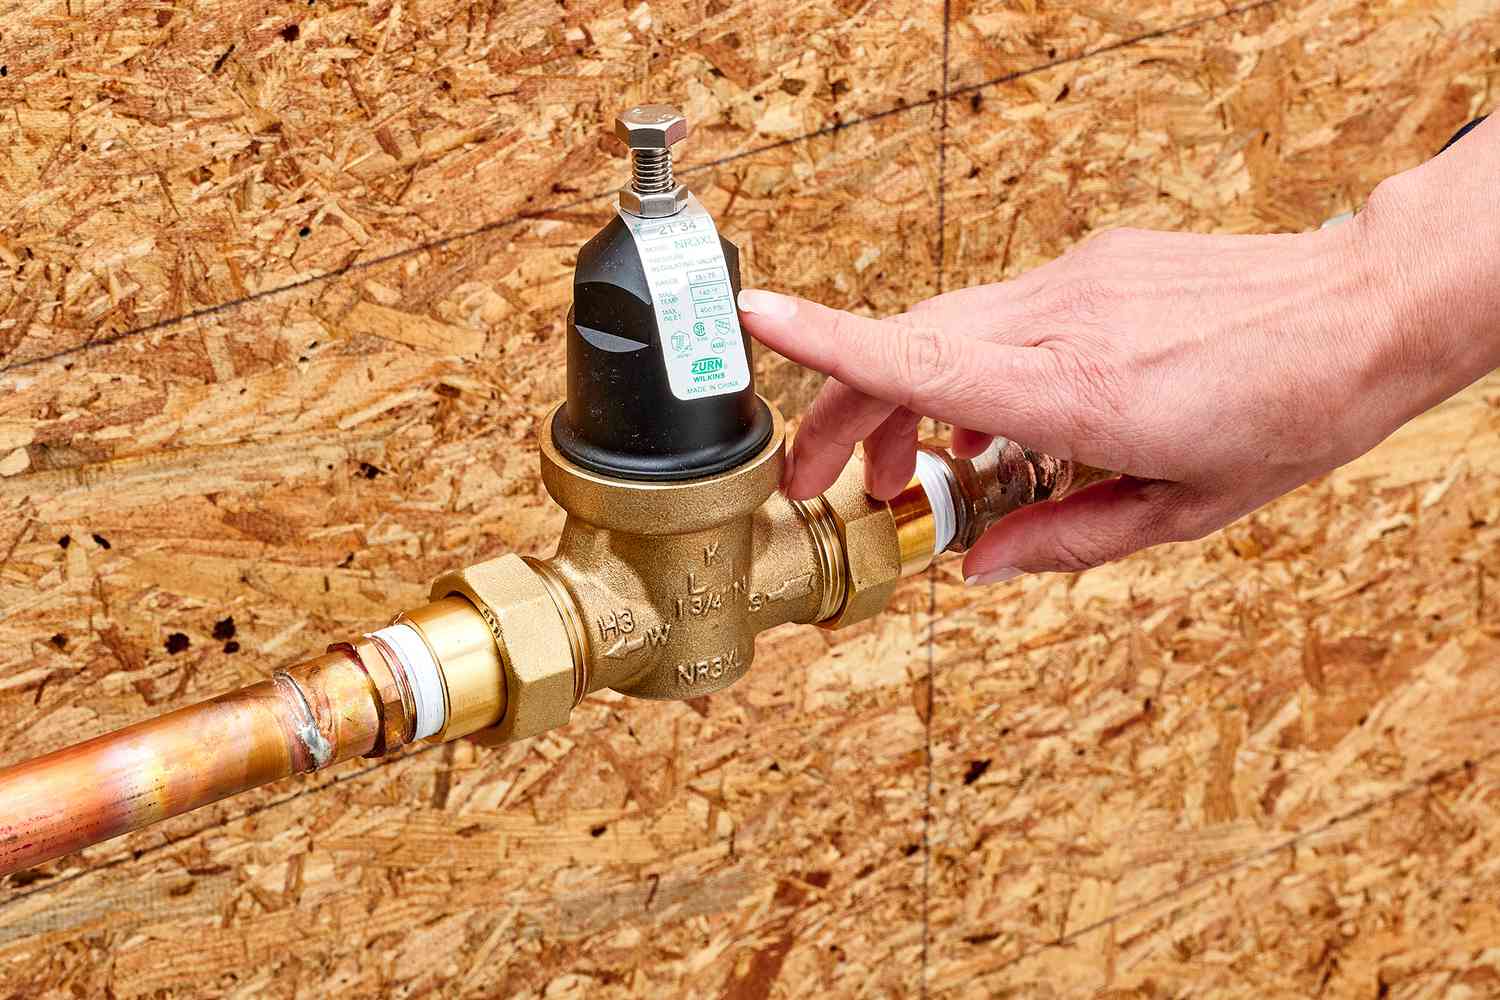
- Water Pressure Regulator: A water pressure regulator is a device installed in your plumbing system to control the incoming water pressure. If the regulator is not properly adjusted or is faulty, it can result in low water pressure.
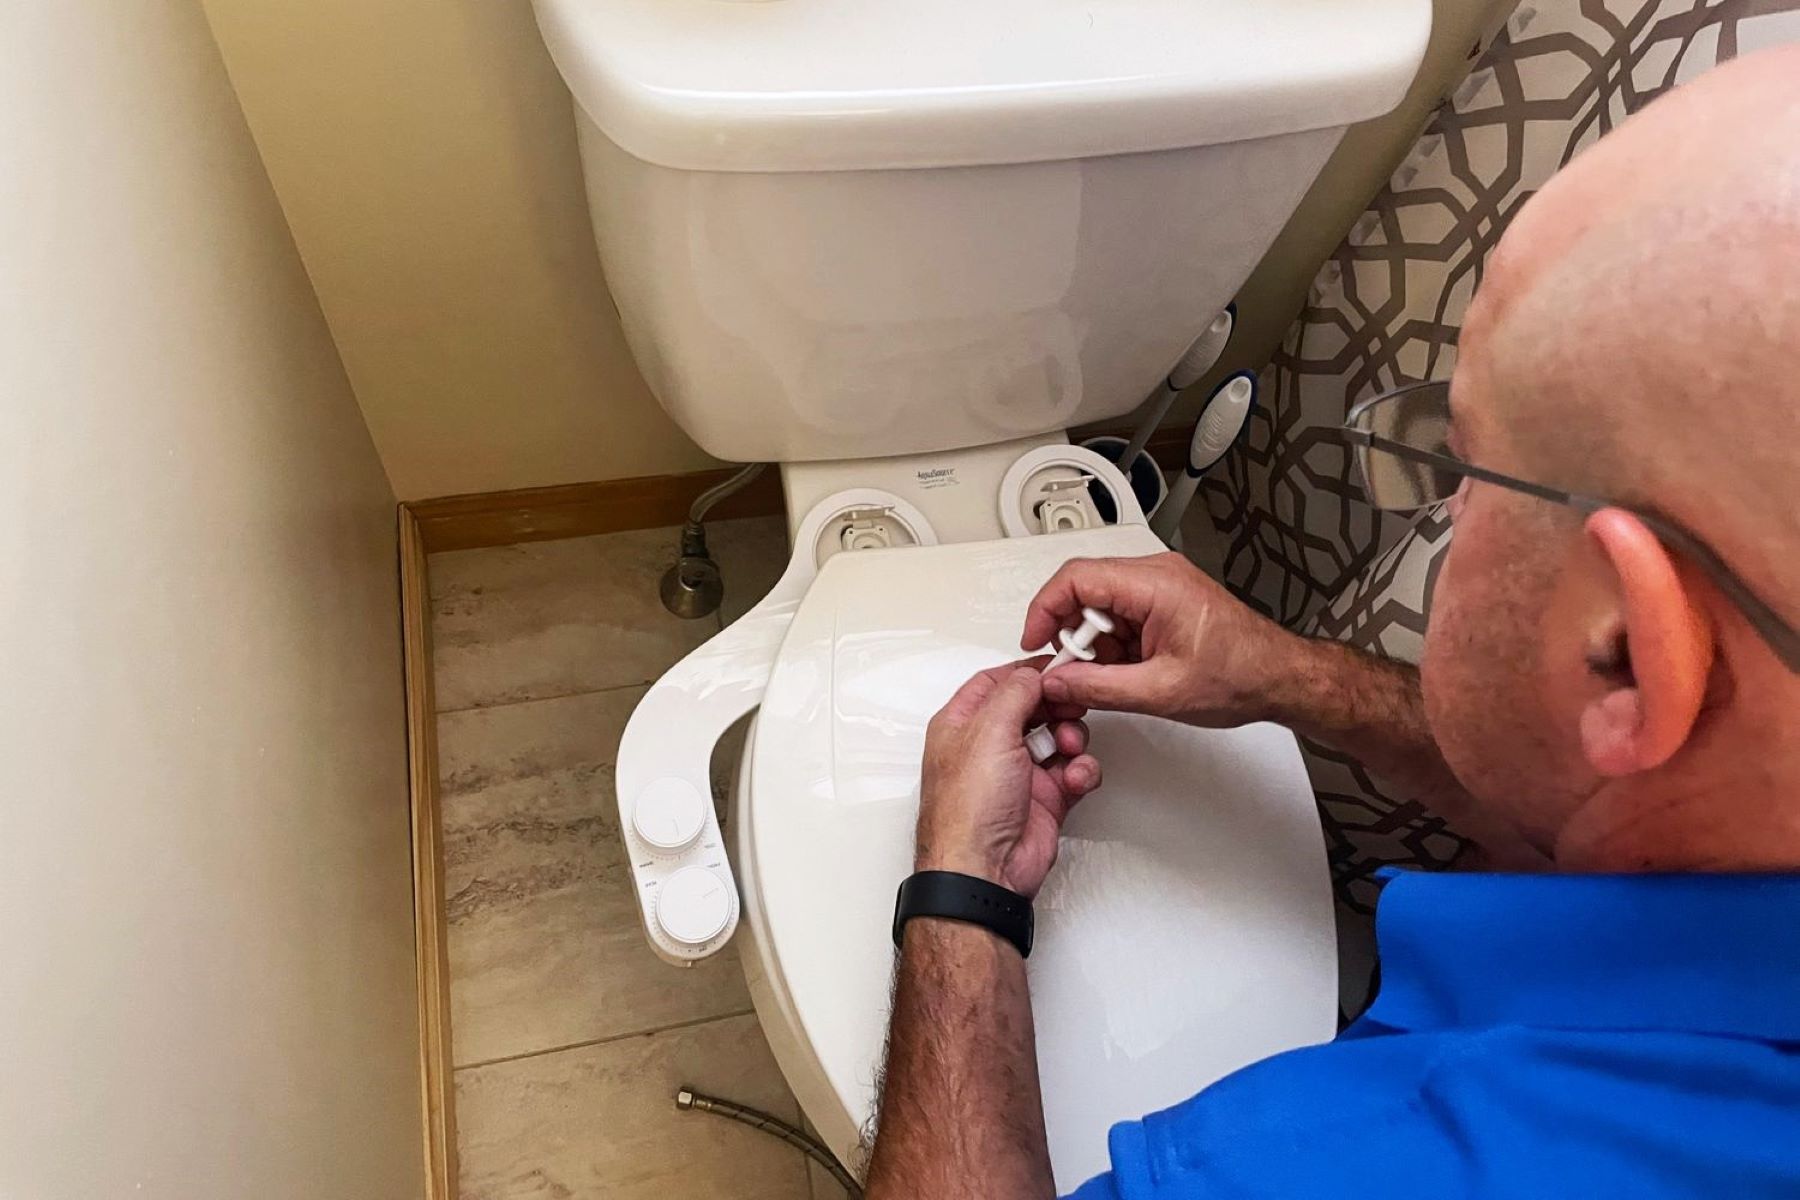
- Faucet Aerator: The faucet aerator is a small attachment located at the end of the faucet spout. Over time, it can accumulate debris and mineral deposits, causing a decrease in water pressure.
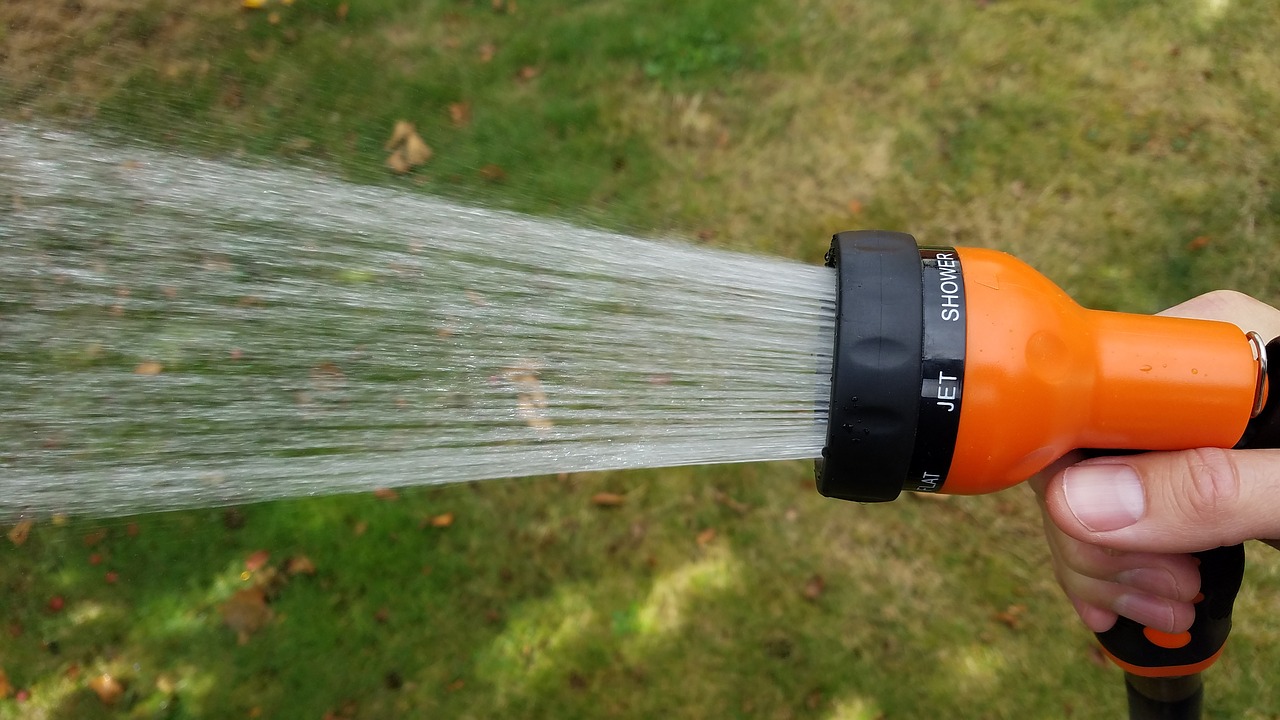
- Hose Nozzle Blockage: The nozzle or spray attachment on your garden hose can get clogged with dirt, debris, or mineral deposits, obstructing the water flow and reducing the water pressure.
- Distance and Elevation: The distance between the water source and your garden, as well as any elevation changes along the way, can impact water pressure. The longer the distance or the greater the height difference, the more potential for a decrease in water pressure.
By identifying the underlying cause of low water pressure in your garden hose, you can take targeted steps to resolve the issue. In the following sections, we will explore each of these causes in detail and provide practical solutions to increase the water pressure for your garden hose.
Now that we have a better understanding of the factors contributing to low water pressure, let’s move on to the next section: checking and adjusting the water pressure regulator.
Causes of Low Water Pressure in Garden Hose
When you’re experiencing low water pressure in your garden hose, it’s important to identify the root cause so that you can implement the appropriate solution. Here are some common causes of low water pressure in garden hoses:
- Supply Line Issues: The main water supply line to your property may have insufficient pressure due to factors like old plumbing infrastructure, leaks, or restrictions in the line. If the problem lies with the supply line, you may need to consult a professional plumber to investigate and resolve the issue.
- Water Pressure Regulator: A water pressure regulator is a device that controls the water pressure entering your property. If the regulator is set too low, it can result in reduced water pressure throughout your home, including your garden hose. Adjusting the regulator can help increase the water pressure specifically for your garden hose.
- Faucet Aerator: The faucet aerator is a small attachment typically found at the end of the faucet spout. Over time, mineral deposits and debris can accumulate in the aerator, leading to reduced water flow and lower pressure. Cleaning or replacing the aerator can help restore proper water pressure.
- Hose Nozzle Blockage: The nozzle or spray attachment on your garden hose can become clogged with dirt, debris, or mineral deposits, obstructing the water flow and causing low pressure. Regularly cleaning the nozzle and removing any blockages can help improve water pressure.
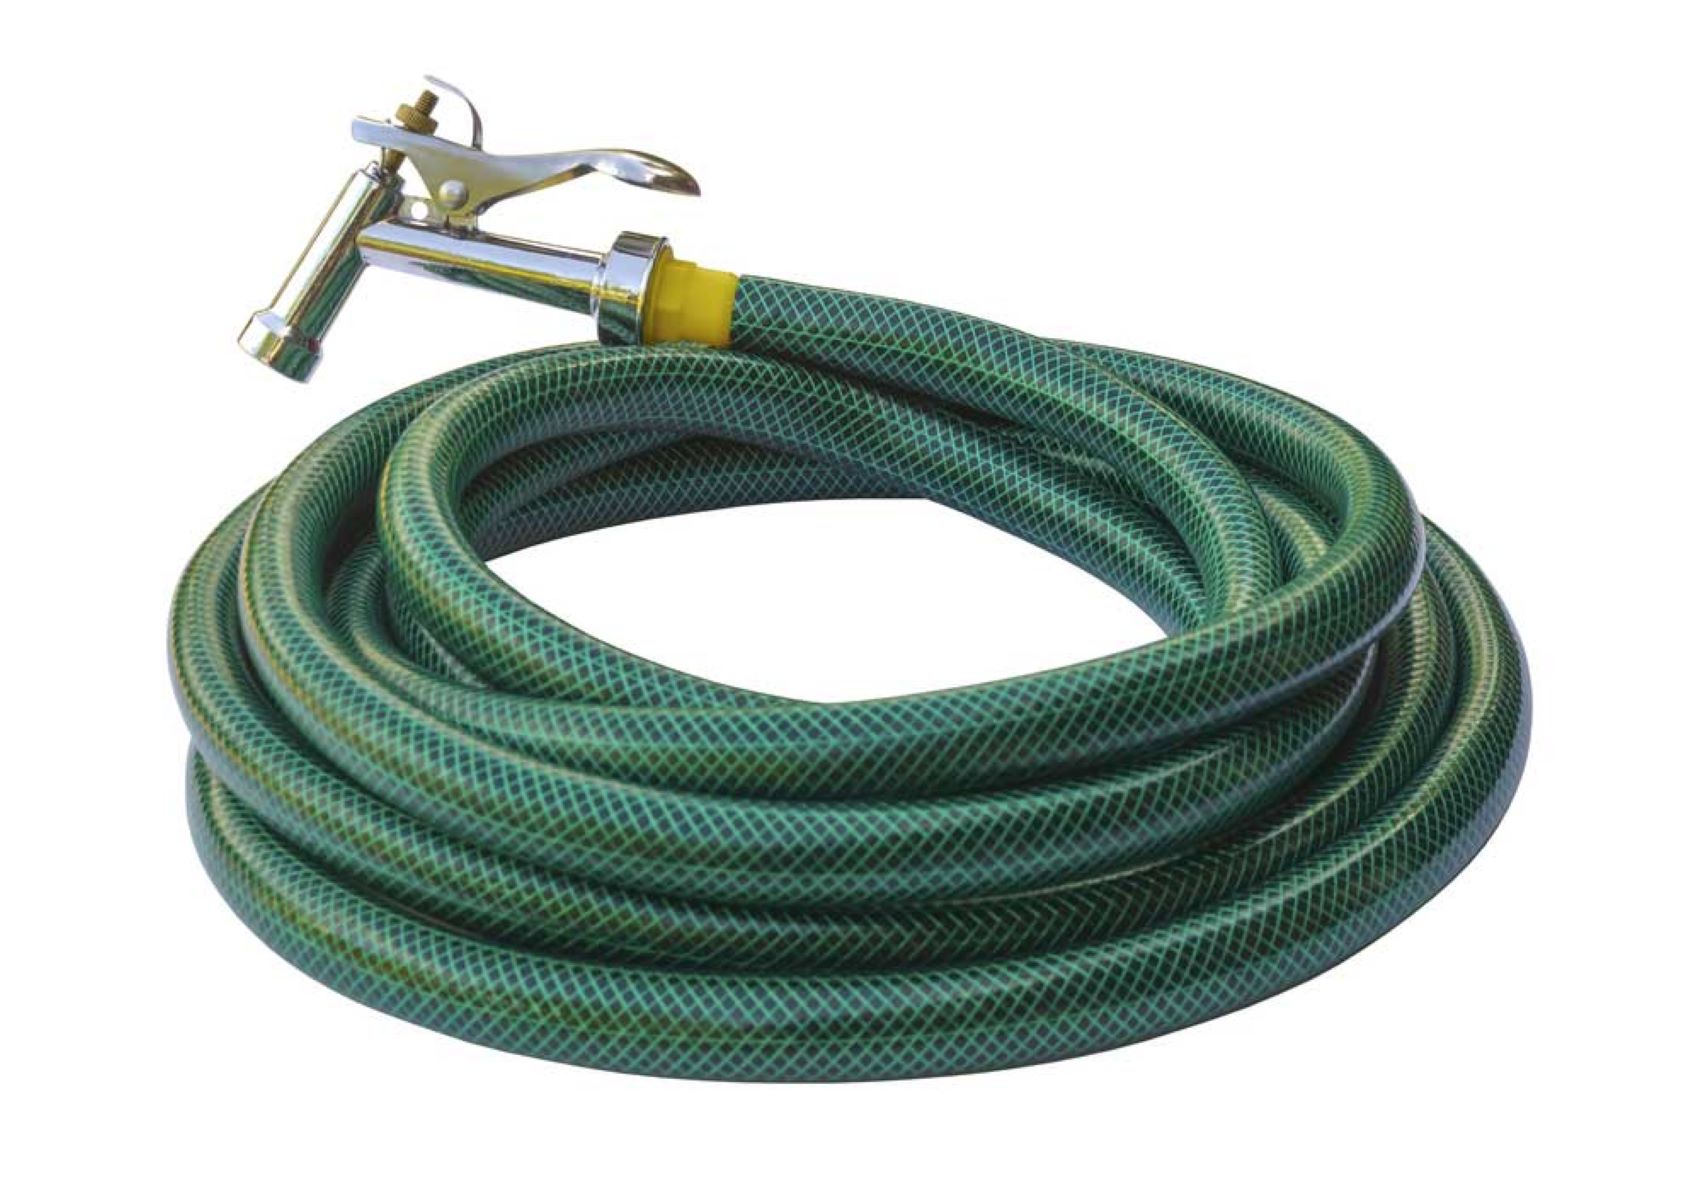
- Leaks or Damage: Check your garden hose for any leaks or damage, such as cracks, holes, or loose connections. Even a minor leak can significantly impact water pressure. Repairing or replacing the damaged areas can help restore the proper flow of water.
- Distance and Elevation: The distance between the water source and your garden, as well as any elevation changes, can affect water pressure. The longer the distance or the greater the height difference, the more potential for a decrease in water pressure. If possible, try to minimize the distance and elevation between the water source and your garden hose to maintain better pressure.
By identifying the specific cause of low water pressure in your garden hose, you can take the appropriate steps to resolve it. In the next sections, we will explore how to check and adjust the water pressure regulator, clean or replace the faucet aerator, clear clogged hose nozzles, and use water pressure booster pumps or amplifying systems to increase water pressure in your garden hose.
Now that we have a better understanding of the causes behind low water pressure, let’s move on to the first solution: checking and adjusting the water pressure regulator.
Checking and Adjusting Water Pressure Regulator
The water pressure regulator is a crucial component of your plumbing system that controls the incoming water pressure to your property. If the regulator is set too low, it can result in decreased water pressure throughout your home, including your garden hose. Here’s how you can check and adjust the water pressure regulator:
- Locate the water pressure regulator: The water pressure regulator is typically located near the main water supply line or where it enters your property. Look for a bell-shaped device with a screw or adjusting knob.
- Turn off the main water supply: Before making any adjustments, it’s important to turn off the main water supply to your property. This will ensure your safety and prevent any accidents.
- Access the water pressure regulator: Depending on the type of regulator you have, you may need a wrench or pliers to loosen the locking nut or cap. Once the nut or cap is loose, you can access the adjusting screw or knob.
- Adjust the water pressure: Using a screwdriver or your hand, gently turn the adjusting screw or knob clockwise to increase the water pressure. Start with small adjustments and test the water flow in your garden hose to see if the pressure has improved. If necessary, make further adjustments until you achieve the desired water pressure.
- Lock the adjustments: Once you are satisfied with the water pressure, tighten the locking nut or cap to secure the adjustments you made. This will prevent any undesired changes in the future.
- Turn on the main water supply: After completing the adjustments and securing the regulator, you can turn on the main water supply. Take note of the water pressure in your garden hose and ensure it has improved.
It’s important to note that not all water pressure regulators can be adjusted. If you are unable to find an adjusting screw or knob, or if adjusting the regulator doesn’t improve the water pressure, it may be necessary to replace the regulator. Consult a professional plumber for assistance in selecting and installing a new regulator.
By checking and adjusting the water pressure regulator, you can optimize the water pressure specifically for your garden hose, ensuring a strong and consistent flow of water. Now, let’s move on to the next solution: cleaning or replacing the faucet aerator.
Cleaning or Replacing Faucet Aerator
The faucet aerator is a small attachment located at the end of the faucet spout. Over time, it can become clogged with mineral deposits, debris, and sediments, resulting in reduced water flow and lower pressure for your garden hose. Cleaning or replacing the faucet aerator can help restore proper water pressure. Here’s how you can do it:
- Turn off the water supply: Before you begin, make sure to turn off the water supply to the faucet. This will prevent any water from flowing while you work on the aerator.
- Remove the aerator: Depending on the type of faucet, the aerator may be screwed on or attached using a locking nut. Use pliers or a wrench to loosen and unscrew the aerator. Be careful not to damage the faucet or aerator during this process.
- Inspect the aerator: Once removed, inspect the aerator for any visible debris or mineral deposits. You may notice a build-up of sediment that is blocking the water flow. If the aerator is severely clogged, it may be more effective to replace it rather than clean it.
- Clean the aerator: If the aerator is only lightly clogged, you can clean it by soaking it in vinegar or a descaling solution. Submerge the aerator in the solution for about 30 minutes to loosen the deposits. Use a toothbrush or small brush to gently scrub away any remaining debris. Rinse the aerator thoroughly with water once cleaned.
- Replace the aerator: If cleaning the aerator doesn’t improve the water flow or if it is heavily clogged, it’s best to replace it. Take the cleaned or new aerator and screw it back onto the faucet, making sure it is securely tightened.
- Turn on the water supply: Once the aerator is back in place, turn on the water supply and check if the water pressure has improved. If necessary, repeat the cleaning or replacement process for other faucets or attachments that are connected to your garden hose.
Cleaning or replacing the faucet aerator can greatly improve water pressure in your garden hose by removing any obstructions that are hindering the flow of water. If you have multiple faucets or attachments in your garden, it’s a good idea to clean or replace the aerators periodically to prevent build-up and maintain optimal water pressure.
Now that we have addressed the issue of faucet aerators, let’s move on to the next solution: clearing clogged hose nozzles.
Check for any kinks or blockages in the hose, and ensure that the water source is fully turned on. You can also try using a hose nozzle with a higher pressure setting.
Read more: How To Increase Water Pressure At Showerhead
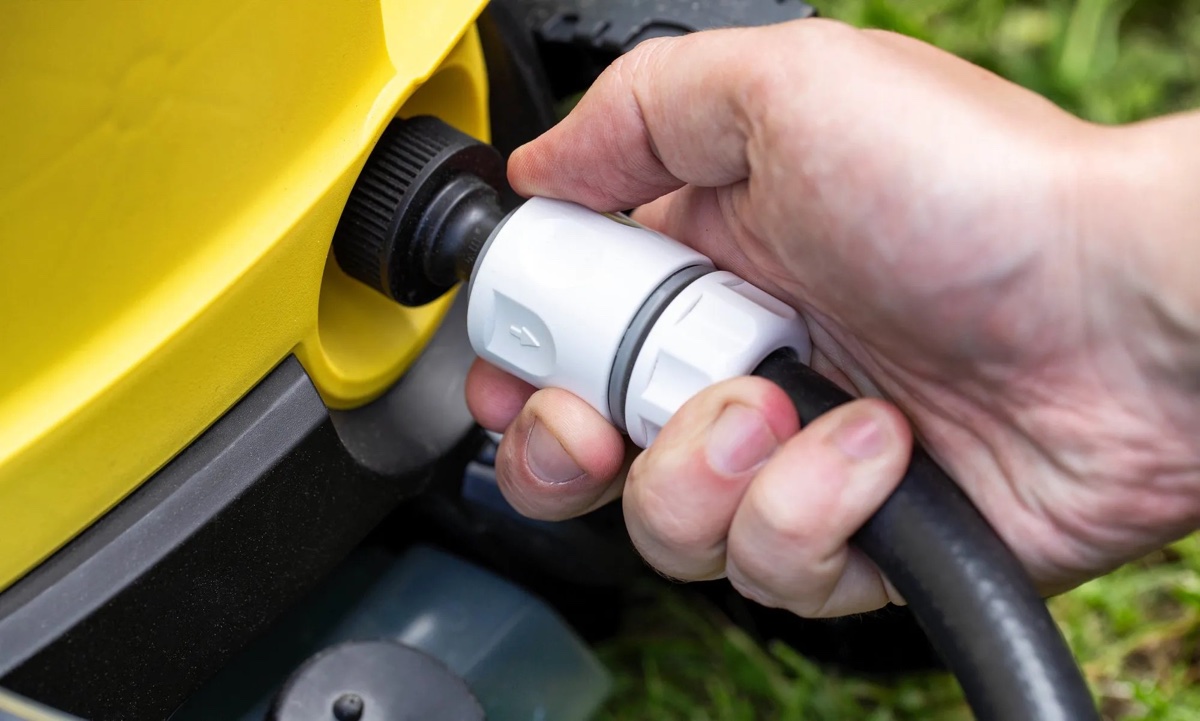
Clearing Clogged Hose Nozzle
A clogged hose nozzle can significantly reduce water pressure and hinder the effectiveness of your garden hose. Over time, dirt, debris, and mineral deposits can accumulate in the nozzle, obstructing the water flow. Clearing a clogged hose nozzle is a simple yet effective way to restore optimal water pressure. Here’s how you can do it:
- Turn off the water supply: Before you begin working on the nozzle, make sure to turn off the water supply to the hose. This will prevent any water from flowing while you clean the nozzle.
- Remove the nozzle: Depending on the type of hose nozzle you have, there may be a twist mechanism or a locking mechanism. Follow the instructions provided with your nozzle to safely remove it from the hose. If necessary, use pliers to help loosen it.
- Inspect the nozzle: Once the nozzle is removed, inspect it for any visible debris or clogs. You may notice dirt, small stones, or mineral deposits blocking the water flow. It’s essential to remove these obstructions to improve water pressure.
- Clean the nozzle: Use a small brush or an old toothbrush to scrub away any debris or clogs from the nozzle. Pay special attention to the openings and crevices where build-up tends to occur. If the nozzle is severely clogged, you can soak it in vinegar or a descaling solution to dissolve any mineral deposits. Rinse the nozzle thoroughly with water after cleaning.
- Reattach the nozzle: Once the nozzle is clean and free of clogs, reattach it to the hose. Make sure it is securely tightened to prevent any leaks and maintain proper water pressure.
- Test the water flow: Turn on the water supply and test the water flow through the hose with the cleared nozzle. Check if the water pressure has improved and ensure there are no leaks or restrictions.
Regularly clearing clogged hose nozzles is essential to maintain optimal water pressure and ensure the effective operation of your garden hose. As a preventative measure, it’s a good practice to use a nozzle with a filter or screen to trap debris and prevent clogs from occurring in the first place.
With a clear nozzle, you can enjoy a strong and consistent water flow for your gardening tasks. Now, let’s explore more advanced solutions for increasing water pressure, such as water pressure booster pumps and water pressure amplifying systems.
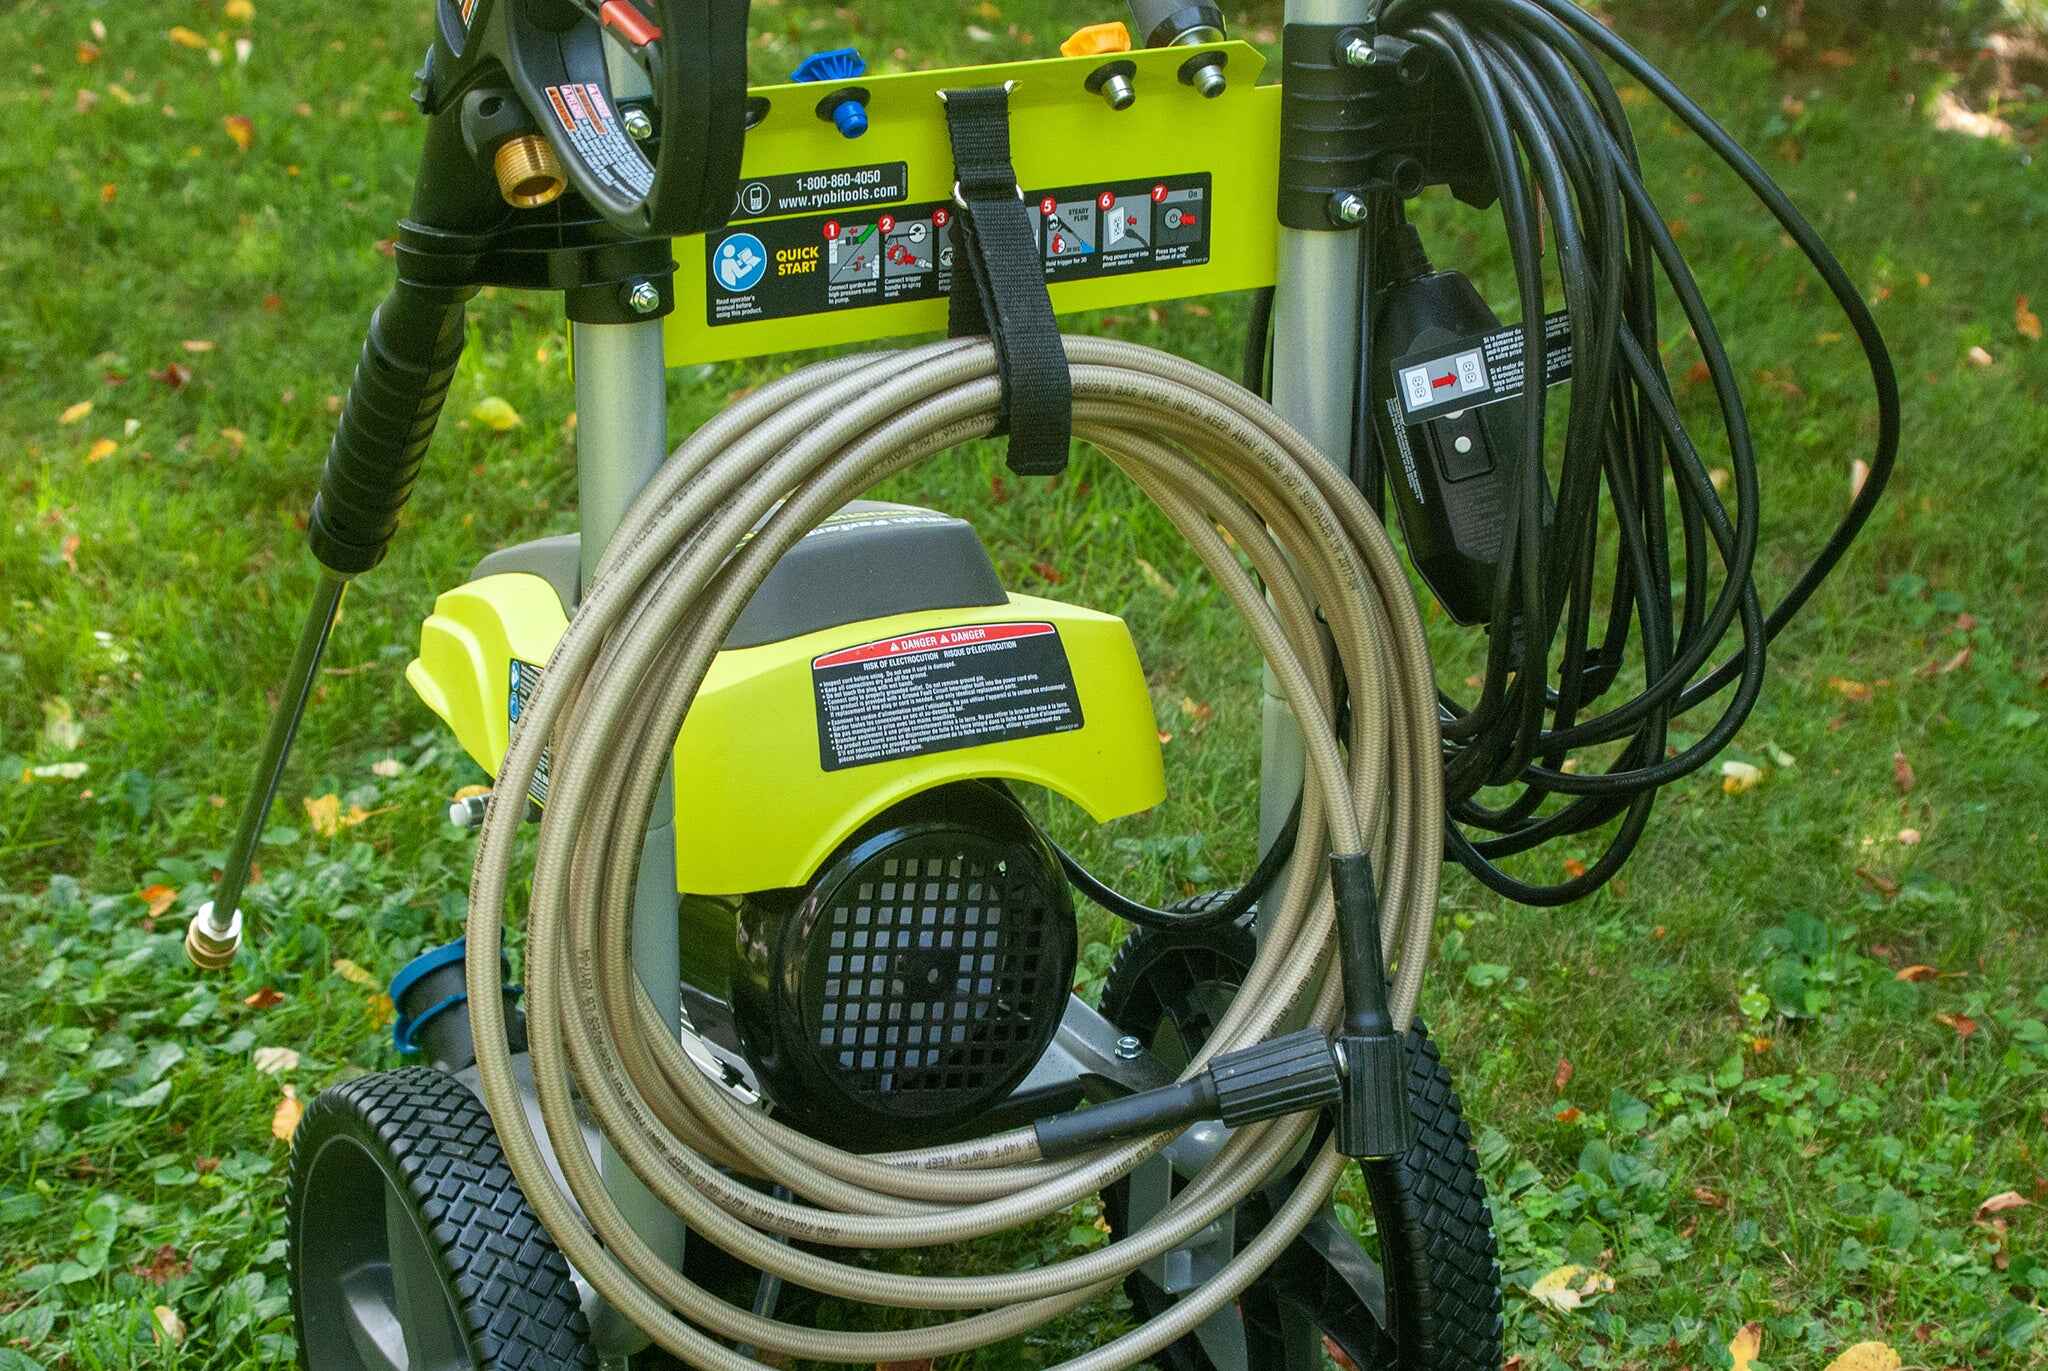
Using a Water Pressure Booster Pump
If you’ve tried the previous solutions and are still experiencing low water pressure in your garden hose, using a water pressure booster pump can be an effective solution. A booster pump is designed to increase water pressure by actively pumping water into your system. Here’s how you can use a water pressure booster pump:
- Select the right booster pump: There are various types and sizes of booster pumps available on the market. Consider the specific needs of your garden, including the desired water pressure and flow rate, and choose a booster pump that meets those requirements.
- Install the booster pump: Follow the manufacturer’s instructions for installing the booster pump. Typically, this involves attaching the pump to your water supply line and connecting it to a power source.
- Adjust the settings: Most booster pumps come with adjustable settings to control the water pressure. Consult the pump’s manual to determine how to change the pressure settings according to your requirements. Be cautious not to set the pressure too high, as it can cause damage to your plumbing system.
- Monitor the system: Once the booster pump is installed and the settings are adjusted, monitor the water pressure in your garden hose. Test the flow rate and make any necessary adjustments to ensure the pressure is at the desired level.
- Maintain the booster pump: Regularly check the booster pump for any issues or malfunctions. Clean or replace filters as needed to prevent clogs and maintain optimal performance. If you experience any problems or noticeable drops in water pressure, consult a professional to inspect and service the booster pump.
A water pressure booster pump can be a valuable investment for gardeners who consistently struggle with low water pressure. It provides a reliable and efficient solution to enhance water flow and pressure, ensuring your garden receives the necessary irrigation for healthy plant growth.
However, it’s important to note that booster pumps come with their own set of considerations, such as power requirements, noise levels, and maintenance. Before purchasing and installing a booster pump, carefully evaluate your garden’s needs and consult a professional if needed.
Now that we’ve explored the option of using a water pressure booster pump, let’s move on to another alternative: installing a water pressure amplifying system.
Installing a Water Pressure Amplifying System
If you’re looking for a more comprehensive solution to increase water pressure in your garden hose, installing a water pressure amplifying system can be the way to go. A pressure amplifying system works by boosting the water pressure throughout your entire plumbing system. Here’s how you can install a water pressure amplifying system:
- Assess your plumbing system: Before installing a pressure amplifying system, it’s important to evaluate your plumbing system to determine the best location for installation. Consider factors such as the water supply line, access points, and available space.
- Choose the right system: Research different types of water pressure amplifying systems available on the market and select one that suits your needs. There are various options, including whole-house systems and individual unit installations.
- Locate the installation point: Identify the best location to install the pressure amplifying system. This is typically done near the incoming water supply line and before the main shut-off valve.
- Shut off the main water supply: Before beginning the installation, make sure to turn off the main water supply to your property. This ensures your safety and prevents any accidents during the process.
- Install the amplifying system: Follow the manufacturer’s instructions for installing the water pressure amplifying system. This may involve attaching the system to the water supply line and connecting it to a power source if it requires electricity to operate.
- Adjust the settings: Once the system is installed, follow the provided guidelines for adjusting the pressure settings. Be mindful not to set the pressure too high, as it can cause damage to your plumbing fixtures or appliances.
- Turn on the main water supply: After completing the installation and adjusting the settings, you can turn on the main water supply to your property. Monitor the water pressure in your garden hose and make any necessary adjustments to ensure the pressure is at the desired level.
- Regular maintenance: Like any other plumbing system, a water pressure amplifying system requires regular maintenance. Follow the manufacturer’s recommendations for maintenance and inspect the system periodically to ensure it is functioning properly.
Installing a water pressure amplifying system is a more comprehensive solution that benefits not only your garden hose but your entire plumbing system. It ensures consistent and adequate water pressure throughout your property, making watering your plants and completing other gardening tasks a breeze.
However, the installation process can be complex, and it may require professional expertise. If you’re unsure about installing a water pressure amplifying system, consult a licensed plumber who can guide you through the process or perform the installation for you.
Now that we’ve explored the various solutions to increase water pressure for your garden hose, let’s conclude with a summary of the key points we’ve covered.
Conclusion
Having a strong and reliable water pressure in your garden hose is essential for maintaining a healthy and thriving garden. Low water pressure can be frustrating, but fortunately, there are several solutions available to increase the water pressure and ensure proper irrigation for your plants.
In this article, we discussed the common causes of low water pressure in garden hoses, including supply line issues, water pressure regulators, faucet aerators, hose nozzle blockages, and distance/elevation factors. By understanding these causes, you can effectively troubleshoot and address the specific issue affecting your garden hose.
We provided step-by-step instructions for checking and adjusting the water pressure regulator, cleaning or replacing the faucet aerator, clearing clogged hose nozzles, and even using water pressure booster pumps or installing water pressure amplifying systems for more comprehensive solutions.
Remember to always prioritize safety when working with plumbing systems. Turn off the main water supply before making any adjustments or installations, and consult a professional if you feel unsure or uncomfortable with any task.
By implementing the appropriate solution based on the specific cause of your water pressure issue, you can enjoy a strong and consistent water flow in your garden hose. This will not only make watering your plants more efficient but also allow you to utilize attachments such as sprinklers and pressure washers with optimal performance.
Regular maintenance and periodic inspections of your plumbing system, including faucets, aerators, and hose nozzles, are crucial to prevent future clogs or issues that can affect water pressure. Take proactive measures to keep your garden hose in great working condition.
Remember, gardening is a rewarding and fulfilling activity, and with the right water pressure, you can optimize the health and growth of your plants. So, make the most of these solutions and enjoy the beauty and abundance of your garden!
Curious about how much water your garden hose can deliver? Understanding the flow rate, measured in gallons per minute, is crucial for efficient watering and can help you plan your garden watering schedule more effectively. Our next guide delves into everything you need to know to assess your garden hose’s flow rate effectively. Don’t miss out on optimizing your garden’s watering needs!
Frequently Asked Questions about How To Increase Water Pressure For Garden Hose
Was this page helpful?
At Storables.com, we guarantee accurate and reliable information. Our content, validated by Expert Board Contributors, is crafted following stringent Editorial Policies. We're committed to providing you with well-researched, expert-backed insights for all your informational needs.


0 thoughts on “How To Increase Water Pressure For Garden Hose”