Home>Furniture & Design>Outdoor Furniture>How To Increase Water Pressure In An Outdoor Spigot
Outdoor Furniture
How To Increase Water Pressure In An Outdoor Spigot
Published: January 15, 2024
Learn how to increase water pressure in your outdoor spigot with our expert tips and tricks. Improve the functionality of your outdoor-furniture-furniture-and-design with our easy solutions.
(Many of the links in this article redirect to a specific reviewed product. Your purchase of these products through affiliate links helps to generate commission for Storables.com, at no extra cost. Learn more)
Introduction
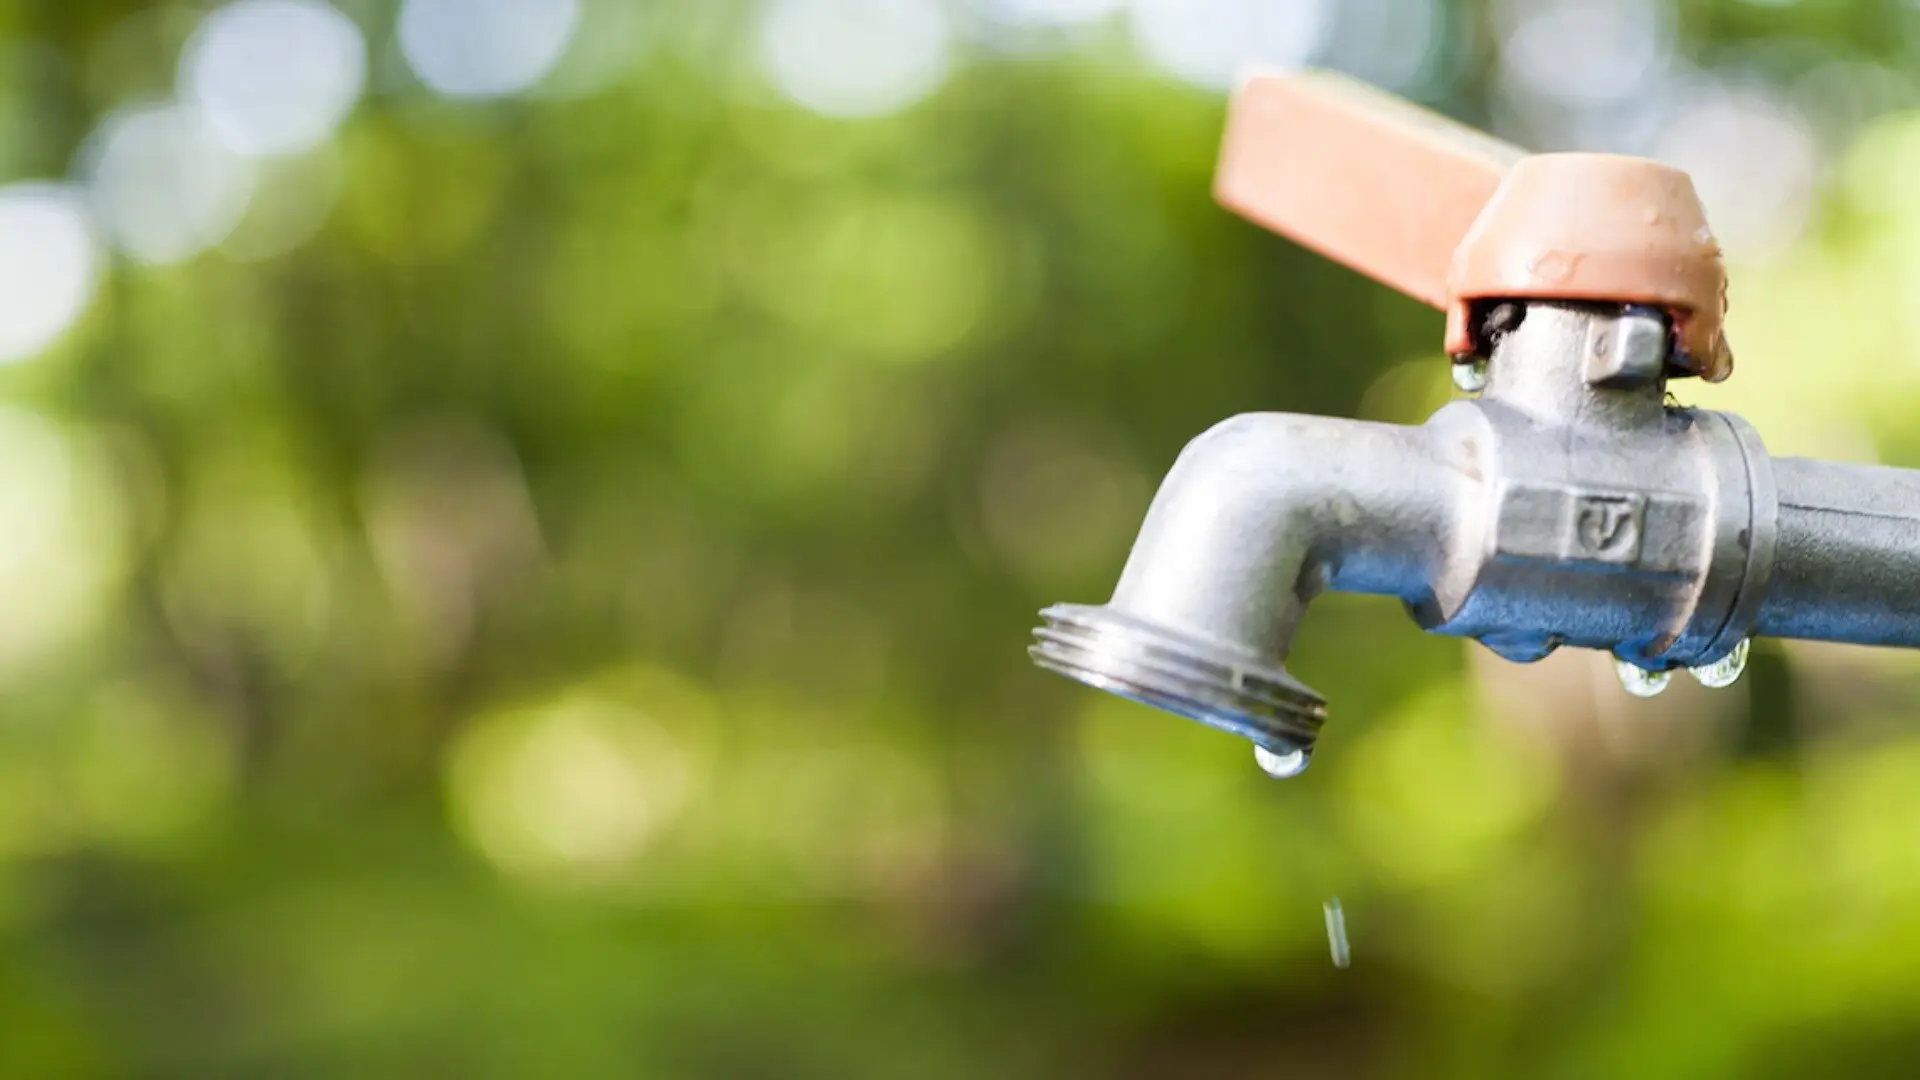
Are you frustrated with the feeble trickle that emerges from your outdoor spigot when you're attempting to water your garden or wash your car? Inadequate water pressure can be a major inconvenience, but fear not! There are several effective strategies to bolster the water pressure in your outdoor spigot, allowing you to enjoy a robust stream of water for all your outdoor tasks.
In this comprehensive guide, we will delve into the various factors that can lead to low water pressure in outdoor spigots, and explore practical solutions to address this common issue. Whether it's a simple blockage hindering the flow or a need for a complete spigot replacement, we've got you covered.
So, let's roll up our sleeves and equip ourselves with the knowledge and techniques necessary to revitalize the water pressure in your outdoor spigot. By the end of this guide, you'll be equipped with the expertise to troubleshoot, resolve, and even prevent low water pressure issues, ensuring a steady and satisfying flow of water for all your outdoor needs. Let's dive in and unleash the full potential of your outdoor spigot!
Key Takeaways:
- Don’t let a feeble outdoor spigot slow you down! Clear blockages, clean, or replace the spigot to boost water pressure and enjoy hassle-free outdoor tasks.
- When all else fails, consider a water pressure booster for a strong and consistent flow. Say goodbye to low water pressure and hello to efficient outdoor water use!
Read more: How To Extend Outdoor Water Spigot
Understanding the Water Pressure Issue
Before delving into the solutions, it’s crucial to understand the potential causes of low water pressure in outdoor spigots. Several factors can contribute to this frustrating issue:
- Obstructed Flow: Over time, outdoor spigots can become clogged with mineral deposits, sediment, or debris, impeding the flow of water and reducing pressure.
- Old or Faulty Spigots: The age and condition of the spigot itself can significantly impact water pressure. Corrosion, wear and tear, or internal damage can all lead to diminished performance.
- Water Supply Issues: Sometimes, the problem lies beyond the spigot. Issues with the main water supply line, such as leaks, blockages, or inadequate pressure from the source, can affect the water pressure at the spigot.
- Inadequate Plumbing: The layout and design of your plumbing system, including the diameter and length of the pipes, can influence water pressure, especially for outdoor fixtures.
By gaining insight into these potential culprits, you can better diagnose and address the specific cause of low water pressure in your outdoor spigot. This understanding will inform our approach as we explore the steps to remedy this common issue.
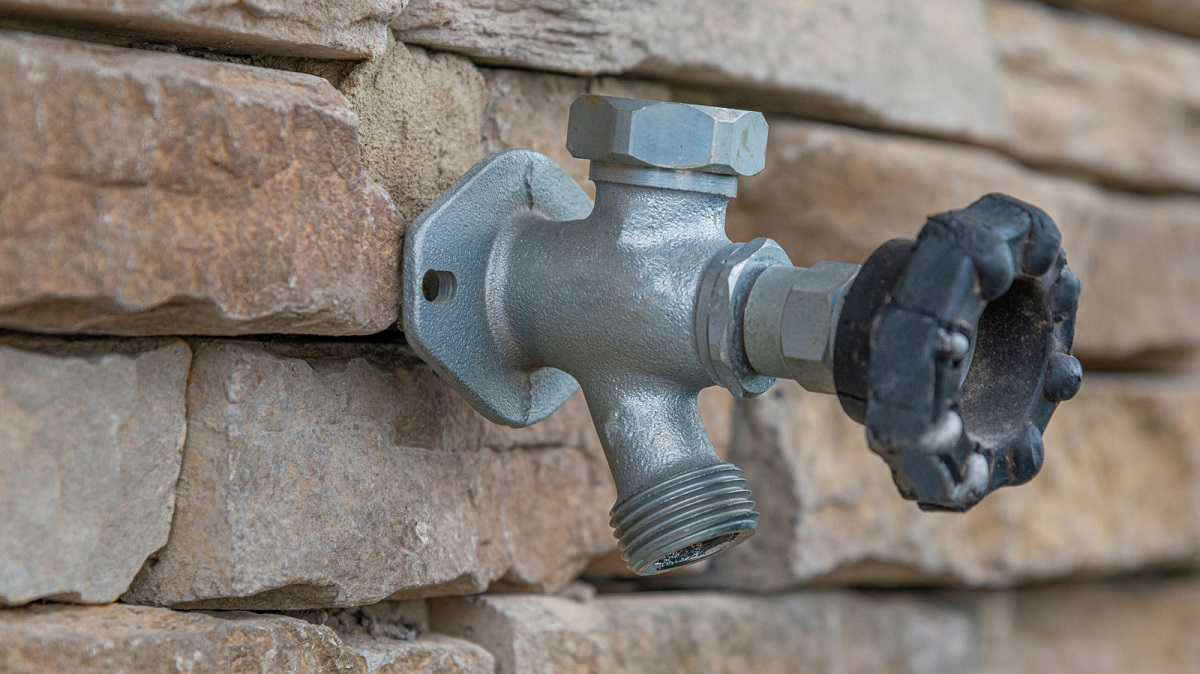
Checking for Blockages
One of the primary culprits behind low water pressure in outdoor spigots is blockages that hinder the flow of water. Before exploring more complex solutions, it’s essential to conduct a thorough examination to identify and address any potential obstructions. Here’s how you can methodically check for and clear blockages:
1. Inspect the Spigot
Begin by visually inspecting the spigot for any visible signs of blockages. Look for mineral deposits, rust, or debris that may be obstructing the opening of the spigot. If you notice any buildup, it’s a clear indication that a blockage is impeding the water flow.
2. Remove the Nozzle or Attachment
If your outdoor spigot is equipped with a nozzle, hose attachment, or any other accessories, detach them to assess the condition of the spigot’s opening. These attachments can accumulate debris or sediment over time, leading to reduced water pressure.
Read more: How To Increase Water Pressure In Sink
3. Flush the Spigot
With the attachments removed, turn on the water to flush out the spigot. This can help dislodge and clear minor obstructions that may be restricting the flow. If the water pressure improves after flushing, it indicates that the blockage was successfully removed.
4. Clearing Mineral Deposits
If mineral deposits are the culprit, you can use a descaling solution or a mixture of vinegar and water to dissolve the buildup. Soak a cloth or sponge in the solution and apply it to the affected areas, allowing it to break down the deposits. Afterward, thoroughly rinse the spigot to remove any remaining residue.
5. Utilize a Pipe Cleaner or Wire Brush
For more stubborn blockages, consider using a pipe cleaner or wire brush to carefully dislodge and remove debris from the spigot’s opening. Exercise caution to avoid damaging the spigot during this process.
By diligently checking for and addressing blockages, you can often restore adequate water pressure to your outdoor spigot without the need for extensive repairs or replacements. However, if blockages persist or the water pressure remains insufficient, further steps may be necessary to resolve the issue.
Cleaning the Outdoor Spigot
When faced with low water pressure in your outdoor spigot, thorough cleaning can often serve as a highly effective solution. By addressing mineral deposits, sediment, and other forms of buildup, you can restore the spigot’s functionality and significantly improve water pressure. Here’s a step-by-step guide to cleaning your outdoor spigot:
Read more: How To Increase Water Pressure At Showerhead
1. Gather Cleaning Supplies
Before initiating the cleaning process, assemble the necessary supplies, including a descaling solution, white vinegar, a sponge or cloth, a wire brush or pipe cleaner, and a wrench if you need to disassemble the spigot for a more thorough cleaning.
2. Turn Off the Water Supply
Prior to cleaning, it’s essential to turn off the water supply to the spigot. This can typically be achieved by locating the shut-off valve connected to the spigot and closing it to prevent water flow during the cleaning process.
3. Remove Attachments and Obstructions
Detach any hoses, nozzles, or other attachments from the spigot. Inspect these accessories for blockages or debris, and clean them separately if necessary. Additionally, ensure that there are no obstructions within the spigot’s opening.
4. Apply Descaling Solution or Vinegar
If mineral deposits are present, apply a descaling solution or a mixture of white vinegar and water to the affected areas. Allow the solution to penetrate the buildup, effectively dissolving the deposits and making them easier to remove. For stubborn deposits, you may need to let the solution sit for an extended period.
Read more: How To Increase Water Pressure In Bidet
5. Scrub and Rinse
Using a sponge, cloth, wire brush, or pipe cleaner, carefully scrub the interior and exterior of the spigot to dislodge and remove the softened deposits. Thoroughly rinse the spigot with clean water to eliminate any remaining residue and ensure that the water flows freely.
6. Reassemble and Test
Once the cleaning process is complete, reattach any accessories and turn the water supply back on. Test the spigot to assess the water pressure, ensuring that the cleaning efforts have successfully restored adequate flow.
By diligently cleaning your outdoor spigot, you can eliminate obstructions and buildup that impede water flow, ultimately rejuvenating the water pressure and optimizing the spigot’s performance.
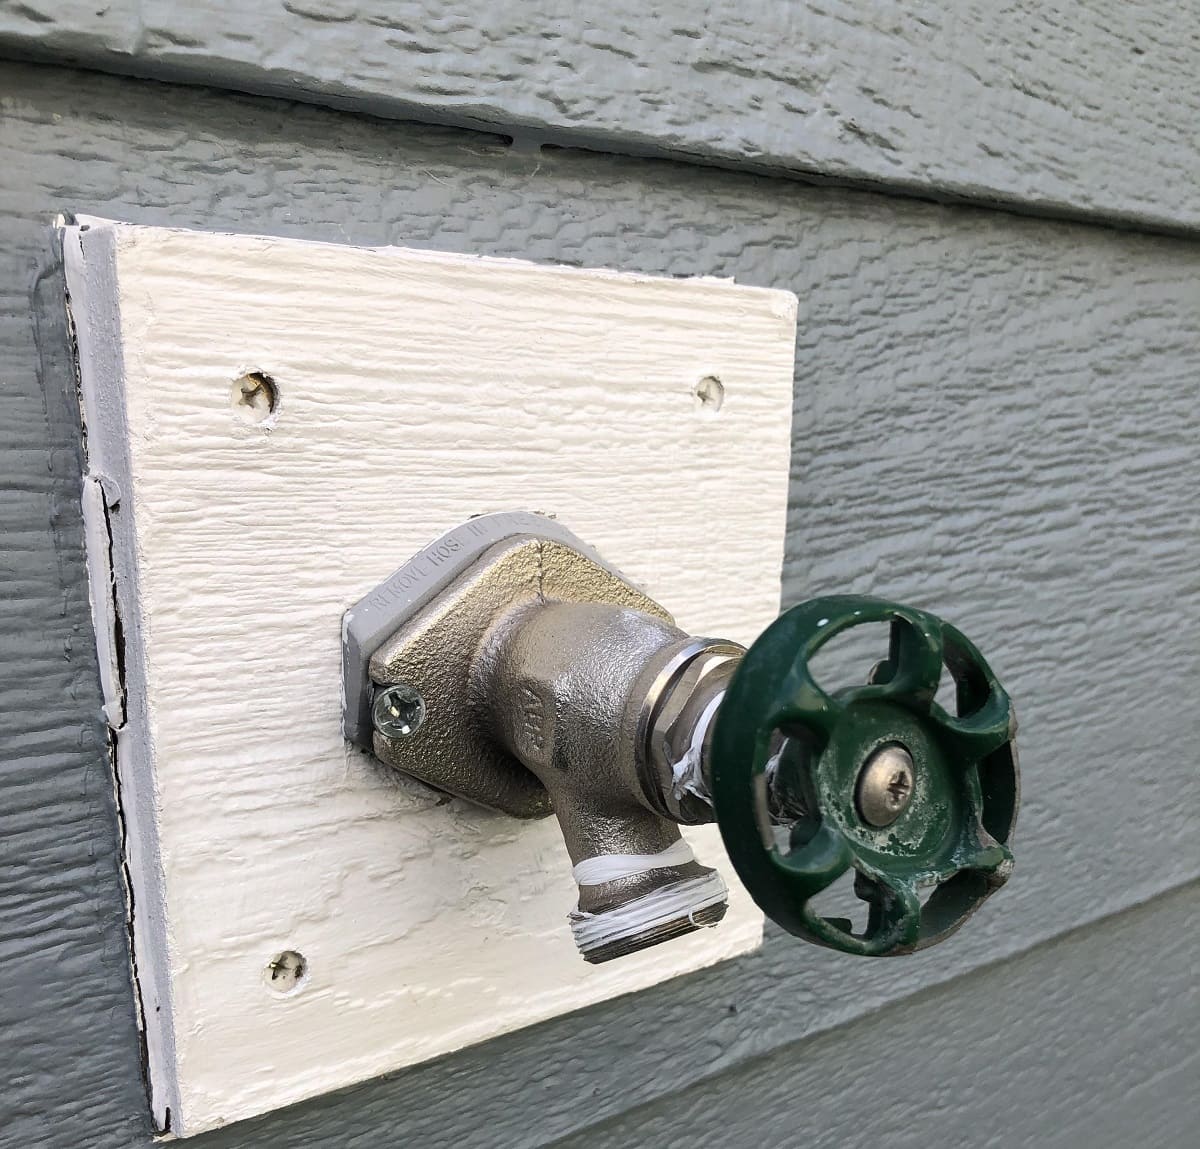
Replacing the Outdoor Spigot
When all attempts to improve the water pressure in your outdoor spigot prove futile, it may be time to consider replacing the spigot. Age, deterioration, and irreparable damage can render a spigot incapable of delivering adequate water pressure. By replacing the spigot, you can ensure a reliable and robust water supply for your outdoor activities. Here’s a comprehensive guide to replacing your outdoor spigot:
1. Procure a Replacement Spigot
Before initiating the replacement process, acquire a new outdoor spigot that aligns with your specific requirements and the dimensions of your existing setup. Ensure that the replacement spigot is compatible with your plumbing system and outdoor fixtures.
2. Turn Off the Water Supply
Prior to removing the old spigot, shut off the water supply to the outdoor fixture. Locate the shut-off valve connected to the spigot and close it to prevent water flow during the replacement process.
3. Remove the Old Spigot
Using a wrench, carefully detach the old spigot from the exterior wall or mounting surface. Exercise caution to avoid damaging the surrounding plumbing and fixtures during the removal process. Once the old spigot is disconnected, thoroughly clean the area to prepare for the installation of the new spigot.
4. Install the Replacement Spigot
Position the new spigot at the designated location, ensuring a secure and stable fit against the exterior wall. Follow the manufacturer’s instructions for proper installation, including the use of sealing tape or compounds to prevent leaks and ensure a watertight connection.
5. Reconnect the Water Supply
Once the new spigot is securely in place, reconnect the water supply by opening the shut-off valve. Test the new spigot to verify that the water pressure is restored and that there are no leaks or issues with the installation.
Read more: How To Change An Outdoor Spigot
6. Verify Proper Functionality
Thoroughly inspect the replacement spigot to ensure that it functions as intended, delivering adequate water pressure without any signs of leakage or malfunction. Confirm that all connections are secure and that the spigot operates smoothly.
By replacing the outdoor spigot, you can address persistent water pressure issues and enjoy a reliable and efficient water source for your outdoor tasks. This proactive approach ensures that your outdoor spigot meets your water pressure needs, providing a seamless experience for various applications.
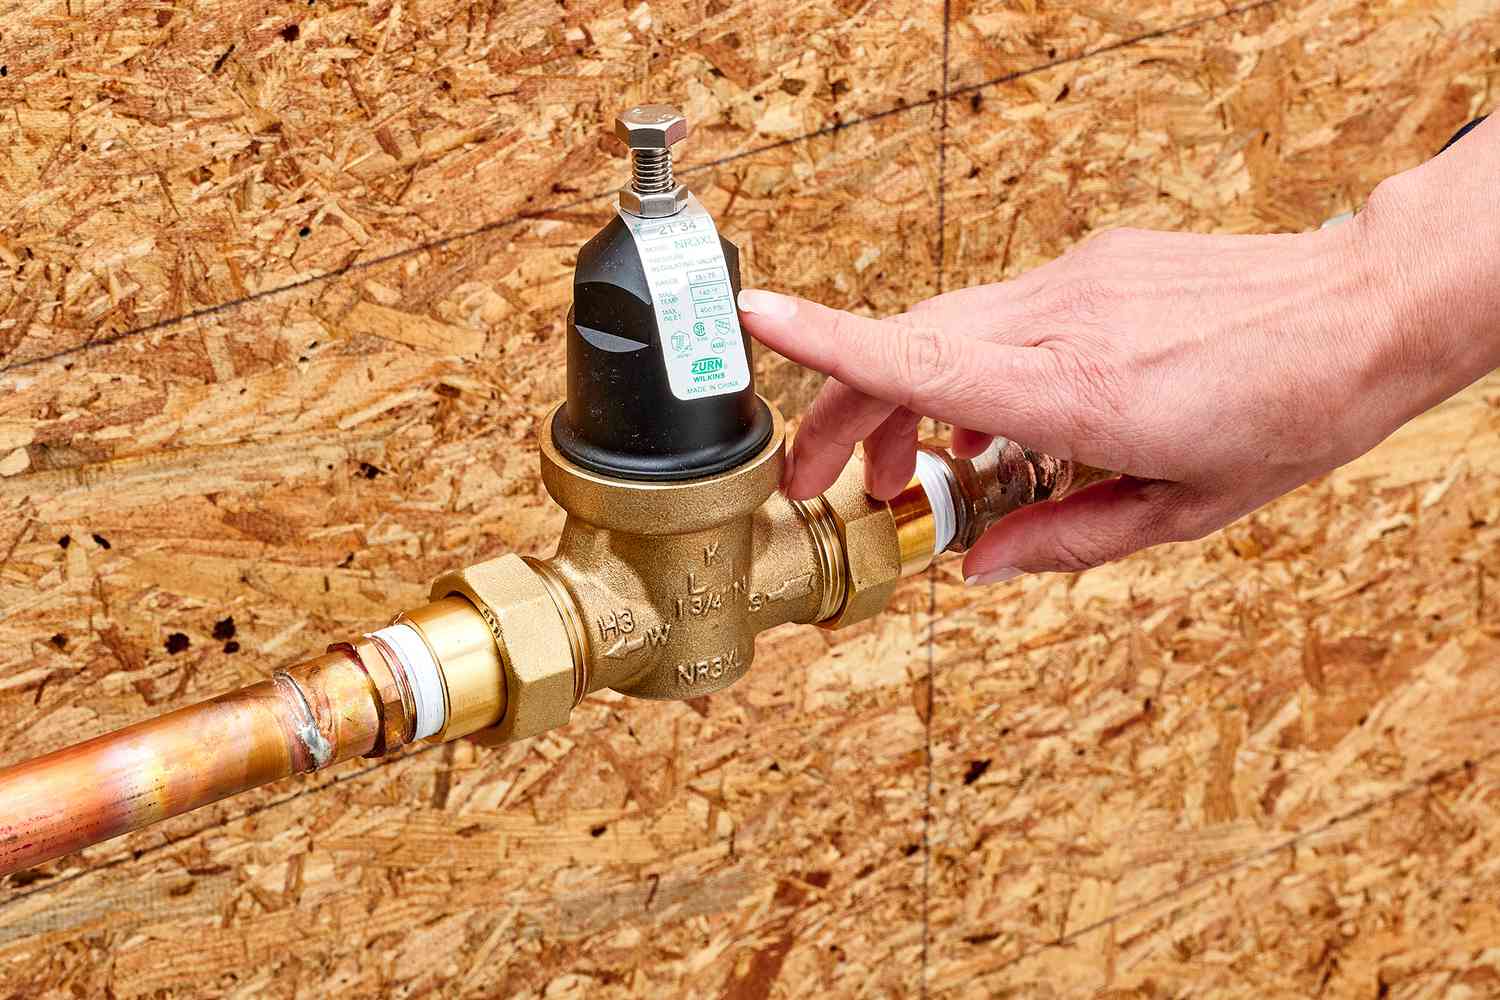
Installing a Water Pressure Booster
When conventional methods fail to remedy low water pressure in your outdoor spigot, installing a water pressure booster can serve as a highly effective solution. A pressure booster system enhances water pressure, ensuring a strong and consistent flow for your outdoor activities. Here’s a comprehensive guide to installing a water pressure booster:
1. Assess Your Water Pressure Needs
Prior to selecting a pressure booster system, evaluate your specific water pressure requirements. Consider the desired flow rate, the number of outdoor fixtures the booster will supply, and any unique considerations related to your outdoor water usage.
2. Choose a Suitable Pressure Booster System
Select a water pressure booster that aligns with your identified needs and the specifications of your plumbing system. Ensure that the booster is designed for outdoor use and is compatible with your existing water supply setup.
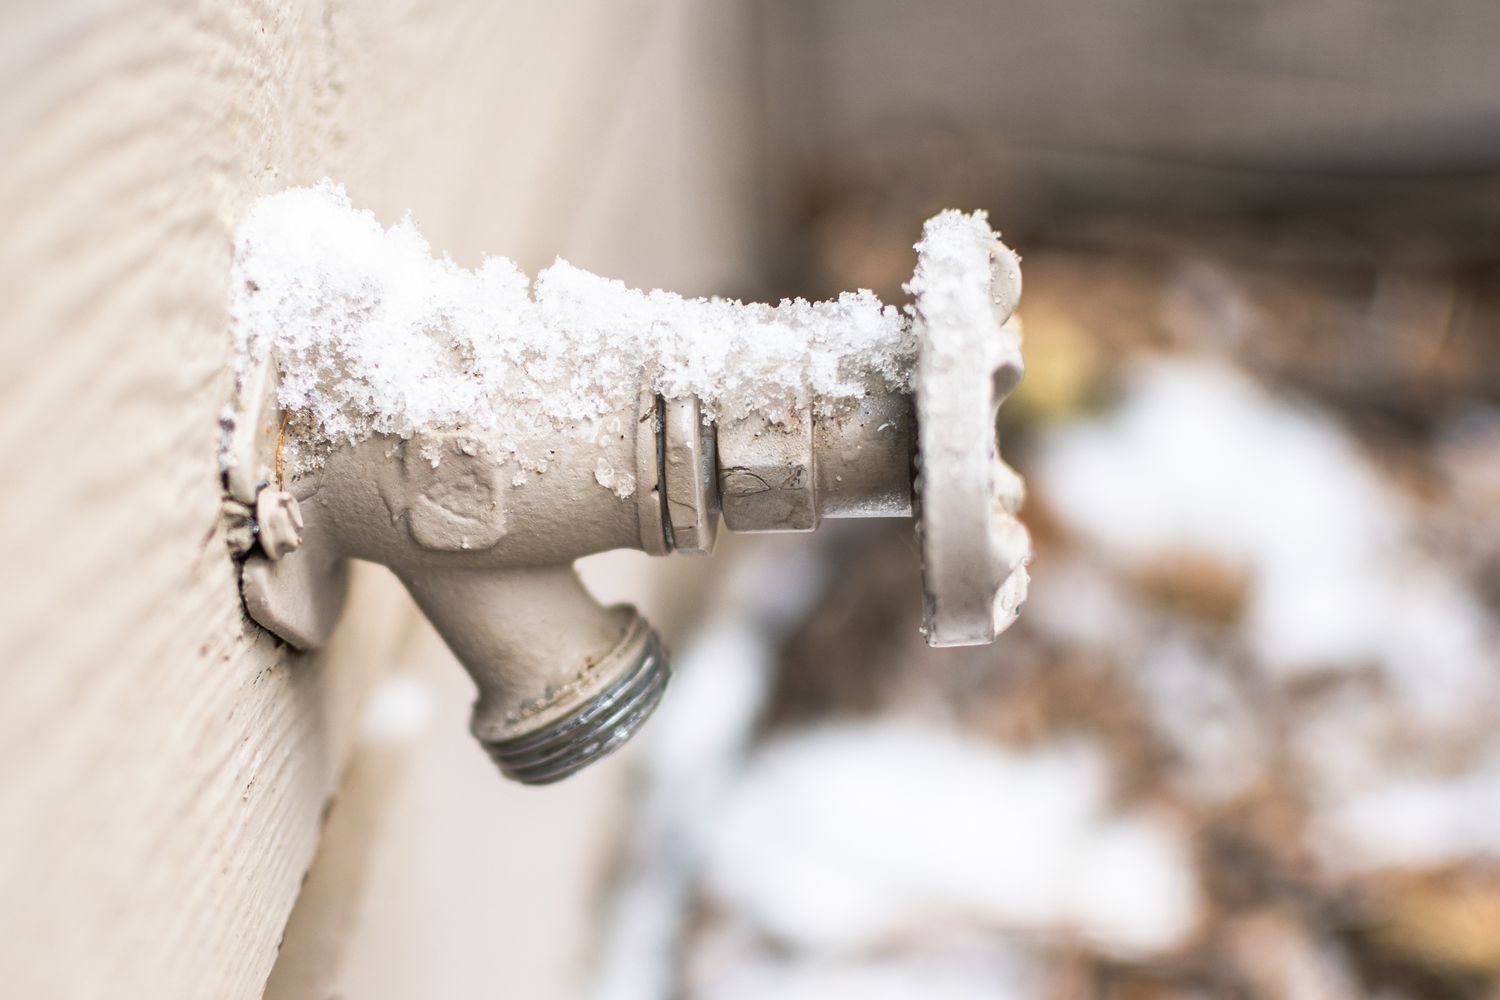
Read more: How To Winterize An Outdoor Spigot
3. Shut Off the Water Supply
Before initiating the installation, turn off the main water supply to your property. This precautionary step prevents water flow during the installation process and ensures a safe working environment.
4. Position the Pressure Booster
Select an appropriate location for the pressure booster system, typically near the main water supply line or the location where it will effectively enhance water pressure for outdoor fixtures. Ensure that the chosen location allows for easy access and maintenance of the booster.
5. Connect the Booster to the Water Supply
Follow the manufacturer’s instructions to connect the pressure booster to the main water supply line. Utilize the appropriate fittings, valves, and connectors to establish a secure and watertight connection. Verify that all connections are properly sealed to prevent leaks.
6. Electrical Wiring and Controls
If the pressure booster system requires electrical power, carefully install and connect the necessary wiring in accordance with local electrical codes and the manufacturer’s guidelines. Set up any control panels or monitoring devices associated with the booster system to ensure optimal performance and safety.
Read more: How To Raise An Outdoor Spigot
7. Test and Adjust the Booster
Once the pressure booster is installed, turn on the water supply and test the system to verify that it effectively enhances water pressure at the outdoor spigot. Make any necessary adjustments to the booster settings to achieve the desired water pressure level.
By installing a water pressure booster, you can significantly improve the water pressure in your outdoor spigot, ensuring a steady and robust flow for all your outdoor water-related tasks. This proactive approach enhances the functionality of your outdoor water supply, providing a seamless and satisfying experience for various applications.
Conclusion
Addressing low water pressure in your outdoor spigot is essential for ensuring a reliable and efficient water supply for various outdoor tasks. By understanding the potential causes of low water pressure and implementing targeted solutions, you can rejuvenate your outdoor spigot and enjoy a robust flow of water for gardening, cleaning, and other activities. Whether it’s clearing blockages, cleaning the spigot, replacing the fixture, or installing a water pressure booster, there are effective strategies to enhance water pressure and optimize the performance of your outdoor spigot.
Through diligent inspection and maintenance, you can identify and address blockages that impede water flow, restoring adequate pressure without the need for extensive repairs. Thoroughly cleaning the outdoor spigot can eliminate mineral deposits and sediment, revitalizing the water pressure and ensuring optimal functionality. In cases where the spigot is old, damaged, or beyond repair, replacing it with a new fixture can provide a lasting solution to low water pressure issues.
For persistent low water pressure challenges, installing a water pressure booster offers a proactive and effective approach to enhancing water flow and meeting your outdoor water supply needs. By carefully selecting and installing a suitable pressure booster system, you can ensure a consistent and robust water pressure for your outdoor fixtures, elevating your overall outdoor water experience.
By leveraging the insights and techniques presented in this guide, you are equipped to troubleshoot, address, and prevent low water pressure in your outdoor spigot, empowering you to enjoy a steady and satisfying flow of water for all your outdoor endeavors. With a proactive approach to maintenance and the implementation of targeted solutions, you can unleash the full potential of your outdoor spigot, enhancing your outdoor living space and facilitating seamless water-related activities.
Now, armed with this knowledge, you can confidently tackle low water pressure issues in your outdoor spigot, ensuring a reliable and robust water supply that meets your outdoor needs with ease and efficiency.
Frequently Asked Questions about How To Increase Water Pressure In An Outdoor Spigot
Was this page helpful?
At Storables.com, we guarantee accurate and reliable information. Our content, validated by Expert Board Contributors, is crafted following stringent Editorial Policies. We're committed to providing you with well-researched, expert-backed insights for all your informational needs.


0 thoughts on “How To Increase Water Pressure In An Outdoor Spigot”