Articles
How To Increase Water Pressure In Sink
Modified: October 20, 2024
Discover effective articles on how to increase water pressure in your sink. Take steps to solve low water pressure issues with these helpful tips and techniques.
(Many of the links in this article redirect to a specific reviewed product. Your purchase of these products through affiliate links helps to generate commission for Storables.com, at no extra cost. Learn more)
Introduction
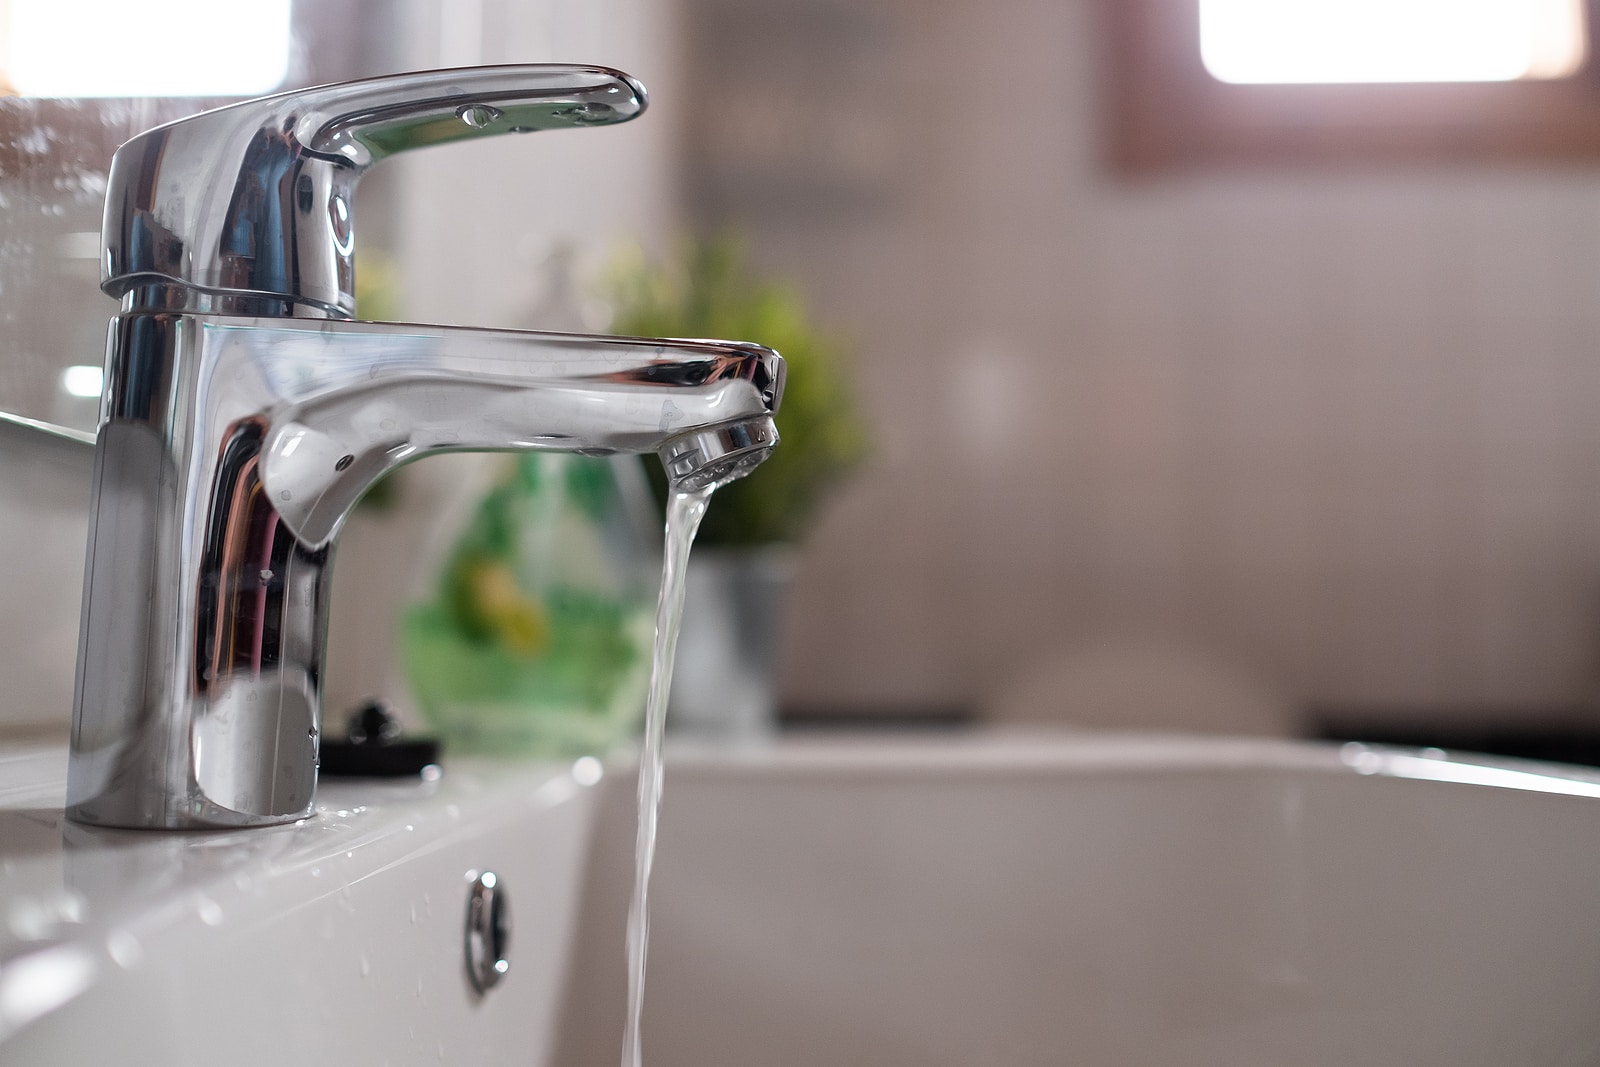
Having low water pressure in your sink can be frustrating and inconvenient. It can make simple tasks like washing dishes or filling a glass of water seem like a never-ending chore. However, there are several ways to increase the water pressure in your sink and improve your overall water flow.
There are various reasons why you may be experiencing low water pressure in your sink, including clogged aerators, dirty faucet filters, and mineral buildup in the pipes. Luckily, most of these issues can be easily resolved without the need for professional help.
In this article, we will explore different methods and steps you can take to increase the water pressure in your sink. From simple DIY fixes to more advanced solutions, we will cover everything you need to know to achieve a stronger, more efficient flow of water.
Key Takeaways:
- Don’t let low water pressure slow you down! From cleaning the aerator to installing a pressure booster pump, there are DIY and professional solutions to restore a strong and reliable water flow in your sink.
- Regular maintenance and periodic checks can prevent low water pressure. If DIY fixes don’t work, consult a professional plumber to assess your specific situation and provide appropriate guidance.
Read more: How To Increase Water Pressure At Showerhead
Reasons for Low Water Pressure
Before you can effectively troubleshoot and improve the water pressure in your sink, it’s important to understand the underlying causes of low water pressure. Here are some common reasons why you may be experiencing a weak flow of water:
- Clogged aerators: The aerator is a small mesh screen located at the end of your faucet. Over time, it can become clogged with mineral deposits, debris, or sediment, restricting the flow of water. This can cause a decrease in water pressure.
- Dirty faucet filters: Some faucets have built-in filters to prevent debris from entering the water supply. If these filters become dirty or clogged, they can hinder the water flow and reduce the pressure in your sink.
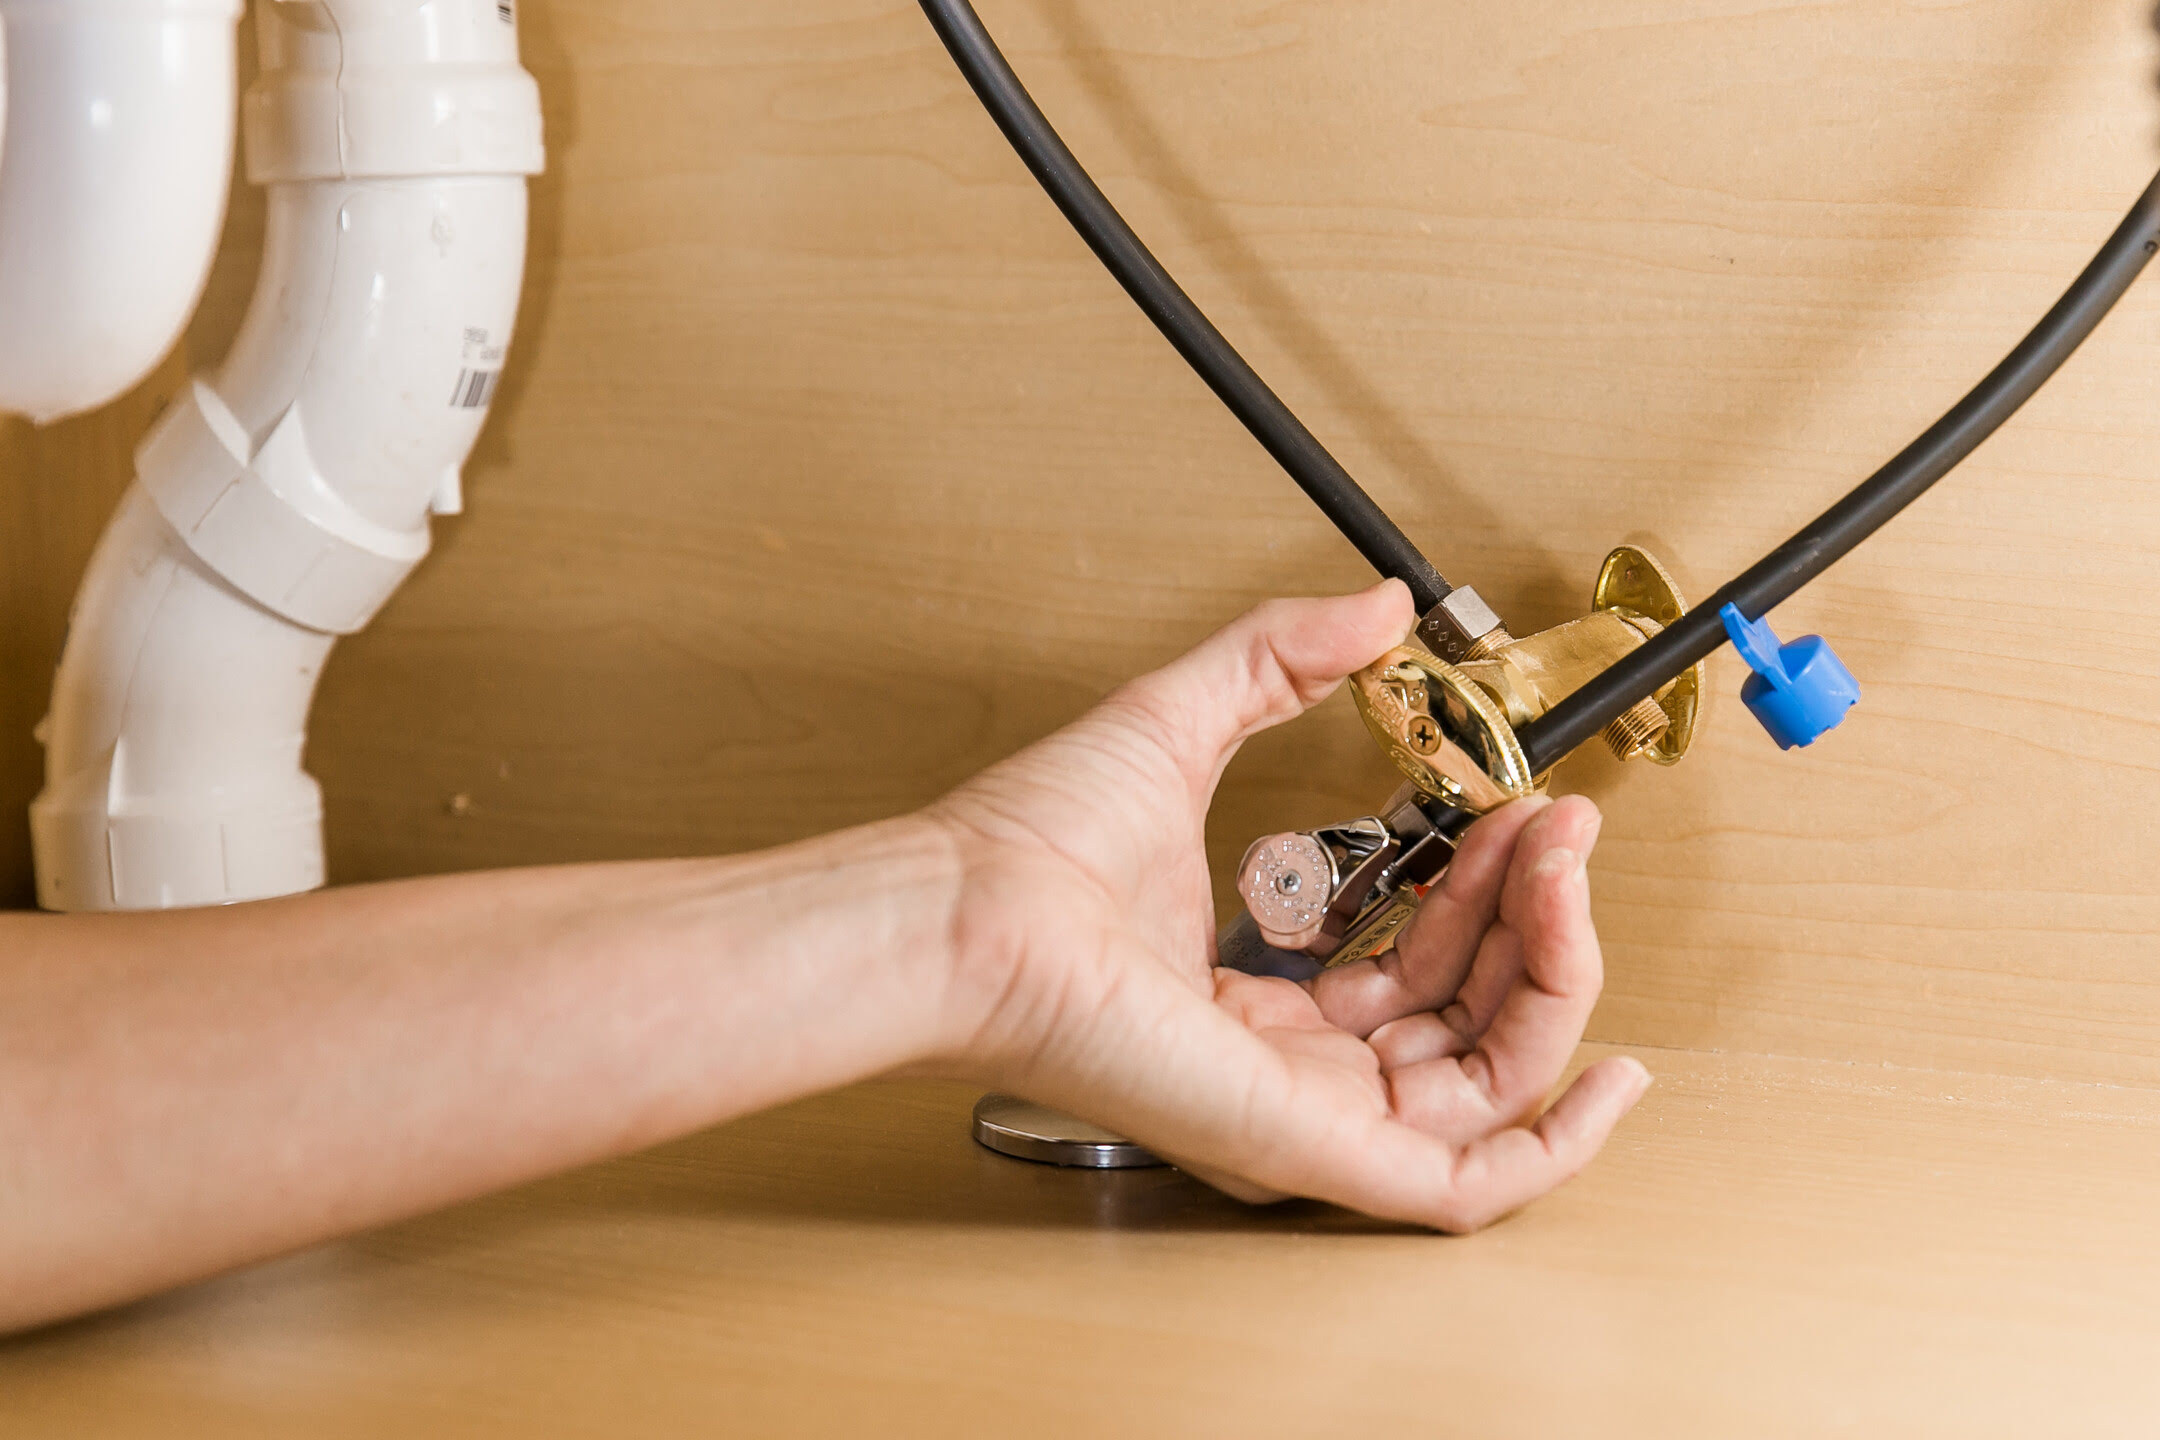
- Shut-off valve issues: The shut-off valve controls the water supply to your sink. If it is not fully open or is partially closed, it can restrict the water flow and result in low water pressure.
- Mineral deposits in pipes: Over time, minerals, such as calcium and magnesium, can build up inside your pipes. This accumulation can narrow the pipe openings and obstruct the water flow, leading to decreased water pressure.
By identifying the specific cause of your low water pressure, you can implement the appropriate solution to increase the water pressure in your sink. This will allow you to enjoy a steady and powerful stream of water for your daily activities.
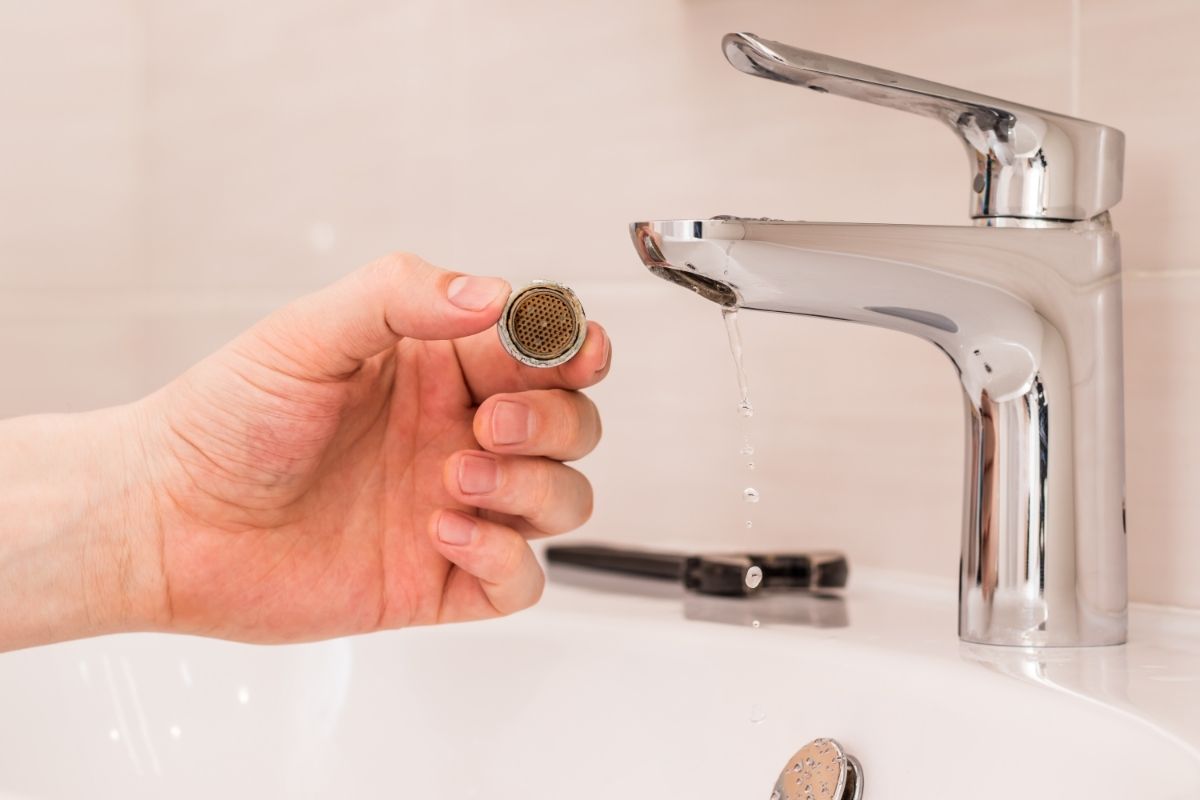
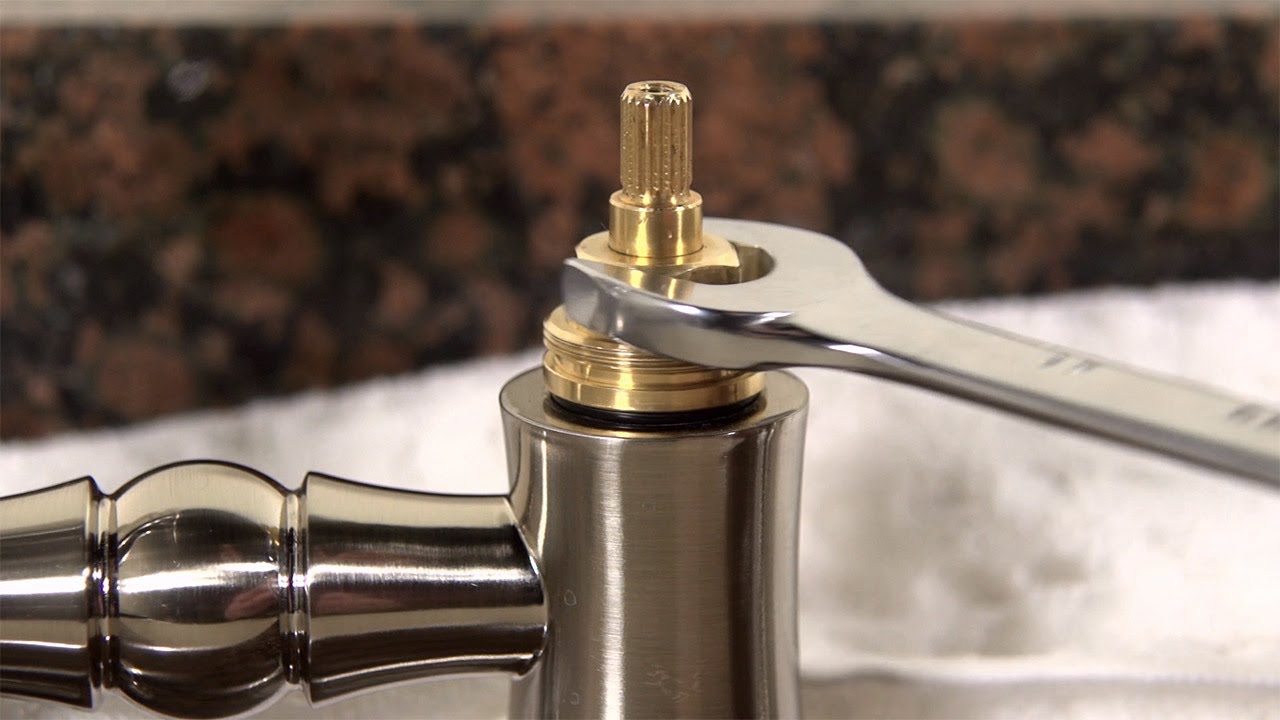
Check the Aerator
One of the first steps to take when trying to increase the water pressure in your sink is to check the aerator. The aerator is a small device located at the end of the faucet that mixes air with the water, helping to reduce water usage and create a steady flow.
Over time, mineral deposits, dirt, and debris can accumulate in the aerator, causing it to become clogged and restrict the water flow. To check the aerator, follow these steps:
- Start by turning off the faucet and placing a towel or cloth over the drain to prevent any small parts from falling in.
- Gently unscrew the aerator from the end of the faucet using your hand. If it’s difficult to remove, you can use pliers, but be careful not to damage the threads.
- Once the aerator is removed, inspect it for any visible debris or minerals. If you see buildup, use a toothbrush or a small brush to scrub away the deposits.
- Rinse the aerator under running water to remove any loosened particles.
- Reattach the clean aerator to the faucet by screwing it back on in a clockwise direction. Use your hand to tighten it securely.
After cleaning and reattaching the aerator, turn on the faucet to check if the water pressure has improved. If not, you may need to explore other possible causes for the low water pressure.
The aerator should be cleaned regularly to prevent buildup and maintain optimal water flow. Depending on the quality of your water, you may need to clean it every few months or more frequently if you notice a decline in water pressure.
By checking and cleaning the aerator, you can eliminate one potential cause of low water pressure and restore a strong and consistent flow of water in your sink.
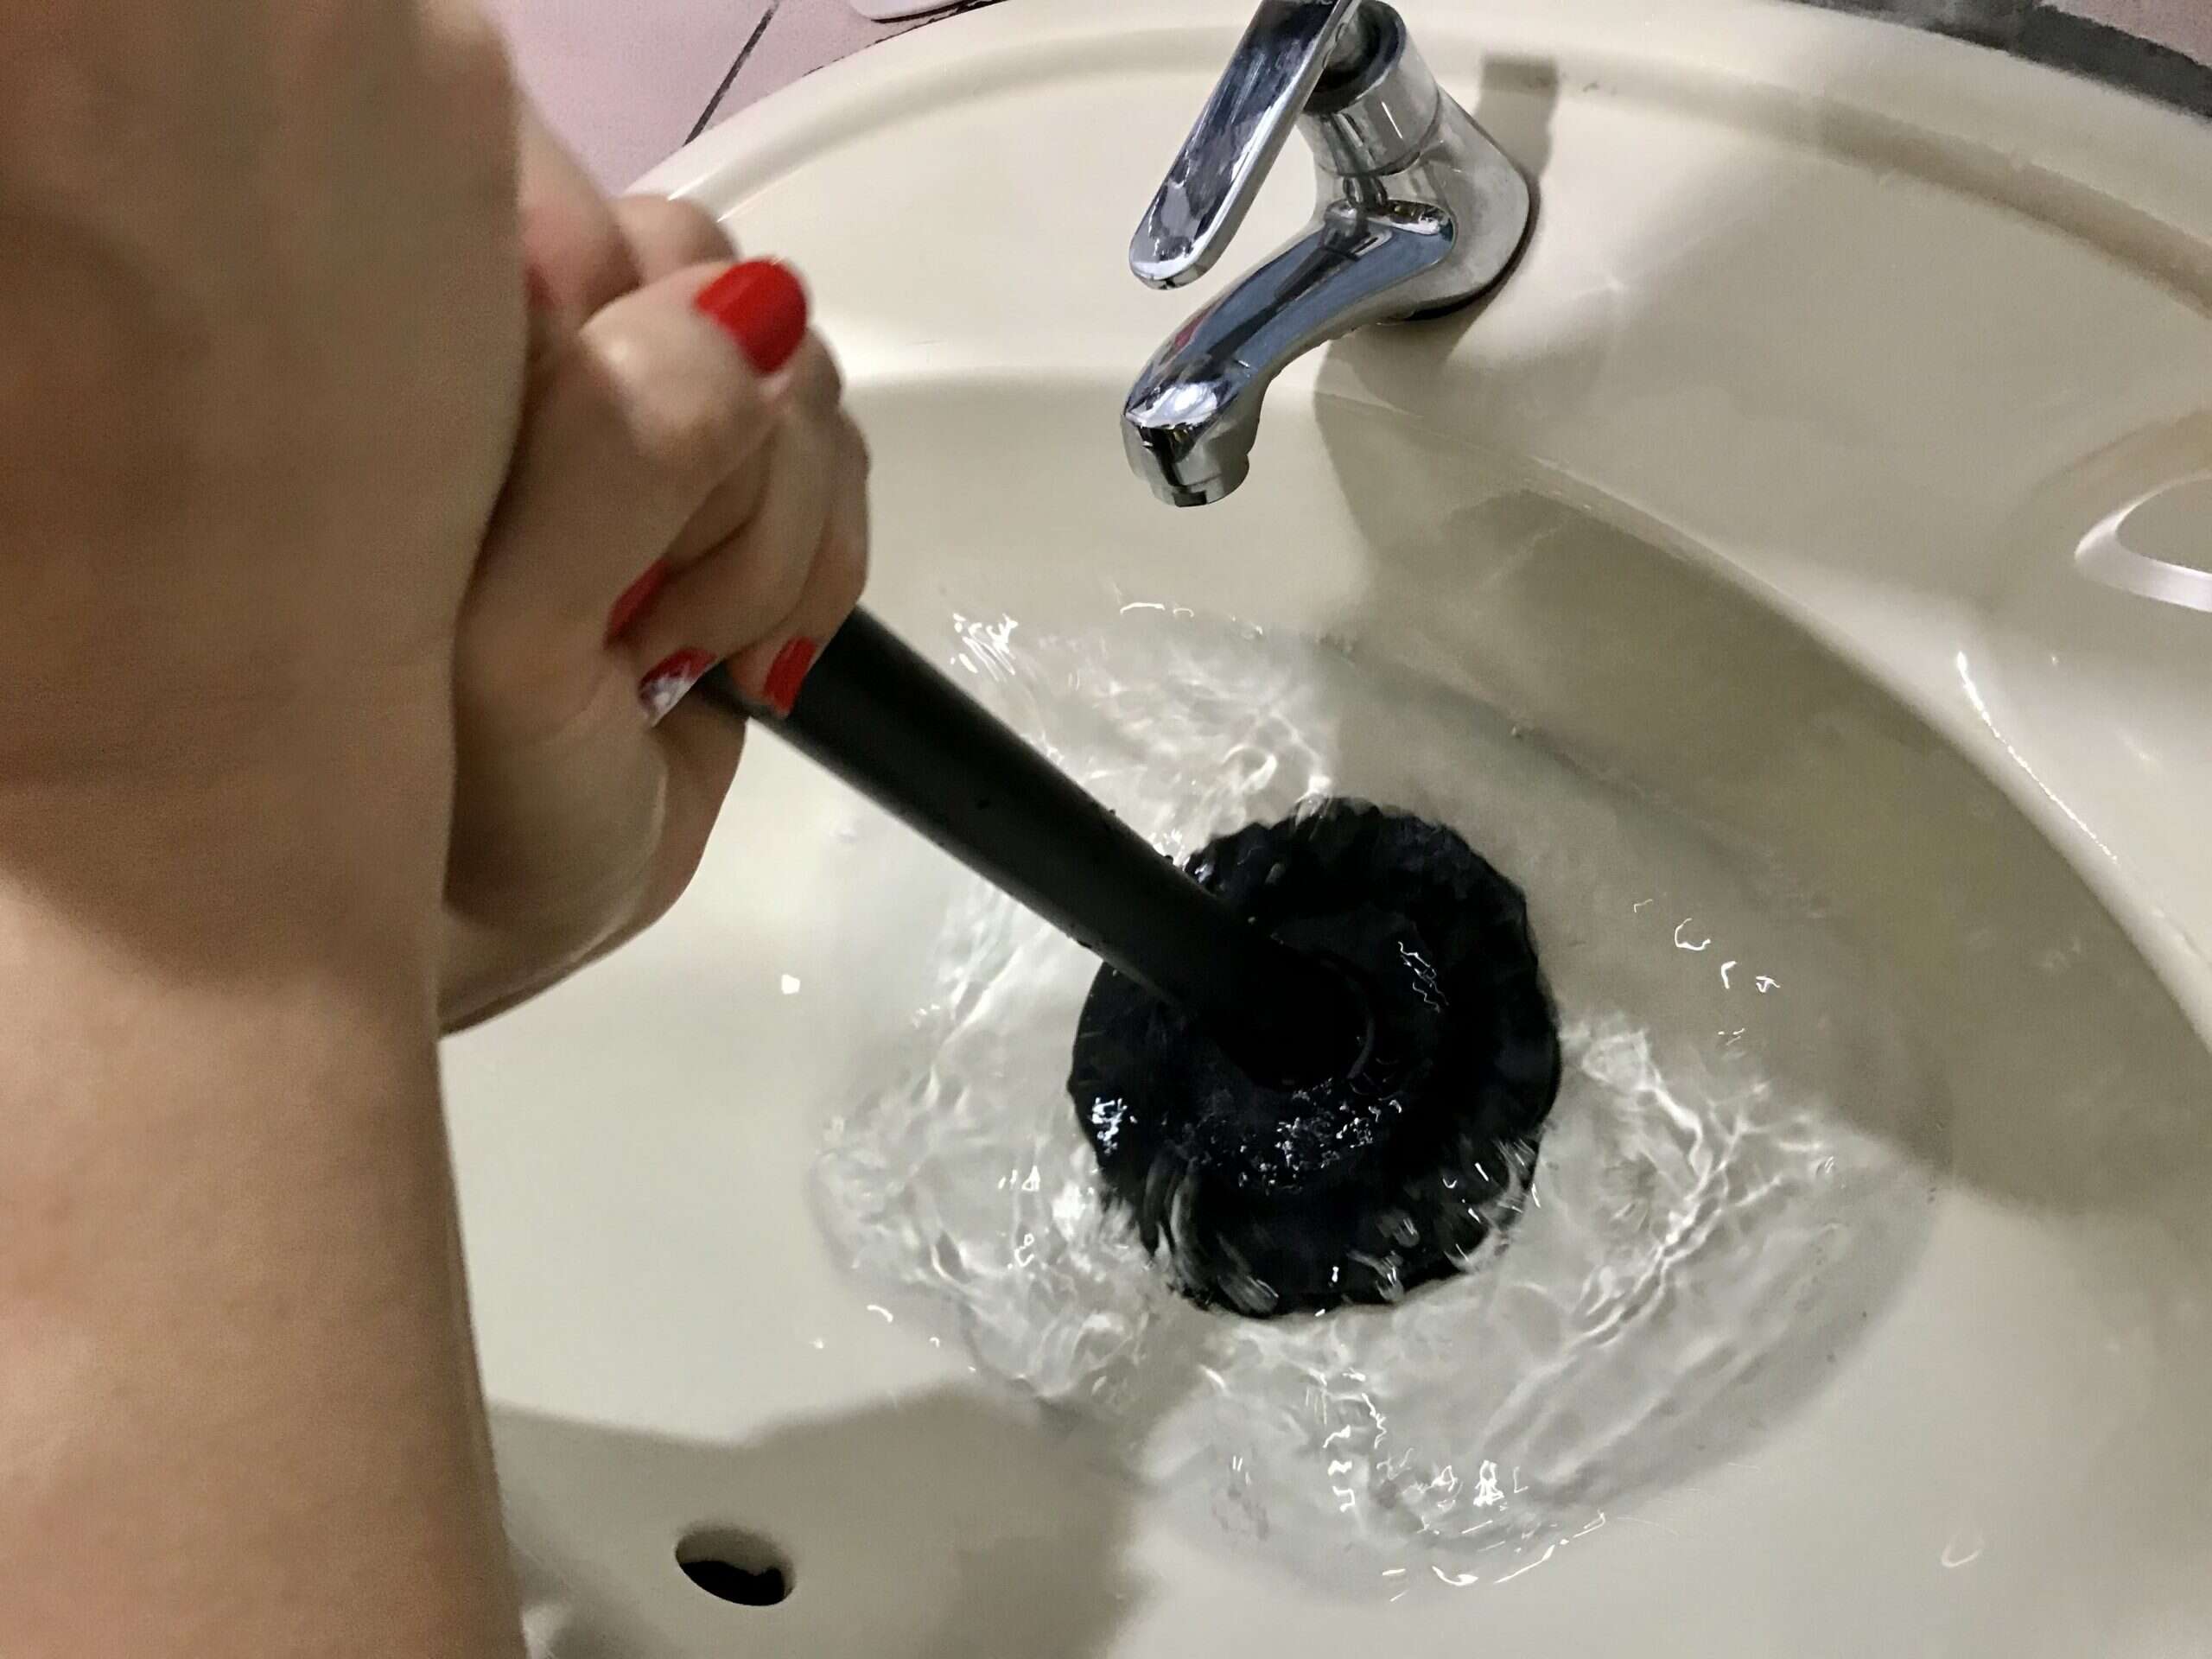
Clean the Faucet
Another factor that can contribute to low water pressure in your sink is a dirty faucet. Over time, mineral deposits, dirt, and grime can accumulate on the faucet’s surface and aerator, causing a decrease in water flow. Cleaning the faucet can help improve water pressure and restore the sink to its optimal functioning.
Here is a step-by-step guide to clean the faucet:
- Start by turning off the water supply to the sink. Locate the shut-off valves under the sink and turn them clockwise to shut off the water flow.
- Next, mix a solution of equal parts white vinegar and water in a bowl or container. The acidic properties of vinegar help dissolve mineral deposits and grime.
- Soak a cloth or sponge in the vinegar solution and use it to wipe down the entire surface of the faucet, paying special attention to areas with visible mineral buildup.
- If the faucet has an aerator, remove it by unscrewing it clockwise. Soak the aerator in the vinegar solution for about 15 minutes to dissolve any mineral deposits.
- After soaking, use a toothbrush or small brush to gently scrub the aerator to remove any loosened deposits. Rinse it thoroughly under running water.
- Reattach the clean aerator to the faucet and tighten it clockwise.
- Once the faucet and aerator are clean, turn the water supply back on and test the water pressure.
Regularly cleaning your faucet can help prevent the buildup of mineral deposits and maintain a strong water flow. Depending on the hardness of your water, you may need to clean it every few months or more frequently as needed.
By keeping your faucet clean, you can optimize water pressure and ensure a smooth and efficient flow of water in your sink.
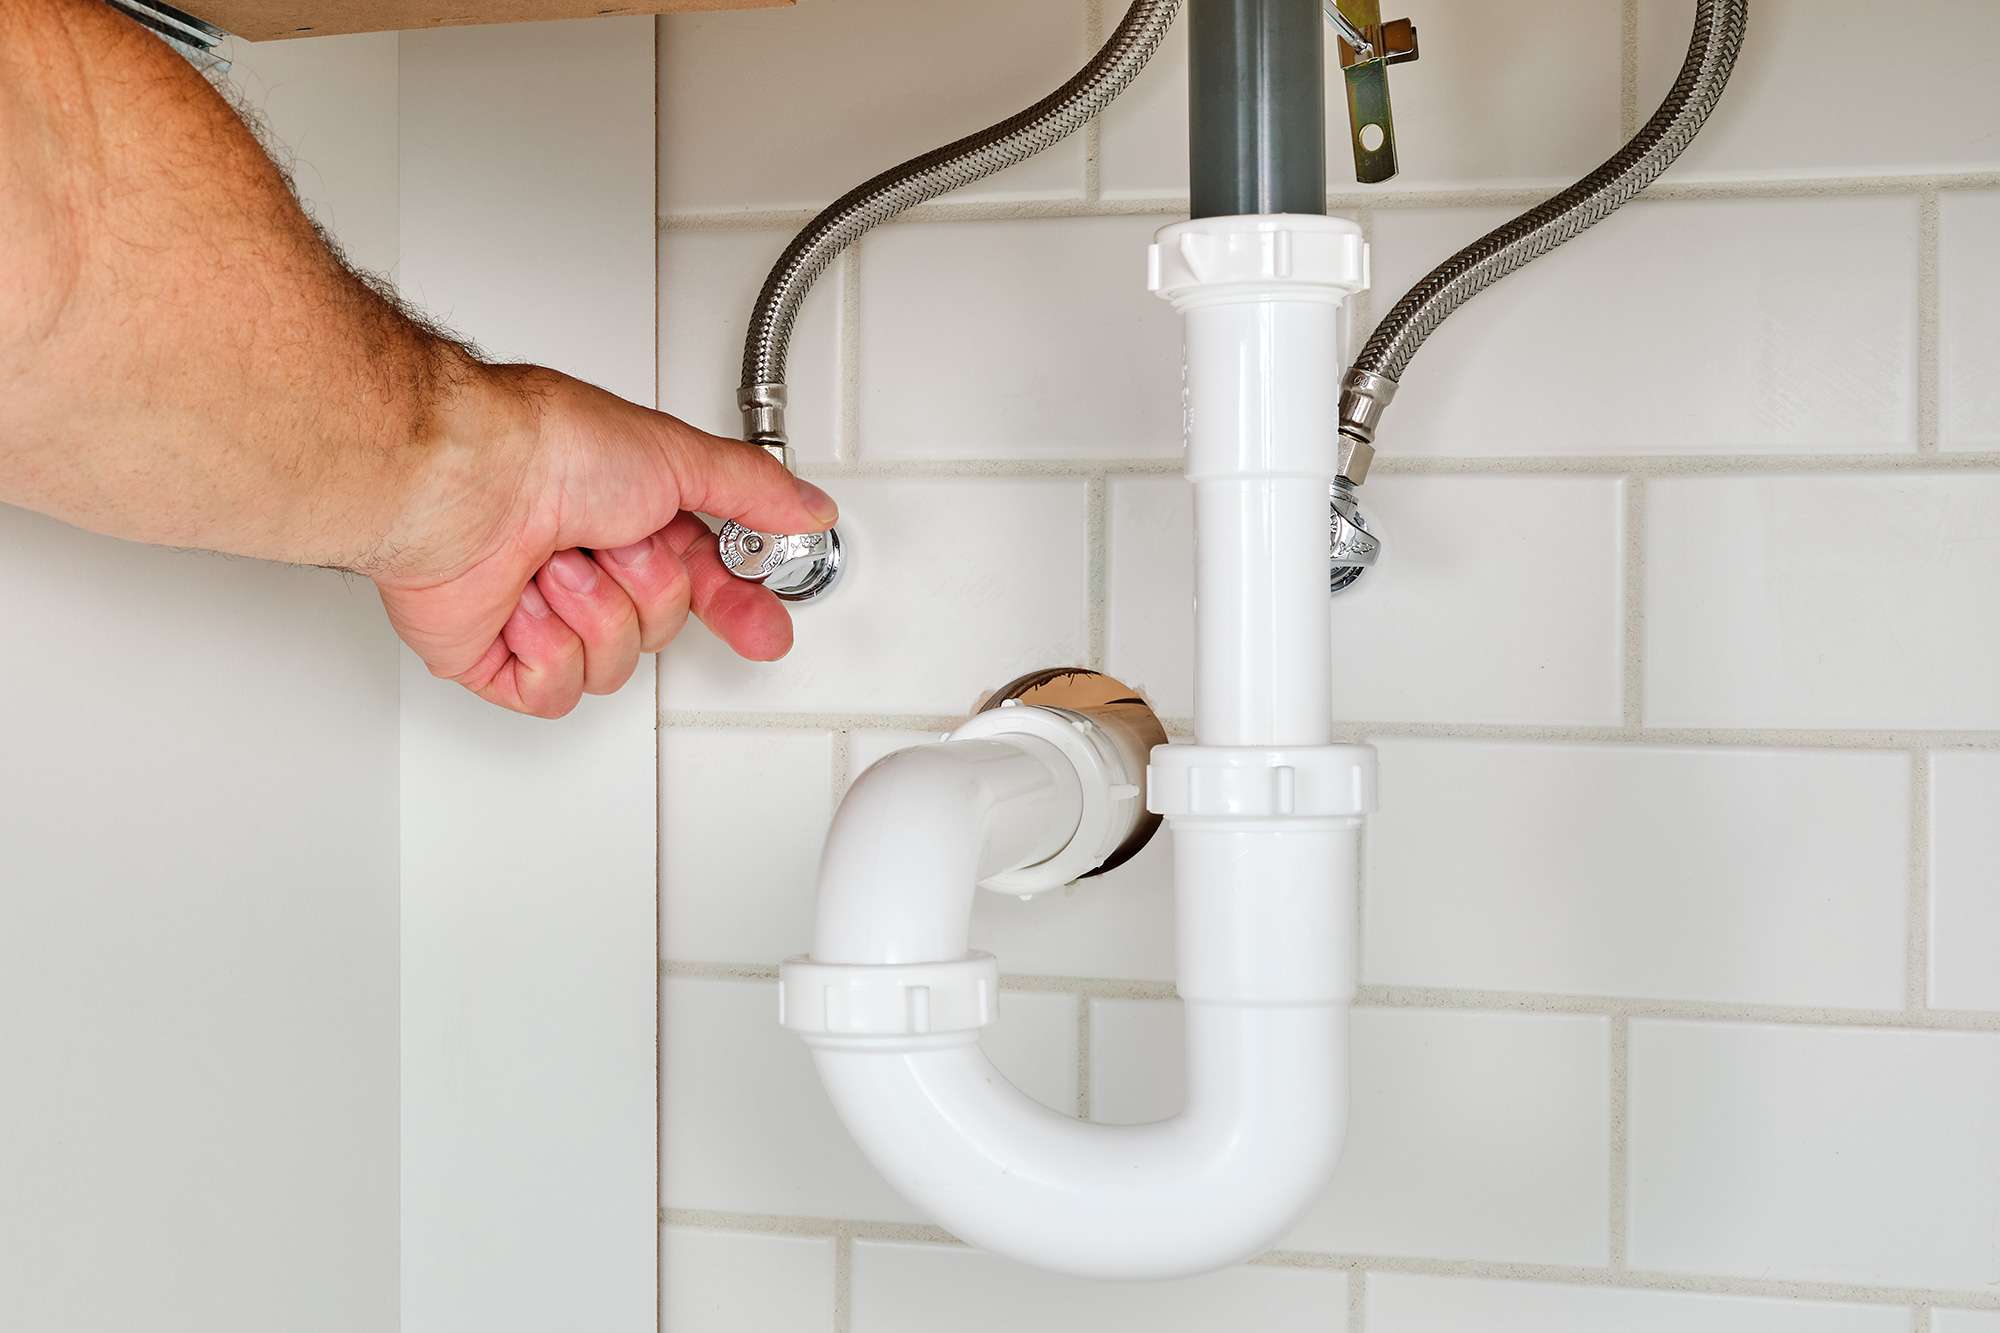
Check the Shut-off Valve
If you’re experiencing low water pressure in your sink, it’s important to check the shut-off valve. The shut-off valve controls the water supply to your sink, and if it’s not fully open or is partially closed, it can restrict the water flow and result in low water pressure.
Here’s how you can check the shut-off valve:
- Locate the shut-off valves under the sink, usually located on the water supply line leading to the faucet.
- Make sure the valves are fully open. This can usually be done by turning the valves counterclockwise to ensure they are in the fully open position.
- If the valves are already fully open, try closing them completely and then opening them again. Sometimes, debris or sediment can interfere with the proper functioning of the valve, and this action can help clear any obstructions.
- Check for any visible leaks or signs of damage on the shut-off valve. If you notice any leaks, it may need to be repaired or replaced.
After checking and adjusting the shut-off valves, turn on the faucet to see if the water pressure has improved. If there is still low water pressure, you may need to explore other possible causes.
It’s important to note that different sinks may have different configurations for shut-off valves. Some sinks may have individual shut-off valves for hot and cold water, while others may have a single shut-off valve that controls both. Be sure to check all the relevant shut-off valves for your specific sink.
By ensuring that the shut-off valves are fully open and functioning properly, you can eliminate this potential cause of low water pressure and restore a strong and consistent flow of water in your sink.
Check for any clogs in the faucet aerator or water supply lines. Clean or replace the aerator and flush the supply lines to improve water pressure in the sink.
Read more: How To Increase Water Pressure In Bidet
Remove Mineral Deposits from Pipes
One of the main causes of low water pressure in sinks is the accumulation of mineral deposits in the pipes. Over time, minerals like calcium and magnesium can build up inside the pipes, narrowing the water flow and resulting in decreased water pressure.
Here are some effective methods to remove mineral deposits from pipes:
- Vinegar Solution: Create a mixture of equal parts water and white vinegar. Pour the solution into a plastic bag and secure it around the affected pipe. Leave it to soak for several hours or overnight. The acidic properties of vinegar will help dissolve the mineral deposits. Afterward, flush the pipes with clean water.
- Lemon Juice: Similar to vinegar, lemon juice contains citric acid which can help break down mineral deposits. Squeeze fresh lemon juice into a container and use it to soak a cloth or paper towel. Wrap the cloth around the pipe and let it sit for a few hours. Rinse the pipe with water afterward.
- Commercial Descaling Products: There are various commercial descaling products available that are specifically designed to remove mineral deposits from pipes. Follow the instructions on the product label for the best results.
- Mechanical Cleaning: In severe cases of mineral buildup, it may be necessary to hire a professional plumber to mechanically clean the pipes using specialized tools. This method can effectively remove stubborn deposits and restore water flow.
While these methods can be effective in removing mineral deposits, it’s important to note that prevention is key to maintaining good water flow. Regular maintenance and the use of water softeners or water treatment systems can help prevent mineral buildup in the first place.
By removing mineral deposits from the pipes, you can significantly improve water pressure and ensure a steady and strong flow of water in your sink.
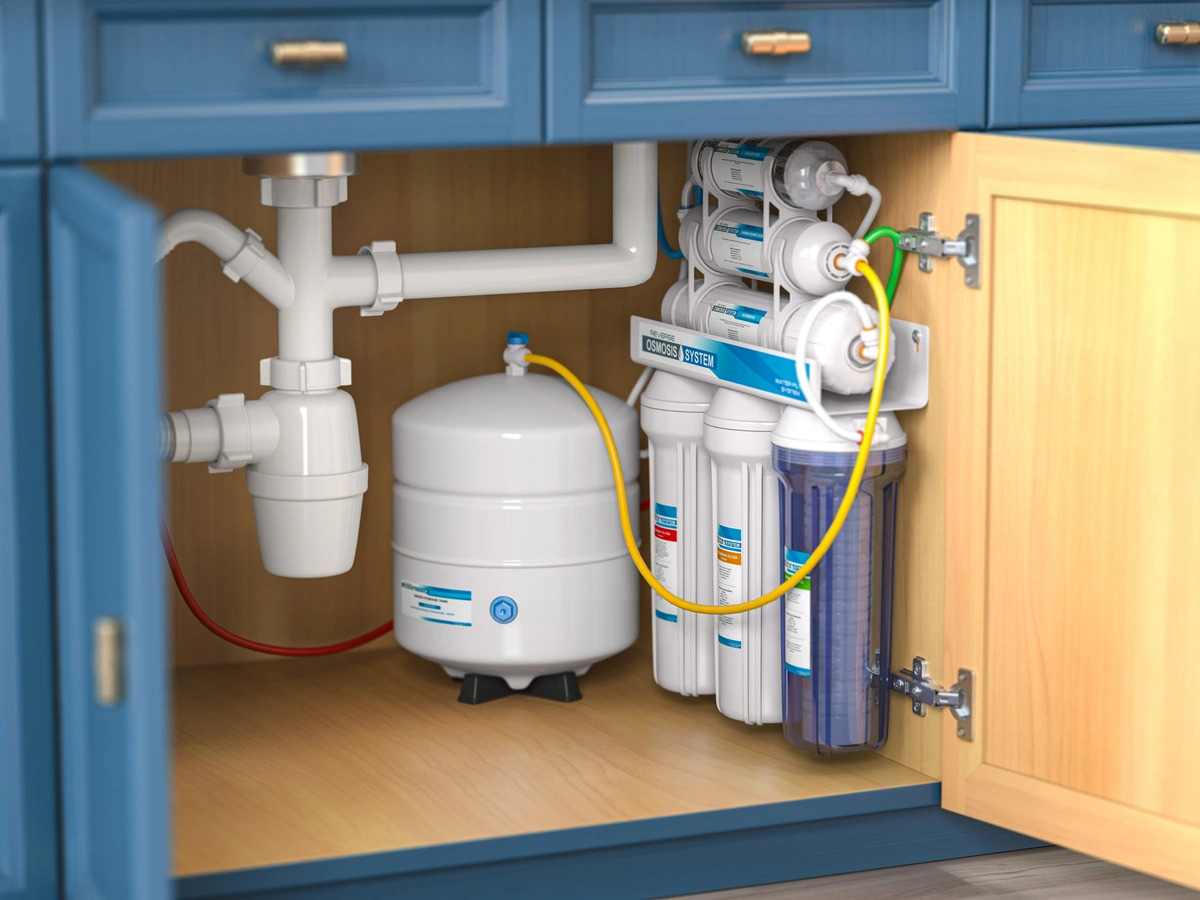
Increase the Main Water Supply Line
If you have tried the previous methods and are still experiencing low water pressure in your sink, it may be necessary to consider increasing the main water supply line. This involves increasing the size or capacity of the pipes that deliver water to your sink, which can improve overall water flow and pressure.
Here are the steps involved in increasing the main water supply line:
- Assess the current pipes: Determine the size and material of the existing pipes supplying water to your sink. This will help you determine if they are undersized and need to be replaced or upsized.
- Consult a professional plumber: It is advisable to consult with a professional plumber to assess your current plumbing system and provide recommendations for increasing the water supply line. They have the expertise to evaluate your specific requirements and suggest appropriate solutions.
- Install larger pipes: Based on the plumber’s recommendations, you may need to install larger pipes to accommodate a higher water flow. This may involve replacing sections of the existing pipes or adding parallel pipes to increase water capacity.
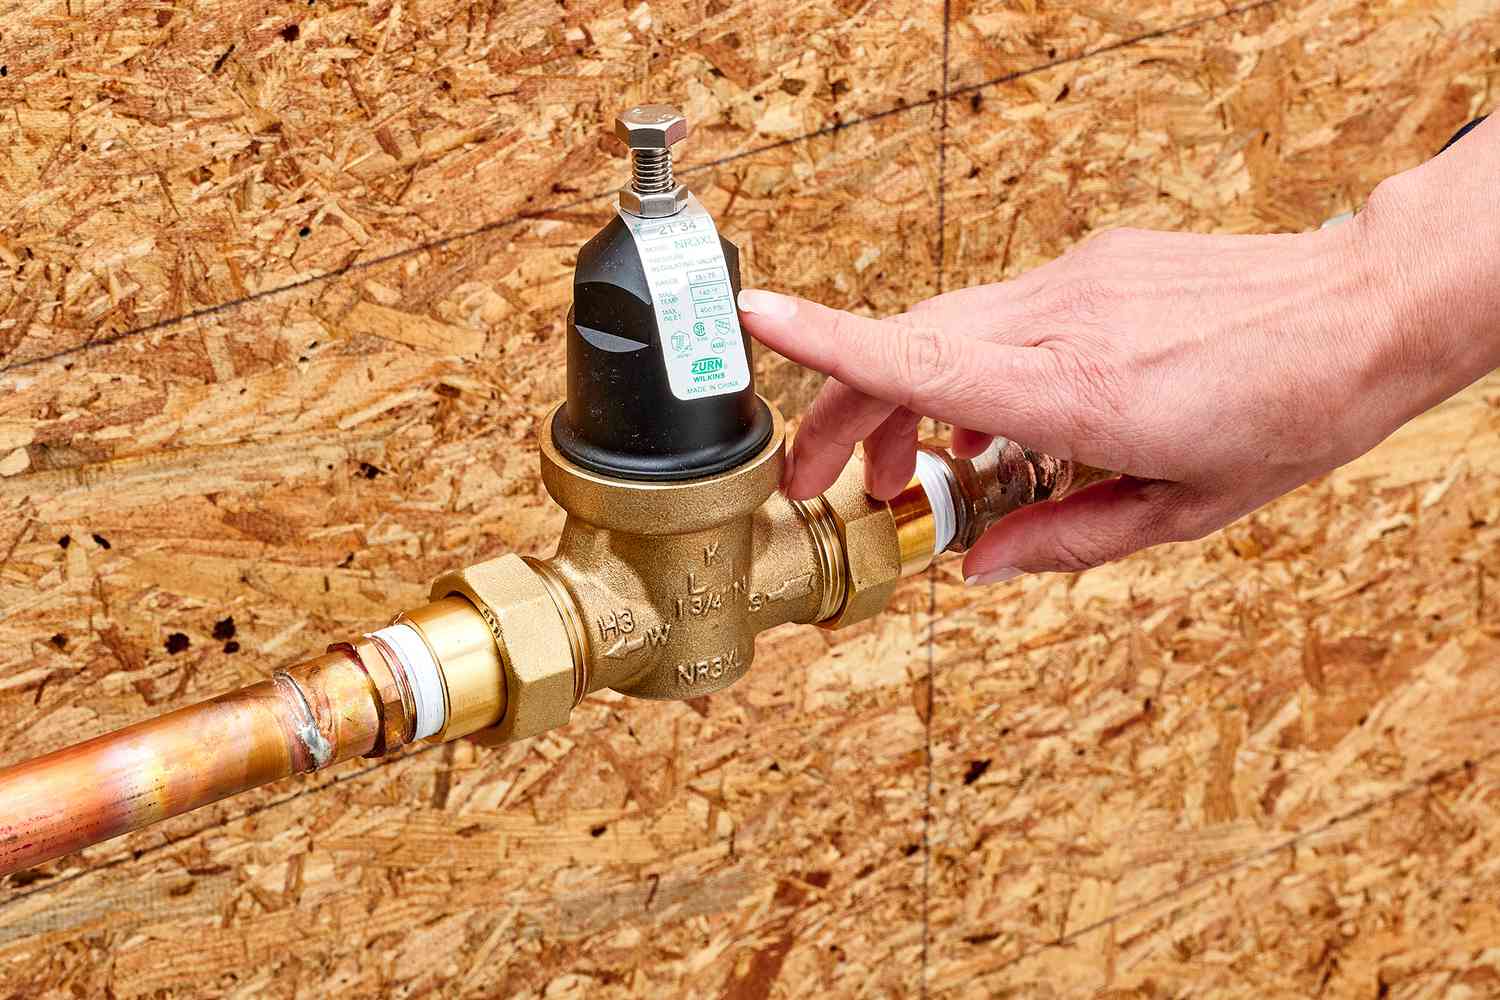
- Consider a pressure-regulating valve: In some cases, increasing the water supply line may result in excessively high water pressure, which can damage plumbing fixtures and appliances. To prevent this, a pressure-regulating valve can be installed to maintain a safe and consistent water pressure.
- Hire a licensed plumber: Increasing the main water supply line requires specialized knowledge and expertise. It is crucial to hire a licensed plumber to ensure that the installation is done correctly and up to code.
Increasing the main water supply line is a more involved and complex process compared to the earlier methods. It is recommended to consult with a professional plumber to assess the feasibility and cost-effectiveness of this solution for your specific situation.
Remember, increasing the main water supply line may require permits and adherence to local building codes. It’s essential to comply with all regulations to ensure the safety and efficiency of your plumbing system.
By increasing the main water supply line, you can significantly improve water pressure and enjoy a stronger and more reliable flow of water in your sink.
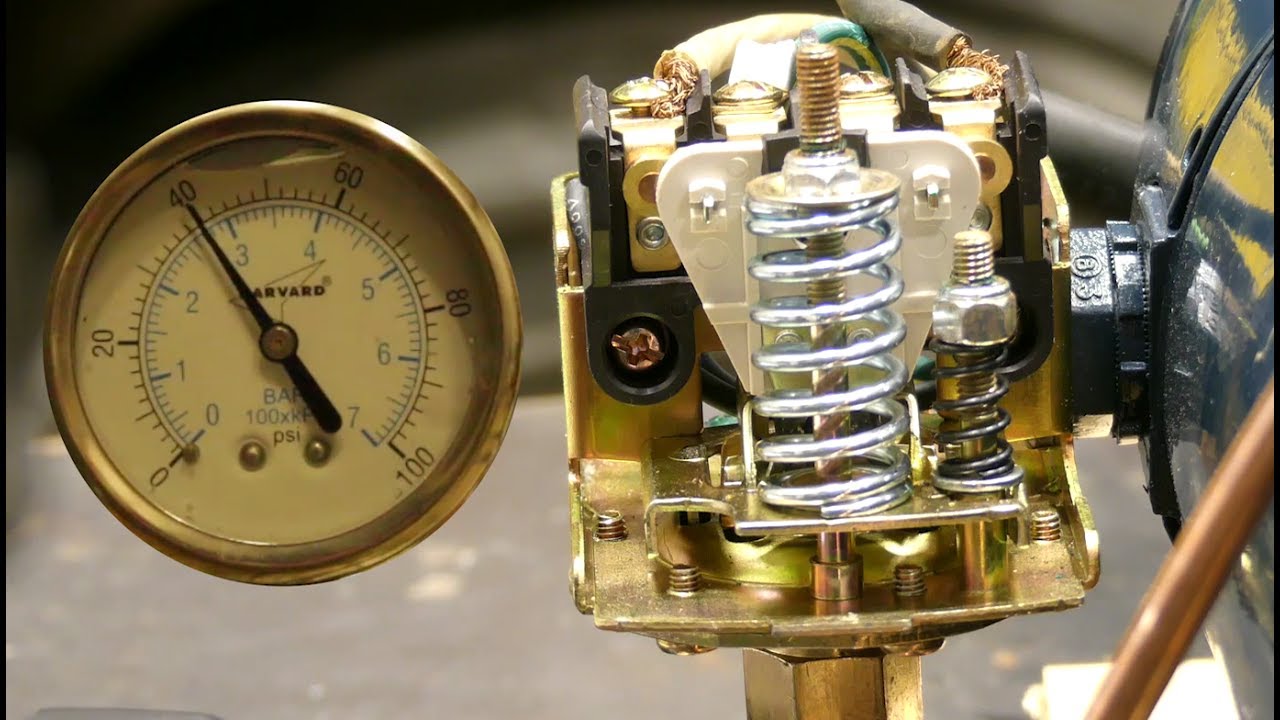
Install a Pressure Booster Pump
If you’ve exhausted other methods to increase water pressure in your sink and are still unsatisfied with the results, installing a pressure booster pump may be a viable solution. A pressure booster pump is designed to increase water pressure and improve the flow rate in your plumbing system.
Here’s what you need to know about installing a pressure booster pump:
- Assess your needs: Determine if a pressure booster pump is necessary for your specific situation. Consider factors such as the level of water pressure you desire, the size of your plumbing system, and the overall demand for water in your household.
- Choose the right pump: Select a pressure booster pump that is suitable for your needs. Look for pumps that are designed for residential use and have the capacity to deliver the desired water pressure.
- Locate the pump: Find an appropriate location to install the pressure booster pump. It is typically installed near the water source or at a central location in your plumbing system.
- Install the pump: Follow the manufacturer’s instructions to properly install the pressure booster pump. This may involve connecting it to the main water supply line and configuring the electrical connections.
- Set the desired pressure: Adjust the pump settings to achieve the desired water pressure. Many pressure booster pumps have adjustable controls that allow you to customize the pressure to meet your specific needs.
- Maintain the pump: Regularly inspect and maintain the pressure booster pump to ensure it is functioning optimally. This may involve cleaning or replacing filters, checking for leaks, and performing any recommended maintenance tasks.
- Consult a professional: If you’re unsure about installing a pressure booster pump yourself, or if your plumbing system requires modifications to accommodate the pump, it is advisable to consult with a professional plumber or technician.
Installing a pressure booster pump can provide a significant increase in water pressure and improve the overall performance of your plumbing system. However, it requires careful installation and ongoing maintenance to ensure its effectiveness and longevity.
Consider the costs, benefits, and requirements associated with installing a pressure booster pump to determine if it is the right solution for your low water pressure issues.
By installing a pressure booster pump, you can enjoy a consistent and powerful water flow in your sink, enhancing your daily activities and improving your overall water usage experience.
Conclusion
Dealing with low water pressure in your sink can be frustrating, but fortunately, there are several solutions available to help increase water pressure and improve the overall flow. By understanding the common causes of low water pressure and implementing the appropriate fixes, you can restore a strong and reliable water flow to your sink.
From checking and cleaning the aerator to inspecting the shut-off valve, each step in troubleshooting low water pressure plays a vital role in identifying and addressing the issue. Removing mineral deposits from the pipes and increasing the main water supply line are additional options for improving water pressure, which may require professional assistance.
In more stubborn cases, installing a pressure booster pump can provide a significant boost in water pressure and enhance the performance of your plumbing system. However, it’s important to carefully consider the costs, requirements, and potential long-term maintenance associated with this solution.
Regular maintenance and cleaning of your faucets, along with periodic checks for any underlying issues, can help prevent low water pressure and ensure a consistent flow in the long run. It’s crucial to stay vigilant and address any water pressure concerns promptly to avoid further complications.
Remember, if the steps provided in this article do not resolve the low water pressure issue, it is always recommended to consult with a professional plumber who can assess your specific situation and provide appropriate guidance.
By taking the necessary steps to increase water pressure in your sink, you can enjoy a more convenient and efficient experience in your daily activities, whether it’s washing dishes, filling pots, or simply enjoying a refreshing glass of water.
Frequently Asked Questions about How To Increase Water Pressure In Sink
Was this page helpful?
At Storables.com, we guarantee accurate and reliable information. Our content, validated by Expert Board Contributors, is crafted following stringent Editorial Policies. We're committed to providing you with well-researched, expert-backed insights for all your informational needs.


0 thoughts on “How To Increase Water Pressure In Sink”