Home>Articles>How To Install A Kohler Devonshire Vibrant Brushed Nickel Single Towel Bar
Articles
How To Install A Kohler Devonshire Vibrant Brushed Nickel Single Towel Bar
Modified: February 22, 2024
Learn how to easily install a Kohler Devonshire Vibrant Brushed Nickel Single Towel Bar with this step-by-step guide. Find more helpful articles on home improvement projects.
(Many of the links in this article redirect to a specific reviewed product. Your purchase of these products through affiliate links helps to generate commission for Storables.com, at no extra cost. Learn more)
Introduction
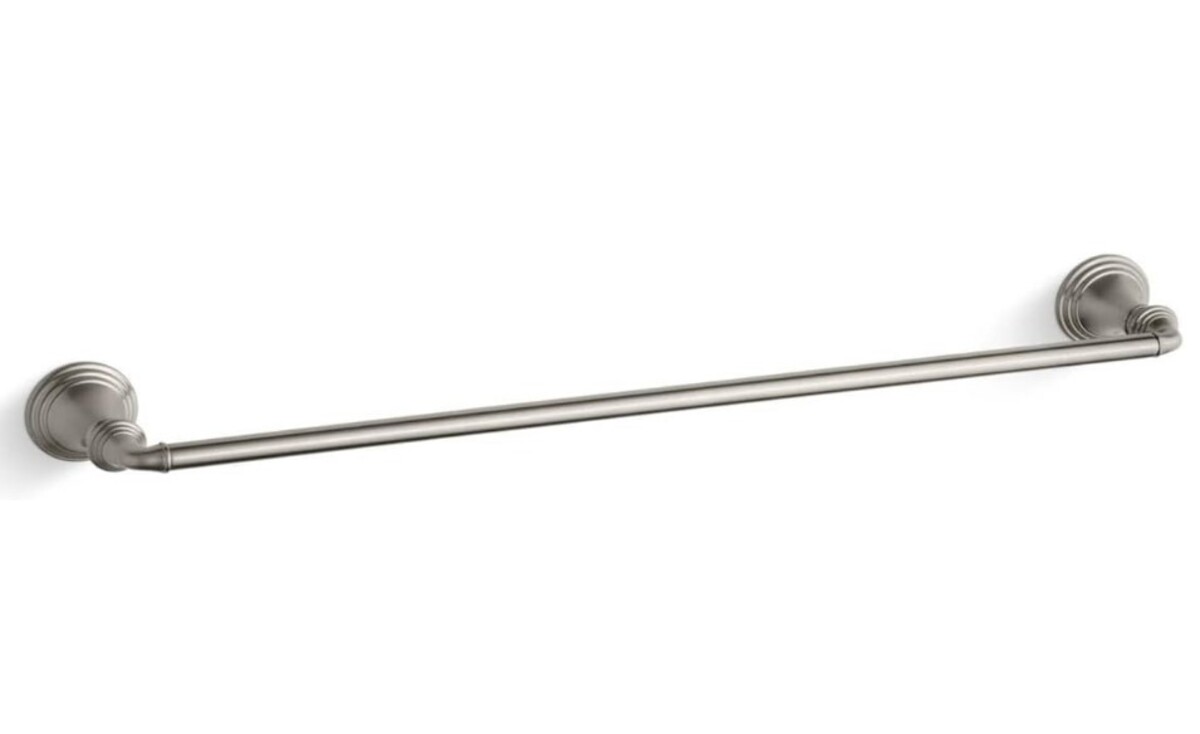
Welcome to our guide on how to install a Kohler Devonshire vibrant brushed nickel single towel bar. If you’re looking to add a touch of elegance and functionality to your bathroom, installing a towel bar is a great way to do it. The Kohler Devonshire towel bar is a popular choice among homeowners and offers both style and durability.
In this article, we will walk you through the step-by-step process of installing the Kohler Devonshire vibrant brushed nickel single towel bar. We will cover all the necessary tools and materials needed, as well as provide detailed instructions to ensure a successful installation.
Before you begin, it is important to have the necessary tools readily available. These include a drill, measuring tape, level, screwdriver, and a pencil. Additionally, you will need the provided mounting hardware and screws that come with the towel bar.
The Kohler Devonshire towel bar is designed to be mounted on a wall. It is important to choose a suitable location that is easily accessible and complements the overall design of your bathroom. Make sure to measure the space carefully before proceeding with the installation.
Now, let’s dive into the step-by-step process of installing the Kohler Devonshire vibrant brushed nickel single towel bar. By following these instructions, you’ll be on your way to enjoying the convenience and style that this towel bar has to offer.
Key Takeaways:
- Elevate your bathroom with the Kohler Devonshire vibrant brushed nickel single towel bar for a touch of elegance and functionality. Follow our step-by-step guide for a successful and stylish installation.
- Ensure a smooth and hassle-free installation by preparing the area, securely attaching the mounting brackets, and testing the towel bar for sturdiness. Enjoy the convenience and style it brings to your bathroom space.
Read also: 15 Best Brushed Nickel Towel Bar for 2025
Tools and Materials Needed
Before you begin the installation process, gather the following tools and materials:
- Drill
- Measuring tape
- Level
- Screwdriver
- Pencil
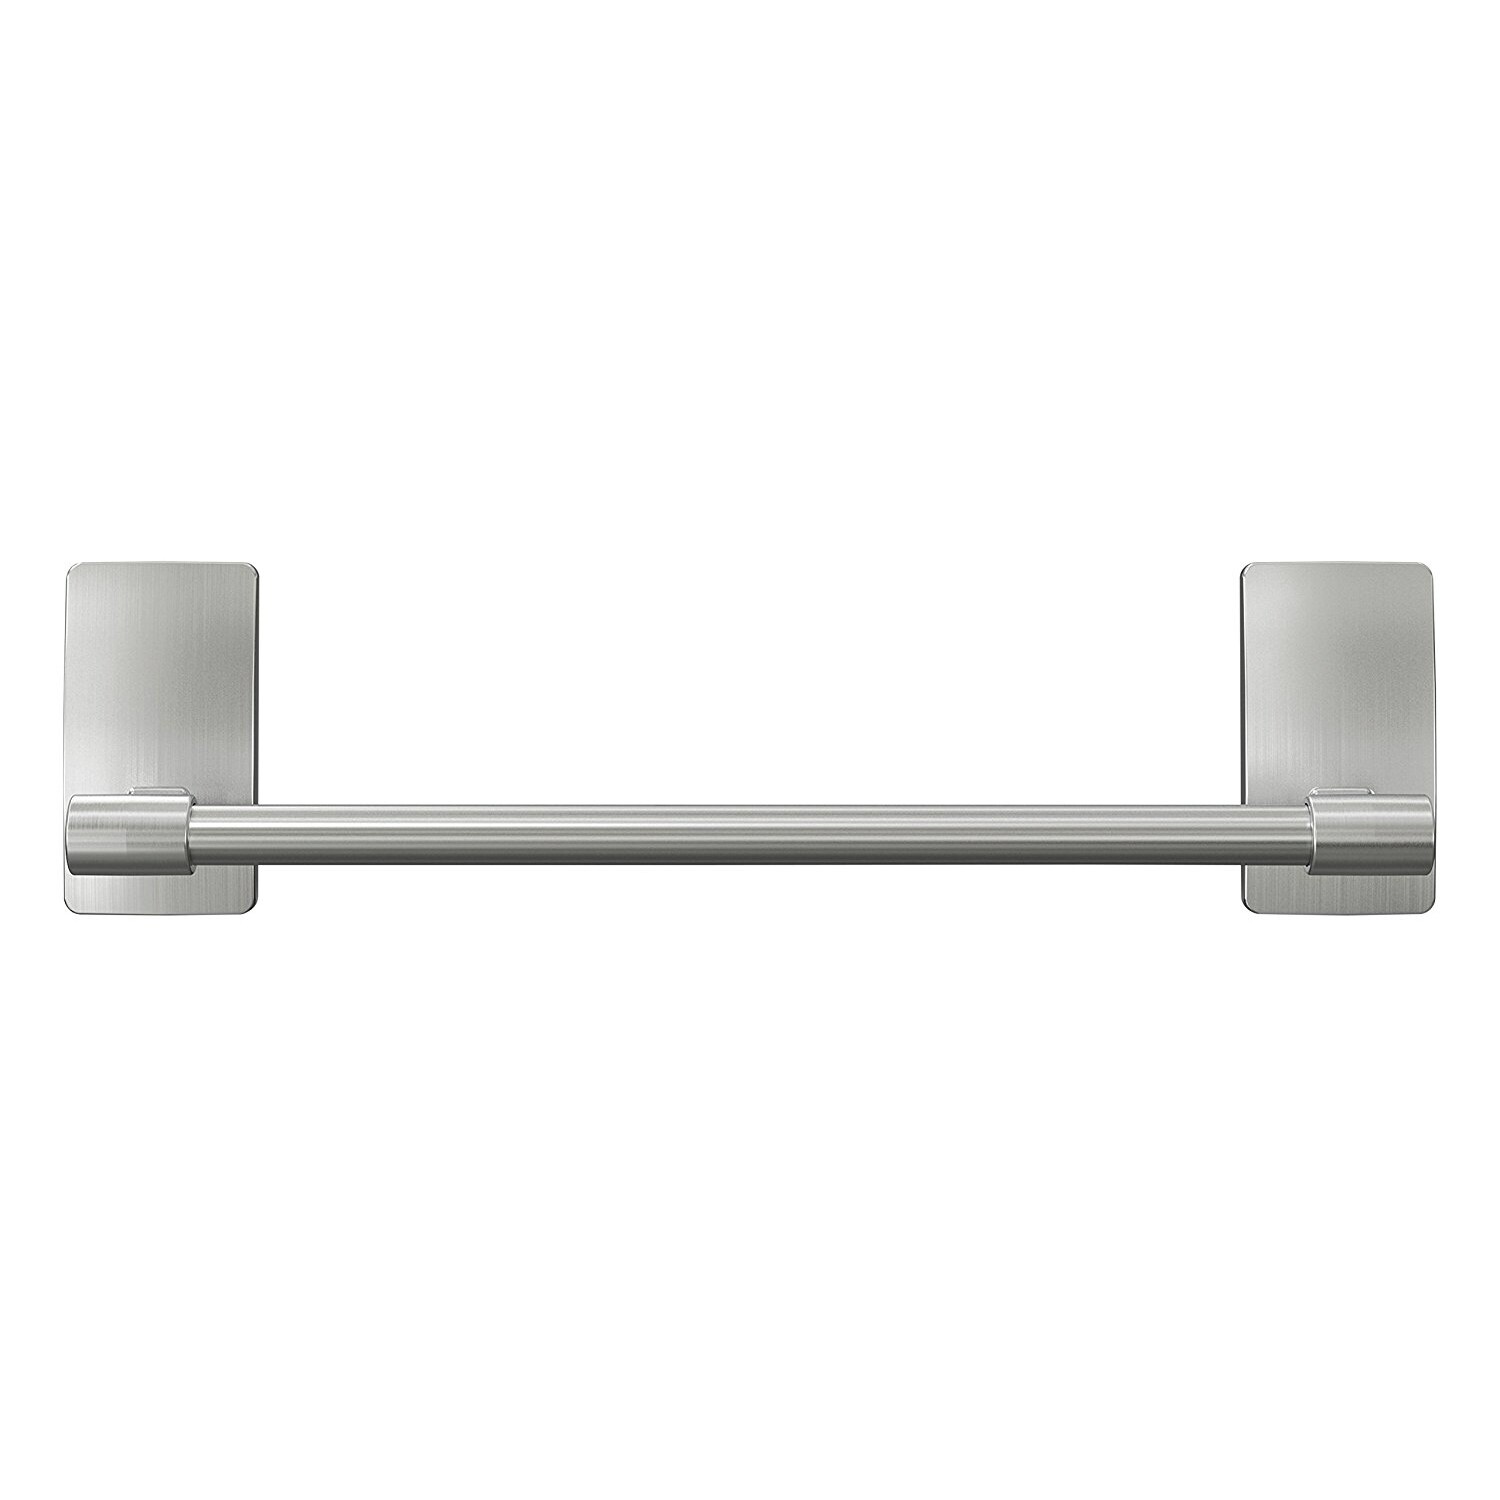
- Kohler Devonshire vibrant brushed nickel single towel bar
- Mounting hardware and screws (included with the towel bar)
Having these tools on hand will ensure a smooth and hassle-free installation process.
The drill will be used to create holes in the wall for the mounting brackets. A measuring tape will help you accurately determine the desired location for the towel bar. The level will ensure that the towel bar is properly aligned. A screwdriver will be needed to secure the towel bar in place. Lastly, a pencil will be used to mark the positions for drilling.
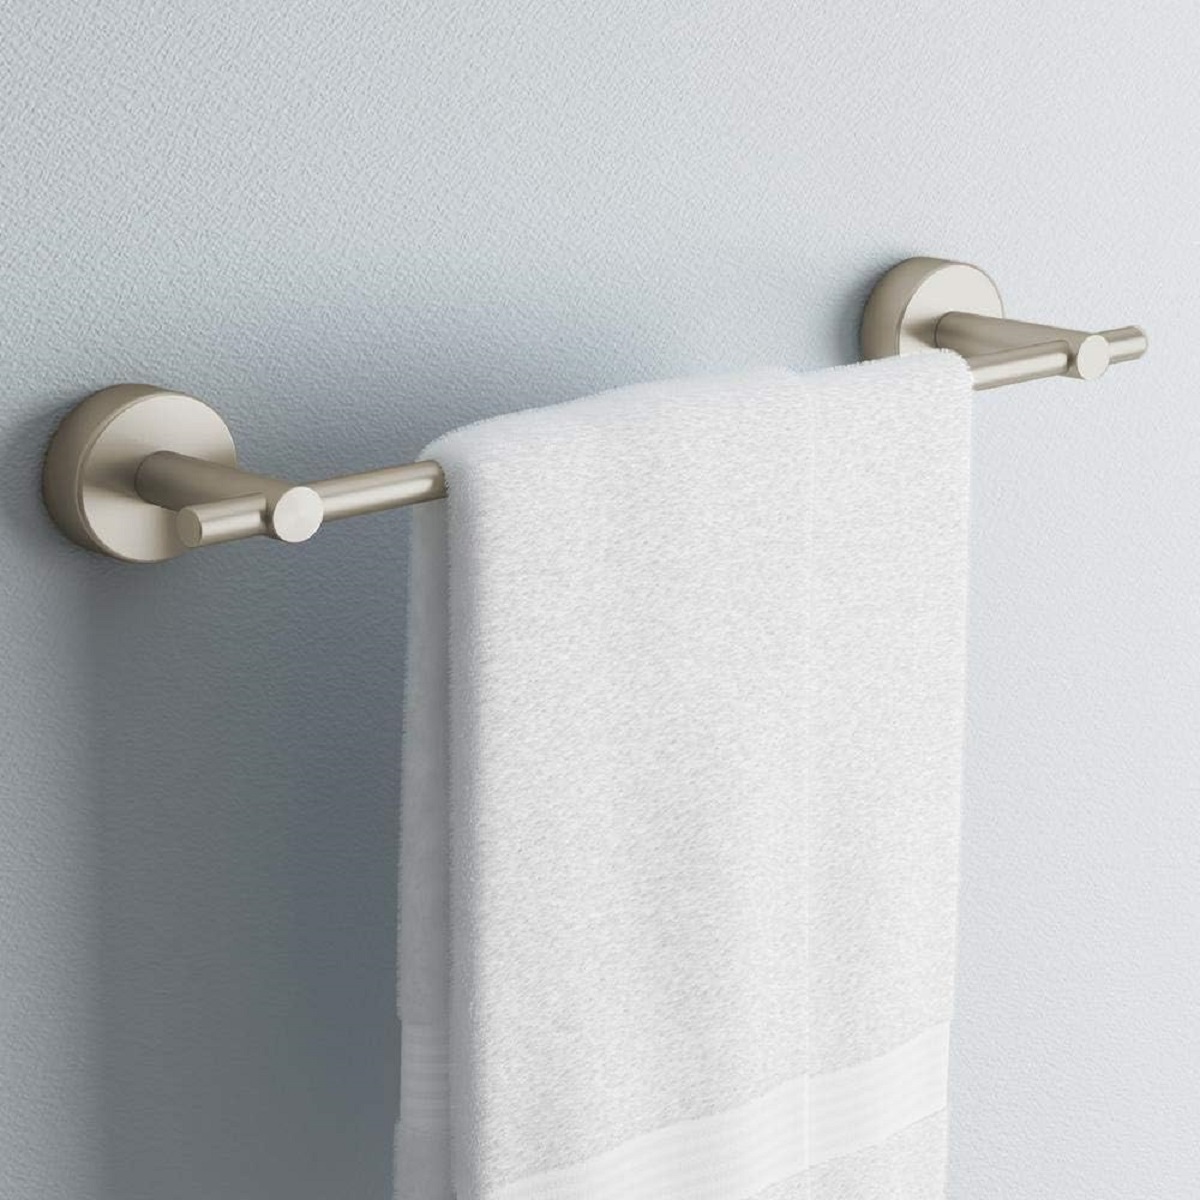
Of course, the most important item you will need is the Kohler Devonshire vibrant brushed nickel single towel bar itself. This towel bar is made of high-quality materials and features a stylish brushed nickel finish. It is designed to hold a single towel and will add a touch of sophistication to your bathroom decor.
Make sure to also have the mounting hardware and screws that are included with the towel bar. These specific components are designed to ensure a secure and reliable installation. They are essential for properly mounting the towel bar on the wall.
With all the necessary tools and materials gathered, you are now ready to proceed with the installation process. Follow the next steps carefully to ensure a successful installation of the Kohler Devonshire vibrant brushed nickel single towel bar in your bathroom.
Step 1: Prepare the Installation Area
Before you begin installing the Kohler Devonshire vibrant brushed nickel single towel bar, it’s important to prepare the installation area. Follow these steps to ensure the area is ready:
- Choose the location: Select a suitable location for the towel bar. Consider the height and accessibility, as well as the proximity to other bathroom fixtures. Use a measuring tape to mark the desired position for the towel bar.
- Check for obstructions: Before drilling any holes, make sure there are no electrical wires, plumbing pipes, or other obstructions behind the wall. Use a stud finder or consult a professional if you need assistance in locating the studs.
- Mark the mounting points: Once you’ve confirmed that the wall is clear of obstructions, use a pencil to mark the mounting points for the towel bar brackets. Ensure that the marks are level and evenly spaced.
- Double-check the measurements: Before proceeding, double-check the measurements to ensure that the towel bar will be properly aligned and centered on the wall.
By taking these preparatory steps, you’ll have a clear plan and a properly prepared installation area for the Kohler Devonshire vibrant brushed nickel single towel bar. This will make the installation process smoother and prevent any avoidable issues.
Now that you have prepared the installation area, it’s time to move on to the next step: attaching the mounting brackets. Continue reading to learn how to properly secure the towel bar to the wall.
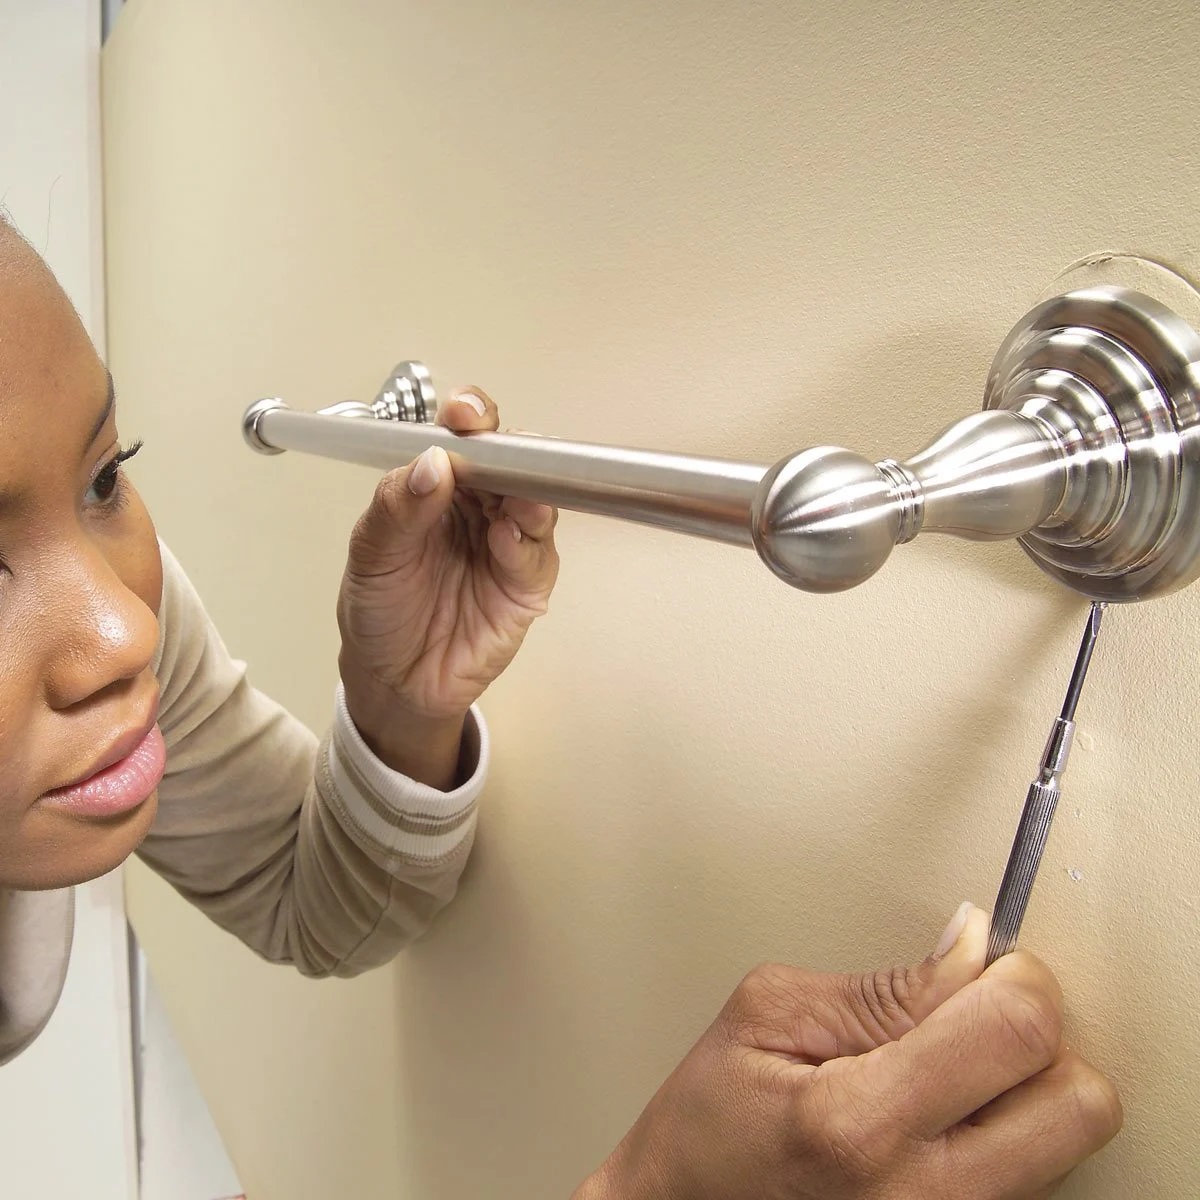
Step 2: Attach the Mounting Brackets
Now that you have prepared the installation area for the Kohler Devonshire vibrant brushed nickel single towel bar, it’s time to attach the mounting brackets. Follow these steps to securely install the brackets:
- Take one of the mounting brackets and align it with the pencil mark you made on the wall. Ensure that it is level and centered.
- Using a drill, create pilot holes for the screws that will hold the bracket in place. Make sure the holes are slightly smaller than the diameter of the screws.
- Insert the screws through the bracket holes and into the pilot holes. Use a screwdriver to tighten the screws until the bracket is securely attached to the wall.
- Repeat the process for the second mounting bracket, ensuring it is aligned with the other pencil mark and level.
When attaching the mounting brackets, it is crucial to ensure that they are securely fastened to the wall. This will provide a stable foundation for the towel bar and prevent it from becoming loose or falling over time.
Once both mounting brackets are properly attached, take a moment to verify that they are level and aligned with each other. Use a level to make any necessary adjustments before proceeding to the next step.
With the mounting brackets securely in place, you are now ready to mount the Kohler Devonshire vibrant brushed nickel single towel bar. Read on to learn how to complete the installation process in the next step.
When installing a Kohler Devonshire Vibrant Brushed Nickel Single Towel Bar, make sure to use the provided template for accurate placement and use a level to ensure it is straight. Use the appropriate tools and follow the manufacturer’s instructions carefully for a secure installation.
Step 3: Mount the Towel Bar
Now that you have attached the mounting brackets for the Kohler Devonshire vibrant brushed nickel single towel bar, it’s time to mount the towel bar itself. Follow these steps to mount the towel bar securely:
- Take the towel bar and position it over the mounting brackets. Ensure that the bar is centered and level.
- Slide each end of the towel bar onto the corresponding mounting bracket. The brackets should fit securely into the slots on the underside of the towel bar.
- Apply gentle pressure to push the towel bar firmly against the wall. Make sure it is snugly held in place by the mounting brackets.
It’s essential to double-check the alignment and levelness of the towel bar before proceeding to the next step. Make any necessary adjustments to ensure that it is aesthetically pleasing and functional.
Once the towel bar is securely mounted on the mounting brackets, it’s time to move on to the final step: securing the towel bar in place. Read on to learn how to ensure a robust and reliable installation.
Step 4: Secure the Towel Bar
After mounting the Kohler Devonshire vibrant brushed nickel single towel bar on the brackets, the next step is to secure it in place to ensure stability and durability. Follow these steps to securely fasten the towel bar:
- Locate the set screw on each side of the towel bar. These screws are typically located on the bottom or underside of the bar.
- Using a screwdriver, tighten each set screw to firmly hold the towel bar in place. Be careful not to overtighten, as it may damage the towel bar or the mounting brackets.
Securing the towel bar with the set screws is crucial to prevent any unwanted movement or potential damage. Ensure that the towel bar is firmly held in place while also keeping it level and aligned with the brackets.
Once you have tightened the set screws, give the towel bar a gentle tug to check if it is securely fastened. If it feels loose, recheck and adjust the set screws as needed.
With the towel bar securely in place, it’s time to move on to the final step: testing the installation. Continue reading to learn how to ensure that the towel bar is properly installed and ready for use.
Step 5: Test the Installation
Once you have secured the Kohler Devonshire vibrant brushed nickel single towel bar, it’s essential to test the installation to ensure that it is properly mounted and ready for use. Follow these steps to test the towel bar:
- Gently pull on the towel bar to test its sturdiness. It should not move or feel loose.
- Hang a towel on the bar to see if it holds the weight without any issues. The towel bar should remain secure and in position.
- Give the towel bar a comprehensive inspection, checking for any signs of wobbling or instability. Ensure that the mounting brackets are firmly attached to the wall, and there are no visible defects or damages.
If the towel bar passes all the tests and feels secure, congratulations – you have successfully installed the Kohler Devonshire vibrant brushed nickel single towel bar! Now you can enjoy the convenience and style it brings to your bathroom.
If you encounter any issues during the testing phase, such as a loose towel bar or unstable brackets, it is best to retrace your steps and review the installation process. Double-check the set screws, mounting brackets, and the overall alignment of the towel bar.
Remember that proper installation is crucial for the long-term durability and functionality of the towel bar. If you are unable to resolve any issues or have concerns, don’t hesitate to seek professional assistance.
With the installation complete and a successful test, you can now step back and admire your newly installed Kohler Devonshire vibrant brushed nickel single towel bar. It is sure to add a touch of elegance and convenience to your bathroom space.
Conclusion
Installing a Kohler Devonshire vibrant brushed nickel single towel bar is a great way to enhance the functionality and style of your bathroom. With its sleek design and durable construction, this towel bar provides a perfect solution for hanging and storing towels.
In this guide, we have walked you through the step-by-step process of installing the towel bar. We started by preparing the installation area, ensuring that the wall is clear of obstructions and marking the desired location for the towel bar. Then, we attached the mounting brackets securely, creating a stable base for the towel bar.
Next, we mounted the towel bar onto the brackets, ensuring that it was centered and level. Once it was in position, we secured it by tightening the set screws. Finally, we tested the installation by checking the sturdiness and hanging a towel.
By following these instructions and using the provided tools and materials, you can achieve a successful installation of the Kohler Devonshire vibrant brushed nickel single towel bar. It will not only add functionality to your bathroom but also elevate the overall aesthetic appeal.
Remember to regularly check the towel bar for any signs of wear or loosening and make necessary adjustments if needed. Proper maintenance and care will help prolong the lifespan of the towel bar and ensure that it continues to serve its purpose efficiently.
We hope this guide has been helpful to you and that you are now confident in installing your own Kohler Devonshire vibrant brushed nickel single towel bar. Enjoy the convenience and elegance that it brings to your bathroom space!
Frequently Asked Questions about How To Install A Kohler Devonshire Vibrant Brushed Nickel Single Towel Bar
Was this page helpful?
At Storables.com, we guarantee accurate and reliable information. Our content, validated by Expert Board Contributors, is crafted following stringent Editorial Policies. We're committed to providing you with well-researched, expert-backed insights for all your informational needs.


0 thoughts on “How To Install A Kohler Devonshire Vibrant Brushed Nickel Single Towel Bar”