Articles
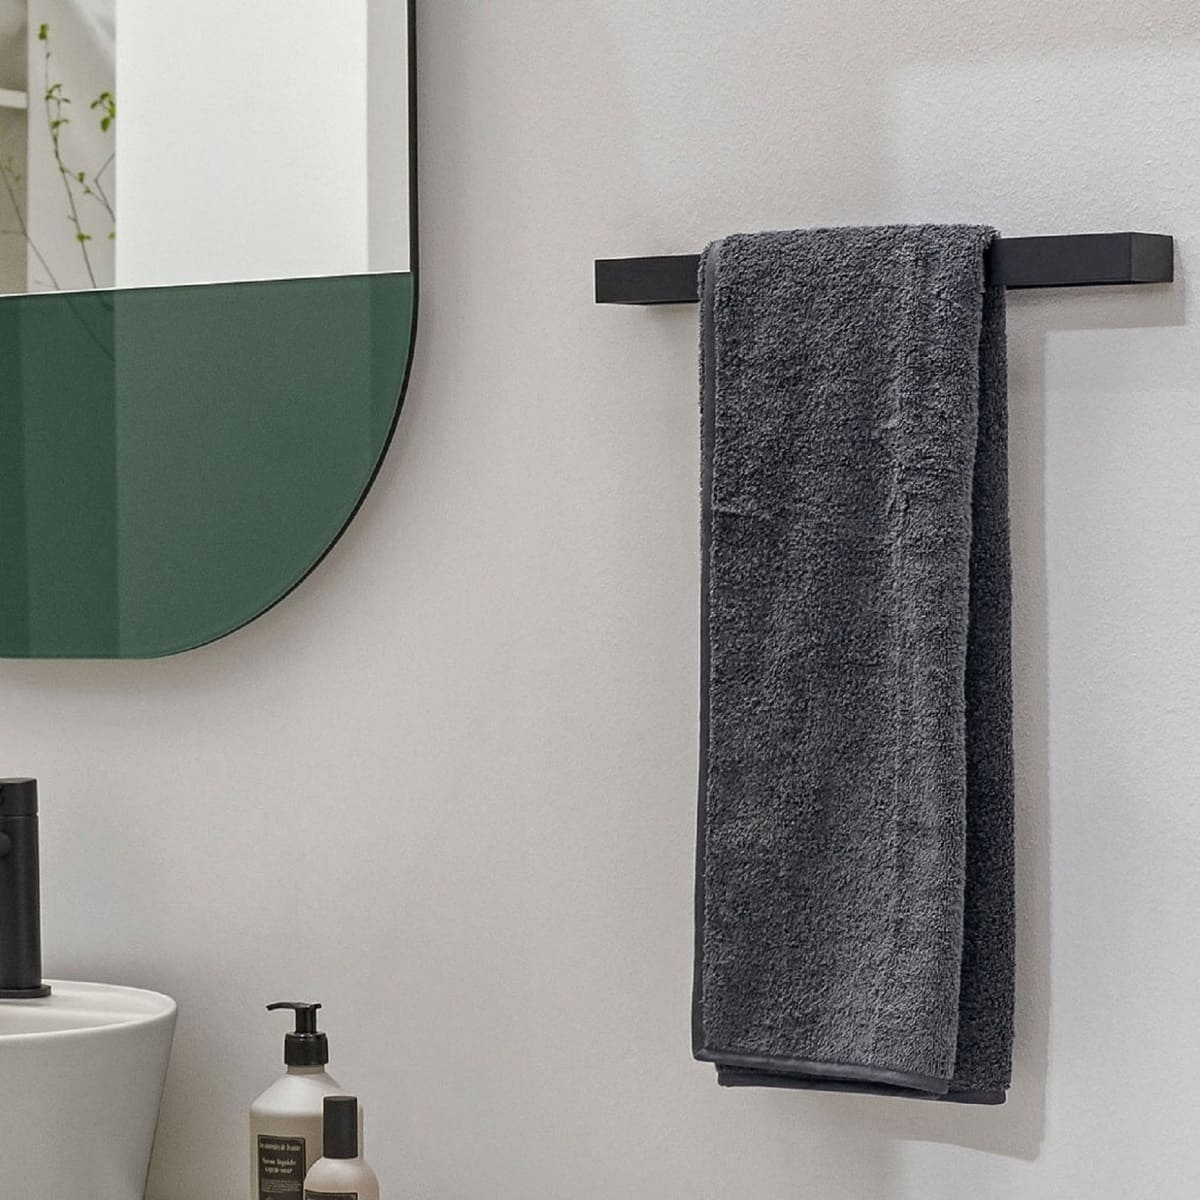
How To Remove Rectangular Towel Bar
Modified: August 21, 2024
Learn how to remove a towel bar with a rectangle and find more helpful articles on various home improvement topics.
(Many of the links in this article redirect to a specific reviewed product. Your purchase of these products through affiliate links helps to generate commission for Storables.com, at no extra cost. Learn more)
Introduction
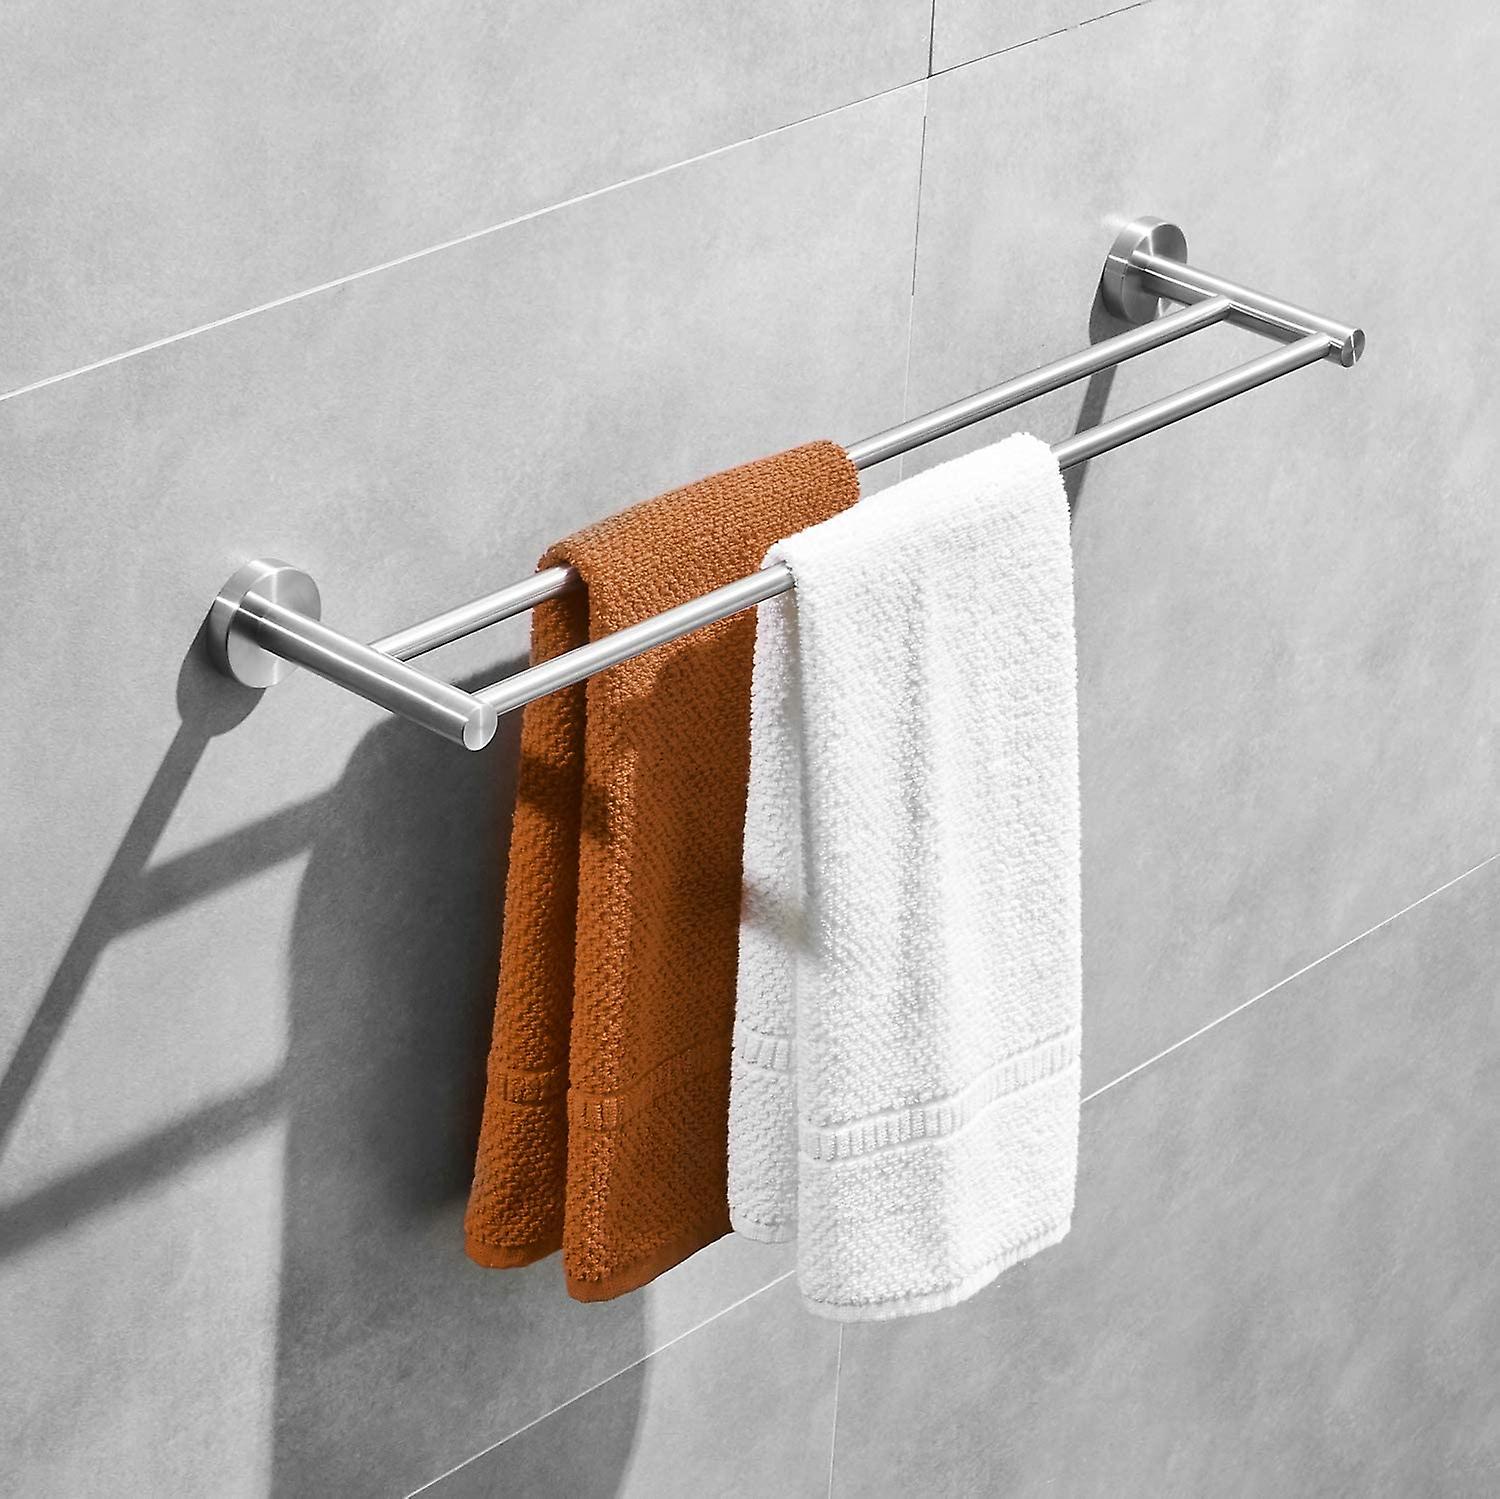
Having a towel bar in your bathroom is not only a functional addition but also a stylish one. However, there may come a time when you want to remove the towel bar, either for replacement or remodeling purposes. Whether you are upgrading your bathroom decor or simply need to remove a damaged or old towel bar, it is important to know the correct steps to remove it without causing any damage.
In this article, we will guide you through the process of removing a towel bar with a rectangular shape. We will cover the tools and materials you will need, as well as the step-by-step process to ensure a smooth and successful removal.
Before you begin, it’s important to ensure your safety by wearing protective eyewear and work gloves. Additionally, ensure that you have the necessary tools and materials on hand before starting the removal process.
So, let’s gather our tools and get ready to remove that rectangular towel bar!
Key Takeaways:
- Easily remove a rectangular towel bar by following simple steps, from gathering tools to patching and repairing holes. Enjoy a clean and refreshed bathroom space with a polished finish.
- With caution and the right tools, removing a towel bar is a straightforward process. Prepare the area, unscrew brackets, patch holes, and enjoy your DIY accomplishment in a refreshed bathroom.
Read more: How To Remove Delta Towel Bar
Tools and Materials Needed
Before you start removing the towel bar, it’s essential to gather all the necessary tools and materials. Here is a list of what you will need:
- Screwdriver (preferably a Phillips or flat-head)
- Pliers
- Putty knife or scraper
- Patch kit or spackling compound
- Sanding block or sandpaper
- Paint or matching wall finish
- Clean cloth or sponge
These tools and materials will help you safely and effectively remove the rectangular towel bar. Make sure to have them readily available before you begin the removal process.
Step 1: Gather the necessary tools and materials
Before you start the process of removing the rectangular towel bar, it’s important to gather all the necessary tools and materials. By having everything ready, you’ll be able to work efficiently and avoid any unnecessary delays. Here are the tools and materials you will need:
- Screwdriver: Depending on the type of screws used to secure the towel bar, you will need a screwdriver, preferably a Phillips or flat-head, to remove them.
- Pliers: Pliers will come in handy for gripping and turning any screw or fastener that might be difficult to remove with a screwdriver alone.
- Putty knife or scraper: To remove any adhesive, caulk, or paint around the towel bar brackets and mounting screws, you’ll need a putty knife or scraper.
- Patch kit or spackling compound: After removing the towel bar, you’ll likely have some holes or damage on the wall. A patch kit or spackling compound will help you fill and repair any imperfections.
- Sanding block or sandpaper: A sanding block or sandpaper will be useful for smoothing out any patched areas and preparing the surface for a new finish.
- Paint or matching wall finish: If you plan on repainting the wall or applying a new finish, make sure to have the necessary paint or matching wall finish on hand.
- Clean cloth or sponge: It’s always a good idea to have a clean cloth or sponge available to wipe away any dust or debris as you work.
Once you have gathered all the tools and materials, you’ll be ready to move on to the next step of removing the rectangular towel bar.
Step 2: Prepare the area
Before you begin removing the rectangular towel bar, it’s important to prepare the area to ensure a smooth and clean removal process. Here are the steps to follow:
- Clear the surrounding space: Remove any objects or items that may obstruct your access to the towel bar. This includes towels, toiletries, and other bathroom accessories. Clearing the area will give you more room to work and prevent any accidents or damage.
- Protect the surrounding surfaces: Use masking tape or painter’s tape to cover and protect the surrounding surfaces, such as the wall tiles or countertop, from accidental scratches or damage. This will help maintain the overall condition of your bathroom while removing the towel bar.
- Inspect the towel bar: Take a close look at the towel bar to identify any additional attachments or screws that may be hidden. Some towel bars may have hidden fasteners on the underside or at the ends. Make sure you have a clear understanding of how the towel bar is secured to the wall before proceeding.
- Turn off the water supply (if necessary): If your towel bar is attached to a wall-mounted towel warmer or any other fixture with a water connection, you may need to turn off the water supply before proceeding. This will prevent any accidental water leaks or damage.
By taking the time to prepare the area, you’ll create a safe and organized space for removing the rectangular towel bar. This will make the overall process easier and more efficient. Now that you’ve prepared the area, you can move on to the next step.
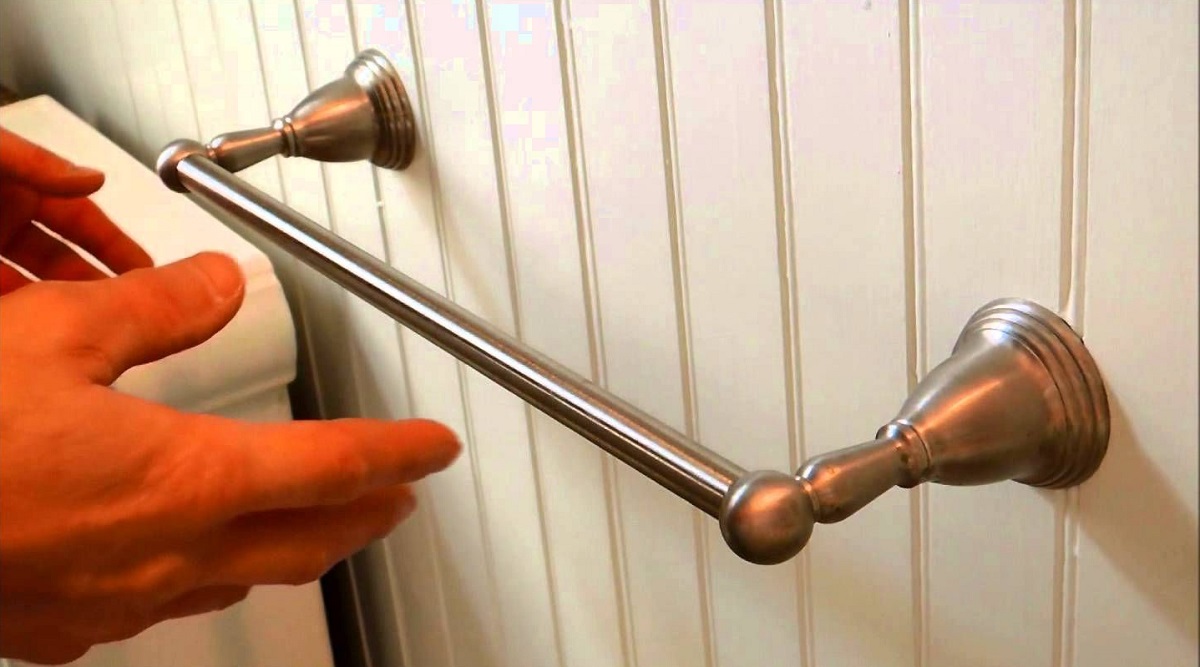
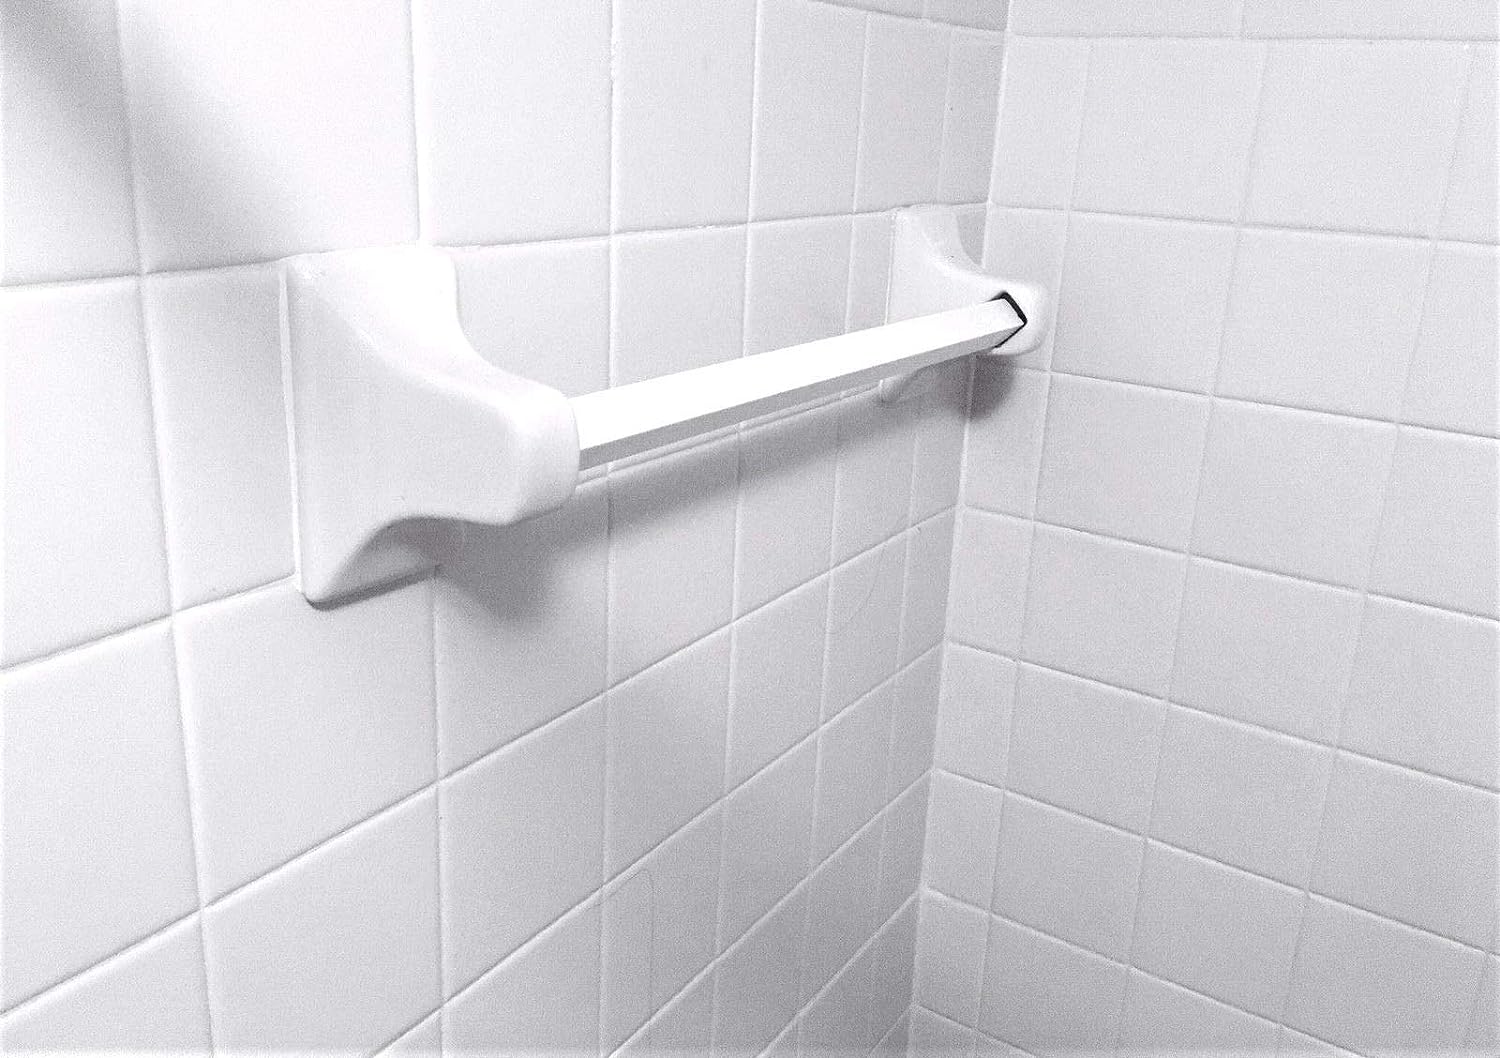
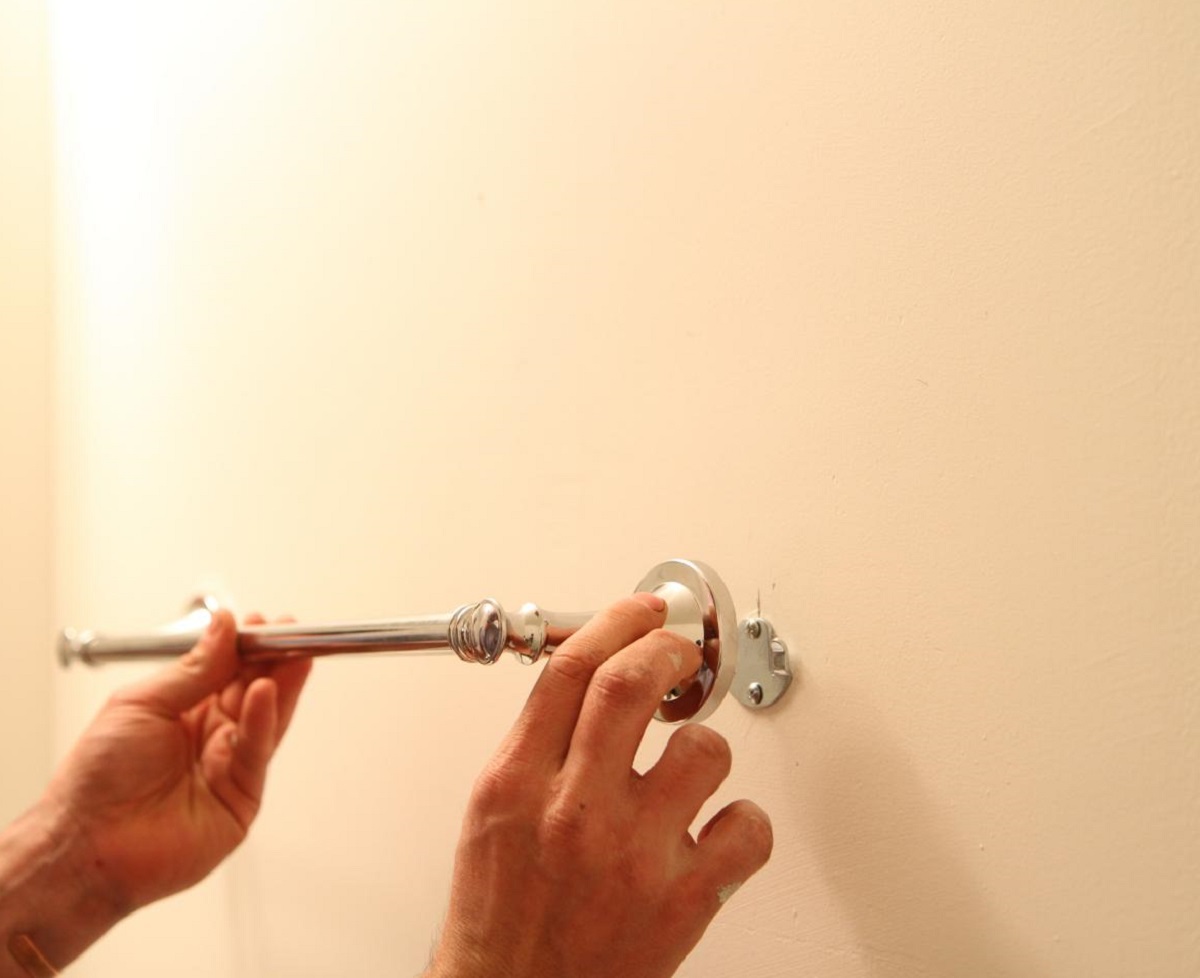
Step 3: Remove the towel bar brackets
Now that you have prepared the area, it’s time to start removing the towel bar brackets. Follow these steps:
- Locate the brackets: Identify the location of the towel bar brackets. Typically, they are attached to the wall using screws or adhesive. Take note of the exact position of the brackets.
- Inspect the brackets: Examine the brackets carefully to determine the type of attachment. If you see screws, you will need to unscrew them. If the brackets are glued or attached with adhesive, you may need to use a putty knife or scraper to gently pry them off.
- Unscrew the bracket screws: If your brackets are attached with screws, use a screwdriver to unscrew them counterclockwise. Be sure to hold onto the towel bar with one hand while removing the screws to prevent it from falling.
- Detach adhesive brackets: For adhesive brackets, insert a putty knife or scraper between the bracket and the wall. Gently apply pressure to pry the bracket away from the surface. Work your way around the bracket to loosen it completely.
- Remove the brackets: Once the screws are removed or the adhesive is loosened, carefully remove the brackets from the wall. Place them aside for disposal or future use, depending on their condition.
By following these steps, you will successfully remove the towel bar brackets. However, remember that some towel bars may have additional brackets or attachments in different locations. Inspect the entire bar for any hidden brackets, and repeat the removal process if necessary.
Now that you have removed the brackets, you can proceed to the next step of removing the rectangular towel bar.
Use a screwdriver to remove the screws holding the towel bar in place. Once the screws are removed, carefully lift the bar off the brackets and then remove the brackets from the wall.
Read more: How To Remove Towel Bar With No Screws
Step 4: Unscrew the mounting screws
With the towel bar brackets removed, it’s time to focus on unscrewing the mounting screws that hold the towel bar itself in place. Follow these steps:
- Identify the mounting screws: Look for the screws that secure the towel bar to the brackets. These screws are typically located on the underside or at the ends of the towel bar.
- Use a screwdriver: Take a screwdriver, preferably the appropriate type (Phillips or flat-head), and insert it into the screw head. Turn the screw counterclockwise to loosen and remove it. If the screws are tightly secured, you can use pliers for additional grip and leverage.
- Hold onto the towel bar: As you remove the screws, make sure to hold onto the towel bar with your other hand to prevent it from falling or becoming damaged. The towel bar should detach from the brackets once the screws are completely removed.
- Set aside the towel bar: Place the towel bar in a safe location away from the work area. You can set it aside for disposal or consider reusing it if it’s still in good condition.
After unscrewing the mounting screws, the towel bar should be completely detached from the wall. Keep in mind that some towel bars may have additional screws or attachments, so inspect the entire bar to ensure all screws have been removed.
Now that the mounting screws are taken care of, you are ready to move on to the next step of patching and repairing any holes left behind.
Step 5: Patch and repair any holes
Once you have removed the towel bar and unscrewed the mounting screws, it’s time to focus on patching and repairing any holes or damage left on the wall. Here’s how to do it:
- Clean the area: Begin by using a clean cloth or sponge to wipe away any dust, debris, or loose particles around the holes. This will ensure a clean surface for the patching and repair process.
- Prepare the patching compound: If you are using a patch kit or spackling compound, follow the instructions on the packaging to prepare the compound. Typically, this involves mixing the powder or applying the pre-mixed compound directly.
- Fill the holes: Use a putty knife or scraper to apply the patching compound into the holes left by the mounting screws. Fill the holes completely, ensuring the compound is flush with the surface of the wall.
- Smooth the patching compound: Once the holes are filled, use the putty knife or scraper to smooth out the patching compound. Gently press and scrape the surface of the compound to create a seamless and smooth finish.
- Allow the compound to dry: Follow the drying time mentioned on the packaging of the patching compound. Typically, it takes a few hours to dry completely. Avoid touching or disturbing the patched areas during this time.
- Sand and blend the repaired areas: Once the patching compound is dry, use a sanding block or sandpaper to gently sand the patched areas. This will ensure a smooth surface and help blend the repaired areas with the surrounding wall. Wipe away any dust or residue after sanding.
By carefully following these steps, you will successfully patch and repair any holes or damage left behind after removing the towel bar. Once the repaired areas are smooth and blended with the surrounding wall, you can move on to the final step of cleaning and finishing the area.
Step 6: Clean and finish the area
After patching and repairing the holes left behind from the towel bar removal, it’s time to clean and finish the area to ensure a polished and attractive result. Follow these final steps:
- Clean the wall: Use a clean cloth or sponge and mild soap solution to gently clean the surrounding area. Remove any dirt, dust, or residue that may have accumulated during the removal and repair process. Rinse the wall with clean water and dry it thoroughly.
- Touch up the paint or wall finish: If necessary, apply a matching paint or wall finish to the repaired areas. Use a small brush or roller to blend the new paint or finish with the existing wall surface. Allow the paint or finish to dry completely before proceeding.
- Inspect and finalize: Take a step back and inspect the entire area to ensure that the patching, repair, and finishing have been done to your satisfaction. Check for any imperfections or areas that may require touch-ups. Make any necessary adjustments or additions to achieve a seamless and professional appearance.
- Dispose of materials: Properly dispose of any leftover patching compound, paint, or other materials used during the removal and repair process. Follow your local regulations for safe disposal or recycling.
- Enjoy your clean and refreshed space: With the towel bar removed, holes patched, and the area cleaned and finished, you can now enjoy your clean and refreshed bathroom space. You may choose to leave the area as is or consider adding a new towel bar or alternative storage solution if desired.
Following these final steps will ensure that the area is clean, well-presented, and ready for its new purpose. Take pride in your accomplishment and enjoy the improved aesthetic appeal of your bathroom.
By following these step-by-step instructions, you have successfully learned how to remove a towel bar with a rectangular shape. Remember to exercise caution and take your time during the process to avoid any damage or accidents. Happy towel bar removal!
Conclusion
Removing a rectangular towel bar may seem like a daunting task, but with the right tools and steps, it can be a straightforward process. By following the step-by-step instructions outlined in this article, you can successfully remove a towel bar and complete the necessary repairs with ease.
Starting with gathering the necessary tools and materials, the process begins with preparing the area and locating the towel bar brackets. With the brackets removed, you can proceed to unscrew the mounting screws and detach the towel bar itself. After that, it’s time to patch and repair any holes or damage left on the wall. Finally, clean and finish the area to achieve a polished and attractive result.
Remember to approach each step with caution and work carefully to avoid causing any unintentional damage. Additionally, take your time to ensure that each repair is done thoroughly and any finishing touches are completed to your satisfaction.
With the towel bar removed and the area cleaned and finished, you can now enjoy your refreshed bathroom space. Whether you’re upgrading your bathroom decor or preparing for a renovation, removing a towel bar with a rectangular shape is an essential step.
Thank you for following along with this article. We hope the provided instructions have been helpful in guiding you to successfully remove your rectangular towel bar. Remember to always prioritize safety and take pride in your DIY accomplishments!
Frequently Asked Questions about How To Remove Rectangular Towel Bar
Was this page helpful?
At Storables.com, we guarantee accurate and reliable information. Our content, validated by Expert Board Contributors, is crafted following stringent Editorial Policies. We're committed to providing you with well-researched, expert-backed insights for all your informational needs.


0 thoughts on “How To Remove Rectangular Towel Bar”