Articles
How To Replace A Towel Bar In A Bathroom
Modified: October 20, 2024
Learn the step-by-step process of replacing a towel bar in your bathroom with our informative articles. Make sure to get the job done right!
(Many of the links in this article redirect to a specific reviewed product. Your purchase of these products through affiliate links helps to generate commission for Storables.com, at no extra cost. Learn more)
Introduction
Replacing a towel bar in your bathroom can be a simple and cost-effective way to update the look of your space. Over time, towel bars may become worn, rusty, or simply no longer match your bathroom’s decor. Whatever the reason, you can easily tackle this DIY project with a few basic tools and some patience.
In this article, we will guide you through the step-by-step process of replacing a towel bar in your bathroom. From gathering the necessary tools and materials to installing the new towel bar, we’ve got you covered. You don’t have to be a seasoned handyman to accomplish this task – just follow our instructions, and soon you’ll have a fresh and functional towel bar in your bathroom.
Before we dive into the steps, it’s important to note that safety should always be a priority. Use caution when handling any tools or materials and take necessary precautions, such as wearing safety glasses and gloves, to protect yourself during the process.
Now, let’s gather our tools and materials and get ready to replace that old towel bar!
Key Takeaways:
- Easily update your bathroom’s look and functionality by replacing a towel bar with basic tools and step-by-step guidance. Enjoy a fresh and stylish space without the need for professional help.
- Ensure a successful towel bar replacement by gathering the right tools, measuring and marking accurately, and testing for stability. DIY with confidence and add a touch of style to your bathroom.
Read more: How To Replace Plastic Towel Bar
Step 1: Gather necessary tools and materials
Before you begin replacing the towel bar, it’s important to gather all the necessary tools and materials. Having everything ready in advance will make the process smoother and more efficient. Here’s a list of what you’ll need:
- Measuring tape
- Level
- Screwdriver
- Drill
- Wall anchors (if necessary)
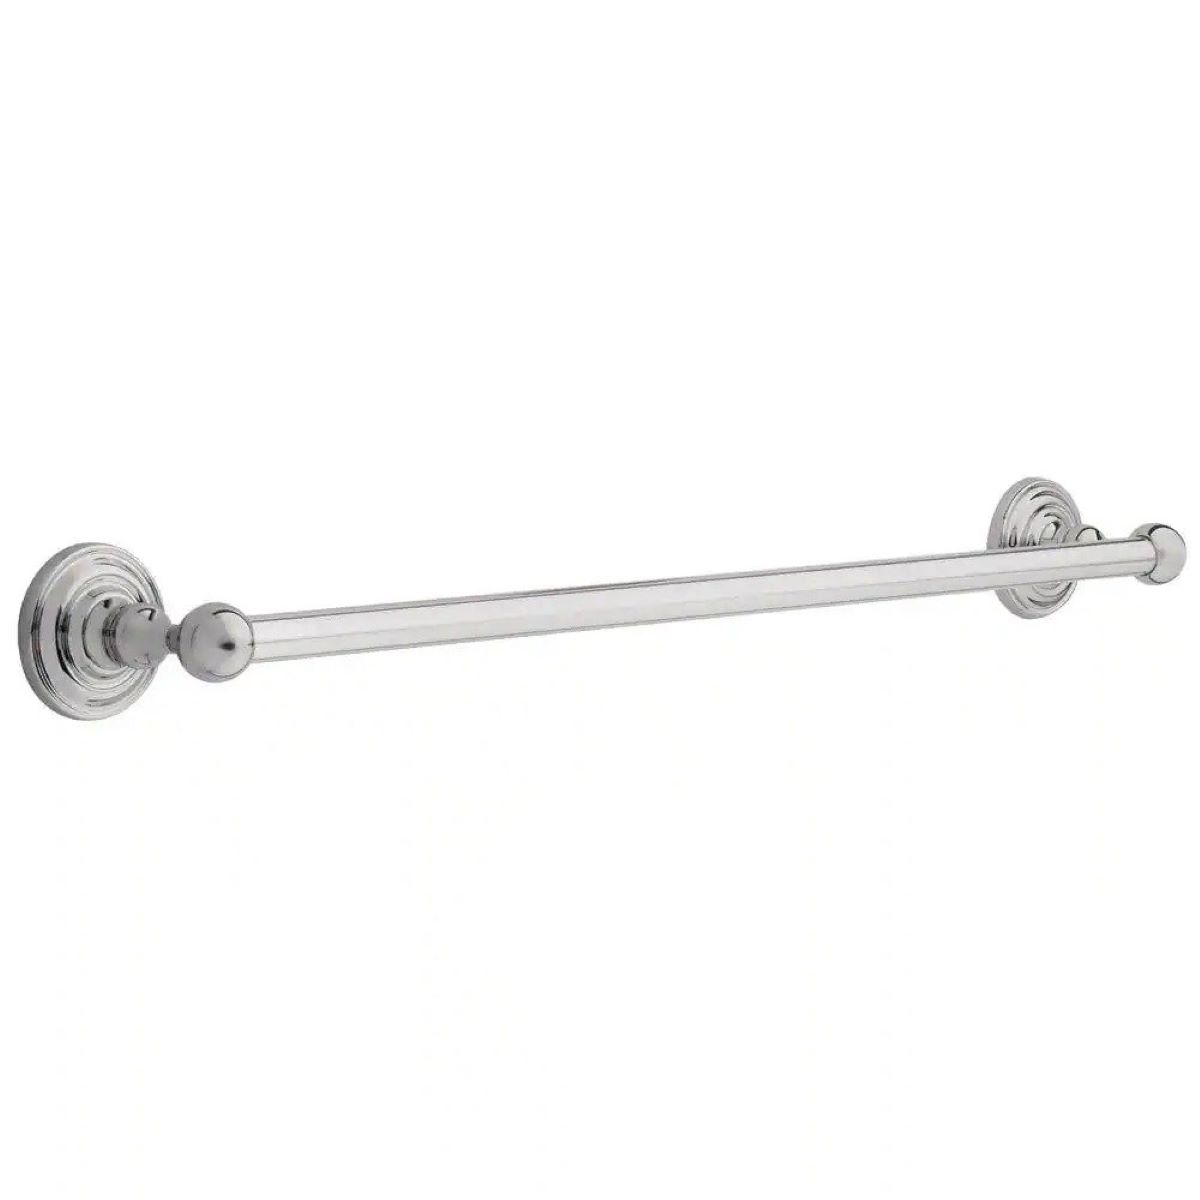
- New towel bar
- Screws
Make sure you have the correct measurements for your new towel bar. Measure the length and double-check the width to ensure it fits perfectly in your bathroom. Additionally, consider the style and finish of the towel bar to match your existing decor.
If your new towel bar requires wall anchors, make sure you have the appropriate size and quantity. Wall anchors provide extra support and stability, especially if you’re mounting the towel bar on drywall or a hollow wall.
Once you’ve gathered all the necessary tools and materials, you’re ready to move onto the next step: removing the old towel bar.
Step 2: Remove the old towel bar
Now that you have all the necessary tools and materials ready, it’s time to remove the old towel bar. Follow these steps:
- Start by removing any accessories attached to the towel bar, such as towels or hooks.
- Inspect the towel bar to see how it is mounted to the wall. Most towel bars are attached using screws or brackets.
- Using a screwdriver, remove the screws or brackets that are securing the towel bar to the wall. If the towel bar is mounted using brackets, gently pry them off the wall using a screwdriver or a putty knife.
- Once the towel bar is detached from the wall, carefully remove it and set it aside.
During this process, you may encounter some resistance if the towel bar has been installed for a long time or if the screws are tight. If necessary, use a wrench or pliers to loosen the screws or ask a friend for assistance.
After successfully removing the old towel bar, take a moment to inspect the wall for any damage or holes left behind. If there are any noticeable holes or damage, don’t worry. We’ll address these issues in the next step.
With the old towel bar out of the way, it’s time to move on to step 3: repairing any wall damage.
Step 3: Repair any wall damage
After removing the old towel bar, it’s common to find some wall damage or holes where the mounting brackets or screws were previously attached. Before installing the new towel bar, it’s important to repair and prepare the wall. Here’s what you need to do:
- Inspect the wall for any holes or damage. If you notice small screw holes or dents, you can easily fix them with spackling compound or wall putty. For larger holes, you may need to use a patching kit or consult a professional for assistance.
- Follow the instructions on the spackling compound or wall putty to fill in the holes. Use a putty knife to apply the compound, smoothing it out until it is flush with the wall surface. Allow the compound to dry completely.
- Once the compound is dry, sand it lightly with sandpaper to ensure a smooth finish. Wipe away any dust or debris with a clean cloth.
- If your wall has paint or wallpaper, you may need to touch up the area with matching paint or wallpaper to blend it seamlessly with the rest of the wall. Allow the paint or wallpaper to dry according to the manufacturer’s instructions.
By taking the time to repair any wall damage, you’ll ensure a clean and professional-looking installation of the new towel bar. Now that the wall is ready, it’s time to move on to step 4: measuring and marking the placement of the new towel bar.
Step 4: Measure and mark the placement of the new towel bar
Before you can install the new towel bar, it’s important to measure and mark the correct placement on the wall. This will ensure that the towel bar is properly aligned and securely attached. Follow these steps to measure and mark the placement:
- Using a measuring tape, measure the desired height at which you want the towel bar to be installed. The standard height for a towel bar is around 48 inches from the floor, but you can adjust it according to your preference.
- With the help of a level, ensure that the towel bar will be perfectly horizontal. Place the level against the wall at the desired height and adjust until the bubble is centered within the level.
- Using a pencil, make small marks on the wall to indicate the placement of the mounting brackets. These marks should align with the screw holes or brackets on the back of the towel bar.
- Double-check your measurements and marks to ensure accuracy before proceeding to the next step.
By taking the time to accurately measure and mark the placement of the new towel bar, you will avoid any potential issues during installation. Once you’re satisfied with the placement, you can move on to step 5: installing the mounting brackets.
When replacing a towel bar in a bathroom, be sure to measure the distance between the mounting brackets to ensure the new bar will fit properly. Also, use a level to make sure the bar is installed straight.
Read more: How To Replace A Ceramic Towel Bar
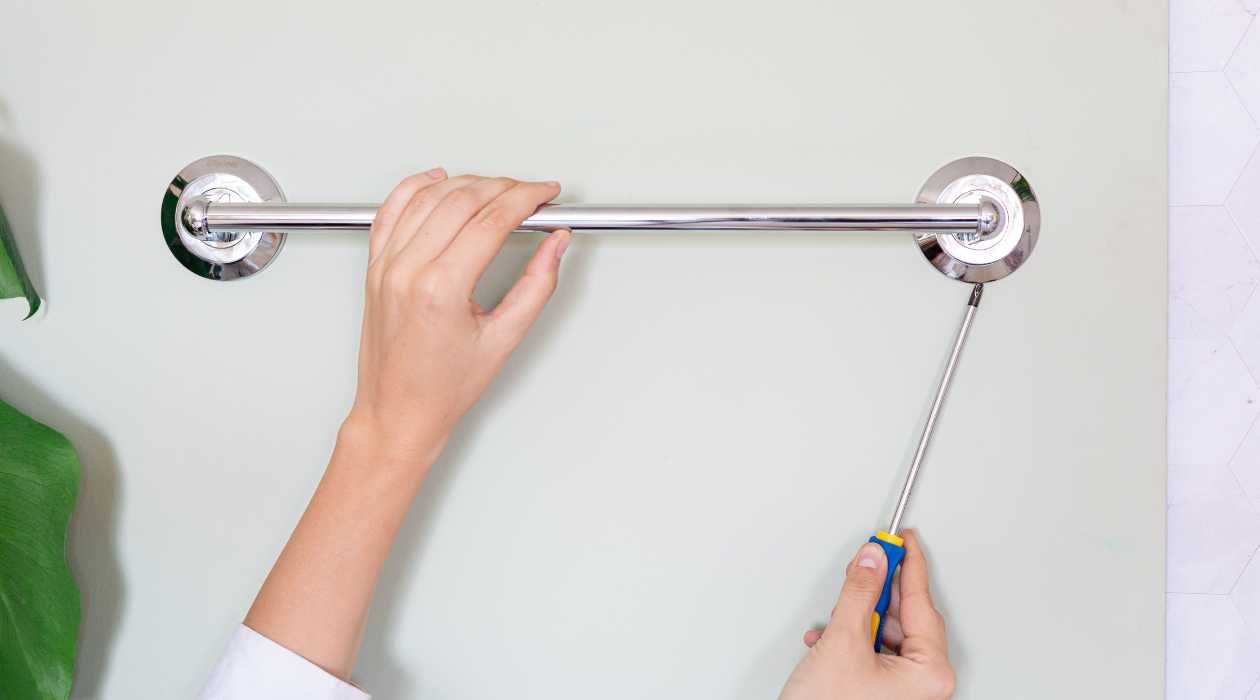
Step 5: Install the mounting brackets
Now that you have measured and marked the placement of the new towel bar, it’s time to install the mounting brackets. The mounting brackets will provide the support needed to secure the towel bar to the wall. Follow these steps to install the mounting brackets:
- Using a drill and the appropriate drill bit, create pilot holes at the marked positions on the wall. The size of the pilot holes should match the size of the screws or wall anchors you are using.
- If your towel bar requires wall anchors, insert them into the pilot holes until they are flush with the wall. Use a hammer or a screwdriver to gently tap them in if necessary.
- Align the mounting brackets with the pilot holes or wall anchors and attach them securely to the wall using the provided screws. Use a screwdriver or a drill to tighten the screws, ensuring that the brackets are firmly in place.
- Double-check the levelness of the brackets using a level to ensure they are perfectly horizontal. Adjust if necessary.
Once the mounting brackets are installed and properly aligned, you’re one step closer to completing the towel bar installation. Next, we’ll move on to step 6: attaching the new towel bar.
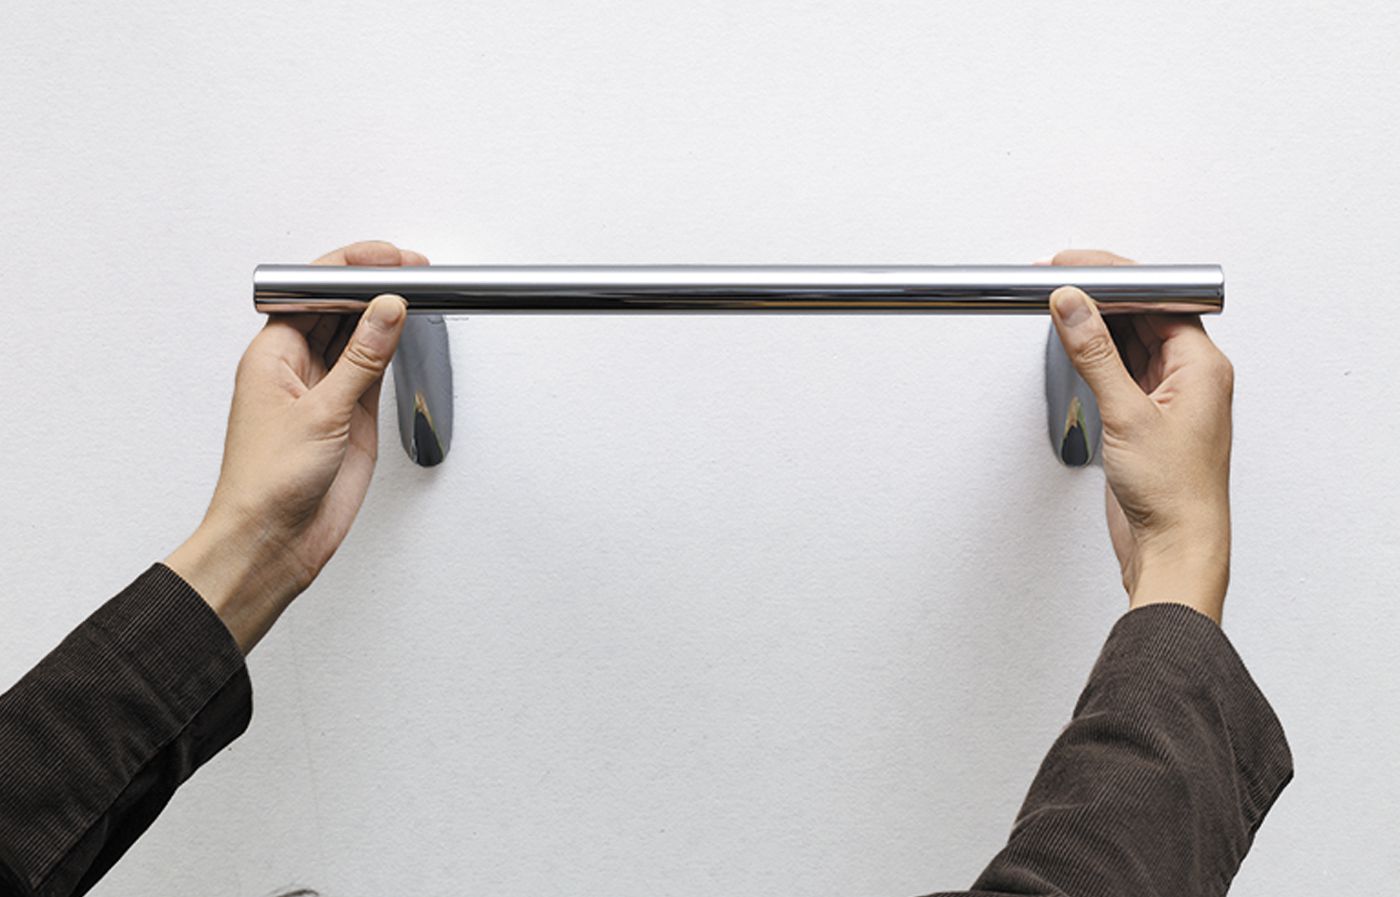
Step 6: Attach the new towel bar
With the mounting brackets securely installed, it’s time to attach the new towel bar. Follow these steps to ensure a proper and stable attachment:
- Take the new towel bar and position it over the mounting brackets. Align the holes or brackets on the back of the towel bar with the brackets on the wall.
- Insert the screws provided with the towel bar through the holes or brackets and into the mounting brackets on the wall. Use a screwdriver or a drill to tighten the screws, ensuring that the towel bar is securely attached.
- Gently tug on the towel bar to test its stability. If it feels loose or wobbly, double-check the screws and tighten them further if necessary.
- Once the towel bar is securely attached, step back and visually inspect its alignment and levelness. If adjustments are needed, slightly loosen the screws and make the necessary adjustments before re-tightening them.
Take a moment to appreciate your progress – you’ve successfully installed the new towel bar! Now it’s time for the final step: testing and making any final adjustments.
Step 7: Test and make any final adjustments
Now that you have completed the installation of the new towel bar, it’s essential to test its functionality and make any final adjustments to ensure it meets your satisfaction. Follow these steps to complete the process:
- Hang a towel on the towel bar or apply some pressure to simulate regular usage. This will help you determine if the towel bar can hold the weight and remains stable.
- Check the towel bar for any signs of wobbling or shifting. If you notice any movement, use a screwdriver or a drill to tighten the screws further.
- Inspect the towel bar for any misalignment or unevenness. If adjustments are needed, slightly loosen the screws and make the necessary adjustments before re-tightening them.
- Step back and visually evaluate the towel bar’s placement and overall appearance. Ensure it is level, properly aligned, and complements your bathroom’s decor.
- If you’re satisfied with the towel bar’s performance and appearance, congratulate yourself on a job well done!
Remember, regular maintenance is important to keep your towel bar in good condition. Periodically check the screws and brackets for any looseness and tighten them if needed. Additionally, clean the towel bar regularly to prevent the accumulation of dirt and grime.
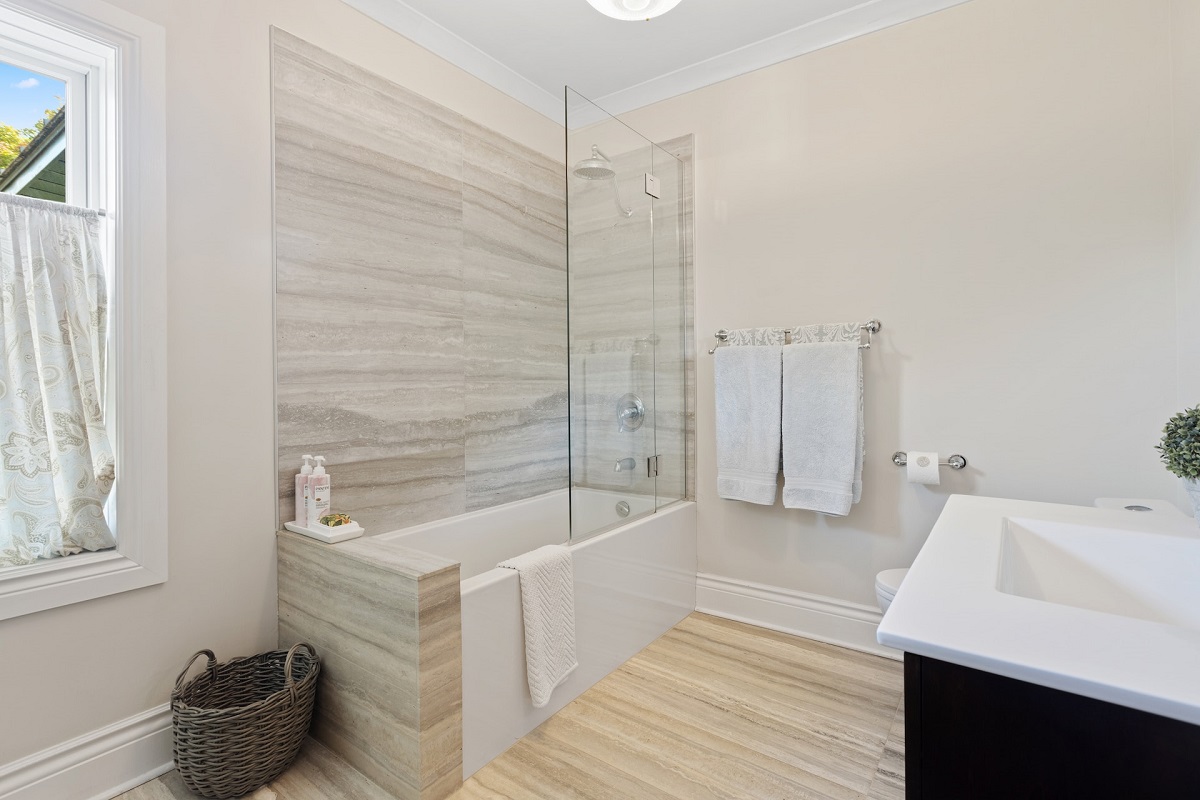
With the towel bar now tested and adjusted to your satisfaction, you have successfully replaced the old towel bar with a new one. Enjoy the refreshed look and functionality it brings to your bathroom!
Finally, take a moment to clean up your work area and gather all your tools, storing them properly for future projects.
Congratulations on completing the towel bar replacement! You’ve not only improved the functionality of your bathroom but also added a touch of style. Well done!
Conclusion
Replacing a towel bar in your bathroom is a simple and rewarding DIY project that can instantly update the look and functionality of your space. With the right tools, materials, and step-by-step guidance, you can easily accomplish this task on your own.
In this article, we’ve walked you through the process of replacing a towel bar in your bathroom. From gathering the necessary tools and materials to measuring, marking, and installing the new towel bar, each step has been outlined to ensure a successful outcome.
By removing the old towel bar and repairing any wall damage, you have created a clean and fresh canvas for the installation of the new towel bar. Properly aligning and attaching the mounting brackets, followed by securely attaching the new towel bar, ensures its stability and functionality.
Don’t forget to test the towel bar’s performance, make any final adjustments, and step back to admire your handiwork. With a sturdy and stylish towel bar in place, your bathroom will not only look more appealing but also provide a convenient and organized space to hang your towels.
Remember to perform regular maintenance by checking the screws and brackets for any looseness and keeping the towel bar clean. This will help prolong its lifespan and maintain its functionality.
Now that you have successfully replaced the towel bar in your bathroom, take a moment to appreciate the improvement you’ve made. Enjoy the refreshed look and enhanced functionality of your space. And don’t be afraid to tackle more DIY projects in the future!
Thank you for joining us on this towel bar replacement journey. We hope you found this article helpful and informative. Happy DIYing!
Frequently Asked Questions about How To Replace A Towel Bar In A Bathroom
Was this page helpful?
At Storables.com, we guarantee accurate and reliable information. Our content, validated by Expert Board Contributors, is crafted following stringent Editorial Policies. We're committed to providing you with well-researched, expert-backed insights for all your informational needs.


0 thoughts on “How To Replace A Towel Bar In A Bathroom”