Articles
How To Install Towel Bar With Set Screw
Modified: October 20, 2024
Learn how to install a towel bar with set screw in this helpful article. Follow our step-by-step guide for a quick and secure installation.
(Many of the links in this article redirect to a specific reviewed product. Your purchase of these products through affiliate links helps to generate commission for Storables.com, at no extra cost. Learn more)
Introduction
Installing a towel bar with a set screw is a relatively simple task that can add functionality and style to your bathroom. Whether you’re replacing an old towel bar or installing a new one, having the right tools and following the correct steps will ensure a successful installation.
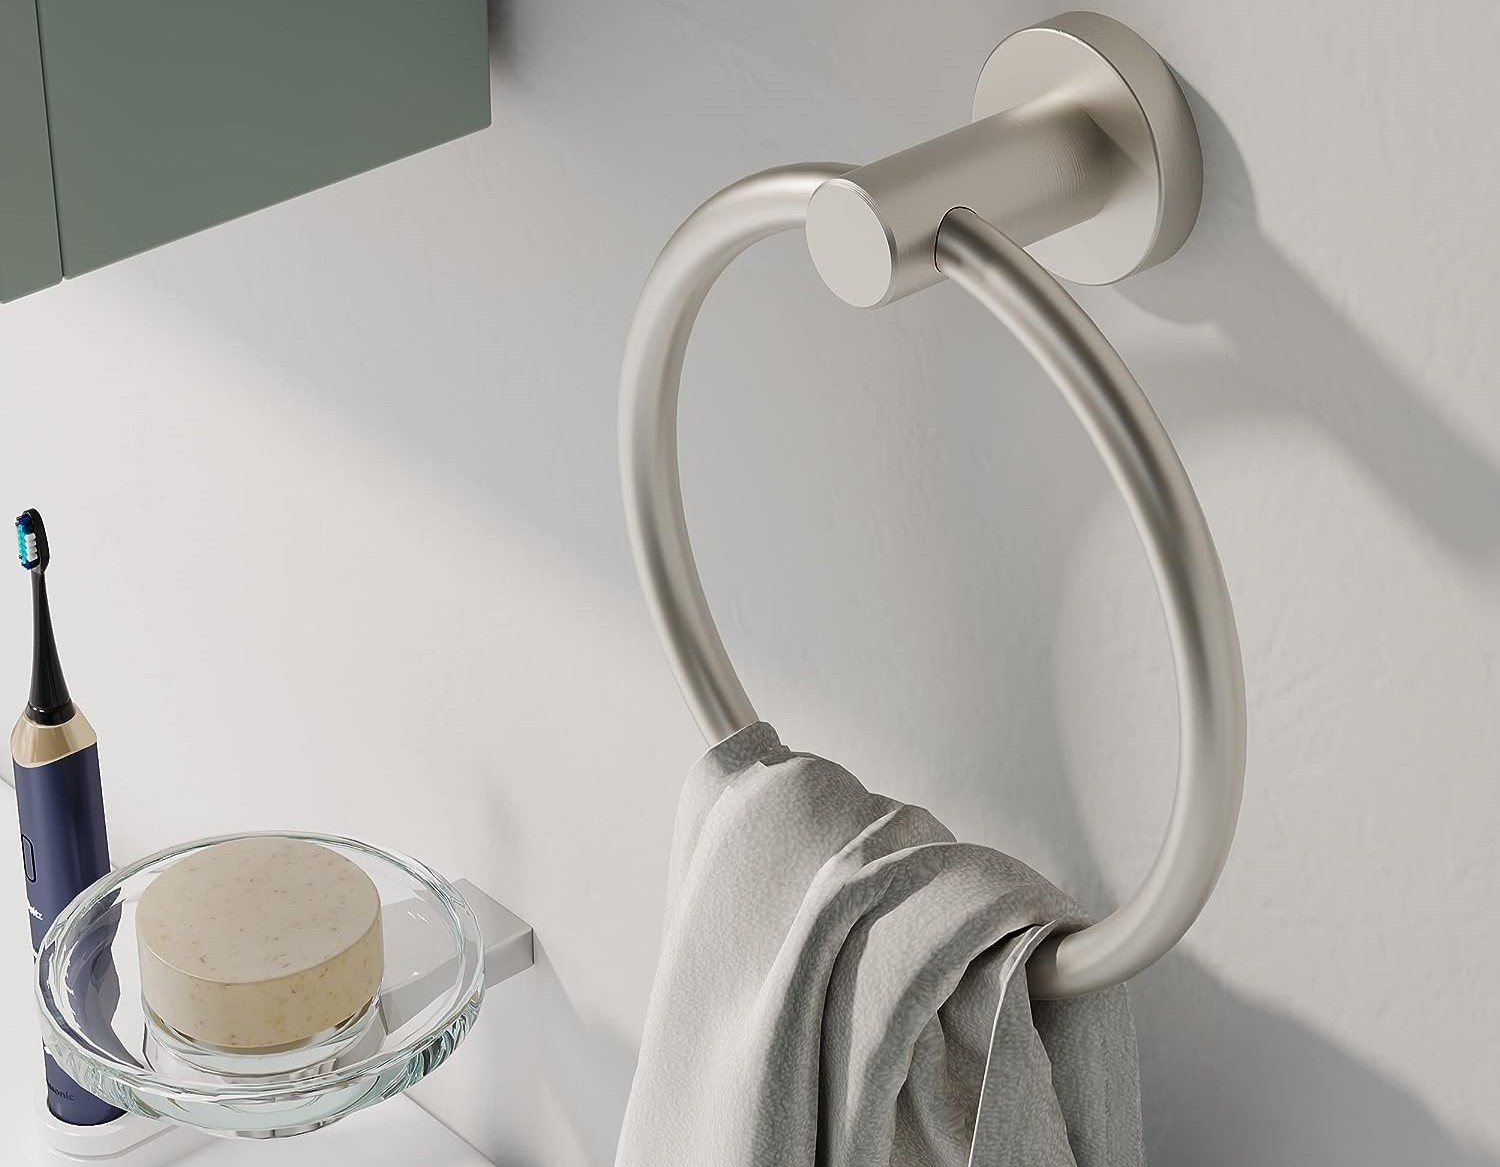
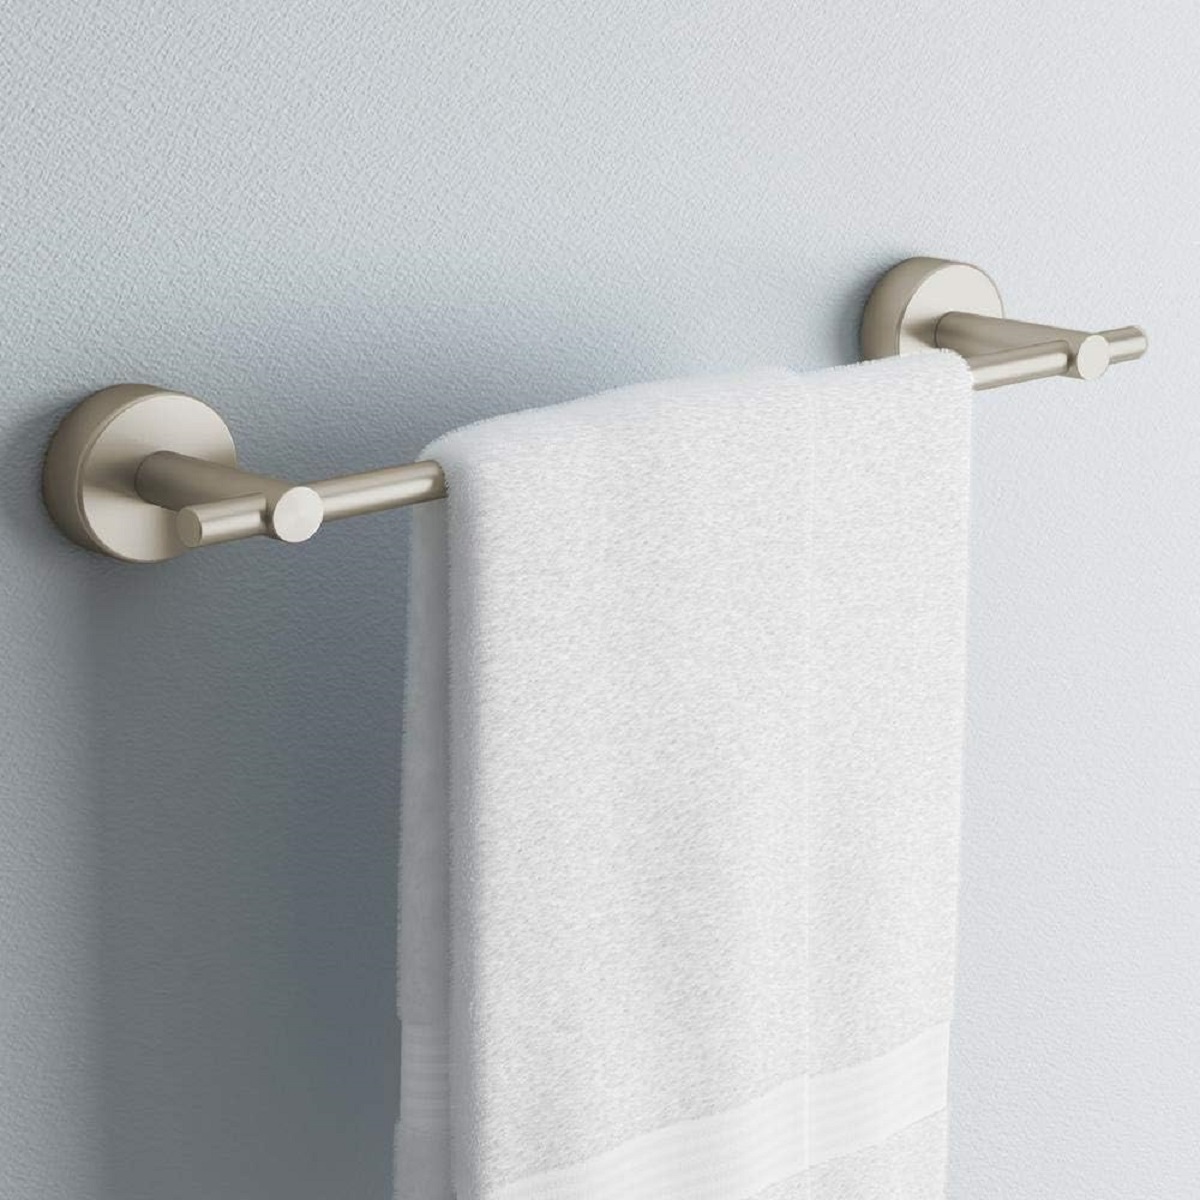
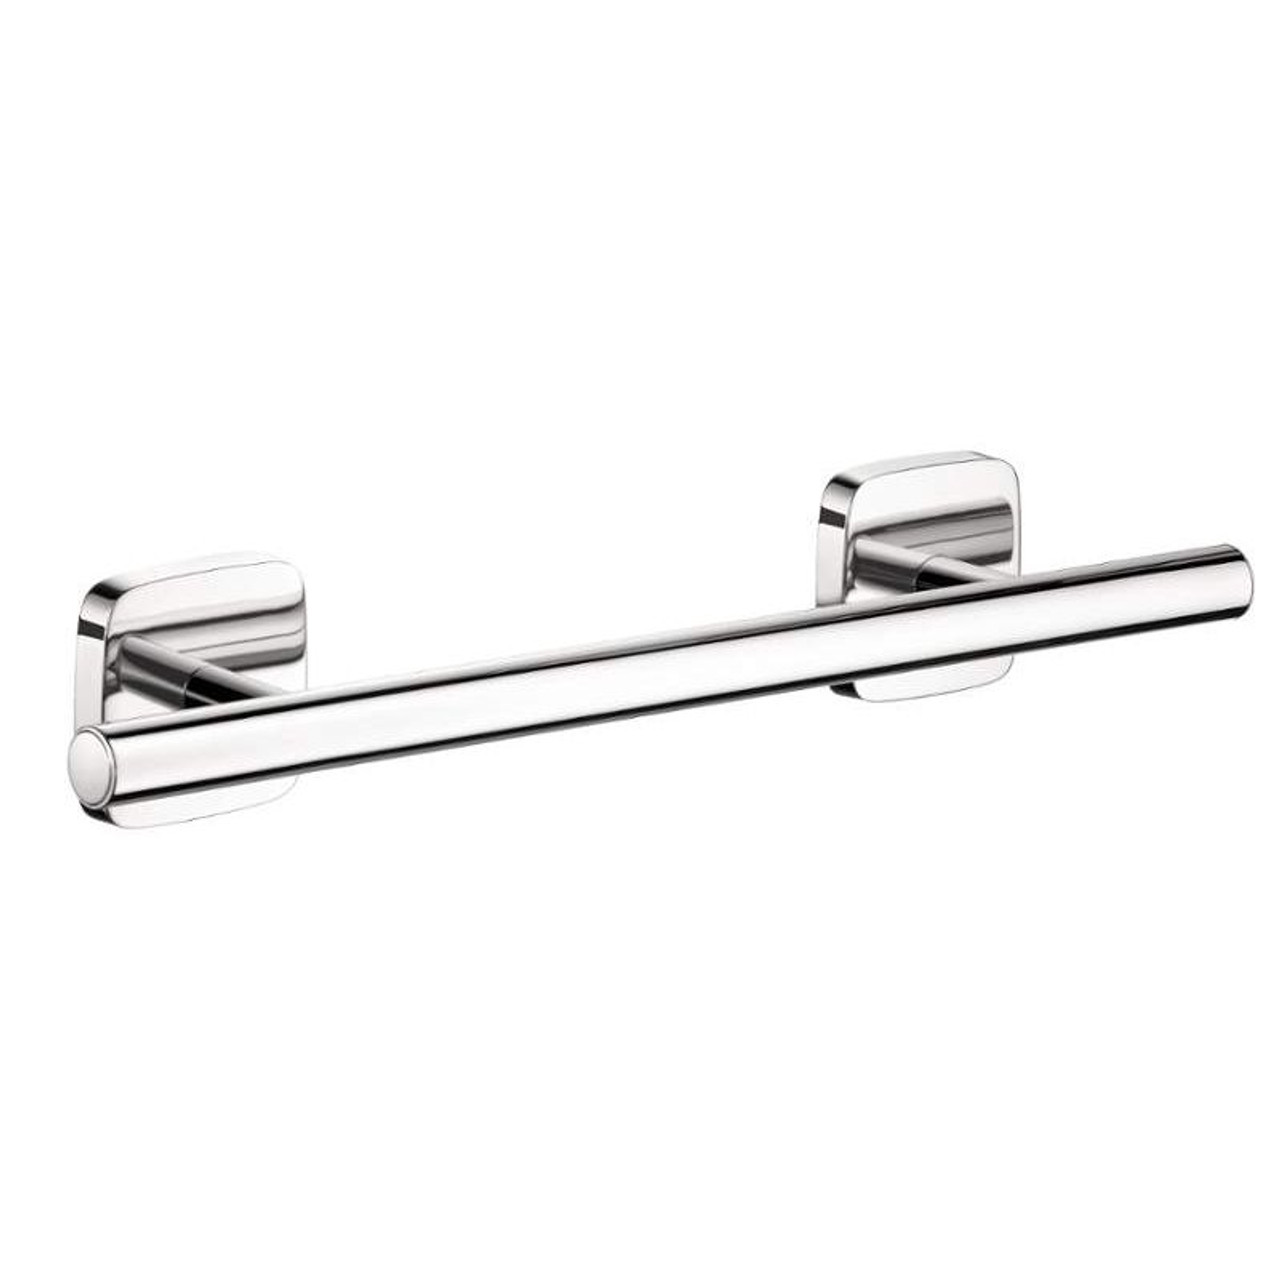
A towel bar with a set screw is a popular choice because it offers a secure and sturdy mounting option. The set screws, also known as grub screws, secure the bar to the mounting brackets, preventing it from rotating or coming loose over time.
In this article, we will guide you through the step-by-step process of installing a towel bar with a set screw. From measuring and marking the placement to tightening the set screws, you’ll have all the information you need to complete the installation with ease.
Before we begin, let’s go over the tools and materials you’ll need for this project:
- Tape measure
- Pencil or marker
- Power drill
- Drill bits (appropriate for the wall material)
- Level
- Wall anchors (if necessary)
- Screwdriver or Allen wrench (depending on the set screw type)
With these tools in hand, you’re ready to start installing your towel bar. So let’s jump right into the first step: measuring and marking the placement.
Key Takeaways:
- Installing a towel bar with set screws is a straightforward process that enhances bathroom functionality and aesthetics. From measuring and marking to tightening set screws, each step ensures a secure and reliable installation.
- By using the right tools and materials, such as a tape measure, drill, and level, you can transform your bathroom into a more organized and functional space. Enjoy the convenience and style that a towel bar adds to your daily routine.
Read more: How To Remove Towel Bar With No Screws
Tools and Materials Needed
Before you begin installing a towel bar with a set screw, it’s important to gather all the necessary tools and materials. Having everything ready will make the installation process smoother and more efficient. Here’s a list of what you’ll need:
- Tape measure: You’ll need a tape measure to accurately measure the distance between the mounting brackets and mark the placement on the wall. This ensures that the towel bar is level and properly aligned.
- Pencil or marker: A pencil or marker is essential for marking the exact spots where you’ll be drilling the holes for the mounting brackets. It’s advisable to use a contrasting color that can be easily seen on your wall.
- Power drill: A power drill is necessary for drilling the holes in the wall. Make sure you have the proper drill bits for your wall material (e.g., wood, drywall, tile), as different materials require different types of drill bits.
- Level: A level is crucial in ensuring that the towel bar is installed straight and level. This tool helps you adjust the positioning of the brackets and the bar to achieve a professional-looking installation.
- Wall anchors (if necessary): Wall anchors are used to provide extra support when mounting the towel bar onto drywall or other fragile wall materials. They help distribute the weight and prevent the bar from pulling out of the wall.
- Screwdriver or Allen wrench: Depending on the type of set screws used in your towel bar, you’ll need either a screwdriver or an Allen wrench to tighten and secure the bar to the mounting brackets. Check the manufacturer’s instructions to determine the appropriate tool to use.
By having these tools and materials ready beforehand, you’ll save time and avoid running into any unexpected issues during the installation process. Now that you have everything you need, let’s move on to the step-by-step instructions for installing your towel bar with a set screw.
Step 1: Measure and Mark the Placement
The first step in installing a towel bar with a set screw is to accurately measure and mark the placement on the wall. This will ensure that the towel bar is installed at the desired height and in the proper location. Here’s how to do it:
- Start by determining the height at which you want to install the towel bar. The standard height for a towel bar is around 48 inches (122 cm) from the floor. However, you can adjust this based on your personal preference and the height of the users.
- Use a tape measure to measure and mark the height on the wall where you want the bottom of the towel bar to be. Make sure to use a pencil or marker that is easily visible on your wall.
- If you’re installing multiple towel bars, such as one for hand towels and another for bath towels, make sure to measure and mark the placement for each bar separately.
- Next, measure the distance between the mounting brackets on your towel bar. This will determine where you need to mark the placement for the brackets on the wall.
- Starting from the center point that you marked at the desired height, measure half the distance between the mounting brackets to the left and right. Mark these points on the wall.
- Use a level to ensure that the marked points are perfectly aligned horizontally. Adjust as necessary to achieve a straight line.
- If you’re using a towel bar with multiple brackets, repeat steps 4-6 for each set of brackets.
By measuring and marking the placement accurately, you’ll ensure that your towel bar is properly aligned and level. This will result in a more aesthetically pleasing installation and a functional towel bar that can securely hold your towels. Once you have marked the placement, you’re ready to move on to the next step: drilling the holes for the mounting brackets.
Step 2: Drill Holes
In this step, you will drill holes in the wall to create the necessary openings for the mounting brackets. Follow these instructions to drill the holes for your towel bar:
- First, ensure that you have the appropriate drill bit for your wall material. Different wall materials require different types of drill bits. For example, use a masonry bit for drilling into tiles or concrete, while a standard drill bit should work for most drywall or wooden walls.
- Align the drill bit with one of the marked points for the mounting brackets. Hold the drill perpendicular to the wall, and apply gentle pressure as you begin drilling.
- Start drilling at a low speed, gradually increasing the speed as the drill bit penetrates the wall. Be careful not to apply too much pressure, as it can cause the drill bit to slip or damage the wall surface.
- Continue drilling until you reach the desired depth for the anchor or until you’ve created a clean hole that matches the size of the mounting bracket’s anchor.
- If you’re using wall anchors, carefully insert them into the drilled holes. Gently tap them with a hammer until they are flush with the wall surface.
- Repeat steps 2-5 for each marked point where a mounting bracket will be installed.
By drilling the holes accurately, you will ensure a secure and stable foundation for your towel bar. Take your time and use caution while drilling to avoid any damage to the wall or injury. Once you have drilled the holes, you’re ready to proceed to the next step: inserting anchors (if needed).
Step 3: Insert Anchors (If Needed)
In this step, you will insert anchors into the drilled holes, if necessary. Anchors provide extra stability and support, especially when mounting the towel bar on drywall or other fragile wall materials. Follow these instructions to insert anchors:
- If you determined that wall anchors are needed for your installation, select the appropriate size and type of anchors for your towel bar and wall material. There are different types of anchors available, such as plastic expansion anchors or toggle bolts, so choose the one that suits your specific installation needs.
- Take one anchor and insert it into the drilled hole. Gently tap it with a hammer, if needed, to ensure it fits snugly within the hole.
- Repeat this process for each hole that requires an anchor.
- If using plastic expansion anchors, use a screwdriver to turn the screw in a clockwise direction. This will expand the anchor and secure it firmly against the wall. If using toggle bolts, follow the manufacturer’s instructions on how to secure them properly.
- Ensure that each anchor is fully inserted and secure within the wall before moving on to the next step.
By inserting anchors, you provide additional stability and strength to the mounting brackets, making them less likely to pull out or become loose over time. This is particularly important when mounting the towel bar in areas with heavy usage, such as near shower areas or in the kitchen. Once you have inserted the anchors, you are ready to proceed to the next step: installing the mounting brackets.
When installing a towel bar with set screws, make sure to use a level to ensure it is straight. Also, use a screwdriver to tighten the set screws securely for a stable installation.
Read more: How To Remove Towel Bar Without Set Screw
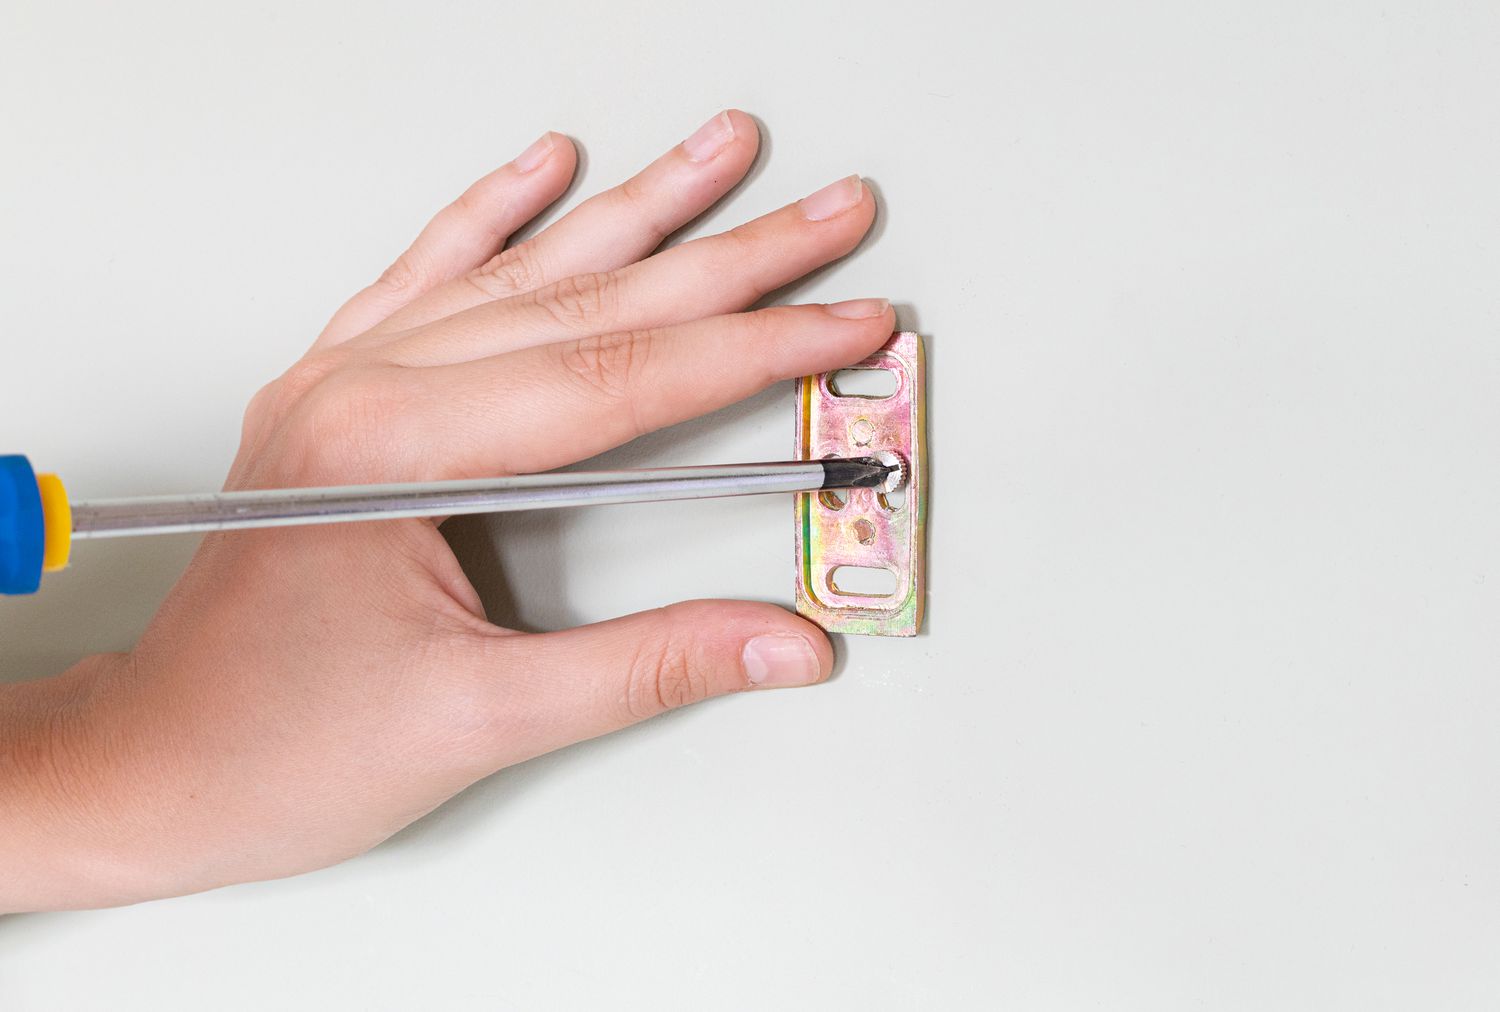
Step 4: Install Mounting Brackets
Now that you have drilled the holes and inserted anchors (if necessary), it’s time to install the mounting brackets for your towel bar. Follow these step-by-step instructions to properly install the brackets:
- Take one of the mounting brackets and align it with the corresponding holes on the wall. Make sure the bracket is level and centered on the marked point.
- Insert the screws provided with the towel bar through the holes in the bracket, ensuring they pass through the anchors or directly into the wall if anchors were not needed.
- Using a screwdriver or drill, tighten the screws until the bracket is securely fastened to the wall. Be careful not to overtighten, as it can strip the screws or damage the bracket. Repeat this process for the remaining brackets.
- Double-check that all of the brackets are level and properly aligned with the marked points on the wall. Make any necessary adjustments before moving on to the next step.
- Once all the brackets are securely installed, ensure they are properly aligned and at the same height. Use a level to confirm that they are straight across.
By properly installing the mounting brackets, you create a stable and reliable base for your towel bar. This ensures that it can safely support the weight of towels over time without coming loose or sagging. Now that your brackets are securely in place, you are ready to move on to the next step: attaching the towel bar to the mounting brackets.
Step 5: Attach Towel Bar to Mounting Brackets
Now that the mounting brackets are in place, it’s time to attach the towel bar to the brackets. Here’s how to do it:
- Take the towel bar and position it above the installed mounting brackets.
- Slide one end of the towel bar into the bracket on one side of the wall. Make sure it aligns with the holes on the bracket.
- Repeat the process for the other end of the towel bar, sliding it into the bracket on the opposite side.
- Ensure that the towel bar is level and centered between the two brackets.
Once the towel bar is properly aligned with the brackets, you are ready to move on to the next step: tightening the set screws.
Before tightening the set screws, take a moment to ensure that the towel bar is at the desired height and position. Double-check that it is parallel to the ground and level. This step is crucial to ensure an aesthetically pleasing and functional towel bar installation.
Now that the towel bar is securely in place, you can move on to the next step: tightening the set screws.
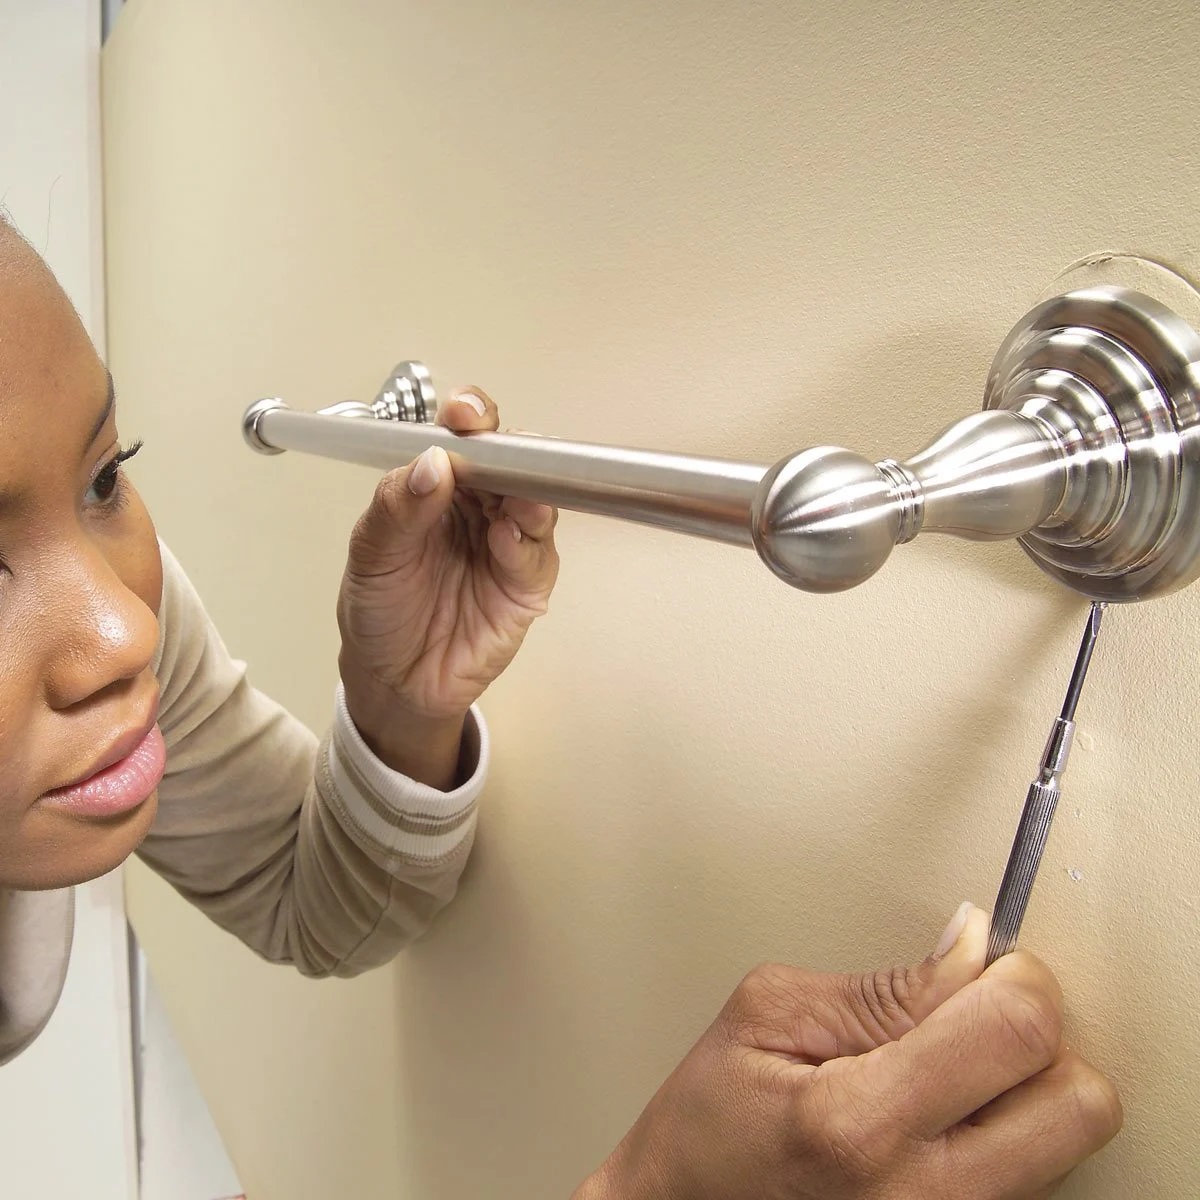
Step 6: Tighten Set Screws
After attaching the towel bar to the mounting brackets, the next step is to tighten the set screws. These small screws are located on the underside of the towel bar and are used to secure it firmly to the brackets. Follow these instructions to properly tighten the set screws:
- Locate the set screws on the underside of the towel bar. They are usually positioned near the ends of the bar, close to where it connects with the brackets.
- Using a screwdriver or an Allen wrench (depending on the type of set screw), turn each screw clockwise to tighten it. Apply moderate pressure to ensure a secure connection between the towel bar and the mounting brackets.
- Be sure not to overtighten the set screws, as this could strip the screw or damage the bracket. Tighten the screws just enough to hold the towel bar firmly in place.
- Once the set screws are tightened, give the towel bar a gentle shake to test its stability. It should feel sturdy and not move or rotate easily.
By tightening the set screws, you are ensuring that the towel bar remains securely attached to the mounting brackets. This step is essential to prevent the bar from becoming loose over time, especially when towels are placed on it. With the set screws properly tightened, your towel bar is almost ready for use. Let’s move on to the final step: testing and adjusting the towel bar.
Step 7: Test and Adjust
The final step in installing a towel bar with set screws is to test its stability and make any necessary adjustments. Follow these instructions to ensure that your towel bar is securely in place and functioning correctly:
- Gently pull on the towel bar to test its stability. It should not move or come loose from the mounting brackets. If you notice any wobbling or instability, it may indicate that the set screws need further tightening.
- If needed, use a screwdriver or Allen wrench to tighten the set screws a bit more to ensure a secure connection between the towel bar and the mounting brackets. Be careful not to overtighten the screws, as it may damage the brackets or strip the set screws.
- Check the alignment of the towel bar. It should be level and parallel to the ground. If adjustments need to be made, slightly loosen the set screws and reposition the towel bar until it is level. Then, tighten the set screws again.
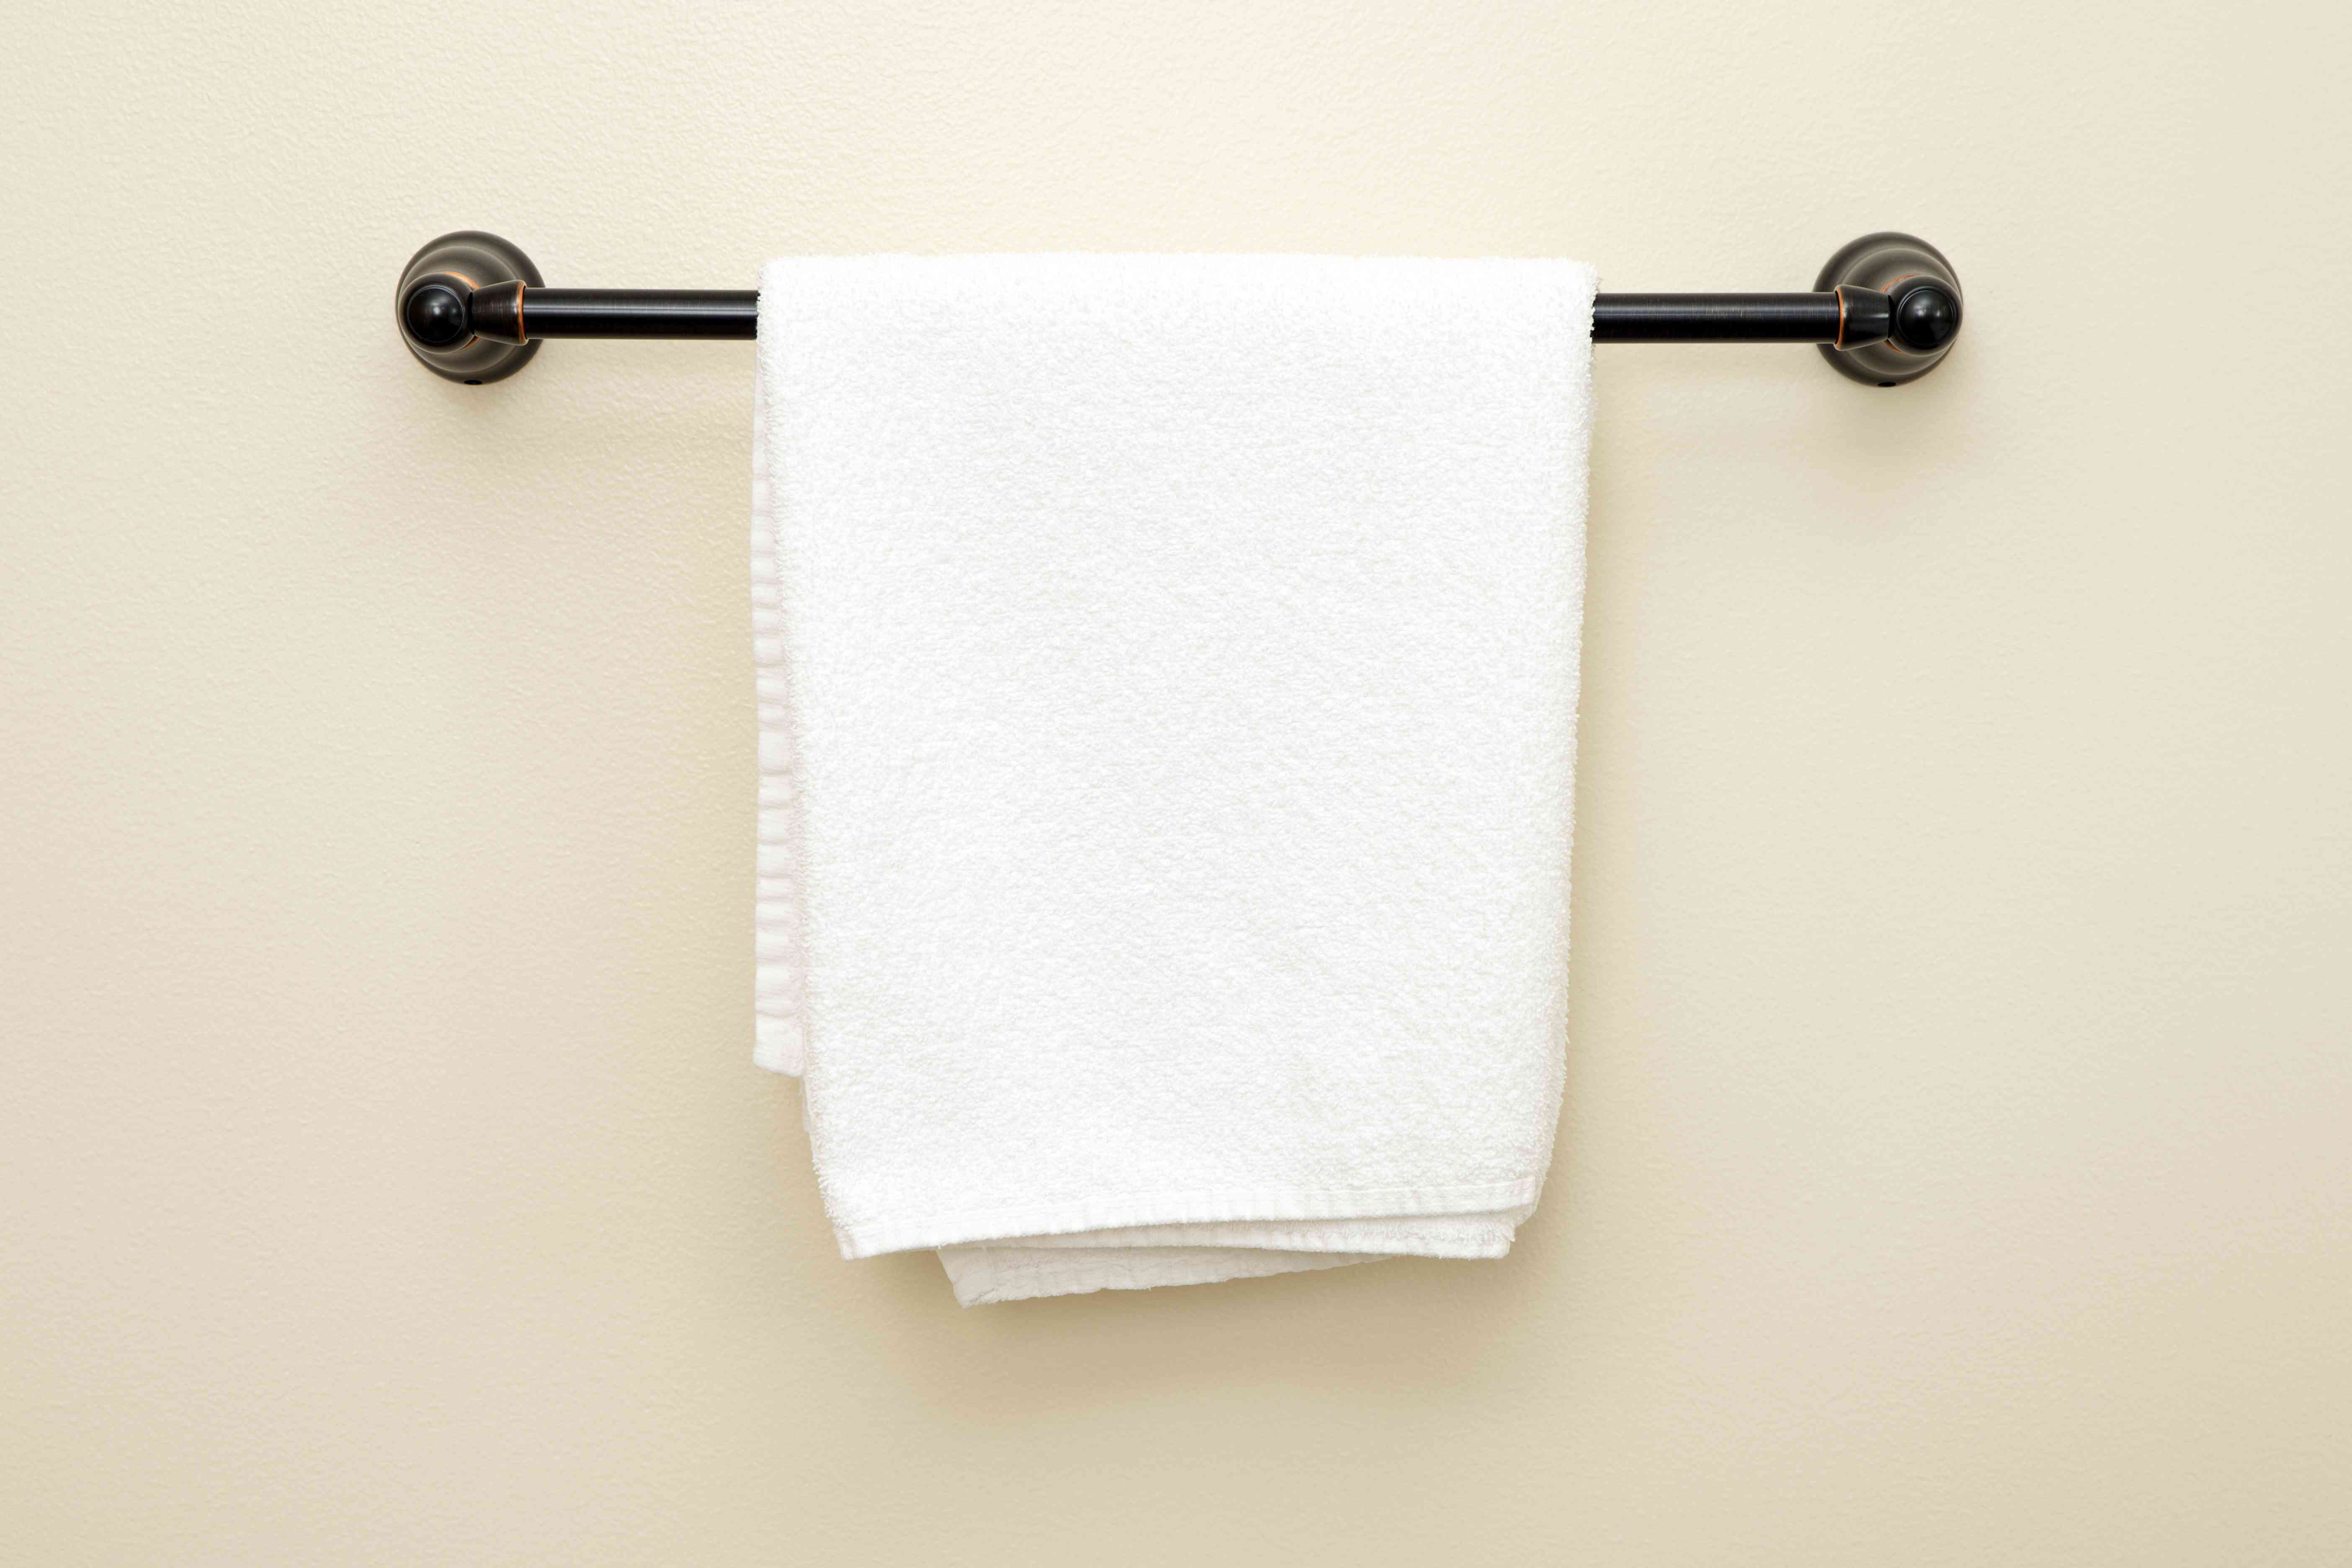
- Test the functionality of the towel bar by hanging a towel on it. Make sure it can support the weight of the towel without sagging or coming loose from the brackets.
- Check all the connections and screws to ensure they are secure and tightened. Give the towel bar a gentle shake to see if there are any signs of instability.
By testing and adjusting the towel bar, you can ensure that it is securely installed and functions properly. A stable and secure towel bar is essential for providing a reliable and convenient place to hang your towels. Once you are satisfied with the stability and functionality of the towel bar, your installation is complete!
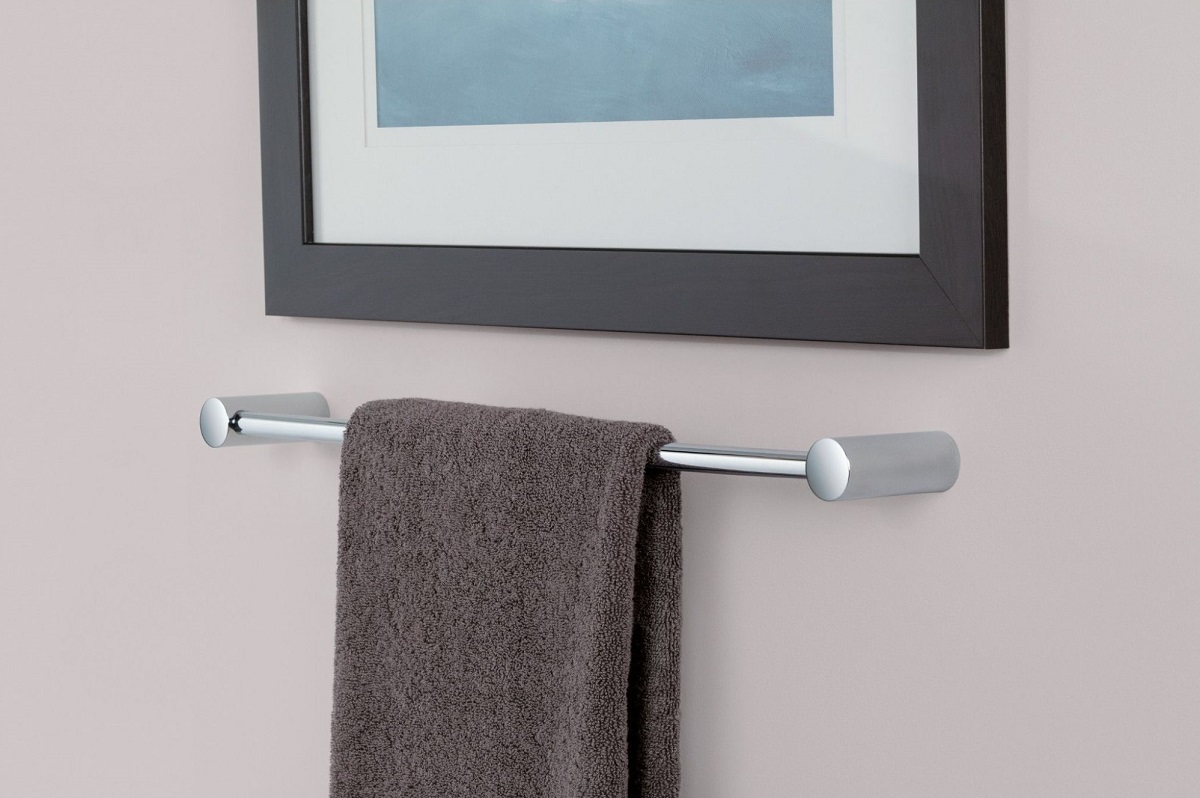
Congratulations! You have successfully installed a towel bar with set screws. Enjoy the added functionality and aesthetic appeal it brings to your bathroom.
Note: It’s a good idea to periodically check the set screws and mounting brackets to ensure they remain tight and secure. Over time, vibrations and usage may cause them to loosen, so it’s important to maintain and tighten them as needed.
Read more: How To Install A Double Towel Bar
Conclusion
Installing a towel bar with set screws is a straightforward process that can enhance both the functionality and aesthetics of your bathroom. By following the step-by-step instructions provided in this article, you can successfully install a towel bar that is secure, stable, and able to withstand the weight of your towels.
Starting with measuring and marking the placement to drilling holes, inserting anchors (if necessary), and installing the mounting brackets, each step is crucial for a successful installation. Attaching the towel bar to the brackets, tightening the set screws, and testing the stability ensure that your towel bar is ready to hold your towels reliably.
Remember to use the appropriate tools and materials, such as a tape measure, drill, level, and screwdriver or Allen wrench, to achieve the best results. Take your time during each step to ensure accuracy and precision.
Once your towel bar is securely installed, it adds convenience and organization to your bathroom space. You can neatly hang your towels, keeping them within easy reach while saving valuable counter space.
Lastly, it’s important to periodically check the set screws and mounting brackets to ensure they remain tight and secure. This will help maintain the stability and functionality of your towel bar over time.
Now that you have the knowledge and confidence to install a towel bar with set screws, go ahead and transform your bathroom into a more organized and functional space. Enjoy the convenience and style that a towel bar adds, making your daily routine a little easier and more enjoyable.
Now that you've mastered installing a towel bar with a set screw, why not tackle a bigger project? Upgrading your bathroom can seem overwhelming, but knowing what to expect makes all the difference. Our detailed guide on bathroom renovations outlines typical timelines and key steps involved, ensuring your next project runs smoothly. Ready for more transformative home improvements? Dive into our comprehensive article on bathroom upgrades.
Frequently Asked Questions about How To Install Towel Bar With Set Screw
Was this page helpful?
At Storables.com, we guarantee accurate and reliable information. Our content, validated by Expert Board Contributors, is crafted following stringent Editorial Policies. We're committed to providing you with well-researched, expert-backed insights for all your informational needs.


0 thoughts on “How To Install Towel Bar With Set Screw”