Articles
How To Install A Double Towel Bar
Modified: August 27, 2024
Looking for articles on how to hang a double towel bar? Find step-by-step guides, tips, and tricks on our website to help you with this home improvement project.
(Many of the links in this article redirect to a specific reviewed product. Your purchase of these products through affiliate links helps to generate commission for Storables.com, at no extra cost. Learn more)
Introduction
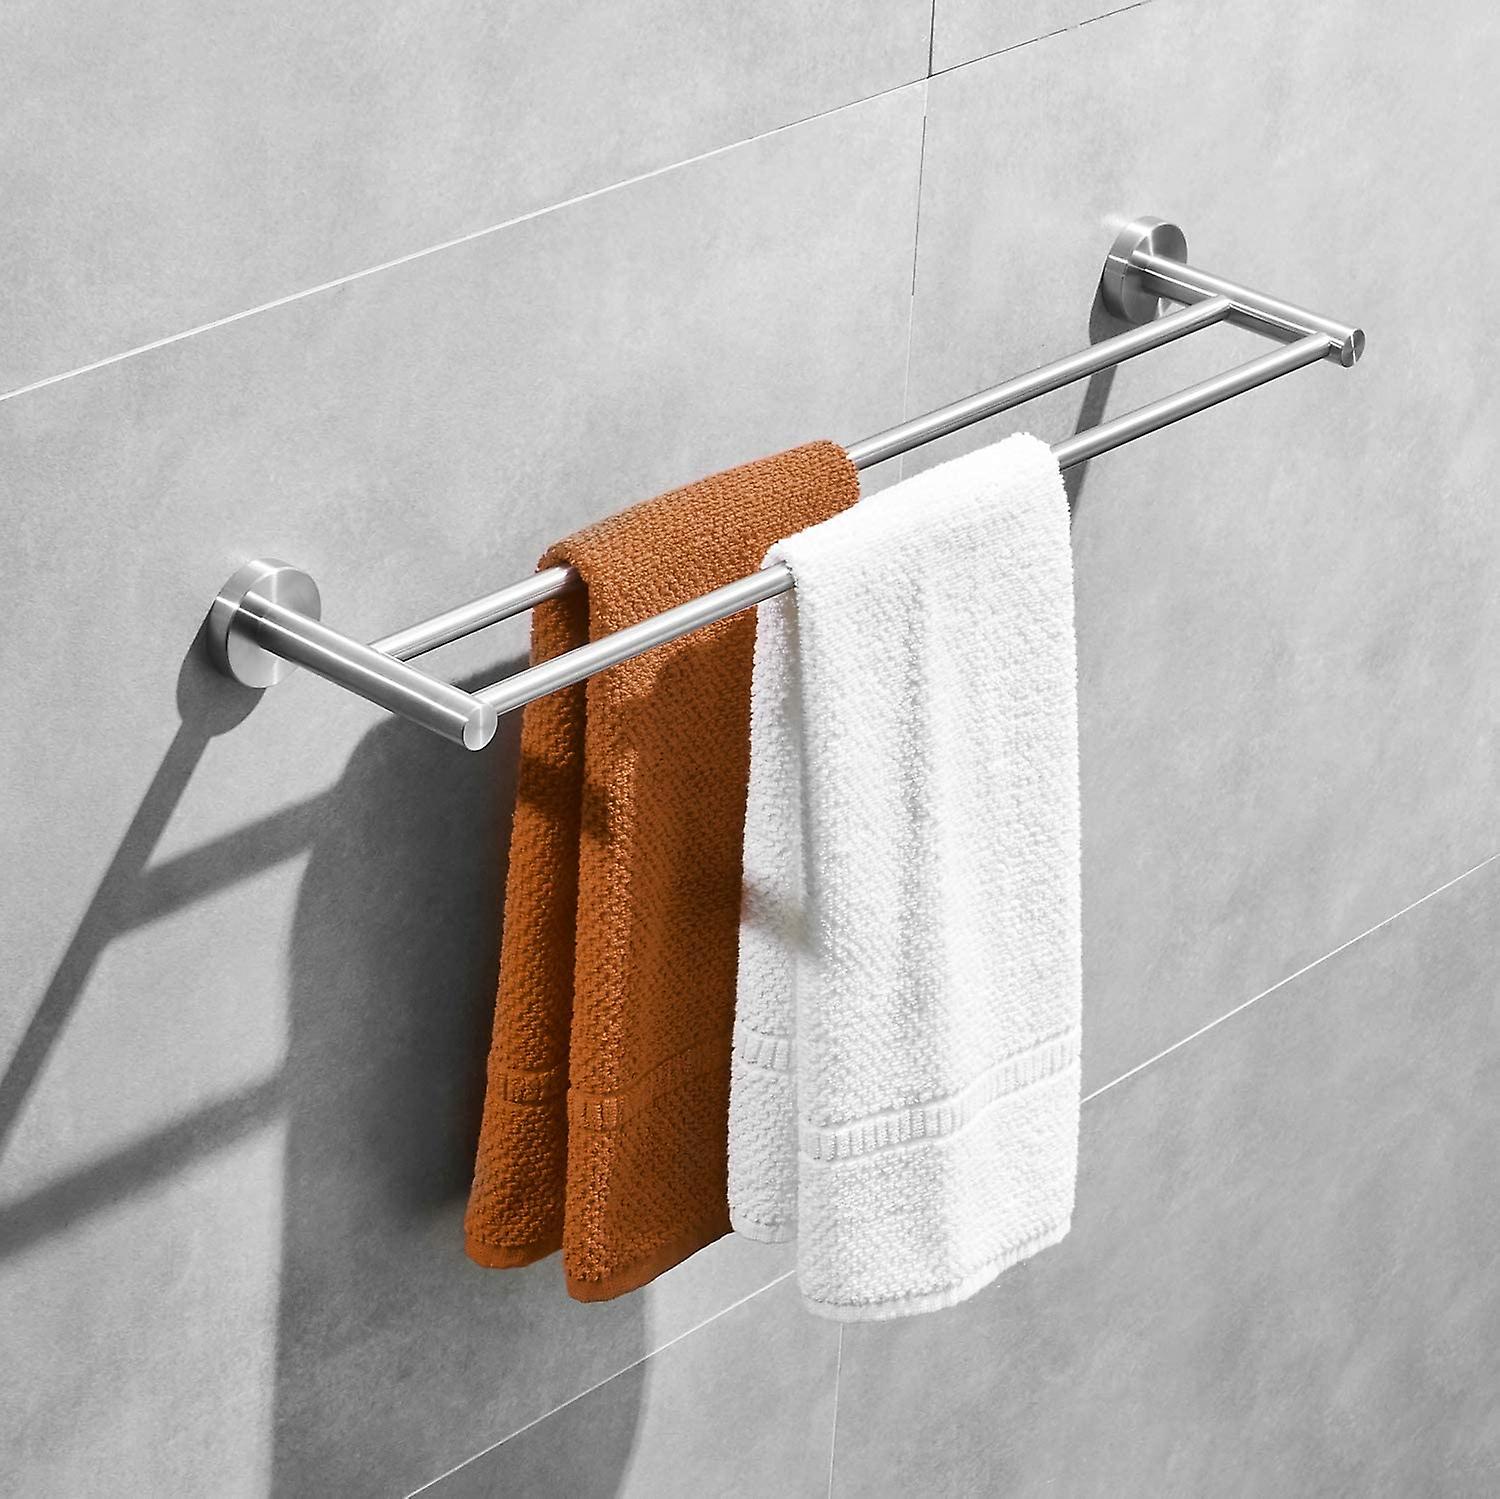
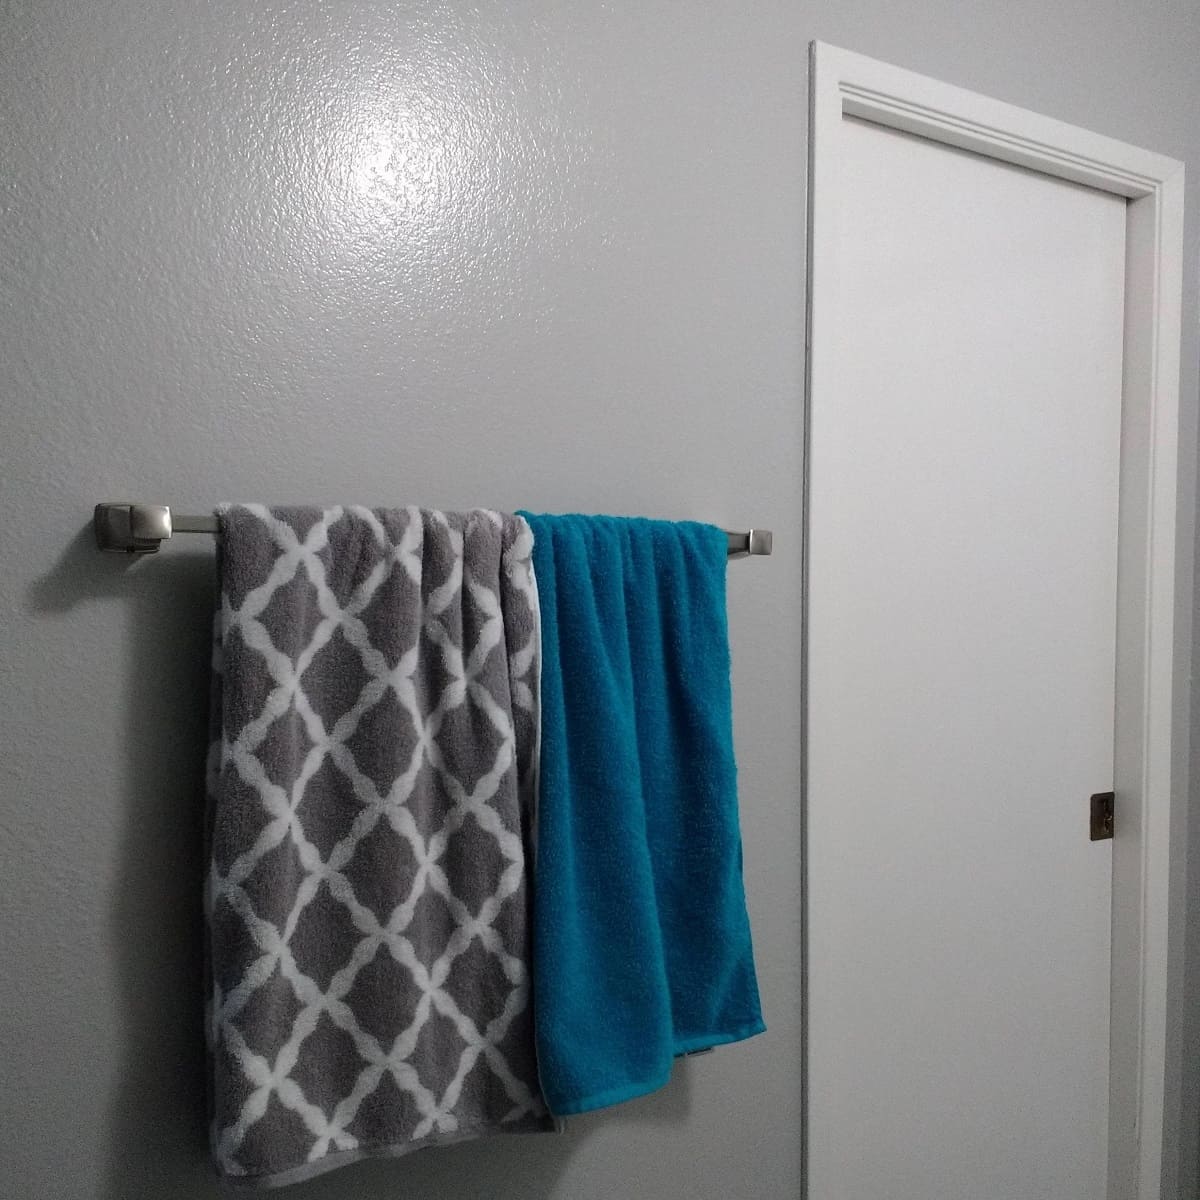
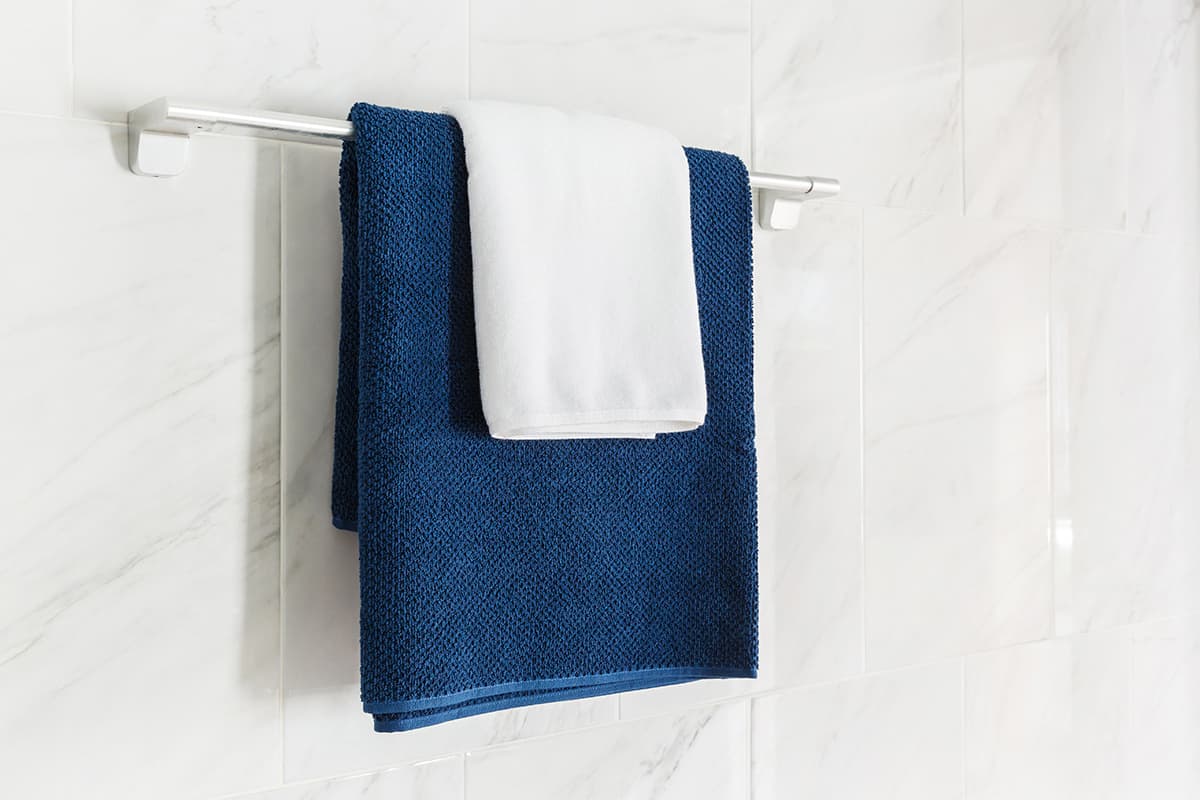
Welcome to the ultimate guide on how to hang a double towel bar! Having a double towel bar in your bathroom not only adds functionality but also enhances the overall aesthetic appeal. Whether you’re renovating your bathroom or simply looking for a convenient storage solution, installing a double towel bar is a great option.
In this article, we will walk you through the step-by-step process of hanging a double towel bar. We’ll cover all the materials you’ll need, as well as provide detailed instructions to ensure a seamless installation. So, let’s jump right in!
Before we begin, it’s important to note that the specific instructions may vary depending on the type of double towel bar you have chosen. However, the general principles and techniques discussed in this guide are applicable to most double towel bars.
Now, let’s gather the materials you’ll need to get started on your double towel bar installation.
Key Takeaways:
- Elevate your bathroom’s functionality and aesthetic appeal by following our step-by-step guide to hanging a double towel bar. Enjoy the convenience of neatly displayed towels within easy reach!
- Ensure a sturdy and professional installation by measuring, finding studs, drilling pilot holes, and securing the towel bar. Create a well-organized and visually appealing bathroom space with our comprehensive guide.
Read more: How To Arrange Towels On Double Towel Bar
Materials Needed
Before getting started, gather the following materials:
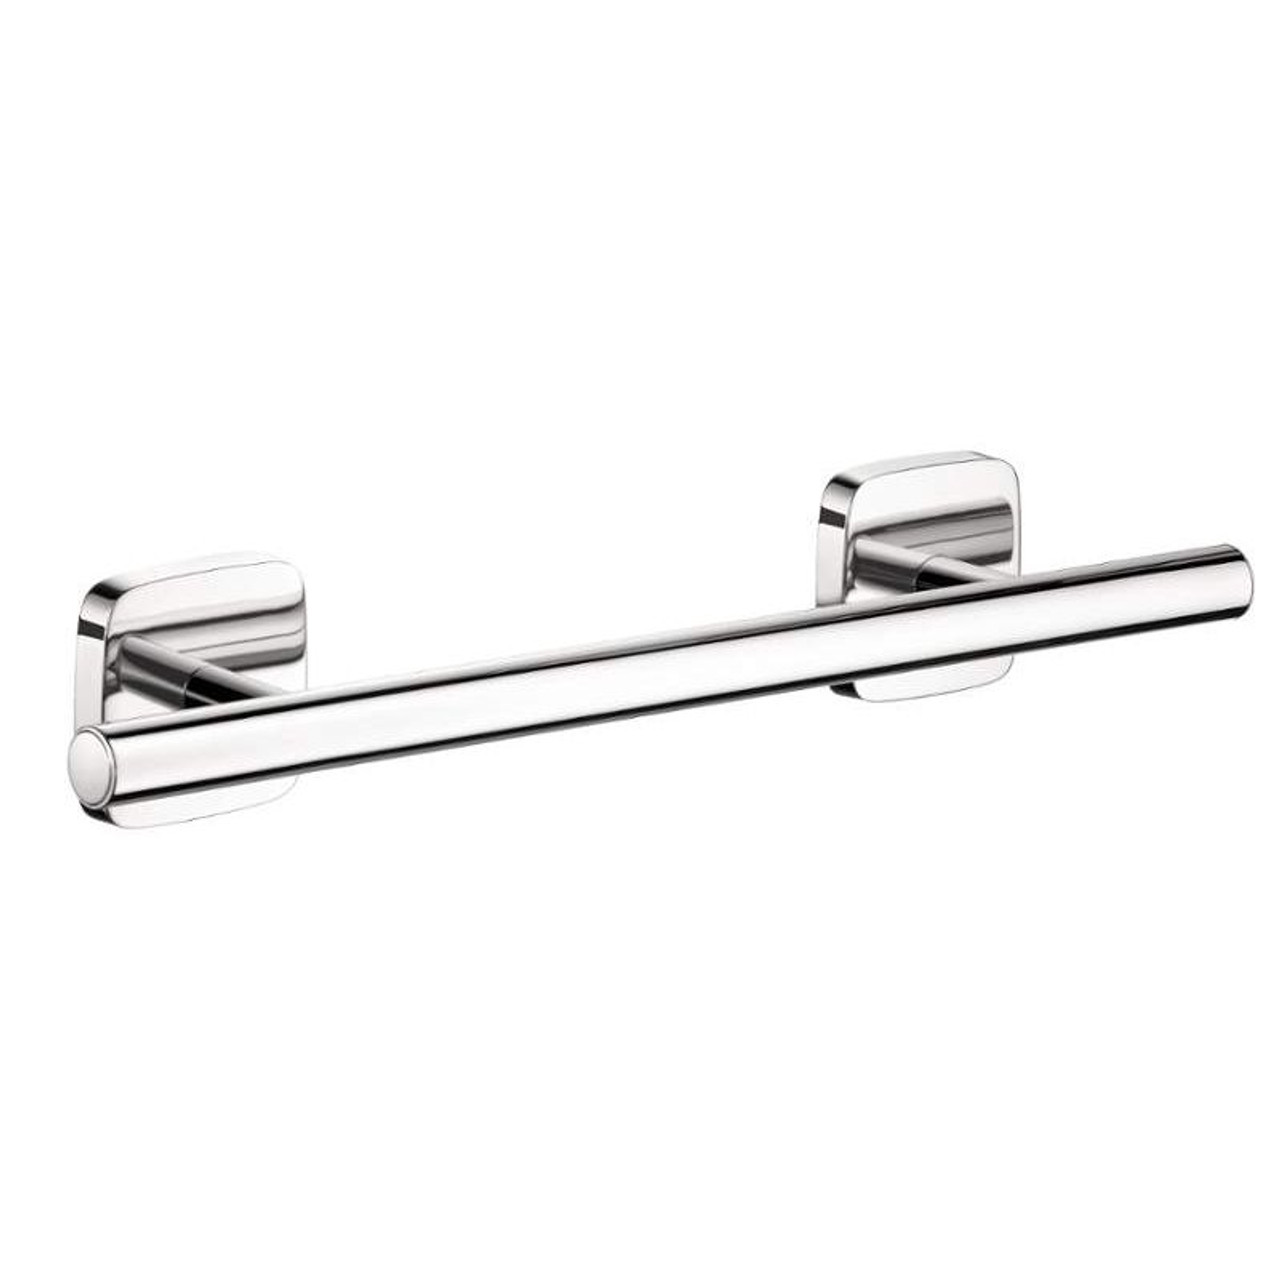
- Double towel bar
- Mounting brackets
- Level
- Measuring tape
- Pencil
- Drill
- Pilot drill bit
- Screwdriver
- Wall anchors
- Screws
Once you have all the necessary materials, you’re ready to begin installing your Double towel bar.
Step 1: Measure and Mark
The first step in hanging a double towel bar is to measure and mark the desired location on the wall. Use a measuring tape to determine the appropriate height and width for your towel bar.
Start by considering the height at which you want the towel bar to be installed. Generally, a height of around 48-52 inches (122-132 cm) from the floor is recommended for easy access. However, you can adjust this based on your preference and the height of the people using the towels.
Next, determine the width at which you want the towel bar to be placed. The width will depend on the size of your wall and the available space. Consider the length of the towel bar and leave enough space on either side for the towels to hang freely without touching the walls.
Once you have determined the height and width, use a pencil to mark the spots where the brackets will be mounted. Make sure the marks are level and align with each other. You can use a level to ensure accuracy.
It’s important to note that if you’re replacing an old towel bar, you can use the existing marks as a reference for your new installation. However, it’s advisable to double-check the measurements to ensure proper alignment and positioning.
With the marks in place, you’re now ready to move on to the next step, which is finding the studs in your wall.
Step 2: Find Studs
Before mounting your double towel bar, it’s crucial to locate the studs in your wall. Studs provide sturdy support and stability for the towel bar, ensuring it can hold the weight of the towels and withstand daily use.
To find the studs, you can use a stud finder, which is a handheld device that detects the presence of wooden studs behind the drywall. Follow the instructions provided with your stud finder to properly operate it.
Start by placing the stud finder flat against the wall and slowly moving it horizontally. The stud finder will emit a sound or light indicator when it detects a stud. Make note of the location of the studs by marking them with a pencil.
If you don’t have a stud finder, an alternative method is to tap the wall lightly with your knuckles. A solid sound indicates the presence of a stud, while a hollow sound suggests there is no stud. This method, however, is less accurate and may require further exploration to confirm the stud’s location.
Once you have identified the studs, mark their positions on the wall, preferably with a different color pencil or tape to differentiate them from the marks made in the previous step for the brackets.
It’s essential to ensure that at least one of the brackets for the double towel bar is mounted on a stud. This provides maximum stability and prevents the towel bar from becoming loose or falling off the wall.
With the studs located and marked, you’re ready to move on to the next step, which is drilling pilot holes.
Step 3: Drill Pilot Holes
Now that you have marked the locations of the studs and the brackets on the wall, it’s time to drill pilot holes. Pilot holes are small, pre-drilled holes that serve as guides for the screws, making it easier to insert them without splitting or damaging the wall.
Using a drill with a pilot drill bit, select a bit size that is slightly smaller than the diameter of the screws you will be using. This will help ensure a snug fit and prevent the screws from loosening over time.
Position the drill over one of the mark points for the bracket and slowly drill into the wall. Apply gentle pressure and use a steady hand to maintain control. Start with a shallow hole and gradually increase the depth until the pilot hole is deep enough to accommodate the screw.
Repeat this process for each marked point, making sure to drill into the studs whenever possible. If a bracket is not directly over a stud, you will need to use wall anchors to provide additional support. Wall anchors are plastic or metal inserts that provide stability when mounted in the drywall.
If using wall anchors, insert them into the pilot holes after drilling. Tap them gently with a hammer until they are flush with the wall surface. This will ensure they are securely in place.
Double-check the depth and alignment of the pilot holes, adjusting as needed. This step is crucial for a successful installation and will ensure that the brackets are securely attached to the wall.
Now that the pilot holes are drilled and ready, it’s time to move on to mounting the brackets for your double towel bar.
When installing a double towel bar, make sure to use a level to ensure it is straight. Use anchors if mounting on drywall to provide extra support for the weight of the towels.
Read also: 10 Best Double Towel Bar for 2025
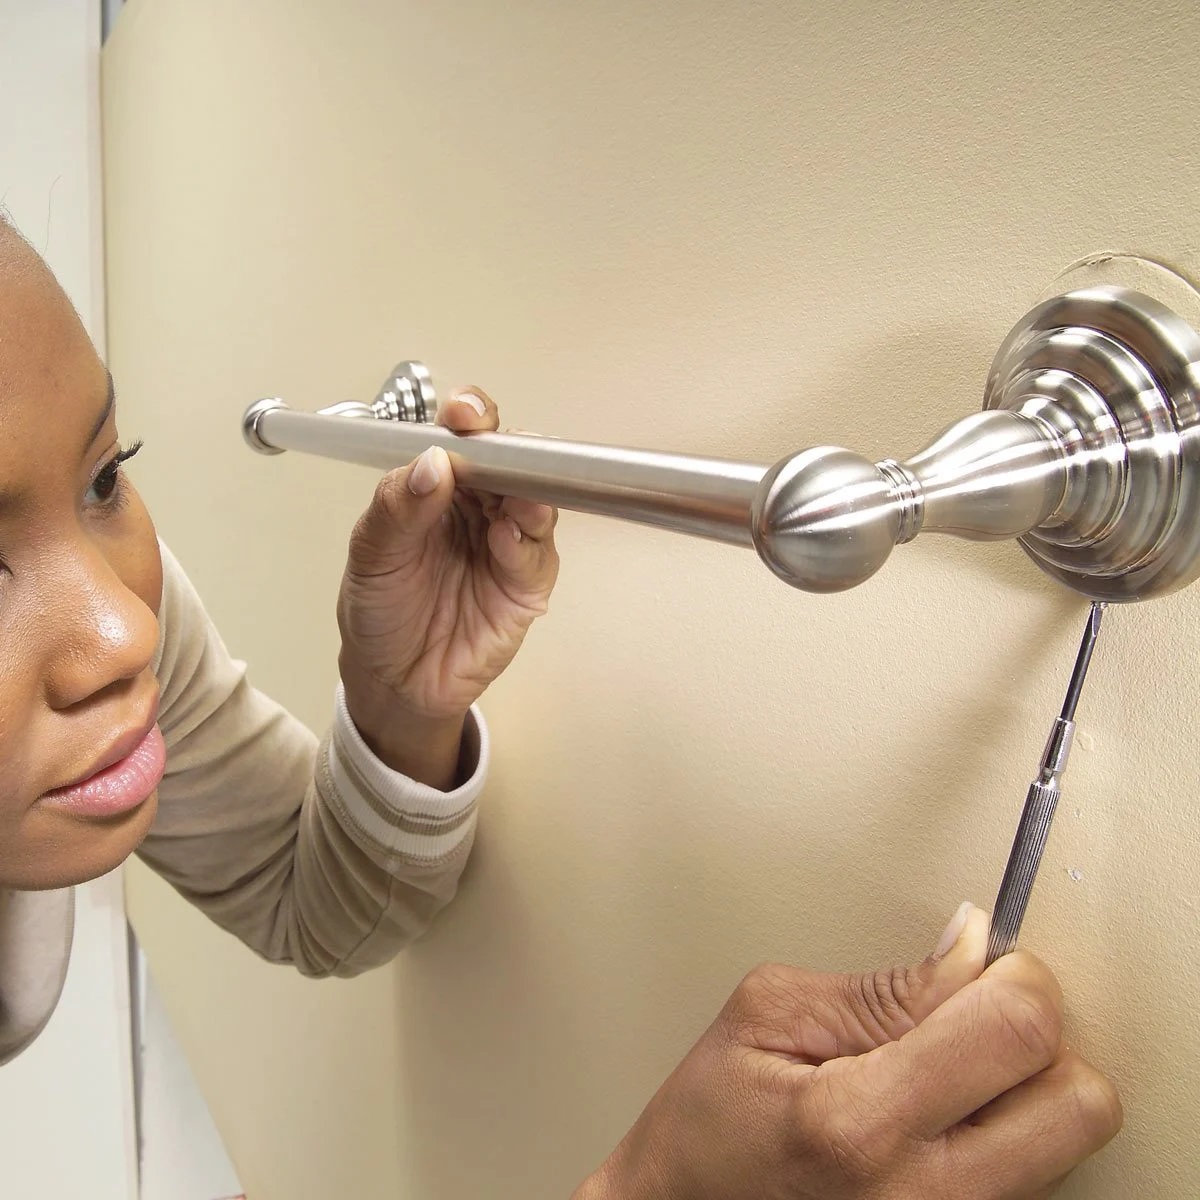
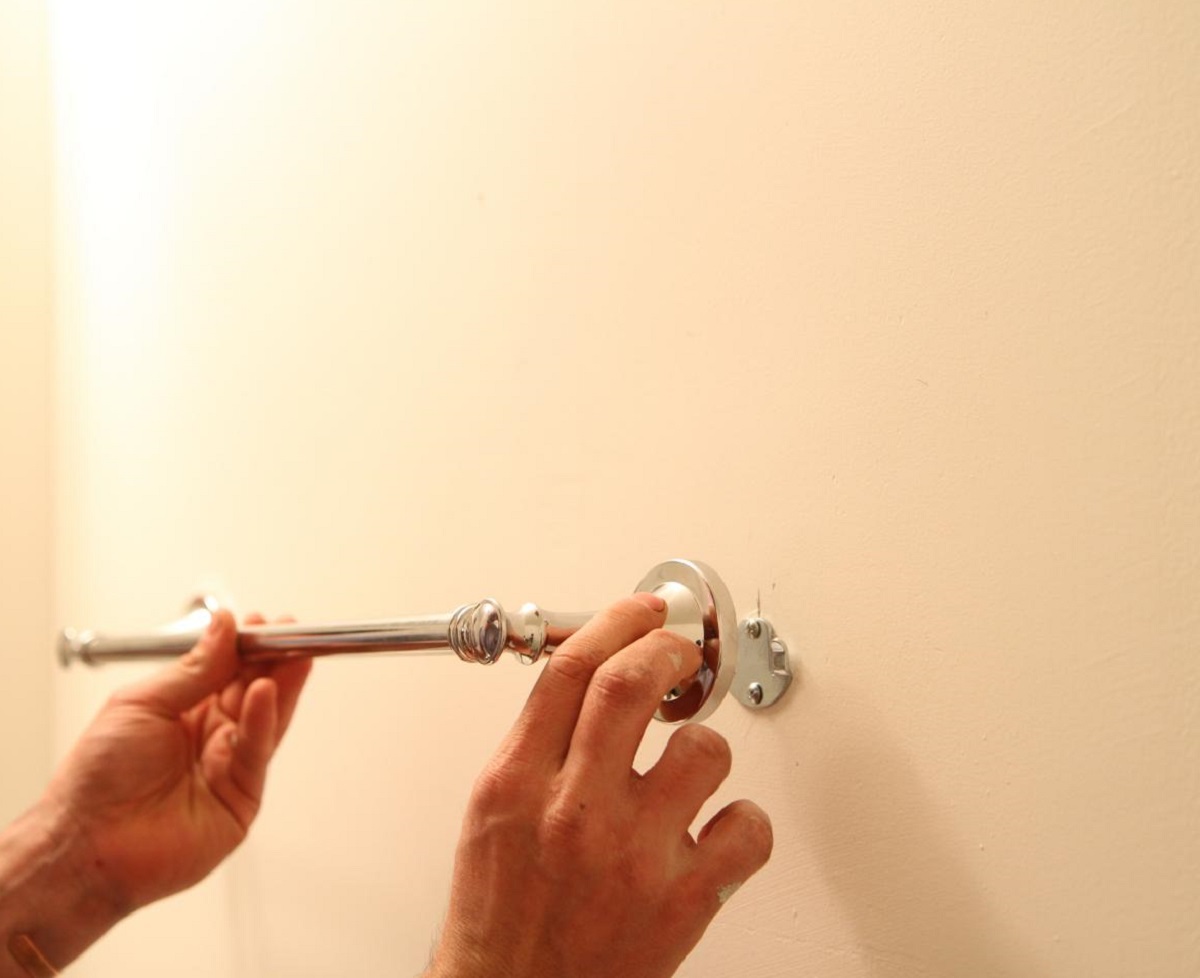
Step 4: Mounting the Brackets
With the pilot holes drilled and the studs located, it’s time to mount the brackets for your double towel bar. The brackets will provide the main support for the towel bar, so it’s essential to ensure they are securely attached to the wall.
Start by aligning the first bracket with the corresponding pilot hole or stud mark. Hold the bracket against the wall and insert a screw into the hole, using a screwdriver to tighten it. If you’re using a wall anchor, make sure it is properly inserted into the pilot hole before inserting the screw.
Repeat this process for the remaining brackets, ensuring they are aligned with the marked points on the wall or located on studs. Use a level to check the alignment of each bracket and make any necessary adjustments.
It’s important to tighten the screws securely, but be cautious not to overtighten them, as this could damage the bracket or strip the screw holes. Use your judgment and adjust the tightness as needed.
Once all the brackets are securely mounted, step back and visually inspect the alignment and positioning of the brackets. Ensure they are level and evenly spaced. This attention to detail will contribute to the overall appearance and functionality of your double towel bar.
With the brackets in place, it’s time to move on to the next step, which involves attaching the towel bar itself.
Step 5: Attach the Towel Bar
Now that the brackets are securely mounted on the wall, it’s time to attach the towel bar to complete the installation of your double towel bar.
Start by positioning the towel bar onto the brackets, ensuring that it is centered and level. Depending on the specific design of your towel bar, it may slide onto the brackets or require you to insert screws or other fastening mechanisms.
If your towel bar has a sliding design, align the openings on the bar with the brackets and gently slide it into place. Make sure the bar is evenly positioned and securely seated on the brackets.
If screws are required, insert them through the designated openings on the towel bar and align them with the holes on the brackets. Use a screwdriver to tighten the screws, ensuring a snug fit.
Double-check the alignment and positioning of the towel bar to ensure it is level and secure. Give it a gentle tug to ensure it does not wobble or come loose.
With the towel bar attached, take a moment to step back and admire your work. The double towel bar is now ready to be used! However, we’re not quite finished yet. There are a few more steps to ensure the towel bar is properly leveled and secured.
Next, let’s move on to the next step, which involves checking for level.
Step 6: Check for Level
After attaching the towel bar, it’s important to check if it is level. A level towel bar not only looks aesthetically pleasing but also ensures that your towels hang straight and evenly.
Start by placing a level on top of the towel bar. Ensure that the bubble on the level is centered between the two indicator lines. If the bubble is off-center, it indicates that the towel bar is not level.
If the towel bar is not level, you will need to make adjustments to the brackets. To do this, loosen the screws holding the brackets in place, allowing you to reposition them slightly to achieve the desired level. Once the brackets are adjusted, tighten the screws securely.
Recheck the level by placing the level on top of the towel bar again. Repeat the adjustment process as needed until the towel bar is perfectly level.
It’s important to take your time during this step and ensure that the towel bar is precisely level. This attention to detail will contribute to a professional-looking and functional installation.
Once you have confirmed that the towel bar is level, it’s time to move on to the final step of securing the towel bar.
Step 7: Secure the Towel Bar
The final step in hanging a double towel bar is to secure it in place to ensure it remains stable and securely attached to the wall. This will prevent any wobbling or potential damage when towels are hung or removed.
Start by tightening the screws on the brackets to secure them firmly against the wall. Use a screwdriver to ensure the screws are tightened securely, but be careful not to overtighten and cause damage to the brackets or wall.
If your towel bar has any additional locking mechanisms or fasteners, follow the manufacturer’s instructions to secure them properly. This may involve tightening screws, locking rings, or other mechanisms to ensure the towel bar remains in place.
After securing the towel bar, give it a gentle tug to test its stability. It should feel sturdy and not move or wobble when pressure is applied. If there is any looseness or movement, double-check the screws and fasteners to ensure they are tightened properly.
Take a moment to inspect the towel bar from different angles to ensure it is visually appealing and properly aligned. Adjustments can be made if necessary to ensure the towel bar is level and centered.
Congratulations! You have successfully hung a double towel bar in your bathroom. Now you can enjoy the added convenience and stylish functionality it provides.
Remember that proper maintenance and periodic tightening of screws may be necessary to keep the towel bar securely in place over time. Regularly check for any signs of loosening or damage and make any necessary adjustments or repairs.
With these simple steps, you can confidently hang a double towel bar and enhance both the visual appeal and organization of your bathroom. Enjoy the convenience of having two towels readily available, neatly hanging and within easy reach.
Thank you for following this guide on how to hang a double towel bar. We hope you found it helpful and wish you success in your towel bar installation!
Read more: How To Install A Plastic Towel Bar
Conclusion
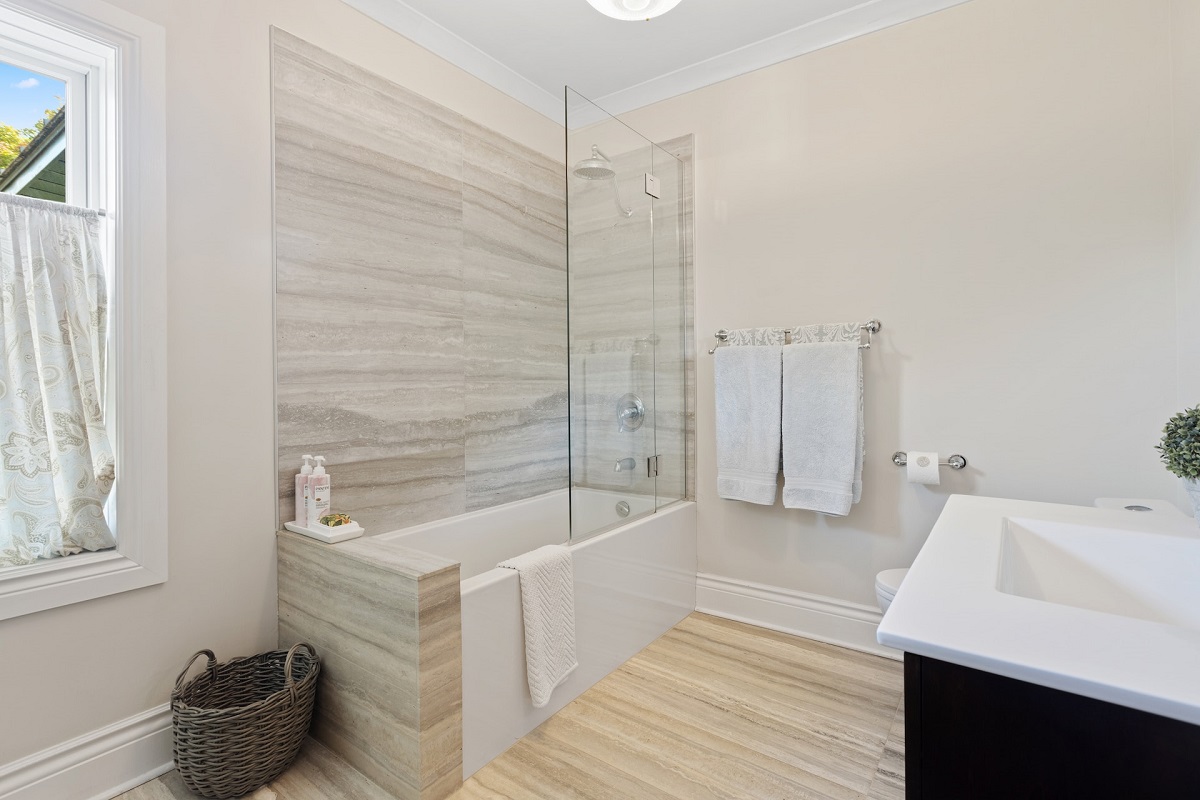
Installing a double towel bar in your bathroom is a practical and stylish way to organize and display your towels. By following the step-by-step guide outlined in this article, you can successfully hang a double towel bar and enjoy the added functionality it provides.
Throughout the installation process, we discussed the importance of measuring and marking the desired location, finding studs for secure mounting, drilling pilot holes, mounting the brackets, attaching the towel bar, checking for level, and finally, securing the towel bar in place. These steps ensure a professional and sturdy installation that will withstand daily use.
Remember to gather all the necessary materials and tools before starting, and take your time to ensure accuracy and level positioning. Safety precautions should always be taken when using power tools or handling screws and brackets.
Once your double towel bar is installed, you can enjoy the convenience of having two towels readily accessible and beautifully displayed. Keep in mind that regular maintenance and periodic tightening of screws may be necessary to keep the towel bar securely attached to the wall over time.
We hope this guide has been helpful in assisting you with hanging a double towel bar. By following these steps, you can create a well-organized and visually appealing bathroom space that elevates both functionality and style.
Thank you for choosing to follow our guide, and we wish you success in your double towel bar installation!
Frequently Asked Questions about How To Install A Double Towel Bar
Was this page helpful?
At Storables.com, we guarantee accurate and reliable information. Our content, validated by Expert Board Contributors, is crafted following stringent Editorial Policies. We're committed to providing you with well-researched, expert-backed insights for all your informational needs.


0 thoughts on “How To Install A Double Towel Bar”