
Articles
How To Install A Carpet In Living Room
Modified: January 9, 2024
Learn how to install a carpet in your living room with our informative articles. Discover tips and tricks for a flawless carpet installation.
(Many of the links in this article redirect to a specific reviewed product. Your purchase of these products through affiliate links helps to generate commission for Storables.com, at no extra cost. Learn more)
Introduction
Welcome to our comprehensive guide on how to install a carpet in your living room. Installing a carpet can transform the look and feel of your living space, providing warmth, comfort, and style. Whether you’re a seasoned DIY enthusiast or a beginner, this step-by-step tutorial will guide you through the process of installing a carpet in your living room.
Before we dive into the details, it’s important to understand that installing a carpet requires proper planning, preparation, and careful execution. With the right tools and techniques, you can achieve a professional-looking result that will enhance the overall aesthetic of your living room.
Throughout this guide, we will cover each step in detail, providing you with all the necessary information to successfully install your carpet. From preparing the room and measuring the carpet size to choosing the right materials and completing the installation, we’ve got you covered.
So, let’s get started! Grab your tools, roll up your sleeves, and follow along as we take you through each stage of the carpet installation process. By the end of this guide, you’ll have a beautiful, cozy carpet that you can enjoy for years to come.
Key Takeaways:
- Proper preparation is essential for successful carpet installation. From cleaning and inspecting the subfloor to considering padding and door clearance, attention to detail sets the stage for a seamless and professional-looking result.
- Choosing the right carpet and padding is crucial for achieving the desired comfort and aesthetic appeal. Consider factors such as style, fiber, density, and budget to make an informed decision that reflects your personal style and meets your living room’s needs.
Read more: How To Choose A Carpet For Living Room
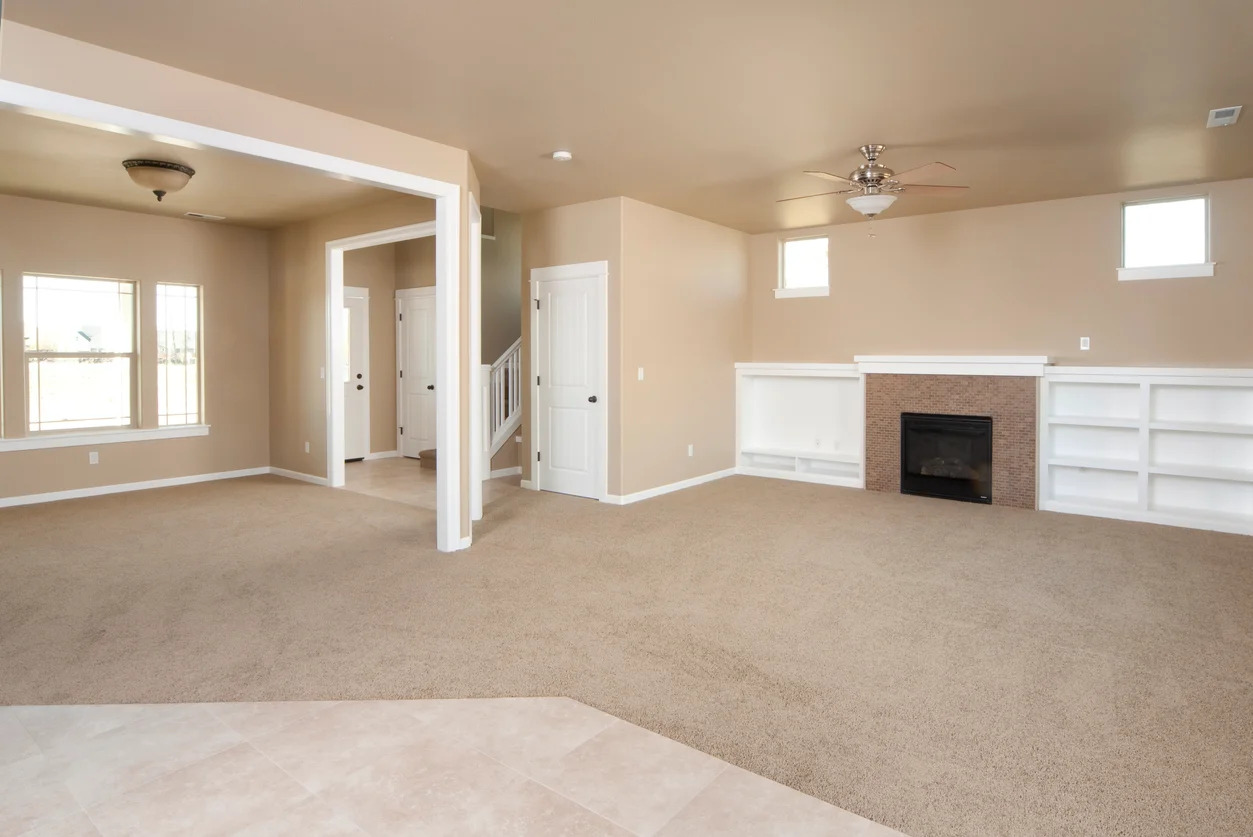
Step 1: Preparing the Living Room
Before you can begin installing a carpet in your living room, it’s important to properly prepare the space. This step will help ensure that the installation process goes smoothly and that you achieve the best possible result.
Here are some key steps to follow when preparing your living room:
- Clean the Room: Start by removing any furniture, decorations, or obstructions from the room. This will give you a clear and open space to work with. Additionally, take the time to thoroughly clean the floor, removing any dust, dirt, or debris. A clean surface will help the carpet adhere properly.
- Inspect the Subfloor: Next, inspect the condition of your subfloor. Ensure that it is dry, level, and free from any damage or moisture issues. If you notice any problems, such as cracks or dampness, address them before proceeding with the installation. A solid and stable subfloor is essential for a successful carpet installation.
- Address Any Repairs: Check for any repairs or improvements that need to be made. Fill in any holes, level uneven areas, and fix loose floorboards. Taking the time to address these issues before installing the carpet will result in a smoother and more professional-looking finish.
- Consider Padding: Depending on your preference and the type of carpet you choose, you may want to consider installing carpet padding. Padding provides an extra layer of cushioning and insulation, making your carpet more comfortable and durable. If you decide to use padding, ensure that it is of high quality and compatible with your chosen carpet type.
- Allow for Door Clearance: Measure the height of your doors and consider whether the addition of the carpet will affect their clearance. If necessary, you may need to trim the bottom of the doors to ensure they can open and close smoothly over the new carpet.
By following these steps, you will set a solid foundation for the carpet installation process. Taking the time to properly prepare your living room will ultimately result in a more seamless installation and a stunning end result. Once you have completed these preparations, you will be ready to move on to the next step: measuring and calculating the carpet size.
Step 2: Measuring and Calculating Carpet Size
Accurate measurement is crucial when it comes to installing a carpet in your living room. Taking precise measurements will ensure that you purchase the right amount of carpet and avoid any unnecessary waste. In this step, we will guide you through the process of measuring and calculating the carpet size.
Follow these steps to measure your living room and calculate the required carpet size:
- Gather Your Tools: Before you begin measuring, gather the necessary tools, including a tape measure, pencil, and paper. Having these tools on hand will make the process easier and more accurate.
- Measure the Length and Width: Start by measuring the length and width of your living room. Use the tape measure to measure from one wall to the opposite wall for the length, and from one side to the other for the width. Note down these measurements as you go.
- Add Extra for Seam Allowance: When measuring, it’s important to account for seam allowance. This is the additional carpet needed to properly join and seam the pieces together. Typically, a 3 to 6-inch seam allowance is recommended. Add this extra measurement to both the length and width you previously recorded.
- Consider Pattern Match: If your chosen carpet has a pattern with a repeat, you will need to factor in pattern match. Pattern match ensures that the design aligns properly when the carpet is installed. Measure the pattern match repeat and add it to your overall length and width measurements.
- Calculate Square Footage: To determine the total square footage of carpet needed, multiply the adjusted length by the adjusted width. This will give you the total square footage required for your living room.
- Account for Waste: It’s wise to add a bit of extra carpet to account for waste or mistakes during installation. Adding around 5-10% to your total square footage is recommended to ensure you have enough carpet to complete the job.
By following these steps and accurately measuring your living room, you can be confident in purchasing the correct amount of carpet. Taking the time to calculate the size will save you from unnecessary expenses and ensure a smooth installation process. Armed with your accurate measurements, you’re now ready to move on to the next step: choosing the right carpet and padding.
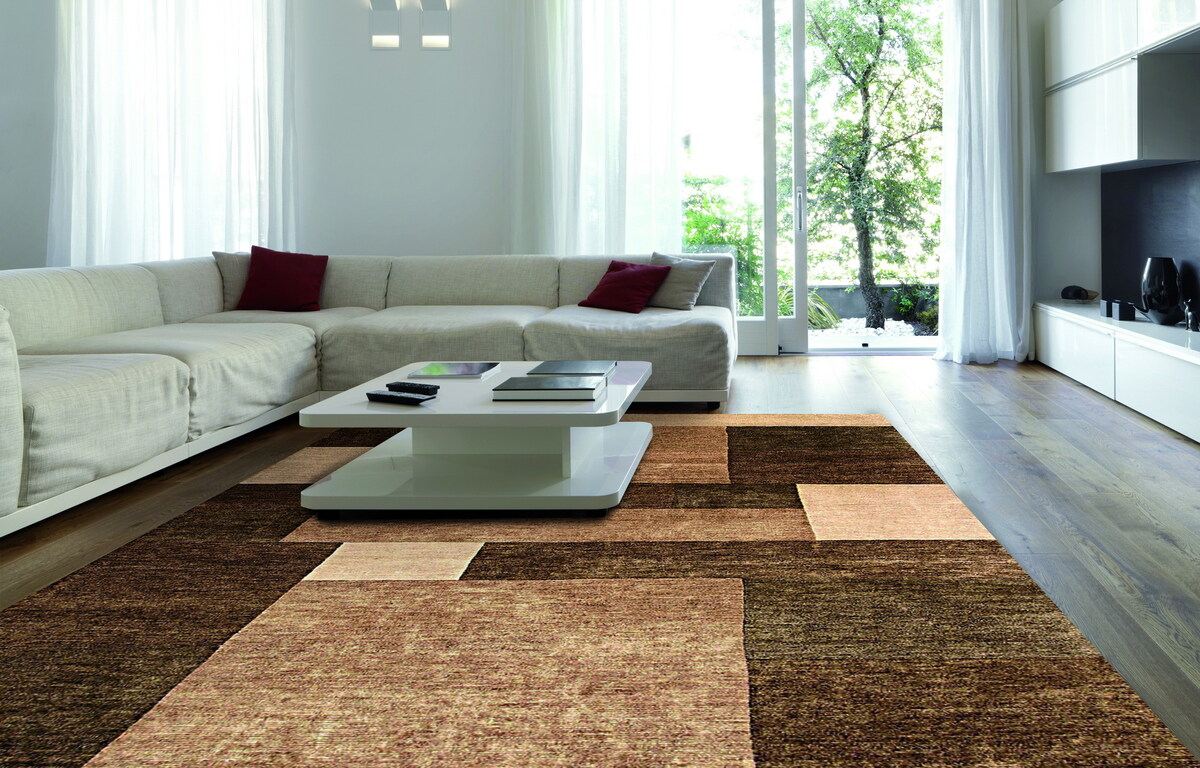
Step 3: Choosing the Right Carpet and Padding
Choosing the right carpet and padding is crucial for achieving the desired look, comfort, and durability in your living room. In this step, we will guide you through the process of selecting the perfect carpet and padding for your space.
Consider the following factors when choosing your carpet:
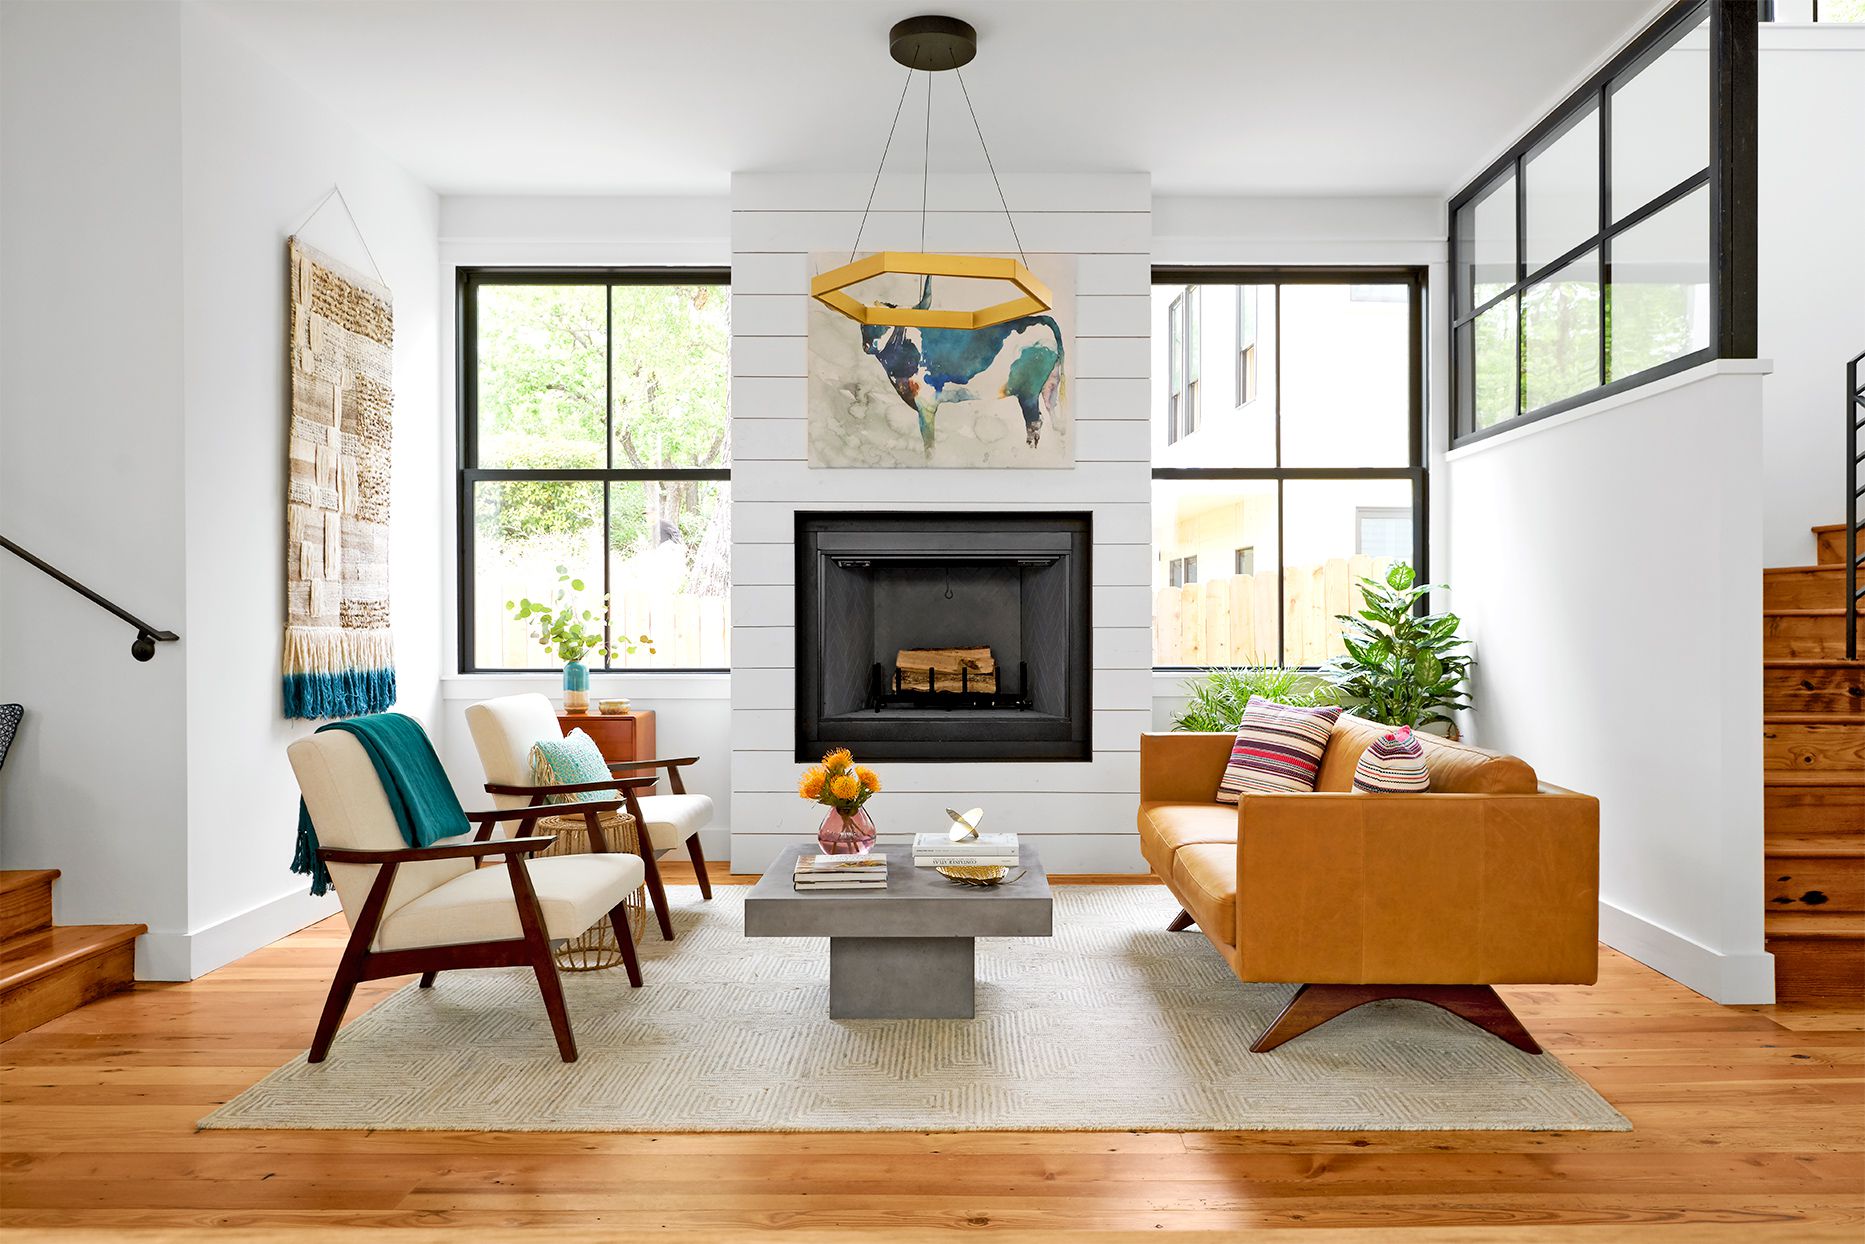
- Style and Design: Think about the overall aesthetic you want to achieve in your living room. Consider the style and design of your existing furniture and decor, and choose a carpet that complements the space. Whether you prefer a plush, textured, or patterned carpet, make sure it aligns with your personal style and the overall theme of the room.
- Carpet Fiber: Carpet comes in a variety of fibers, each with its own characteristics and benefits. From nylon and polyester to wool and natural fibers, research and understand the pros and cons of each option. Consider factors such as stain resistance, durability, and softness to make an informed decision.
- Carpet Density: The density of the carpet refers to the amount and tightness of the fibers. A denser carpet is usually more durable and can withstand heavy foot traffic. Consider the level of activity in your living room and choose a carpet with an appropriate density for your needs.
- Padding: Don’t overlook the importance of carpet padding. Padding acts as a cushion, providing additional comfort and insulation. It also helps prolong the life of your carpet by absorbing the impact of foot traffic. Choose a padding that is compatible with your chosen carpet type and provides the desired level of comfort.
- Budget: Determine your budget for the carpet and padding. Carpet prices can vary significantly based on factors such as the type of fiber, quality, and brand. Set a budget that aligns with your needs and explore options within that range. Keep in mind that investing in a higher quality carpet and padding can often pay off in the long run.
Take the time to research, visit carpet stores, and request samples to make an informed decision about the carpet and padding that best suits your living room. Don’t hesitate to ask for expert advice from salespeople or professional installers who can guide you based on your specific needs and preferences.
By selecting the right carpet and padding, you can create a comfortable and visually appealing living room that reflects your personal style. Once you have made your choices, you’re ready to move on to the next step: removing the old carpet and preparing the floor.
Step 4: Removing Old Carpet and Preparing the Floor
Before you can install a new carpet in your living room, it’s important to remove the old carpet and properly prepare the floor. This step ensures a clean and smooth surface for the new carpet installation. Follow these steps to remove the old carpet and prepare the floor:
- Gather the necessary tools: To remove the old carpet, you will need some basic tools including gloves, a utility knife, pliers, and a carpet scraper or pry bar.
- Clear the room: Remove any furniture or obstacles from the room to provide ample space for carpet removal.
- Start with the edges: Use your utility knife to cut away the carpet from the edges of the room. Be careful not to cut into the subfloor beneath.
- Remove the carpet and padding: Once the edges are cut, begin pulling up the carpet and padding from the room. Roll them up for easier handling and disposal.
- Dispose of the old carpet: Check with your local waste management or recycling facility for proper disposal guidelines. Some areas may require you to schedule a separate pickup or drop-off.
- Inspect the subfloor: With the old carpet removed, closely inspect the subfloor for any damage, cracks, or protruding nails. Repair or address any issues to ensure a smooth and level surface.
- Clean the subfloor: Vacuum or sweep the subfloor to remove any dust, dirt, or debris. A clean surface will allow for better adhesion of the new carpet.
- Address moisture issues: Check for any signs of moisture or dampness in the subfloor. If you detect any issues, take the necessary steps to resolve them before proceeding further. Moisture can lead to mold and damage to the new carpet.
By following these steps, you will remove the old carpet and prepare the subfloor for the new carpet installation. Taking the time to properly prepare the floor ensures a smooth and successful installation process. With the floor ready, you can now move on to the next step: installing carpet tack strips.
Read more: How To Style Carpeted Living Room
Step 5: Installing Carpet Tack Strips
Carpet tack strips are an essential component of carpet installation, as they provide the necessary support and secure the carpet in place. In this step, we will guide you through the process of installing carpet tack strips in your living room.
Follow these steps to properly install carpet tack strips:
- Gather the necessary tools: You will need a hammer, nails, measuring tape, and the carpet tack strips themselves. Ensure that you have enough tack strips to line the perimeter of the room.
- Measure and cut the tack strips: Measure the length of each wall and cut the tack strips accordingly. It’s recommended to cut the strips slightly shorter than the wall to allow for expansion and contraction.
- Position the tack strips: Place the tack strips around the perimeter of the room, with the angled side facing the wall and the spikes facing inward. Ensure that the strips are positioned at an appropriate distance from the wall, usually about half an inch.
- Secure the tack strips: Using a hammer, nail the tack strips into the subfloor, ensuring that they are firmly secured. Space the nails approximately every six inches along the length of the strip.
- Check the alignment: Verify that the tack strips are installed straight and parallel to the walls. This will ensure a smooth and even installation of the carpet.
- Trim the excess strip: If there are any areas where the tack strips overlap or extend beyond the desired carpet area, trim them using a saw or tin snips.
- Double-check the positioning: Once all the tack strips are installed, double-check their positioning to ensure they are firmly in place and aligned correctly.
Installing carpet tack strips is an important step in the carpet installation process, as they provide the necessary anchoring for the carpet to be stretched over. With the tack strips securely in place, you’re now ready to move on to the next step: cutting and fitting the carpet.
Before installing a carpet in your living room, make sure to thoroughly clean and prepare the subfloor to ensure a smooth and even surface for the carpet to be laid on. This will help prevent any bumps or uneven areas in the finished installation.
Step 6: Cutting and Fitting the Carpet
Now that the subfloor is prepared and the tack strips are in place, it’s time to move on to cutting and fitting the carpet in your living room. This step involves carefully measuring, cutting, and positioning the carpet to ensure a precise and tailored fit.
Follow these steps to successfully cut and fit the carpet:
- Measure the carpet: Roll out the carpet in the room, allowing it to reach the walls and cover the tack strips. Use a measuring tape to measure the length and width needed, leaving a few inches of excess on all sides.
- Mark the measurements: Use a pencil or chalk to mark the measurements on the backside of the carpet. This will serve as a guide for cutting.
- Cut the carpet: Using a sharp utility knife, carefully cut along the marked lines to create the desired size and shape. Take your time and ensure clean and precise cuts.
- Fit the carpet: Position the cut carpet in the room, ensuring that it overlaps the edges and covers the tack strips. Take care to align any patterns or designs correctly and maintain even tension across the surface.
- Trim excess carpet: Trim any excess carpet along the edges using a carpet trimmer or utility knife. Make sure the edges are neatly trimmed and fit snugly against the walls.
- Tuck the carpet: Use a carpet tucker or a putty knife to tuck the edges of the carpet into the gap between the wall and the tack strips. This will create a clean and finished look.
- Double-check the fit: Step back and check the overall fit and alignment of the carpet. Make any necessary adjustments to ensure a smooth and seamless appearance.
By following these steps, you will be able to accurately cut and fit the carpet in your living room. Take your time during this process to ensure precise measurements and clean cuts. Once the carpet is cut and fitted, you’re ready to move on to the next step: securing the carpet with a power stretcher.
Step 7: Securing the Carpet with a Power Stretcher
Securing the carpet with a power stretcher is an essential step in ensuring a tight and wrinkle-free installation. This powerful tool allows you to stretch the carpet across the room, creating a smooth and even surface. In this step, we will guide you through using a power stretcher to secure the carpet in your living room.
Follow these steps to effectively secure the carpet with a power stretcher:
- Position the power stretcher: Start by positioning the power stretcher near one corner of the room. Ensure that the lever end is pointed towards the center of the room.
- Attach the stretcher head: Attach the appropriate stretcher head to the stretcher pole. Consult the manufacturer’s instructions for the specific attachments required for your stretcher.
- Engage the stretcher: Use the lever to extend the pole and engage the stretching mechanism. This will allow you to apply tension to the carpet.
- Stretch the carpet: Position the stretcher head a few inches from the wall parallel to the first wall. Push down on the lever to stretch the carpet towards the opposite wall. Repeat this process for each corner of the room, keeping the carpet taut as you go.
- Secure the carpet: With the carpet stretched tightly, use a knee kicker to anchor the carpet to the tack strips near the wall. This tool allows you to apply pressure to the carpet and secure it firmly in place.
- Trim excess carpet: Trim any excess carpet along the edges using a carpet trimmer or utility knife, ensuring a clean and neat finish.
- Repeat the process: Move around the room, stretching and securing the carpet in each section. Make sure to overlap the stretched area with the previously secured carpet to maintain even tension throughout the room.
- Check for wrinkles or bulges: Inspect the entire room to ensure there are no wrinkles, bulges, or loose areas in the carpet. If you notice any issues, release the tension and readjust before re-securing.
By using a power stretcher to secure the carpet, you can achieve a professional-looking installation with minimal wrinkles or loose spots. Take your time and ensure each section is properly stretched and anchored before moving on. With the carpet securely in place, you’re now ready to move on to the next step: trimming and finishing the edges.
Step 8: Trimming and Finishing the Edges
Trimming and finishing the edges of your carpet is an important step in achieving a polished and professional-looking installation. This process involves neatly cutting and securing the carpet along the walls, ensuring a clean and seamless appearance. In this step, we will guide you through trimming and finishing the edges of your carpet in the living room.
Follow these steps to effectively trim and finish the edges of your carpet:
- Gather the necessary tools: You will need a carpet trimmer or utility knife, a stair tool or putty knife, and a smooth edge transition strip if desired.
- Start with the corners: Begin at one corner of the room. Use the carpet trimmer or utility knife to trim the excess carpet, ensuring it is flush with the wall. Take your time and make clean, straight cuts.
- Work along the walls: Move along each wall, trimming the excess carpet and ensuring a snug fit against the baseboard or skirting board. Be careful not to damage the walls or cut into the carpet too deeply.
- Tuck the edges: Use a stair tool or putty knife to tuck the trimmed carpet edge into the gap between the wall and the tack strip. This will create a clean and finished look, while also securing the carpet in place.
- Install transition strips: If desired, install smooth edge transition strips in doorways or where the carpet meets other types of flooring. These strips provide a seamless transition and protect the edge of the carpet.
- Check for any loose areas: Inspect the edges of the carpet and ensure that they are securely tucked and fastened to avoid any potential tripping hazards. Adjust and re-tuck any loose areas if necessary.
- Clean up: Vacuum or sweep the room to remove any carpet trimmings or debris. Ensure the space is tidy and ready for furniture placement.
By following these steps, you can achieve clean and well-finished edges for your carpet installation. Taking the time to accurately trim and secure the carpet will provide a polished and seamless appearance. With the edges trimmed and finished, you’re now ready for the final step: vacuuming and cleaning the new carpet.
Read more: How To Place A Carpet In A Living Room
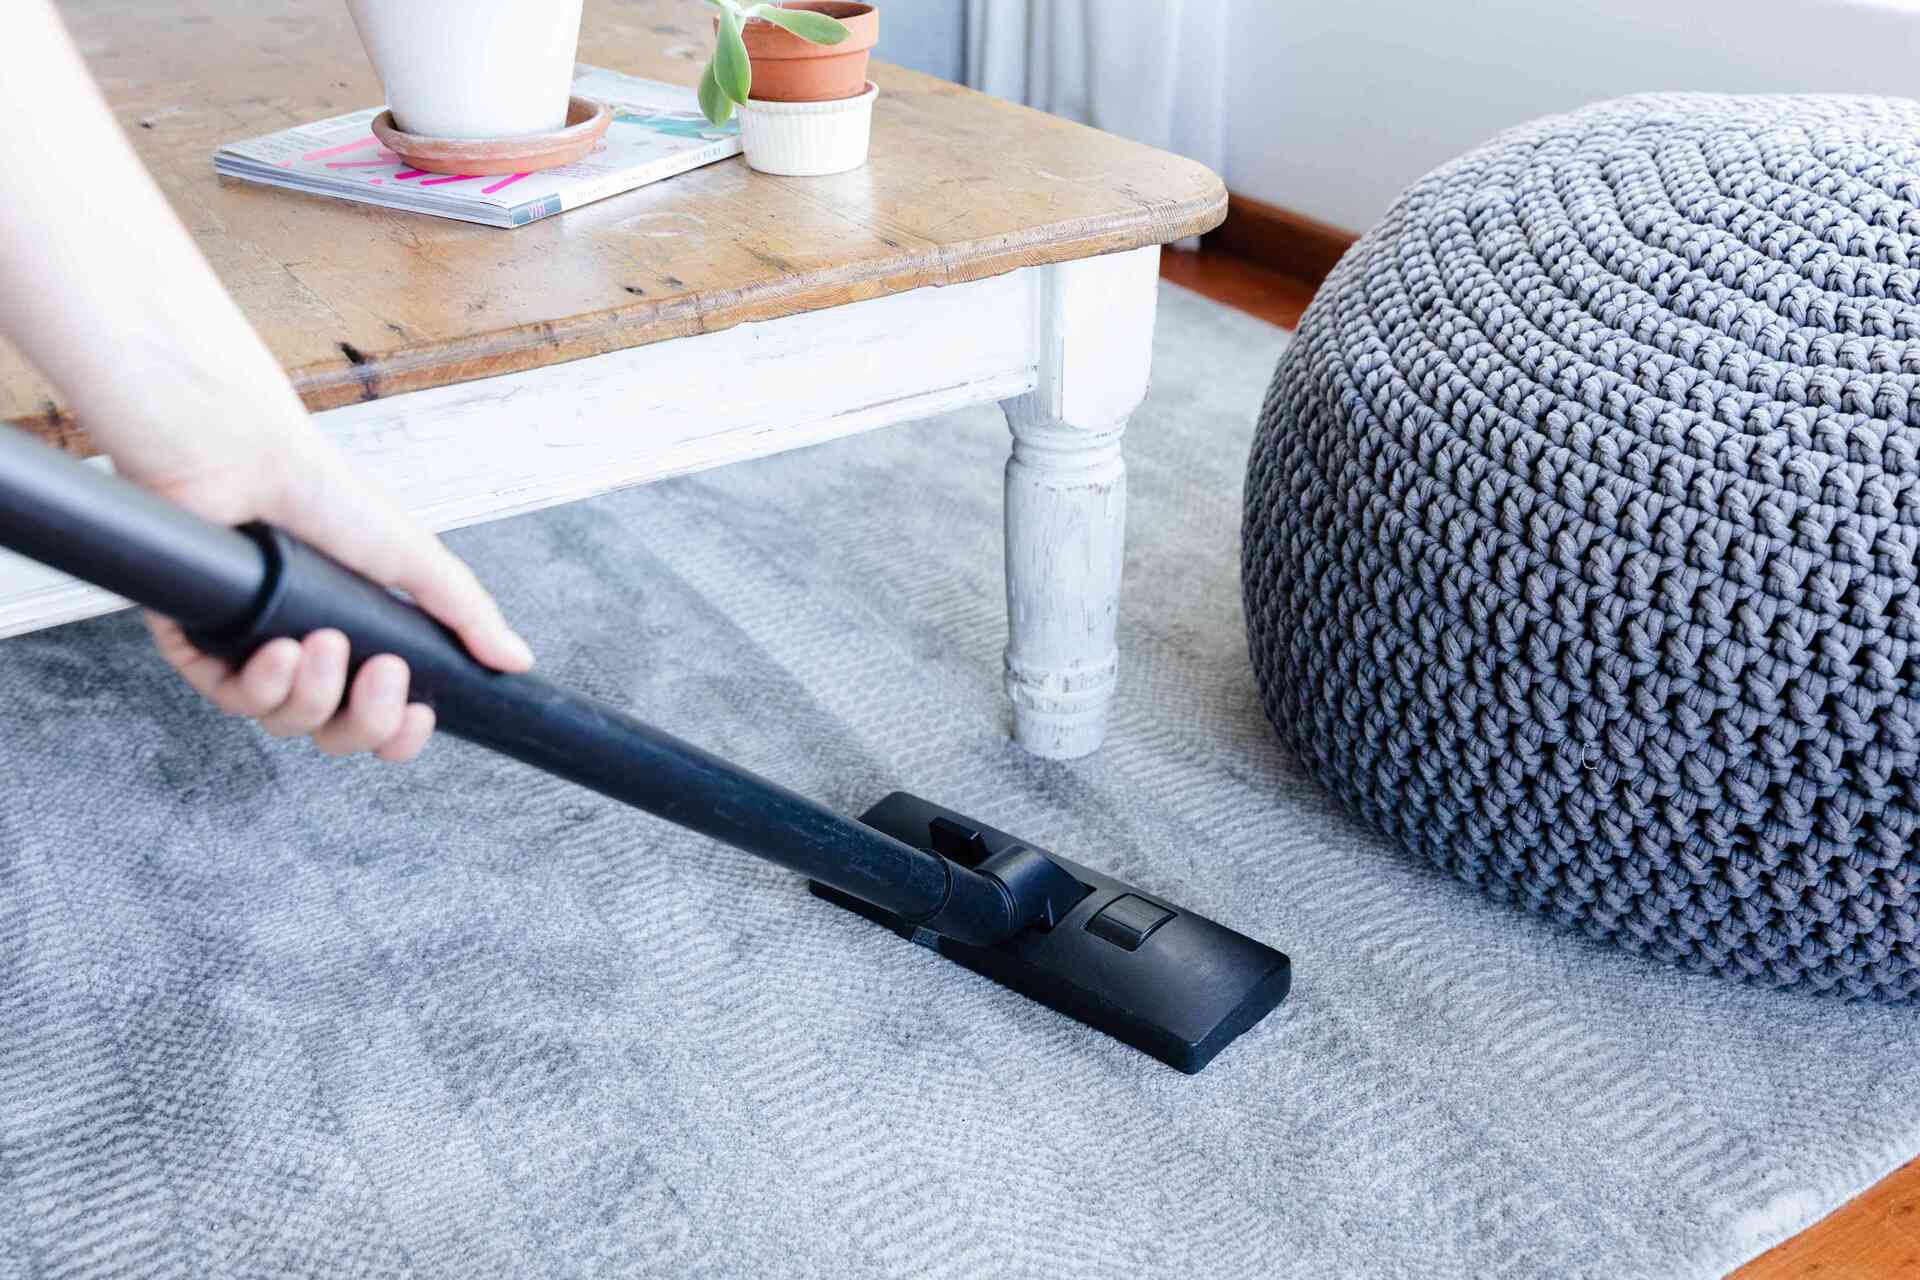
Step 9: Vacuuming and Cleaning the New Carpet
After the installation process is complete, it’s important to give your new carpet a thorough cleaning to remove any dirt, debris, or residue that may have accumulated during installation. This final step will ensure that your carpet looks its best and is ready for use in your living room.
Follow these steps to effectively vacuum and clean your newly installed carpet:
- Gather the necessary cleaning tools: You will need a vacuum cleaner with a brush attachment, a carpet cleaner or spot remover, and a clean white cloth or sponge.
- Vacuum the entire carpet: Start by thoroughly vacuuming the entire surface of the carpet. Use the brush attachment to remove any loose dirt or debris from the fibers. Pay extra attention to high-traffic areas and ensure you reach into corners and along baseboards.
- Spot clean any stains: If you notice any stains or spills on the carpet, treat them promptly. Apply a carpet cleaner or spot remover according to the manufacturer’s instructions. Gently blot the stain with a clean white cloth or sponge, working from the outside in to avoid spreading the stain.
- Allow the carpet to dry: If you used a carpet cleaner or spot remover, allow the treated areas to dry completely before moving furniture back into the room or walking on the carpet. Follow the instructions on the cleaning product for the recommended drying time.
- Regular maintenance: Going forward, establish a regular maintenance routine for your carpet. Vacuum at least once a week to keep the carpet clean and free of dirt and debris. Promptly address any spills or stains to prevent them from setting into the fibers.
- Consider professional cleaning: While regular vacuuming and spot cleaning are important, it’s also beneficial to have your carpet professionally cleaned periodically. Professional cleaning can remove deep-seated dirt and allergens, rejuvenating the appearance and extending the lifespan of your carpet.
By following these steps and maintaining a regular cleaning routine, you can keep your new carpet looking fresh and vibrant for years to come. Remember to vacuum regularly, attend to spills promptly, and consider professional cleaning as needed to keep your carpet in optimal condition.
With the vacuuming and cleaning process complete, your newly installed carpet is now ready to be enjoyed in your living room. Congratulations on successfully installing your new carpet!
Conclusion
Congratulations on successfully installing a carpet in your living room! By following the step-by-step guide outlined in this article, you have taken the necessary measures to transform your living space into a cozy and inviting environment.
Throughout the installation process, we covered essential steps such as preparing the room, measuring and calculating the carpet size, choosing the right carpet and padding, removing the old carpet and preparing the floor, installing carpet tack strips, cutting and fitting the carpet, securing it with a power stretcher, trimming and finishing the edges, and finally, vacuuming and cleaning the new carpet.
By carefully following each step and incorporating best practices, you have achieved a professional-looking carpet installation that not only enhances the aesthetic appeal of your living room but also provides comfort and durability.
Remember that proper maintenance is key to prolonging the lifespan and appearance of your carpet. Regular vacuuming, prompt stain removal, and occasional professional cleaning will help keep your carpet in top condition for years to come.
We hope that this comprehensive guide has provided you with the knowledge and confidence to undertake a successful carpet installation in your living room. Enjoy the comfort and beauty of your newly installed carpet, and may it bring many years of joy and satisfaction to your home.
Frequently Asked Questions about How To Install A Carpet In Living Room
Was this page helpful?
At Storables.com, we guarantee accurate and reliable information. Our content, validated by Expert Board Contributors, is crafted following stringent Editorial Policies. We're committed to providing you with well-researched, expert-backed insights for all your informational needs.


0 thoughts on “How To Install A Carpet In Living Room”