
Articles
How To Install Carpet Tack Strips
Modified: December 7, 2023
Learn how to properly install carpet tack strips with this informative articles. Follow our step-by-step guide for a professional finish.
(Many of the links in this article redirect to a specific reviewed product. Your purchase of these products through affiliate links helps to generate commission for Storables.com, at no extra cost. Learn more)
Introduction
Installing carpet tack strips is an essential step in the carpet installation process. These strips, also known as tackless strips, provide the necessary foundation for properly securing carpeting to the floor. By securely holding the carpet in place, tack strips ensure a smooth and professional-looking finish.
Whether you are a do-it-yourself enthusiast or a professional carpet installer, knowing how to properly install carpet tack strips is crucial. In this article, we will guide you through the step-by-step process of installing carpet tack strips, from preparation to securing the strips in place.
Before we delve into the installation process, let’s quickly go over the tools and materials you will need to complete this project.
Key Takeaways:
- Proper preparation, accurate measurements, and secure attachment of carpet tack strips are crucial for a successful and professional-looking installation. Choosing the right tack strips and ensuring proper alignment contribute to a long-lasting and visually pleasing result.
- Prioritize safety, gather necessary tools, and follow step-by-step instructions for a smooth and efficient carpet tack strip installation. With attention to detail, you can achieve a beautifully installed carpet that enhances the overall look and feel of your home.
Read more: How To Tack Carpet Back Down
Tools and Materials Needed
Before you start installing carpet tack strips, gather the following tools and materials:
- Utility knife: For cutting the tack strips to size
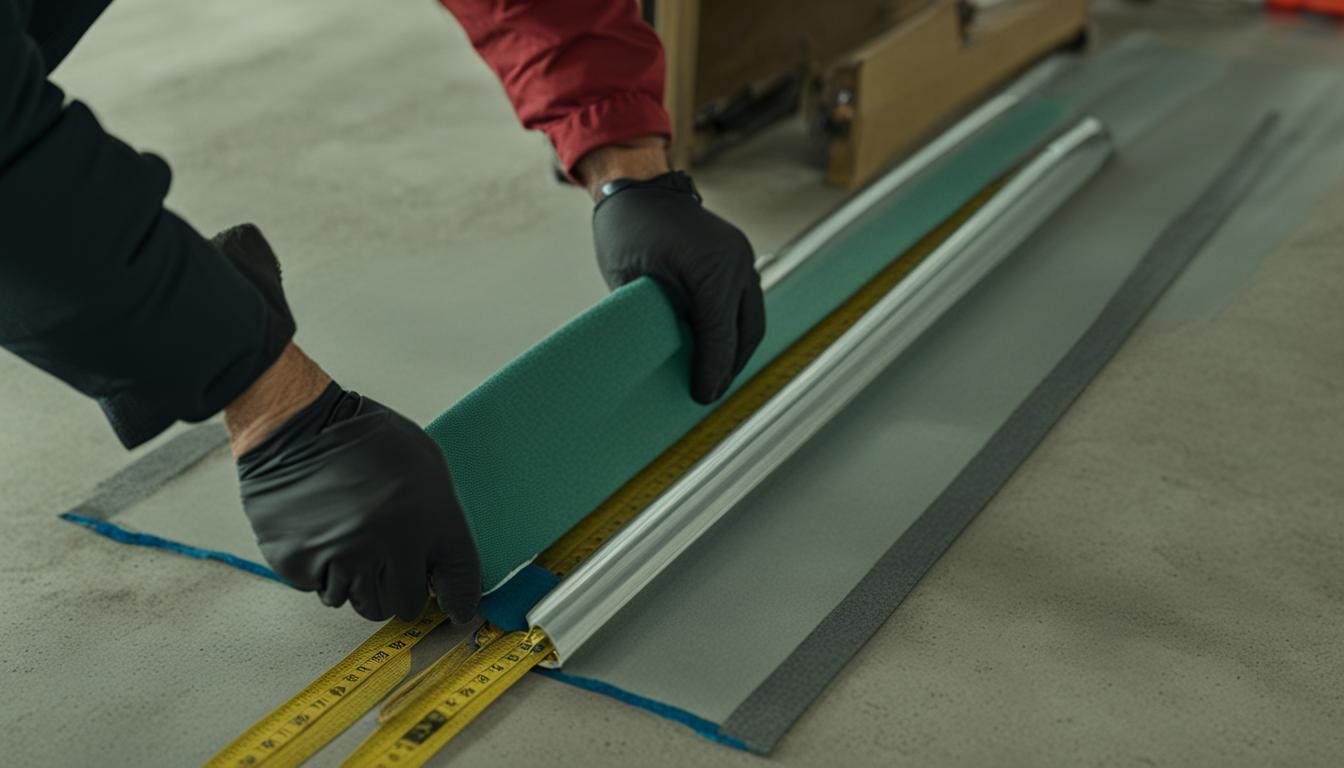
- Measuring tape: To accurately measure the length of the area where the tack strips will be installed
- Hammer: For driving the nails into the tack strips
- Pliers: To help remove any existing staples or nails on the floor
- Safety goggles: To protect your eyes from any flying debris
- Gloves: To protect your hands from sharp edges and potential injuries
- Tackless strips: The number of strips needed will depend on the size of the room
- Nails or screws: To secure the tack strips to the subfloor
- Carpet padding: The padding material that sits between the tack strips and the carpet
- Carpet adhesive: If required, to secure the carpet to the tack strips
Having these tools and materials readily available will ensure a smooth and efficient installation process. Now, let’s move on to the preparation phase.
Preparation
Before you begin installing carpet tack strips, it is important to prepare the room to ensure a successful installation. Follow these steps to prepare the area:
- Clear the room: Remove all furniture, rugs, and any other items from the room. This will provide you with a clear and unobstructed space to work in.
- Clean the floor: Thoroughly clean the floor to remove any dust, dirt, or debris. Use a broom or vacuum to sweep or vacuum the floor, and then mop it with a mild cleaning solution. Allow the floor to dry completely before proceeding.
- Inspect the floor: Carefully inspect the floor for any irregularities, such as loose boards or uneven surfaces. Address any issues and ensure that the subfloor is in good condition.
By clearing the room and preparing the floor, you create a clean and sturdy foundation for the carpet tack strips. Next, we’ll discuss how to choose the right tack strips for your carpet installation.
Choosing the Right Tack Strips
When selecting carpet tack strips, it is important to choose the right type and size to ensure a proper installation. Here are some factors to consider when choosing tack strips:
- Type of tack strip: There are various types of tack strips available, including wood, concrete, and adhesive strips. The type of subfloor you have will determine the appropriate tack strips to use. For wood subfloors, wooden tack strips are commonly used. Concrete subfloors require concrete tack strips. Adhesive tack strips are suitable for certain carpet installations without a subfloor.
- Size and thickness: Tack strips come in different sizes and thicknesses. The size will depend on the thickness of the carpet you are installing. Thicker carpets will require longer and heavier tack strips for secure attachment. Ensure the tack strips have enough length to reach the edges of the room.
- Nail or pin spacing: Pay attention to the spacing between the nails or pins on the tack strips. The recommended spacing is about every 3 to 4 inches to provide adequate support and hold for the carpet.
- Quality and durability: Look for tack strips made of high-quality materials that are durable and long-lasting. Poor-quality tack strips may bend or break easily, compromising the stability of the carpet.
Consult with a professional or the manufacturer of your carpet to determine the best type and size of tack strips for your specific installation needs. Now that you have chosen the appropriate tack strips, let’s move on to the next step: measuring and marking the area.
Measuring and Marking
Accurate measurements and proper marking are crucial in ensuring that the carpet tack strips are installed in the correct positions. Here’s how to measure and mark the area:
- Measure the perimeter: Use a measuring tape to determine the length and width of the room. Measure along the walls where the tack strips will be installed. Add a few extra inches to each measurement to account for any corners or curves.
- Mark the positioning: With a pencil or chalk, mark the areas along the walls where the tack strips will be placed. Ensure that the marks are evenly spaced and parallel to the walls.
- Subtract the carpet width: If you are installing wall-to-wall carpet, subtract the width of the carpet from the markings. This will ensure that the carpet remains within the desired area and does not cover the baseboards.
Take your time during this step to ensure accurate measurements and markings. Precision at this stage will make the installation process much smoother. Once you have measured and marked the area, the next step is to cut the carpet tack strips to size.
Read more: How To Remove Carpet Tack Strips
Cutting the Strips
After marking the areas where the carpet tack strips will be installed, it’s time to cut the strips to the appropriate length. Follow these steps to cut the strips:
- Measure the length: Use a measuring tape to determine the length needed for each strip. Measure from wall to wall, ensuring that the tack strips are slightly shorter than the measured length to allow for a small gap.
- Mark the length: With a pencil or marker, mark the measured length on each tack strip.
- Cut the strips: Using a utility knife or hand saw, carefully cut along the marked lines. Apply even pressure to ensure a clean and straight cut. Take caution to avoid any injuries or damage to the surrounding area.
- Smooth the edges: After cutting the strips, use sandpaper or a file to smooth any rough edges. This will help prevent the carpet from tearing or getting damaged during the installation process.
Make sure to wear gloves and exercise caution while cutting the tack strips to protect yourself from any sharp edges. Once you have cut all the strips to size, you are now ready to move on to the next step: installing the tack strips.
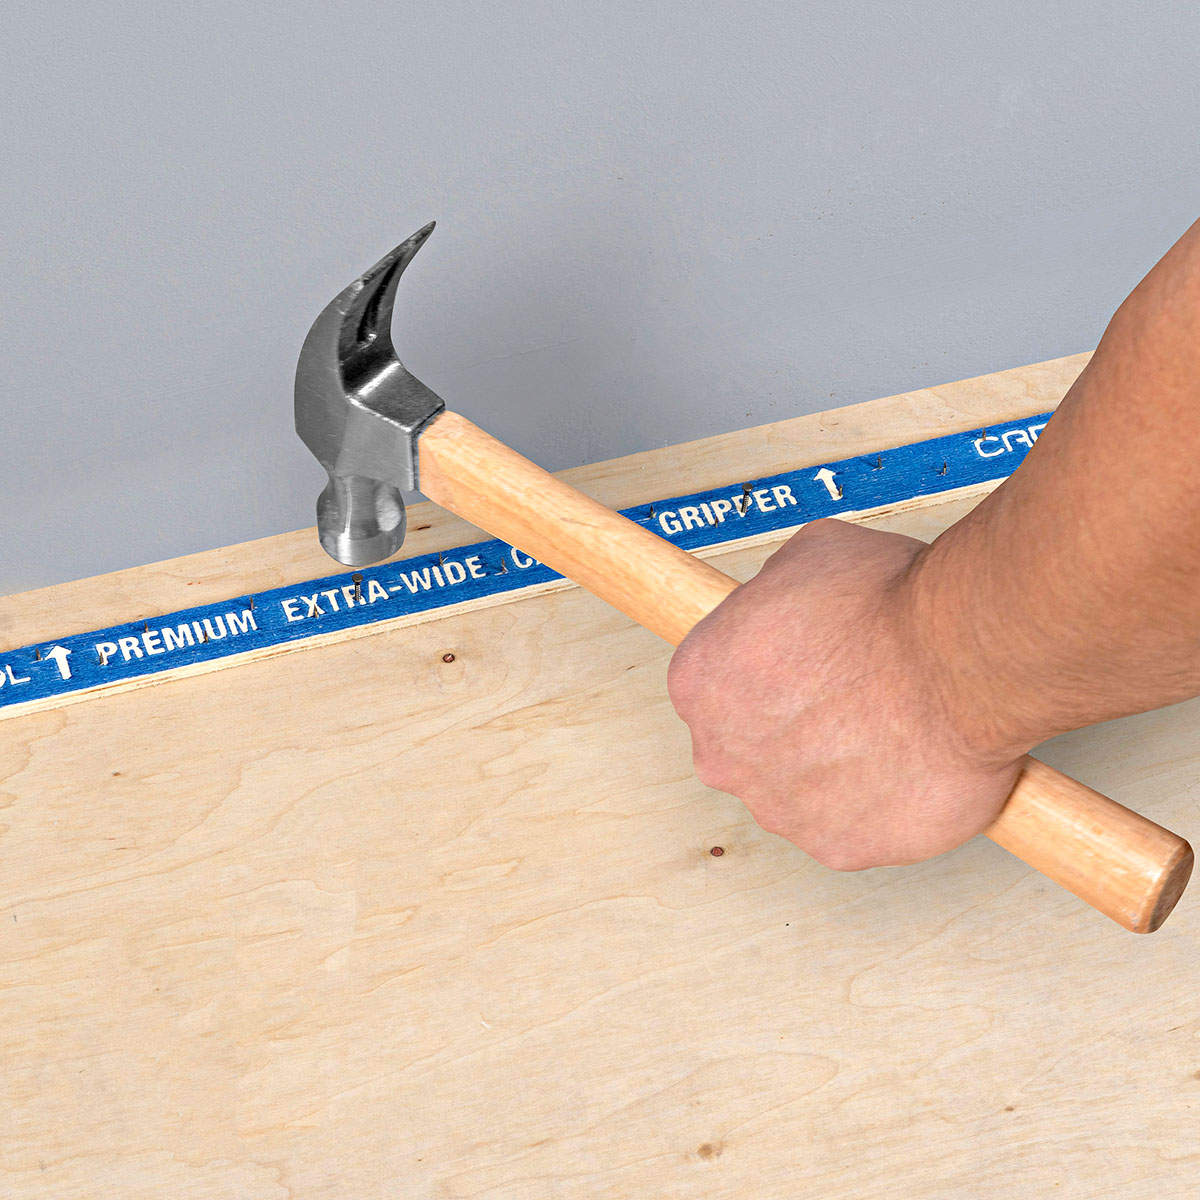
When installing carpet tack strips, make sure to place them 1/2 inch from the wall and nail them securely to the subfloor. Use a hammer and nails to ensure a tight and secure fit for the carpet.
Installing the Tack Strips
Now that you have measured, marked, and cut the carpet tack strips, it’s time to install them along the perimeter of the room. Follow these steps to properly install the tack strips:
- Position the first strip: Start in a corner of the room and position the first tack strip against the wall, ensuring that the pins are facing towards the center of the room. Make sure the strip is aligned with the markings you made during the measuring and marking step.
- Secure the strip: Using a hammer, gently tap nails or screws through the pre-drilled holes in the tack strip, attaching it to the subfloor. Place the nails or screws about an inch away from the edge of the strip, ensuring they are securely fastened.
- Continue with the remaining strips: Move along the wall, installing the remaining tack strips in the same manner. Butt each strip tightly against the previous one, ensuring they are evenly spaced and aligned. Make any necessary cuts or modifications to the tack strips to accommodate corners or irregular shapes.
- Check the alignment: Once all the tack strips are installed, double-check their alignment along the walls. Use a straight edge or level to ensure they are straight and level. Make any adjustments if needed.
Remember to wear goggles and gloves to protect yourself while hammering the nails or screws. The tack strips should be firmly secured to provide a stable base for the carpet installation. Once the tack strips are installed, the next step is to attach them to the floor.
Attaching the Strips to the Floor
Now that the carpet tack strips are securely fastened along the perimeter of the room, the next step is to attach them to the floor. Follow these steps to properly attach the strips:
- Position the carpet padding: Lay the carpet padding over the subfloor, ensuring it covers the area where the tack strips are installed. Trim any excess padding if necessary.
- Fold the carpet over: Fold the carpet back from the edge, exposing the area where the tack strips are located. Ensure that the folded portion of the carpet is smooth and free of wrinkles or folds.
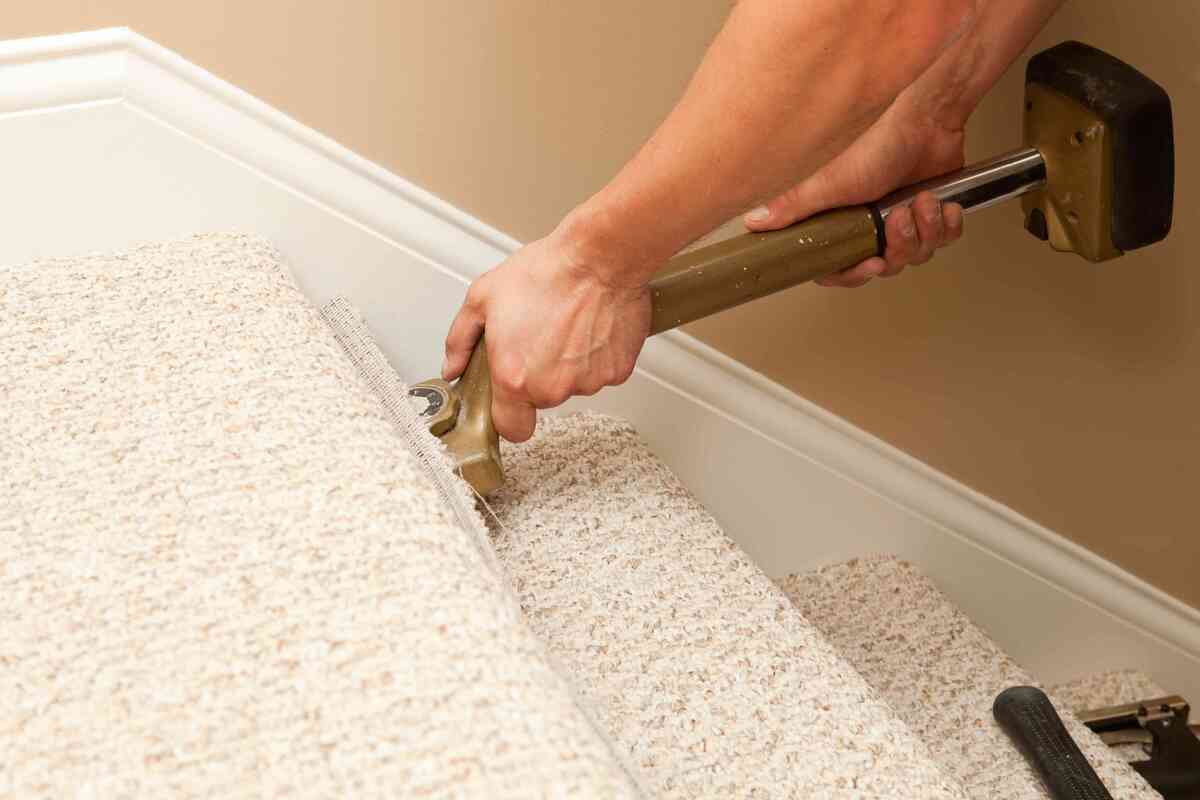
- Press down firmly: Press down firmly on the exposed edge of the carpet, ensuring it is securely attached to the pins or nails on the tack strips. Use a knee kicker or carpet stretcher to help stretch and secure the carpet onto the tack strips.
- Work along the perimeter: Starting from one corner, work your way along the perimeter of the room, pressing down on the carpet to attach it to the tack strips. Use a carpet tucker or putty knife to push the edge of the carpet into the gap between the tack strip and the wall.
Ensure that the carpet is tightly stretched and properly attached to the tack strips. This will help prevent any buckling or loose areas once the installation is complete. Once the carpet is attached to all the tack strips, the next step is to ensure proper alignment.
Ensuring Proper Alignment
Proper alignment of the carpet is essential for a clean and professional-looking installation. Follow these steps to ensure the carpet is properly aligned:
- Inspect the edges: Check the edges of the carpet along the walls to ensure they are straight and even. If you notice any unevenness or misalignment, gently lift and adjust the carpet to achieve a straight edge.
- Check for bubbles or wrinkles: Walk along the installed carpet and carefully examine the surface for any bubbles, wrinkles, or loose areas. Use a knee kicker or carpet stretcher to stretch and smooth out any problem areas, eliminating any excess slack.
- Trim excess carpet: If there is any excess carpet extending beyond the tack strips, use a utility knife to carefully trim it along the edge of the strips. Take care to avoid cutting too close to the edge, as this may cause the carpet to come loose.
Regularly check the alignment and smoothness of the carpet as you work to ensure a professional finish. Once you are satisfied with the alignment, the final step is to secure the tack strips in place.
Read more: How To Tack Down Grass Carpet On Patio
Securing the Strips
Securing the carpet tack strips in place is crucial to ensure the longevity and stability of the carpet installation. Follow these steps to securely fasten the tack strips:
- Inspect the nails or screws: Check each tack strip and make sure that all nails or screws are driven securely into the subfloor. If any are loose or sticking out, use a hammer to tap them in or tighten the screws.
- Reinforce the strips: For added strength and stability, you can apply a small amount of construction adhesive to the back of each tack strip, adhering it to the subfloor. This will help prevent the strips from shifting or coming loose over time.
- Double-check alignment: Once the tack strips are secured, double-check their alignment and straightness along the walls. Make any necessary adjustments to ensure they are parallel and evenly spaced.
Ensuring that the tack strips are securely fastened will help prevent any movement or shifting of the carpet. This is especially important in high traffic areas where the carpet is more prone to wear and tear. After securing the tack strips, the final step is to trim any excess strip length.
Trimming Excess Strip Length
After securing the carpet tack strips, you may notice that there is some excess strip length extending beyond the edge of the carpet. Trimming this excess length is important to ensure a neat and professional appearance. Here’s how you can trim the excess strip length:
- Measure the excess length: Use a tape measure to determine the amount of excess length that needs to be trimmed. Take note of the measurement.
- Mark the trim line: With a pencil or marker, mark a straight line along the excess strip length at the desired trim point. Ensure that the line is parallel to the wall and aligned with the edge of the carpet.
- Cut the excess length: Using a sharp utility knife, carefully cut along the marked line. Apply firm and even pressure to achieve a clean cut. Take precautions to avoid any injuries and protect the surrounding area.
- Remove any remaining sharp edges: Once the excess length is trimmed, use sandpaper or a file to smooth any rough or sharp edges on the tack strips. This will help prevent any snagging or damage to the carpet during installation or everyday use.
Be cautious when trimming the excess strip length to ensure a straight and accurate cut. Take your time and double-check your measurements and markings before making any cuts. Once the excess length is trimmed and the edges are smooth, your carpet tack strips are ready for the final step in the installation process.
Conclusion
Installing carpet tack strips is an essential part of the carpet installation process. By following the steps outlined in this guide, you can ensure a successful and professional-looking installation. Proper preparation, choosing the right tack strips, accurate measurements, and secure attachment are all key factors in achieving a long-lasting and visually pleasing result.
Remember to gather all the necessary tools and materials before starting the installation process. Take the time to clear the room, clean the floor, and inspect the subfloor for any irregularities. Choosing the appropriate tack strips for your specific installation needs is crucial to ensure a secure and durable foundation. Measure and mark the installation areas accurately and cut the tack strips to the proper length
When installing the tack strips, ensure they are securely attached to the floor and aligned properly along the walls. Attach the carpet to the tack strips, making sure it is stretched tightly and free of any bubbles or wrinkles. Trim any excess carpet and secure the tack strips to ensure a neat and professional finish.
Proper alignment, regular inspections, and securing the tack strips will contribute to the long-term stability and aesthetics of your carpet installation. By following these steps, you can have confidence in completing your carpet installation project effectively and efficiently.
Remember to prioritize safety throughout the process by wearing safety goggles and gloves, and using caution when handling sharp tools. If you are unsure about any aspect of the installation process, it is always recommended to seek professional assistance.
With the proper knowledge and attention to detail, you can enjoy a beautifully installed carpet that not only adds comfort and warmth to your space but also enhances the overall look and feel of your home.
Frequently Asked Questions about How To Install Carpet Tack Strips
Was this page helpful?
At Storables.com, we guarantee accurate and reliable information. Our content, validated by Expert Board Contributors, is crafted following stringent Editorial Policies. We're committed to providing you with well-researched, expert-backed insights for all your informational needs.
