Articles
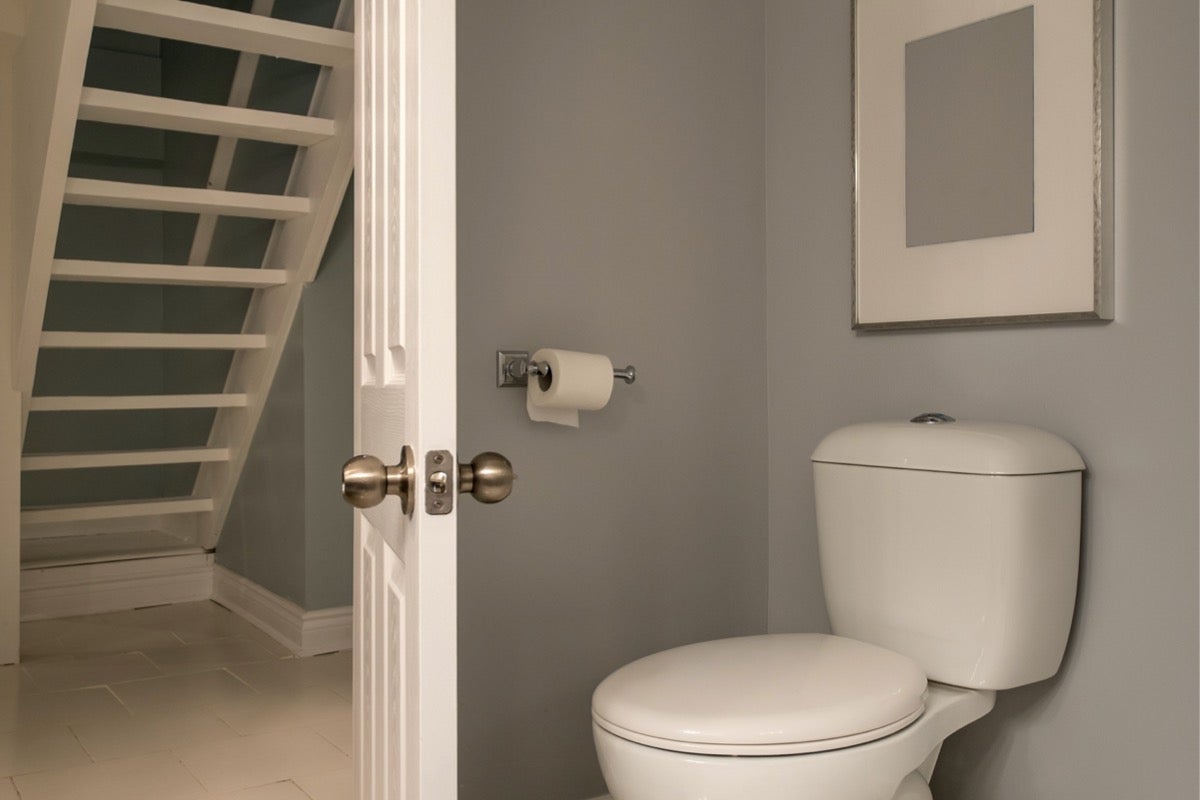
How To Install A Toilet In A Basement
Modified: January 6, 2024
Learn how to install a toilet in your basement with these informative articles. Find step-by-step guides and expert tips to make the process easy and efficient.
(Many of the links in this article redirect to a specific reviewed product. Your purchase of these products through affiliate links helps to generate commission for Storables.com, at no extra cost. Learn more)
Introduction
Welcome to the comprehensive guide on how to install a toilet in a basement. Adding a bathroom in your basement not only increases the convenience and functionality of your living space but also adds value to your home. Whether you’re converting your basement into a guest suite or simply need an extra bathroom, installing a toilet can be a rewarding and manageable DIY project.
Before you begin the installation process, it’s important to gather all the necessary tools and materials. Having everything on hand will make the installation go much smoother and prevent unnecessary trips to the hardware store. In this article, we will walk you through each step of the installation process, providing tips and insights along the way.
Before we dive into the nitty-gritty details, let’s make sure you have the right tools for the job. Here’s a list of the essential tools and materials you’ll need:
- Adjustable wrench
- Hacksaw or reciprocating saw
- Tape measure
- Pipe cutter or PVC ratchet cutter
- PVC primer and cement
- Toilet flange
- Toilet wax ring
- Toilet bolts with nuts
- Toilet tank-to-bowl gasket
- Water supply line
- Bucket and rags
Now that you have all the necessary tools and materials, let’s get started on the installation process. Follow these step-by-step instructions to successfully install a toilet in your basement.
Key Takeaways:
- Transform your basement with a DIY toilet installation, adding convenience and value to your home. Follow the comprehensive guide for a successful and rewarding project.
- Ensure a reliable and efficient toilet installation by following step-by-step instructions, from gathering tools to testing for proper functioning. Enjoy the added convenience and value of a basement bathroom.
Read more: How To Install A Basement Toilet
Step 1: Gather the Required Tools and Materials
Before beginning the installation process, it’s essential to gather all the necessary tools and materials. Here’s a checklist of what you’ll need:
- Adjustable wrench: This will be used to tighten and loosen nuts and bolts.
- Hacksaw or reciprocating saw: You may need to cut through pipes or other materials, so having a saw handy will be helpful.
- Tape measure: Use a tape measure to accurately measure distances and ensure proper alignment.
- Pipe cutter or PVC ratchet cutter: If you’re working with PVC pipes, you’ll need a cutter to make precise cuts.
- PVC primer and cement: These are necessary for bonding PVC pipes and fittings securely.
- Toilet flange: The toilet flange connects the toilet to the drain pipe.
- Toilet wax ring: This forms a watertight seal between the base of the toilet and the flange.
- Toilet bolts with nuts: These are used to secure the toilet to the flange.
- Toilet tank-to-bowl gasket: Necessary for assembling the toilet tank and bowl.
- Water supply line: Connects the toilet to the water source.
- Bucket and rags: Essential for dealing with water spills and cleaning up during the installation process.
Make sure to have these tools and materials readily available before starting the installation. This will save you time and prevent interruptions in the middle of the project. Once you have everything gathered, you’re ready to move on to the next step: determining the location for the toilet.
Step 2: Determine the Location for the Toilet
Choosing the right location for the toilet in your basement is crucial for both functionality and comfort. Here are a few factors to consider when determining the placement:
- Accessibility: Ensure that the location is easily accessible and convenient for users. Consider factors such as proximity to other areas in the basement, walkway space, and ease of navigation.
- Gravity-based drainage: The toilet needs to be placed near the existing drainage or a new drainage system. Gravity plays a crucial role in flushing waste effectively, so make sure the location allows for proper drainage.
- Ventilation: Toilets require proper ventilation to eliminate odors and maintain good air circulation. Ideally, locate the toilet near an exterior wall to allow for easy installation of a ventilation system.
- Water supply lines: Ensure that the location is easily accessible to existing water supply lines or that new lines can be installed without excessive difficulty. Consider the proximity to existing plumbing connections to simplify the installation process.
- Privacy: Take into account the privacy aspect of the toilet placement. Consider the layout of the basement and make sure the toilet is situated in a secluded area or can be separated by a partition or door for privacy.
Once you have considered these factors, choose the best location for your toilet. Mark the centerline of the toilet on the basement floor using a tape measure and chalk. This will serve as a reference point for the next steps of the installation process.
With the location determined and marked, you’re now ready to move on to the next step: installing the plumbing rough-in. This step involves connecting the toilet drain to the main plumbing system of your basement.
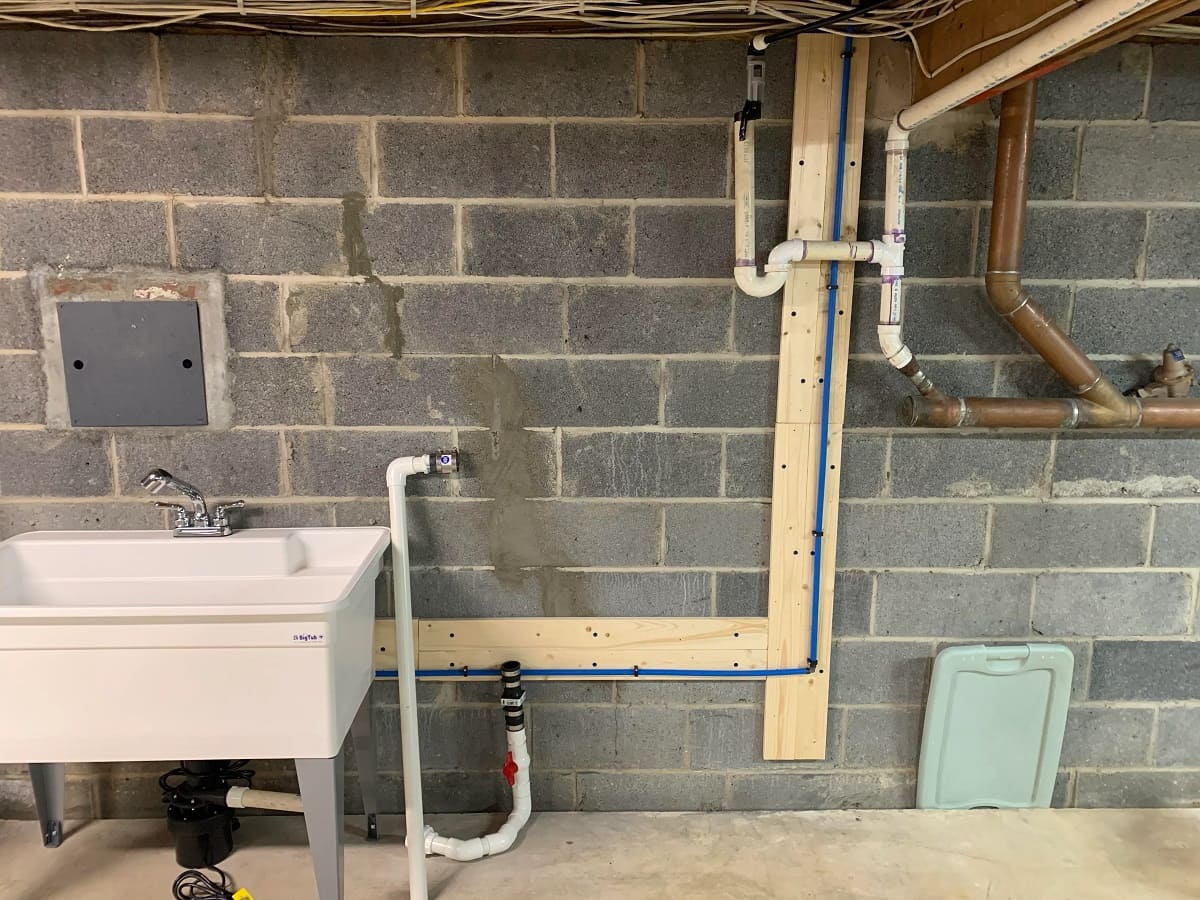
Step 3: Install the Plumbing Rough-In
Installing the plumbing rough-in is a crucial step in the toilet installation process. This involves connecting the toilet drain to the main plumbing system of your basement. Follow these steps to ensure a proper plumbing rough-in:
- Measure and cut the drain pipe: Measure the distance between the toilet flange and the main drain pipe. Using a pipe cutter or PVC ratchet cutter, cut the drain pipe to the correct length. Ensure that the cut is straight and clean.
- Attach a PVC coupling: Prior to connecting the drain pipe, apply PVC primer to the inside end of the pipe and the outside end of a PVC coupling. Then, apply PVC cement to both surfaces and press the coupling onto the end of the drain pipe. Hold it in place for a few seconds to allow the cement to bond.
- Connect the drain pipe to the flange: Apply PVC primer to the outside of the other end of the coupling and the inside of the toilet flange. Then, apply PVC cement to both surfaces and push the flange onto the coupling, ensuring a secure connection. Make sure the flange is aligned with the centerline you marked on the floor.
- Check for proper alignment: Use a level to ensure that the flange is level and properly aligned with the floor. Adjust as necessary.
- Secure the flange to the floor: Use screws or anchors to secure the flange to the basement floor. This will prevent the flange from moving or shifting during the installation process. Make sure the screws or anchors are tight and secure.
- Install a test plug: To prevent debris or sewer gases from entering the drain pipe while you continue with the installation, insert a test plug into the open end of the drain pipe. This will keep the system sealed and allow you to continue with the remaining steps.
With the plumbing rough-in installed, you’ve completed a crucial step in the toilet installation process. At this point, you’re ready to prepare the basement floor for the toilet installation, which will be covered in the next step.
Step 4: Prepare the Basement Floor
Preparing the basement floor is an important step in ensuring a stable and secure toilet installation. Here’s what to do:
- Clean the area: Start by clearing the area around the toilet flange. Remove any debris or objects that may hinder a proper installation.
- Inspect the flange: Examine the toilet flange for any damage or wear. Ensure that it is securely attached to the floor and in good condition. If the flange is damaged, it may need to be repaired or replaced before proceeding.
- Level the floor: Use a level to check the levelness of the floor around the flange. If there are any significant uneven areas, you may need to use a leveling compound to create a smooth and level surface. Follow the manufacturer’s instructions for the leveling compound and allow it to dry completely before continuing.
- Inspect the wax ring: Take a close look at the wax ring that will be placed between the toilet and the flange. Check for any cracks or damage. If the wax ring is not in good condition, replace it with a new one. A proper seal is vital to prevent leaks and sewer gas from escaping.
- Set the toilet anchor bolts: Insert the toilet anchor bolts into the slots on the flange. Ensure that they are properly aligned with the toilet mounting holes. These bolts will secure the toilet to the flange and prevent it from shifting.
- Attach a seat riser (if necessary): If you require additional height for the toilet, such as for accessibility purposes, you may need to install a seat riser. Follow the manufacturer’s instructions for attaching the seat riser to the toilet base.
By properly preparing the basement floor, you are ensuring a solid foundation for the toilet installation. Now that the floor is ready, you can move on to the next step: installing the toilet flange.
Step 5: Install the Toilet Flange
The toilet flange is an essential component that connects the toilet to the drain pipe and provides a secure and watertight seal. Here’s how to install the toilet flange:
- Prepare the flange: Apply PVC primer to the inside of the flange and the outside of the drain pipe. Follow it up by applying PVC cement to both surfaces.
- Attach the flange: Carefully place the flange over the drain pipe, ensuring that it sits flush against the basement floor. Press down firmly to create a strong bond between the flange and the drain pipe. Ensure that the flange is aligned with the centerline you marked earlier.
- Secure the flange: Use screws or anchors to secure the flange to the basement floor. Make sure to tighten them securely, ensuring that the flange remains stable and in place.
- Inspect the flange: Double-check that the flange is level and properly aligned with the floor. Use a level to ensure its horizontal position. This step is crucial to ensure a proper and stable installation.
- Remove the test plug: Now that the flange is securely installed, it’s time to remove the test plug from the drain pipe. This will allow for proper drainage once the toilet is installed.
By following these steps, you will successfully install the toilet flange in your basement. The flange provides a solid foundation for the toilet and ensures a watertight seal. With the flange in place, you can now move on to the next step: setting the toilet in place.
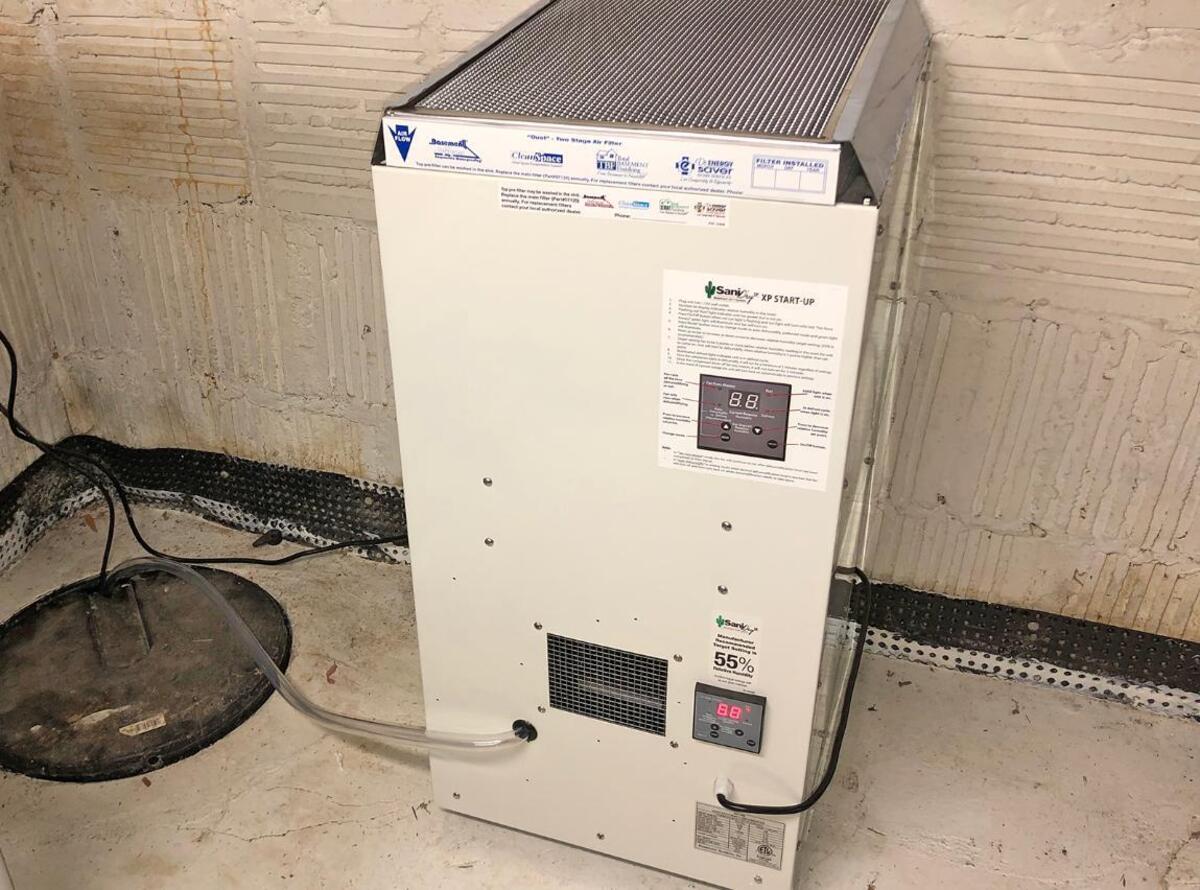
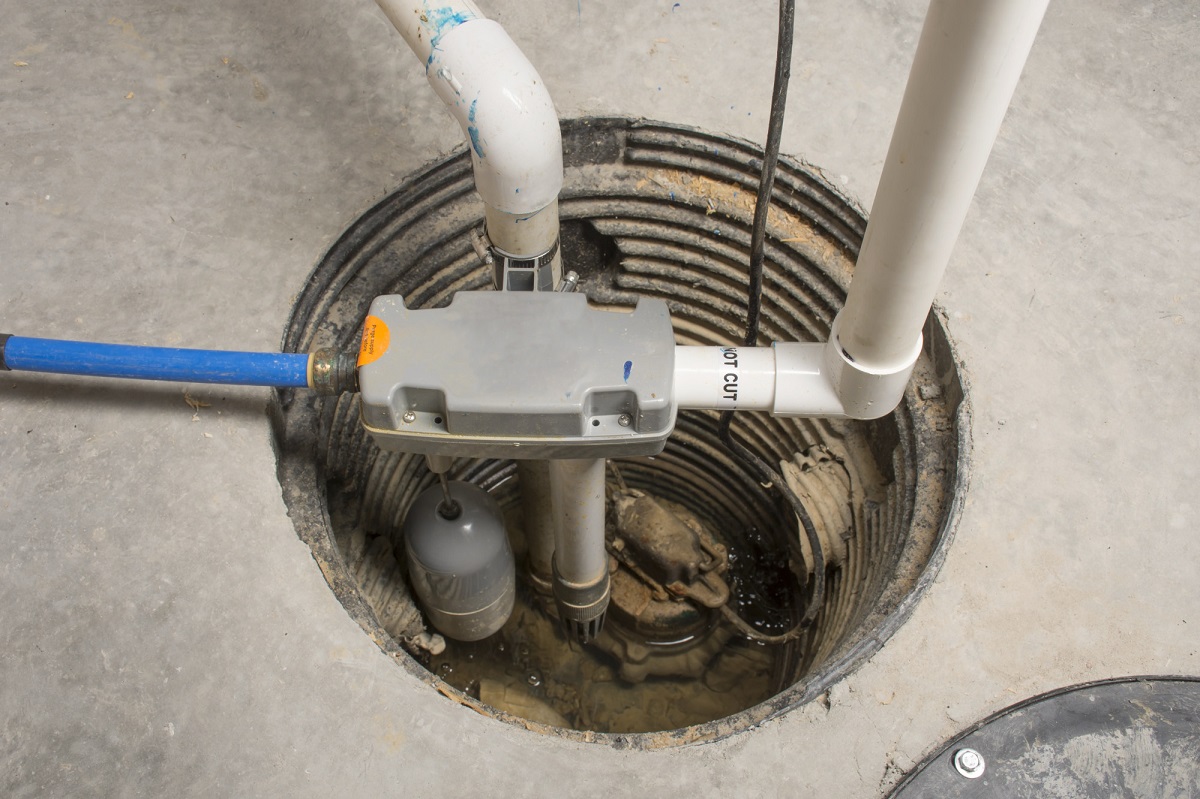
When installing a toilet in a basement, make sure to install a sewage ejector pump if the main sewer line is higher than the basement floor. This will help pump waste water up to the main sewer line.
Step 6: Set the Toilet in Place
Setting the toilet in place is a critical step in the installation process, as it ensures a proper fit and alignment. Here’s how to set the toilet in place:
- Position the wax ring: Take the wax ring, which creates a watertight seal between the toilet and the flange, and position it on top of the flange. Ensure that it is centered and sits flat on the flange.
- Lift the toilet: Carefully lift the toilet and align it with the anchor bolts on the flange. Slowly lower the toilet over the wax ring, making sure that the bolts pass through the mounting holes on the base of the toilet.
- Seat the toilet: Apply even pressure to the toilet bowl, ensuring that it is seated firmly on the wax ring and fully compresses it. This will create a proper seal and prevent leaks. Use caution when applying pressure to avoid damaging the toilet or the flange.
- Align the toilet: Ensure that the toilet is centered and aligned with the walls or any reference lines that you’ve marked. This will ensure that the toilet sits straight and looks aesthetically pleasing.
- Tighten the nuts: Place a washer and nut onto each anchor bolt. Begin tightening the nuts evenly, alternating between them to prevent uneven pressure. Be careful not to overtighten the nuts, as this could crack the toilet base.
- Check for stability: Gently rock the toilet back and forth to check for any wobbling or instability. If the toilet feels loose, tighten the nuts further until it becomes stable.
- Trim the anchor bolts: Once the toilet is securely in place, use a hacksaw or reciprocating saw to trim the excess length of the anchor bolts. Be cautious when cutting to avoid damaging the toilet or the flange.
With the toilet set in place, you have completed a major step in the installation process. Next, you’ll move on to connecting the water supply in the following step.
Step 7: Connect the Water Supply
Connecting the water supply is a crucial step in the toilet installation process, as it ensures a steady flow of water for flushing. Here’s how to connect the water supply to your toilet:
- Locate the water supply valve: Find the water supply valve, usually located on the wall near the toilet. Turn off the valve by rotating it clockwise to shut off the water supply.
- Attach the water supply line: Take the flexible water supply line and connect one end to the bottom of the toilet tank, where the fill valve is located. Hand-tighten the connection, ensuring it is secure. If necessary, use an adjustable wrench to give it a final snug turn.
- Connect the other end: Locate the water supply valve that you previously turned off. Connect the other end of the water supply line to the valve, again hand-tightening before giving it a final snug turn with an adjustable wrench.
- Turn on the water supply: Slowly turn on the water supply valve by rotating it counterclockwise. This will allow water to flow into the toilet tank.
- Check for leaks: Carefully inspect all the connections, specifically the connection between the water supply line and the toilet tank. Watch for any signs of leaking water. If you notice any leaks, tighten the connections further or replace any faulty parts.
- Adjust the water level: Once the water is flowing into the toilet tank, adjust the water level to the appropriate height. This can usually be done by adjusting the float or fill valve. Refer to the manufacturer’s instructions for your specific toilet model.
By properly connecting the water supply, you ensure that your toilet is ready for use. Make sure to check for any leaks and make necessary adjustments before proceeding. With the water supply connected, you’re almost finished with the installation process. The next step involves testing the toilet for proper functioning.
Step 8: Test the Toilet for Proper Functioning
After connecting the water supply, it’s crucial to test the toilet for proper functioning and ensure that everything is in working order. Follow these steps to test your newly installed toilet:
- Remove the test plug: If you haven’t done so already, remove the test plug from the drain pipe to allow water to flow freely through the system.
- Flush the toilet: Push down on the toilet handle to initiate a flush. Observe the flow of water as it drains from the tank into the bowl and then down the drain. Verify that there are no leaks or abnormal noises during the flushing process. The water should flow smoothly and quickly drain from the bowl.
- Check for complete flushing: Ensure that the flush is efficient and leaves no waste behind. The bowl should empty completely and refill with water adequately.
- Test the refill valve: Once the flushing is complete, listen for the refill valve to kick in and observe the water level in the tank rising. Ensure that the valve shuts off when the water reaches the appropriate level. If the water continues to overflow or the valve does not shut off, adjustments may be necessary.
- Inspect for leaks: Carefully examine the base of the toilet, the connections, and the area around the flange for any signs of water leakage. If you detect any leaks, tighten the connections or replace faulty parts as needed.
- Check the stability: Sit on the toilet and gently rock back and forth to assess its stability. The toilet should be securely anchored to the floor and remain stable during use.
- Ensure proper filling and flushing: Repeat the flushing process a few times to ensure consistency in filling and flushing. This will help you identify any issues that may require further adjustment or troubleshooting.
By thoroughly testing the toilet for proper functioning, you can have peace of mind knowing that your installation is successful and that the toilet is ready for regular use. If everything checks out, you’re almost done! The final step involves finishing the installation with caulking and trim.
Read more: How To Install Carpet In A Basement
Step 9: Finish the Installation with Caulking and Trim
The final step in the toilet installation process is to finish it off with caulking and trim. This step not only enhances the aesthetics of the installation but also helps prevent water damage and maintain a clean and sealed environment. Here’s how to complete the installation:
- Clean the area: Before applying caulk, make sure the area around the base of the toilet is clean and dry. Use a rag or towel to wipe away any water or debris.
- Apply silicone caulk: Load a tube of silicone caulk into a caulk gun and cut the tip at a 45-degree angle. Apply a thin and even bead of caulk around the base of the toilet where it meets the floor. This creates a watertight seal and prevents moisture from seeping in.
- Smooth the caulk: Use a caulk smoothing tool or your finger to gently smooth and level the caulk. This ensures a clean and professional finish. Wipe away any excess caulk with a damp cloth.
- Install trim (optional): If desired, you can add trim to conceal the gaps between the toilet and the floor. Trim can be in the form of baseboard or quarter round. Measure and cut the trim to fit around the toilet base, ensuring a snug fit. Secure the trim in place using nails or adhesive, following the manufacturer’s instructions.
- Allow the caulk to dry: Follow the manufacturer’s instructions on the caulk tube for the recommended drying time. It’s important to allow the caulk to fully cure before using the toilet or placing any objects around it to avoid disturbing the seal.
Once the caulk has dried and the trim is installed (if applicable), your toilet installation is complete! Take a moment to admire your work and ensure that everything is tidy and visually appealing.
Remember, proper maintenance and regular cleaning are essential to keep your toilet in good condition. Follow the manufacturer’s guidelines for cleaning products and recommended care to ensure that your newly installed toilet lasts for years to come.
Congratulations on successfully installing a toilet in your basement! You can now enjoy the convenience and added value that comes with having an extra bathroom in your home.
Conclusion
Congratulations! You have completed the comprehensive guide on how to install a toilet in a basement. By following the steps outlined in this article, you have successfully added a functional and convenient bathroom to your basement space.
Throughout the installation process, you learned how to gather the necessary tools and materials, determine the optimal location for the toilet, install the plumbing rough-in, prepare the basement floor, and set the toilet in place. You also connected the water supply, tested the toilet for proper functioning, and finished the installation with caulking and trim.
Proper installation is crucial to ensure a reliable and efficient toilet that will serve you well for years to come. Remember to periodically check for leaks, address any maintenance issues, and clean the toilet regularly to keep it sanitary and in optimal condition.
In addition to the practical benefits, installing a toilet in your basement can significantly increase the value of your home. It provides added convenience for your family and guests, especially if you have a finished basement or use the space for recreational activities.
As you enjoy your newly installed toilet, remember to always follow local building codes and regulations, as well as any specific instructions provided by the manufacturer of the toilet and additional components.
Thank you for following this guide, and we hope that it has been informative and helpful in your toilet installation journey. Enjoy the convenience and functionality of your new basement bathroom!
Frequently Asked Questions about How To Install A Toilet In A Basement
Was this page helpful?
At Storables.com, we guarantee accurate and reliable information. Our content, validated by Expert Board Contributors, is crafted following stringent Editorial Policies. We're committed to providing you with well-researched, expert-backed insights for all your informational needs.


0 thoughts on “How To Install A Toilet In A Basement”