Articles
How To Install A Basement Toilet
Modified: January 6, 2024
Learn how to install a basement toilet with our informative articles. Find step-by-step instructions and expert tips to complete your project successfully.
(Many of the links in this article redirect to a specific reviewed product. Your purchase of these products through affiliate links helps to generate commission for Storables.com, at no extra cost. Learn more)
Introduction
Installing a basement toilet can be a challenging but rewarding project that can greatly improve the convenience and functionality of your basement space. Whether you’re converting your basement into a living area, a home office, or a guest suite, having a toilet can make a world of difference. In this article, we will guide you through the step-by-step process of installing a basement toilet.
Before you begin, it’s important to note that installing a basement toilet typically requires some knowledge of plumbing and basic construction skills. It’s recommended to consult with a professional or refer to local building codes for specific requirements in your area.
In this guide, we will cover everything you need to know to successfully install a basement toilet. From gathering the necessary tools and materials to the final steps of securing the toilet in place, we’ll provide you with detailed instructions to help you complete the project with confidence.
By following our guidelines, you’ll be able to enjoy the convenience and functionality of a basement toilet in no time. So, let’s dive in and get started!
Key Takeaways:
- Installing a basement toilet requires careful planning, preparation, and attention to detail. From choosing the right location to testing for leaks, following the step-by-step guide ensures a successful and functional installation.
- Prioritizing safety, compliance with building codes, and thorough testing for leaks are essential for a reliable basement toilet. Completing the installation with final touches and maintenance ensures long-term usability and convenience.
Read more: How To Install A Toilet In A Basement
Step 1: Gather the Necessary Tools and Materials
Before you begin the installation process, it’s essential to gather all the necessary tools and materials. This will ensure a smooth workflow and prevent any delays or interruptions. Here’s a list of the tools and materials you’ll need:
- Basement toilet kit: This includes the toilet bowl, tank, and all necessary parts for installation.
- Toilet flange: A toilet flange is a pipe fitting that connects the toilet to the plumbing system.
- Wax ring: This serves as a seal between the toilet flange and the toilet base, preventing leaks.
- Adjustable wrench
- Hacksaw or reciprocating saw
- Screwdriver
- Tape measure
- Pipe cutter
- Plumber’s putty or silicone sealant
- Plumbing tape (Teflon tape)
- Bucket or towels (for water drainage and clean-up)
By having these tools and materials readily available, you’ll save time and minimize the chances of running into unexpected issues.
Additionally, it’s vital to wear protective gear, such as gloves and safety goggles, when working with tools or handling plumbing components to ensure your safety.
With all the necessary tools and materials in hand, you’re ready to move on to the next step: choosing the location for the toilet.
Step 2: Choose the Location for the Toilet
Choosing the right location for your basement toilet is crucial for its functionality and ease of use. Here are a few factors to consider when determining the ideal spot:
- Proximity to existing plumbing lines: Ideally, you’ll want to install the toilet as close to the existing main drain and plumbing lines as possible. This will minimize the need for extensive plumbing work and reduce the risk of clogs or drainage issues.
- Adequate space: Ensure that there is enough space to comfortably fit the toilet and allow for easy access. Consider the clearance required around the toilet for installation and maintenance purposes.
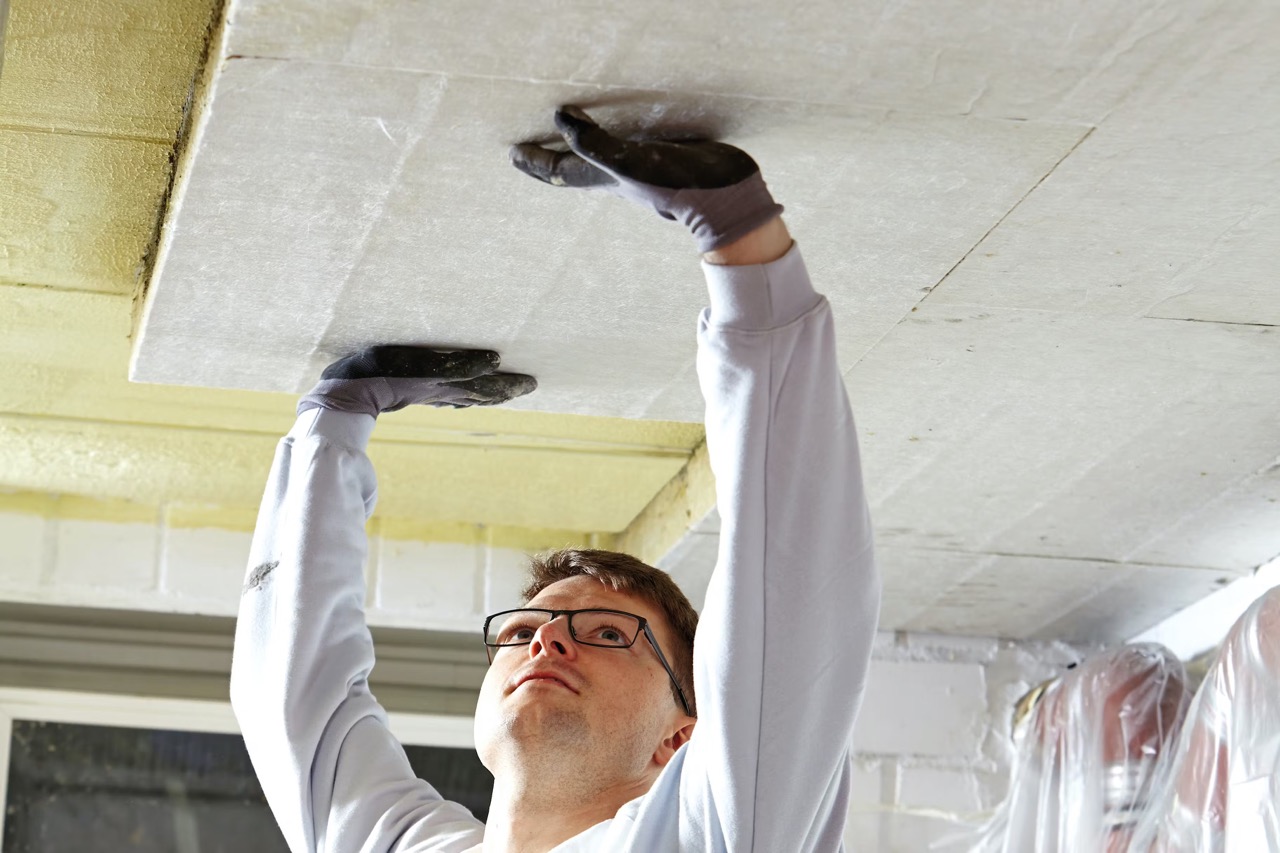
- Ventilation: Proper ventilation is essential to prevent odors and maintain a fresh environment. If there is no existing ventilation system in the basement, you may need to install a ventilation fan or connect the toilet’s vent pipe to the main ventilation system.
- Privacy: Choose a location that offers privacy and is in a suitable area of the basement. Consider the layout of the basement and the overall functionality of the space.
Once you have decided on the location, mark the spot on the floor using a pencil or tape measure. Double-check the measurements to ensure accuracy.
Keep in mind that local building codes may have specific requirements regarding the installation of a basement toilet. It’s crucial to consult with local authorities or a professional plumber to ensure compliance with all regulations.
With the location chosen and marked, you’re ready for the next step: preparing the plumbing system.
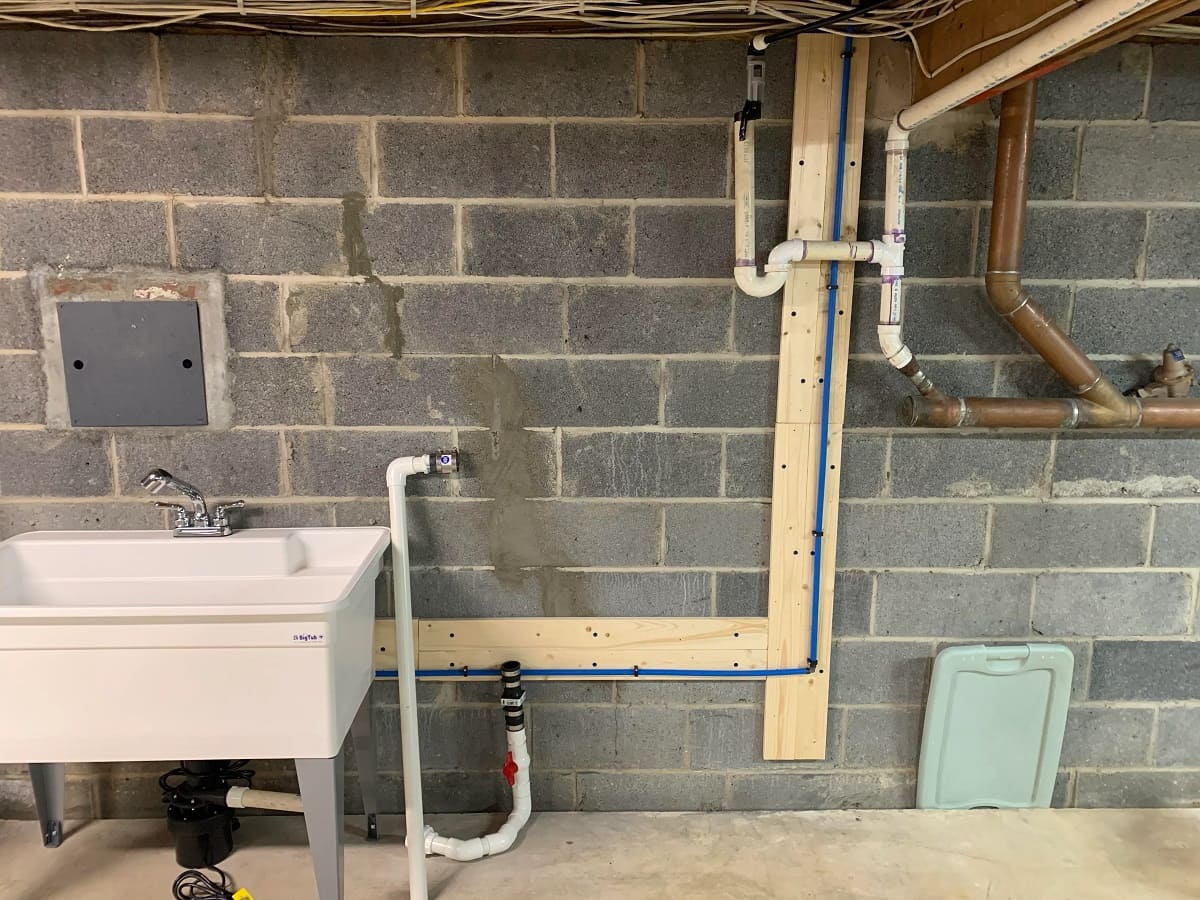
Step 3: Prepare the Plumbing System
Before you can proceed with the installation of the basement toilet, it’s important to prepare the plumbing system to accommodate the new fixture. Follow these steps to prepare the plumbing system:
- Shut off the water supply: Locate the main water supply valve for your house and shut it off to prevent any water from flowing into the plumbing system while you work. Ensure the valve is completely closed.
- Drain water from the pipes: To avoid any potential water spills and mess, drain the water from the pipes by flushing all the toilets and turning on all faucets in the house until the water stops flowing.
- Inspect the existing plumbing: Take a close look at the existing plumbing lines in the basement. Check for any leaks, damages, or signs of wear and tear. It’s important to address any plumbing issues before proceeding with the installation of the new toilet.
- Measure and cut the drainpipe: Use a tape measure to determine the required length for the drainpipe that will connect the toilet flange to the existing main drain. Mark the measurement on the drainpipe and use a pipe cutter to make a clean and precise cut.
- Clean the drainpipe: After cutting the drainpipe, use a wire brush or a cloth to clean the inside and outside of the pipe. Remove any debris or dirt to ensure a smooth and secure connection with the toilet flange.
- Install a drainpipe extension if needed: If the height of the drainpipe is not sufficient to accommodate the toilet flange, you may need to install a drainpipe extension. Measure the required length and attach the extension securely to the existing drainpipe using PVC primer and cement.
By properly preparing the plumbing system, you’ll ensure a smooth and hassle-free installation process for your basement toilet. With the plumbing system ready, you can now move on to the next step: installing the toilet flange.
Step 4: Install the Toilet Flange
The toilet flange is a crucial component that connects the toilet to the plumbing system and creates a secure and watertight seal. Follow these steps to install the toilet flange:
- Position the flange: Place the toilet flange over the drainpipe, ensuring that it aligns properly with the mark you made on the floor. The flange should sit flush with the floor surface.
- Mark the screw holes: Use a pencil or marker to mark the locations of the screw holes on the floor. The number of screw holes may vary depending on the type of flange you have.
- Remove the flange and drill pilot holes: Carefully lift the flange off the floor and set it aside. Using a power drill, drill pilot holes at the marked locations. The size of the pilot holes should correspond to the screws or bolts that will secure the flange to the floor.
- Insert the anchor bolts or screws: Insert the appropriate anchor bolts or screws through the pilot holes, ensuring they are securely in place.
- Apply plumber’s putty or silicone sealant: Apply a thin layer of plumber’s putty or silicone sealant around the bottom edge of the flange. This will help create a watertight seal between the flange and the floor.
- Reposition and secure the flange: Carefully place the flange back over the drainpipe, aligning it with the anchor bolts or screws. Press down firmly to ensure it sits flush with the floor. Use a wrench or screwdriver to tighten the bolts or screws, securing the flange in place.
- Check for stability: Once the flange is secured, check for any movement or instability. The flange should be sturdy and firmly in place.
Installing the toilet flange correctly is crucial for the stability and functionality of the basement toilet. With the flange securely installed, you can now move on to the next step: setting the toilet in place.
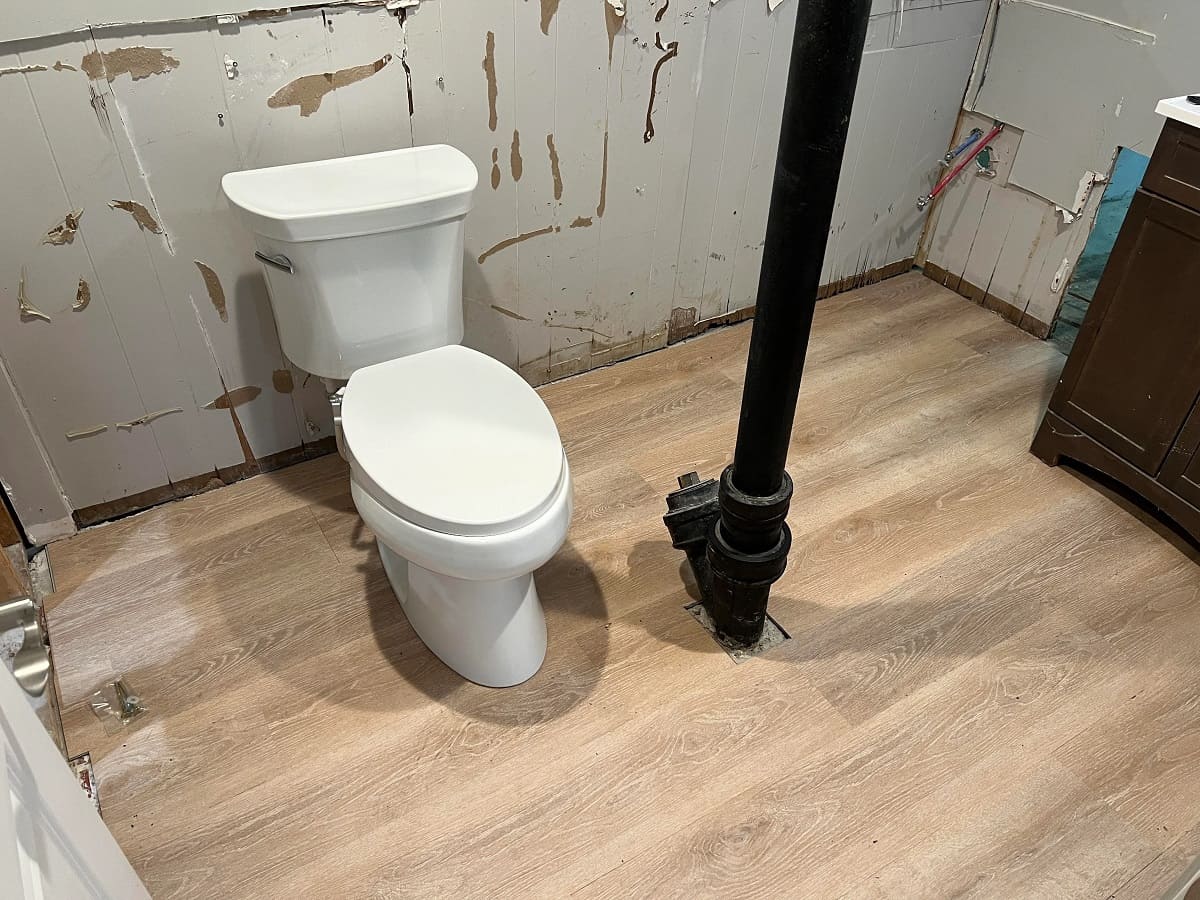
Step 5: Set the Toilet in Place
Setting the toilet in place properly ensures a secure and stable fixture that functions efficiently. Follow these steps to set the toilet in place:
- Remove the toilet bowl from the packaging: Carefully unpack the toilet bowl and remove any protective wrapping or packaging materials.
- Place the wax ring: Take the wax ring and place it onto the flange, ensuring that it is centered over the drain opening. The wax ring will create a watertight seal between the toilet bowl and the flange.
- Lower the toilet bowl onto the wax ring: Lift the toilet bowl and carefully lower it onto the wax ring. Align the mounting holes at the base of the toilet bowl with the anchor bolts on the flange.
- Apply pressure: Apply gentle pressure to the toilet bowl, pressing it down onto the wax ring and ensuring that it sits evenly on the floor.
- Secure the toilet bowl: Place a washer onto each anchor bolt, followed by a nut. Use a wrench to tighten the nuts, but be careful not to overtighten, as this could crack the toilet bowl.
- Check for level: Check if the toilet bowl is level from front to back and side to side. If it’s not level, use plastic shims to adjust and stabilize the toilet bowl.
- Trim the anchor bolts: Once the toilet bowl is securely in place, use a hacksaw or reciprocating saw to trim the excess length of the anchor bolts, leaving just enough for the cap or decorative cover to fit over them.
Setting the toilet bowl in place is a critical step in the installation process. It ensures a proper seal and stability for the basement toilet. With the toilet bowl set, you can now move on to the next step: connecting the water supply.
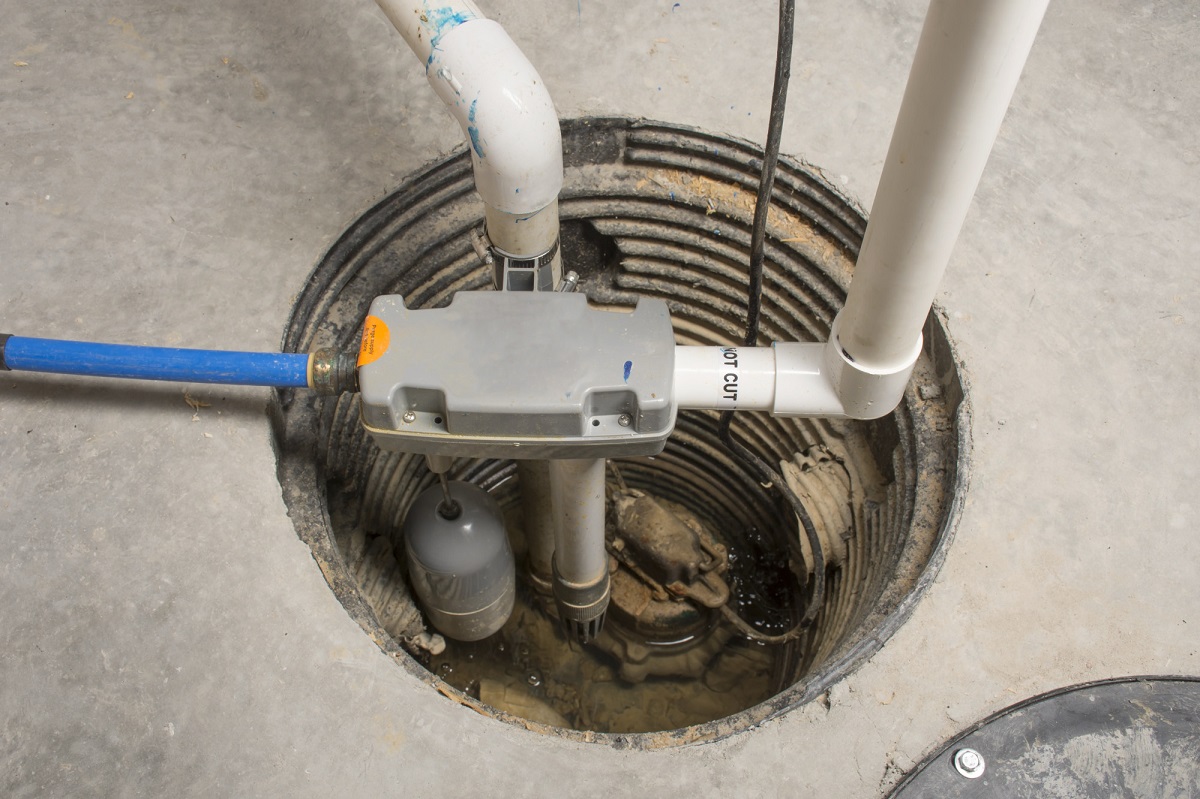
When installing a basement toilet, make sure to install a sewage ejector pump if the main sewer line is higher than the toilet. This will ensure proper drainage and prevent backups.
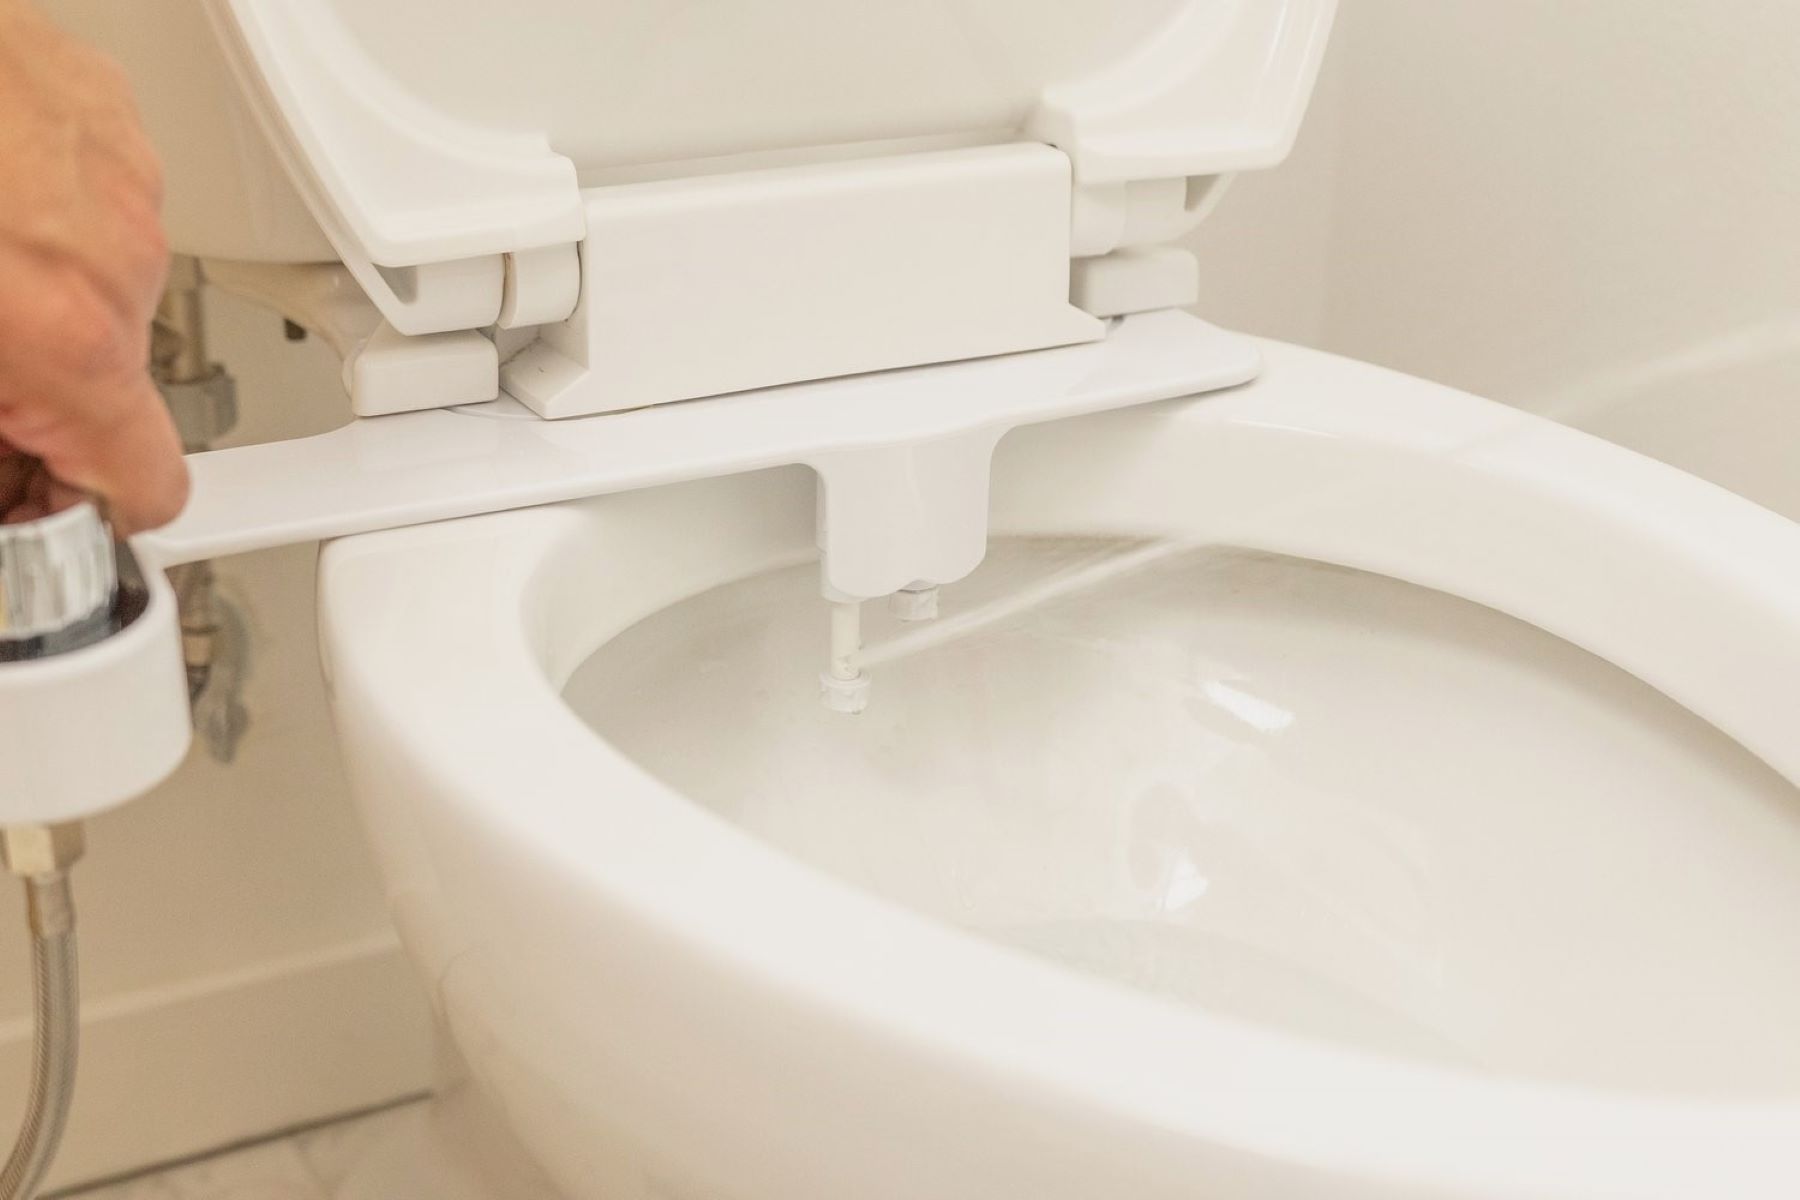
Step 6: Connect the Water Supply
Connecting the water supply is a crucial step in the installation process of a basement toilet. Follow these steps to connect the water supply:
- Locate the water supply valve: Look for the water supply valve located near the toilet. It is usually a small valve on the wall or connected to a nearby pipe.
- Turn on the water supply: Slowly turn the water supply valve clockwise to open it and allow water to flow into the toilet tank.
- Check for leaks: Pay close attention to any signs of leaking water. Check the connections between the water supply valve, supply line, and the toilet tank. If you notice any leaks, tighten the connections or consider replacing any faulty components.
- Adjust the fill valve: Inside the toilet tank, the fill valve regulates the water level. Adjust it to the appropriate level specified by the manufacturer. This ensures proper flushing and prevents overflow.
- Inspect the flush mechanism: Test the flush mechanism by flushing the toilet a few times. Ensure that it flushes properly and the water refills in the tank after each flush.
- Check for proper water flow: Verify that water is flowing into the toilet bowl correctly during each flush. If there are any issues with water flow, it may indicate a clog or plumbing problem that needs to be addressed.
- Make final adjustments: Adjust the water supply valve if necessary to control the water flow and achieve the desired flush power.
Connecting the water supply properly is essential for the functionality and efficiency of the basement toilet. It ensures that the toilet tank refills properly after each flush and prevents any leaks or water-related issues. With the water supply connected, you can now move on to the next step: testing and checking for leaks.
Step 7: Test and Check for Leaks
Testing and checking for leaks is a crucial step in the installation process of a basement toilet. It ensures that there are no water leaks or issues that could cause damage or inefficiencies. Follow these steps to test and check for leaks:
- Fill the toilet tank: Allow the toilet tank to fill completely by leaving the water supply valve turned on for a few minutes.
- Inspect the connections: Carefully inspect the connections between the water supply line, the fill valve, and the toilet tank. Look for any signs of water leakage or loose fittings.
- Check the toilet base: Examine the area around the base of the toilet for any water puddles or signs of moisture. If you notice any leaks, tighten the bolts securing the toilet bowl to the flange or replace the wax ring if needed.
- Test the flush: Test the flushing mechanism by flushing the toilet and observing the water flow and drainage. Ensure that the water flows smoothly from the tank into the bowl and drains properly without any leaks.
- Inspect the water level: After the flush, observe the water level in the toilet bowl. It should return to its normal level within a few minutes. If the water level is consistently low or high, it may indicate a problem with the fill valve or adjustment settings.
- Check for invisible leaks: Sometimes, leaks may not be visible to the naked eye. To check for invisible leaks, add a few drops of food coloring into the toilet tank. Wait for about 15 minutes without flushing. If you observe any color seeping into the bowl, it indicates a leak that needs to be addressed.
- Make necessary adjustments: If you notice any leaks or issues during the testing process, make the necessary adjustments or replacements. This may include tightening connections, replacing faulty components, or resealing the toilet base.
Thoroughly testing and checking for leaks is essential for ensuring the proper functionality and efficiency of your basement toilet. It helps identify and address any potential problems before they become significant issues. With the testing complete and any necessary adjustments made, you can now move on to the next step: securing the toilet in place.
Step 8: Secure the Toilet in Place
Securing the toilet in place is crucial for its stability and to prevent any movement or wobbling. Follow these steps to securely fasten the toilet:
- Tighten the nuts: Using an adjustable wrench, tighten the nuts on the anchor bolts until the toilet becomes firmly secured to the floor. Be careful not to overtighten the nuts, as this may cause damage to the toilet base.
- Check for stability: Give the toilet a gentle shake to ensure it is stable and firmly in place. If you notice any movement or wobbling, tighten the nuts a little further or add shims under the base to provide additional stability.
- Install the bolt caps: Once the toilet is securely fastened, install the bolt caps or decorative covers over the anchor bolts. This will give the installation a clean and finished look while also preventing any potential injury from protruding bolts.
- Trim excess bolt length: If the anchor bolts extend above the caps or covers, use a hacksaw or reciprocating saw to trim them to a suitable length. Be cautious when cutting to avoid damaging the toilet or causing any injuries.
- Inspect the toilet seat: Ensure that the toilet seat is securely attached to the toilet bowl and that it functions properly. Tighten any loose screws or adjust the seat as needed.
- Perform a final stability check: After securing the toilet and inspecting all elements, give it a final stability check by gently sitting on it and shifting your weight. This will help ensure that it remains stable even during use.
Securing the toilet in place is essential for its long-term functionality and user safety. A secure toilet ensures a comfortable and reliable fixture in your basement. With the toilet firmly secured, you can now move on to the final step: finishing the installation.
Read more: How To Install Carpet In A Basement
Step 9: Finish the Installation
Finishing the installation of your basement toilet involves a few final touches to complete the project. Follow these steps to finish the installation:
- Clean up the area: Thoroughly clean the surrounding area of the toilet, removing any debris, tools, or leftover materials. Use a damp cloth or mop to wipe down the floor and the toilet itself, ensuring a neat and tidy appearance.
- Seal the base: Apply a thin bead of silicone sealant or plumber’s putty around the base of the toilet. This will create a watertight seal between the toilet and the floor, preventing any potential leaks or moisture penetration.
- Install the tank lid: Place the tank lid on top of the toilet tank, ensuring that it fits securely and aligns with the designated positions or clips.
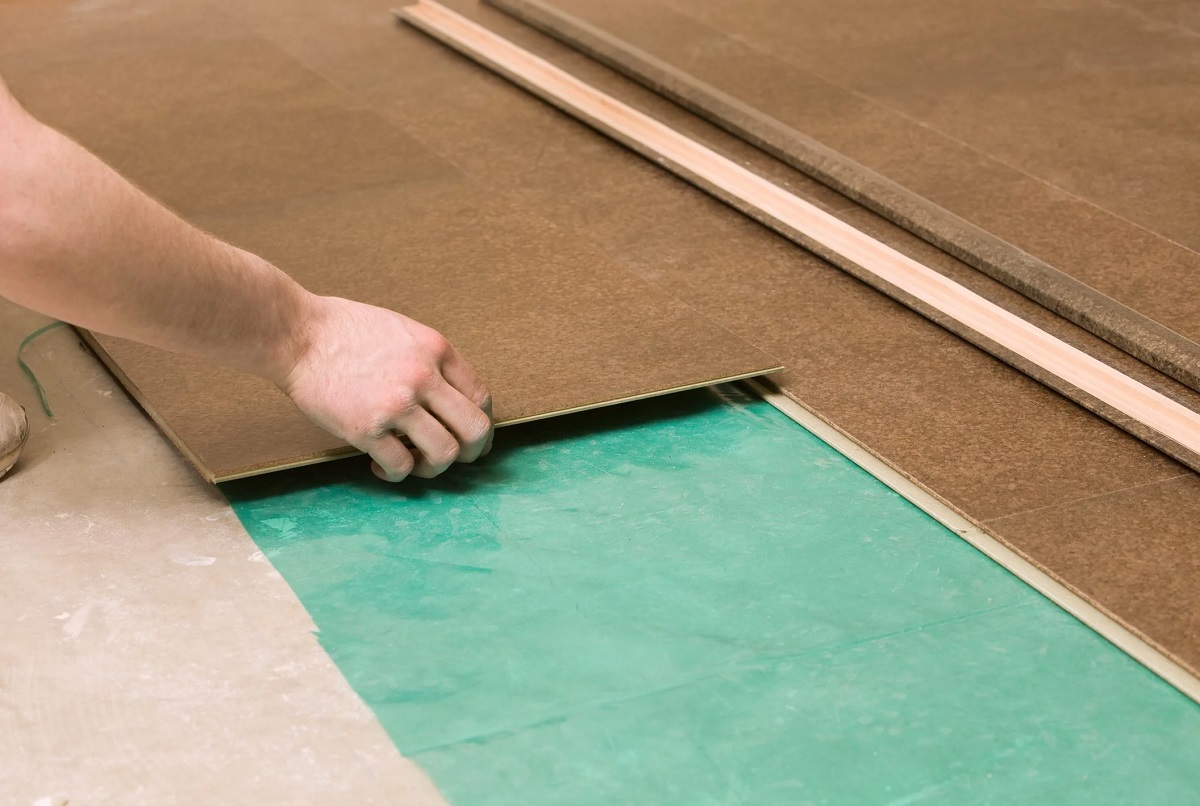
- Decorate and organize: Add any decorative elements or accessories to enhance the visual appeal of the bathroom space. Consider adding a small rug, wall decor, or a waste bin to make the area more welcoming and comfortable.
- Review the instruction manual: Before using the toilet, refer to the manufacturer’s instruction manual to familiarize yourself with any specific maintenance or care instructions. This will help you maintain the toilet’s longevity and functionality.
- Enjoy your new basement toilet: With the installation complete, you can now enjoy the convenience and comfort of a fully functional basement toilet. Take pride in your accomplishment and appreciate the improved functionality and value it brings to your space.
By following these final steps, you can ensure that the installation is fully completed and that your basement toilet is ready for use. With the project finished, you can now sit back, relax, and enjoy the benefits of having a convenient and functional toilet in your basement.
Conclusion
Installing a basement toilet can greatly enhance the usability and convenience of your basement space. By following the step-by-step guide outlined in this article, you have learned how to successfully install a basement toilet from gathering the necessary tools and materials to completing the final touches.
Throughout the installation process, it is important to prioritize safety and adherence to local building codes. Consulting with professionals or local authorities can provide valuable guidance and ensure compliance with regulations.
Remember to carefully choose the location for your basement toilet, considering factors such as proximity to existing plumbing lines, adequate space, ventilation, and privacy. Properly preparing the plumbing system, installing the toilet flange, and securely setting the toilet in place are crucial steps for a successful installation.
Connecting the water supply, testing for leaks, and ensuring stability are important for the functionality and efficiency of the basement toilet. By taking the time to make necessary adjustments and addressing any issues, you can avoid future problems and ensure optimal performance.
Finishing the installation by cleaning up, sealing the base, and organizing the surrounding area adds the final touches and gives your basement toilet a polished look. Remember to refer to the manufacturer’s instructions for maintenance and care recommendations to keep your basement toilet in optimal condition.
Now that you have completed the installation process, you can enjoy the convenience and benefits of having a fully functional basement toilet. Whether it is for your personal use, a guest suite, or a home office, a basement toilet adds value to your space and enhances its usability.
By following this comprehensive guide, you have gained the knowledge and skills necessary to successfully install a basement toilet. With proper planning, preparation, and execution, you can confidently take on this project and enjoy the convenience of a fully functional basement toilet for years to come.
Frequently Asked Questions about How To Install A Basement Toilet
Was this page helpful?
At Storables.com, we guarantee accurate and reliable information. Our content, validated by Expert Board Contributors, is crafted following stringent Editorial Policies. We're committed to providing you with well-researched, expert-backed insights for all your informational needs.


0 thoughts on “How To Install A Basement Toilet”