
Articles
How To Install Basement Stairs
Modified: November 2, 2024
Learn how to install basement stairs with step-by-step instructions and helpful articles. Transform your basement into a functional space with our expert advice.
(Many of the links in this article redirect to a specific reviewed product. Your purchase of these products through affiliate links helps to generate commission for Storables.com, at no extra cost. Learn more)
Introduction
Basement stairs are an essential component of any home with a basement. They provide access to this valuable space, allowing you to easily move furniture, appliances, and other items in and out of the basement. Additionally, a well-designed and properly installed staircase can enhance the overall functionality and safety of your basement area.
In this article, we will explore the importance of installing basement stairs and provide an overview of the installation process. Whether you are finishing your basement, converting it into a living space, or simply need better access for storage purposes, understanding the steps involved in installing basement stairs can help you achieve your goals effectively.
Key Takeaways:
- Properly installed basement stairs enhance home functionality, safety, and value. Follow local building codes, invest in quality materials, and ensure regular maintenance for long-lasting benefits.
- Design and build basement stairs with precision and care. Consider style, secure the structure, and add finishing touches for an aesthetically pleasing and safe staircase.
Read more: How To Build Basement Stairs
Importance of Installing Basement Stairs
The installation of basement stairs offers several benefits. Firstly, they serve as a gateway to your basement, enabling you to fully utilize this space. A well-designed set of stairs allows for easy transportation of heavy and bulky items, making it convenient when moving furniture, appliances, or other large items in and out of the basement. This can be especially important if you plan on using your basement as a recreational area, workshop, or additional living space.
Furthermore, basement stairs enhance the safety and accessibility of your home. Without proper stairs, accessing the basement becomes a challenge, potentially leading to accidents or injuries. By installing stairs, you create a safe and functional passage that can be easily navigated by family members and guests.
Overview of the Installation Process
Installing basement stairs involves several steps that ensure a secure and sturdy structure. Here’s a brief overview of the installation process:
Step 1: Preparing the Area
Before installing the stairs, it is crucial to prepare the area properly. Clear any obstructions or debris from the site and ensure the space is ready for construction. Take accurate measurements of the available space to determine the precise dimensions required for the staircase.
Additionally, it is essential to check local building codes and regulations to ensure compliance. Some areas may have specific requirements regarding the size, design, and safety features of basement stairs.
Step 2: Gathering the Materials and Tools
Once the area is prepared, gather all the necessary materials and tools for the installation process. This may include lumber for the staircase frame, stair treads and risers, nails or screws, adhesive, a level, a saw, a drill, and measuring tape.
Read more: How To Finish Stairs To Basement
Step 3: Designing and Building the Staircase
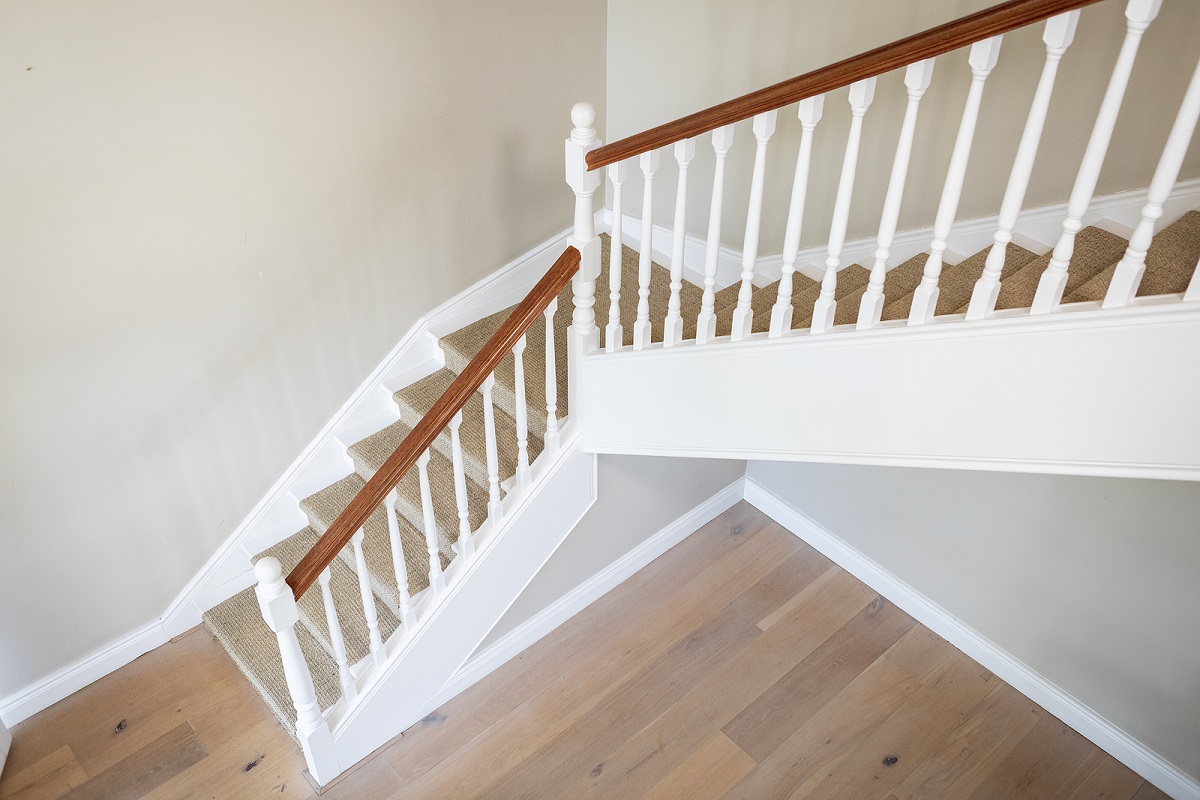
Next, determine the style and design of your basement stairs. Consider factors like architectural style, available space, and personal preference. Traditional straight stairs, L-shaped or U-shaped stairs, and spiral or curved stairs are just a few options to choose from.
Once you have made your design decisions, start building the staircase framework. This involves constructing the stringers, which are the load-bearing structures that support the treads and risers. Ensure the measurements are accurate and that the stringers are securely attached to the walls and floor.
After the framework is complete, install the stair treads and risers. Attach them securely to the stringers, ensuring a sturdy and even surface for each step.
Step 4: Securing the Staircase
Once the staircase is built, it needs to be secured to the basement floor and walls for stability and safety. Use appropriate anchors and screws to attach the bottom of the staircase to the basement floor. Additionally, anchor the handrail to the wall, ensuring it provides proper support and stability when traversing the stairs.
Step 5: Finishing Touches
To complete the installation, sand the staircase to create a smooth surface and apply a layer of paint or stain to enhance its appearance and durability. Install handrails and balusters according to your design preferences and safety requirements. Consider adding lighting fixtures to illuminate the staircase and improve visibility.
Remember, a well-installed and maintained basement staircase not only enhances the functionality and safety of your home but also adds value to your property. It is essential to follow the necessary steps and take the time to ensure a proper installation for long-lasting usage.
By following these steps and seeking assistance from professionals if needed, you can successfully install basement stairs and enjoy the benefits they bring to your home.
Step 1: Preparing the Area
Before diving into the installation process, it is crucial to properly prepare the area where the basement stairs will be installed. This step sets the foundation for a successful installation and ensures that the stairs fit perfectly in the available space. Here are the key aspects of preparing the area:
Read more: How To Install Runner On Stairs
Clearing the Space
The first step is to clear the space where the stairs will be installed. Remove any furniture, boxes, or items that may obstruct the area. Clearing the space will provide a clean and efficient work environment and make it easier to determine the best location for the staircase.
Measuring the Dimensions
Precision is paramount when it comes to installing basement stairs. Accurate measurements of the available space will ensure that the stairs fit seamlessly and provide adequate headroom and clearance. Take measurements of the width, depth, and height of the area where the stairs will be situated.
Consider the maximum height of the basement ceiling to determine how many steps the staircase will require. Additionally, factor in the desired tread size (the horizontal surface of the step) and the riser height (the vertical distance between steps) to create a comfortable and safe stairway.
Checking Building Codes and Regulations
Before beginning any construction project, it is crucial to familiarize yourself with local building codes and regulations. Each area may have specific requirements when it comes to the design, dimensions, and safety features of basement stairs.
Building codes may specify the minimum and maximum tread and riser dimensions, handrail height, and the necessity of a landing or railing. It is important to consult with local authorities, obtain the necessary permits, and ensure compliance with all regulations to ensure a safe and legal installation.
By clearing the space, measuring the dimensions accurately, and checking building codes and regulations, you will lay the groundwork for a successful basement stairs installation. These preparatory steps will save you time, prevent potential issues, and ensure that your installation meets all safety and legal requirements.
Step 2: Gathering the Materials and Tools
Once the area is prepared, it’s time to gather all the necessary materials and tools for the basement stairs installation. Having the right materials and tools on hand will streamline the construction process and ensure a smooth installation. Here’s a comprehensive list of the materials and tools you will need:
Read more: How To Install Nosing On Stairs
List of Necessary Materials
- Lumber: Purchase high-quality lumber for constructing the staircase frame, such as pressure-treated wood or hardwood.
- Stair Treads and Risers: Choose durable and sturdy materials for the steps, such as hardwood, laminate, or carpet. Ensure that the treads and risers are of the appropriate dimensions and thickness.
- Nails or Screws: Use galvanized or stainless steel nails or screws that are suitable for outdoor or indoor use, depending on the location of your basement.
- Adhesive: Opt for a strong construction adhesive to securely attach the treads and risers to the staircase frame.
- Paint or Stain: Consider painting or staining the staircase to enhance its appearance and protect the wood from moisture or wear.
- Finishing Materials: Depending on your design preference, you may need materials such as handrails, balusters, and newel posts.
Required Tools for the Installation Process
- Measuring Tape: A measuring tape is essential for accurate measurements of the available space and components.
- Level: Use a level to ensure that the staircase is properly aligned and balanced.
- Saw: Depending on your specific needs, you may require a circular saw, miter saw, or a hand saw for cutting the lumber and stair components to the correct dimensions.
- Drill: A power drill will be necessary for making holes, attaching components, and securing the staircase.
- Screwdriver or Nail Gun: Depending on your preference, choose the appropriate tool for inserting screws or nails.
- Sandpaper: Sandpaper or a sanding block is crucial for smoothing out rough edges and creating a polished finish.
- Paintbrushes or Rollers: If you plan on painting or staining the staircase, have the necessary brushes or rollers handy.
- Safety Equipment: Don’t forget to prioritize safety and have essential safety equipment, such as gloves, goggles, and a dust mask, to protect yourself during construction.
By ensuring that you have all the necessary materials and tools before starting the installation process, you can work efficiently and minimize any delays or interruptions. This preparation will save you time and stress, allowing for a successful and seamless basement stairs installation.
Step 3: Designing and Building the Staircase
One of the most exciting steps in the basement stairs installation process is designing and building the staircase itself. This step involves making decisions on the style and design of the stairs and constructing the framework. Here’s a breakdown of the key aspects:
Determining the Staircase Style and Design
Start by considering the architectural style and overall aesthetic of your home. The design of the basement stairs should harmonize with the existing interior design to create a cohesive look. There are various staircase styles to choose from, including:
- Straight Stairs: This is the most common type, running in a straight line from the basement floor to the upper level.
- L-Shaped or U-Shaped Stairs: These designs offer a change in direction and can be a practical choice if you have limited space.
- Spiral or Curved Stairs: A spiral staircase adds a touch of elegance and is an excellent space-saving option, while curved stairs provide a flowing and visually appealing design.
Consider your available space, personal preferences, and the functionality of the basement when selecting the staircase style and design.
Read more: How To Install Carpet In A Basement
Constructing the Staircase Framework
Once you have determined the style and design of your staircase, it’s time to start building the framework. Begin by measuring and cutting the stringers, which are the angled structural supports that hold the treads and risers in place. Make sure to accurately cut the stringers according to the dimensions you determined in the preparation stage.
Next, position the stringers against the basement wall and properly secure them. Use a level to ensure that they are plumb and level before attaching them to the wall. It is important to ensure the stringers are sturdy and securely anchored to guarantee the stability and safety of the staircase.
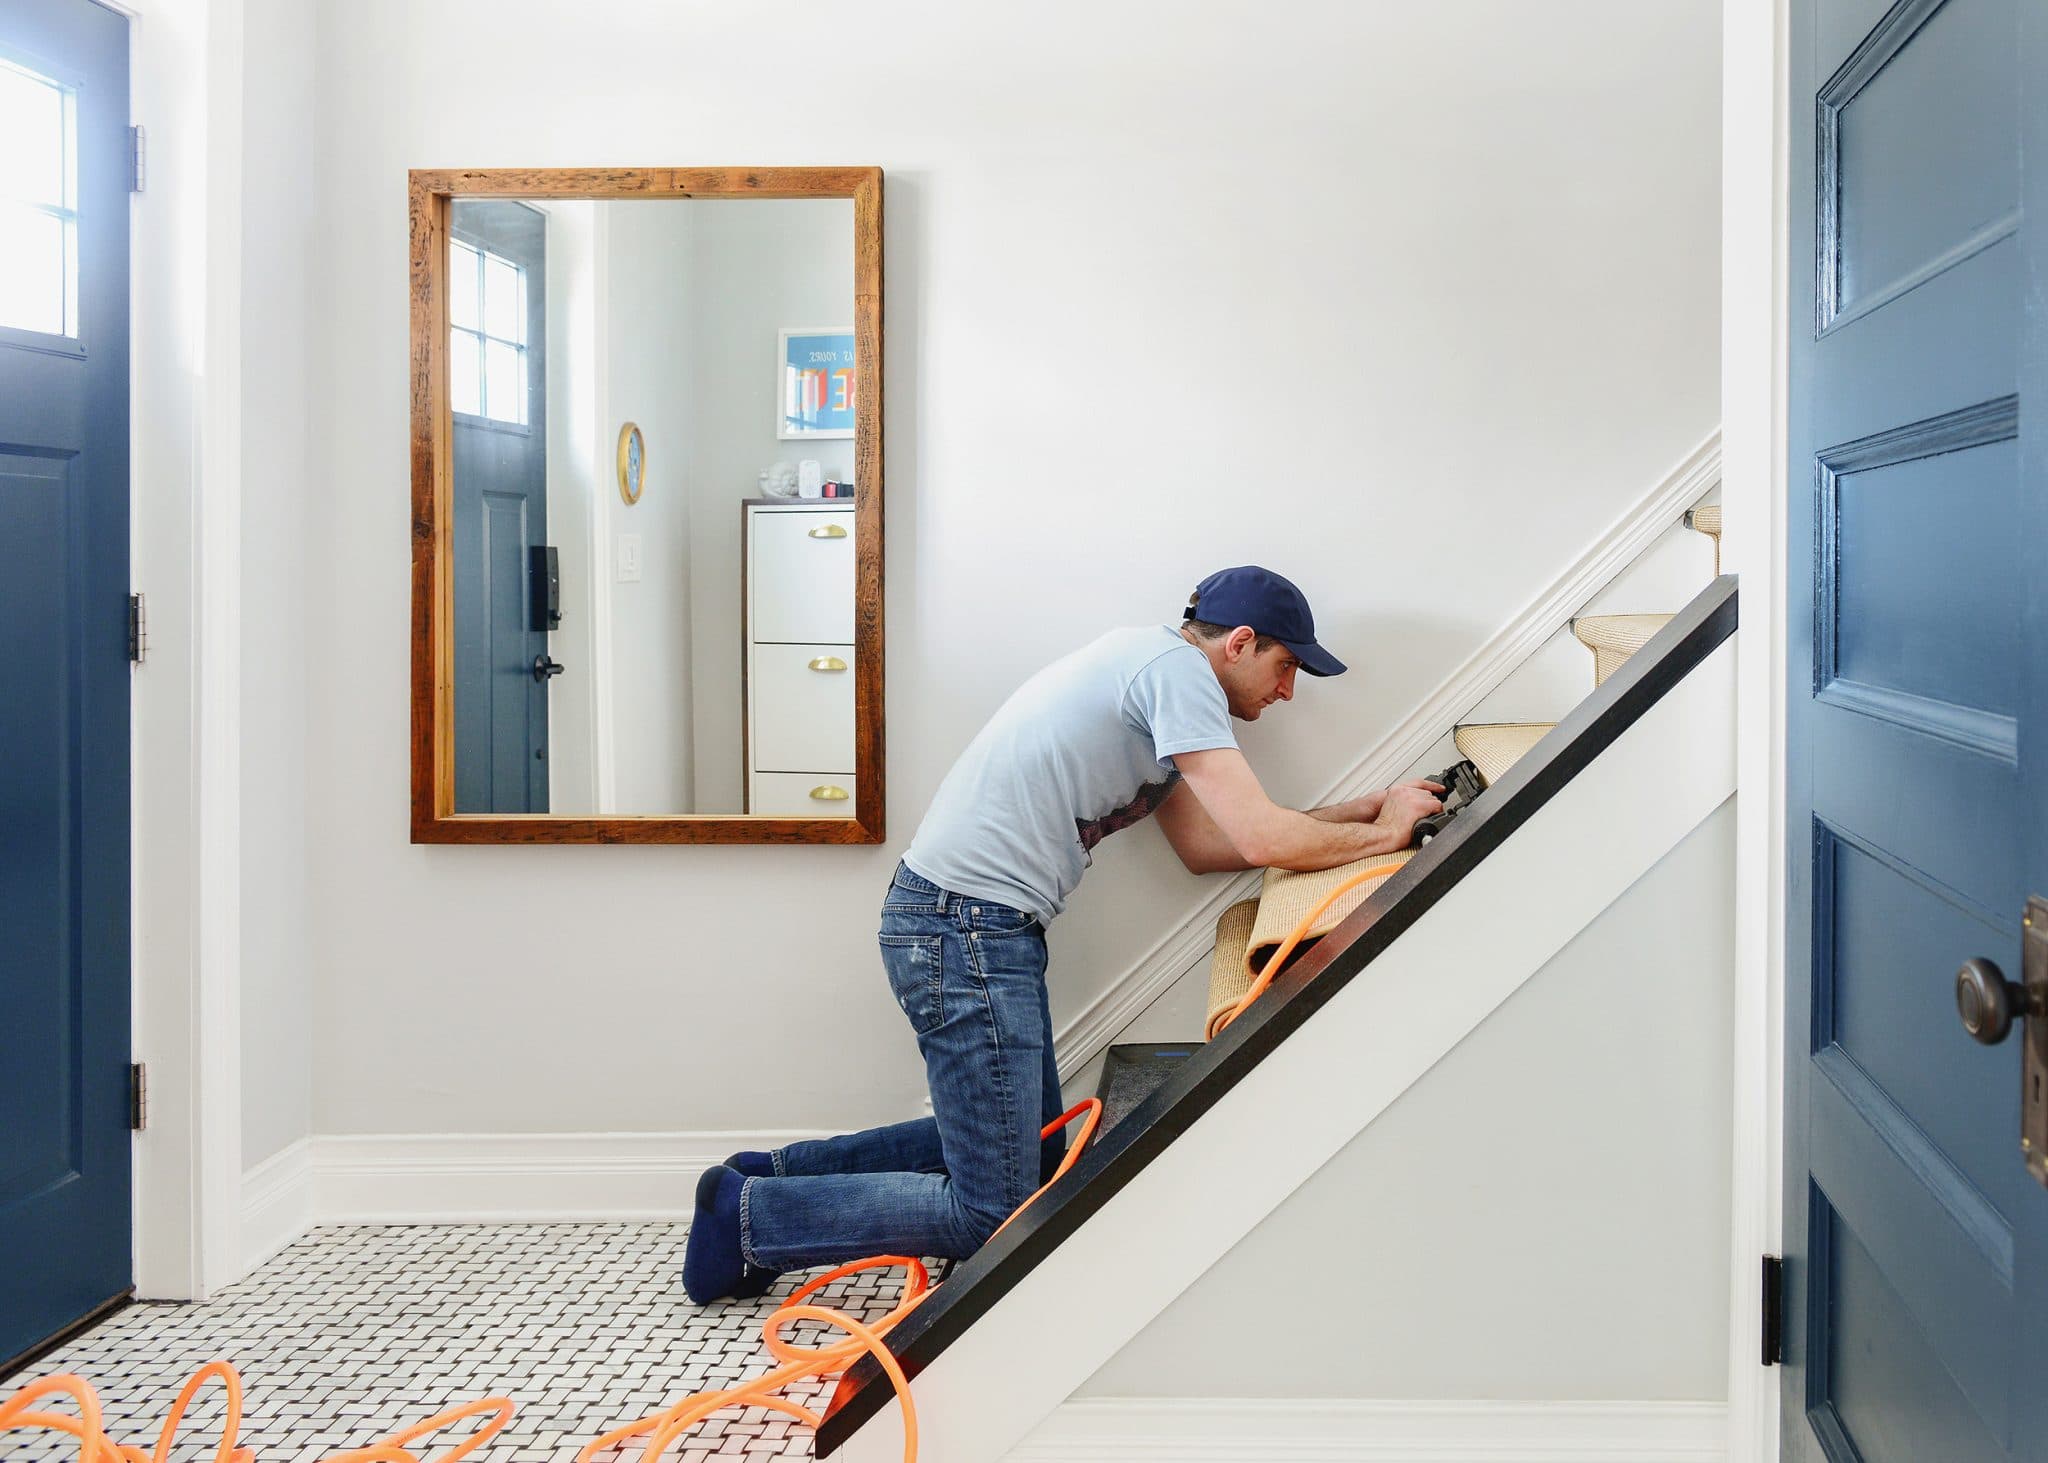
Installing the Stair Treads and Risers
With the framework in place, it’s time to install the stair treads and risers. Apply a construction adhesive to the back of each tread and riser, then carefully position and press them onto the framework. Ensure that each tread is level and securely attached to the stringers. Use a level to double-check the alignment of the steps.
Take your time during this step to ensure that each tread and riser is properly aligned and securely attached. This will ensure a stable and safe staircase that can withstand regular use.
Remember to follow safety precautions and use appropriate tools throughout the construction process. Double-check measurements and make adjustments as necessary to create a staircase that fits perfectly in your basement space.
In the next step, we will focus on securing the staircase to ensure long-term stability and safety.
Step 4: Securing the Staircase
Once you have constructed the framework and installed the stair treads and risers, the next step is to secure the staircase to ensure stability and safety. Properly securing the staircase involves attaching it to the basement floor and anchoring it to the wall. Here are the key points to consider:
Attaching the Staircase to the Basement Floor
Start by determining the best method to attach the bottom of the staircase to the basement floor. Depending on the construction of your basement, you may use anchors or concrete screws to secure the base of the staircase firmly into the floor. Anchor points are typically located at each stringer of the staircase and should be evenly spaced for optimal support and stability.
Ensure that you choose appropriate anchors or screws that can withstand the weight and pressure placed on the staircase. By securely attaching the bottom of the staircase to the basement floor, you prevent any shifting or movement that could compromise its stability.
Read more: How To Install Hardwood On Stairs
Anchoring the Staircase to the Wall
In addition to securing the bottom of the staircase, it is crucial to anchor the staircase to the wall for added stability. Using brackets or angle braces, attach the top portion of the staircase to the wall adjacent to it. These brackets or braces are typically positioned underneath the tread overhang, ensuring that they are hidden from view.
Make sure to securely fasten the brackets or braces into the wall studs or use appropriate anchors to ensure they can bear the weight of individuals using the staircase. Anchoring the staircase to the wall helps distribute the weight evenly and minimizes any wobbling or swaying.
Ensuring Stability and Safety
Once the staircase is attached to both the floor and wall, carefully check its stability. Test each step for any signs of movement or instability, making any necessary adjustments or reinforcements as needed. The staircase should be solid and firm, with no rocking or shifting when weight is applied.
Ensure that all screws or fasteners are tight, and there are no loose components. This is also a good time to check that the handrail is securely attached and meets height and support requirements according to local building codes.
It is essential to prioritize safety throughout the securing process. Double-check each attachment point and ensure that they are properly fastened to prevent accidents and injuries. By ensuring the stability and safety of your basement staircase, you can confidently and safely access your basement.
Next, we will cover the finishing touches that will complete the basement stairs installation and enhance their overall appearance.
Step 5: Finishing Touches
After securing the basement staircase, it’s time to give it the finishing touches that will not only enhance its appearance but also improve its functionality and safety. This final step involves sanding and painting the staircase, adding handrails and balusters, and installing lighting fixtures. Let’s take a closer look at each aspect:
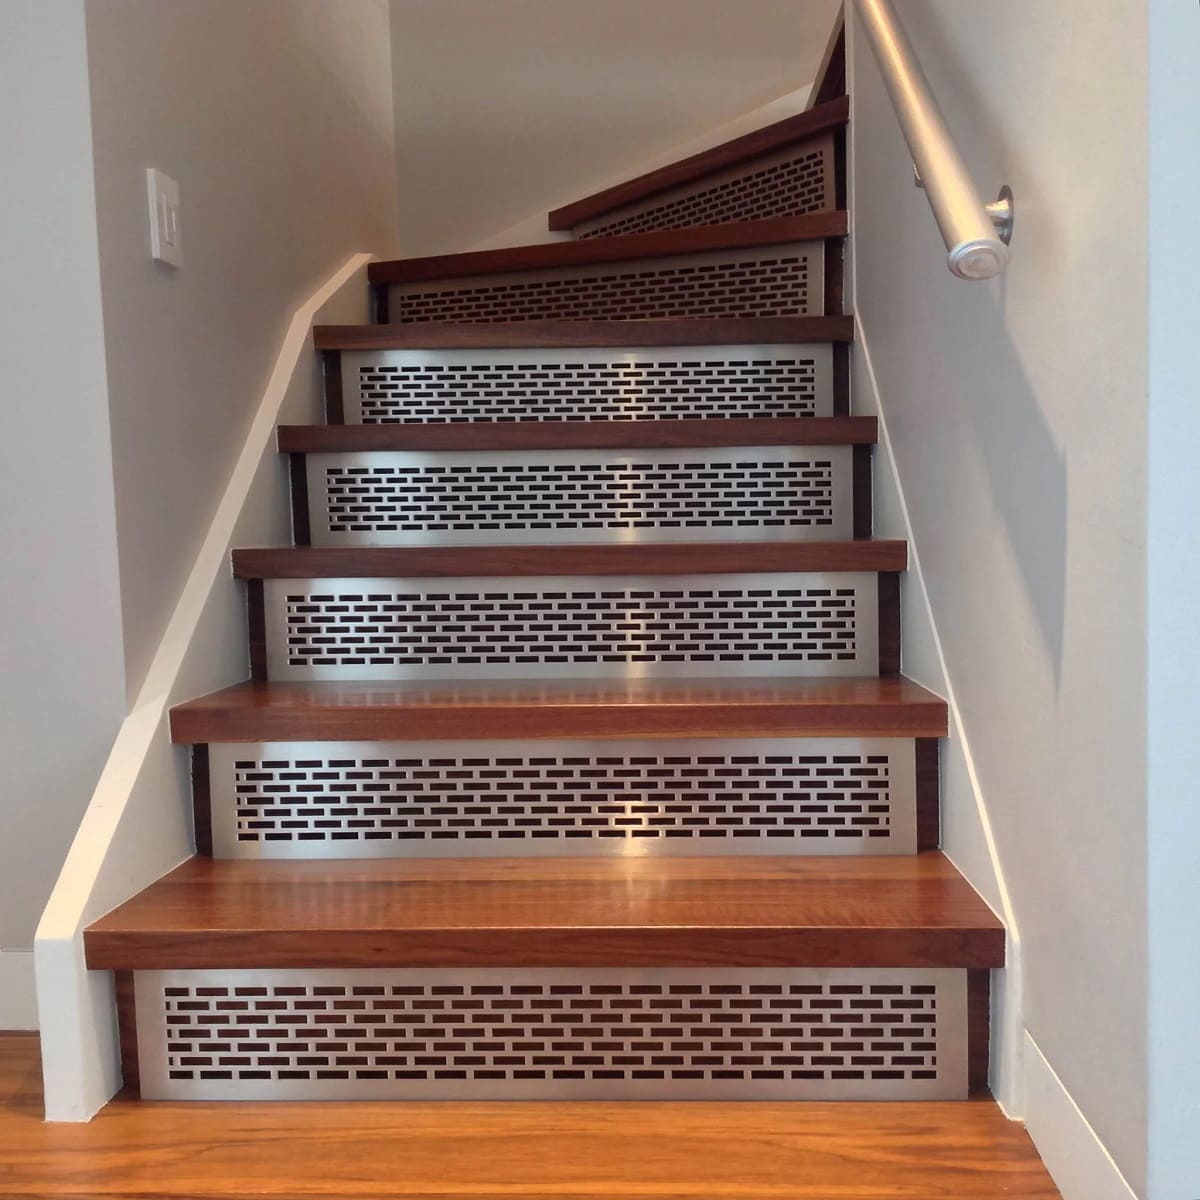
Sanding and Painting the Staircase
To create a polished and smooth finish, start by sanding the entire staircase. Use sandpaper or a sanding block to remove any rough edges, splinters, or imperfections. Sand each step, riser, and railing until they are smooth to the touch.
After sanding, choose a paint or stain color that complements the overall design of your basement. Apply a coat of paint or stain to the staircase, using a brush or roller for an even finish. Consider using durable and moisture-resistant paint or stain to protect the wood from wear and tear.
Sanding and painting the staircase not only improves its aesthetics but also adds a layer of protection, ensuring its longevity and durability.
Read more: How To Install Insulation In Basement
Adding Handrails and Balusters
Handrails and balusters play a vital role in the safety and functionality of a staircase. Install handrails on both sides of the staircase to provide support and stability while climbing up or down. Ensure that the handrails are positioned at a comfortable height and securely attached to the wall or railing posts.
Balusters, also known as spindles or pickets, are vertical posts that run between the handrail and the stair treads. They prevent accidental falls and add an aesthetic appeal to the staircase. Install balusters evenly spaced throughout the staircase, ensuring they are securely attached to the treads and handrail.
Consider the style and design of your basement staircase when selecting handrails and balusters. Choose materials that match your overall aesthetic, whether it’s wood, metal, or a combination of both. This will not only enhance the staircase’s appearance but also contribute to its overall safety.
Installing Lighting Fixtures
Proper lighting is crucial for safe navigation of the basement stairs, especially if it is a frequently used pathway. Install lighting fixtures to illuminate the staircase and ensure visibility, even in low-light conditions. Consider installing recessed lights, wall sconces, or strip lights along the staircase for adequate illumination.
Place lights strategically, focusing on areas where the steps meet the wall or adding additional lighting on the landing. You can also use motion-sensor lights that activate when someone approaches the staircase, providing added convenience and energy efficiency.
Remember to consult an electrician if you’re unfamiliar with electrical work to ensure proper installation and to adhere to local building codes and safety standards.
By sanding and painting the staircase, adding handrails and balusters, and installing lighting fixtures, you bring the basement stairs to completion. These finishing touches not only enhance the overall appearance but also contribute to the safety and functionality of the staircase.
With the completion of these steps, your basement staircase installation is finished! Enjoy the convenience, accessibility, and aesthetic appeal that a well-designed and properly installed staircase brings to your home.
Conclusion
Installing basement stairs is a significant undertaking that can greatly enhance the functionality and value of your home. By following the proper installation process, you can ensure a safe and durable staircase that provides convenient access to your basement. Additionally, paying attention to maintenance and addressing any issues promptly will further prolong the lifespan and usability of your basement stairs.
Importance of Proper Installation and Maintenance
Properly installed basement stairs offer numerous benefits. They provide easy access to your basement space, allowing you to utilize it for various purposes such as storage, recreational activities, or additional living areas. A well-designed and correctly installed staircase improves the safety and accessibility of your home, preventing accidents and injuries. It also adds value to your property, making it more attractive to potential buyers.
Regular maintenance is essential to keep your basement stairs in optimal condition. Inspect the staircase periodically for any signs of wear and tear, loose components, or damage. Address any issues promptly to prevent further deterioration and to ensure the safety of those using the stairs.
Read more: How To Install A Dehumidifier In Basement
Final Tips and Considerations for Basement Stair Installation
Here are some final tips and considerations to keep in mind when installing basement stairs:
- Always measure accurately and follow local building codes and regulations to ensure compliance and safety.
- Invest in high-quality materials and tools to ensure durability and longevity.
- Take your time during the installation process to ensure precise and secure construction.
- Consider hiring a professional if you are unsure about any aspect of the installation process.
- Ensure proper lighting along the staircase for visibility and safety.
- Regularly inspect and maintain the staircase to address any issues promptly.
- Consider adding non-slip treads or rugs to enhance safety, especially if the basement stairs are frequently used or in high-traffic areas.
- Encourage family members and guests to use the handrails to prevent slips and falls.
- Keep the area around the basement stairs clear of clutter to avoid any trip hazards.
By following these tips and considerations, you can ensure a successful and well-functioning basement stair installation. Remember, a properly installed and maintained basement staircase provides ease of access, enhances safety, and adds value to your home.
Enjoy the benefits of your new basement stairs and make the most of your basement space!
Now that you've tackled installing basement stairs, why not spruce up your space further? Check out our guide on selecting the best hardwood floors for home renovation to enhance your living area's elegance and durability. If you're keen on more hands-on tasks, our article on DIY home projects offers practical tips and creative ideas to transform your home affordably. Safety is paramount in any construction undertaking, so don't miss our essential insights on safety in construction to ensure every project is as safe as it is successful.
Frequently Asked Questions about How To Install Basement Stairs
Was this page helpful?
At Storables.com, we guarantee accurate and reliable information. Our content, validated by Expert Board Contributors, is crafted following stringent Editorial Policies. We're committed to providing you with well-researched, expert-backed insights for all your informational needs.


0 thoughts on “How To Install Basement Stairs”