Articles
How To Install A Water Filter Faucet
Modified: August 19, 2024
Learn how to install a water filter faucet with this step-by-step guide. Easy and quick installation process. Enhance the quality of your water with our informative articles.
(Many of the links in this article redirect to a specific reviewed product. Your purchase of these products through affiliate links helps to generate commission for Storables.com, at no extra cost. Learn more)
Introduction
Welcome to this step-by-step guide on how to install a water filter faucet. Access to clean and filtered drinking water is essential for maintaining good health. While most homes have a water filter system installed, having a dedicated faucet for filtered water can offer added convenience and ease of use. Whether you’re looking to upgrade your existing system or are installing one for the first time, this article will provide you with all the necessary information to successfully install a water filter faucet.
Before we delve into the installation process, it’s important to understand the benefits of having a water filter faucet. A water filter faucet is designed specifically for dispensing filtered water, ensuring that you have access to clean and safe drinking water at all times. This dedicated faucet eliminates the need to use the main kitchen faucet for filtered water, providing a separate water source for cooking, drinking, and other purposes.
Installing a water filter faucet is a relatively simple process that can be completed with basic tools and materials. However, if you’re not comfortable with DIY projects, it’s recommended to hire a professional to install the faucet for you. Now, let’s move on to the step-by-step process of installing a water filter faucet.
Key Takeaways:
- Upgrade your home with a water filter faucet for convenient access to clean, safe drinking water. Follow the step-by-step guide for a successful DIY installation.
- Ensure a leak-free installation by carefully checking all connections and fittings before turning on the water supply. Enjoy the benefits of freshly filtered water!
Step 1: Gather the Necessary Tools and Materials
Before you begin the installation process, it’s important to gather all the necessary tools and materials. Here’s a list of items you’ll need:
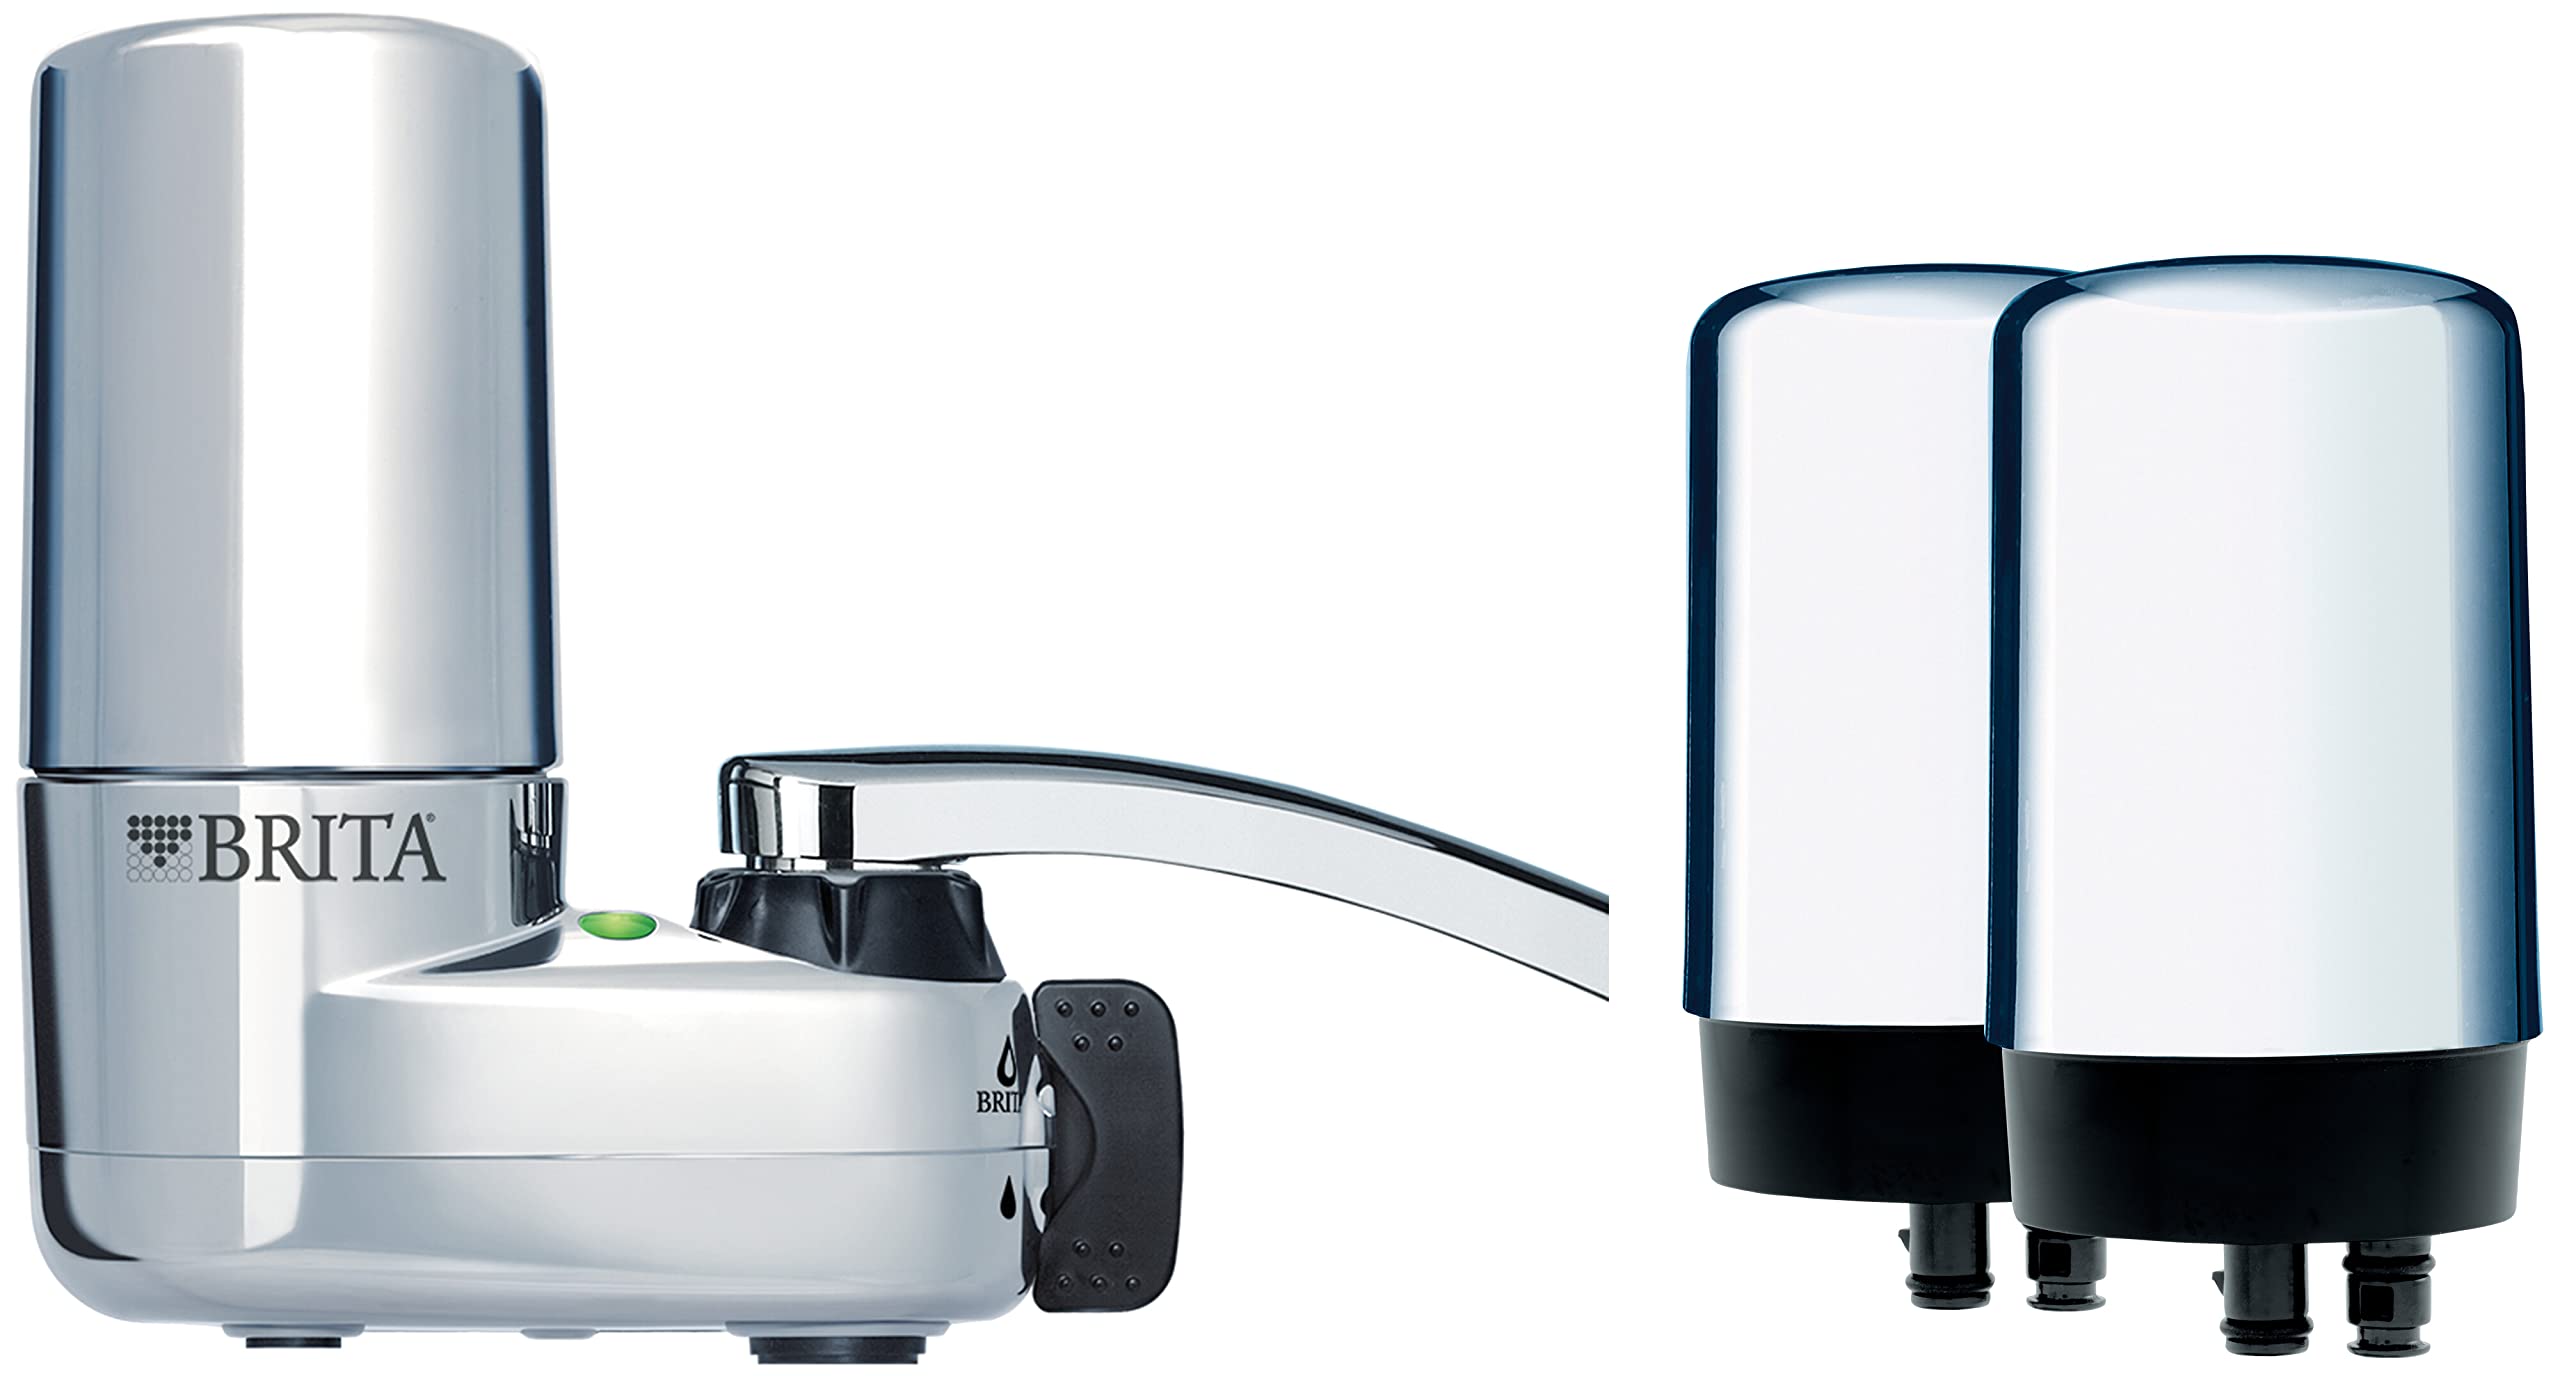
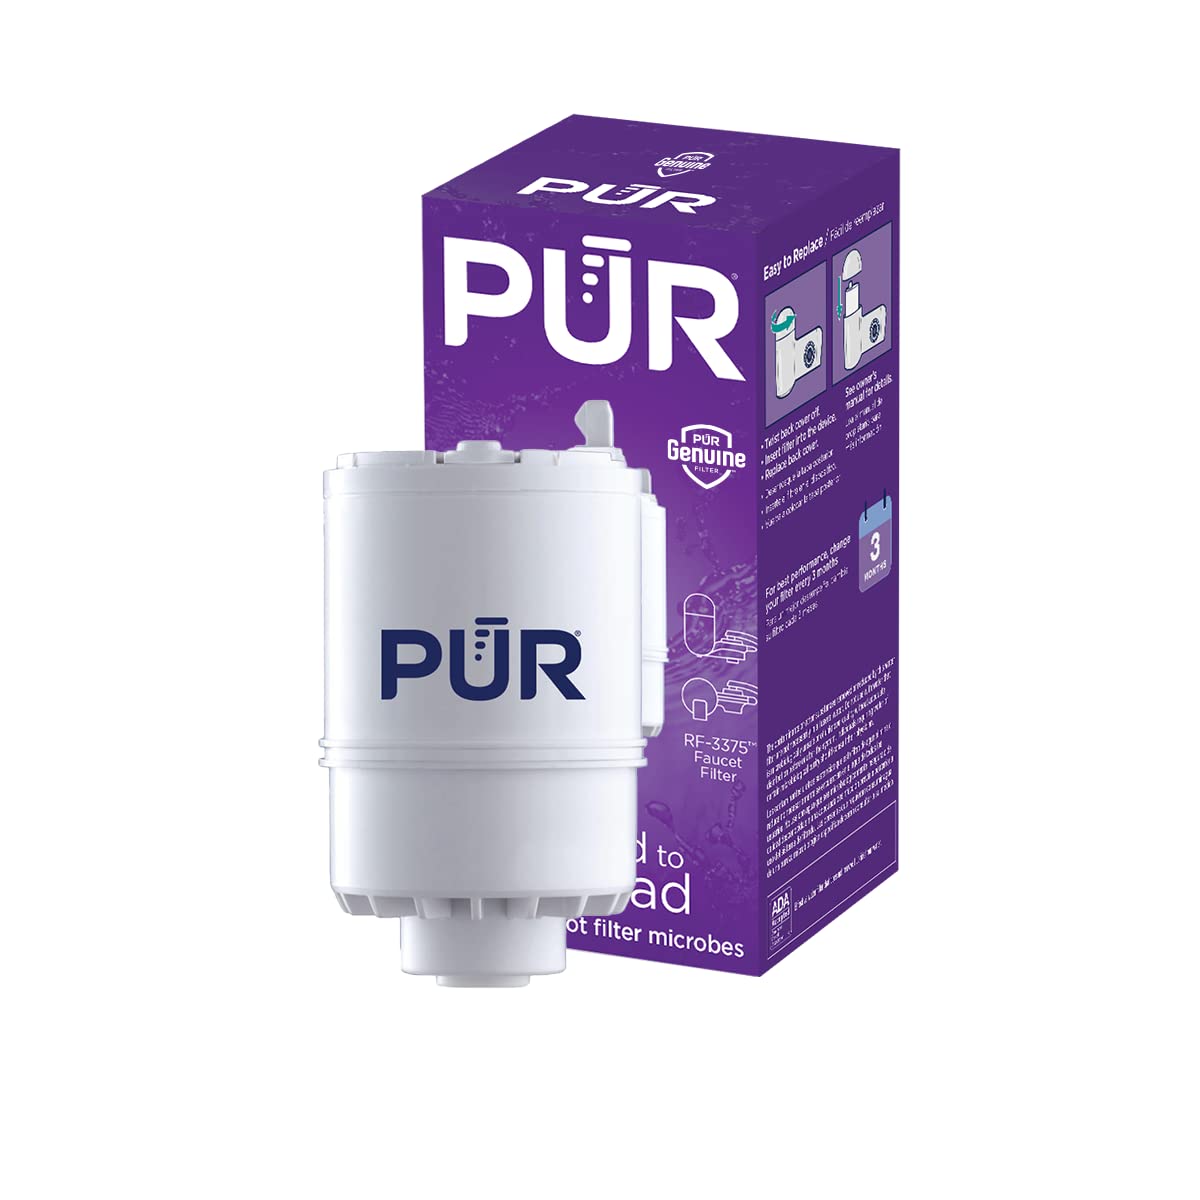
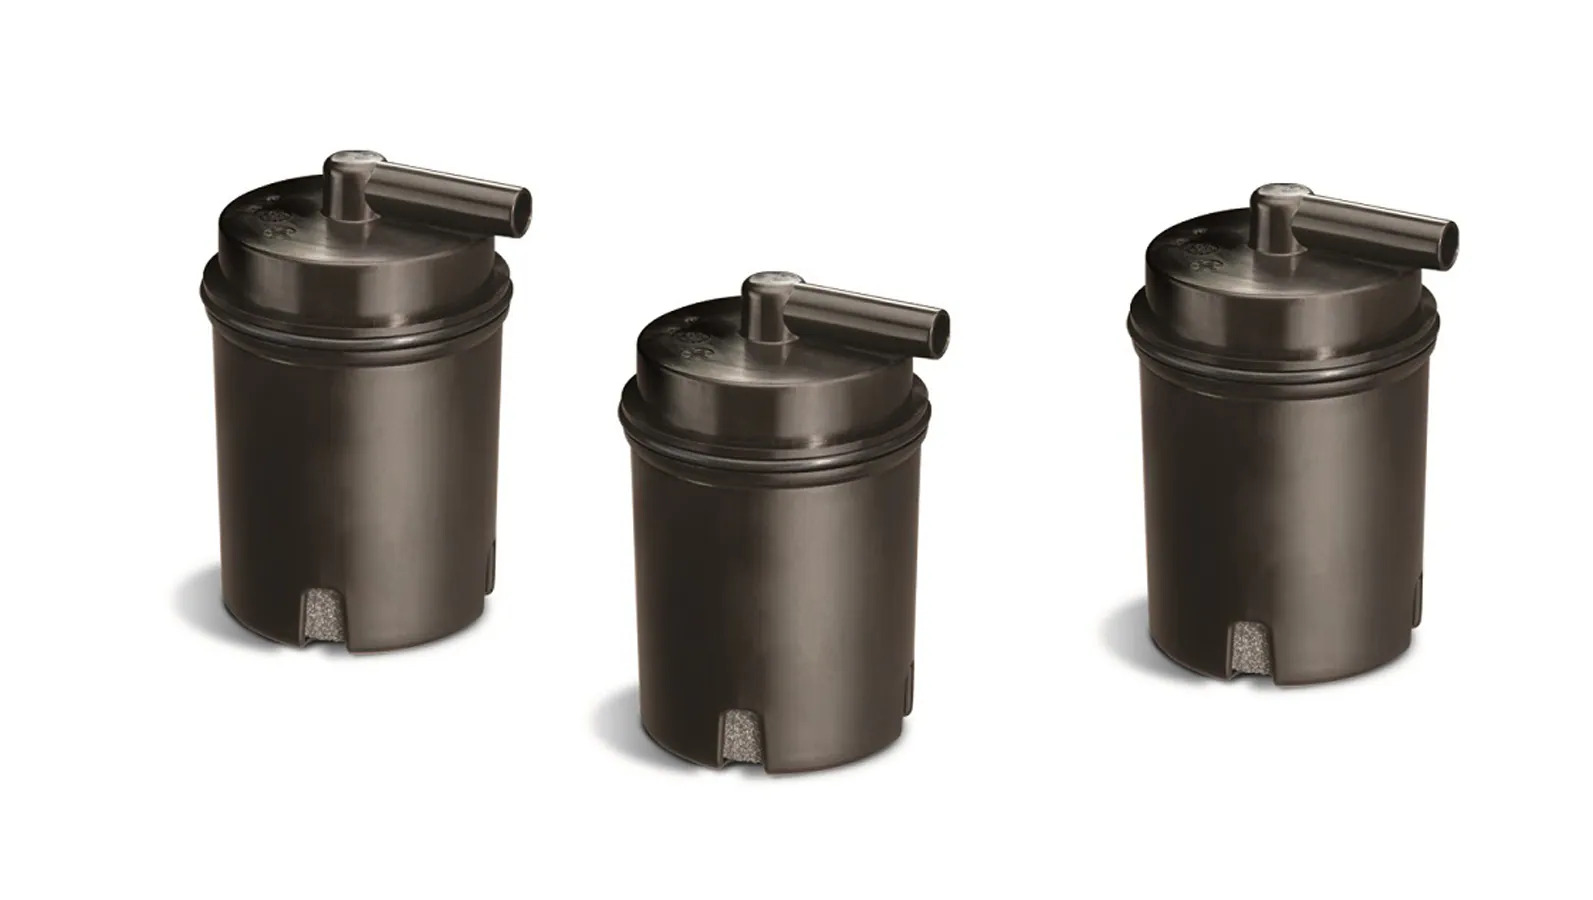
- Water filter faucet kit: This will typically include the faucet, mounting hardware, tubing, and filter cartridge. Make sure to check if the kit includes all the necessary components for installation.
- Adjustable wrench: This tool will be useful for tightening and securing connections.
- Plumber’s tape: Also known as Teflon tape, plumber’s tape is used to create a watertight seal when connecting pipes and fittings.
- Drill and drill bits: You may need a drill to create holes for mounting the faucet and filter bracket.
- Pipe cutter: If you need to cut the water supply tubing, a pipe cutter will be necessary to achieve clean and precise cuts.
- Screwdriver: Depending on the specific faucet kit, you may need a screwdriver for certain installation steps.
- Rag or towel: Keep a rag or towel nearby to wipe up any water spills or drips during the installation process.
Once you have gathered all the necessary tools and materials, you’re ready to move on to the next step: shutting off the water supply. Make sure to have everything within reach to avoid any unnecessary interruptions during the installation process.
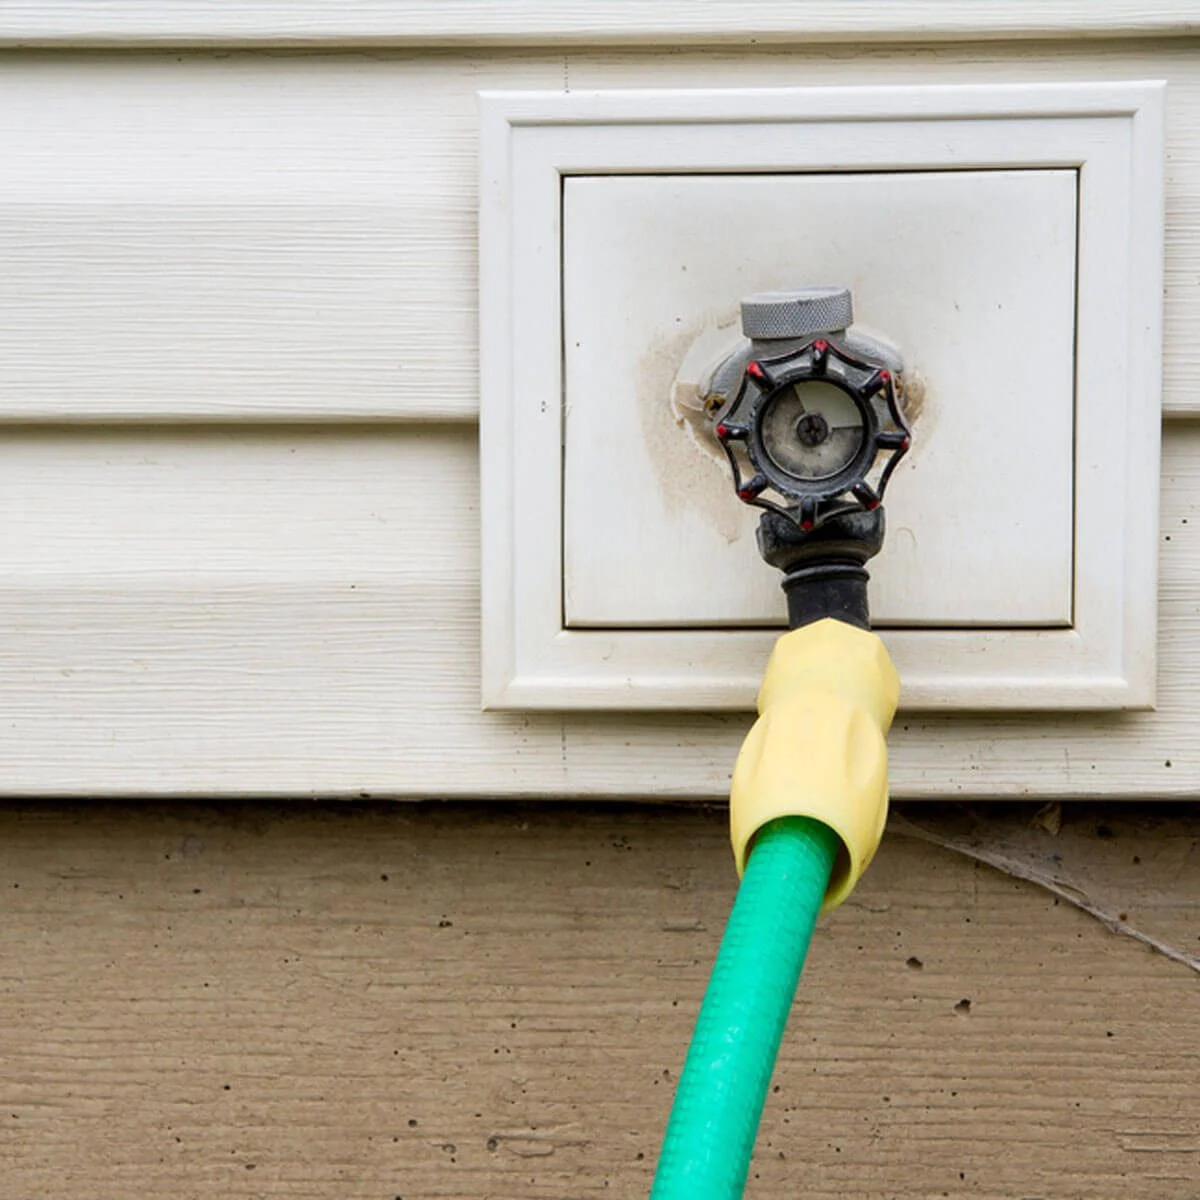
Step 2: Shut Off the Water Supply
Before you begin any plumbing work, it’s crucial to shut off the water supply to your kitchen. This step will help prevent any potential leaks or water damage during the installation process. Here’s how to shut off the water supply:
- Locate the main water shut-off valve: Typically, you can find the main shut-off valve under the kitchen sink or in the basement. It may be a lever, knob, or wheel-type valve.
- Turn off the water supply: Slowly turn the shut-off valve clockwise to shut off the water supply. This will stop the flow of water to the entire kitchen.
- Test the water supply: Turn on the kitchen faucet to ensure that the water supply has been successfully shut off. If water continues to flow, double-check the shut-off valve to ensure it is fully closed.
Once you have shut off the water supply, you can proceed to the next step of determining the filter placement. It’s important to ensure that there is enough space near the sink for installing the water filter and faucet. Take some time to plan out the location to ensure a proper and convenient installation.
Remember, always exercise caution when working with water and plumbing systems. If you’re unsure about shutting off the water supply or encounter any difficulties, it’s best to consult a professional plumber for assistance.
Step 3: Determine the Filter Placement
Once you have shut off the water supply, it’s time to determine the optimal placement for your water filter. Consider the following factors when deciding where to install the filter:
- Proximity to the sink: The filter should be installed close to the kitchen sink for easy access. This ensures that you can conveniently dispense filtered water for drinking or cooking purposes.
- Available space: Check the area under the sink for available space. Ensure that there is enough room to accommodate the filter system, including the mounting bracket and tubing.
- Accessibility: Choose a location that allows for easy maintenance and replacement of the filter cartridge. You will need to periodically change the cartridge to maintain the effectiveness of the filtration system.
Typically, the filter system is mounted horizontally or vertically under the sink. Keep in mind that the filter should be installed in a position that allows for easy connection to the water supply and the water filter faucet.
Once you have determined the best placement for the filter, mark the spot and proceed to the next step of installing the filter mounting bracket.
Note: If you’re unsure about the placement or encounter any difficulties during the installation process, it’s recommended to consult the installation manual or seek professional assistance.
Step 4: Install the Filter Mounting Bracket
With the filter placement determined, it’s time to install the mounting bracket for your water filter system. The mounting bracket will securely hold the filter in place under the sink. Here’s how to install the filter mounting bracket:
- Position the mounting bracket: Hold the mounting bracket against the chosen location under the sink. Ensure that it is level and aligned properly.
- Mark the mounting holes: Use a pencil or marker to mark the location of the mounting holes on the cabinet wall.
- Drill pilot holes: Using a drill and a suitable drill bit, drill pilot holes into the marked spots on the cabinet wall. These pilot holes will make it easier to secure the mounting bracket in place.
- Secure the mounting bracket: Align the mounting bracket with the pilot holes and use screws or the provided hardware to secure it to the cabinet wall. Make sure the bracket is firmly in place.
Double-check the stability and positioning of the mounting bracket before moving on to the next step. The bracket should be securely attached to the cabinet wall to support the weight of the filter system.
With the mounting bracket installed, you’re now ready to connect the water filter system. Proceed to the next step for detailed instructions on connecting the necessary components.
Note: It’s essential to refer to the specific instructions provided with your water filter system for any variations or additional steps required for installing the mounting bracket. Make sure to follow the manufacturer’s guidelines for best results.
When installing a water filter faucet, make sure to turn off the water supply before beginning the installation process. This will prevent any leaks or water damage during the installation.
Read more: What Is The Best Faucet Water Filter
Step 5: Connect the Water Filter System
Now that the mounting bracket is securely in place, it’s time to connect the different components of your water filter system. Follow these steps to connect the system:
- Connect the inlet and outlet tubes: Most water filter systems have clearly labeled inlet and outlet tubes. Connect the water supply tubing to the inlet of the filter system and the outlet tube to the water filter faucet tubing. Use the provided connectors or compression fittings to ensure a secure connection.
- Use plumber’s tape: Before connecting the tubing to the filter system and faucet, wrap plumber’s tape around the threaded ends of the tubing. This will create a watertight seal and prevent leaks.
- Tighten the connections: Use an adjustable wrench to tighten the connections between the tubing and the filter system and faucet. Make sure not to over-tighten, as this can damage the fittings. Check for any signs of leaks.
- Trim excess tubing: If the tubing is too long, use a pipe cutter to trim it to the appropriate length. Ensure that the trimmed ends are clean and smooth.
Double-check all connections to ensure that they are firmly secured and leak-free. Properly connected tubing is crucial for the effective functioning of your water filter system.
With the water filter system connected, you’re now ready to install the water filter faucet. Proceed to the next step for detailed instructions on installing the faucet.
Note: Always refer to the specific instructions provided with your water filter system for any variations or additional steps required for connecting the components. Following the manufacturer’s guidelines will help ensure a successful installation.
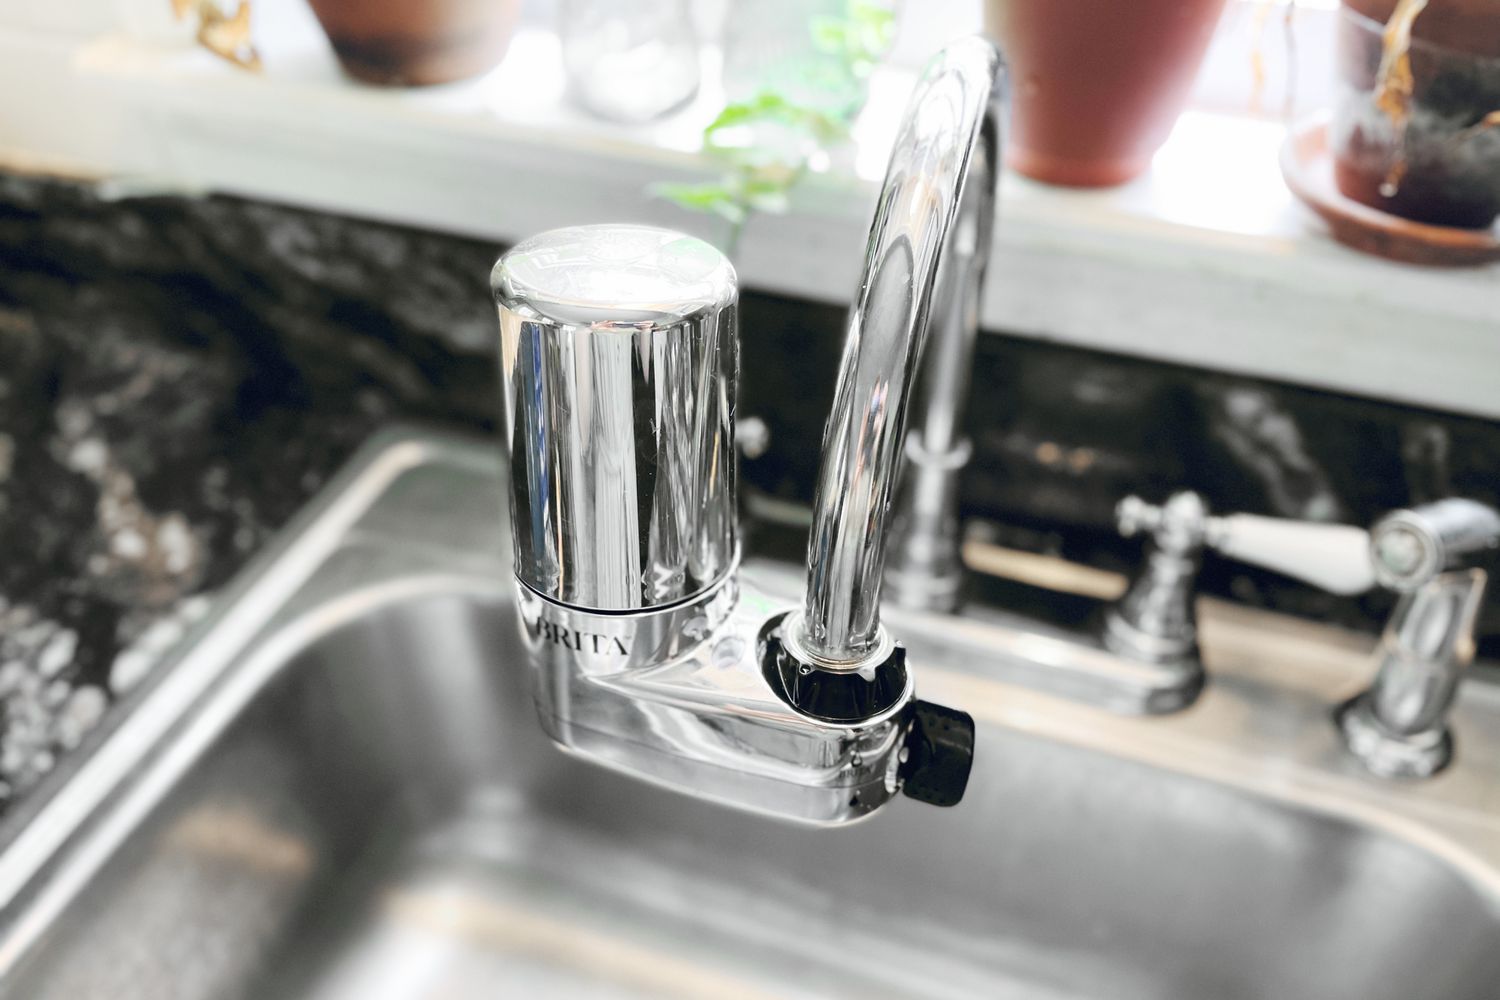
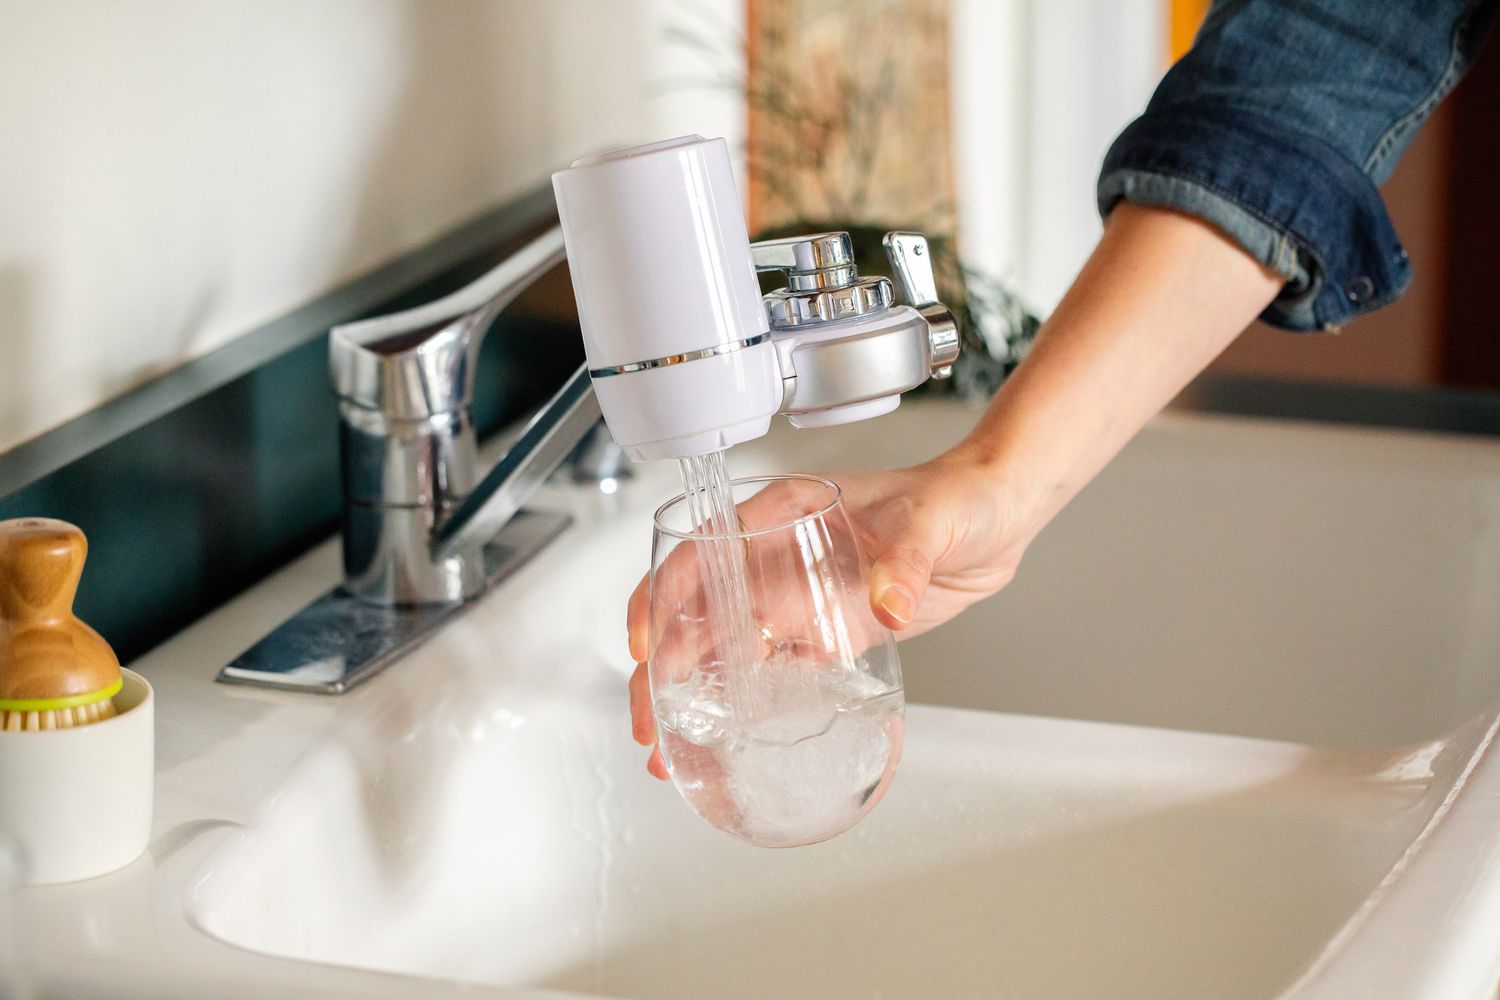
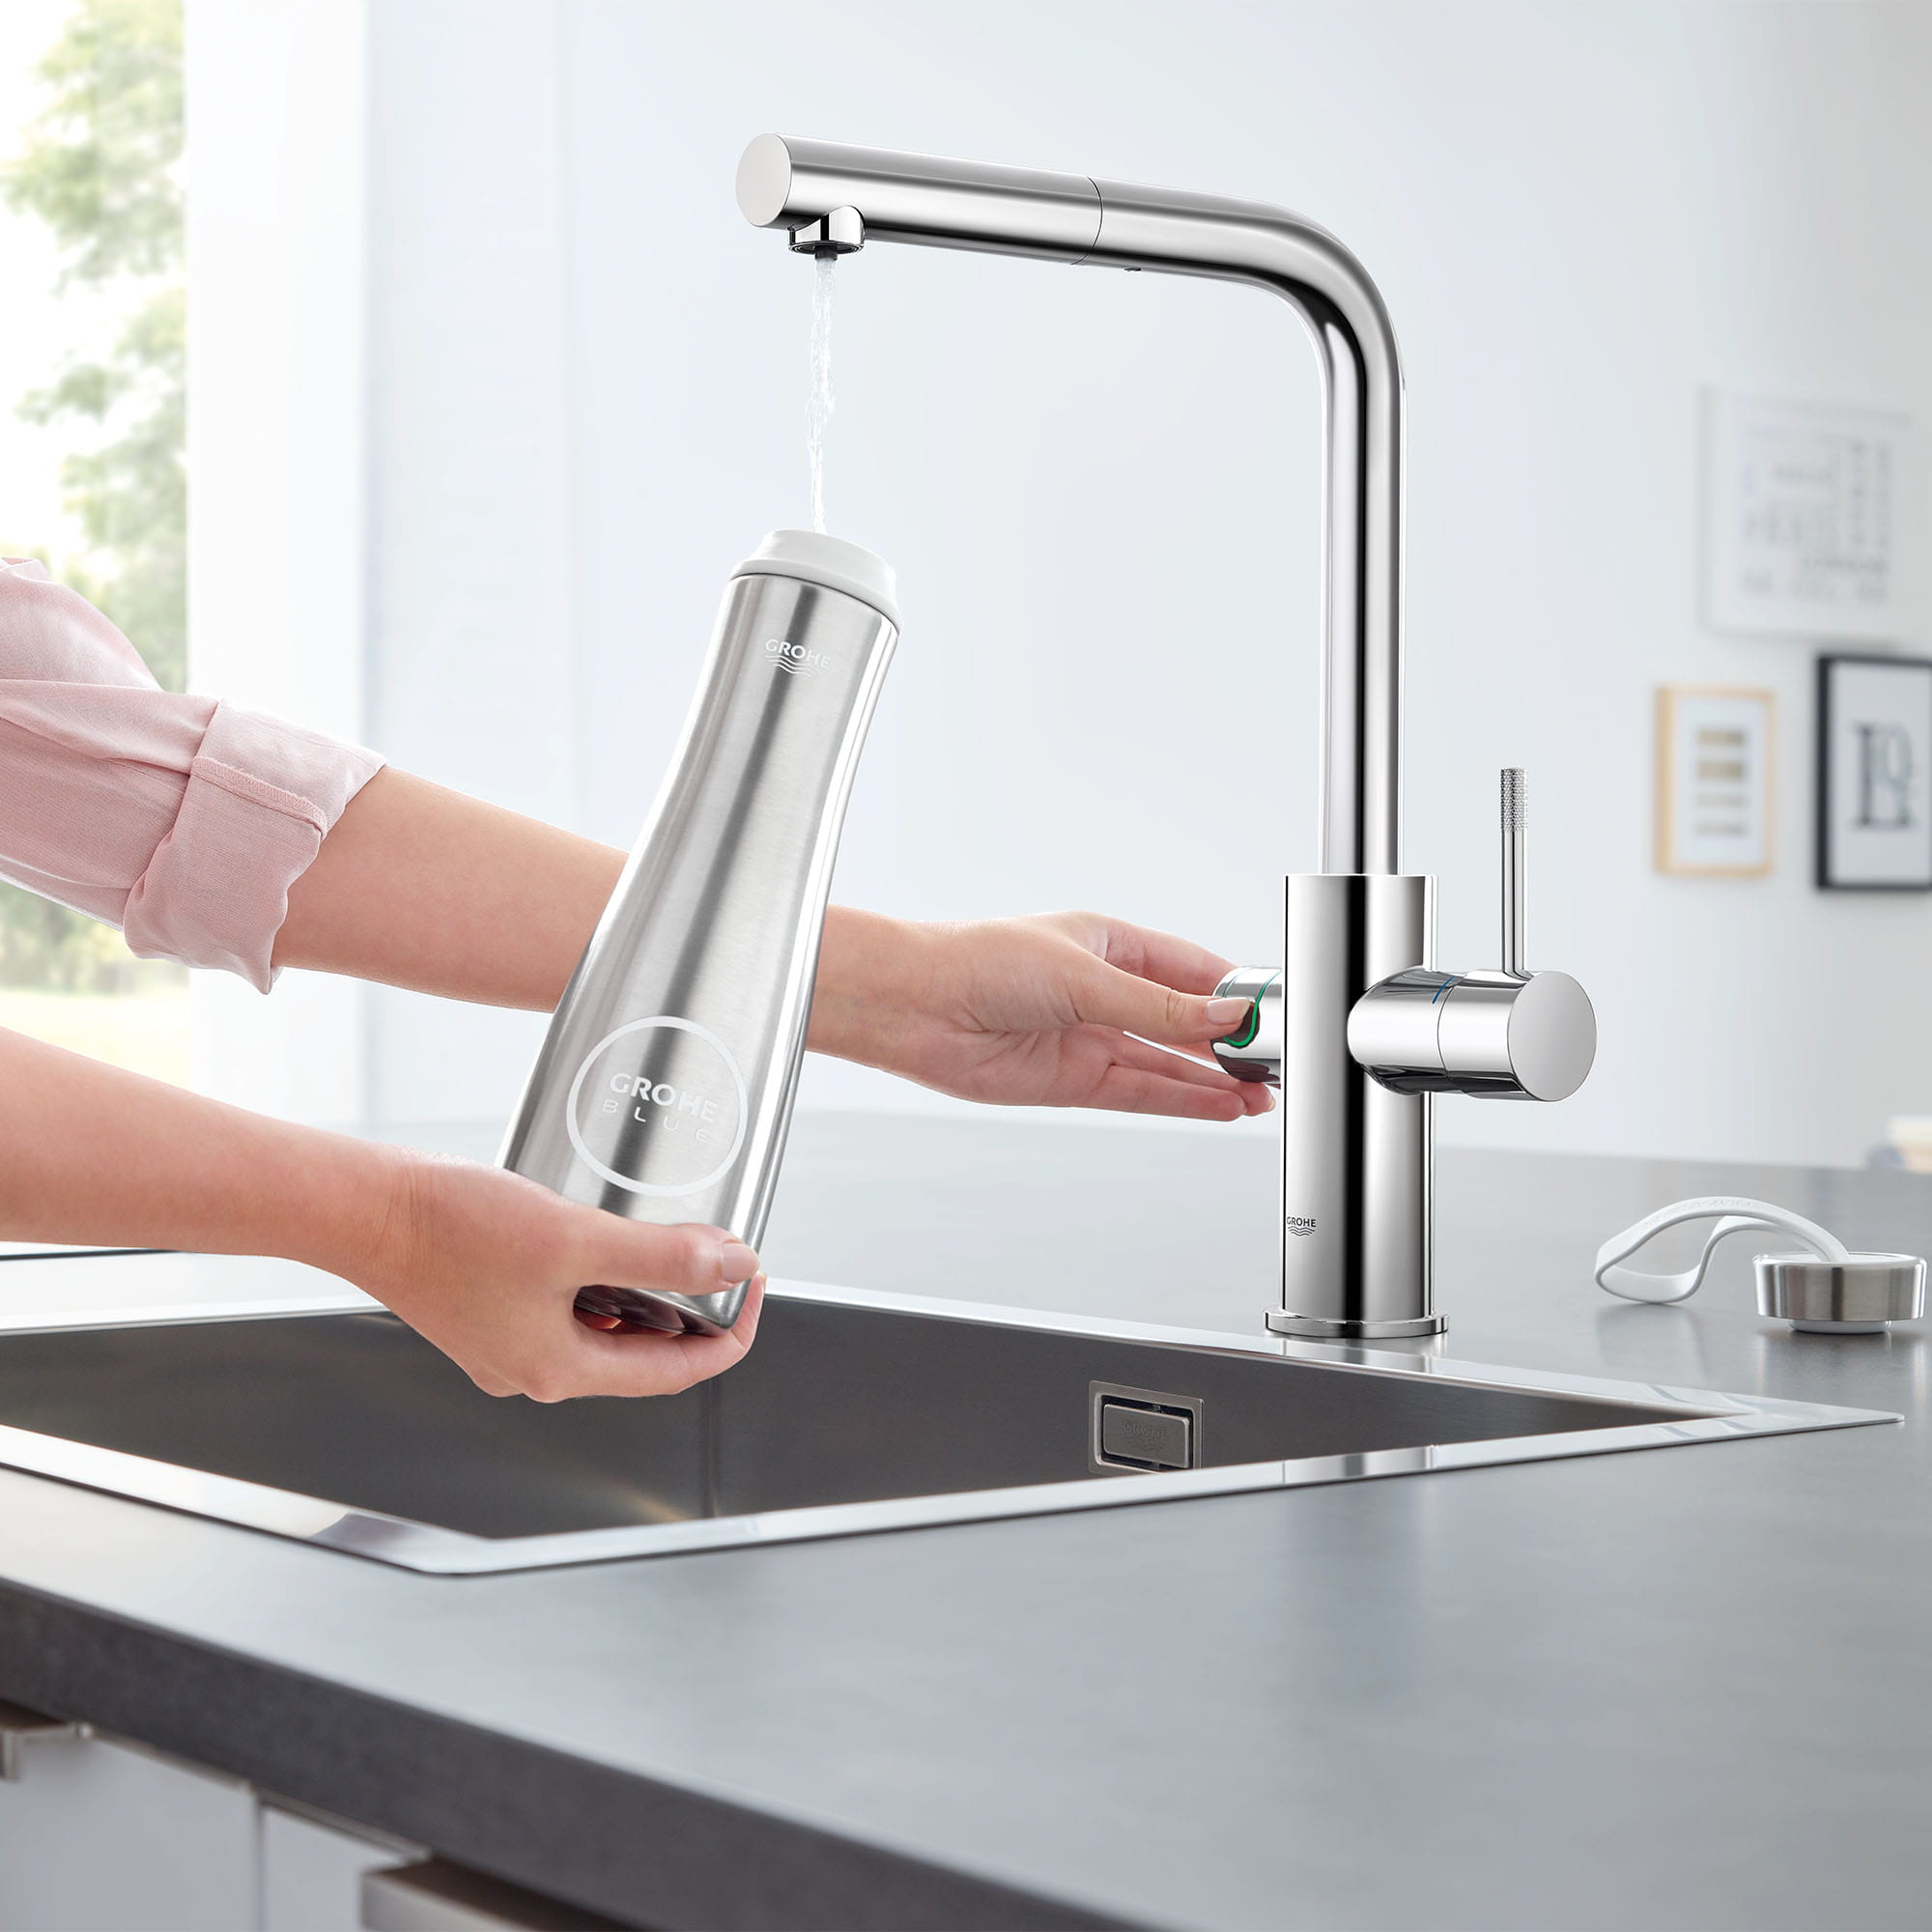
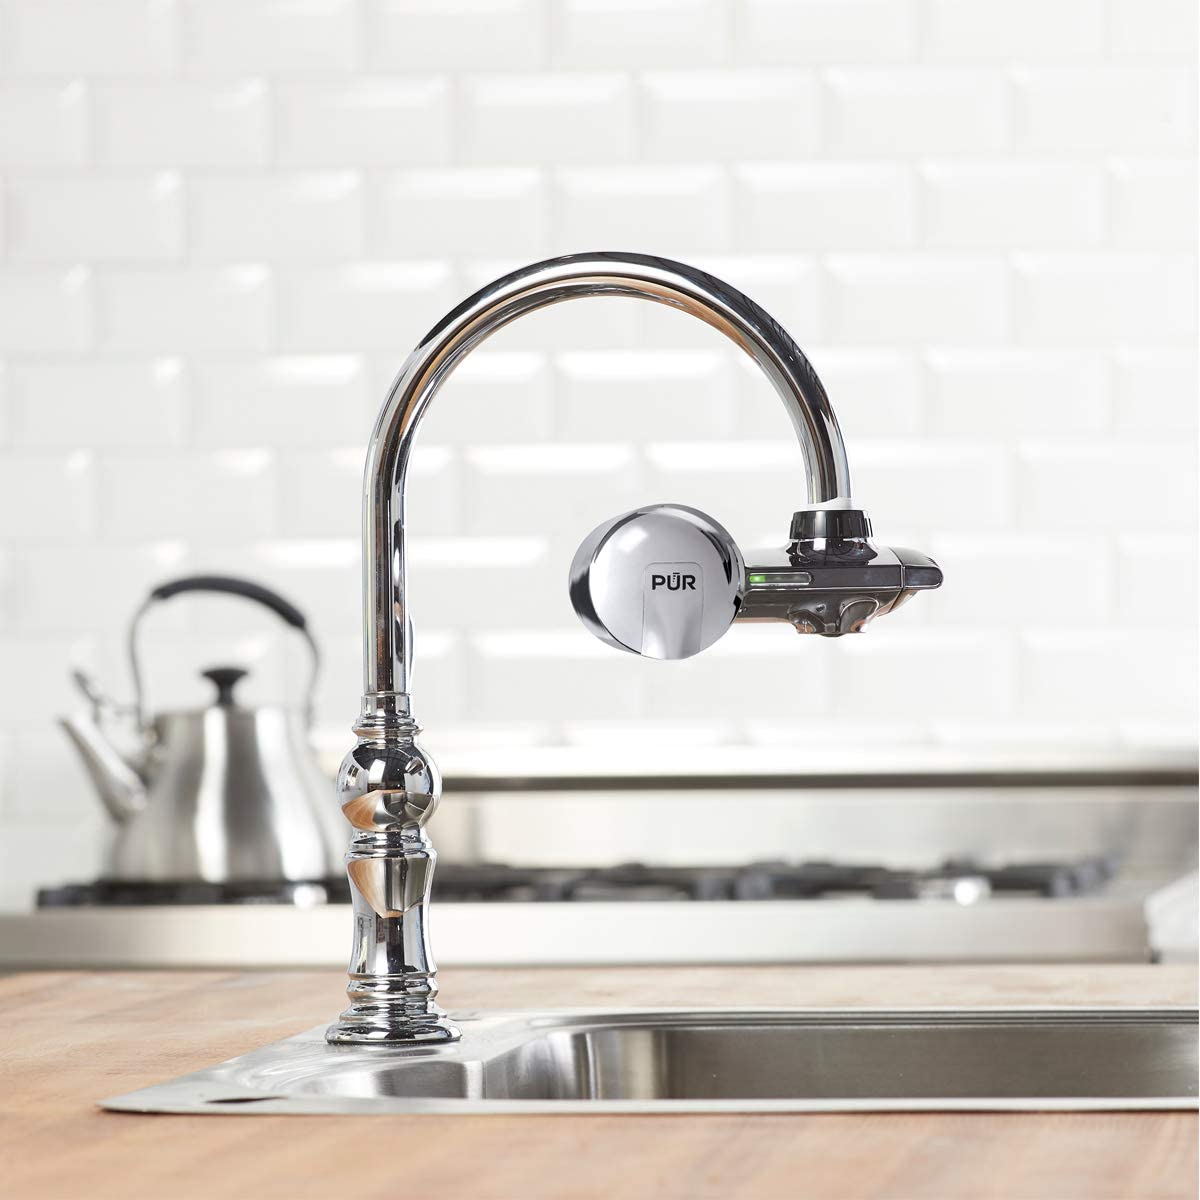
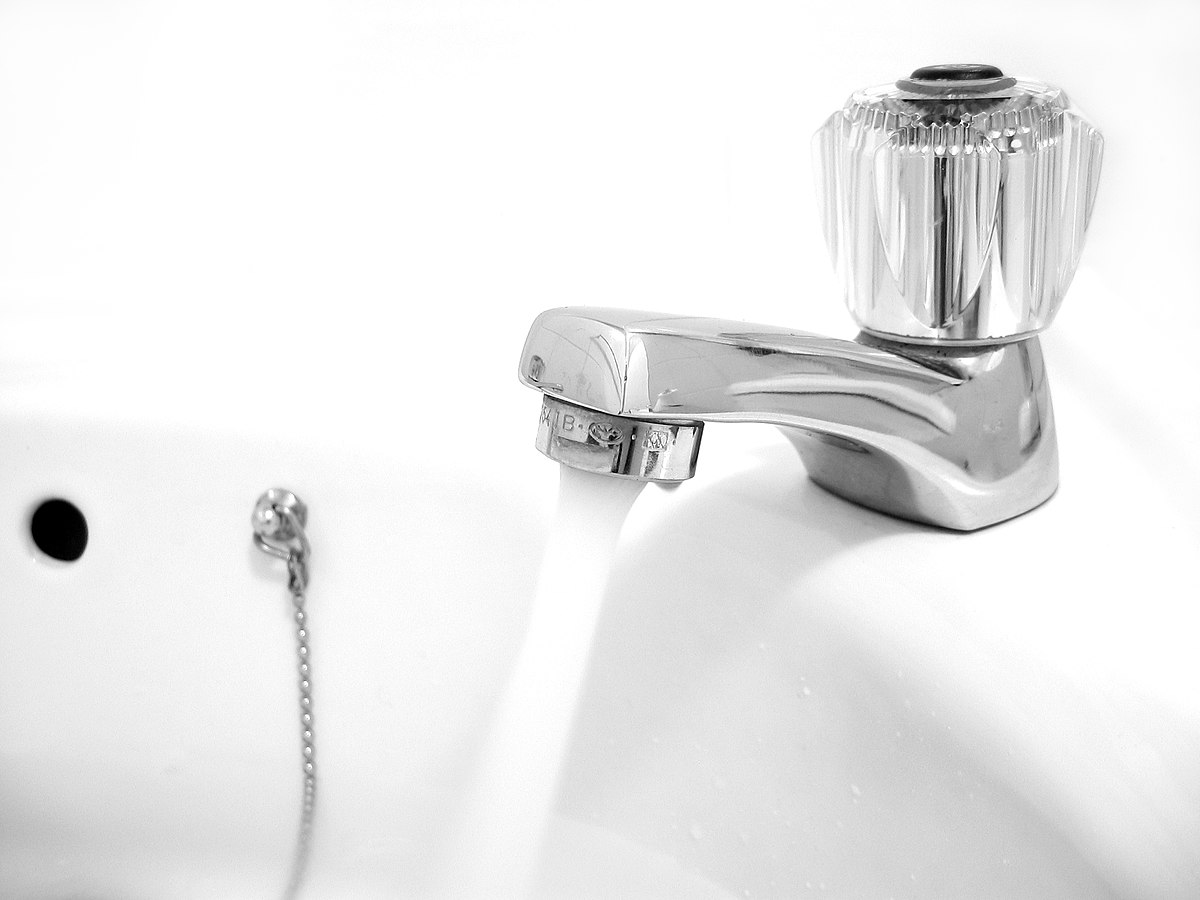
Step 6: Install the Water Filter Faucet
Installing the water filter faucet is a crucial step in completing your water filter system. The faucet will provide the dedicated access point for dispensing filtered water. Follow these steps to install the faucet:
- Choose the location: Determine the optimal location on your sink or countertop for the water filter faucet. It should be easily accessible and provide enough clearance for operating the faucet.
- Prepare the mounting hole: If the chosen location doesn’t already have a hole for the faucet, you will need to create one. Use an appropriate-sized hole saw or drill bit to create the mounting hole according to the faucet’s specifications.
- Insert the faucet: Insert the faucet into the mounting hole and align it properly. Ensure that the faucet is level and centered.
- Secure the faucet: Underneath the sink, use the provided mounting hardware or the mounting plate to secure the faucet in place. Follow the manufacturer’s instructions for the specific type of mounting mechanism.
- Connect the tubing: Once the faucet is securely mounted, connect the tubing from the water filter system to the designated inlet on the faucet. Use the provided connector or compression fitting to create a watertight connection.
- Tighten the connections: Use an adjustable wrench to tighten the connections between the tubing and the faucet. Be careful not to over-tighten, as this can damage the fittings. Check for any signs of leaks.
Once the faucet is securely installed and the tubing is properly connected, test the faucet by turning on the water supply. Check for any leaks around the connections and observe the flow of filtered water from the faucet.
With the water filter faucet successfully installed, we’re almost done with the installation process. However, before you start enjoying your freshly filtered water, there’s one more important step to cover. Proceed to the next step to learn how to check for leaks.
Note: Always refer to the specific instructions provided with your water filter faucet for any variations or additional steps required for installation. Following the manufacturer’s guidelines will help ensure a smooth installation.
Step 7: Check for Leaks
Checking for leaks is a crucial final step in the water filter faucet installation process. Ensuring that there are no leaks will help avoid any potential water damage and ensure that your water filter system functions properly. Follow these steps to check for leaks:
- Turn on the water supply: Gradually turn on the water supply at the main shut-off valve. This will allow water to flow through the filter system and faucet.
- Observe the connections: Carefully examine all the connections, including the tubing connections at the filter system and faucet, as well as the connections at the shut-off valve. Look for any signs of water dripping or pooling.
- Check for leaks around fittings: Pay close attention to the fittings and connections on the filter system and faucet. Look for any drips or moisture around these areas.
- Monitor for a few minutes: Allow the water to flow for a few minutes while monitoring the connections and fittings. This will help you detect any slow leaks that may not be immediately apparent.
- Address any leaks: If you notice any leaks, it’s important to address them promptly. Begin by tightening the connections slightly to see if that resolves the issue. If the leak persists, you may need to disassemble the connection and reapply plumber’s tape or replace any faulty components.
It’s important to be thorough when checking for leaks, as even small drips can lead to bigger issues over time. Properly addressing any leaks will ensure the longevity and efficiency of your water filter system.
Once you have confirmed that there are no leaks and everything is functioning properly, you can proceed to the final step of the installation process: turning on the water supply. Let’s move on to that step to complete the installation.
Note: If you have any concerns about leaks or encounter difficulties during the inspection process, it’s recommended to consult a professional plumber for assistance.
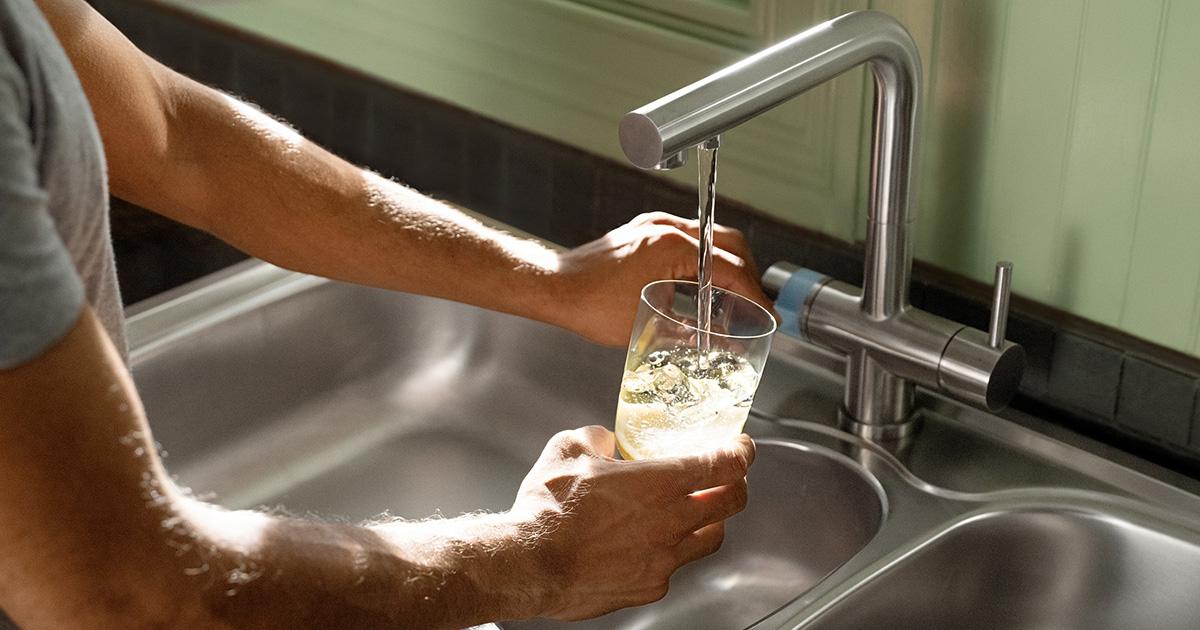
Step 8: Turn On the Water Supply
After successfully installing the water filter faucet and ensuring that there are no leaks, you’re ready to turn on the water supply and start enjoying your filtered water. Follow these steps to turn on the water supply:
- Double-check all connections: Before turning on the water supply, take a final look at all the connections and fittings. Ensure that everything is securely tightened and there are no signs of leaks.
- Slowly turn on the water supply: Gradually turn on the main shut-off valve to gradually allow water to flow through the filter system and faucet. This will help prevent any sudden pressure surges or water hammer.
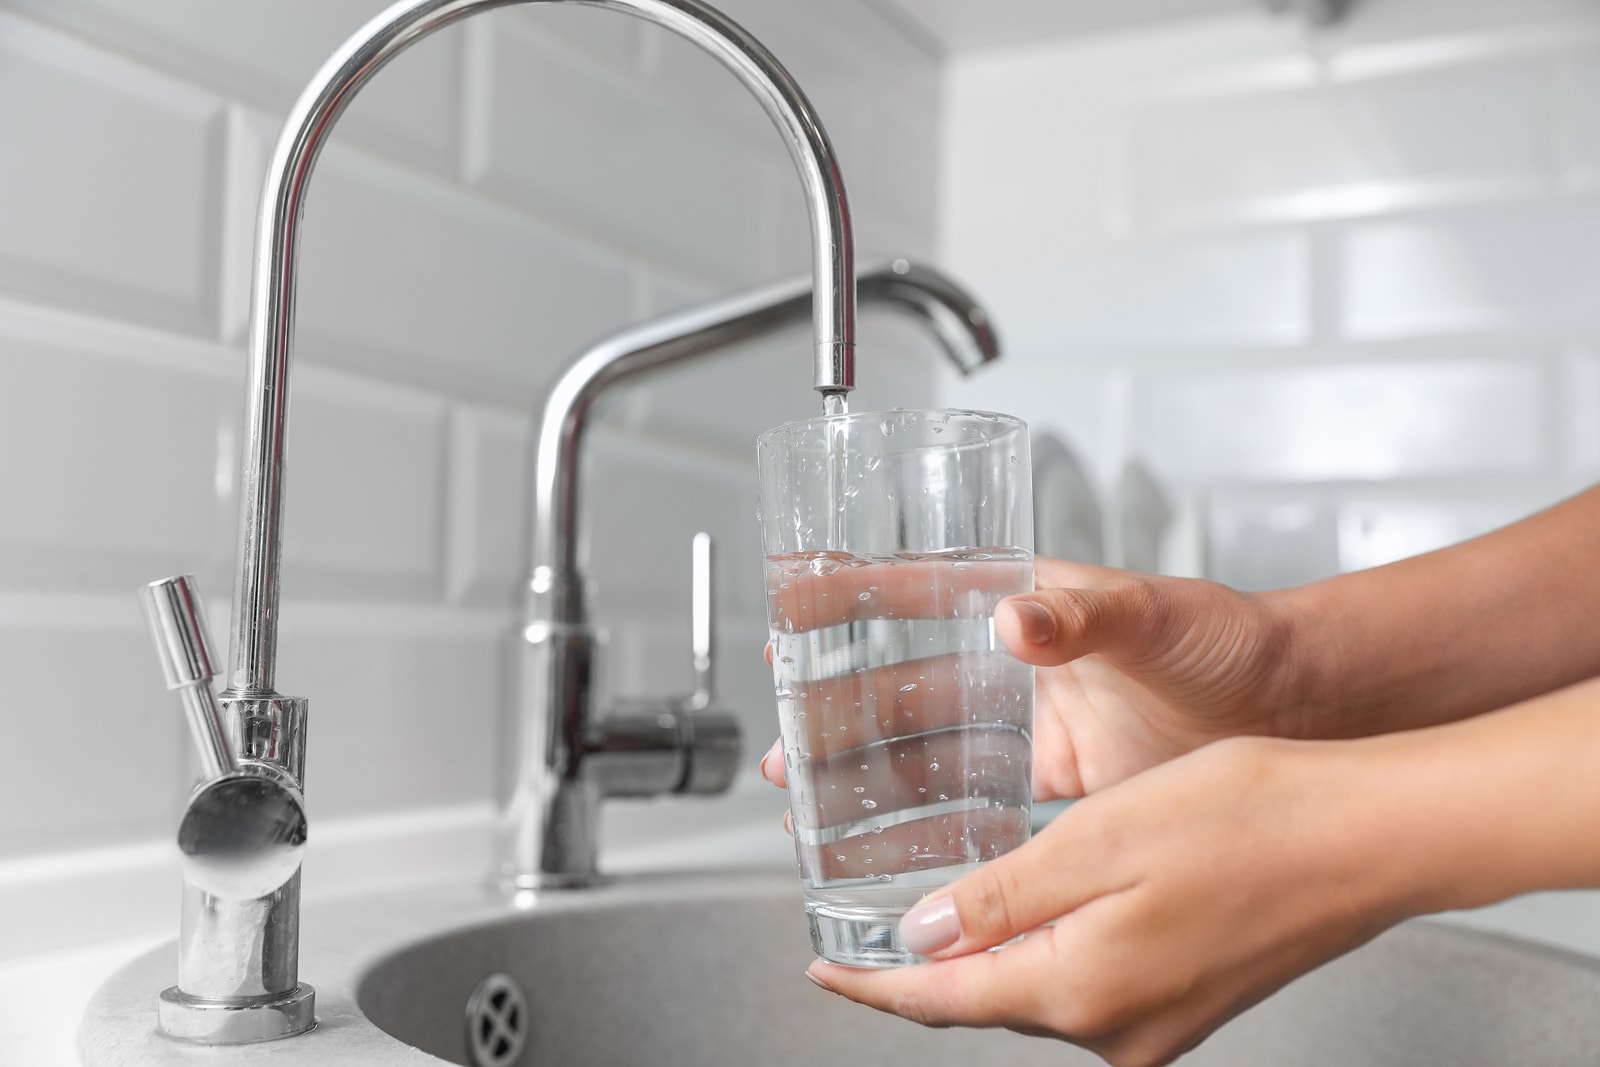
- Test the water flow: Turn on the water filter faucet and let the water run for a few minutes to flush out any air bubbles or debris that might have accumulated during the installation process.
- Check the flow and quality: Observe the flow of water from the faucet and make sure it’s steady and consistent. Also, check the taste and quality of the filtered water to ensure that it meets your expectations.
- Monitor for any issues: Keep an eye out for any unusual sounds, leaks, or other issues that may arise during the initial usage of the water filter system. Address any concerns promptly.
With the water supply turned on and the water filter faucet fully operational, you can now enjoy the benefits of clean and filtered water right from your dedicated faucet.
Congratulations on successfully installing a water filter faucet! Remember to follow the manufacturer’s recommendations for filter cartridge replacement and regular maintenance to ensure the long-term efficiency of your water filter system.
Thank you for following this step-by-step guide. Enjoy your fresh and filtered water!
Read more: How To Install Brita Faucet Filter
Conclusion
Installing a water filter faucet is a worthwhile investment that provides you with easy access to clean and filtered water in your home. By following the step-by-step guide outlined in this article, you can confidently complete the installation process and enjoy the benefits of fresh, filtered water for drinking and cooking purposes.
We began by gathering the necessary tools and materials, including the water filter faucet kit, adjustable wrench, plumber’s tape, drill, pipe cutter, and screwdriver. It’s essential to have these items at hand to ensure a smooth installation.
We then proceeded to shut off the water supply, an important step to prevent any water damage and ensure a safe working environment. By locating the main shut-off valve and turning it off, we ensured that no water flow was present during the installation process.
Next, we determined the ideal placement for the water filter, taking into consideration factors such as proximity to the sink, available space under the sink, and accessibility for maintenance. This step ensured convenience and efficiency in using the water filter system.
We then moved on to installing the filter mounting bracket, securely attaching it to the cabinet wall. The mounting bracket is crucial for supporting the weight of the filter system and maintaining its stability.
After connecting the water filter system, we made sure to use plumber’s tape to create watertight seals and tightened all connections to prevent leaks. Trimming any excess tubing ensured a neat and organized installation.
The installation process continued with the installation of the water filter faucet. By choosing the appropriate location, creating the mounting hole if necessary, and securing the faucet with the provided hardware, we ensured a sturdy and functional faucet for dispensing filtered water.
We thoroughly checked for leaks in the next step, examining all connections, fittings, and tubing. Addressing any leaks promptly is crucial to prevent water damage and maintain the performance of the water filter system.
Finally, we turned on the water supply and tested the water flow and quality. By observing the flow and taste of the filtered water, we ensured that the installation was successful and the system was functioning properly.
In conclusion, by following these step-by-step instructions, you have successfully installed a water filter faucet, providing you with convenient access to clean and filtered water. Remember to perform regular maintenance, including replacing the filter cartridge as recommended by the manufacturer, to ensure the continued efficiency of your water filter system.
Thank you for reading this guide, and we hope you enjoy the benefits of clean, filtered water in your home!
Frequently Asked Questions about How To Install A Water Filter Faucet
Was this page helpful?
At Storables.com, we guarantee accurate and reliable information. Our content, validated by Expert Board Contributors, is crafted following stringent Editorial Policies. We're committed to providing you with well-researched, expert-backed insights for all your informational needs.
0 thoughts on “How To Install A Water Filter Faucet”