Articles
How To Install A Showerhead And Faucet
Modified: December 7, 2023
Learn how to install a showerhead and faucet with our comprehensive articles. Gain expert knowledge and finish your bathroom upgrade with ease.
(Many of the links in this article redirect to a specific reviewed product. Your purchase of these products through affiliate links helps to generate commission for Storables.com, at no extra cost. Learn more)
Introduction
Installing a new showerhead and faucet can be a great way to refresh your bathroom and enhance your bathing experience. Whether you’re replacing outdated fixtures or simply want to upgrade to a new style, this step-by-step guide will help you through the installation process. With the right tools and materials, you can easily tackle this DIY project and have a functional and stylish shower in no time.
Before you begin, it’s essential to gather all the necessary tools and materials. This will ensure that you have everything you need on hand and can complete the installation smoothly. Let’s take a look at what you’ll need.
Key Takeaways:
- Upgrade your bathroom with a new showerhead and faucet for a refreshing bathing experience. Follow the step-by-step guide to DIY installation, ensuring a secure and leak-free connection for a spa-like oasis.
- Gather the necessary tools and materials, shut off the water supply, remove the old fixtures, clean the pipe threads, apply thread tape or sealant, attach the new fixtures, and test for leaks to enjoy a successful and rewarding bathroom upgrade.
Tools and Materials Needed
Before diving into the installation process, make sure you have the following tools and materials:
- Adjustable wrench
- Plumbers tape or thread sealant
- Plumber’s putty (if required)
- Screwdriver
- Bucket or towel
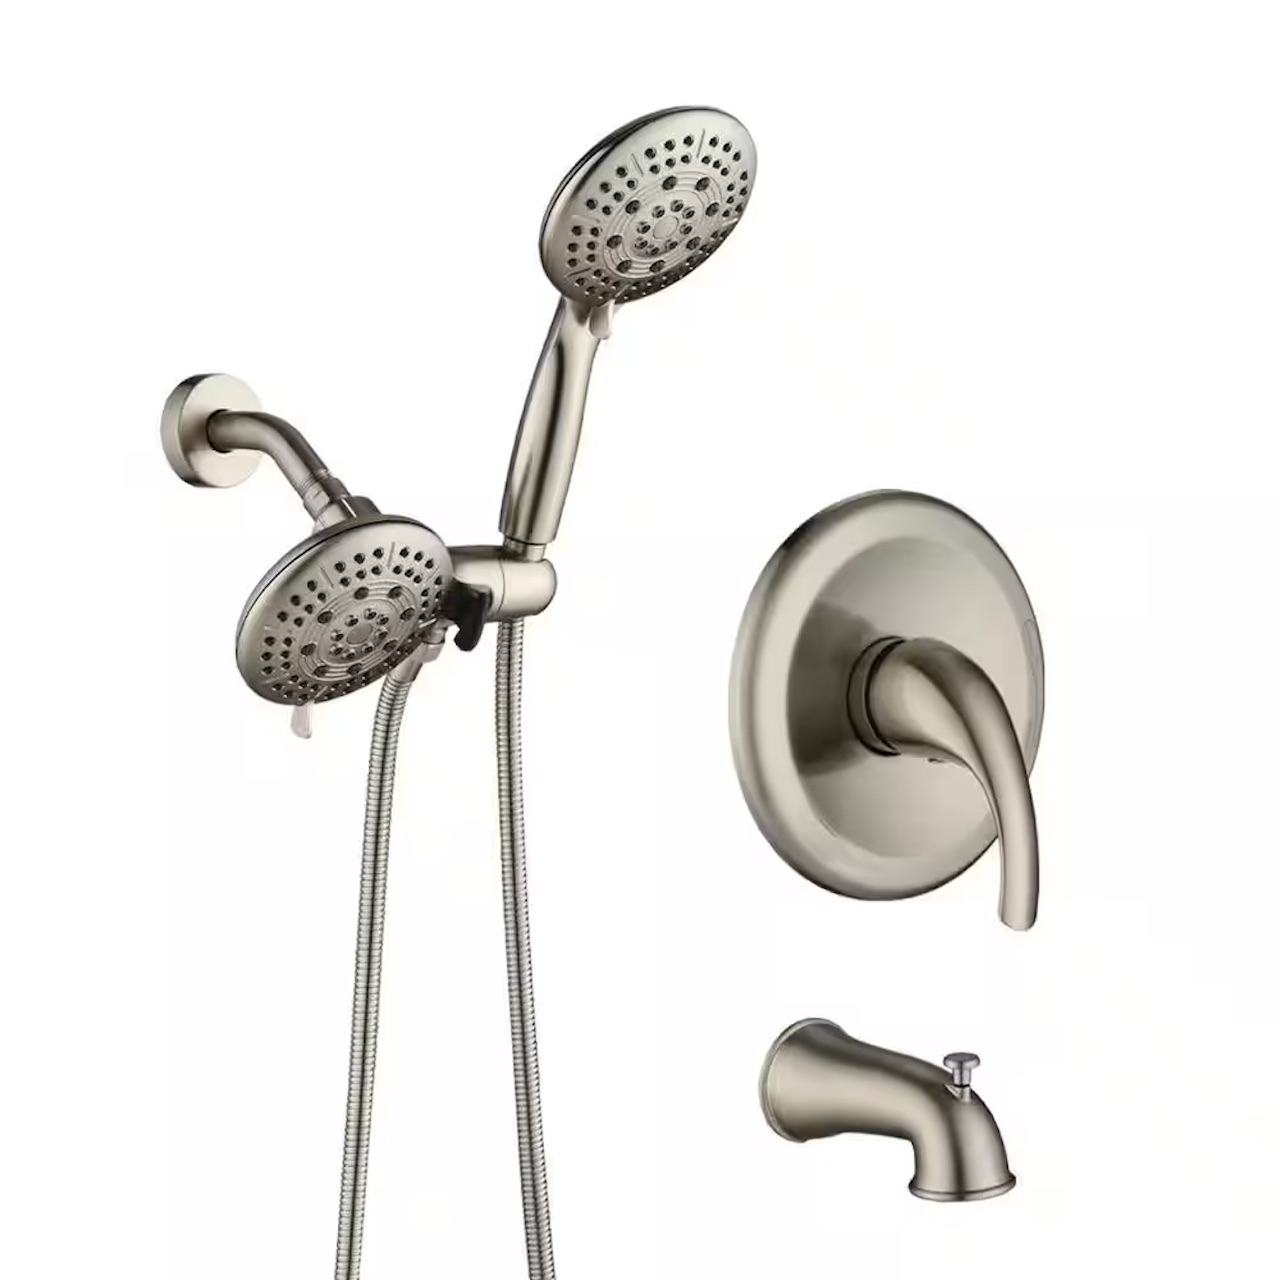
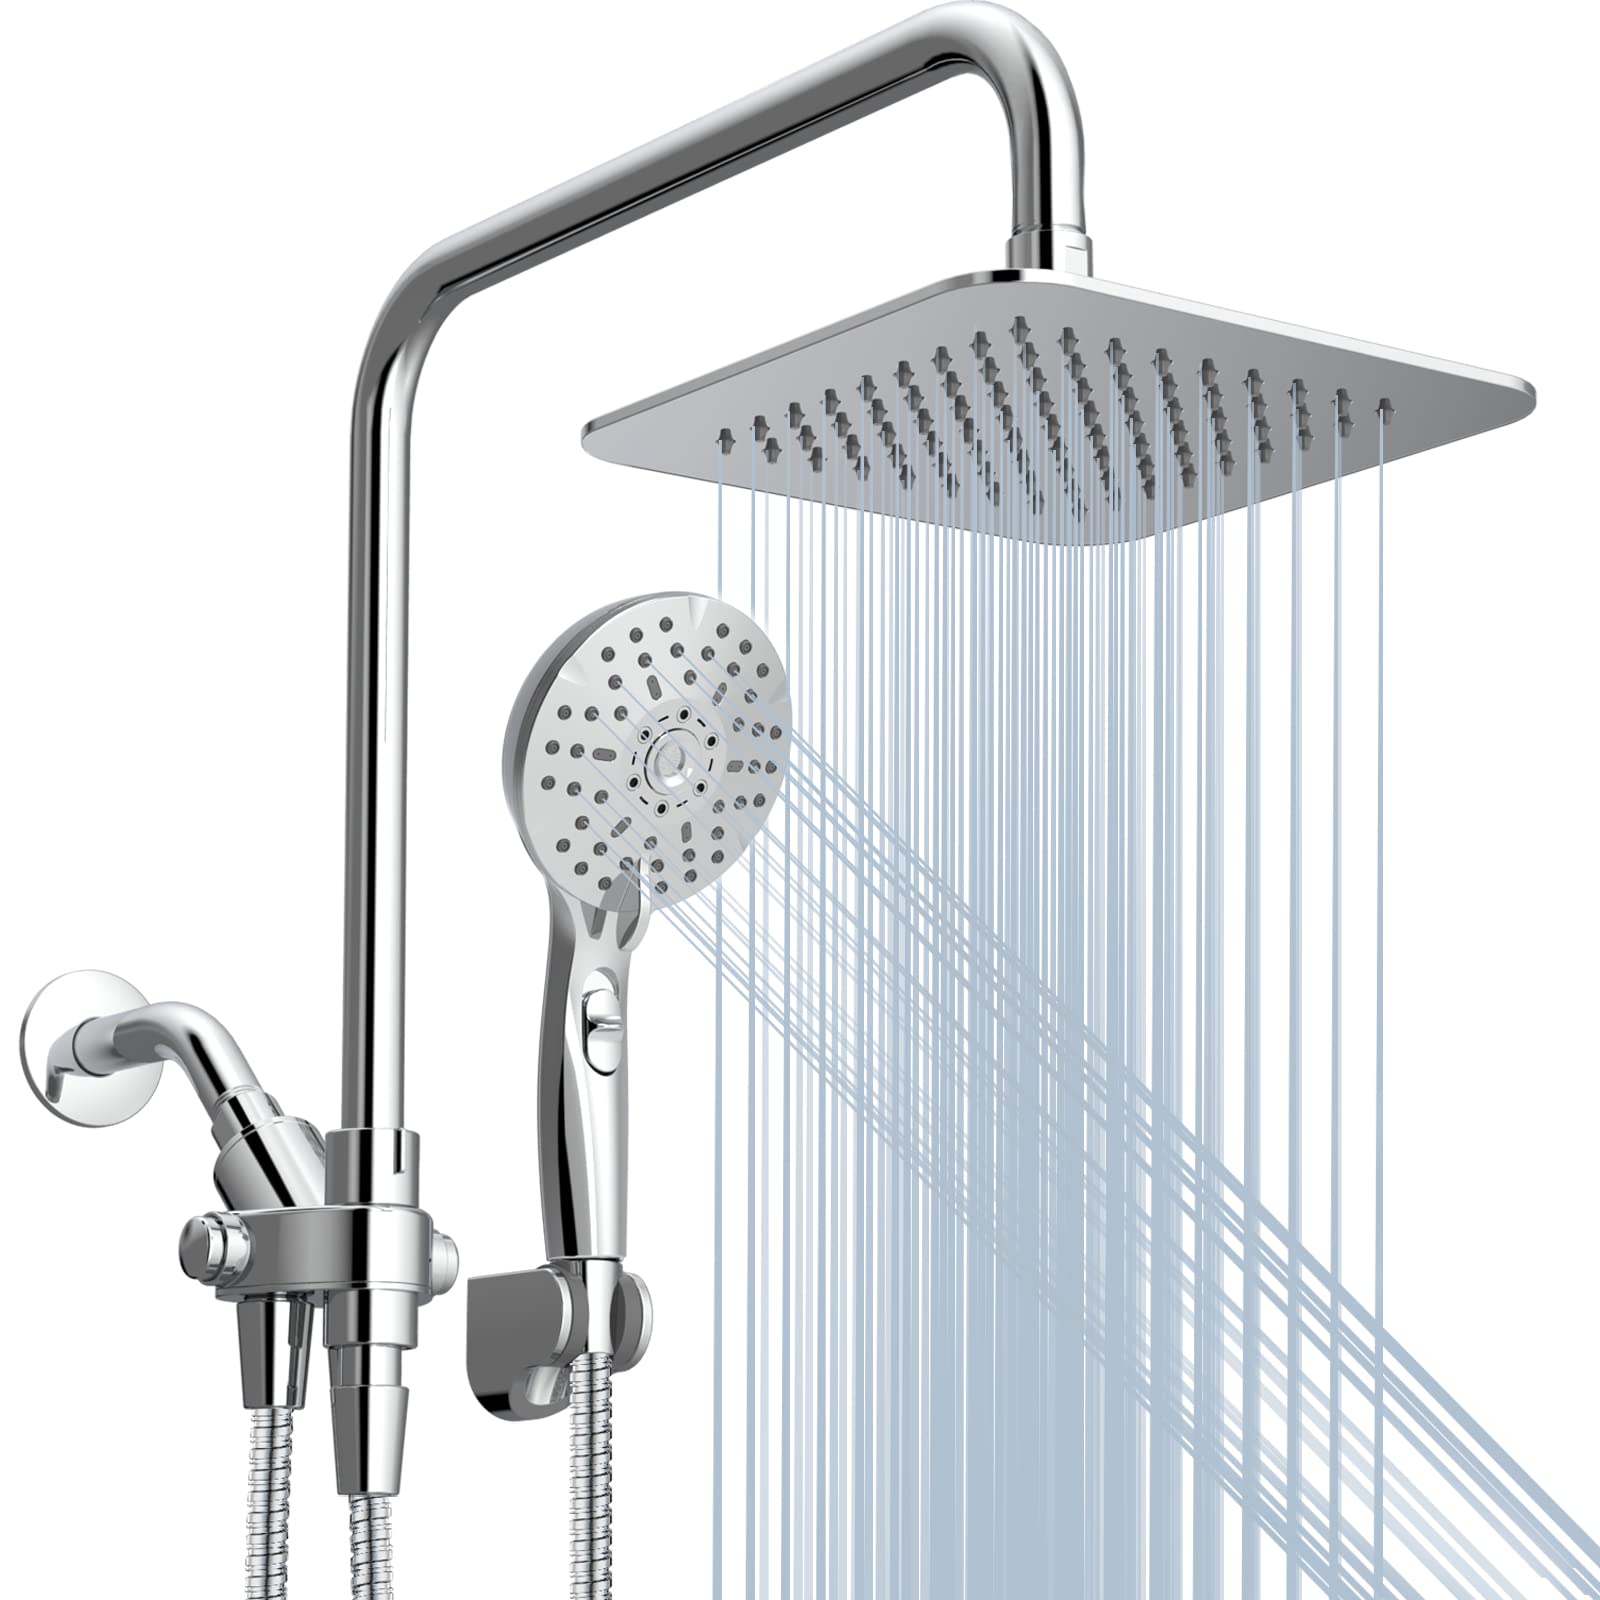
- New showerhead
- New faucet
- Pipe wrench (if required)
Having these tools and materials prepared will save you time and frustration during the installation. Now that you’re equipped with everything you need, let’s move on to the step-by-step process of replacing your showerhead and faucet.
Step 1: Shut Off the Water Supply
Before you begin any plumbing project, it’s crucial to turn off the water supply to avoid any accidental leaks or damage. Locate the main water valve in your home and shut off the water supply to your bathroom. This valve is typically found near your water meter or where the main water line enters your house.
Once you’ve located the valve, turn it clockwise until it’s fully closed. To ensure that the water is completely shut off, open a faucet in your bathroom and check if the water stops flowing. If the water continues to flow, double-check that you’ve closed the correct valve or consider seeking professional assistance.
By shutting off the water supply, you prevent any potential mishaps and make the installation process safer and more manageable. With the water supply turned off, you can now proceed to the next step of removing the old showerhead and faucet.
Step 2: Remove the Old Showerhead and Faucet
Now that the water supply is shut off, it’s time to remove the old showerhead and faucet. Start by using an adjustable wrench to loosen and remove the showerhead from the shower arm. Turn it counterclockwise until it’s completely detached. Set the old showerhead aside for disposal.
Next, move on to the faucet. If you have a separate faucet for your bathtub, you’ll need to remove it as well. Use a screwdriver to loosen and remove any screws or bolts holding the faucet in place. Carefully disconnect any water supply lines or hoses connected to the faucet.
If the faucet seems tightly fastened, you may need to use a pipe wrench to loosen it. Be cautious not to damage the pipes or any surrounding fixtures while doing so. Once the faucet is loosened, unscrew it and remove it from the wall or countertop.
With the old showerhead and faucet removed, it’s time to move on to the next step of preparing the pipe threads for the installation of the new fixtures.
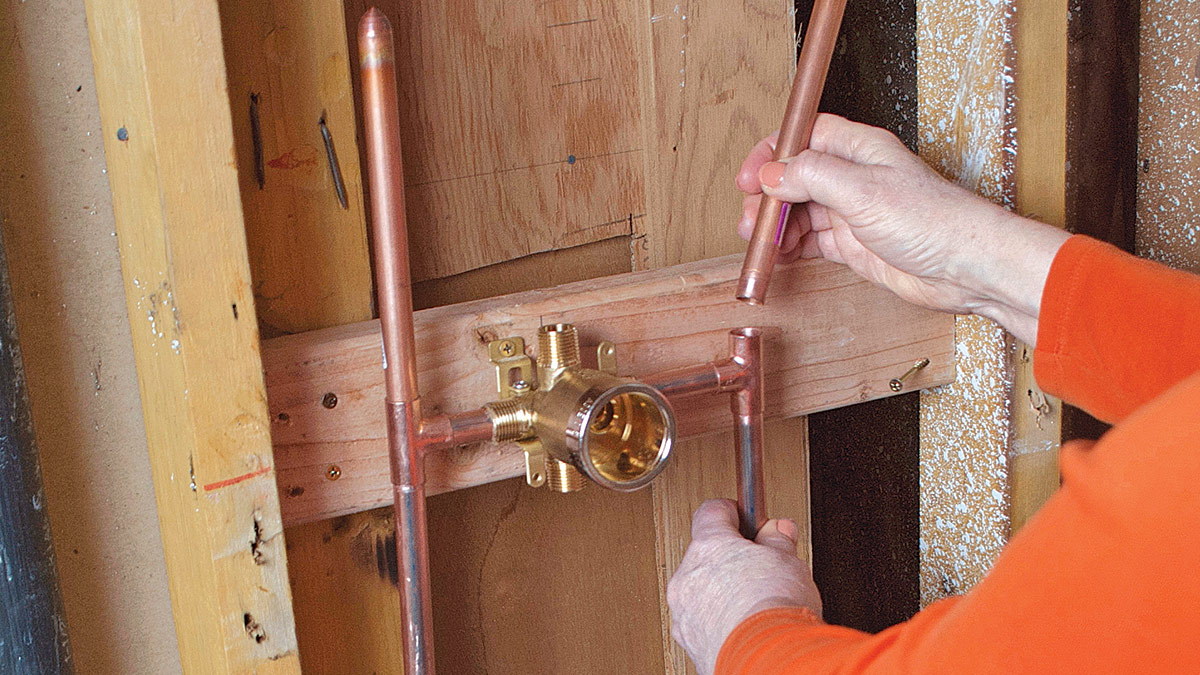
Step 3: Clean the Pipe Threads
Before installing the new showerhead and faucet, it’s important to clean the pipe threads to ensure a proper and secure connection. Over time, debris, mineral deposits, and old thread tape can accumulate on the pipe threads, which may hinder a tight seal.
Start by using a clean cloth or rag to wipe away any dirt or grime from the pipe threads. This will provide a clean surface for the new fixtures to attach to. For stubborn deposits, you can use a small brush, such as a toothbrush, to gently scrub the threads and remove any buildup.
Once the pipe threads are clean, it’s a good practice to inspect them for any signs of damage or corrosion. If you notice any significant damage, it may be necessary to consult a professional plumber to assess and repair the issue before proceeding with the installation.
Now that the pipe threads are clean and in good condition, it’s time to prepare them for a secure connection. In the next step, we’ll discuss how to apply thread tape or sealant to ensure a leak-free installation.
Read more: How To Install Rainfall Showerhead
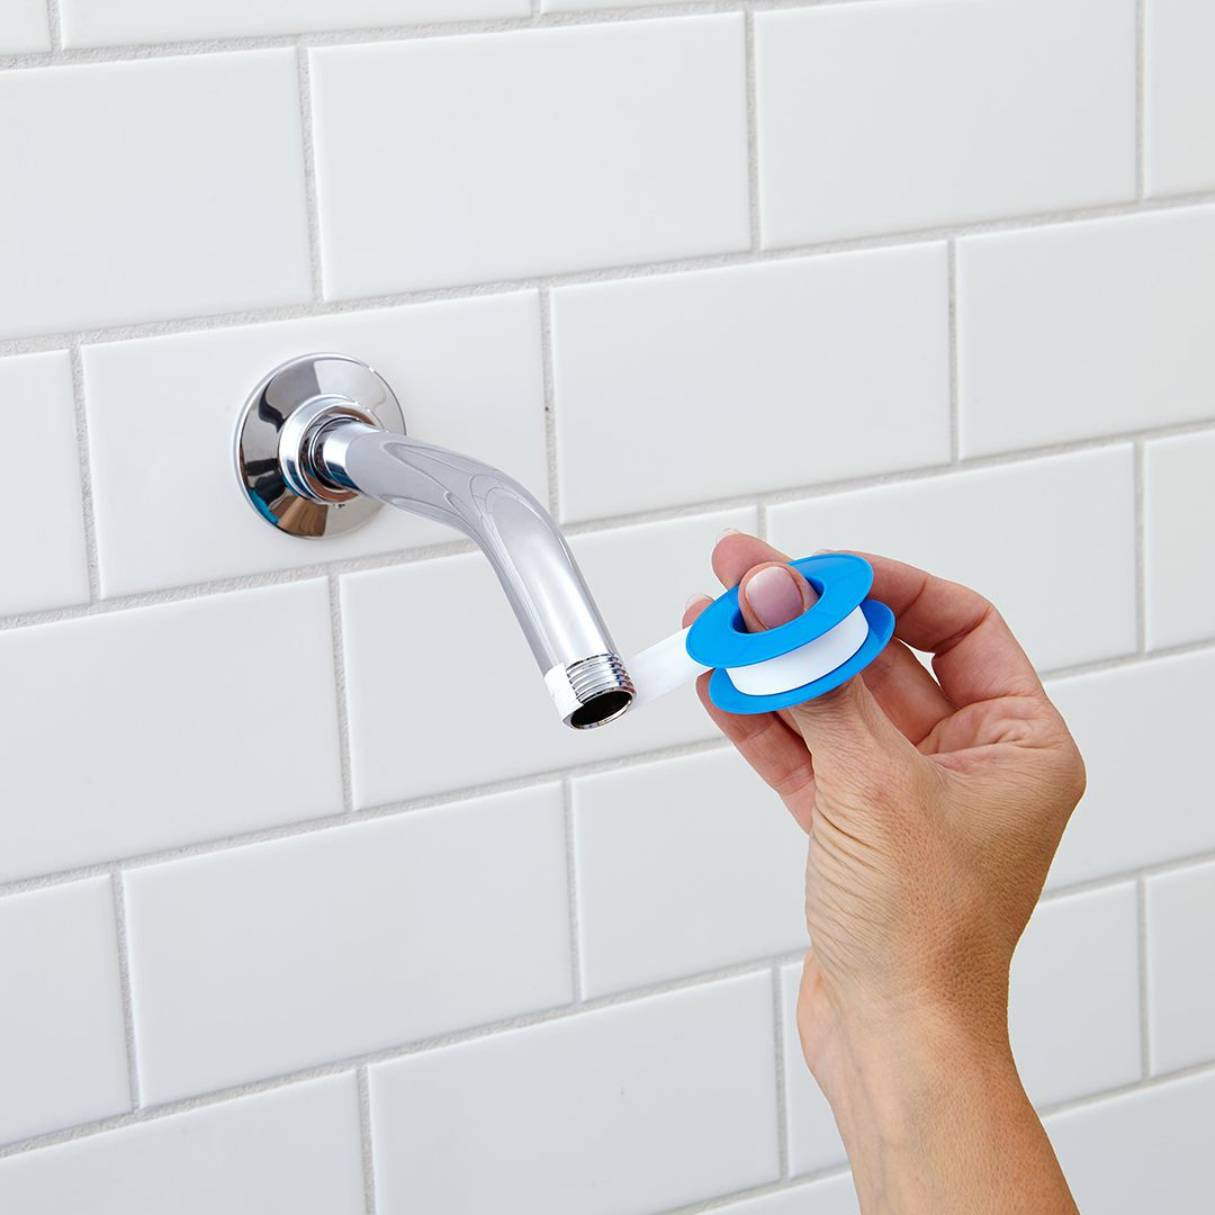
Step 4: Apply Thread Tape or Sealant
To ensure a watertight seal and prevent leaks, it’s essential to apply thread tape or sealant to the pipe threads before installing the new showerhead and faucet. Thread tape, also known as plumber’s tape or Teflon tape, is a thin, white tape made of polytetrafluoroethylene (PTFE). It helps create a tight seal between the threads of the pipes and the fittings.
To apply thread tape, start by wrapping it clockwise around the pipe threads. Begin at the base and make several turns, overlapping the tape slightly as you go. Be sure to cover all the threads evenly, ensuring a snug fit without excessive tape that could interfere with the connection.
If you prefer to use a thread sealant instead of tape, apply a thin layer of sealant to the pipe threads. Be sure to choose a sealant that is compatible with your plumbing materials and follow the manufacturer’s instructions for proper application.
Both thread tape and sealant help to create a reliable seal and prevent leaks. Once you have applied the appropriate thread tape or sealant, you can move on to the next step of attaching the new showerhead and faucet.
When installing a showerhead and faucet, make sure to use plumber’s tape on the threads to prevent leaks. Tighten the connections securely, but be careful not to over-tighten and damage the fittings.
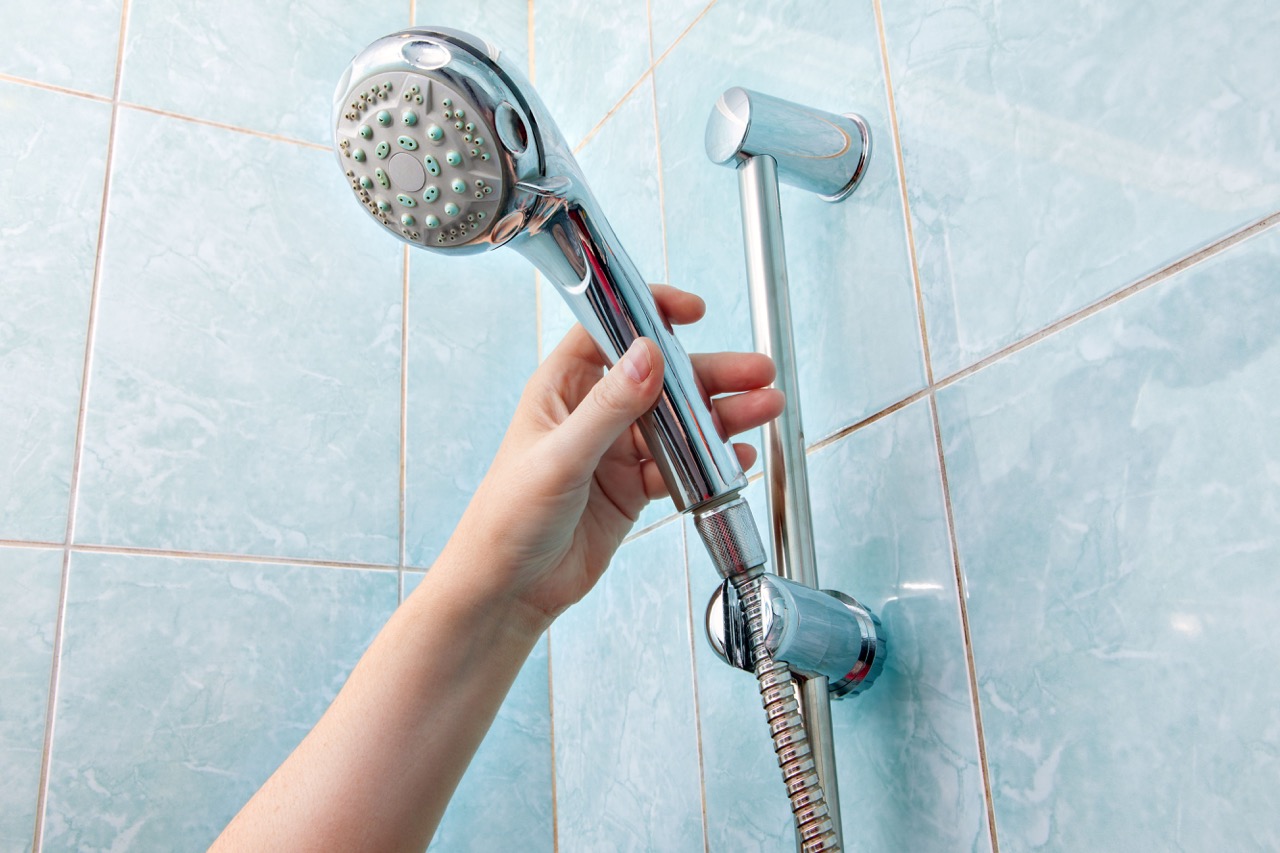
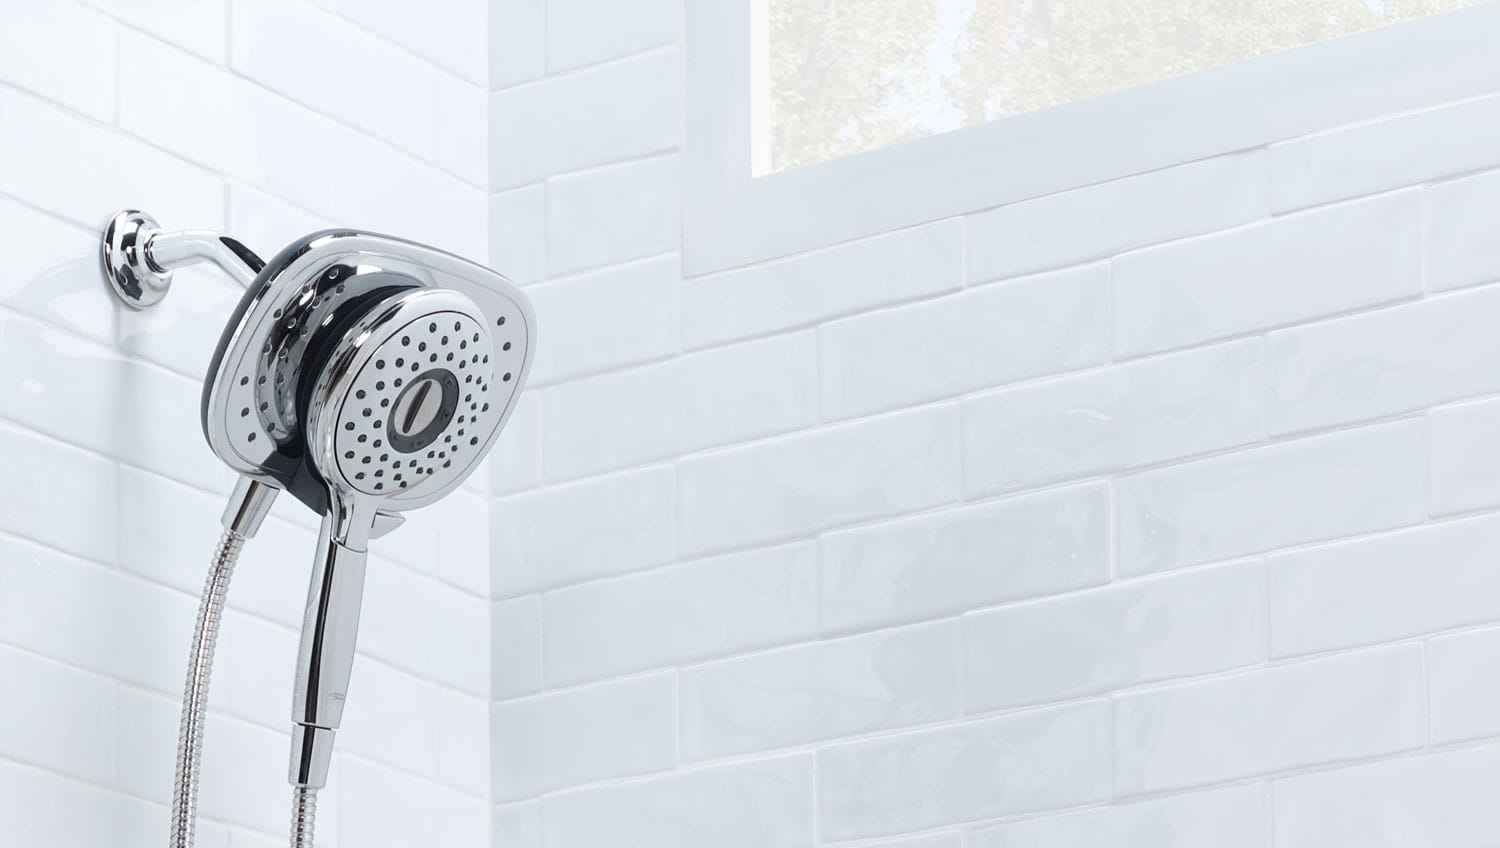
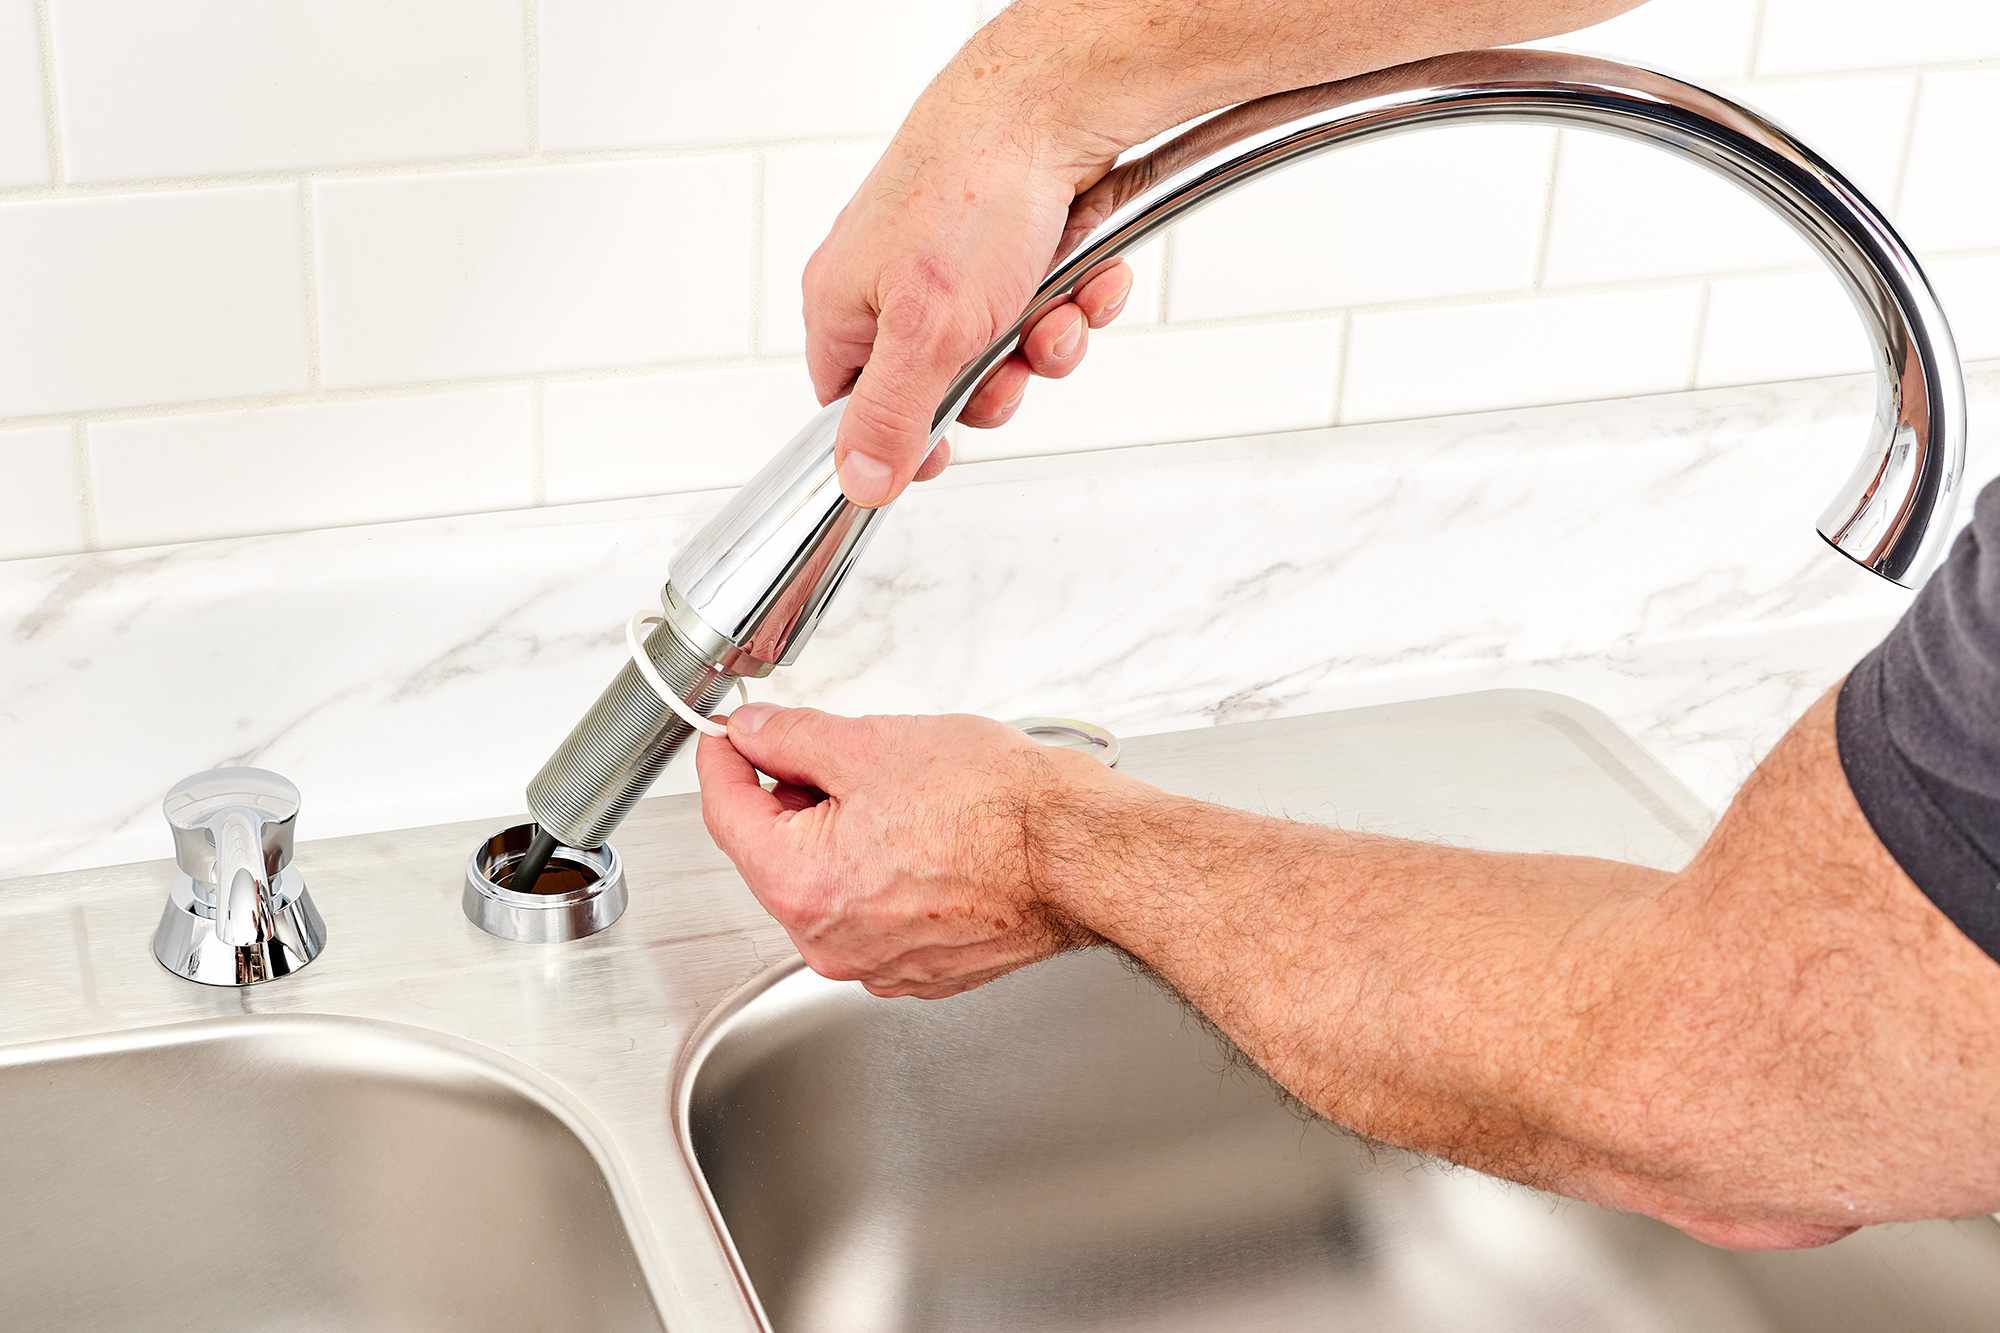
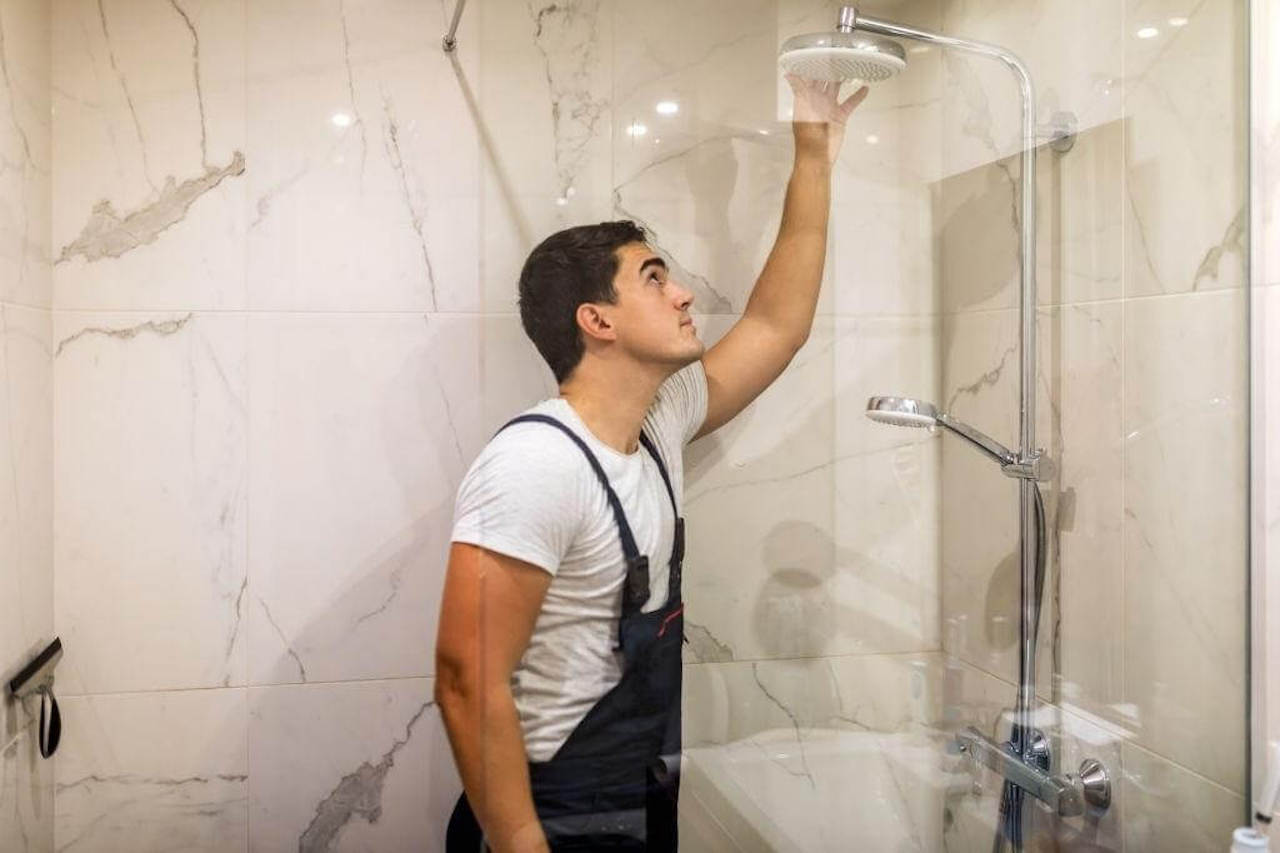
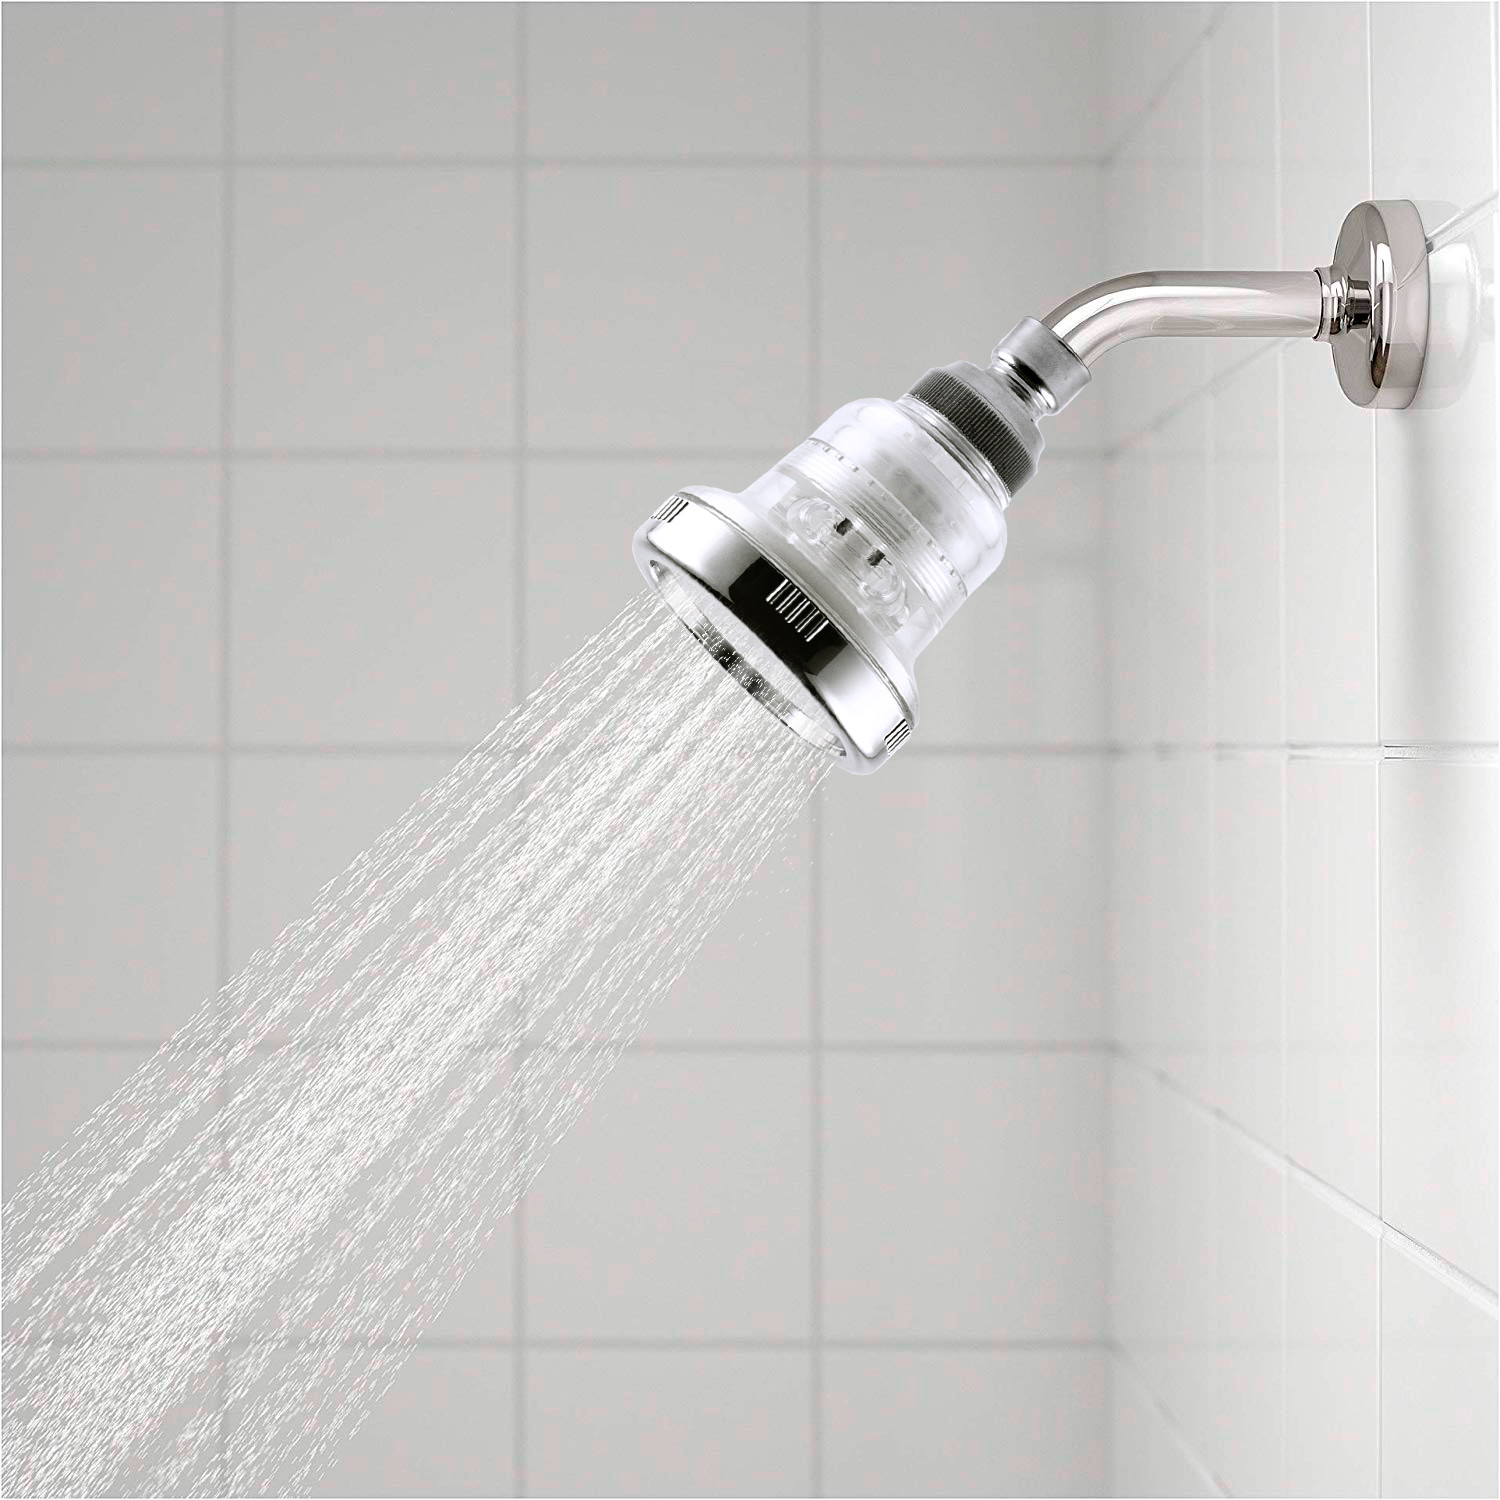
Step 5: Attach the New Showerhead and Faucet
With the pipe threads prepared, it’s time to attach the new showerhead and faucet. Start by screwing the showerhead onto the shower arm. Turn it clockwise until it is securely tightened, but be careful not to overtighten, as this could result in damage to the threads.
If your new faucet requires additional components, such as handles or a spout, refer to the manufacturer’s instructions for proper installation. Attach the components according to the provided guidelines, using the appropriate hardware or screws.
When attaching the faucet, make sure to align it properly with the mounting holes in the wall or countertop. Use a screwdriver or the specified tool to tighten any screws or bolts, ensuring a secure and stable installation.
Once the new showerhead and faucet are properly attached, ensure that they are in the desired position and facing the correct direction. This is the ideal time to make any adjustments before proceeding to the next step of tightening the connections.
Now that the new fixtures are in place, it’s time to ensure a tight and leak-free connection in the following step.
Step 6: Tighten the Connections
After attaching the new showerhead and faucet, it’s important to tighten the connections to ensure a secure and leak-free installation. Start by gently tightening the connections using an adjustable wrench or pliers. Be careful not to overtighten, as this can damage the fixtures or pipes.
When tightening the connections, focus on achieving a snug fit without excessive force. The goal is to create a secure seal without straining the components. Take care not to cross-thread the connections, as this can lead to leaks or damage.
If you encounter resistance while tightening the connections, stop immediately and reevaluate. It’s possible that the threads aren’t aligned correctly, or there may be an underlying issue that requires further attention. Double-check the positioning of the fixtures and ensure that all connections are properly aligned before proceeding.
Once all connections are tightened, inspect them visually to ensure there are no visible gaps or signs of loose fittings. A tight and secure connection will minimize the risk of leaks and enhance the overall longevity of your new showerhead and faucet.
Now that you’ve tightened all the connections, it’s time to turn on the water supply to test for leaks.
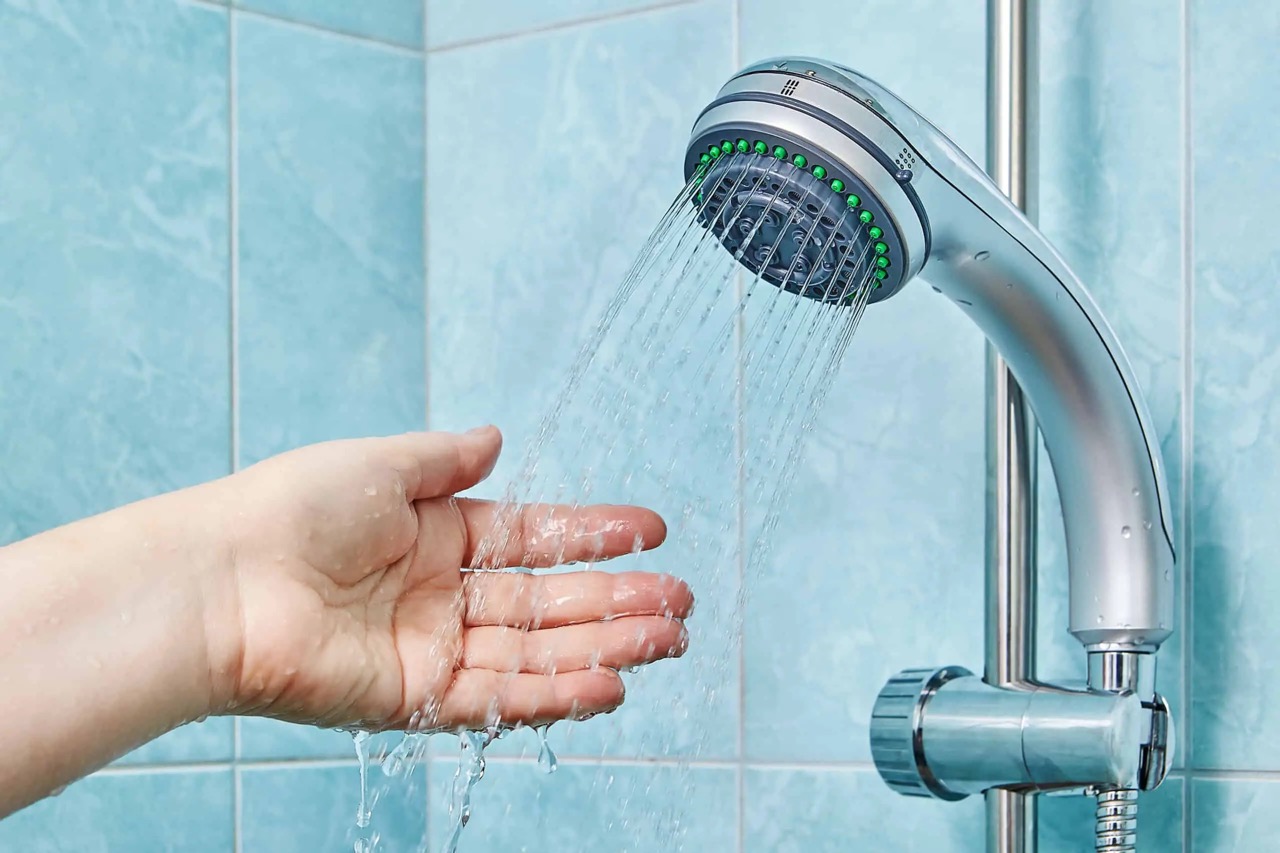
Step 7: Turn On the Water Supply
After completing the installation and tightening the connections, it’s time to turn on the water supply and test your newly installed showerhead and faucet for any leaks. Follow these steps to carefully turn on the water supply:
- Locate the main water valve that you shut off earlier in the process.
- Slowly turn the valve counterclockwise to open it. This will allow water to flow back into the pipes.
- Once you’ve opened the valve, go back to the bathroom and turn on the faucet associated with the showerhead and faucet you just installed.
- Allow the water to run for a few minutes to flush out any air pockets and ensure a steady flow.
As the water begins to flow, carefully observe the newly installed fixtures for any signs of leaks. Check around the connections, joints, and around the base of the showerhead and faucet.
If you notice any leaks, immediately turn off the water supply and revisit the connections. Check if any connections need to be tightened further or if any additional thread tape or sealant is needed. Make the necessary adjustments until the leaks are resolved.
Once you’re confident that there are no leaks and the water is flowing smoothly, congratulations! You’ve successfully installed your new showerhead and faucet.
Now, it’s time to move on to the final step of testing for leaks under normal use.
Read more: How To Install A Hascon Showerhead
Step 8: Test for Leaks
After turning on the water supply and ensuring that there are no immediate leaks, it’s important to test your newly installed showerhead and faucet under normal use conditions. This will help you identify any potential leaks or issues that may arise during regular usage.
To test for leaks, follow these steps:
- Operate the showerhead and faucet by turning them on and off multiple times.
- While the water is running, carefully inspect all the connections, joints, and around the base of the fixtures for any signs of leaking water.
- Pay close attention to any areas where you previously noticed leaks during the initial water supply test.
- If you spot a leak, take note of its location and turn off the water supply immediately.
- Inspect the connections and make any necessary adjustments, such as tightening a loose fitting or reapplying thread tape or sealant.
- Once you’ve addressed the issue, turn the water supply back on and repeat the testing process to ensure the leak has been resolved.
Continue this testing process until you’re confident that there are no leaks. It’s important to be thorough and patient during this step, as even a small leak can lead to water damage over time.
Once you’re confident that your new showerhead and faucet are operating without any leaks, congratulations! You’ve successfully installed and tested your new fixtures. Enjoy your upgraded bathing experience in your refreshed bathroom!
Remember to regularly check for any signs of leaks or issues in the future to ensure the long-lasting performance of your showerhead and faucet.
Thank you for following this step-by-step guide, and we hope it has been helpful in your DIY installation process.
Conclusion
Installing a new showerhead and faucet is a rewarding DIY project that can significantly enhance your bathroom and bathing experience. With the right tools, materials, and step-by-step guidance, the installation process can be relatively straightforward and manageable.
Throughout this guide, we’ve walked you through each step, from shutting off the water supply to testing for leaks. By following these steps, you can successfully replace your old fixtures with new ones, giving your bathroom a fresh and updated look.
Remember to gather all the necessary tools and materials before starting the project. Shut off the water supply to prevent any accidents or damage. Carefully remove the old showerhead and faucet, cleaning the pipe threads in preparation for the new fixtures.
Applying thread tape or sealant ensures a secure and leak-free connection. Attach the new showerhead and faucet, making sure to tighten the connections properly without overtightening. Once everything is in place, turn on the water supply and test for any leaks.
If you come across any leaks, address them promptly by tightening the connections or making necessary adjustments. Finally, test the fixtures under normal conditions to ensure their proper functionality.
By following these steps and taking the time to install your new showerhead and faucet correctly, you can enjoy a refreshed bathroom and an enhanced bathing experience.
Now that you have the knowledge and confidence to install a showerhead and faucet, why not get started on your bathroom upgrade project? Transform your bathroom into a spa-like oasis with modern fixtures that meet your style and needs.
Remember, if you ever feel unsure or encounter any complications during the installation process, it’s always best to seek professional assistance. Your comfort and safety are of utmost importance.
We hope this guide has been informative and helpful in your DIY journey. Enjoy your newly installed showerhead and faucet!
Frequently Asked Questions about How To Install A Showerhead And Faucet
Was this page helpful?
At Storables.com, we guarantee accurate and reliable information. Our content, validated by Expert Board Contributors, is crafted following stringent Editorial Policies. We're committed to providing you with well-researched, expert-backed insights for all your informational needs.

0 thoughts on “How To Install A Showerhead And Faucet”