Articles
How To Install A Kitchen Faucet With Sprayer
Modified: October 19, 2024
Learn how to easily install a kitchen faucet with sprayer with our step-by-step guide and expert articles. Improve your kitchen functionality today!
(Many of the links in this article redirect to a specific reviewed product. Your purchase of these products through affiliate links helps to generate commission for Storables.com, at no extra cost. Learn more)
Introduction
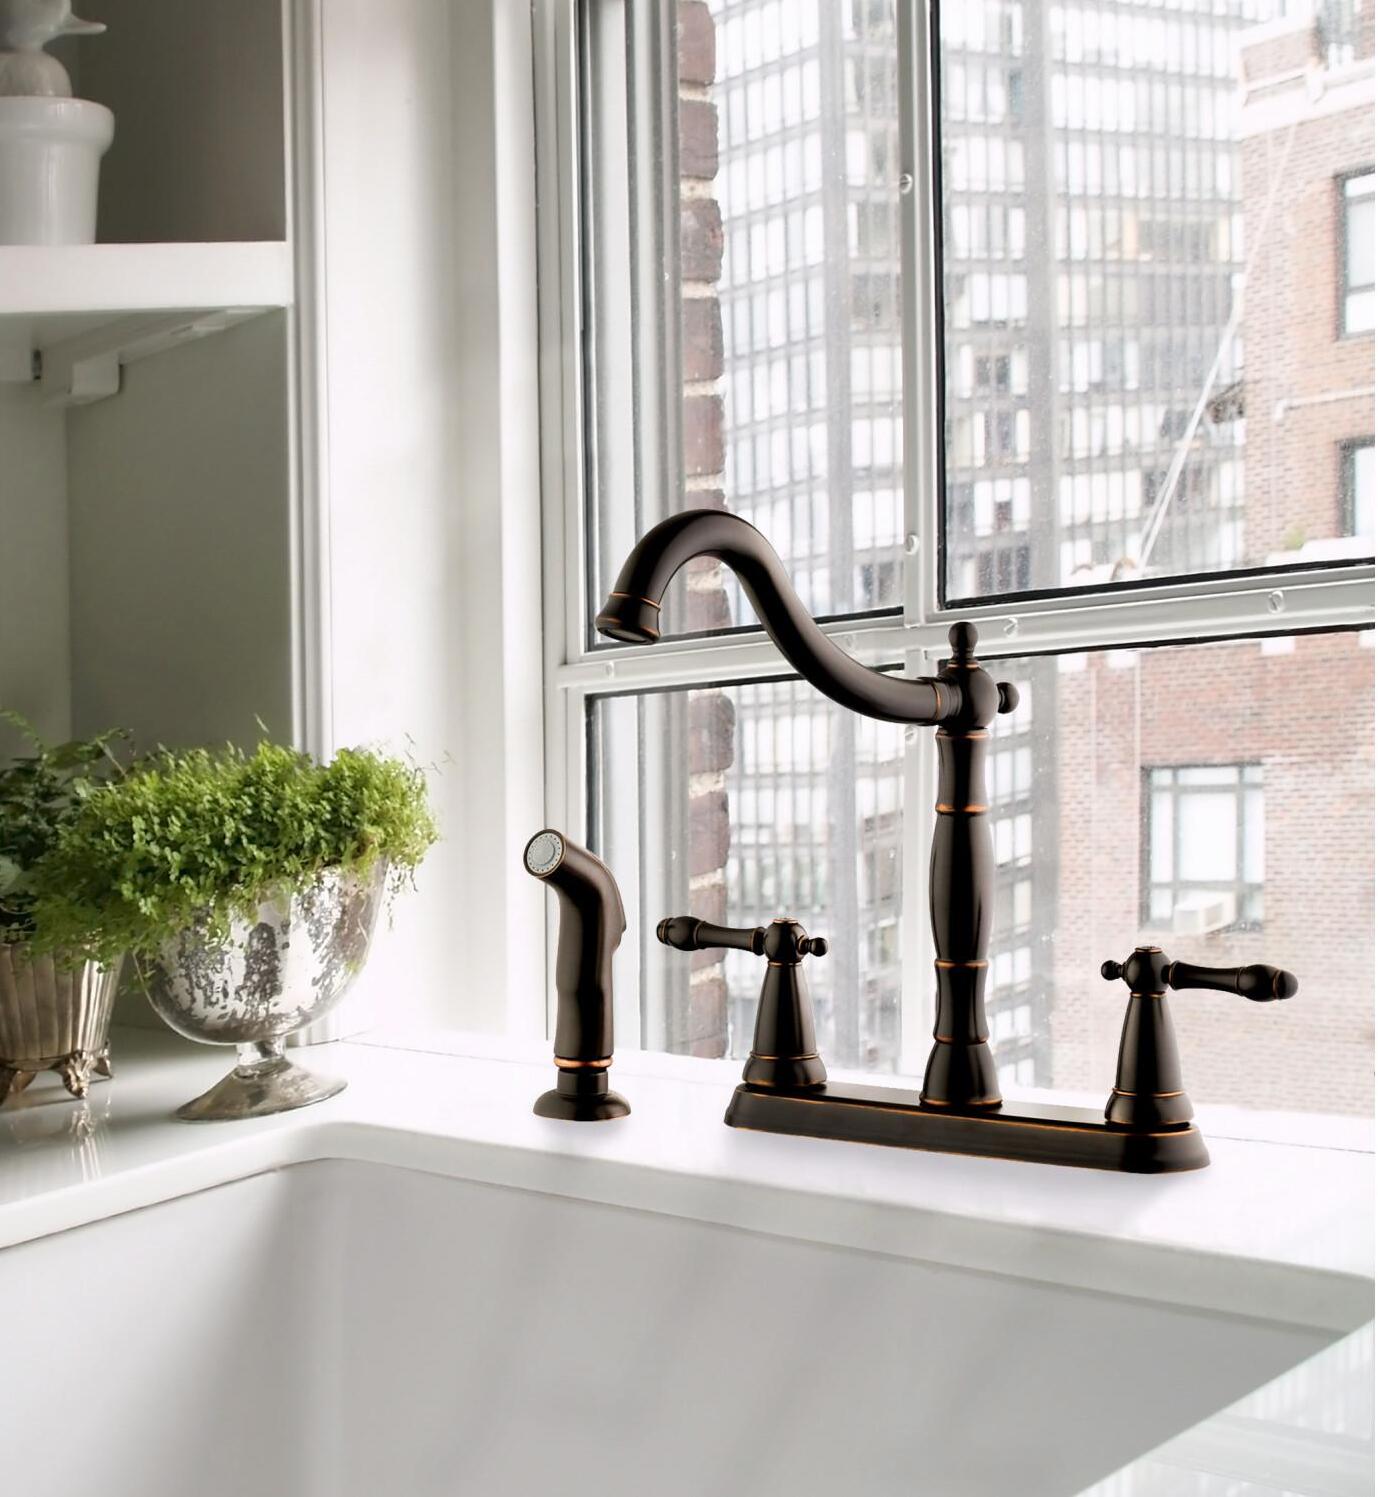
Installing a kitchen faucet with a sprayer can be a great way to upgrade your kitchen and add more functionality to your sink area. Whether you’re replacing an old faucet or installing a new one, this task can be accomplished easily with the right tools and materials. In this article, we will guide you through the step-by-step process of installing a kitchen faucet with a sprayer, ensuring that you have all the necessary information to complete the project successfully.
Before you begin, it’s important to gather all the tools and materials you’ll need. This includes a new kitchen faucet with sprayer, adjustable wrench, basin wrench, plumber’s tape, bucket, and towels. Make sure to choose a faucet that is compatible with your sink and has the necessary holes to accommodate both the faucet and sprayer.
Key Takeaways:
- Upgrade your kitchen with a new faucet and sprayer to enhance functionality and aesthetics. Follow the step-by-step guide for a successful DIY installation.
- Ensure a smooth and leak-free installation by preparing the work area, connecting water supply lines, and testing for leaks. Enjoy the convenience of a new kitchen faucet with sprayer!
Read more: How To Fix A Kitchen Faucet Sprayer
Tools and Materials Needed
Before starting the installation process, it’s essential to gather all the necessary tools and materials. Here’s a list of what you’ll need:
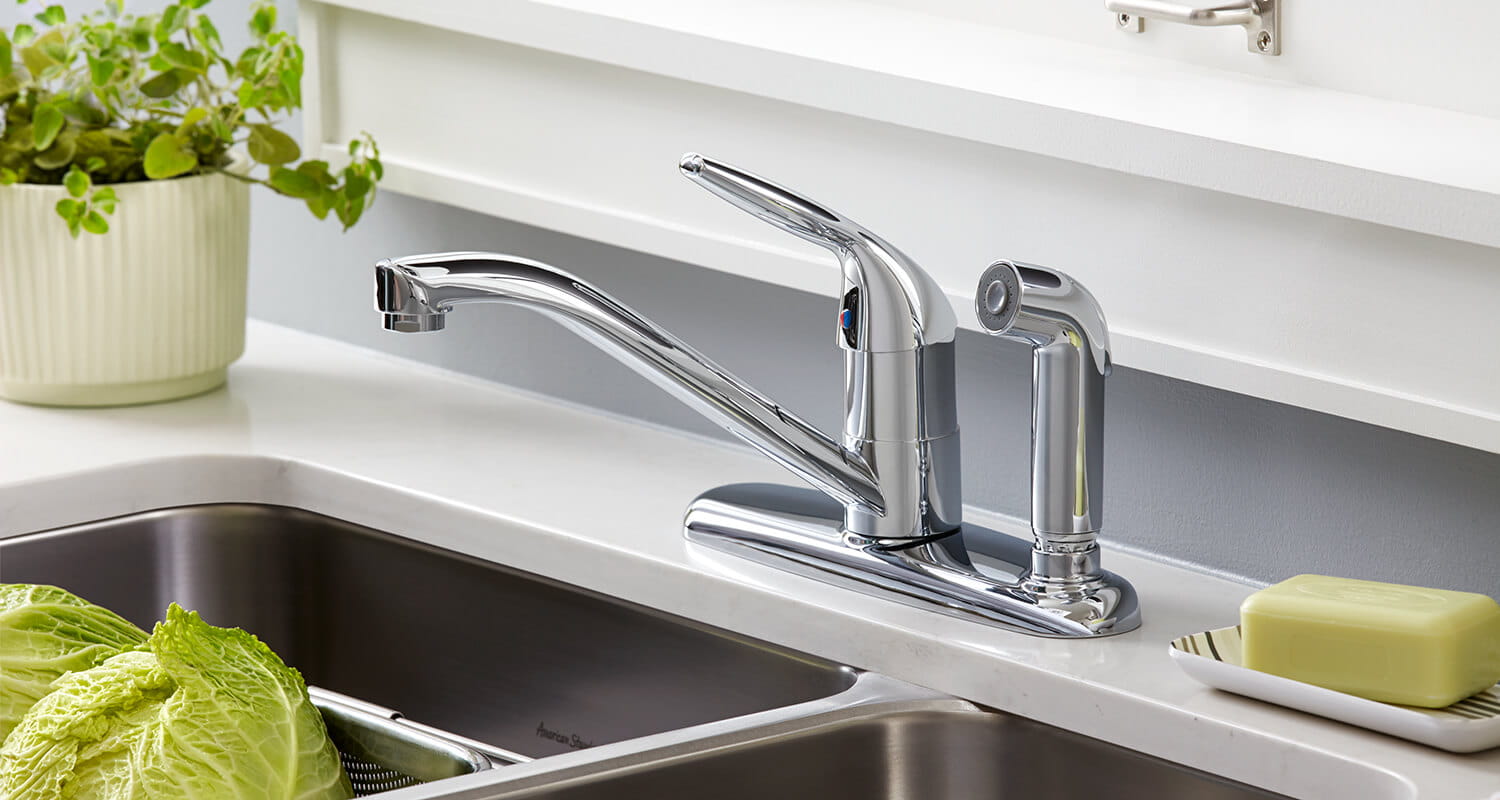
- New kitchen faucet with sprayer
- Adjustable wrench
- Basin wrench
- Plumber’s tape
- Bucket
- Towels
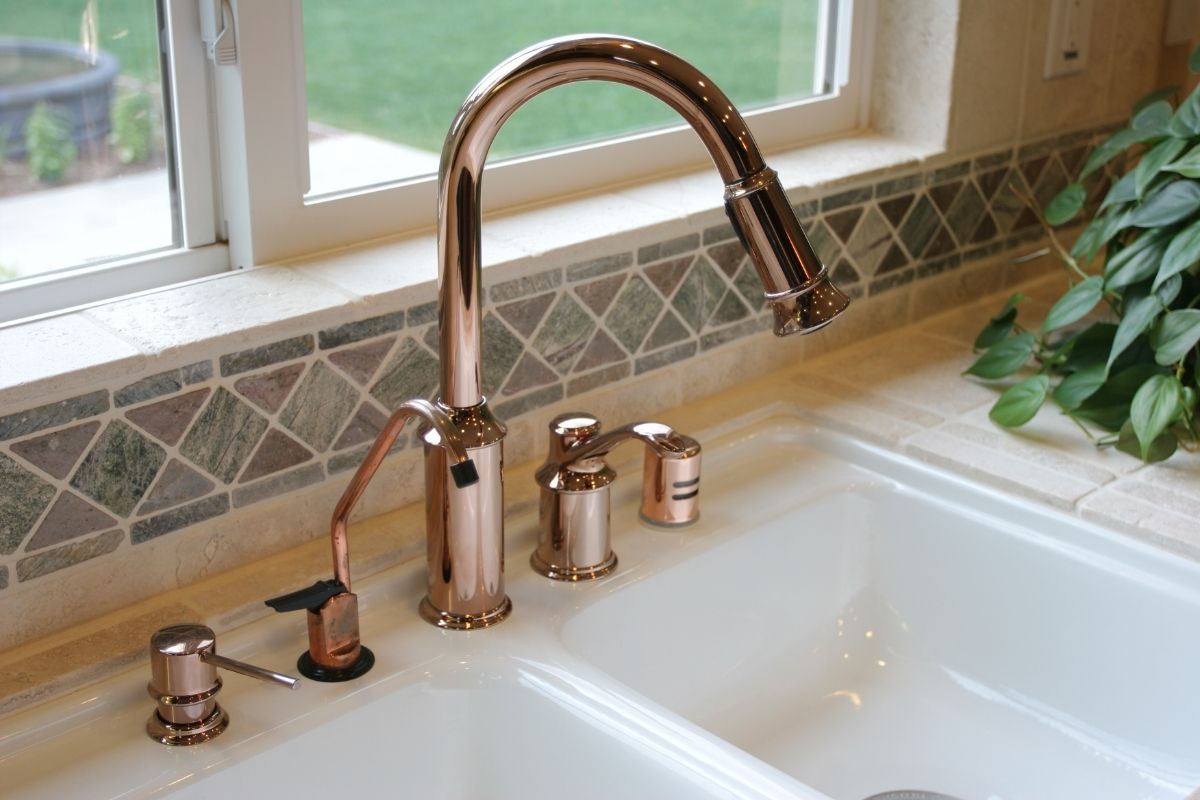
The new kitchen faucet with sprayer is the most crucial item on the list. Ensure that you choose a faucet that fits your sink and has the necessary holes for the faucet and sprayer installation.
The adjustable wrench will be used to loosen and tighten the connections during the installation process. A basin wrench comes in handy for reaching difficult-to-access nuts and bolts under the sink.
Plumber’s tape, also known as Teflon tape, is required to seal the threads on the various connections, preventing any leaks. It’s a good idea to have a bucket and towels nearby to catch any water that may drip during the installation process and to keep your workspace clean and dry.
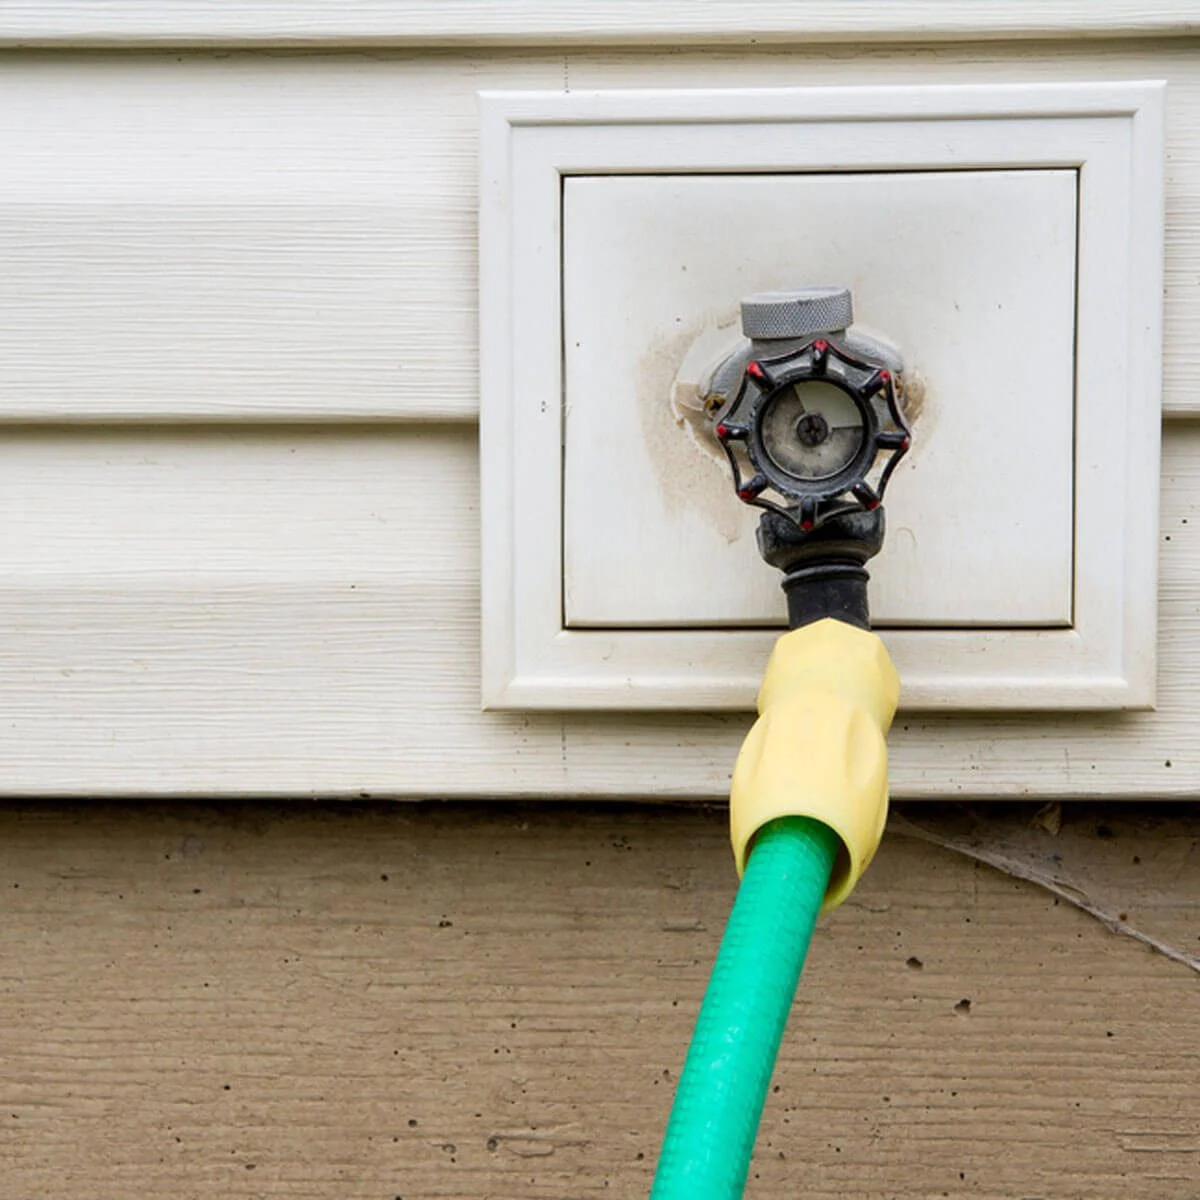
Step 1: Turn Off the Water Supply
Before you begin the installation process, it’s crucial to turn off the water supply to your kitchen sink. This will prevent any water from flowing while you work on the faucet installation and ensure a smooth and dry process.
Locate the water shut-off valves underneath the sink. There are usually two valves – one for hot water and one for cold water. Turn both valves clockwise to shut off the water supply. If your sink doesn’t have individual shut-off valves, you may need to shut off the main water supply to your house temporarily.
Once the water supply is turned off, turn on the kitchen faucet to release any residual water in the lines. This will help avoid any unexpected water flow during the installation process.
Remember, safety should always be your top priority. Turning off the water supply will prevent any accidents or water damage while you work on installing the new kitchen faucet with sprayer.
Step 2: Prepare the Work Area
Preparing the work area before installing a kitchen faucet with a sprayer is important to ensure a smooth and organized installation process. Follow these steps to get your work area ready:
- Clear the sink and surrounding area: Remove any dishes, utensils, and other items from the sink and countertops. Clearing the area will give you enough space to work on the installation without any obstructions.
- Place a towel or bucket under the sink: Placing a towel or bucket under the sink will catch any water that may drip during the installation process. This will help keep your work area clean and dry. It’s a good idea to have a spare towel nearby in case you need to wipe up any spills or drips.
- Have a flashlight ready: Having a flashlight on hand will help you see underneath the sink and properly assess the plumbing connections. This will make it easier to navigate and work with the various components of the faucet and sprayer.
It’s important to prepare the work area to ensure a hassle-free installation process. Taking the time to clear the sink and surrounding area, placing a towel or bucket underneath, and having a flashlight ready will make it easier for you to work comfortably and efficiently.
Step 3: Remove the Old Faucet
Removing the old faucet is an essential step before installing a new kitchen faucet with a sprayer. Here’s a step-by-step guide on how to remove the old faucet:
- Turn off the water supply: Before starting the removal process, ensure that the water supply to the sink is turned off. If you haven’t done so already, locate the shut-off valves underneath the sink and turn them clockwise to shut off the water supply.
- Disconnect the supply lines: Use an adjustable wrench to disconnect the supply lines from the faucet. Place a bucket or towel underneath to catch any water or residual drips. Start by loosening the nuts on the hot and cold water supply lines and remove them completely.
- Remove the mounting nuts: Locate the mounting nuts that secure the faucet to the sink. These are usually located underneath the sink and hold the faucet in place. Use a basin wrench to loosen and remove the mounting nuts. Be careful not to damage any surrounding pipes or connections.
- Detach the faucet: Once the mounting nuts are removed, gently lift the old faucet assembly from the sink. If the faucet is stuck or difficult to remove, use a putty knife or screwdriver to help loosen any adhesive or caulk that may be holding it in place.
- Clean the sink surface: With the old faucet removed, take the opportunity to clean the sink surface thoroughly. Remove any residue, adhesive, or caulk from the area where the new faucet will be installed.
Removing the old faucet may require a bit of effort, but it is an important step to ensure a successful installation of the new kitchen faucet with a sprayer. Take your time, follow these steps carefully, and clean the area before moving on to the installation process.
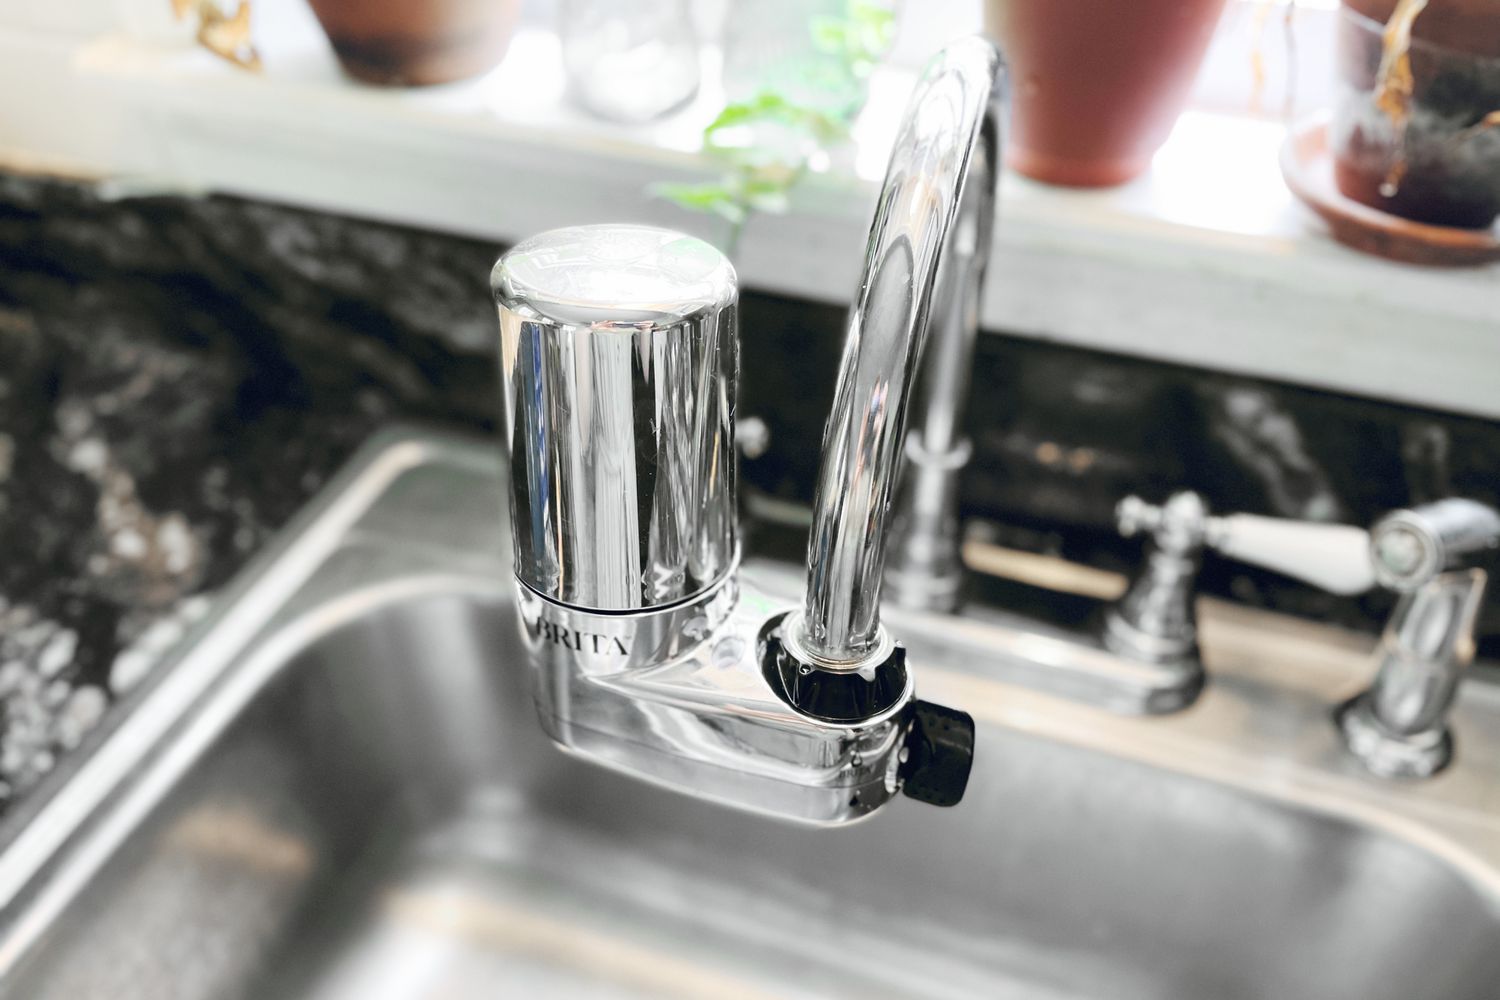
Step 4: Install the New Faucet
Now that you have successfully removed the old faucet, it’s time to install the new kitchen faucet with a sprayer. Follow these steps to ensure a proper installation:
- Position the new faucet: Place the new faucet into the mounting holes on the sink. Make sure it fits properly and aligns with the pre-existing holes.
- Secure the faucet: From underneath the sink, use a basin wrench or adjustable wrench to tighten the mounting nuts. Ensure that the faucet is stable and securely attached to the sink.
- Connect the supply lines: Attach the hot and cold water supply lines to the corresponding valves on the faucet. Apply plumber’s tape to the threaded ends of the supply lines to create a tight seal. Use an adjustable wrench to tighten the nuts, but be careful not to overtighten and damage the connections.
- Attach the sprayer hose: If your new faucet comes with a sprayer, connect the sprayer hose to the designated outlet on the faucet. Apply plumber’s tape to the threaded end of the hose for a secure connection. Ensure that the hose is not twisted or kinked.
- Check the alignment: Once all connections are made, check the alignment of the faucet, sprayer, and handles. Adjust as necessary to ensure a proper fit and aesthetic appeal.
During the installation process, be gentle to avoid damaging the faucet or sink. Take the time to ensure that all connections are secure and aligned correctly. Proper installation is essential to prevent leaks and ensure the long-term functionality of your new kitchen faucet with a sprayer.
Before installing a kitchen faucet with a sprayer, make sure to turn off the water supply to the sink. This will prevent any leaks or water damage during the installation process.
Step 5: Connect the Water Supply Lines
Connecting the water supply lines is a crucial step in the installation process of a kitchen faucet with a sprayer. Here’s a step-by-step guide to help you:
- Turn off the water supply: If you haven’t already done so, ensure that the water supply to the sink is turned off. Locate the shut-off valves underneath the sink and turn them clockwise to shut off the water supply.
- Attach the supply lines: Take the hot and cold water supply lines and connect them to the corresponding valves on the faucet. Ensure that the lines are properly aligned with the valve threads.
- Apply plumber’s tape: Before attaching the supply lines, apply a few wraps of plumber’s tape to the threaded ends. The plumber’s tape helps create a tight seal and prevents leaks.
- Tighten the connections: Once the plumber’s tape is applied, use an adjustable wrench to tighten the nuts on the supply lines. Be careful not to overtighten, as it could damage the threads or cause leaks.
- Double-check the connections: After tightening the nuts, double-check the connections to ensure they are secure and tight. Look for any signs of leaking or dripping. If you notice any, tighten the connections a bit more or make sure the plumber’s tape is properly applied.
Connecting the water supply lines completes the installation of the kitchen faucet with a sprayer. Take your time to ensure that all connections are secure and free from any leaks. A properly connected water supply system will ensure the smooth functioning of your new kitchen faucet and sprayer.
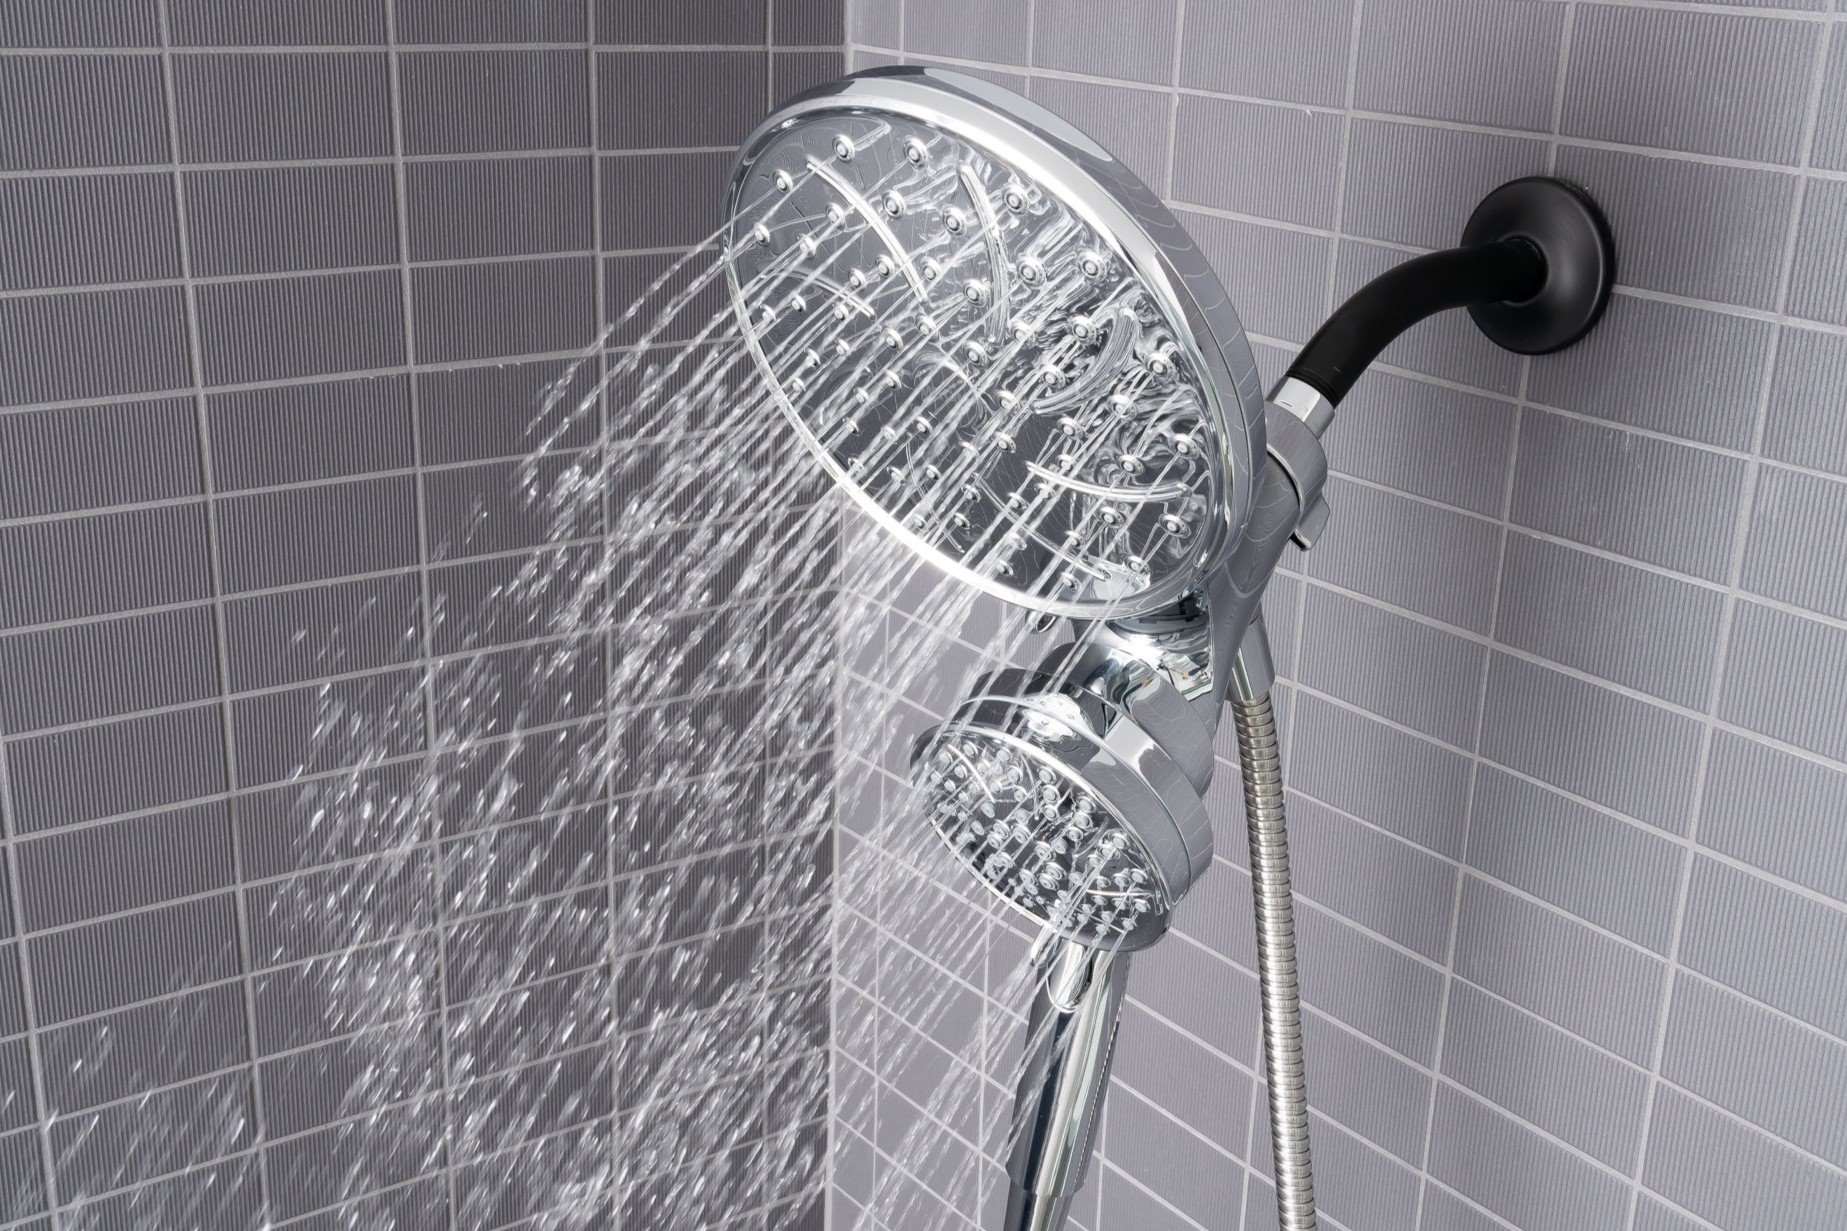
Step 6: Test the Faucet and Check for Leaks
After connecting the water supply lines, it’s important to test the faucet and check for any potential leaks. Follow these steps to ensure everything is working properly:
- Turn on the water supply: Open the shut-off valves underneath the sink by turning them counterclockwise. This will allow water to flow to the faucet.
- Test the hot and cold water: Turn on the faucet handles and let both hot and cold water run for a few minutes. Ensure that the water flows smoothly and there are no leaks or drips. If you notice any leaks, turn off the water supply and tighten the connections as necessary.
- Check for leaks: Carefully inspect all the connection points, including the supply lines, faucet base, and sprayer hose (if applicable). Look for any signs of water leakage or dripping. If you detect any leaks, turn off the water supply, tighten the connections, or reapply plumber’s tape as needed.
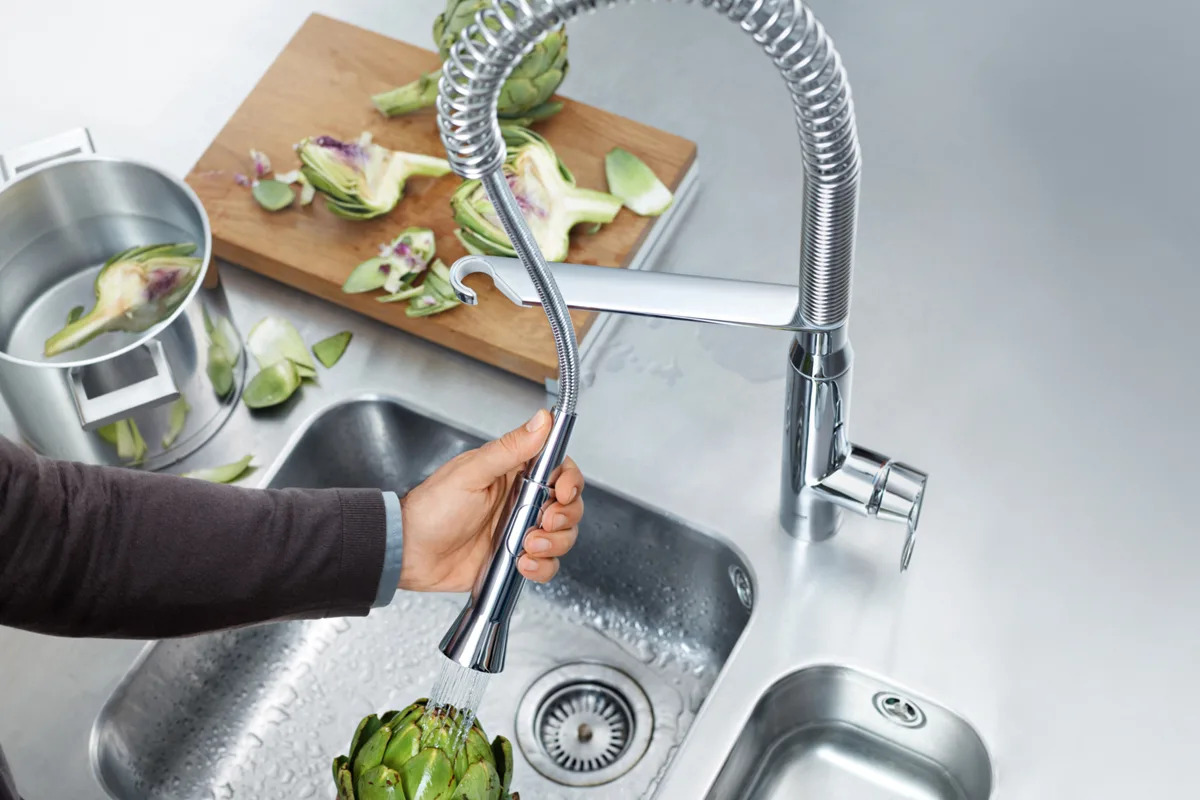
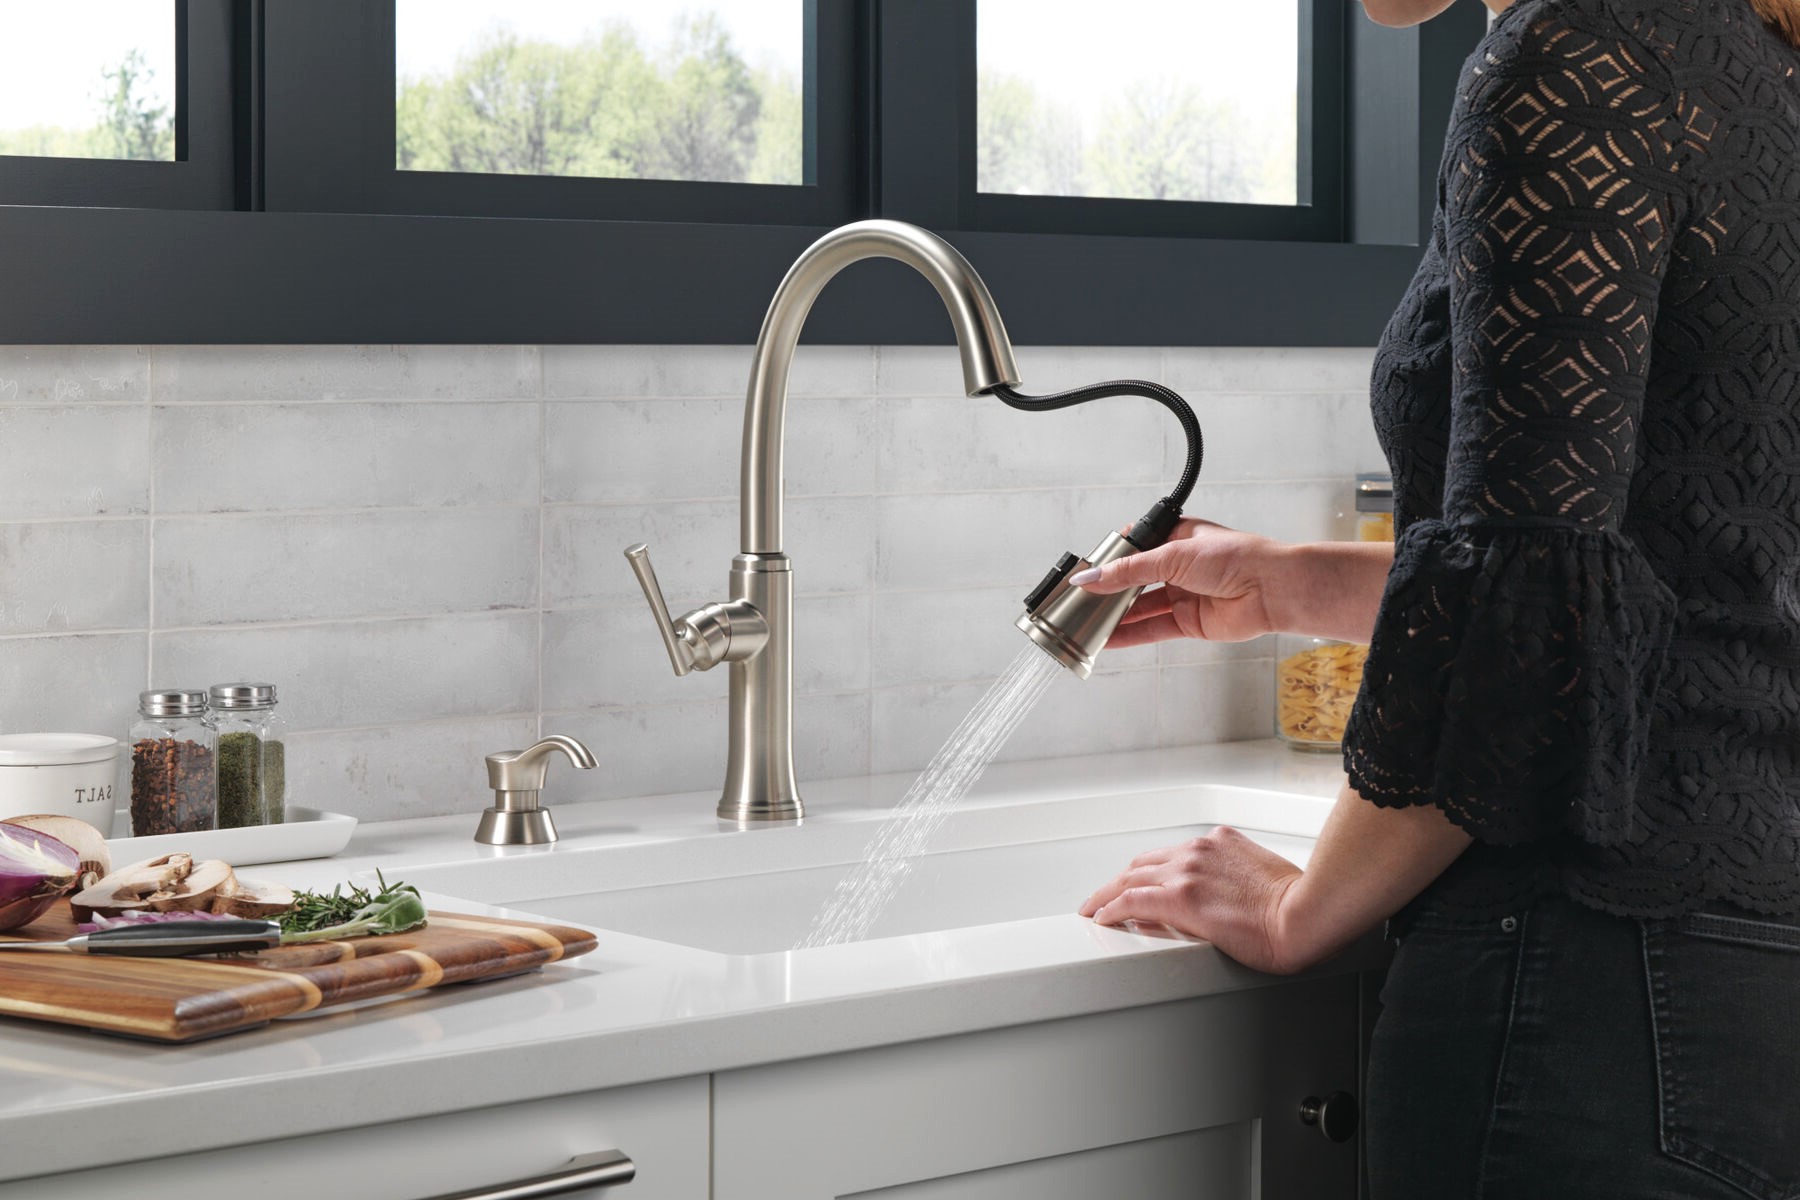
- Operate the sprayer (if applicable): If your kitchen faucet comes with a sprayer, test its functionality as well. Ensure that the sprayer hose is securely attached and that the sprayer head functions properly without any leaks or malfunctions.
Testing the faucet and checking for leaks is an essential step to ensure the proper functioning and longevity of your kitchen faucet with a sprayer. Address any leaks or issues immediately to prevent water damage and maintain a seamless kitchen sink experience.
Step 7: Attach the Sprayer Hose
If your kitchen faucet comes with a sprayer, the next step is to attach the sprayer hose. Follow these steps to properly attach the sprayer hose:
- Locate the sprayer hose connection: Look for the designated outlet on the faucet assembly where the sprayer hose will connect. This is typically located on the side of the faucet.
- Attach the sprayer hose: Take the sprayer hose and insert it into the designated outlet on the faucet assembly. Make sure it fits securely and is properly aligned with the connection.
- Tighten the connection: Use an adjustable wrench to tighten the connection between the sprayer hose and the faucet assembly. Be careful not to overtighten, as it could damage the threads or cause leaks. Ensure that the connection is secure and free from any movement or wobbling.
- Test the sprayer: Once the sprayer hose is securely attached, turn on the faucet and test the sprayer functionality. Ensure that the sprayer head works properly and that there are no leaks or dripping from the sprayer hose connection.
Attaching the sprayer hose adds convenience and functionality to your kitchen faucet. Take your time to properly connect the hose and ensure a secure and leak-free attachment. Testing the sprayer functionality will ensure that it operates smoothly when you need it.
Read also: 12 Best Faucet Sprayer Attachment for 2025
Step 8: Secure the Faucet Base
Once all the connections are made and the sprayer hose is attached, it’s time to secure the faucet base to the sink. Follow these steps to ensure a stable installation:
- Align the faucet base: Place the faucet base on the sink surface, ensuring that it is properly aligned with the mounting holes and any decorative plate or escutcheon that may be included.
- Apply plumber’s putty or silicone caulk: To create a watertight seal and prevent water from seeping beneath the faucet, apply a thin layer of plumber’s putty or silicone caulk around the base of the faucet. This will help secure the faucet in place and prevent any potential leaks.
- Secure the faucet base: From underneath the sink, use a basin wrench or adjustable wrench to tighten the mounting nuts on the faucet base. Make sure to tighten them evenly and firmly but avoid over-tightening, as it may damage the sink or the faucet.
- Remove excess putty or caulk: Once the faucet is securely attached, wipe away any excess plumber’s putty or silicone caulk from around the base of the faucet. This will leave a clean and finished appearance.
Securing the faucet base is essential to ensure that the faucet remains stable and securely attached to the sink. Taking the time to properly align the base, apply plumber’s putty or caulk, and tighten the mounting nuts will provide a secure and leak-free installation.
Conclusion
Congratulations! You have successfully installed a new kitchen faucet with a sprayer. By following the step-by-step process outlined in this article, you have enhanced the functionality and aesthetics of your sink area. Here’s a recap of the installation process:
- Turn off the water supply to the sink.
- Prepare the work area by clearing the sink and placing a towel or bucket underneath.
- Remove the old faucet by disconnecting the supply lines and removing the mounting nuts.
- Install the new faucet by positioning it in the mounting holes and securing it with mounting nuts.
- Connect the water supply lines, making sure to use plumber’s tape for a secure seal.
- Test the faucet and check for any leaks.
- Attach the sprayer hose, ensuring a proper connection.
- Secure the faucet base by aligning it and tightening the mounting nuts.
By following these steps and taking your time throughout the installation process, you have successfully upgraded your kitchen sink with a new faucet and sprayer. Enjoy the enhanced functionality and convenience they bring to your everyday tasks.
Remember, if at any point you feel uncertain or uncomfortable with the installation process, it’s always a good idea to consult a professional plumber. They have the expertise and knowledge to ensure a proper and safe installation.
Thank you for choosing this article as your guide. We hope it has provided you with the necessary information and confidence to install a kitchen faucet with a sprayer. Happy DIY-ing!
Frequently Asked Questions about How To Install A Kitchen Faucet With Sprayer
Was this page helpful?
At Storables.com, we guarantee accurate and reliable information. Our content, validated by Expert Board Contributors, is crafted following stringent Editorial Policies. We're committed to providing you with well-researched, expert-backed insights for all your informational needs.


0 thoughts on “How To Install A Kitchen Faucet With Sprayer”