Articles
How To Install Brita Faucet Filter
Modified: August 17, 2024
Learn how to easily install the Brita Faucet Filter with step-by-step instructions and helpful articles. Improve your water quality today!
(Many of the links in this article redirect to a specific reviewed product. Your purchase of these products through affiliate links helps to generate commission for Storables.com, at no extra cost. Learn more)
Introduction
Welcome to our guide on how to install a Brita faucet filter! If you’re looking to improve the quality of your tap water and enjoy cleaner, great-tasting water right from your faucet, a Brita faucet filter is a fantastic solution. This easy-to-install filter removes impurities such as chlorine, lead, and sediment, providing you with refreshing and healthier water for drinking and cooking.
In this article, we will walk you through the step-by-step process of installing a Brita faucet filter. From gathering the necessary materials to priming the filter, we’ll cover everything you need to know to complete the installation seamlessly.
But before we dive into the installation process, let’s talk briefly about the benefits of using a Brita faucet filter. First and foremost, it eliminates the need to purchase and store bottled water, making it an environmentally friendly choice. Additionally, it helps to reduce contaminants commonly found in tap water, improving the taste and odor of your drinking water. Brita filters are also cost-effective, as they typically have a lifespan of around four months before needing replacement.
Now that you understand the advantages of a Brita faucet filter, it’s time to get started with the installation process. By following these steps, you’ll have your filter up and running in no time!
Key Takeaways:
- Enjoy cleaner, great-tasting water right from your faucet with a Brita faucet filter. Eliminate the need for bottled water and reduce contaminants for a convenient and environmentally friendly solution.
- Follow the easy step-by-step installation process to enjoy cleaner and healthier water straight from your tap. Test the filtered water for noticeable improvements in taste, odor, and appearance. Cheers to better hydration!
Read also: 11 Best Brita Faucet Filter for 2025
Step 1: Gather Necessary Materials
Before you begin the installation process, it’s essential to gather all the necessary materials. Having everything prepared in advance will make the installation smoother and more efficient. Here are the items you will need:
1. Brita Faucet Filter: Make sure you have the Brita faucet filter kit, which typically includes the filter housing, filter cartridge, and adapters.
2. Adjustable Wrench or Pliers: You’ll need one of these tools to remove the aerator from your faucet and tighten the adapter.
3. Towel or Cloth: Prepare a towel or cloth to wrap around the faucet and protect it from scratches while working.
4. Bucket or Bowl: Keep a bucket or bowl handy to catch any water that may spill during the installation process.
Once you have gathered these materials, double-check to ensure you have everything you need. It’s always better to be prepared before starting any project.
Now that you have all the necessary materials ready, let’s move on to the next step: removing the aerator from your faucet.
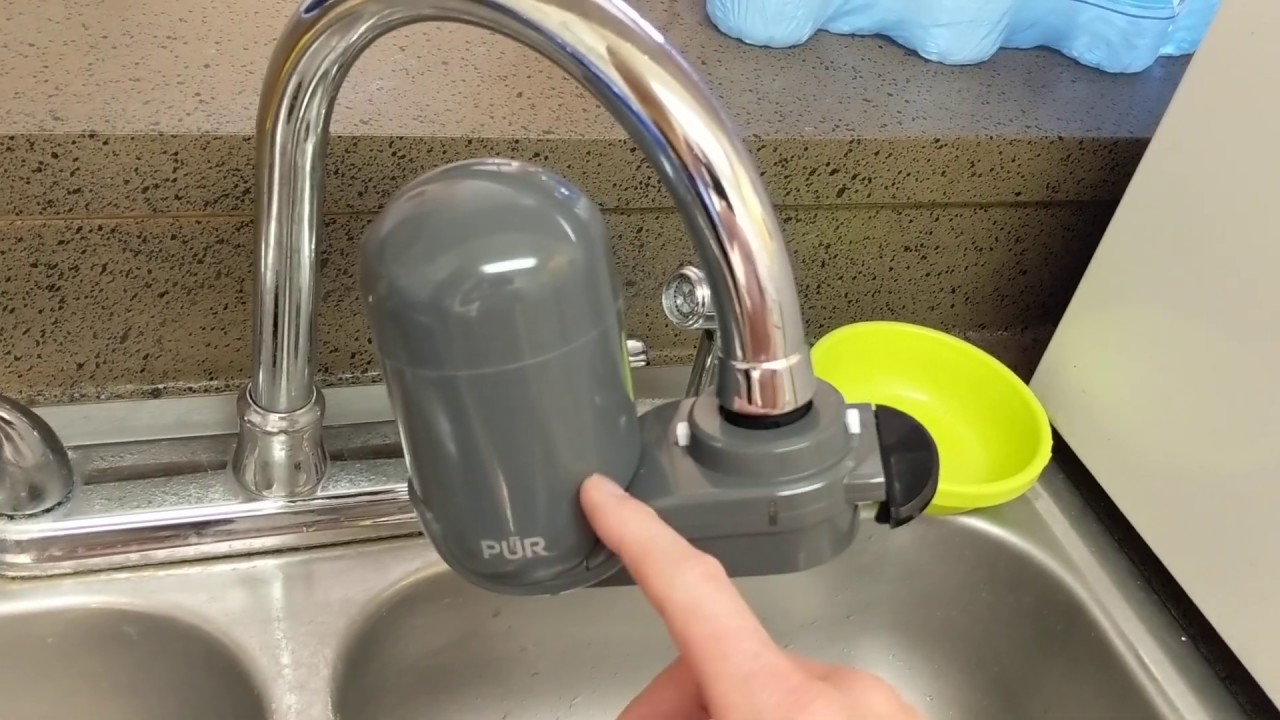
Step 2: Remove Aerator from Faucet
To install the Brita faucet filter, you’ll need to remove the aerator from your faucet first. The aerator is the small attachment at the end of the faucet that controls the flow of water and helps to prevent splashing.
Follow these steps to remove the aerator:
- Before starting, make sure your faucet is turned off to prevent any water flow.
- Take a towel or cloth and wrap it around the aerator. This will help provide grip and protect the aerator from scratches.
- Using an adjustable wrench or pliers, firmly grip the aerator and turn it counterclockwise. Apply steady pressure and be careful not to damage the aerator or the faucet.
- Continue unscrewing the aerator until it is completely removed from the faucet.
With the aerator successfully removed, you’re ready to move on to the next step: attaching the adapter to your faucet.
Step 3: Attach Adapter to Faucet
Now that you have removed the aerator from your faucet, it’s time to attach the adapter that will connect the Brita faucet filter. The adapter allows the filter to securely fit onto your faucet and create a seal to prevent any leaks.
Follow these steps to attach the adapter:
- Take a close look at the adapter included in your Brita faucet filter kit. You should see different sizes and designs to fit various types of faucets.
- Choose the appropriate adapter that matches your faucet. The adapters will have different threading and shapes to accommodate different faucet styles.
- Take the chosen adapter and screw it onto the faucet opening clockwise. Use your hand to tighten it as much as possible.
- Once the adapter is hand-tightened, use an adjustable wrench or pliers to ensure it is securely fastened. Be careful not to overtighten and damage the adapter or faucet.
With the adapter successfully attached to your faucet, you’re one step closer to enjoying clean and filtered water. Now, let’s move on to the next step: installing the Brita faucet filter.
When installing a Brita faucet filter, make sure to clean the faucet thoroughly before attaching the filter. This will help ensure a secure and effective connection.
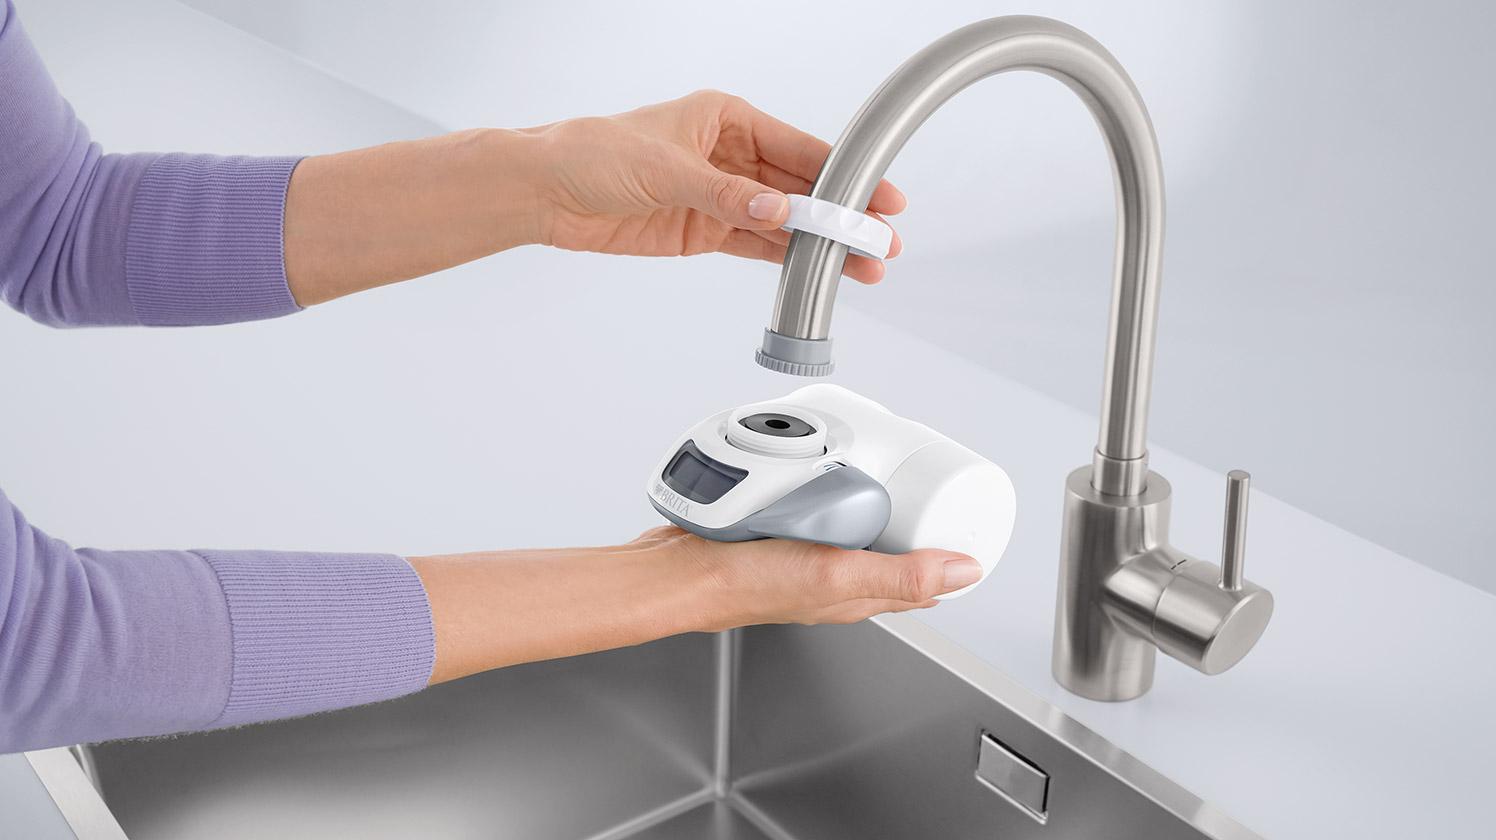
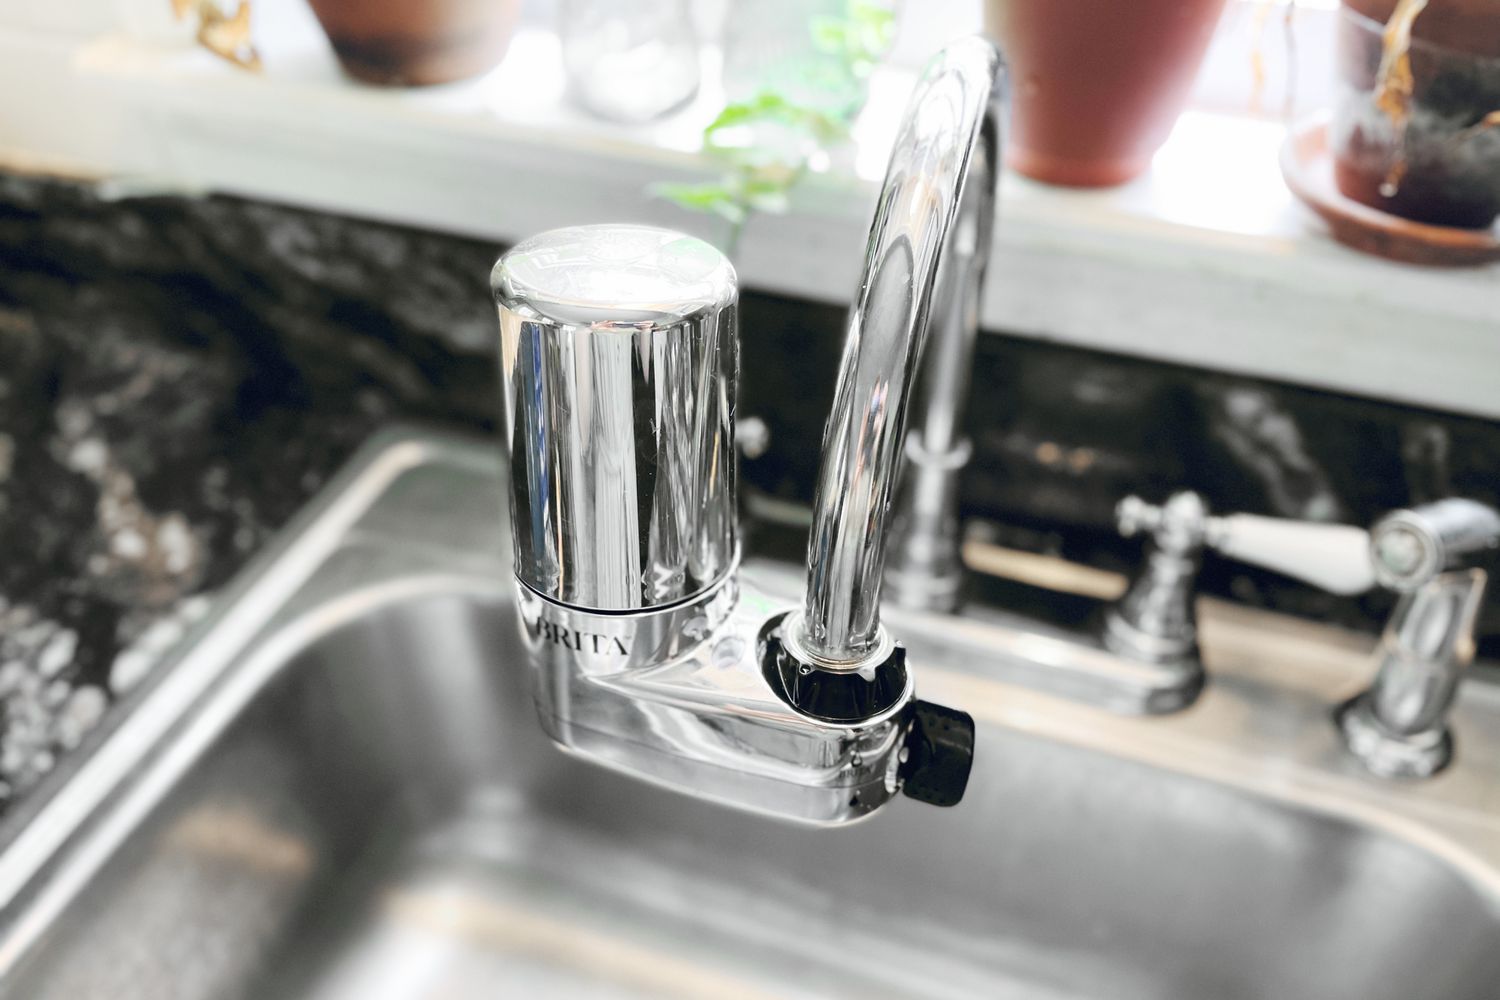
Step 4: Install Brita Faucet Filter
With the adapter securely attached to your faucet, it’s time to install the Brita faucet filter. This step will allow you to start filtering your tap water and enjoy the benefits of cleaner and healthier drinking water.
Follow these steps to install the Brita faucet filter:
- Take the filter housing from your Brita faucet filter kit. The filter housing is the main component that holds the filter cartridge.
- Align the filter housing with the adapter on your faucet. Make sure the threading on the filter housing matches the threading on the adapter.
- With a gentle twisting motion, begin screwing the filter housing onto the adapter. Rotate it clockwise until it is securely attached and cannot be turned any further.
- Once the filter housing is tightly attached, give it a slight tug to ensure it is seated properly on the adapter. It should be snug, without any wobbling or looseness.
Now that the Brita faucet filter is properly installed, you’re ready to move on to the next step: priming the filter.
Note: If your Brita faucet filter kit includes a filter cartridge, make sure to remove any protective wrapping before installing it into the filter housing. Follow the manufacturer’s instructions for cartridge installation.
Read also: 10 Best Brita Water Filter Faucet for 2025
Step 5: Prime the Filter
After installing the Brita faucet filter, it’s important to prime the filter before using it for the first time. Priming helps to remove any air bubbles and activate the carbon filter inside the cartridge, ensuring optimal filtration performance.
Follow these steps to prime the filter:
- Run cold water through the faucet for approximately 5 minutes. This will flush out any initial debris and prepare the filter for priming.
- Once the water is running, turn the filter lever to the “On” position. This will redirect the water flow through the filter cartridge.
- Allow the water to run through the filter for about 15-20 seconds or until the water runs clear. This process will remove any air bubbles and activate the carbon filter.
- After the water runs clear, turn the filter lever back to the “Off” position to stop the water flow.
By priming the filter, you ensure that it’s ready to provide you with clean and filtered water. Now, let’s move on to the final step: testing the filtered water.
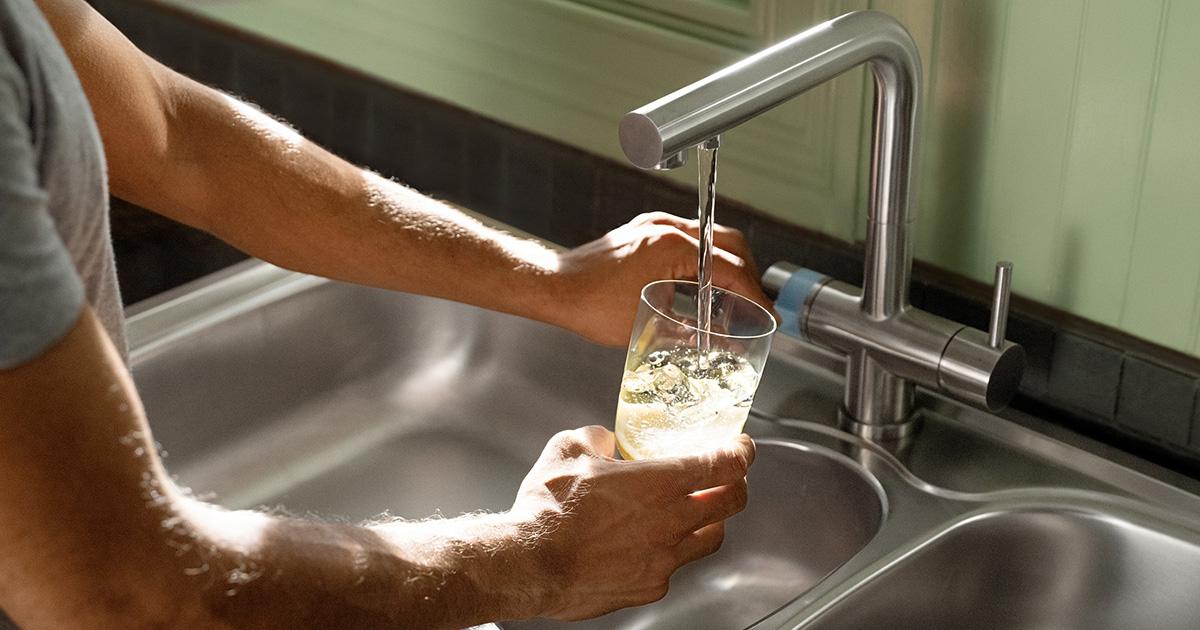
Step 6: Test the Filtered Water
Now that you have successfully installed and primed the Brita faucet filter, it’s time to test the quality of the filtered water. This step will allow you to ensure that the filter is working effectively and that you’re getting clean and great-tasting water.
Follow these steps to test the filtered water:
- Turn on the faucet and let the water flow through the filter.
- Fill a glass with the filtered water and take a moment to smell and observe its appearance. The water should have a fresh and clean odor, and there should be no visible particles or cloudiness.
- Taste the filtered water. Pay attention to any noticeable improvements in the taste. The water should taste noticeably better, as the filter removes chlorine and other contaminants that affect the flavor.
- Compare the filtered water with a glass of unfiltered tap water. Notice any differences in taste, odor, or appearance.
If the filtered water meets your expectations and demonstrates the desired improvements, then congratulations! You have successfully installed and tested your Brita faucet filter.
Remember to replace the filter cartridge according to the manufacturer’s instructions or when the filter indicator signals that it’s time for a replacement.
With your Brita faucet filter installed, you can now enjoy cleaner and healthier water straight from your tap. Cheers to better hydration and improved water quality!
Conclusion
Congratulations on successfully installing your Brita faucet filter! By following the step-by-step guide, you have taken a significant step towards enjoying cleaner and healthier water right from your tap.
Installing a Brita faucet filter not only eliminates the need for bottled water but also helps to reduce contaminants and improve the taste and odor of your drinking water. With its easy installation process and cost-effective filter replacements, the Brita faucet filter is a convenient and environmentally friendly solution.
Remember to periodically replace the filter cartridge as recommended by the manufacturer or when the filter indicator indicates a replacement is needed. This will ensure that your filter continues to provide you with clean and filtered water.
We hope this guide has been helpful in guiding you through the installation process. Now, sit back, relax, and enjoy the refreshing taste of filtered water from your Brita faucet filter!
Thank you for choosing Brita, and here’s to better hydration and a healthier lifestyle!
Frequently Asked Questions about How To Install Brita Faucet Filter
Was this page helpful?
At Storables.com, we guarantee accurate and reliable information. Our content, validated by Expert Board Contributors, is crafted following stringent Editorial Policies. We're committed to providing you with well-researched, expert-backed insights for all your informational needs.

0 thoughts on “How To Install Brita Faucet Filter”