Articles
How To Remove A Two-Handle Bathroom Faucet
Modified: August 16, 2024
Learn how to easily remove a two-handle bathroom faucet with our step-by-step guide. Read our informative articles for expert tips and advice.
(Many of the links in this article redirect to a specific reviewed product. Your purchase of these products through affiliate links helps to generate commission for Storables.com, at no extra cost. Learn more)
Introduction
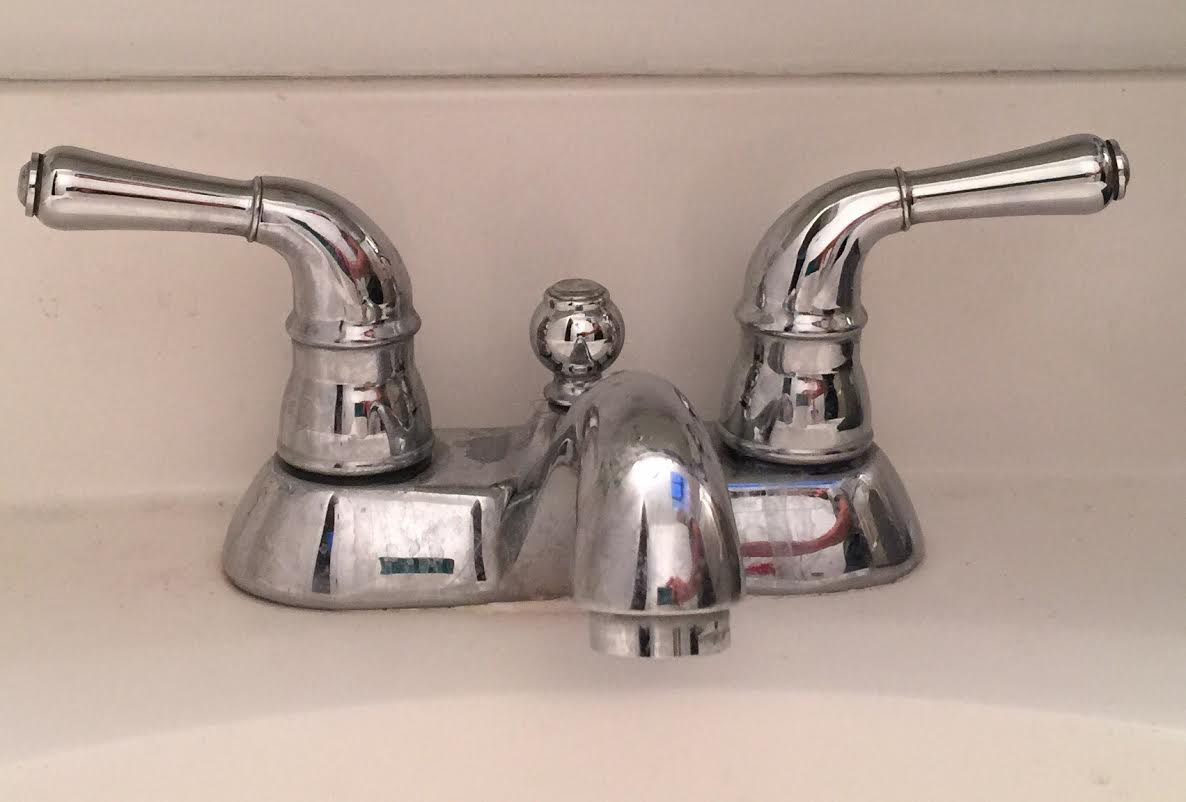
Replacing a two-handle bathroom faucet can be a simple and rewarding DIY project. Whether you’re upgrading to a more modern style or need to fix a leaking faucet, knowing how to remove and install a new faucet is essential. In this step-by-step guide, we will walk you through the process of removing a two-handle bathroom faucet and installing a new one.
Before you begin, it’s important to gather the necessary tools and materials. Having everything on hand will make the process smoother and more efficient. Here’s a list of what you’ll need:
- Adjustable wrench
- Phillips screwdriver
- Pliers
- Basin wrench
- Bucket
- New faucet
- Plumber’s tape
Now that you have all the necessary tools, let’s dive into the step-by-step process of removing a two-handle bathroom faucet and installing a new one.
Key Takeaways:
- Removing and installing a two-handle bathroom faucet is a manageable DIY project with the right tools and step-by-step guidance. Exercise caution, turn off the water supply, and enjoy the satisfaction of a job well done.
- Before beginning the process, gather essential tools and materials, such as an adjustable wrench, pliers, and plumber’s tape. Follow manufacturer’s instructions, turn on the water supply, and transform your bathroom with a stylish upgrade.
Read more: How To Remove Stuck Faucet Handle
Tools and Materials Needed
Before you begin the process of removing a two-handle bathroom faucet, you’ll need to gather a few essential tools and materials. Having these items on hand will ensure a smooth and successful faucet replacement. Here’s what you’ll need:
- Adjustable wrench: This tool will be used to loosen and tighten various nuts and bolts throughout the installation process.
- Phillips screwdriver: You’ll need a screwdriver with a Phillips head to remove any screws holding the faucet handles and escutcheon plate in place.
- Pliers: Pliers will come in handy for removing any stubborn nuts or screws that may be difficult to loosen with a wrench or screwdriver alone.
- Basin wrench: A basin wrench is a specialized tool designed to reach and tighten the mounting nuts located underneath the sink. This tool is especially useful when working in tight spaces.
- Bucket: It’s always a good idea to have a bucket nearby to catch any water that may spill during the removal process.
- New faucet: Of course, you’ll need a new faucet to replace the old one. Choose a faucet that fits your desired style and includes all the necessary components for installation.
- Plumber’s tape: Plumber’s tape, also known as Teflon tape, is used to create a watertight seal between threaded plumbing connections. It’s important to apply plumber’s tape to the threads before installing the new faucet to prevent any leaks.
With these tools and materials at your disposal, you’re ready to tackle the task of removing a two-handle bathroom faucet and installing a new one. Now, let’s move on to the step-by-step process.
Step 1: Turn Off the Water Supply
Before you begin removing the two-handle bathroom faucet, it’s crucial to turn off the water supply to prevent any leaks or water damage. Here’s how you can do it:
- Locate the shut-off valves: Underneath the sink, you’ll find two shut-off valves—one for hot water and one for cold water. These valves are typically located near the back wall of the cabinet or directly under the sink.
- Close the shut-off valves: Using your hand or an adjustable wrench, turn the valves in a clockwise direction until they are fully closed. This will shut off the water supply to the faucet.
- Check if the water is off: Turn on the faucet handles to double-check if the water supply has been successfully turned off. If no water comes out, then you have successfully shut off the water supply.
It’s important to note that if you don’t have individual shut-off valves for the hot and cold water supply, you may need to shut off the main water supply to your home temporarily. Consult your local plumbing guidelines or consider seeking professional assistance if you are uncertain about the main water shut-off process.
Now that the water supply is turned off, you can proceed with confidence to the next steps of removing the two-handle bathroom faucet. By shutting off the water supply, you’ll avoid any unnecessary mess or accidental water damage during the removal process.
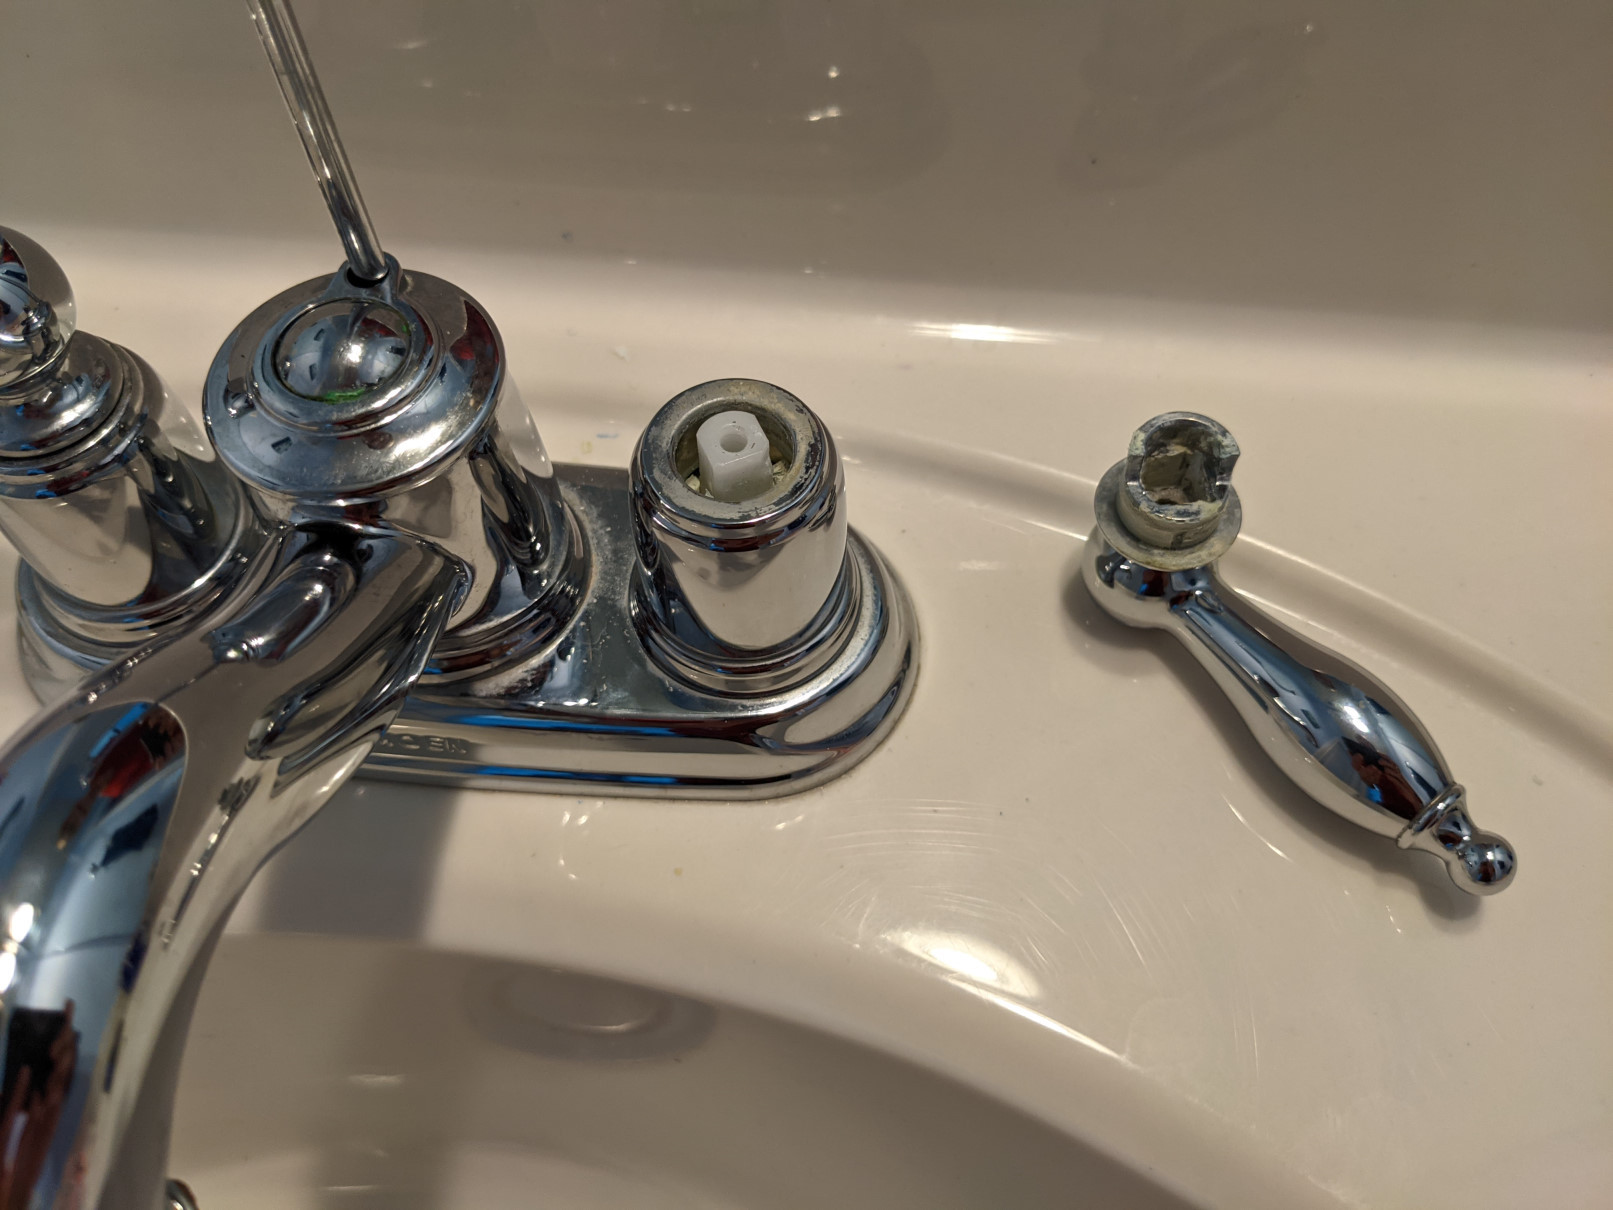
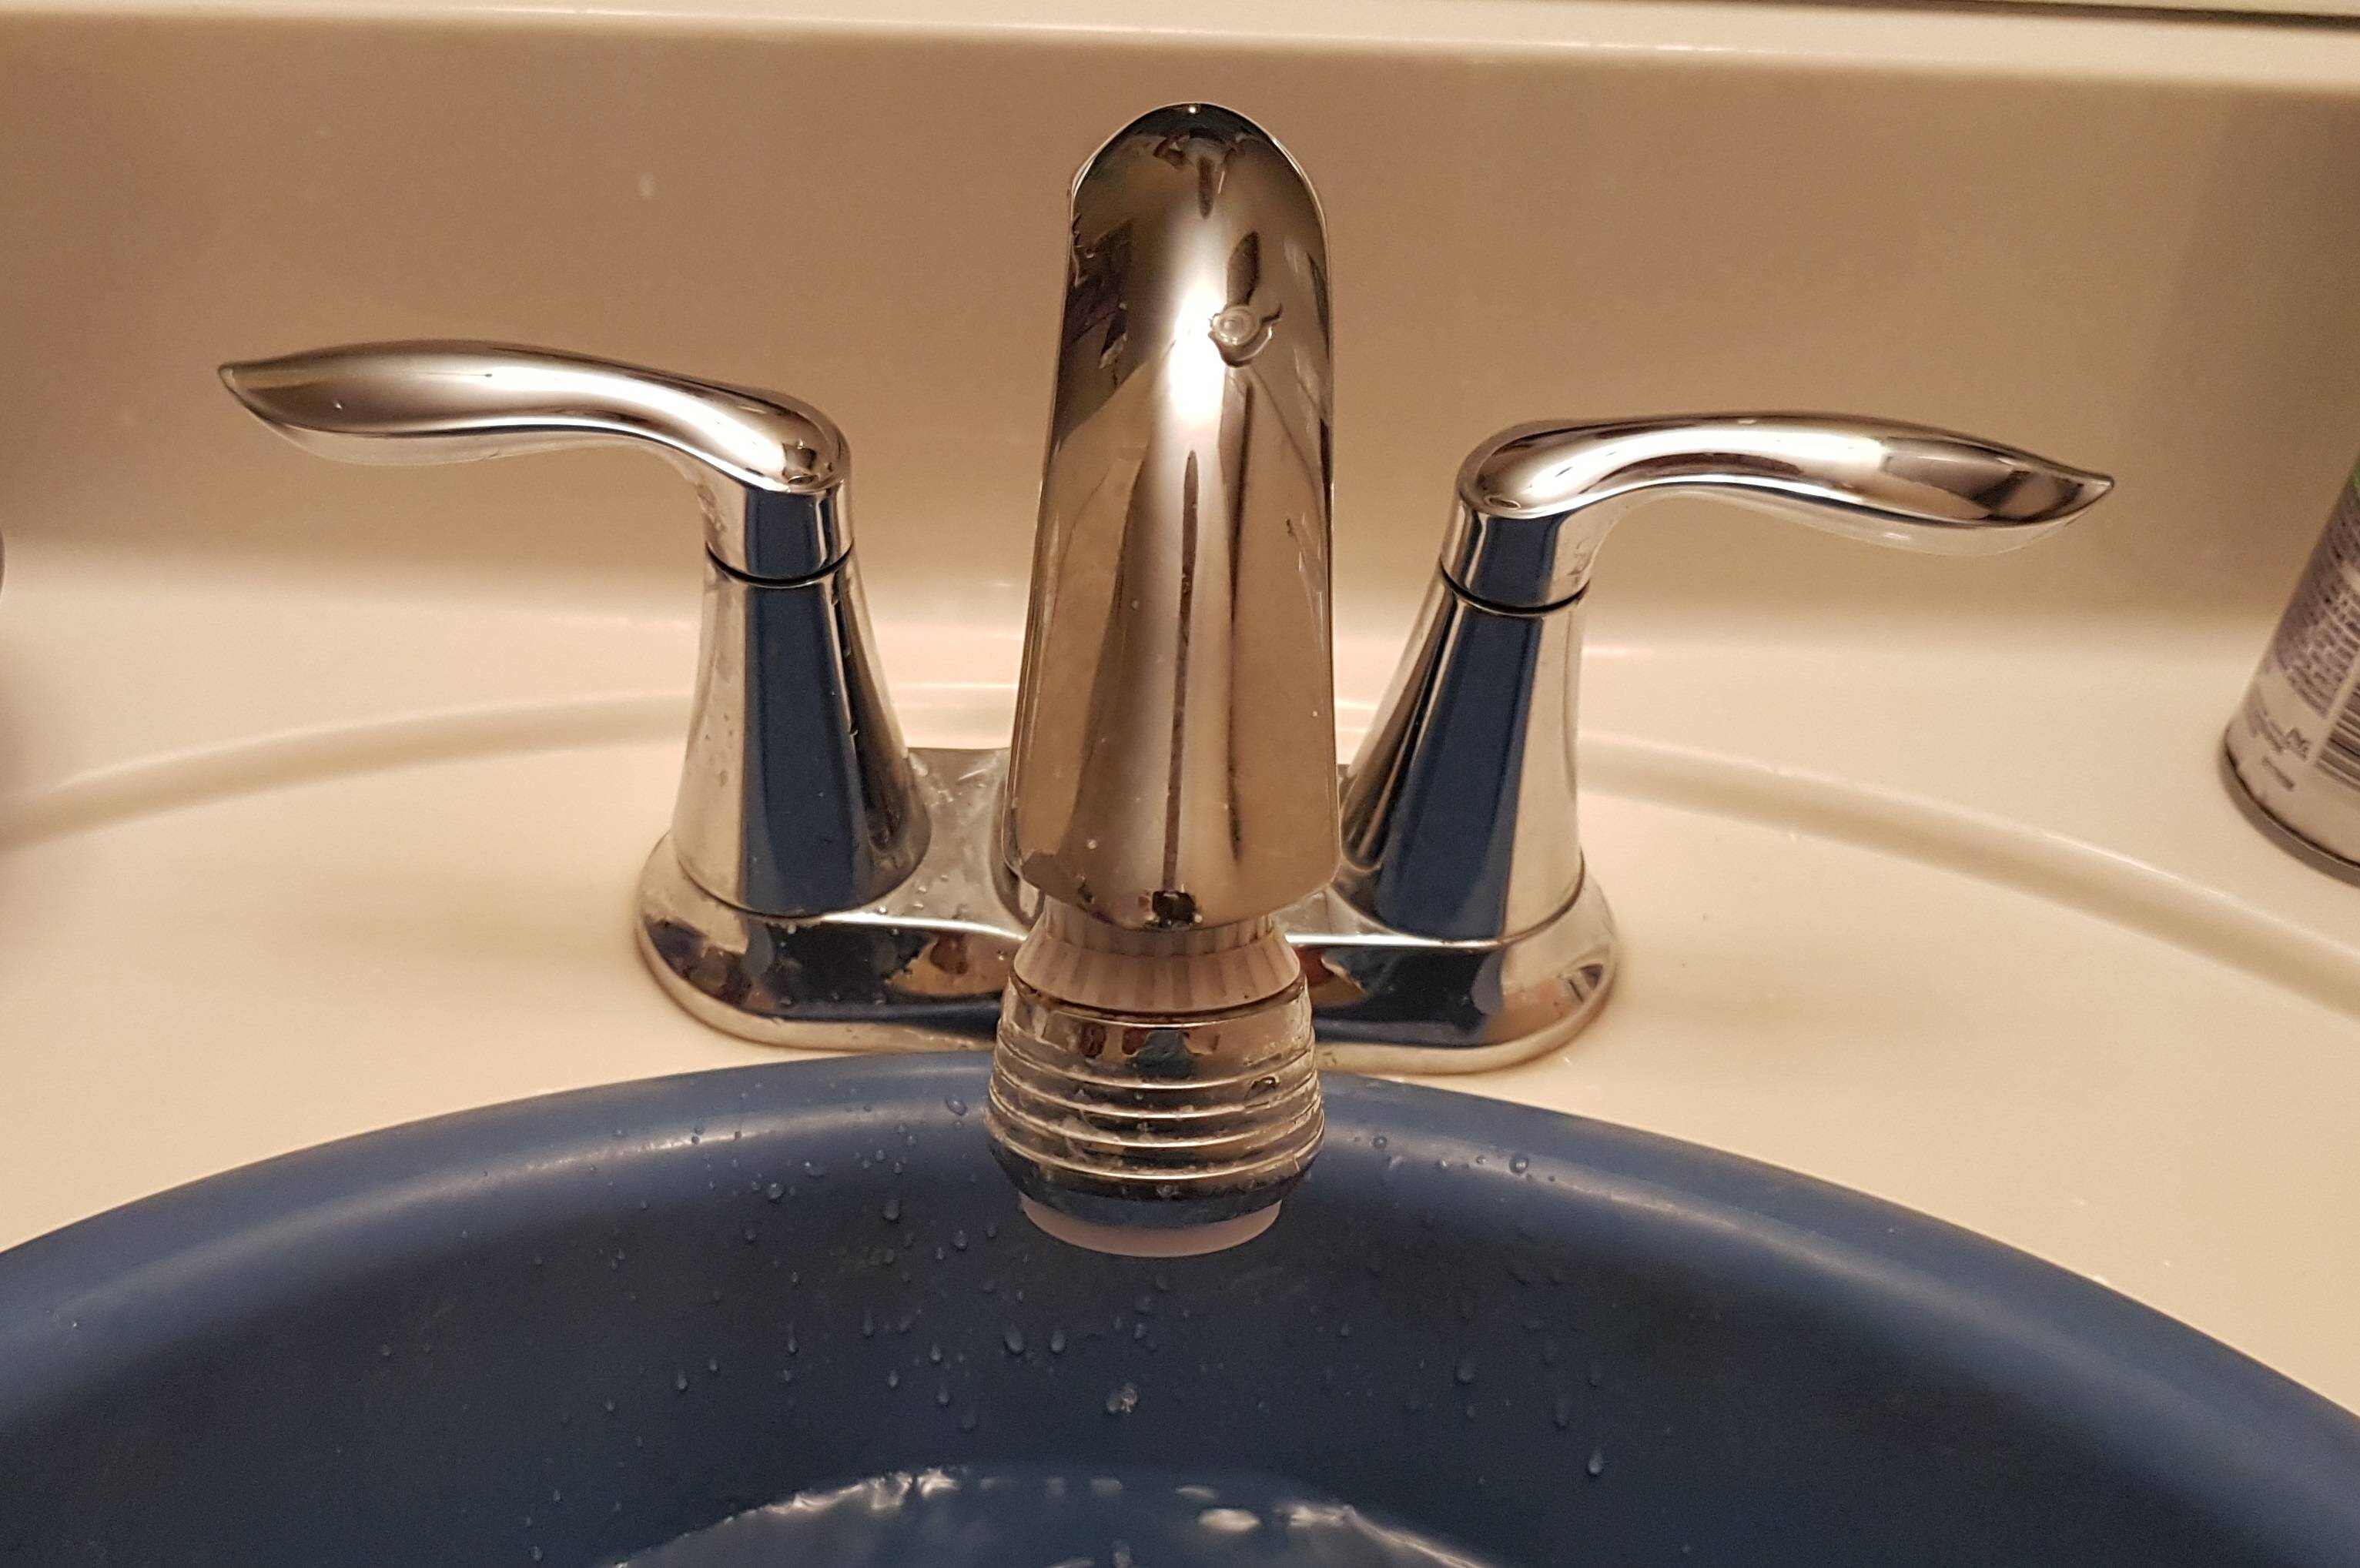
Step 2: Remove the Faucet Handles
Now that you’ve turned off the water supply, it’s time to remove the faucet handles. Follow these steps to successfully remove them:
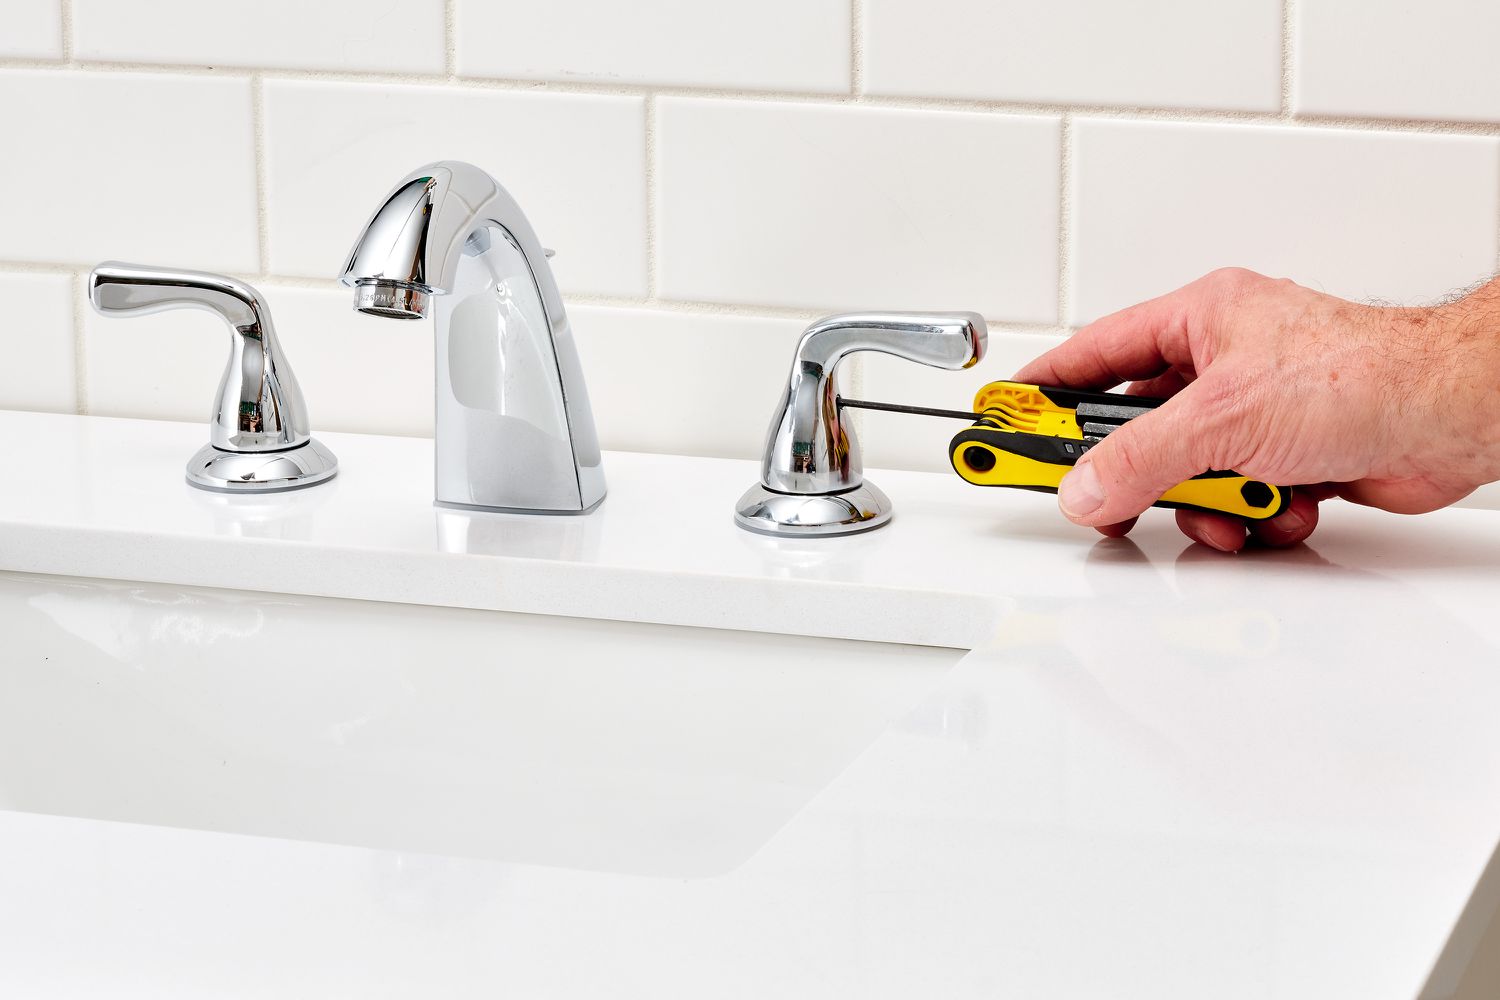
- Locate the handle screws: Look for small screws on the top or back of each faucet handle. These screws secure the handles to the faucet stems.
- Use a Phillips screwdriver: Take your Phillips screwdriver and carefully unscrew the handle screws in a counterclockwise direction. Depending on the faucet model, you may need to use a hex key or an Allen wrench instead of a screwdriver.
- Remove the handles: Once the screws are loosened, gently lift off the faucet handles. If they’re stuck, you can use a pair of pliers to grip the handles and twist them off. Be careful not to apply excessive force, as this could damage the handles or the faucet itself.
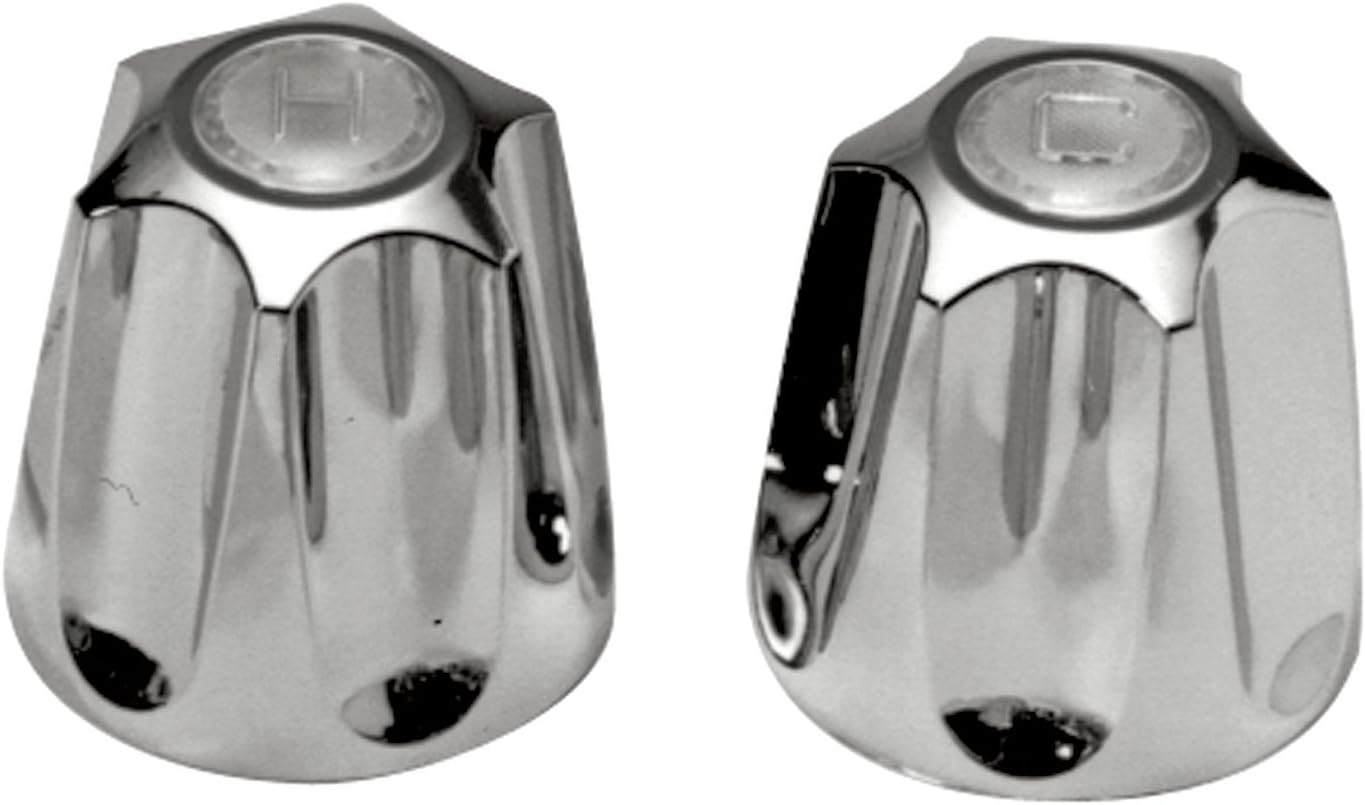
After removing the handles, you’ll expose the faucet stems underneath. These stems control the flow of water and are essential components of the faucet assembly.
It’s important to note that some faucet handles might have decorative caps covering the handle screws. These caps can usually be pried off with a small flat-head screwdriver or by hand. Once the caps are removed, you can access the screws beneath them and proceed with the removal process.
By removing the faucet handles, you’re one step closer to replacing your two-handle bathroom faucet. Keep the screws and handles in a safe place as you’ll need them for reassembly later on. Now, let’s move on to the next step: removing the escutcheon plate.
Step 3: Remove the Escutcheon Plate
Once you have removed the faucet handles, the next step is to remove the escutcheon plate. The escutcheon plate is a decorative cover that fits snugly around the base of the faucet. Here’s how you can remove it:
- Inspect the escutcheon plate: Take a close look at the area around the base of the faucet. You might notice a small gap between the escutcheon plate and the sink surface.
- Insert a flat-head screwdriver or a putty knife: Carefully insert the flat-head screwdriver or putty knife into the gap between the edge of the escutcheon plate and the sink.
- Gently pry off the escutcheon plate: Apply gentle pressure with the screwdriver or putty knife and slowly pry the escutcheon plate away from the sink surface. Be cautious not to scratch or damage the sink as you work.
- Continue prying around the plate: Once you’ve loosened one section of the escutcheon plate, gradually work your way around the rest, continuing to pry it off bit by bit until it is completely detached.
Removing the escutcheon plate will expose the connection point between the faucet and the sink or countertop. Take this opportunity to clean the area around the faucet to remove any dirt or buildup. A clean surface will ensure a smooth installation of the new faucet later.
It’s important to note that not all faucets have an escutcheon plate. Some faucets have a one-piece design where the handles and spout are integrated into a single unit. In that case, you can skip this step and proceed directly to the next step of disconnecting the water supply lines.
With the escutcheon plate removed, you’re ready to move on to the next step of disconnecting the water supply lines from the faucet.
Read more: How To Fix Leaky Two Handle Shower Faucet
Step 4: Disconnect the Water Supply Lines
Before removing the old faucet completely, you’ll need to disconnect the water supply lines. Here’s how you can do it:
- Locate the water supply hoses: Underneath the sink, you’ll find two water supply hoses connected to the bottom of the faucet. One hose is for hot water, and the other is for cold water.
- Use pliers to loosen the nuts: Take your pliers and grip onto the nuts that are securing the water supply hoses to the faucet. Turn each nut counterclockwise to loosen them. If the nuts are difficult to loosen, apply a small amount of lubricant to help loosen the connection.
- Disconnect the water supply hoses: Once the nuts are sufficiently loosened, you can disconnect the water supply hoses from the faucet. Gently twist and pull the hoses away from the faucet connections. Be prepared for some water to drip out once the hoses are disconnected, so keep a towel or bucket handy to catch any spills.
It’s worth mentioning that some faucets may have mounting brackets that hold the water supply hoses in place. In this case, you’ll need to remove the mounting brackets before disconnecting the hoses.
After disconnecting the water supply hoses, inspect them for any signs of damage or wear. If the hoses appear old or worn out, it’s recommended to replace them with new ones to avoid any future leaks or issues.
With the water supply lines disconnected, you’re now ready to proceed to the next step of removing the mounting nuts or screws that secure the old faucet in place.
Before starting, turn off the water supply to the faucet. Use a basin wrench to loosen and remove the nuts holding the faucet in place. Once the nuts are removed, lift the faucet out and clean the area before installing the new faucet.
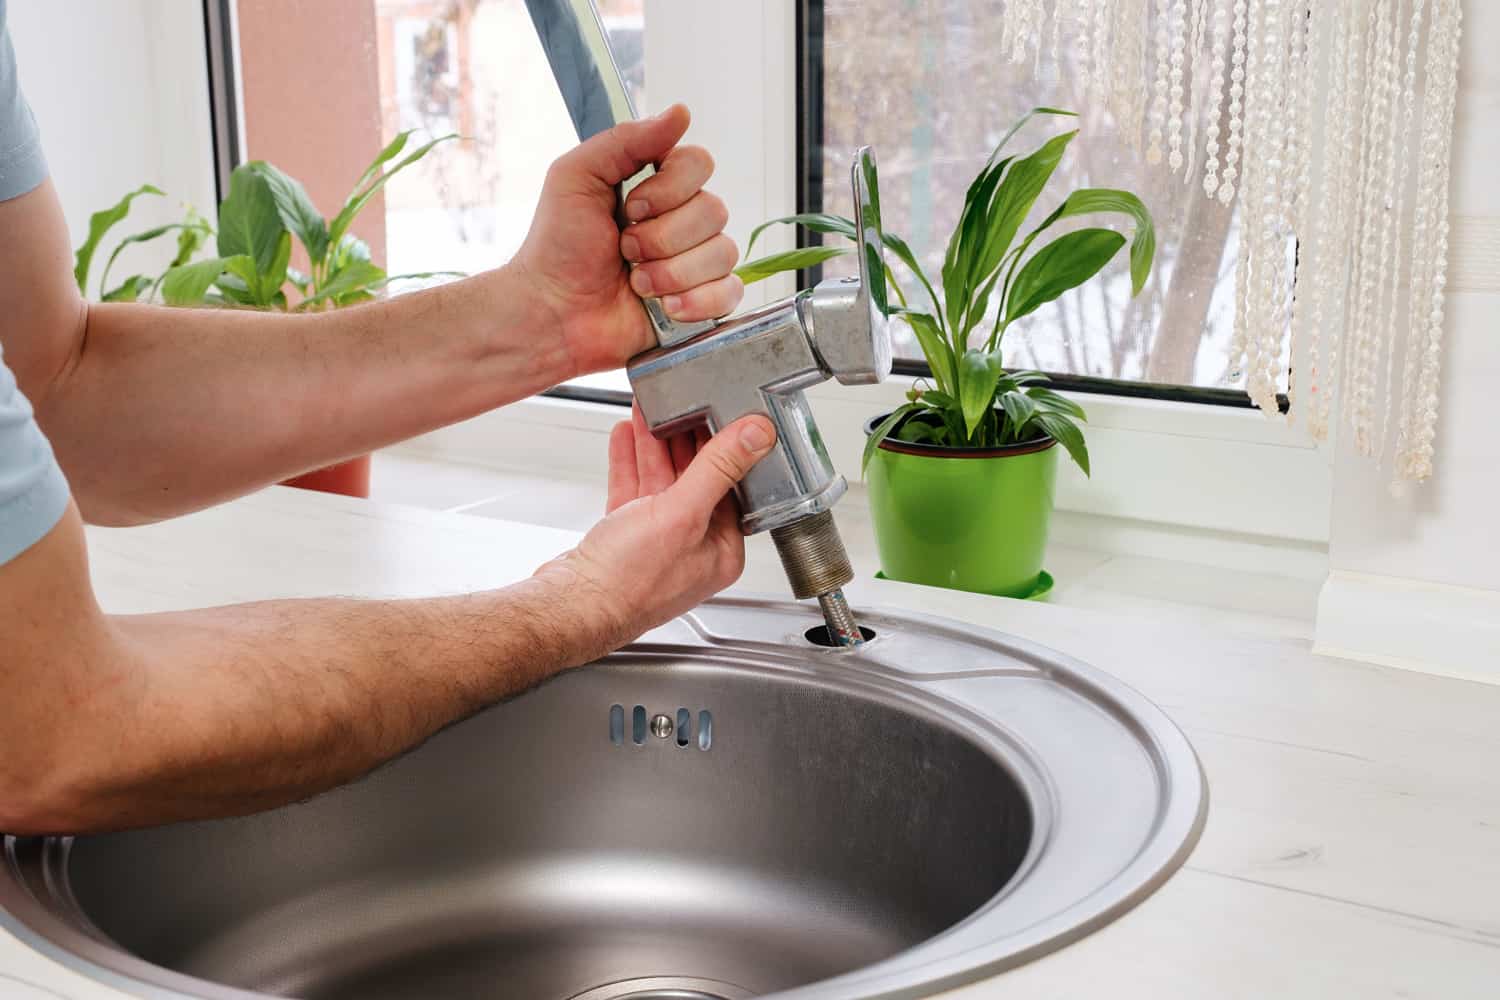
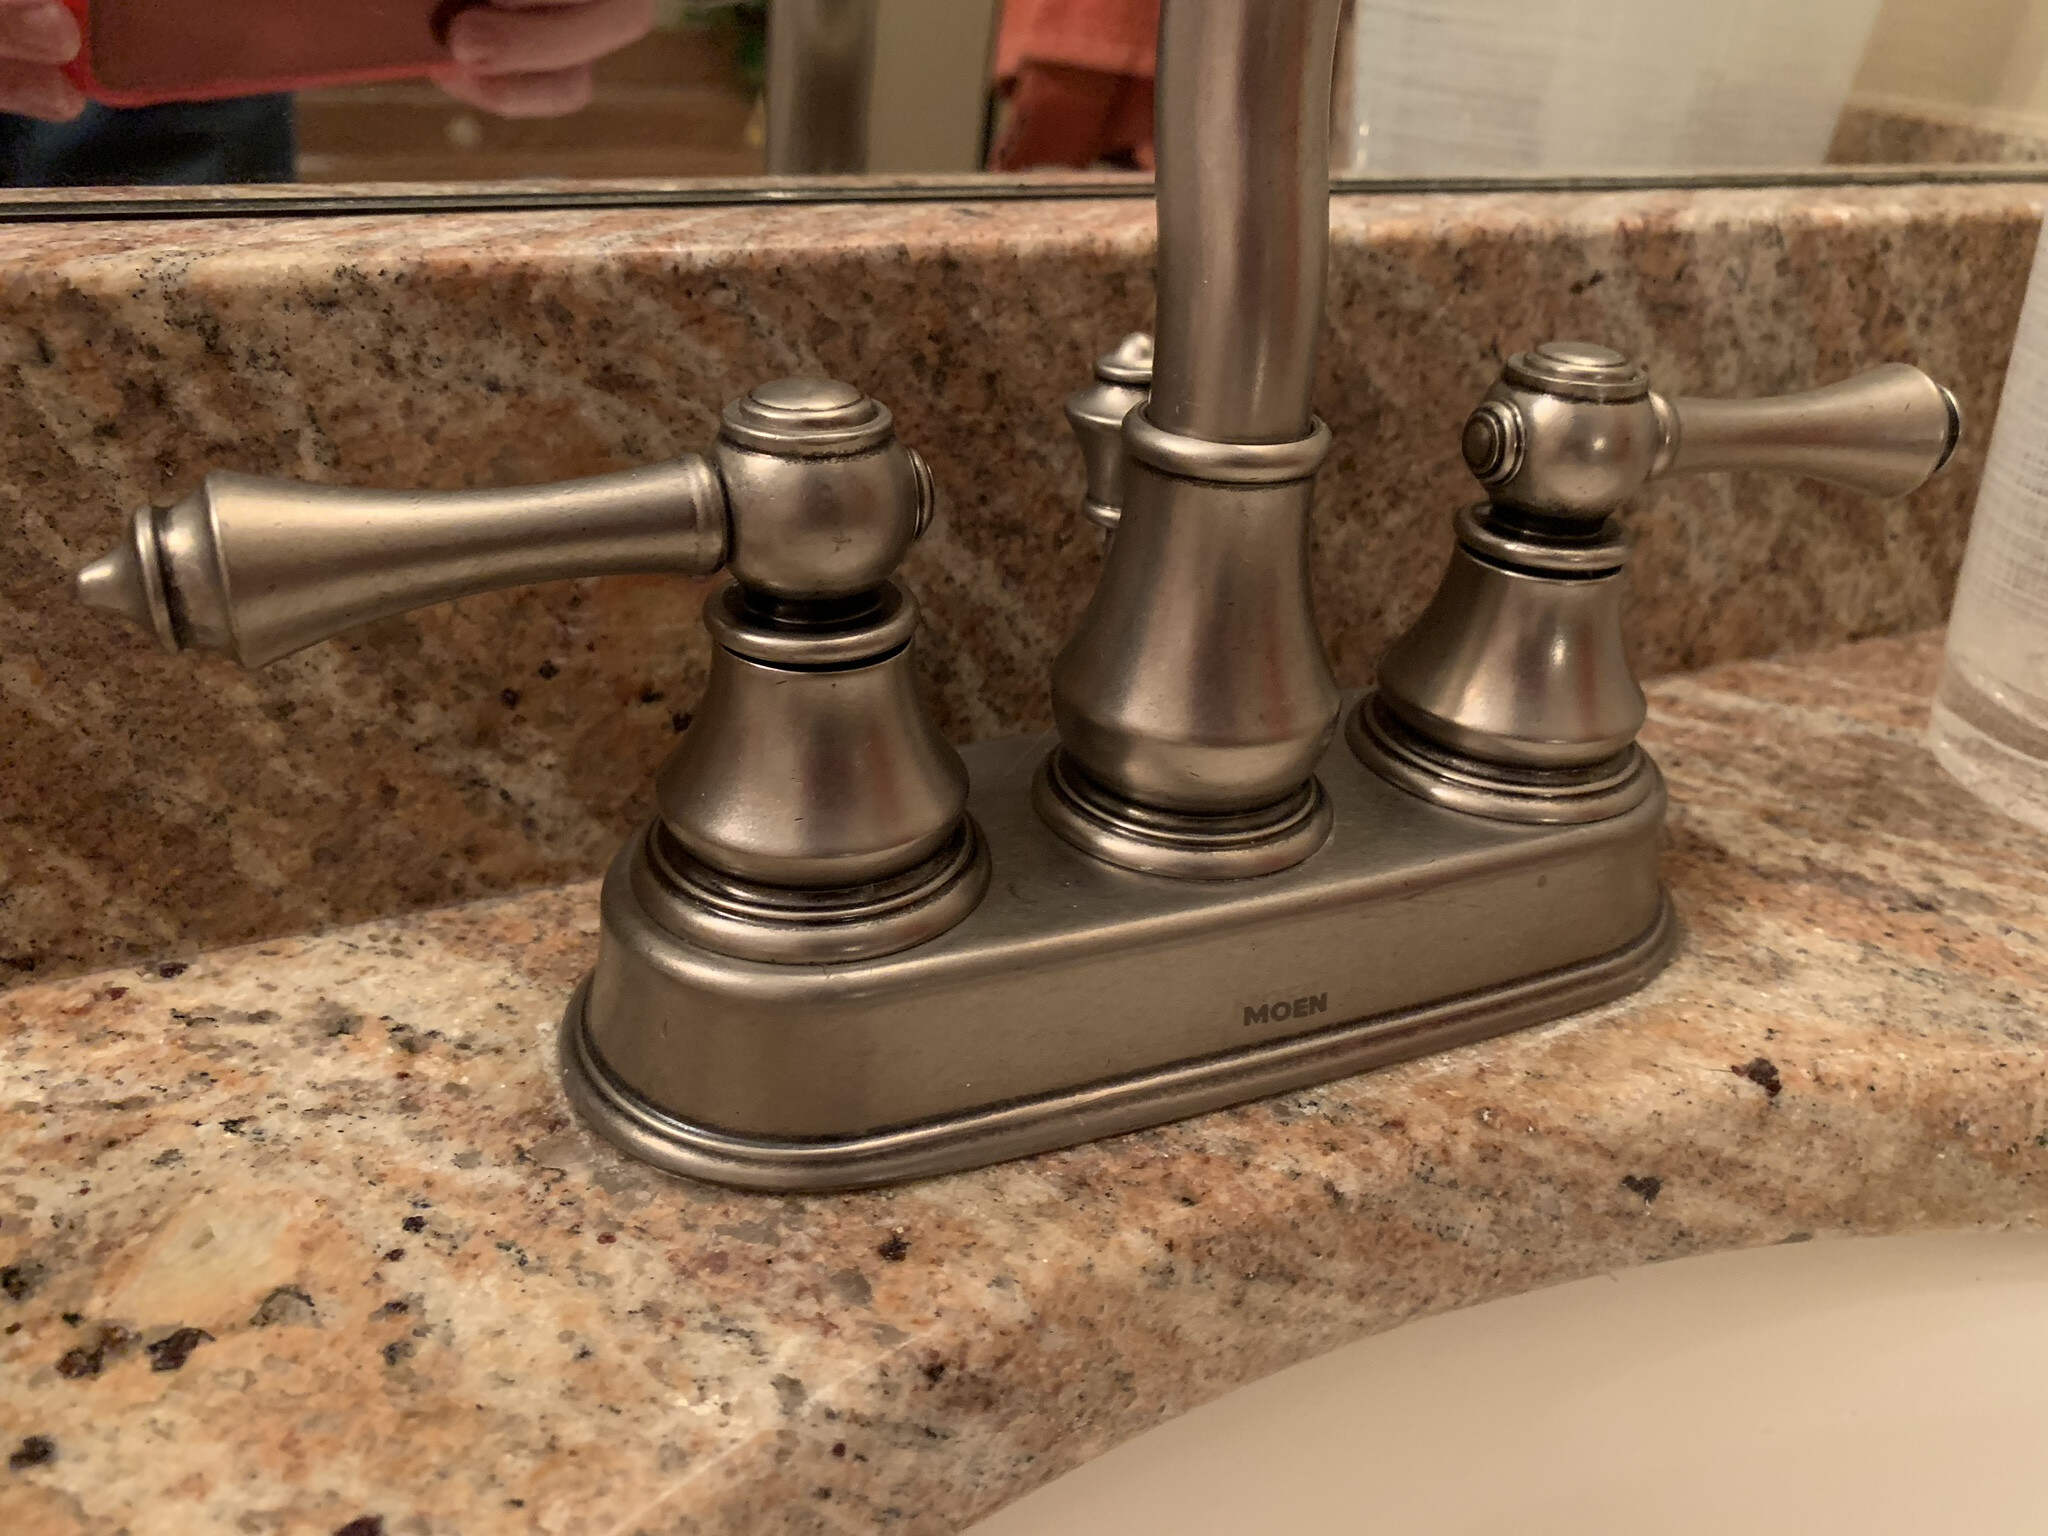
Step 5: Remove the Mounting Nuts or Screws
Now that you’ve disconnected the water supply lines, it’s time to remove the mounting nuts or screws that secure the old faucet in place. Follow these steps to successfully remove them:
- Identify the mounting nuts or screws: Look underneath the sink and locate the mounting nuts or screws that hold the faucet in place. These nuts or screws may be located on the underside of the sink or secured to a mounting plate.
- If you see mounting nuts: If your faucet is held in place by mounting nuts, use an adjustable wrench or a basin wrench to loosen and remove the nuts. Turn the nuts counterclockwise to loosen them, and once they are loosened, you can often unscrew them by hand.
- If you see mounting screws: If your faucet is secured with mounting screws, use a screwdriver to remove them. Turn the screws counterclockwise until they are fully loosened, and then you can remove them by hand.
- Once the nuts or screws are removed, carefully lift the old faucet out of the sink or countertop. Be mindful to avoid any damage to the surrounding area.
If you encounter any resistance when trying to remove the mounting nuts or screws, use a penetrant spray or a rust dissolver to help loosen them. Apply the spray generously and let it sit for a few minutes before attempting to remove the nuts or screws again.
After removing the mounting nuts or screws, inspect the area where the old faucet was installed. Clean any debris or residue left behind to ensure a smooth installation of the new faucet.
With the old faucet removed, you’re now ready to proceed to the next step of installing the new faucet.
Step 6: Remove the Old Faucet
With the mounting nuts or screws removed, it’s time to remove the old faucet from the sink or countertop. Follow these steps to successfully complete this task:
- Gently lift the old faucet: Carefully lift the old faucet upwards to detach it from the sink or countertop. Ensure that you have a firm grip on the faucet to prevent any accidental dropping or damage.
- Check the area for any remaining components: Inspect the area where the old faucet was installed to make sure there are no remaining components or debris. Clean the area thoroughly to ensure a clean and smooth surface for the installation of the new faucet.
- Set aside the old faucet: Once you have removed the old faucet, set it aside in a safe place. You may want to keep it for reference or dispose of it following proper disposal guidelines.
During the removal process, it’s crucial to be careful and avoid excessive force to prevent any damage to the sink or countertop. If you encounter any difficulties in removing the old faucet, you may need to consult the manufacturer’s instructions or consider seeking professional assistance.
With the old faucet successfully removed, you’re now ready to move on to the exciting part: installing the new faucet.
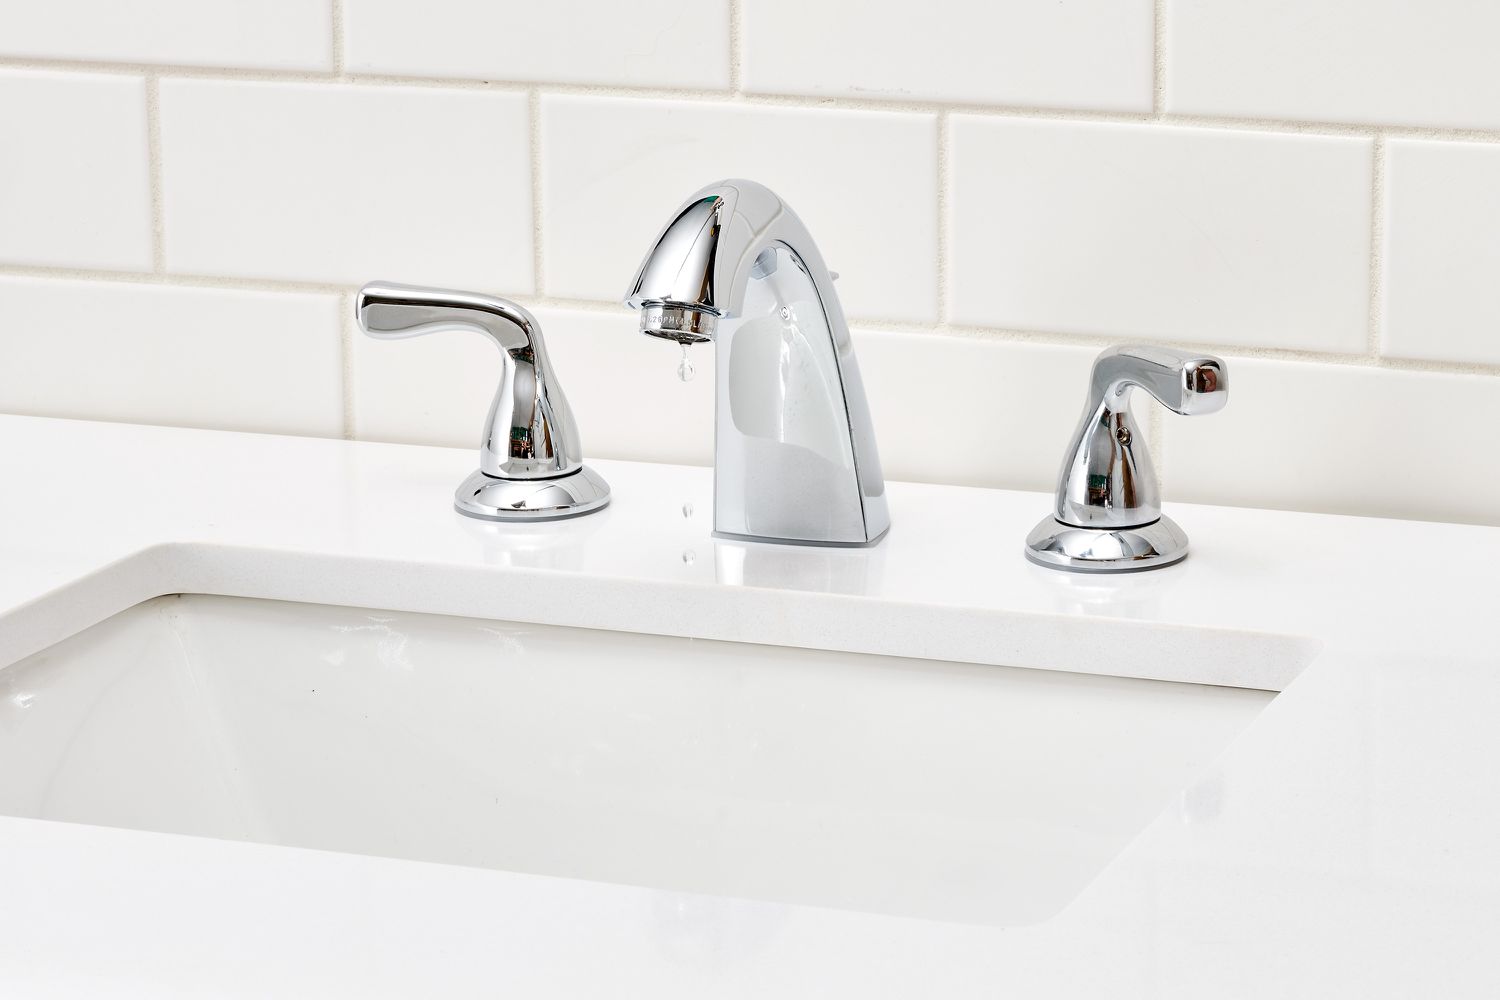
Step 7: Install the New Faucet
Now that you’ve removed the old faucet, it’s time to install the new one. Follow these steps to complete the installation process:
- Prepare the new faucet: Before installing the new faucet, make sure you have read the manufacturer’s instructions and have all the necessary components and tools ready. Double-check that the new faucet matches the hole configuration on your sink or countertop.
- Apply plumber’s tape: Take a few wraps of plumber’s tape around the threads of the faucet connectors. This will help create a watertight seal and prevent any leaks.
- Align the new faucet: Position the new faucet correctly over the mounting holes in the sink or countertop. Make sure it is aligned properly and centered before proceeding.
- Secure the faucet: Depending on the design of your new faucet, use either mounting nuts or screws to secure it in place. Tighten the nuts or screws using an adjustable wrench or screwdriver, ensuring that the faucet is securely fastened to the sink or countertop.
- Connect the water supply lines: Attach the water supply lines to the appropriate connections on the new faucet. Use an adjustable wrench to tighten the nuts snugly, but be careful not to overtighten and risk damaging the connections.
It’s important to note that different faucets may have varying installation processes. Be sure to refer to the manufacturer’s instructions specific to your new faucet for any unique steps or considerations.
Once the faucet is securely installed and the water supply lines are connected, visually inspect the connections for any potential leaks. If you notice any leaks, gently tighten the connections until the leak stops.
Congratulations! You have successfully installed the new faucet. Now, let’s move on to the next step of reassembling the faucet handles and escutcheon plate.
Read more: How To Remove Delta Faucet Handle
Step 8: Reassemble the Faucet Handles and Escutcheon Plate
With the new faucet securely installed, it’s time to reassemble the faucet handles and escutcheon plate. Follow these steps to complete the reassembly:
- Retrieve the faucet handles: Take the faucet handles that you removed earlier and align them with the faucet stems.
- Secure the handles: Use a Phillips screwdriver or the appropriate tool to tighten the handle screws in a clockwise direction. Ensure that the handles are firmly attached to the faucet stems.
- Place the escutcheon plate: If your new faucet includes an escutcheon plate, position it over the base of the faucet. Align the holes in the plate with the mounting holes on the sink or countertop.
- Secure the escutcheon plate: Use the provided screws or fasteners to fasten the escutcheon plate to the sink or countertop. Tighten them until the plate sits flush and is securely attached.
Be sure to refer to the manufacturer’s instructions for any specific guidelines on reassembling the faucet handles and escutcheon plate. Following their guidelines will ensure proper installation and functionality.
Once the faucet handles and escutcheon plate are reassembled, give them a gentle test. Turn the handles to verify smooth operation and ensure that they don’t wobble or feel loose.
With the faucet handles and escutcheon plate securely reassembled, you’re almost finished. The final step is to turn on the water supply.
Step 9: Turn On the Water Supply
Now that you’ve successfully installed and reassembled the new faucet, it’s time to turn on the water supply. Follow these steps to complete the process:
- Locate the shut-off valves: Remember the shut-off valves that you turned off earlier? They are typically located beneath the sink or near the back wall of the cabinet.
- Open the shut-off valves: Using your hand or an adjustable wrench, turn the shut-off valves in a counterclockwise direction to open them fully. This will restore the water supply to the faucet.
- Check for leaks: Once the water supply is turned on, closely inspect the area around the faucet and the water supply connections for any signs of leaks. Keep an eye out for any drips or moisture.
- If you notice any leaks: If you notice any leaks, immediately turn off the water supply and check the connections for proper tightness. Ensure that all connections are properly sealed and tightened before turning the water supply back on.
- Verify proper functionality: Turn on the faucet and let the water flow. Check all handles to ensure smooth operation and proper water temperature control.
It’s important to have a bucket or towel handy during this step to catch any initial bursts of water or minor drips that may occur as air is flushed from the pipes.
By following this final step, you’ll have successfully turned on the water supply and completed the installation of your new two-handle bathroom faucet.
Congratulations! You’ve successfully removed the old faucet and installed a new one. Enjoy your updated bathroom fixture and the satisfaction of a job well done!
Conclusion
Replacing a two-handle bathroom faucet can seem like a daunting task, but with the right tools, materials, and step-by-step guidance, it can be a manageable DIY project. By following the steps outlined in this guide, you’ll be able to remove the old faucet and install a new one, giving your bathroom a fresh and updated look.
Throughout the process, it’s important to exercise caution and attention to detail. Take your time and follow the manufacturer’s instructions specific to your faucet model for the most accurate and successful installation.
Remember, safety should always be a top priority. Before beginning any work, be sure to turn off the water supply and take appropriate measures to avoid any potential hazards.
By removing the faucet handles, escutcheon plate, and old faucet, you’re creating a clean slate for the installation of your new faucet. Be sure to properly align and secure the new faucet, connect the water supply lines, and reassemble the handles and escutcheon plate to ensure a secure and functional installation.
Finally, don’t forget to turn on the water supply and check for any leaks or issues. Take the time to verify proper functionality and enjoy the satisfaction of a job well done.
If you ever feel overwhelmed or unsure during the process, don’t hesitate to seek professional assistance. A qualified plumber can offer guidance and ensure that your new faucet is installed correctly and with maximum efficiency.
Now that you have the knowledge and confidence to remove and install a two-handle bathroom faucet, go ahead and transform your bathroom space with a stylish and functional upgrade. Happy renovating!
Frequently Asked Questions about How To Remove A Two-Handle Bathroom Faucet
Was this page helpful?
At Storables.com, we guarantee accurate and reliable information. Our content, validated by Expert Board Contributors, is crafted following stringent Editorial Policies. We're committed to providing you with well-researched, expert-backed insights for all your informational needs.


0 thoughts on “How To Remove A Two-Handle Bathroom Faucet”