Articles
How To Install A Whole House Humidifier
Modified: October 18, 2024
Learn how to install a whole house humidifier with our informative articles. Improve the air quality in your home and enhance your comfort.
(Many of the links in this article redirect to a specific reviewed product. Your purchase of these products through affiliate links helps to generate commission for Storables.com, at no extra cost. Learn more)
Introduction
Installing a whole house humidifier can greatly improve the comfort and health of your home, especially during the dry winter months. A whole house humidifier works by adding moisture to the air, helping to alleviate dry skin, reduce static electricity, and prevent damage to wood furniture and flooring. In addition, it can help ease respiratory issues and improve sleep quality by keeping the air at a comfortable humidity level.
If you’re tired of dealing with dry air and its associated problems, installing a whole house humidifier is a great solution. While the installation process may seem daunting, with the right tools and knowledge, you can easily set up a whole house humidifier in your home. This article will guide you through the installation process, helping you select the right humidifier, prepare for installation, and connect it to your home’s HVAC system.
Before we dive into the installation steps, let’s take a closer look at the benefits of having a whole house humidifier and how it can improve your overall living environment.
Key Takeaways:
- Installing a whole house humidifier can greatly improve the comfort and health of your home by alleviating dry skin, reducing static electricity, and protecting furniture. Proper selection, preparation, and installation are essential for optimal performance.
- Regular maintenance and troubleshooting are crucial for ensuring the efficient operation of your whole house humidifier. By following these guidelines, you can create a comfortable and healthy living environment for you and your family.
Read also: 8 Amazing Whole House Humidifier for 2025
Understanding the Benefits of a Whole House Humidifier
Dry air can have a detrimental effect on your health and home. During the winter months, when the heating system is running, the air inside your home tends to become dry and stale. This can lead to a range of issues, including dry skin, irritated nasal passages, sore throats, and even respiratory problems. Additionally, the lack of humidity in the air can cause static electricity buildup, damage to wood furniture and flooring, and discomfort while sleeping.
A whole house humidifier offers several benefits in combating these issues. Firstly, it helps maintain an optimal level of humidity in your home by adding moisture to the air, preventing it from becoming too dry. This is especially important for individuals who suffer from asthma, allergies, or other respiratory conditions, as dry air can exacerbate their symptoms. With a whole house humidifier, you can create a healthier and more comfortable living environment.
Furthermore, a whole house humidifier helps to combat skin dryness and irritation. Dry air can cause your skin to become flaky, itchy, and even develop cracks. By introducing moisture into the air, a humidifier hydrates your skin, helping it stay moisturized and preventing these uncomfortable symptoms. This can be particularly beneficial for individuals with eczema or sensitive skin.
In addition to the health benefits, a whole house humidifier can also protect your home. Dry air can cause structural damage to wooden furniture and flooring, leading to cracks, warping, and weakening. By maintaining proper humidity levels with a humidifier, you can preserve the integrity of your wooden surfaces and extend their lifespan.
Another advantage of a whole house humidifier is the prevention of static electricity buildup. Dry air is a common culprit for static shocks, which can be unpleasant and even damaging to electronic devices. By increasing the moisture in the air, a humidifier reduces the occurrence of static electricity, making your home environment more comfortable and safer.
Overall, a whole house humidifier offers numerous benefits, including improved respiratory health, hydrated skin, protected furniture, and reduced static electricity. Now that you understand the advantages, let’s move on to selecting the right whole house humidifier for your home.
Selecting the Right Whole House Humidifier for Your Home
When choosing a whole house humidifier for your home, there are several factors to consider to ensure you make the right decision. Here are some key points to keep in mind:
- Types of Whole House Humidifiers: There are different types of whole house humidifiers available, including bypass humidifiers, fan-powered humidifiers, and steam humidifiers. Each type has its unique advantages and considerations. Bypass humidifiers are the most common and cost-effective option, while fan-powered humidifiers are more effective for larger homes. Steam humidifiers provide the highest level of humidity control but come with a higher price tag.
- Sizing: It is important to choose a humidifier that is appropriate for the size of your home. Consider the square footage of your house and select a humidifier that can adequately cover that area. Undersized humidifiers may struggle to maintain the desired humidity levels, while oversized humidifiers may consume excessive electricity and potentially cause moisture-related issues in your home.
- Humidity Control: Look for a humidifier that offers precise humidity control. Some models come with built-in hygrometers or humidistats, which automatically detect and maintain the desired humidity level. This feature ensures that your home remains comfortable without excess moisture accumulation.
- Water Source: Consider the type of water source available in your home. Certain humidifiers require a specific type of water, such as distilled or softened water, to prevent mineral buildup and maintain performance. Take this into account and choose a humidifier that suits the water quality in your area.
- Budget and Maintenance: Determine your budget and factor in the long-term costs of maintaining the humidifier. Consider the cost of replacement filters, water panels, or maintenance services. It’s important to regularly clean and maintain your humidifier to ensure optimal performance and prevent the growth of mold or bacteria.
By considering these factors, you can choose a whole house humidifier that meets your specific needs and provides optimal comfort for your home. Once you have selected the right humidifier, you can proceed with the installation process. Next, we will discuss the tools and materials you will need for a successful installation.
Tools and Materials Needed for Installation
Before you begin the installation process for your whole house humidifier, it’s important to gather all the necessary tools and materials. Having everything prepared beforehand will make the installation smoother and more efficient. Here’s a list of the essential items you will need:
- Pliers: Pliers are essential for loosening and tightening nuts and bolts during the installation process.
- Screwdriver: A screwdriver will be needed to remove and attach screws during the installation.
- Drill: If you need to create holes for mounting brackets or access for wiring, a drill will come in handy. Make sure to have the appropriate drill bits for the job.
- Tape Measure: A tape measure will be used to ensure accurate measurements and proper placement of the humidifier unit.
- Hacksaw: A hacksaw will be necessary if you need to cut any pipes or tubing during the installation process.
- Multimeter: A multimeter will be useful for testing electrical connections and troubleshooting any issues.
- Level: A level will help ensure that the humidifier unit and mounting brackets are properly aligned.
- Wire Strippers: For connecting electrical wires, wire strippers will be required to remove the insulation from the wires.
- Plastic Tubing: Depending on the humidifier model, you may need plastic tubing to connect the water supply to the unit. Make sure to check the manufacturer’s instructions for the correct size and type of tubing.
- Mounting brackets: Most humidifiers come with mounting brackets or clips for installation. These brackets will be used to secure the unit to the ductwork or other suitable locations.
- Water line connection kit: If your humidifier requires a water line connection, you may need a water line connection kit that includes a solenoid valve, saddle valve, and fittings.
In addition to these tools, make sure to have the necessary materials such as screws, nuts, and washers for attaching the humidifier unit and humidistat. It’s also a good idea to have silicone sealant or tape for sealing any connections and preventing leaks.
By having all these tools and materials ready, you’ll be well-prepared for the installation process. In the next section, we’ll discuss the steps for preparing your home and HVAC system for the installation of the whole house humidifier.
Preparing for Installation
Before you can begin the installation of your whole house humidifier, there are a few important steps to take to ensure a successful and smooth process. Here’s what you need to do to prepare your home and HVAC system:
- Read the Installation Manual: Start by carefully reading the installation manual provided by the manufacturer. This will give you a clear understanding of the specific steps and requirements for your humidifier model.
- Turn off the Power: To ensure your safety, turn off the power at the circuit breaker for the HVAC system. This will prevent any electrical accidents during the installation process.
- Locate the HVAC System: Identify the location of your HVAC system, which may be in the basement, attic, or a utility room. You will need access to the HVAC system to install the humidifier.
- Locate the Water Supply: Identify the location of the nearest water supply, such as a cold water line or a water softener system. This will be used to connect the humidifier to the water source.
- Choose a Suitable Location: Determine the optimal location for installing the humidifier unit. It should be near the HVAC system and easily accessible for maintenance and filter replacement.
- Clear the Area: Ensure the area around the chosen location is clear of any obstructions. This will make it easier to install the unit and allow for proper airflow.
- Measure and Mark: Use a tape measure and level to accurately measure and mark the positions where the unit will be mounted and the humidistat will be located.
- Plan the Wiring: Determine the best route for the wiring from the humidifier unit to the humidistat. This may involve drilling holes and installing conduits if necessary.
- Shut off the Water Supply: Before starting the installation, turn off the water supply to prevent any leaks or water damage during the process.
- Check for Adequate Drainage: Ensure there is a suitable drain nearby to handle any excess water that may be discharged from the humidifier.
Taking the time to properly prepare your home and HVAC system will help make the installation process smoother and more efficient. It’s crucial to have a clear plan and understanding of the installation steps before proceeding. In the next section, we will cover the installation of the humidifier unit.
Read more: How To Install A Whole House Dehumidifier
Installing the Humidifier Unit
Now that you have prepared your home and HVAC system, it’s time to start installing the humidifier unit. Follow these steps to successfully install the unit:
- Mount the Unit: Begin by mounting the humidifier unit in the chosen location. Use the provided mounting brackets or clips to secure the unit to the ductwork or nearby surface. Ensure that the unit is level and securely fastened.
- Connect the Water Supply: Depending on the type of humidifier, you may need to connect it to a water supply. Follow the manufacturer’s instructions to properly connect the water line to the humidifier. Use the appropriate fittings and ensure a tight connection to prevent leaks.
- Attach the Drain Line: If your humidifier has a drain line, connect it to a suitable drain point. This will allow any excess water to drain away and prevent standing water in the unit.
- Install the Filter or Water Panel: Depending on your humidifier model, you may need to install a filter or water panel. Follow the manufacturer’s instructions to correctly install it in the designated area of the humidifier unit.
- Secure Electrical Connections: Connect the electrical wires from the humidifier unit to the appropriate terminals on the HVAC system. Follow the wiring diagram provided in the installation manual to ensure the correct connections. Use wire nuts or other suitable connectors to securely fasten the wires.
- Double-Check Connections: Before proceeding, double-check all the connections to ensure they are properly secured and tight. This will prevent any leaks or electrical issues in the future.
- Restore Power: Once you have completed the installation and checked all the connections, it’s time to restore power to the HVAC system. Turn the power back on at the circuit breaker and ensure the unit is running smoothly.
Remember to reference the installation manual provided by the manufacturer for specific instructions related to your humidifier model. It’s also a good idea to test the unit after installation to ensure it’s functioning properly. In the next section, we will discuss the installation of the humidistat, which allows you to control and monitor the humidity levels in your home.
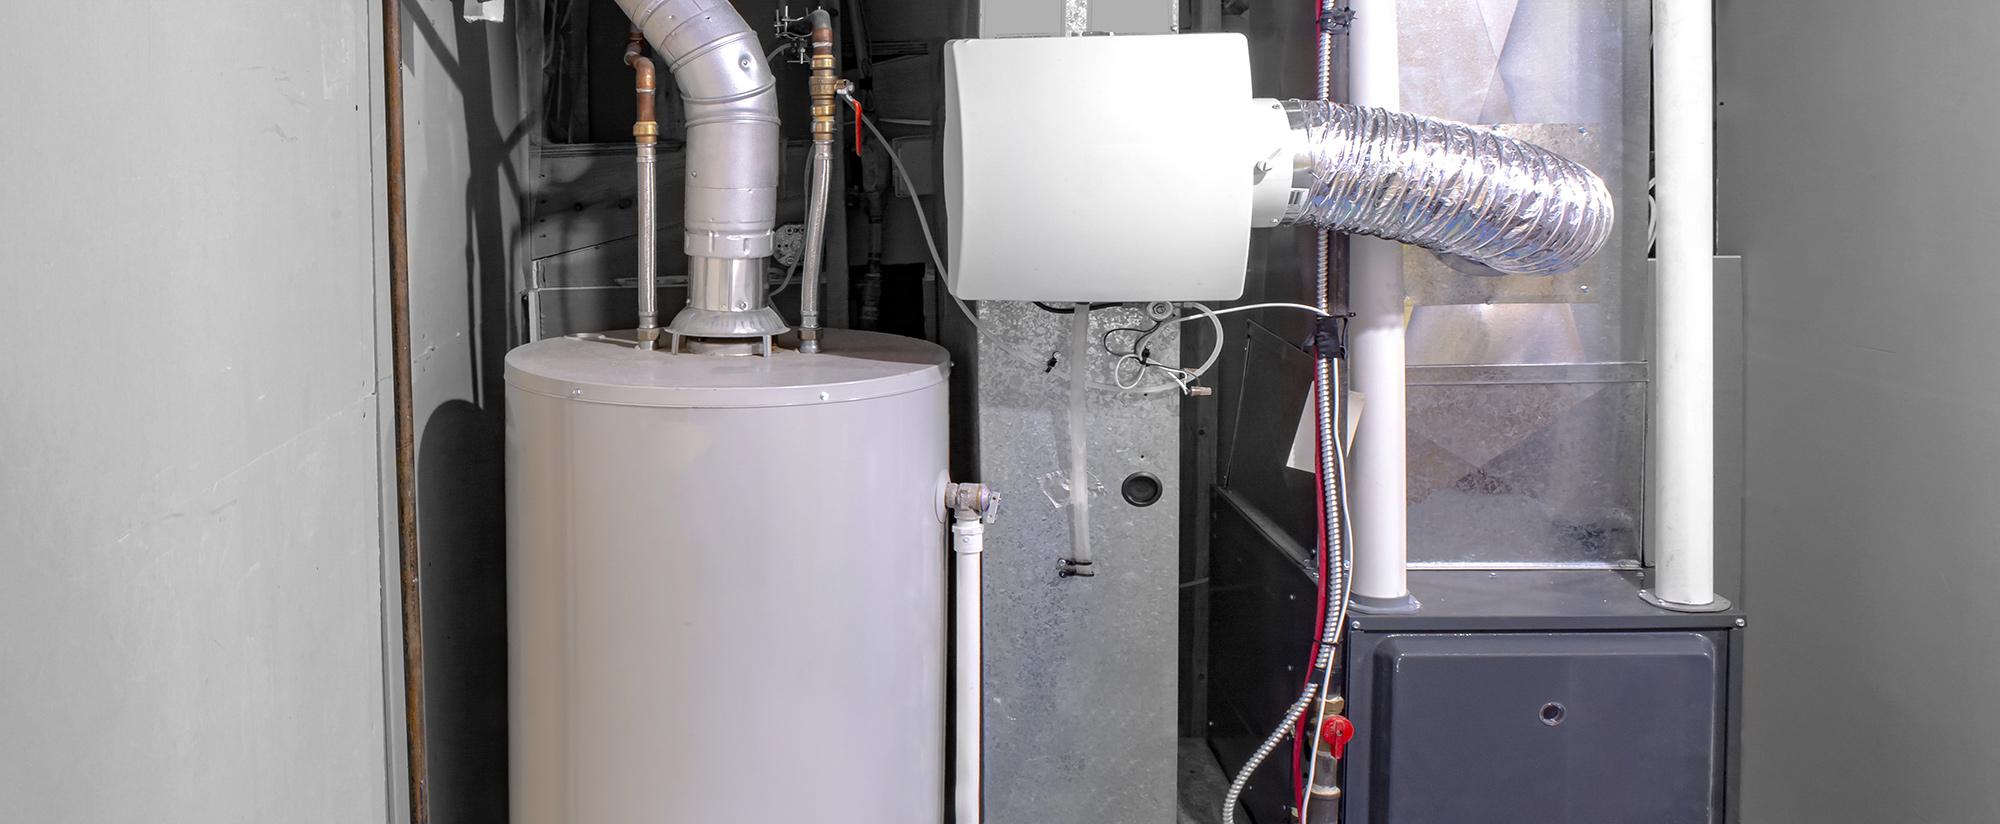
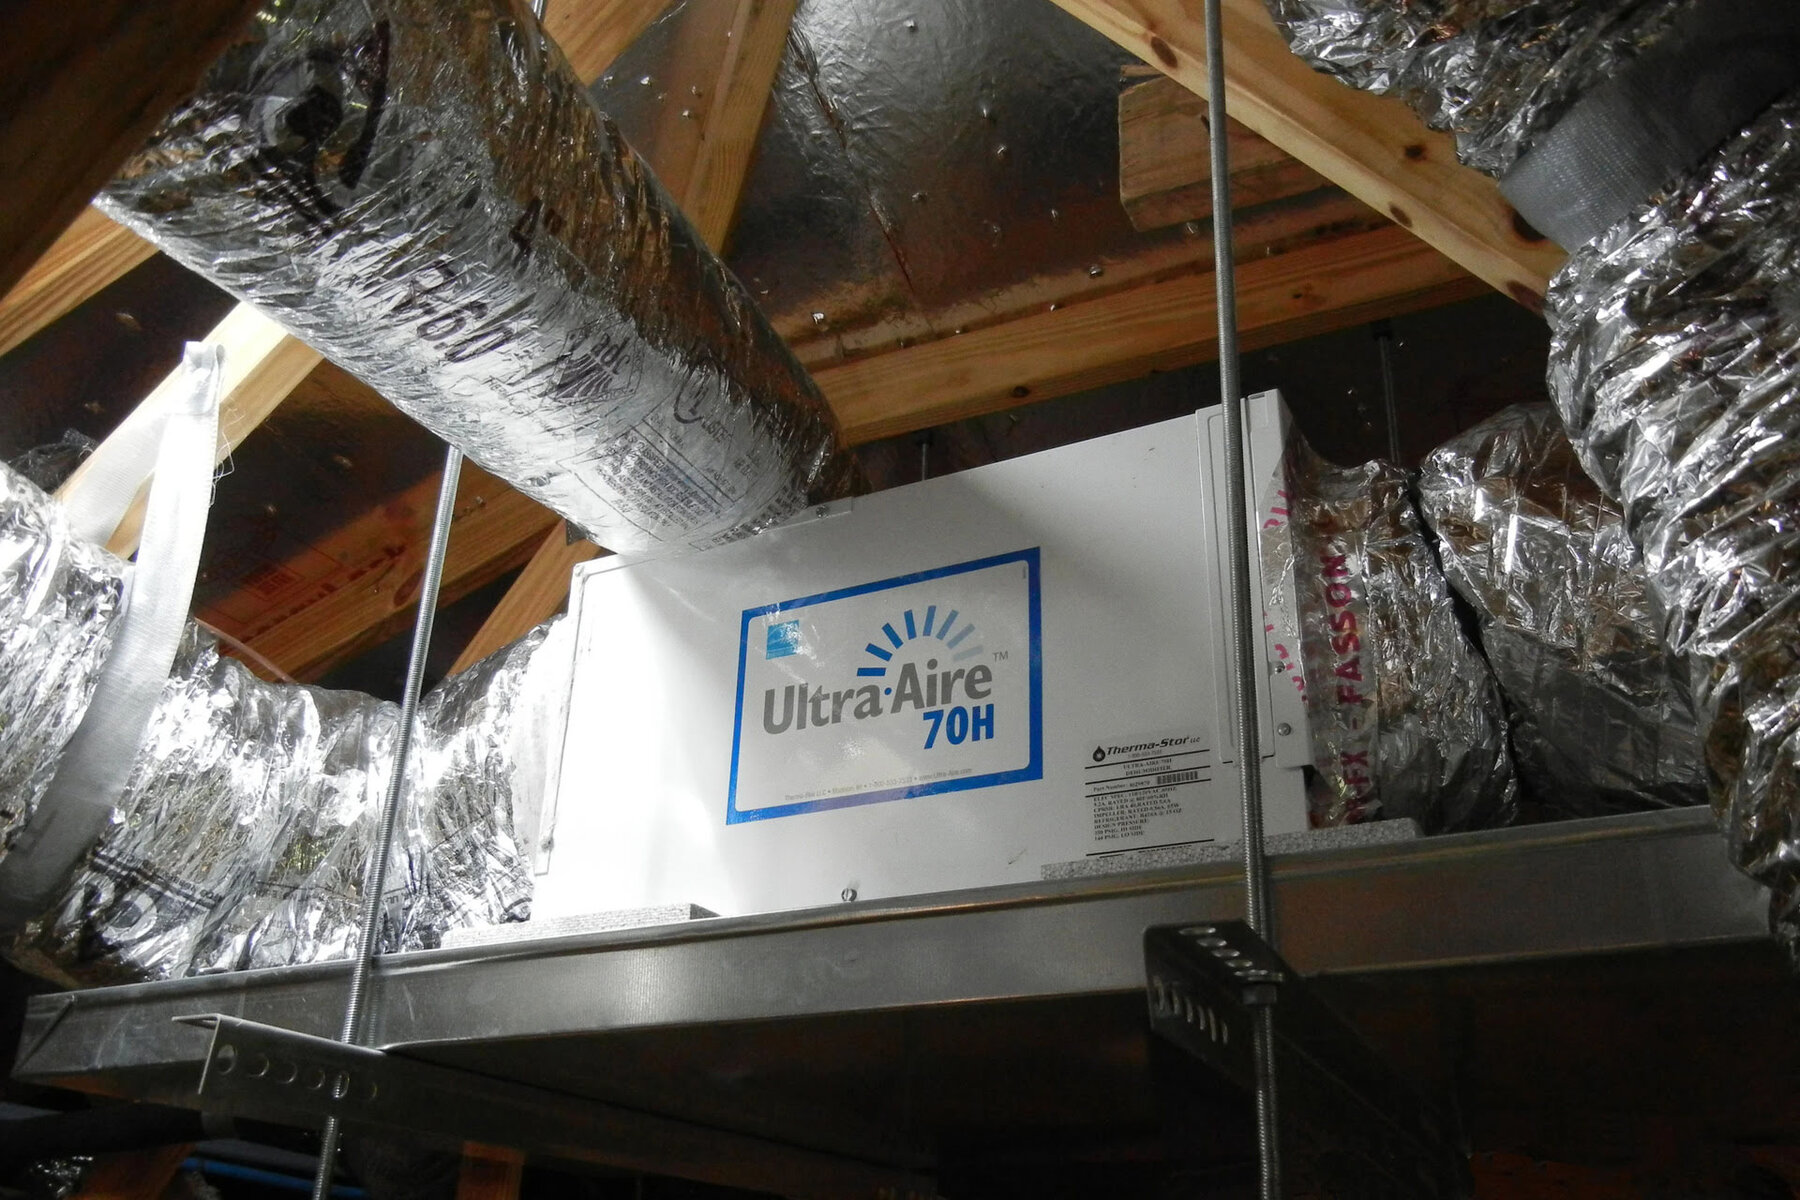
Make sure to choose the right location for your whole house humidifier installation, preferably near the furnace to ensure even distribution of moisture throughout your home.
Installing the Humidistat
The humidistat is an essential component of your whole house humidifier, as it allows you to control and monitor the humidity levels in your home. Follow these steps to install the humidistat:
- Choose the Location: Select a suitable location for the humidistat. It is typically installed on an interior wall, away from direct sunlight, heat sources, and drafts. Use a tape measure to ensure the proper placement and make a mark.
- Prepare the Mounting Area: Clear the area where the humidistat will be mounted. Ensure the surface is smooth and clean to facilitate easy installation.
- Install the Mounting Plate: Place the mounting plate on the marked location and use a screwdriver to secure it to the wall with screws. Ensure it is level and firmly attached.
- Connect the Wires: Refer to the humidistat’s wiring diagram to determine the appropriate connections. Use wire strippers to remove a small section of insulation from the wires. Connect the wires to the terminals on the back of the humidistat, following the color-coded instructions in the manual. Secure the connections with wire nuts.
- Attach the Humidistat Cover: Once the wires are connected, carefully attach the cover of the humidistat. Ensure it is aligned properly with the mounting plate and securely in place.
- Configure and Test: After installation, configure the humidistat settings according to your preferences and the manufacturer’s instructions. Test the operation of the humidistat by adjusting the humidity settings and observing how it activates the humidifier.
Remember to refer to the installation manual provided by the manufacturer for specific instructions related to your humidistat model. The humidistat allows you to control and monitor the humidity levels, providing you with optimal comfort and humidity control in your home. Next, we will discuss the steps to connect the humidifier to your home’s HVAC system.
Connecting the Humidifier to Your Home’s HVAC System
Connecting the whole house humidifier to your home’s HVAC system is a crucial step in the installation process. Follow these steps to ensure a proper connection:
- Locate the HVAC’s Return Duct: Identify the return duct of your HVAC system. This is where the humidifier will be connected to ensure proper distribution of moisture throughout your home.
- Measure and Mark: Use a tape measure to determine the correct position for the humidifier connection on the return duct. Make sure to measure carefully to ensure accuracy.
- Create an Opening: Use a drill with the appropriate drill bit to create a small hole at the marked location. Make sure to wear safety goggles while drilling.
- Attach the Collar: Install a collar or adaptor into the hole you created in the return duct. The collar should be the same size as the opening and should fit snugly. You may need to use sheet metal screws or duct tape to secure it in place.
- Connect the Ductwork: Attach the ductwork from the humidifier unit to the collar on the return duct. Use sheet metal screws or duct tape to securely fasten the ductwork connections. Ensure that there are no gaps or leaks in the connections.
- Insulate the Connections: To prevent condensation and air leakage, wrap insulation around the connections between the humidifier ductwork and the return duct. This will help maintain proper moisture levels and prevent heat loss.
- Secure the Wiring: Carefully route and secure the wires from the humidifier unit to the HVAC system. Use cable ties or clips to keep the wires organized and prevent them from interfering with the system’s operation.
- Test the Connection: Once the humidifier is connected to the HVAC system, turn on the system and test the humidifier’s operation. Ensure that moisture is being distributed properly throughout your home and that there are no leaks or malfunctions.
It’s important to follow the manufacturer’s instructions and guidelines for connecting the humidifier to your specific HVAC system. If you are unsure about any aspect of the connection process, consult a professional HVAC technician for assistance.
Now that the humidifier is connected to your HVAC system, you can move on to testing and adjusting the humidifier to ensure optimal performance.
Testing and Adjusting the Humidifier
After installing and connecting your whole house humidifier, it’s crucial to test and adjust it to ensure it is functioning properly and providing the desired level of humidity in your home. Follow these steps to test and make any necessary adjustments to the humidifier:
- Set the Desired Humidity Level: Use the humidistat to set the desired humidity level in your home. It’s recommended to keep the humidity between 30% and 50% for optimal comfort and health.
- Monitor the Humidity Readings: Use a hygrometer or the built-in humidity sensor on the humidistat to monitor the current humidity levels in your home. This will help you determine if the humidifier is effectively maintaining the desired humidity.
- Run the Humidifier: Allow the humidifier to run for a few hours to observe its operation. Check for any leaks, unusual noises, or malfunctions. Ensure that water is flowing properly to the humidifier and that the airflow is unrestricted.
- Check for Proper Moisture Distribution: Monitor the moisture distribution throughout your home. Check rooms farthest away from the humidifier to make sure they are also benefiting from the increased humidity. Adjust the settings or the airflow if needed to achieve even distribution.
- Adjust Settings if Necessary: If you find that the humidity levels are consistently too low or too high, make adjustments to the humidistat settings accordingly. Follow the manufacturer’s instructions to properly adjust the humidifier settings.
- Regularly Monitor and Maintain: It’s important to regularly monitor the humidity levels and the performance of your humidifier. Check the water levels, inspect the filters or water panels, and clean or replace them as recommended by the manufacturer. Regular maintenance will ensure optimal performance and prevent any issues.
Remember that maintaining proper humidity levels is essential for a comfortable and healthy living environment. If you encounter any issues or have questions about adjusting or troubleshooting your humidifier, consult the manufacturer’s manual or seek assistance from a professional HVAC technician.
In the next section, we will provide some maintenance and troubleshooting tips to help you keep your whole house humidifier in excellent condition.
Read more: How To Install A Whole House Fan
Maintenance and Troubleshooting Tips
To ensure your whole house humidifier continues to operate efficiently and effectively, regular maintenance is essential. Follow these maintenance tips to keep your humidifier in optimal condition:
- Regularly Clean the Humidifier: Clean your humidifier at least once a month to prevent the buildup of mineral deposits and the growth of mold or bacteria. Refer to the manufacturer’s instructions for specific cleaning guidelines.
- Replace Filters or Water Panels: Depending on your humidifier model, filters or water panels may need to be replaced periodically. Check them regularly and replace as recommended by the manufacturer to maintain optimal performance.
- Monitor and Control the Water Level: Ensure that the water level in the humidifier is maintained within the recommended range. Too much or too little water can affect the humidifier’s performance and potentially cause damage.
- Check for Leakage: Regularly inspect the humidifier and its connections for any signs of leakage. Address any leaks promptly to prevent water damage to your home and ensure efficient operation of the unit.
- Monitor Humidity Levels: Continuously monitor the humidity levels in your home to ensure that the humidifier is maintaining the desired level of humidity. Adjust the settings if needed to achieve optimal comfort.
If you encounter any issues with your whole house humidifier, here are some troubleshooting tips to help you identify and resolve common problems:
- No Power: Check the power supply to the humidifier and ensure it is connected properly. Make sure the circuit breakers are not tripped and the wires are securely connected.
- Low Water Flow: If you notice a decrease in water flow to the humidifier, check for any blockages or clogs in the water supply line and clean them if necessary. Ensure the water pressure is sufficient for proper operation.
- Excessive Noise: Unusual or excessive noise may indicate a problem with the fan or motor. Check for any loose or damaged components and tighten or replace them as needed.
- Inaccurate Humidity Readings: If the humidistat is not displaying accurate humidity readings, check for any obstructions around the sensor and clean it if necessary. Ensure the sensor is properly calibrated according to the manufacturer’s instructions.
- Water Leakage: If water is leaking from the humidifier, check for any loose or damaged connections. Tighten or replace them as needed. Also, ensure that the drain line is securely attached and not blocked.
If you are unable to resolve any issues or if you are unsure about any troubleshooting steps, it is recommended to seek assistance from a professional HVAC technician. They can diagnose and repair any complex problems with your whole house humidifier.
By following these maintenance tips and troubleshooting guidelines, you can ensure the longevity and efficient performance of your whole house humidifier.
Conclusion
Installing a whole house humidifier can greatly improve the comfort and health of your home. By adding moisture to the air, it helps alleviate dry skin, reduce static electricity, and prevent damage to furniture and flooring. Additionally, it can improve respiratory health and promote better sleep quality.
When selecting a whole house humidifier, consider the different types available, sizing requirements, humidity control features, water source compatibility, and maintenance costs. It’s important to choose a humidifier that suits the specific needs of your home and fits within your budget.
Before installation, gather the necessary tools and materials, which include pliers, screwdrivers, a drill, tape measure, hacksaw, multimeter, wire strippers, plastic tubing, mounting brackets, and a water line connection kit. These tools will greatly assist you during the installation process.
Proper preparation is key to a successful installation. Read the installation manual provided by the manufacturer, turn off the power, locate the HVAC system and water supply, choose a suitable location for the humidifier unit, measure and mark the positions, and shut off the water supply before starting the installation process.
During installation, mount the unit securely, connect the water supply, attach the drain line, install the filter or water panel, secure electrical connections, and double-check all connections for proper tightness and security. Once the installation is complete, restore power and test the humidifier’s operation.
The installation of the humidistat is essential to control and monitor the humidity levels in your home. Choose a suitable location, install the mounting plate, connect the wires, and attach the humidistat cover. Configure the humidistat settings and test the operation of the humidifier to ensure proper functionality.
To connect the humidifier to your home’s HVAC system, locate the return duct, measure and mark the position, create an opening, attach a collar, connect the ductwork, and insulate the connections to prevent condensation and air leakage.
After installation, test and adjust the humidifier to achieve the desired humidity levels. Monitor the humidity readings, run the humidifier for a few hours, check for proper moisture distribution, and adjust settings if necessary. Regular maintenance, including cleaning the humidifier, replacing filters, and monitoring water levels, is essential to ensure optimal performance.
In case of any issues, follow troubleshooting tips such as checking for power supply, water flow, noise, humidity readings, and water leakage. Seek professional assistance if you are unable to resolve the issues on your own.
By following these guidelines, you can enjoy the benefits of a whole house humidifier and create a comfortable and healthy living environment for you and your family.
Frequently Asked Questions about How To Install A Whole House Humidifier
Was this page helpful?
At Storables.com, we guarantee accurate and reliable information. Our content, validated by Expert Board Contributors, is crafted following stringent Editorial Policies. We're committed to providing you with well-researched, expert-backed insights for all your informational needs.


0 thoughts on “How To Install A Whole House Humidifier”