Articles
How To Install An Electric Fireplace Insert
Modified: January 8, 2024
Learn how to install an electric fireplace insert with our step-by-step articles. Create a cozy and efficient heating solution for your home.
(Many of the links in this article redirect to a specific reviewed product. Your purchase of these products through affiliate links helps to generate commission for Storables.com, at no extra cost. Learn more)
Introduction
Installing an electric fireplace insert is a great way to add warmth and ambiance to your home without the hassle of a traditional fireplace. Whether you’re looking to update an existing fireplace or create a new focal point in your living space, an electric fireplace insert is a convenient and energy-efficient option.
In this article, we will walk you through the step-by-step process of installing an electric fireplace insert. We will cover everything from gathering the necessary tools and materials to connecting the electrical wiring and finishing the installation with trim and surrounds.
Before we begin, it’s important to note that the specific instructions may vary depending on the brand and model of your electric fireplace insert. Always refer to the manufacturer’s guidelines for the most accurate and detailed instructions.
Now, let’s dive into the process of installing an electric fireplace insert and create a cozy atmosphere in your home!
Key Takeaways:
- Installing an electric fireplace insert involves gathering tools, prepping the fireplace opening, assembling the insert, securing it in place, connecting electrical wiring, testing the functionality, and adding finishing touches with trim and surrounds.
- An electric fireplace insert offers a convenient and energy-efficient way to add warmth and ambiance to your home. By following manufacturer’s instructions and taking the time to properly install and maintain it, you can enjoy a cozy atmosphere all year round.
Read more: How To Install A Wood Fireplace Insert
Step 1: Gather the Necessary Tools and Materials
Before you start the installation process, it’s essential to gather all the tools and materials you’ll need. This will help ensure a smooth and efficient installation. Here’s a list of the items you’ll likely need:
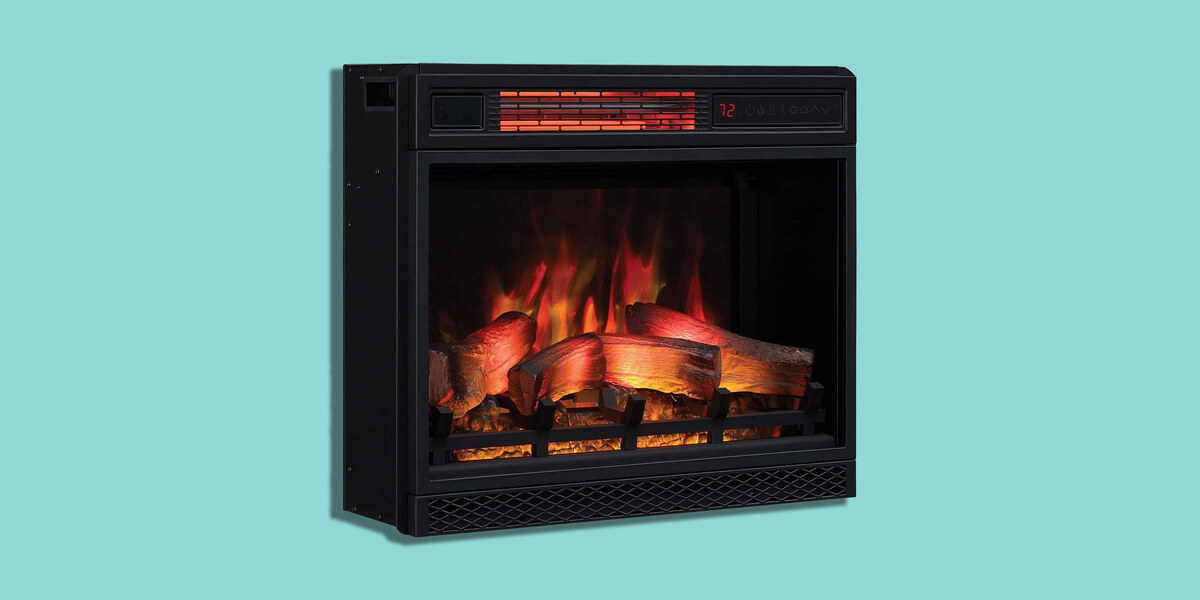
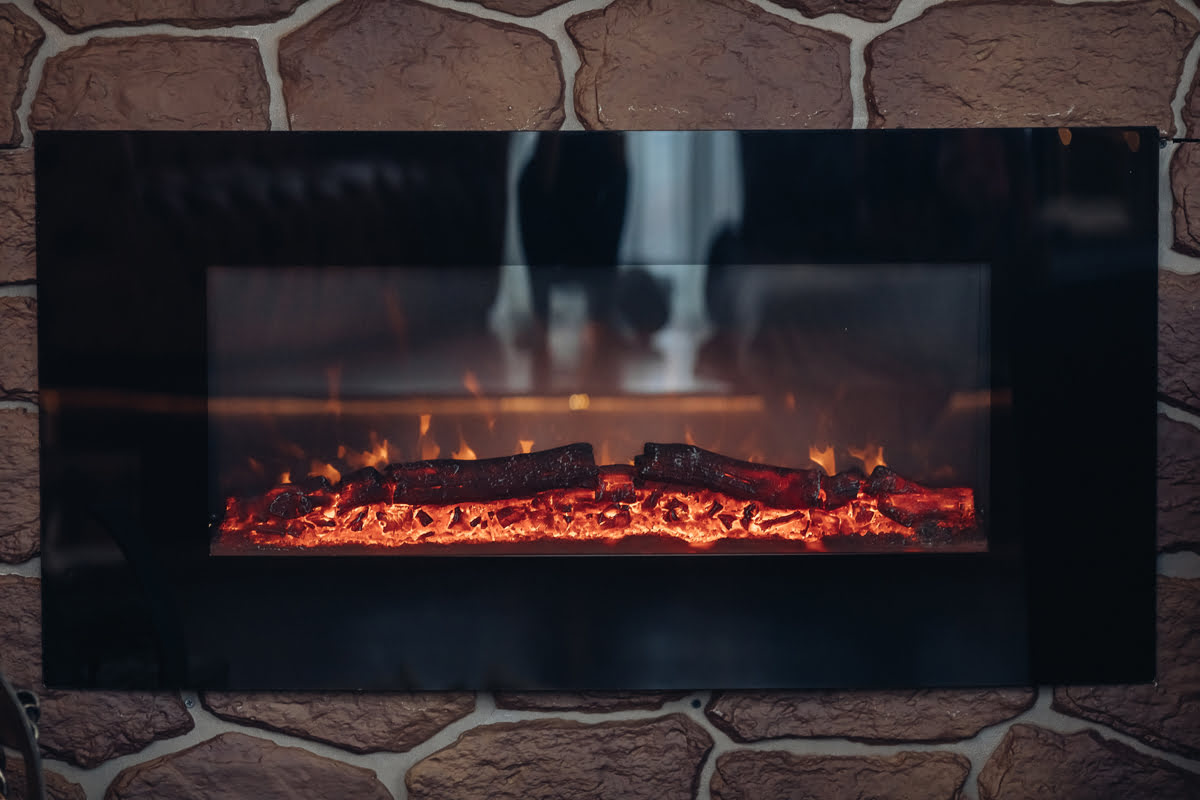
- Electric fireplace insert
- Electric drill
- Screwdriver (both Phillips and flathead)
- Tape measure
- Level
- Stud finder
- Pencil or marker
- Electrical wire and connectors
- Trim and surround materials (if desired)
- Safety goggles
- Work gloves
Once you have gathered all the necessary tools and materials, you can proceed with the installation process confidently.
It’s also important to ensure that you have a clear understanding of the specific requirements and recommendations provided by the manufacturer. This includes any specific tools or materials they may recommend for the installation of their product.
By having all the necessary tools and materials on hand, you can save time and minimize the chance of encountering any unnecessary hurdles during the installation process.
Now that you have everything you need, let’s move on to the next step: prepping the fireplace opening.
Step 2: Prep the Fireplace Opening
Before installing the electric fireplace insert, it’s essential to properly prepare the fireplace opening. Here’s a step-by-step guide on how to do it:
- Clean the fireplace: Remove any debris, ashes, or loose material from the fireplace. Use a vacuum cleaner and a brush to ensure a clean surface.
- Measure the fireplace opening: Use a tape measure to determine the dimensions of the opening. This will help you choose the right size electric fireplace insert.
- Check for obstructions: Inspect the fireplace for any obstructions, such as protruding bricks, gas lines, or vent pipes. If you encounter any obstructions, consult a professional to address them before proceeding with the installation.
- Locate the studs: Use a stud finder to locate the studs on the walls surrounding the fireplace opening. This will help you securely install the electric fireplace insert.
- Mark the measurements: Use a pencil or marker to mark the dimensions of the fireplace opening on the surrounding walls. This will serve as a guideline for the installation process.
By following these steps, you can ensure that the fireplace opening is clean, free from any obstacles, and properly measured. This will provide a solid foundation for the installation of the electric fireplace insert.
Now that the fireplace opening is prepped, it’s time to move on to the next step: assembling the electric fireplace insert.
Step 3: Assemble the Electric Fireplace Insert
Once the fireplace opening is prepped, you can begin assembling the electric fireplace insert. Follow these steps to ensure a successful assembly:
- Read the manufacturer’s instructions: Before starting the assembly process, carefully read the instructions provided by the manufacturer. This will give you a clear understanding of the specific assembly steps for your electric fireplace insert.
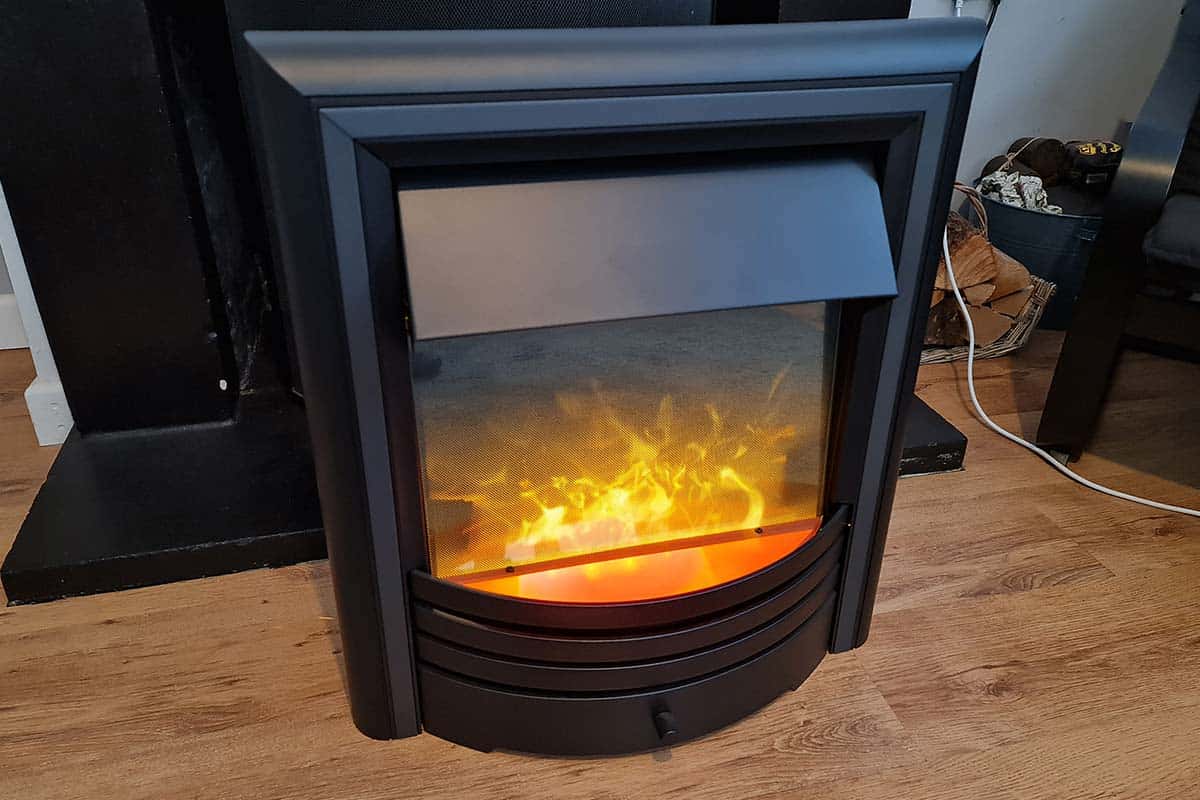
- Unpack the components: Remove all the components from the packaging and organize them. Ensure that you have all the necessary parts, including the frame, heating unit, glass front, and any additional accessories.
- Attach the frame: If your electric fireplace insert comes with a separate frame, follow the instructions to securely attach it to the heating unit. Use screws or any other recommended fasteners.
- Install the glass front: Carefully place the glass front onto the frame or heating unit. Make sure it is properly aligned and securely attached.
- Connect the heating unit: Depending on the model, you may need to connect the heating unit to the frame or the electrical components. Follow the instructions provided by the manufacturer to ensure a correct and secure connection.
- Attach any optional accessories: If your electric fireplace insert comes with optional accessories, such as a decorative log set or ember bed, follow the instructions to attach them. This will enhance the visual appeal of your electric fireplace.
By following these steps and carefully following the manufacturer’s instructions, you can assemble the electric fireplace insert correctly and ensure it is ready for installation.
Now that you have assembled the electric fireplace insert, it’s time to move on to the next step: securing the fireplace insert in place.
Step 4: Secure the Fireplace Insert in Place
Now that the electric fireplace insert is assembled, it’s time to secure it in place within the fireplace opening. Follow these steps to ensure a secure installation:
- Position the insert: Carefully lift the electric fireplace insert and position it in the fireplace opening. Make sure it is centered and aligns with the markings you made earlier.
- Check for level: Use a level to ensure that the insert is straight and level. Adjust as needed by adding shims or adjusting the placement of the insert.
- Secure the insert: Once the insert is level, use screws or other recommended fasteners to secure it to the studs or the surrounding walls. Follow the manufacturer’s instructions for the recommended attachment method.
- Check for stability: Give the insert a gentle shake to ensure that it is securely installed and doesn’t wobble. Make any necessary adjustments or enhancements to ensure stability.
Securing the electric fireplace insert in place is crucial for safety and stability. Taking the time to properly secure the insert will ensure that it remains in place and functions correctly.
Now that the insert is securely installed, it’s time to move on to the next step: connecting the electrical wiring.
When installing an electric fireplace insert, make sure to carefully read the manufacturer’s instructions and follow them step by step to ensure proper installation and safety.
Read more: How Much Is An Electric Fireplace Insert
Step 5: Connect the Electrical Wiring
With the electric fireplace insert securely in place, it’s time to connect the electrical wiring. Follow these steps to ensure a safe and proper connection:
- Turn off the power: Before working with any electrical wiring, always turn off the power at the circuit breaker. This will help prevent any accidents or electrical shocks.
- Locate the power source: Identify the power source for the electric fireplace insert. This is typically an electrical outlet located near the fireplace opening.
- Measure the wiring length: Measure the distance between the power source and the electric fireplace insert. This will help determine the length of electrical wire needed for the connection.
- Prepare the electrical wire: Cut the electrical wire to the appropriate length, leaving some extra slack for ease of installation. Strip about half an inch of insulation from each end of the wire.
- Connect the wires: Follow the manufacturer’s instructions to connect the electrical wires from the fireplace insert to the power source. Typically, this involves matching the color-coded wires and securing them with wire connectors.
- Secure the wires: Once the wires are connected, use electrical tape or wire connectors to securely fasten the connections and prevent any loose or exposed wiring.
- Double-check the connections: Before restoring power, double-check all the connections to ensure they are secure. Verify that the wires are properly connected and there are no exposed wires or loose connections.
- Restore power and test the fireplace: Once you are confident that the wiring is correctly connected, restore power at the circuit breaker and test the electric fireplace insert. Ensure that the flames, heat, and any additional features are functioning properly.
Connecting the electrical wiring properly is crucial for the safe and efficient operation of the electric fireplace insert. Take your time and follow the manufacturer’s instructions to ensure a successful connection.
Now that the electrical wiring is connected, it’s time to move on to the next step: testing the electric fireplace insert.
Step 6: Test the Electric Fireplace Insert
After connecting the electrical wiring, it’s important to thoroughly test the electric fireplace insert to ensure that it is functioning properly. Follow these steps to test the insert:
- Turn on the power: Ensure that the power is turned on at the circuit breaker.
- Activate the controls: Locate the controls for the electric fireplace insert, which are typically located on the unit or on a remote control. Depending on the model, you may have options to control the flames, heat, and other features.
- Test the flame effect: Activate the flame effect on the electric fireplace and observe the flames. Make sure they are appearing as expected, and adjust the intensity or speed if necessary.
- Check the heat output: Activate the heat function on the electric fireplace and verify that the heat is being produced. Adjust the temperature if possible to ensure it is working correctly.
- Test additional features: If your electric fireplace insert has any additional features, such as lighting effects or sound options, test them to ensure they are functioning as intended.
- Monitor for any issues: While the electric fireplace insert is operating, monitor it closely for any unusual noises, odors, or malfunctions. If you notice anything out of the ordinary, consult the manufacturer’s troubleshooting guide or contact customer support.
Thoroughly testing the electric fireplace insert will give you the confidence that it is working properly and ready to provide warmth and ambiance in your home.
Once you have completed the testing process and are satisfied with the performance of the electric fireplace insert, it’s time to move on to the final step: finishing the installation with trim and surrounds.
Step 7: Finish the Installation with Trim and Surrounds
Completing the installation of your electric fireplace insert involves adding the finishing touches with trim and surrounds. Follow these steps to give your fireplace a polished and cohesive look:
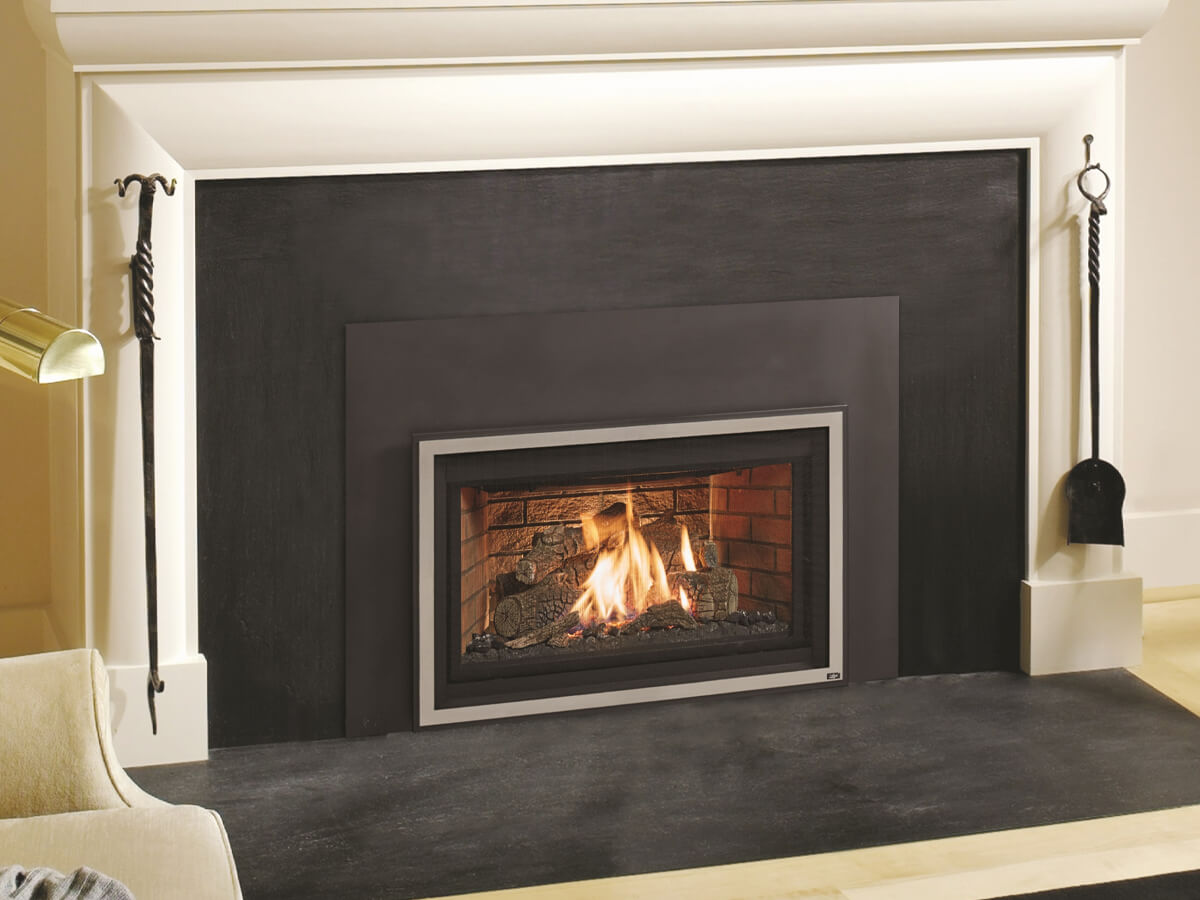
- Select the trim and surround materials: Choose the trim and surrounds that best complement your home’s décor and the style of your electric fireplace insert. Common options include wood, stone, or metal.
- Measure and cut the trim: Measure the dimensions of the fireplace opening and use those measurements to cut the trim pieces to the appropriate length. Ensure the cuts are accurate and clean.
- Attach the trim pieces: Use screws, adhesive, or any recommended method to attach the trim pieces to the fireplace opening. Make sure they are securely fastened and aligned properly.
- Add the surround materials: If desired, install the surround materials around the fireplace opening to enhance the visual appeal. This could include tile, stone, or decorative panels.
- Test the installation: Once the trim and surrounds are in place, test the electric fireplace insert again to ensure it is functioning correctly and not obstructed by the added materials.
- Clean up and enjoy: Clean up any debris or dust from the installation process and step back to admire your finished electric fireplace insert. Turn on the flames and bask in the cozy ambience it provides.
Adding the trim and surrounds not only improves the aesthetics of your electric fireplace insert but also helps seamlessly integrate it into your home’s design. Ensure the materials blend well with the overall theme of the room.
With the trim and surrounds installed, your electric fireplace insert is now complete and ready to be enjoyed. Take some time to sit back, relax, and revel in the warmth and beauty it brings to your living space.
Congratulations! You have successfully completed the installation of your electric fireplace insert. Enjoy the comfort and ambiance it provides all year round.
Conclusion
Installing an electric fireplace insert is a rewarding project that can transform the atmosphere of your home. With its convenience, energy efficiency, and ability to add warmth and ambiance, an electric fireplace insert is a great alternative to traditional fireplaces.
In this article, we walked you through the step-by-step process of installing an electric fireplace insert. We covered the essential steps, from gathering the necessary tools and materials to connecting the electrical wiring and adding the finishing touches with trim and surrounds.
By following the instructions provided by the manufacturer and taking the time to properly prepare, assemble, and secure the electric fireplace insert, you can ensure a safe and successful installation.
As you enjoy the warmth and beauty of your newly installed electric fireplace insert, remember to follow the manufacturer’s guidelines for maintenance and safety. Regularly clean and maintain the fireplace to keep it in optimal condition.
Whether you’re updating an existing fireplace or creating a new focal point in your home, an electric fireplace insert provides a hassle-free and stylish solution. It brings both functional heating and a cozy ambiance to your living space.
Now that you have the knowledge and guidance, it’s time to get started on your electric fireplace insert installation and create a charming and inviting atmosphere in your home.
Stay cozy!
Frequently Asked Questions about How To Install An Electric Fireplace Insert
Was this page helpful?
At Storables.com, we guarantee accurate and reliable information. Our content, validated by Expert Board Contributors, is crafted following stringent Editorial Policies. We're committed to providing you with well-researched, expert-backed insights for all your informational needs.


0 thoughts on “How To Install An Electric Fireplace Insert”