Articles
How To Install Fireplace Blower
Modified: August 17, 2024
Learn how to install a fireplace blower with our step-by-step articles. Upgrade your fireplace with efficient heat distribution and maximize its performance.
(Many of the links in this article redirect to a specific reviewed product. Your purchase of these products through affiliate links helps to generate commission for Storables.com, at no extra cost. Learn more)
Introduction
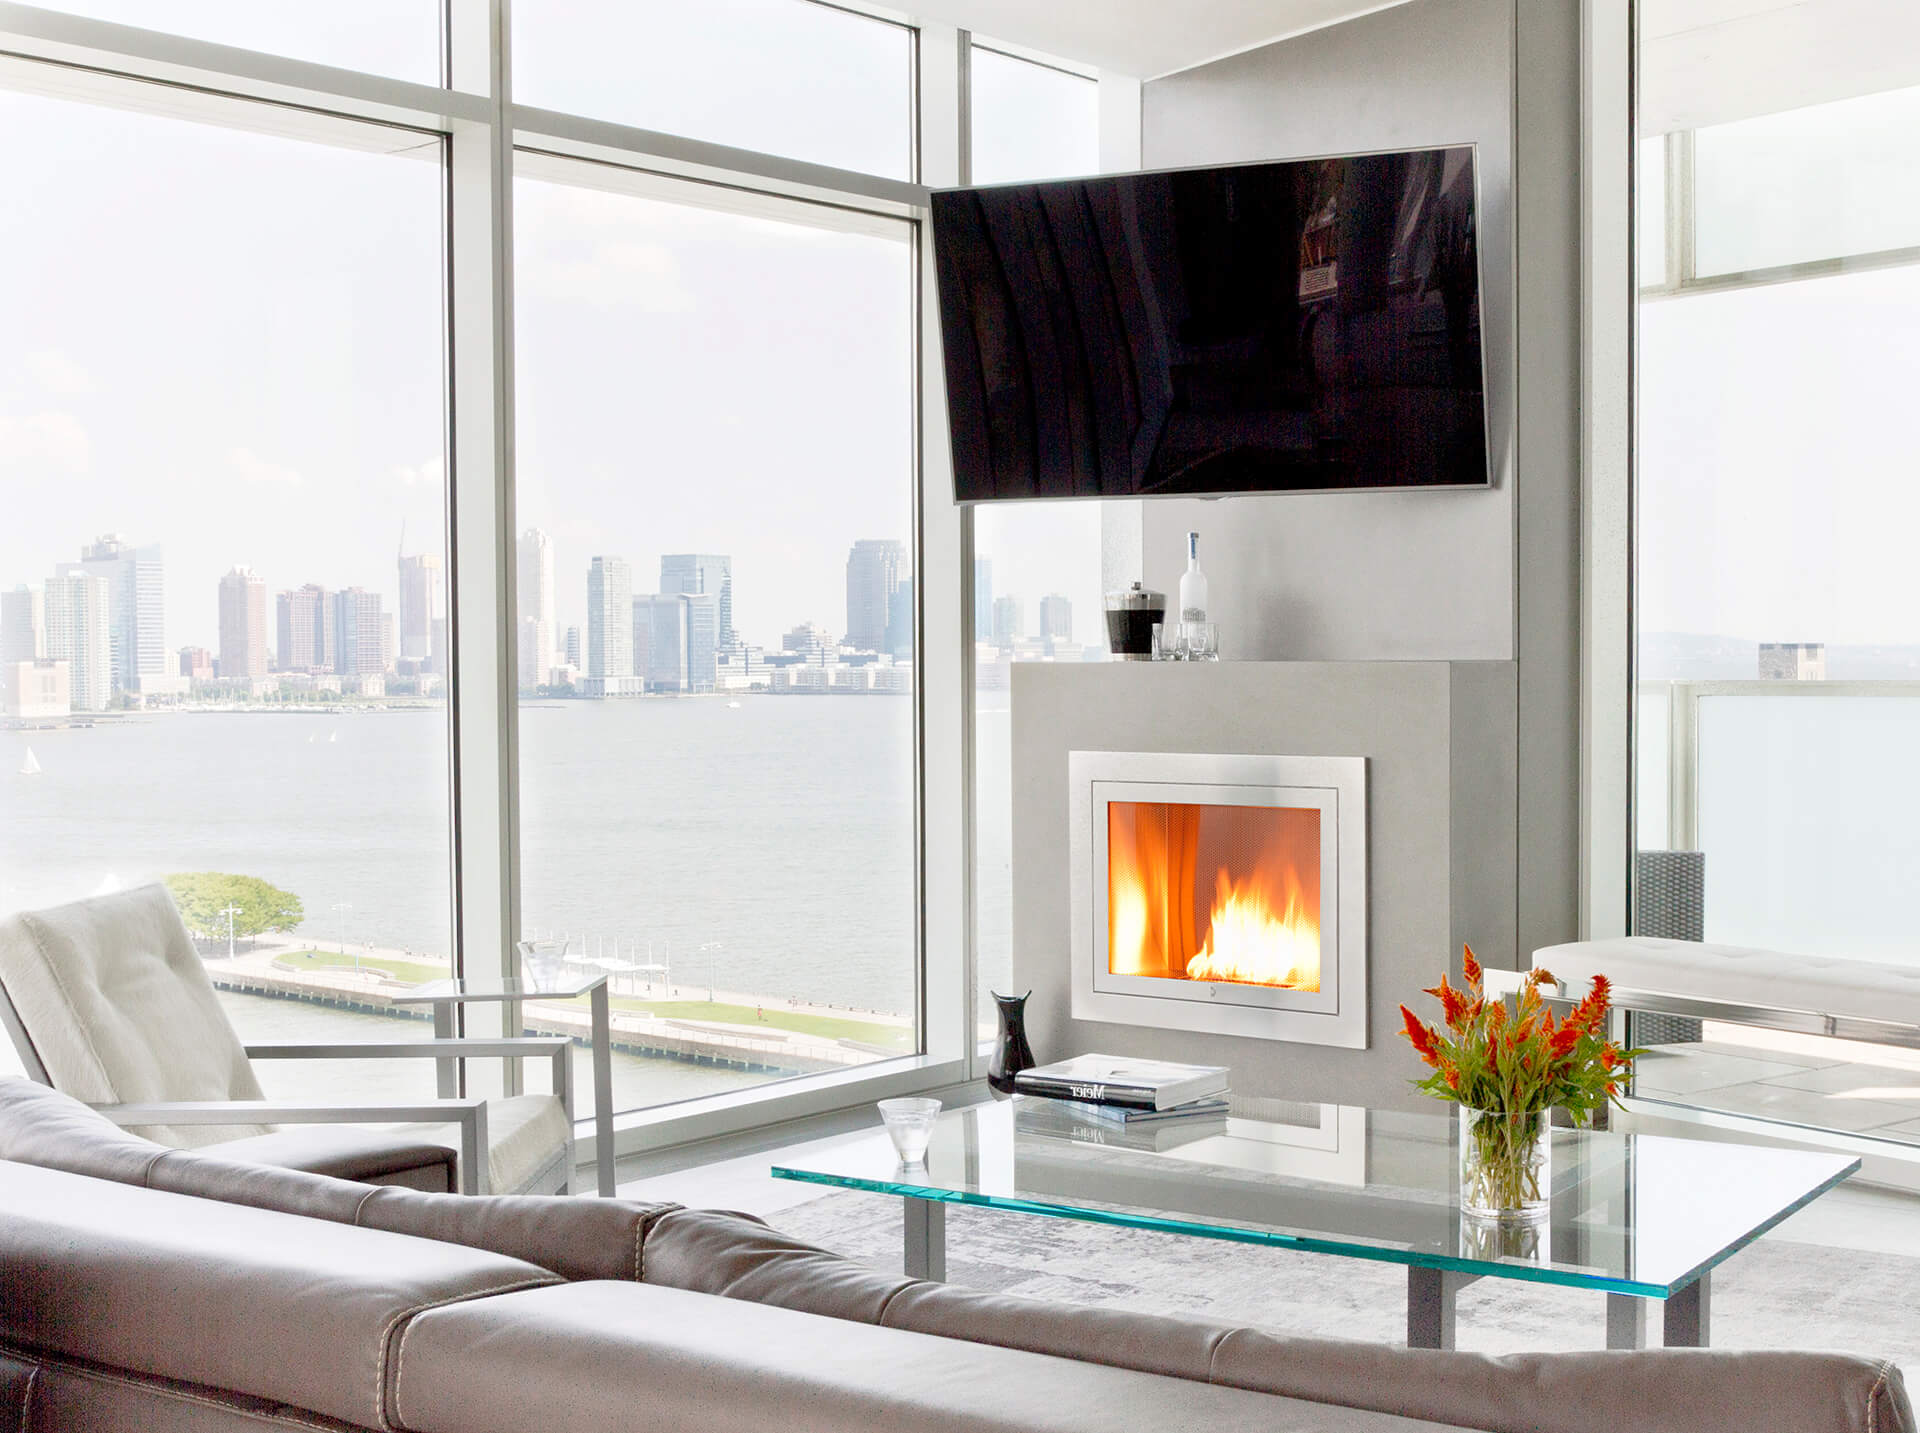
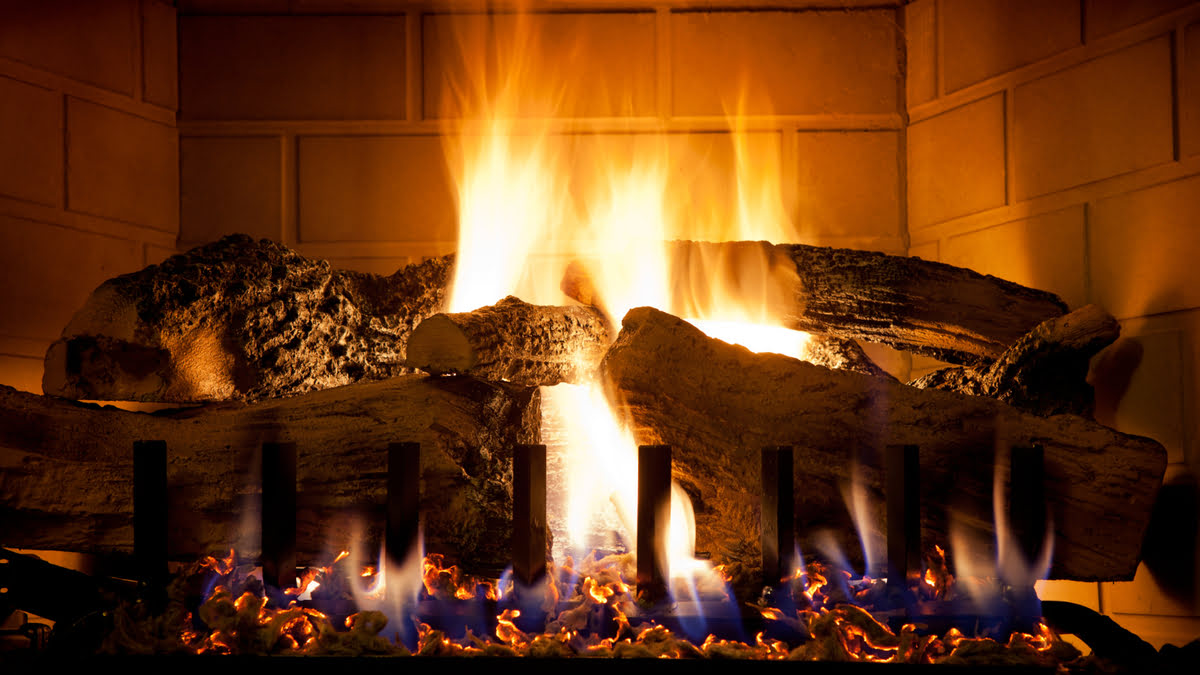
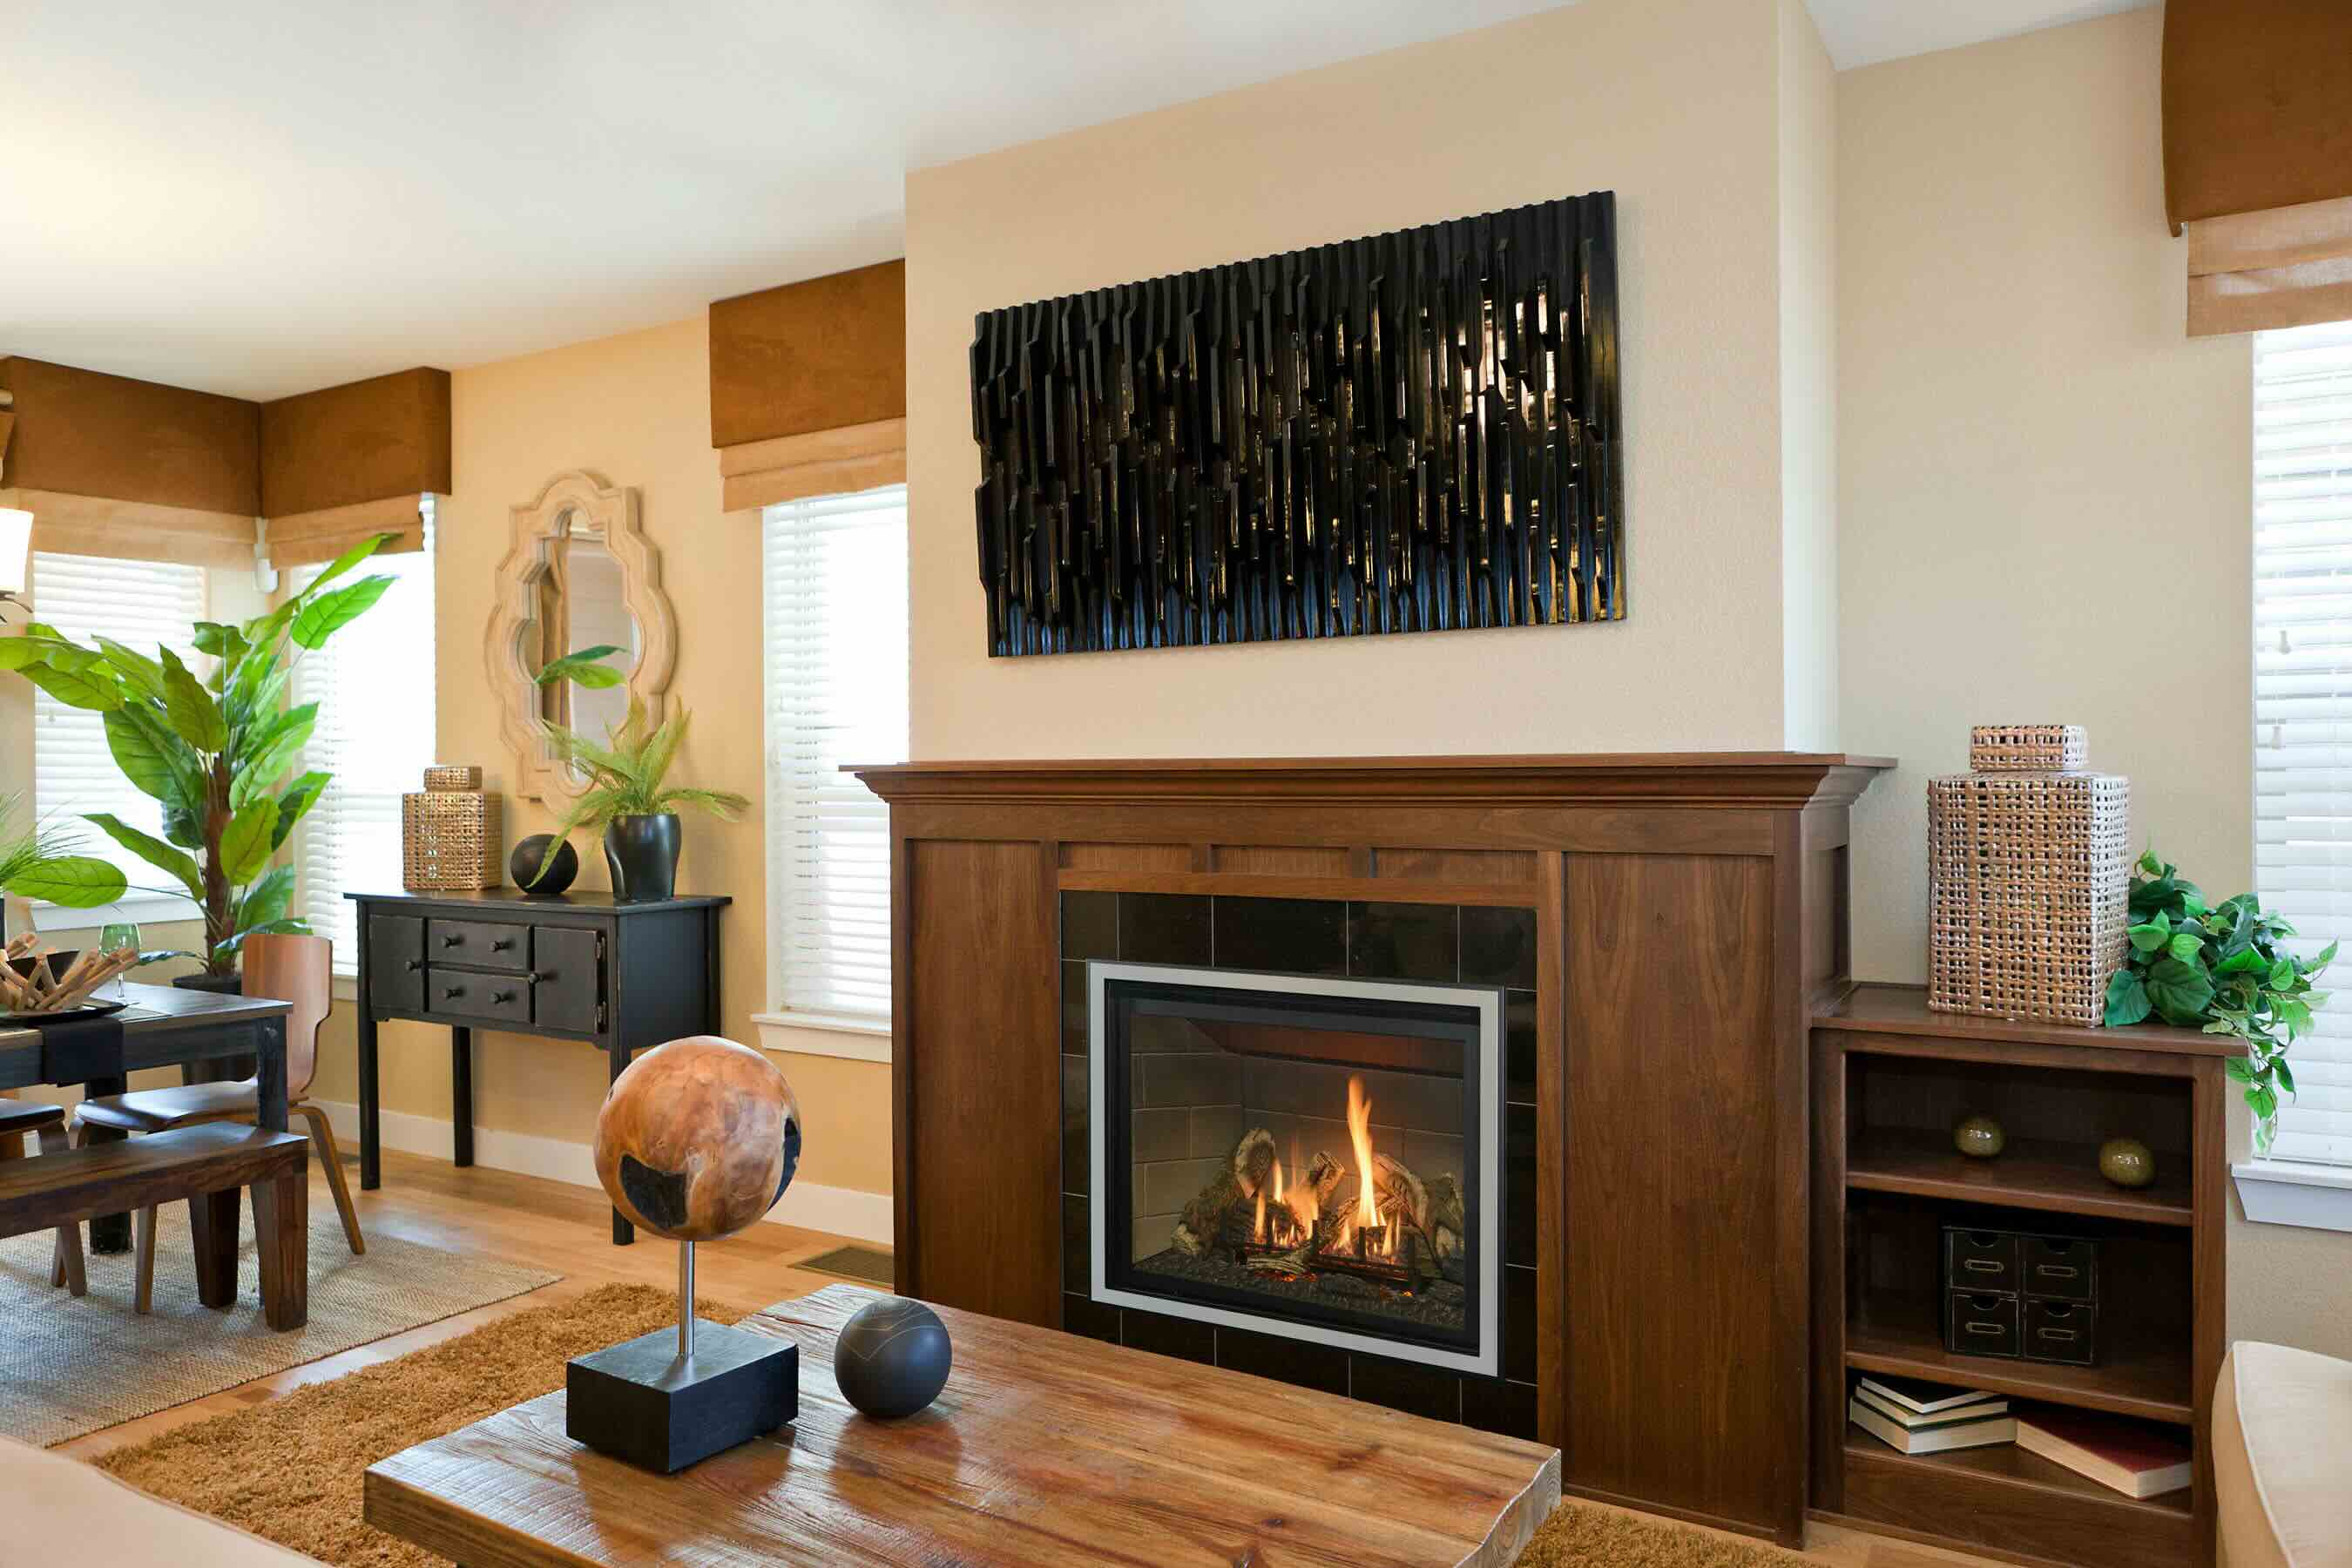
Fireplaces are a wonderful addition to any home, providing warmth, ambiance, and a cozy atmosphere. However, traditional fireplaces can sometimes struggle to distribute heat evenly throughout a room. This is where a fireplace blower comes in handy. A fireplace blower is a device that helps to increase the efficiency of your fireplace by circulating warm air throughout the space, ensuring maximum heat distribution.
In this article, we will guide you on how to install a fireplace blower, step by step. Whether you are a handy homeowner or a DIY enthusiast, following these instructions will enable you to enhance the performance of your fireplace and enjoy a more comfortable living space during those chilly winter months. So, let’s get started!
Key Takeaways:
- Enhance your fireplace’s efficiency and heat distribution by installing a fireplace blower. Follow our step-by-step guide to enjoy a cozy and comfortable living space during the winter months.
- Ensure safety and optimal performance by properly preparing, installing, and testing your fireplace blower. Experience improved heat circulation and a more enjoyable atmosphere in your home.
Step 1: Gathering the Necessary Tools and Materials
Before starting the installation process, it is essential to gather all the required tools and materials. Having everything ready beforehand will ensure a smooth and efficient installation. Here’s a list of the items you will need:
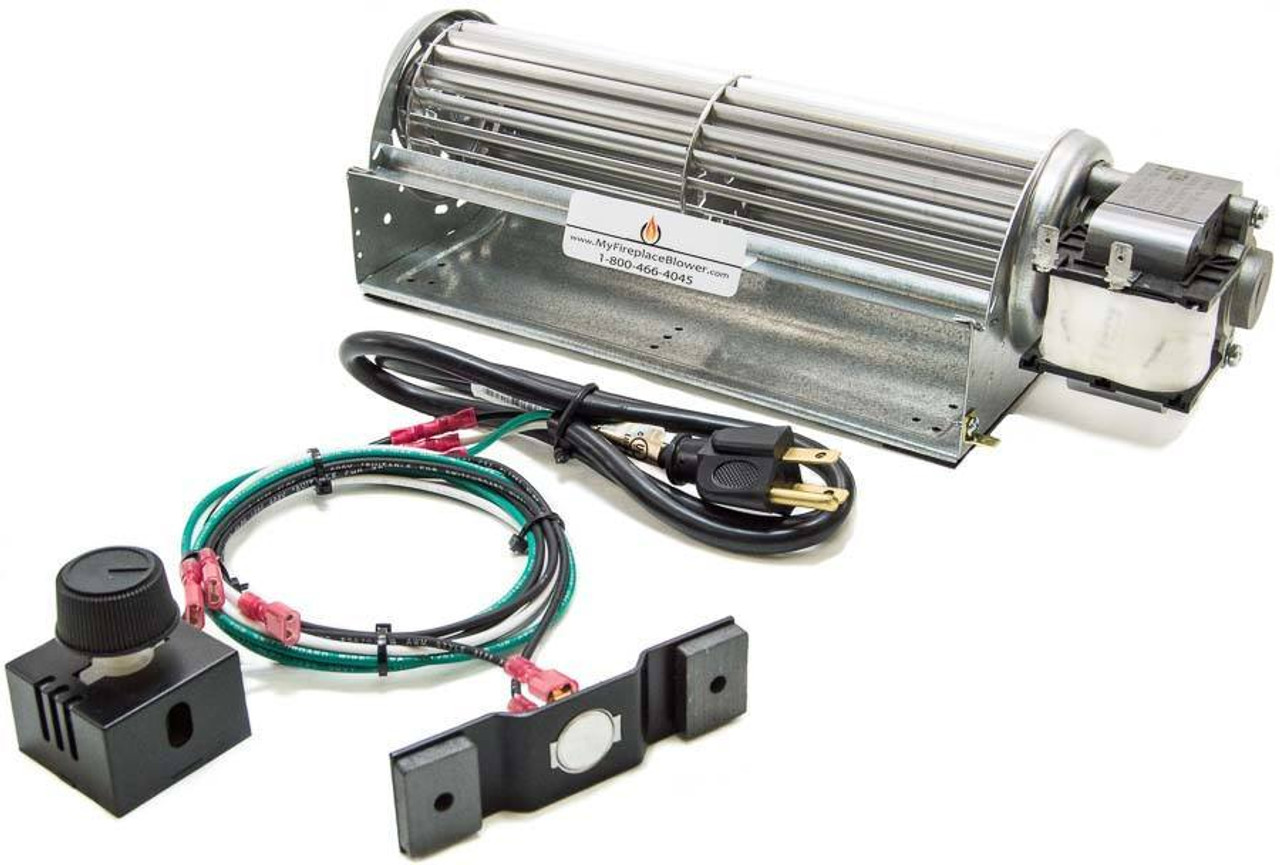
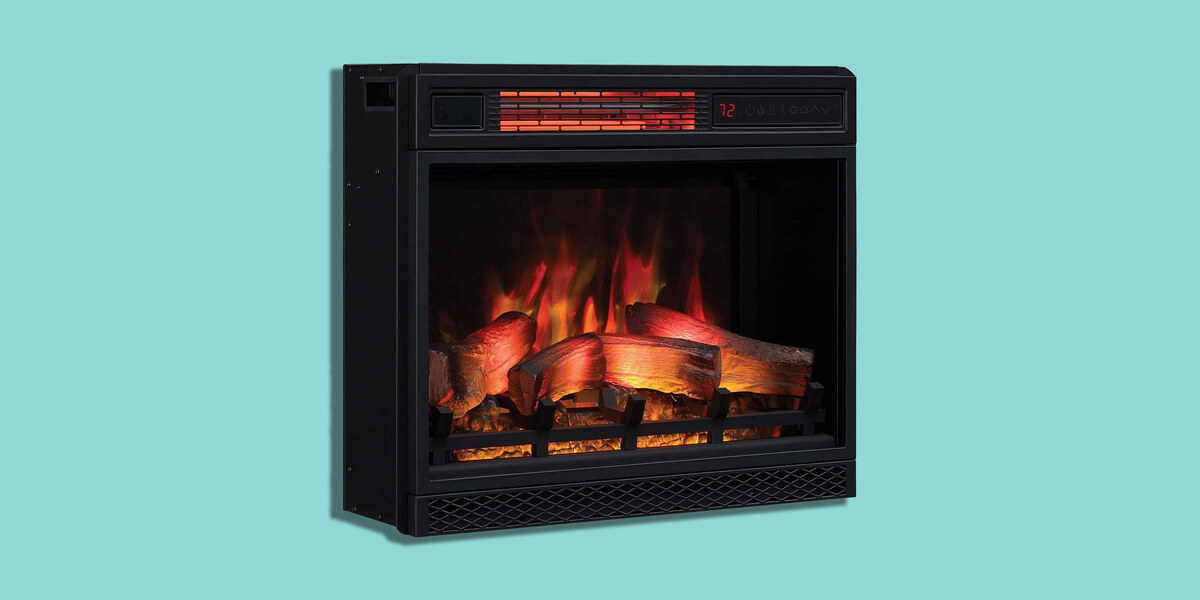
- Fireplace blower kit (including the blower unit, mounting brackets, and screws)
- Screwdriver (both flathead and Phillips head)
- Wire strippers
- Electrical tape
- Wire connectors
- Drill with bits
- Measuring tape
- Pencil or marker
Once you have gathered all the necessary tools and materials, you are ready to move on to the next step of the installation process.
Step 2: Preparing the Fireplace for Installation
Before installing the fireplace blower, it is important to properly prepare the fireplace. Follow these steps to ensure a smooth installation:
- Turn off the gas or electricity supply to the fireplace. Safety should always be a top priority during any installation.
- Clean the fireplace thoroughly. Remove any debris, ashes, or dust that may have built up over time. This will ensure that the blower operates efficiently and that the installation process is more seamless.
- Locate the electrical outlet or gas valve near the fireplace. This will be the power source for the fireplace blower. Ensure that it is easily accessible and in good condition.
- Measure the dimensions of the fireplace opening. This will help you choose the appropriate size of the blower unit for your fireplace. Refer to the manufacturer’s instructions to determine the correct size.
- Mark the spot where the blower will be installed inside the fireplace. This is typically at the bottom of the firebox, near the back. Use a pencil or marker to make the markings.
By carefully preparing the fireplace, you are setting the stage for a successful installation of the fireplace blower.
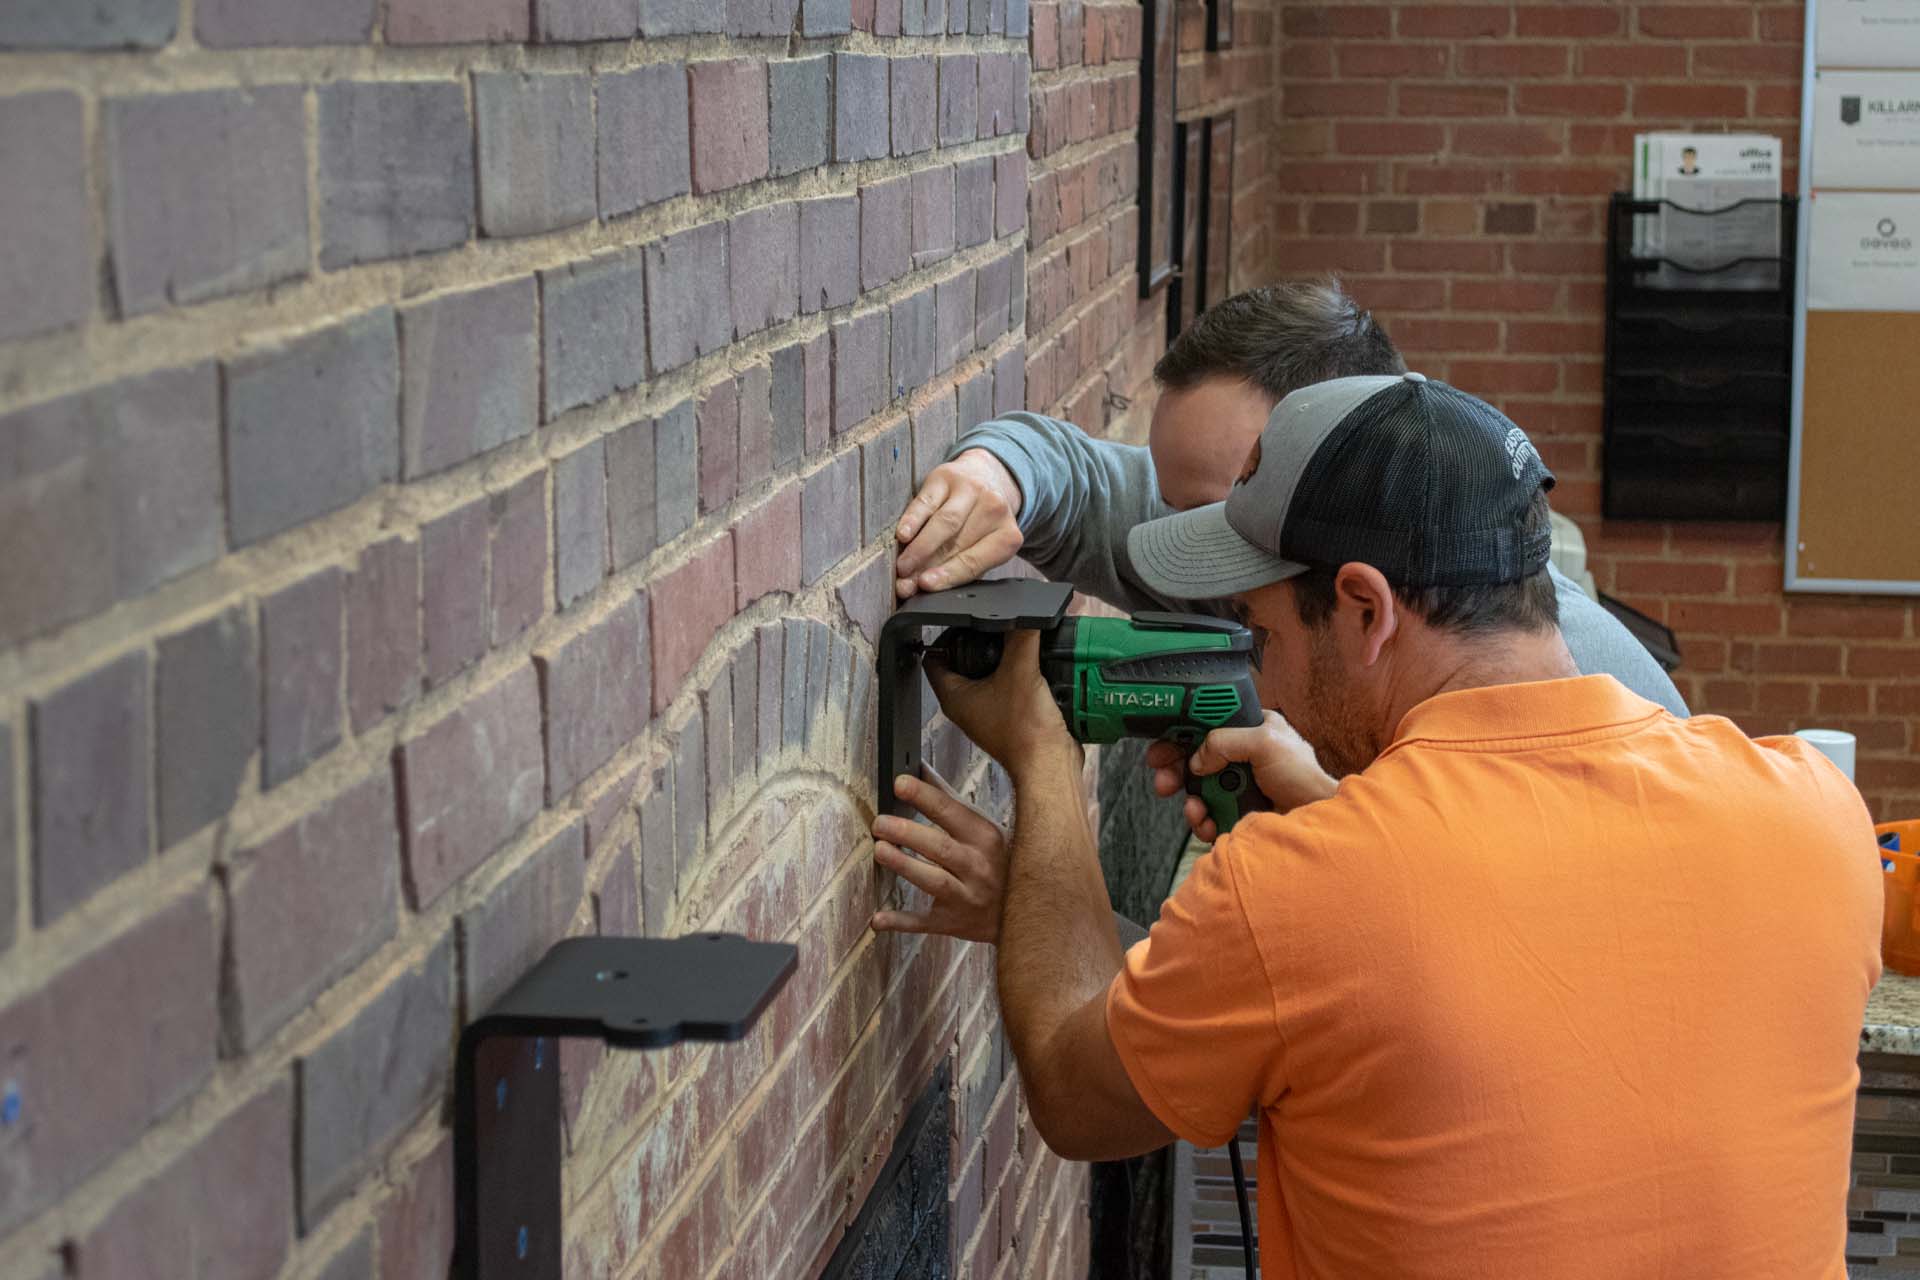
Step 3: Installing the Fireplace Blower
Now that you have prepared the fireplace, it’s time to install the fireplace blower. Following these steps will guide you through the installation process:
- Locate the blower unit and mounting brackets in your fireplace blower kit.
- Attach the mounting brackets to the blower unit using the provided screws. Make sure they are securely fastened.
- Position the blower unit inside the fireplace, aligning it with the markings you made in Step 2. Place it at the bottom of the firebox, near the back.
- Use a drill and screws to secure the mounting brackets to the firebox. This will ensure that the blower unit is firmly in place.
- Double-check to ensure that the blower unit is level and centered in the fireplace opening.
By following these steps, you will successfully install the fireplace blower. Ensure that the blower unit is securely fastened to prevent any movement or damage during operation.
Before installing a fireplace blower, make sure to carefully read the manufacturer’s instructions and ensure that the blower is compatible with your specific fireplace model. It’s also important to turn off the power to the fireplace before beginning the installation process to avoid any accidents.
Step 4: Connecting the Electrical Wiring
Once the fireplace blower is securely installed, the next step is to connect the electrical wiring. Follow these steps to properly connect the wiring:
- Locate the power source near the fireplace. This could be an electrical outlet or a gas valve with an electrical connection.
- If there is an electrical outlet nearby, plug in the blower unit’s power cord. Make sure the cord is not tangled or stretched.
- If there is no nearby electrical outlet, you will need to connect the blower unit to the power source using electrical wiring.
- Strip off a small portion of the insulation from the ends of the electrical wires. Use wire strippers to do this carefully.
- If the blower unit has separate wires for a power supply and a switch, connect the power supply wires to the power source. Use wire connectors to securely join the wires together.
- If there is a switch included with the blower unit, follow the manufacturer’s instructions to connect it to the power source. This will allow you to control the blower’s operation.
- Use electrical tape to secure any exposed wires and ensure safety.
It is crucial to follow electrical safety guidelines and consult a professional if needed. Properly connecting the electrical wiring is essential for the safe and efficient operation of the fireplace blower.
Read more: How To Install A Fireplace
Step 5: Testing and Adjusting the Blower
After completing the electrical connections, it’s time to test and adjust the fireplace blower to ensure it is working properly. Follow these steps to test and adjust the blower:
- Turn on the power to the blower unit. If you have a switch, ensure it is in the “on” position.
- Listen for the sound of the blower motor. It should be running smoothly, without any excessive noise or vibrations.
- Feel the airflow coming from the blower unit. The air should be warm and gently flowing into the room.
- If the airflow is insufficient or the blower is not operating as expected, check the installation and wiring connections to ensure they are secure.
- Adjust the speed of the blower if necessary. Some fireplace blowers have adjustable speed settings. Consult the manufacturer’s instructions to learn how to adjust the speed.
- Monitor the blower for a few minutes to ensure it continues to operate effectively without any issues.
By testing and adjusting the blower, you can make any necessary adjustments and ensure that it is functioning optimally, distributing heat efficiently throughout the room.
Step 6: Finalizing the Installation
In the final step of the installation process, you will finalize the setup of your fireplace blower. Follow these steps to complete the installation:
- Inspect the entire installation to ensure that all screws are tight, wires are properly connected, and there are no loose or dangling parts.
- Clean up any debris or dust that may have accumulated during the installation process.
- Test the blower again to ensure it is functioning correctly after any adjustments made in the previous step.
- Secure any loose wires or connections with electrical tape.
- Double-check the overall appearance of the fireplace blower installation to ensure it blends in with the design of your fireplace.
- Refer to the manufacturer’s instructions or consult a professional for any additional advice or recommendations specific to your fireplace blower model.
Congratulations! You have successfully completed the installation of your fireplace blower. Enjoy the benefits of improved heat distribution and a more comfortable living space during those chilly winter months.
Conclusion
Installing a fireplace blower is a simple and effective way to enhance the performance of your fireplace, providing more efficient heat distribution and a comfortable living space. By following the step-by-step instructions outlined in this article, you can successfully install a fireplace blower and enjoy the benefits it offers.
Remember to gather all the necessary tools and materials before starting the installation process. Prepare the fireplace by cleaning it thoroughly and measuring the dimensions for proper placement. Install the blower unit securely and connect the electrical wiring with care, ensuring safety at all times.
Once installed, test and adjust the blower to ensure it is functioning correctly. Monitor the airflow and adjust the speed if necessary. Finalize the installation by inspecting the setup, cleaning up any debris, and securing loose wires or connections.
With your newly installed fireplace blower, you can experience improved heat distribution and a more enjoyable atmosphere in your home. Relax and stay warm as the fireplace blower efficiently circulates warm air throughout the room.
Remember, if you are unsure about any step of the installation process or encounter any difficulties, it is always recommended to consult a professional or refer to the manufacturer’s instructions for guidance. Safety should be the top priority during any installation or maintenance procedure.
We hope this guide has been helpful in assisting you with the installation of a fireplace blower. Enjoy the comfort and warmth provided by your upgraded fireplace!
Frequently Asked Questions about How To Install Fireplace Blower
Was this page helpful?
At Storables.com, we guarantee accurate and reliable information. Our content, validated by Expert Board Contributors, is crafted following stringent Editorial Policies. We're committed to providing you with well-researched, expert-backed insights for all your informational needs.


0 thoughts on “How To Install Fireplace Blower”