Articles
How To Install A Wifi Adapter In Pc
Modified: December 7, 2023
Looking for step-by-step instructions on how to install a WiFi adapter in your PC? Check out our helpful articles to get started today!
(Many of the links in this article redirect to a specific reviewed product. Your purchase of these products through affiliate links helps to generate commission for Storables.com, at no extra cost. Learn more)
Introduction
In today’s modern world, having a stable and reliable internet connection is essential. Whether you need to browse the web, stream movies, or connect with friends and family online, a Wi-Fi adapter is a great solution to ensure you can stay connected wirelessly. Installing a Wi-Fi adapter in your PC allows you to access wireless networks, eliminating the need for cumbersome ethernet cables.
Integrating a Wi-Fi adapter into your PC may seem like a daunting task, especially if you’re not familiar with the inner workings of a computer. However, with the right tools and a step-by-step guide, you can easily install a Wi-Fi adapter in your PC and enjoy the convenience of wireless connectivity.
In this article, we will walk you through the process of installing a Wi-Fi adapter in your PC. We’ll cover everything from gathering the necessary materials to installing the drivers, ensuring that you have a seamless and successful installation. So, let’s get started!
Key Takeaways:
- Say goodbye to cumbersome ethernet cables and enjoy the freedom of wireless internet access by easily installing a Wi-Fi adapter in your PC. Follow the step-by-step guide for a seamless installation process.
- From gathering the necessary materials to installing the drivers, this article provides a comprehensive guide to successfully installing a Wi-Fi adapter in your PC. Enjoy the convenience of wireless connectivity with ease.
Read more: Where Is Wifi Adapter In Pc
Step 1: Gathering the necessary materials
Before diving into the installation process, it’s important to gather all the necessary materials to ensure a smooth and efficient installation. Here’s a list of items you’ll need:
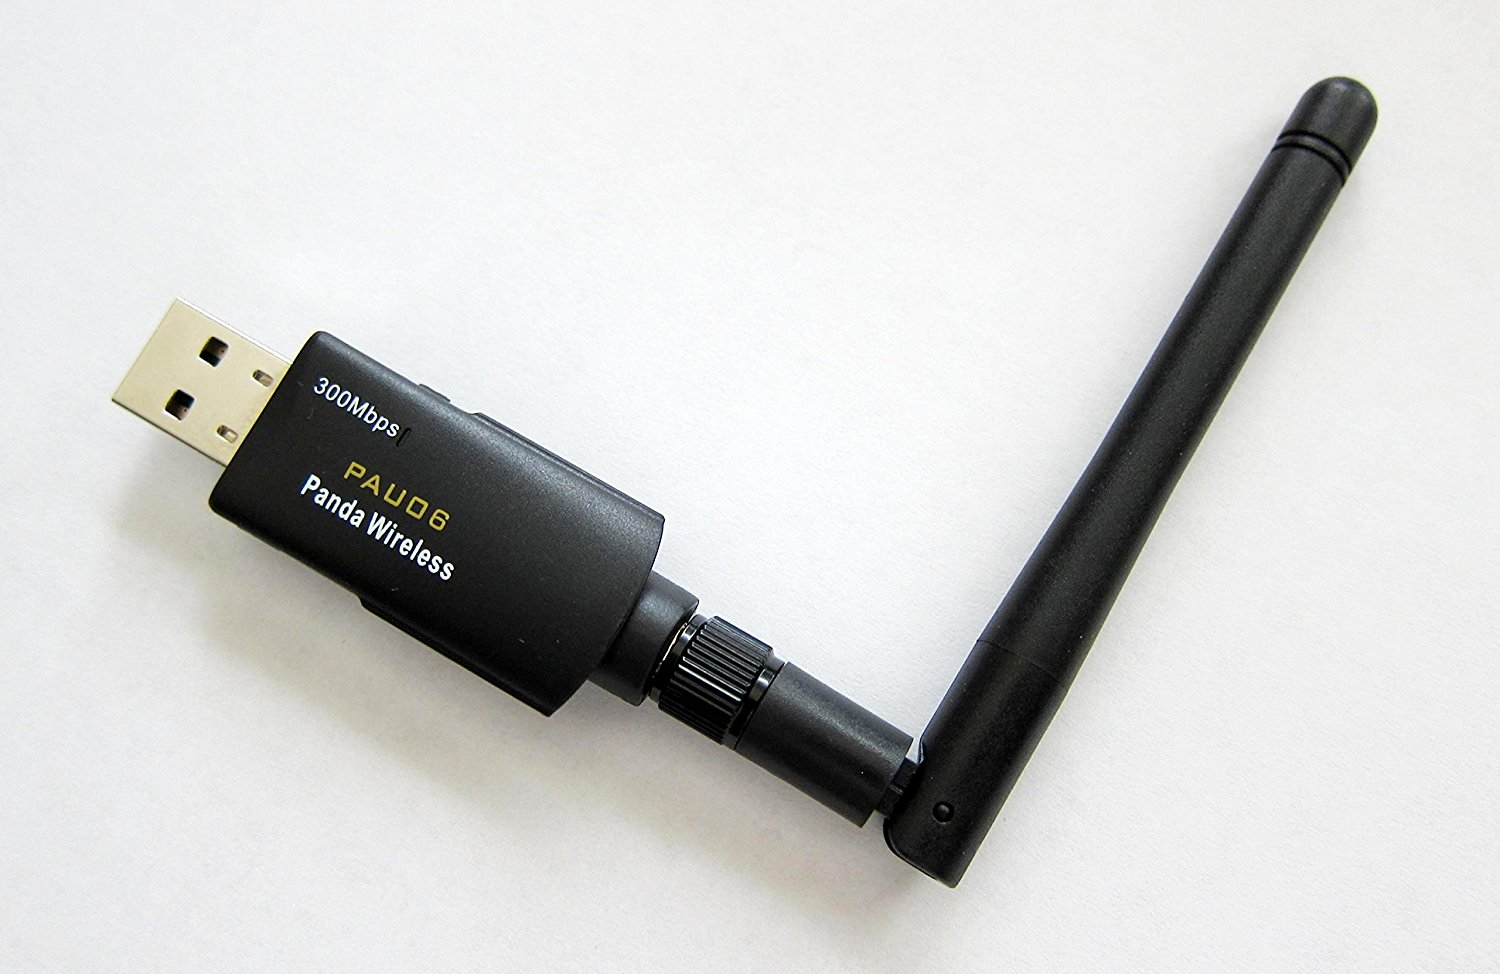
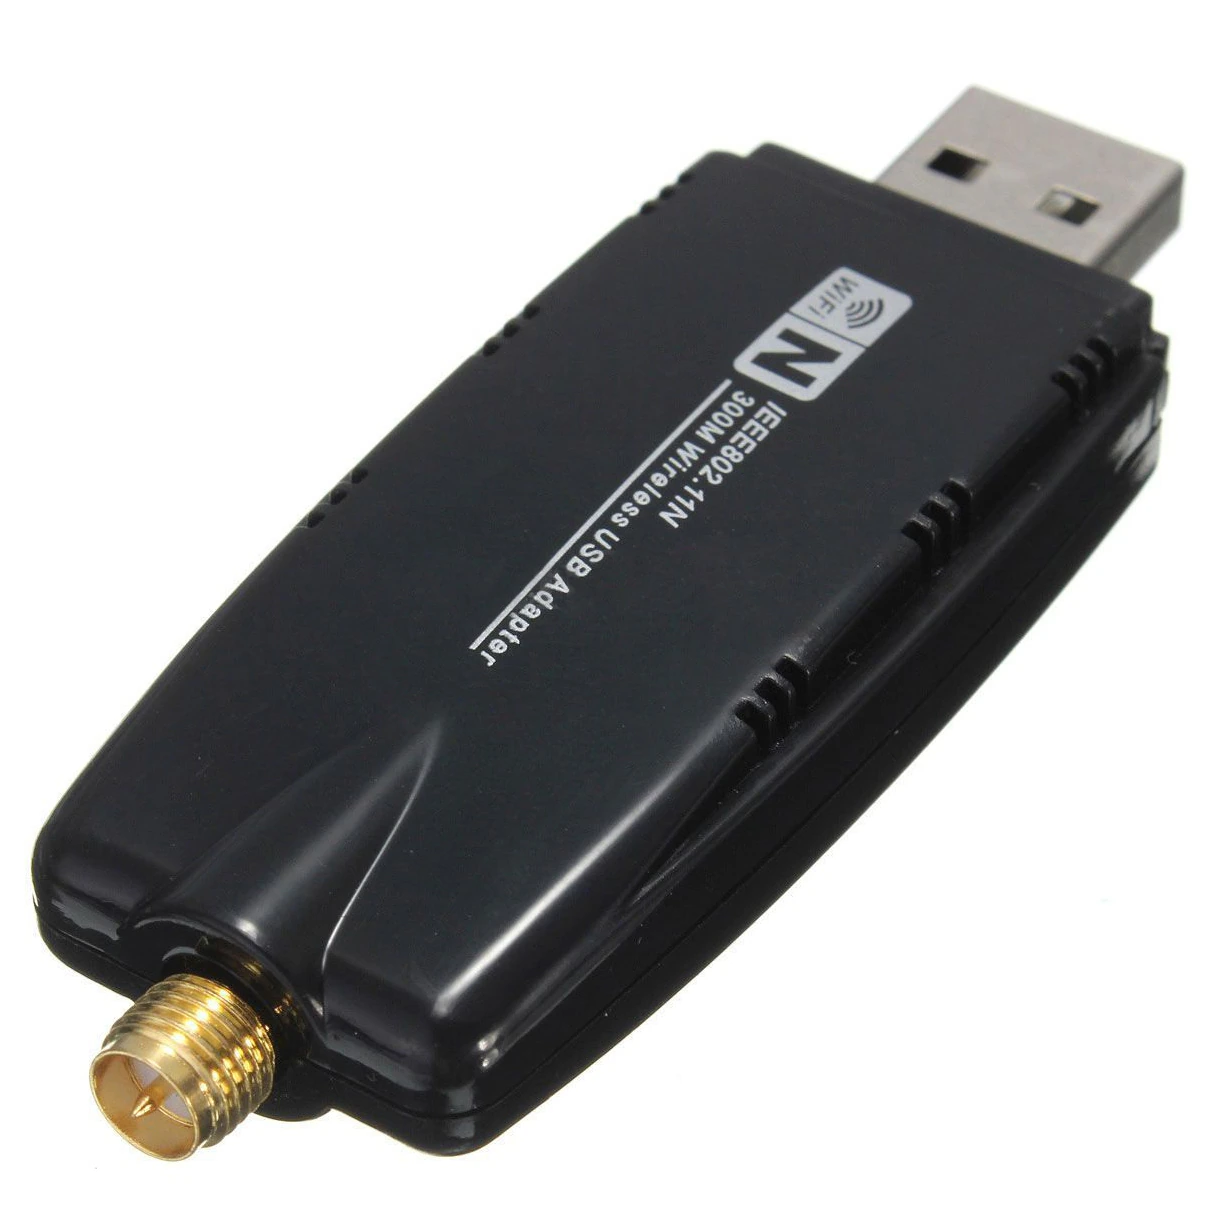
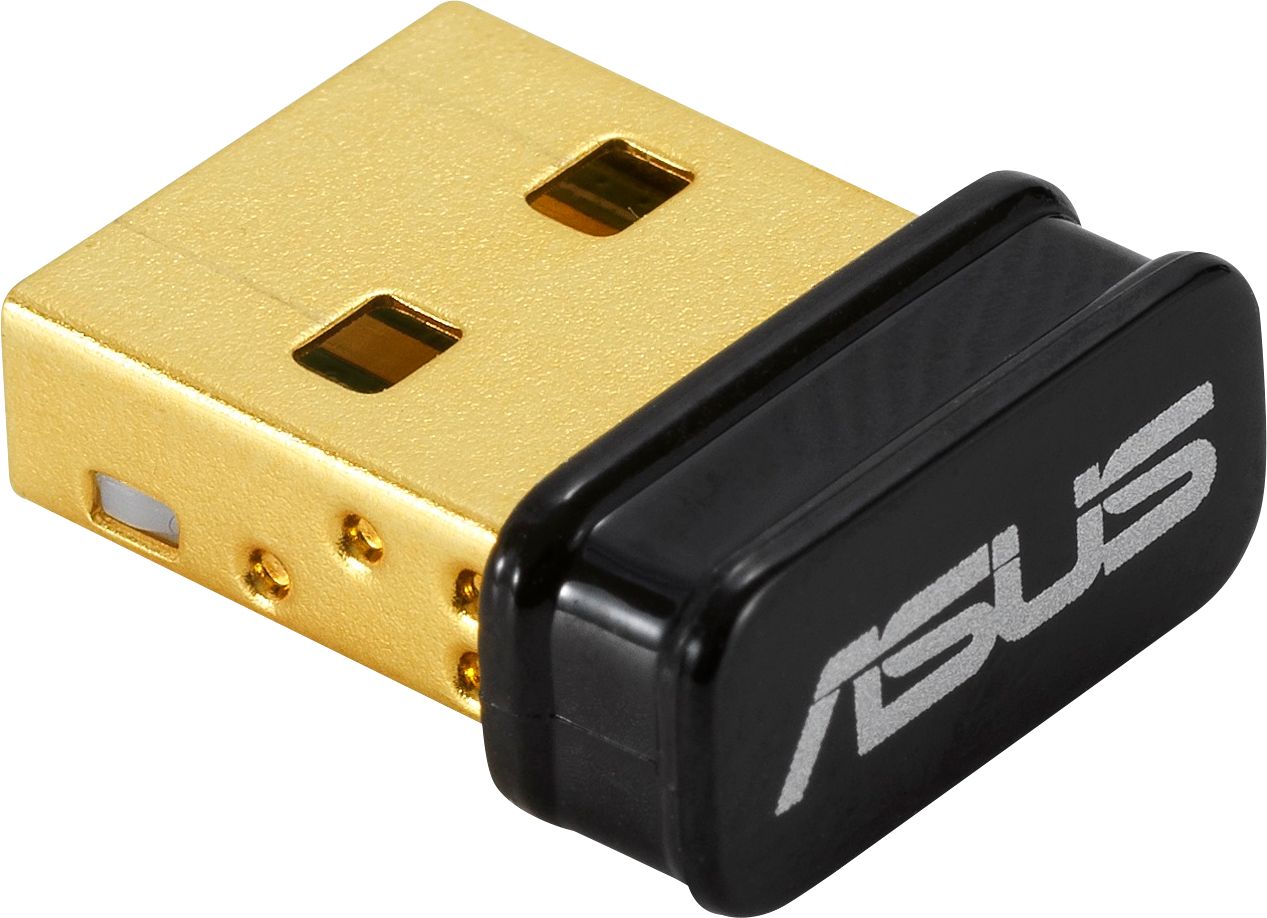
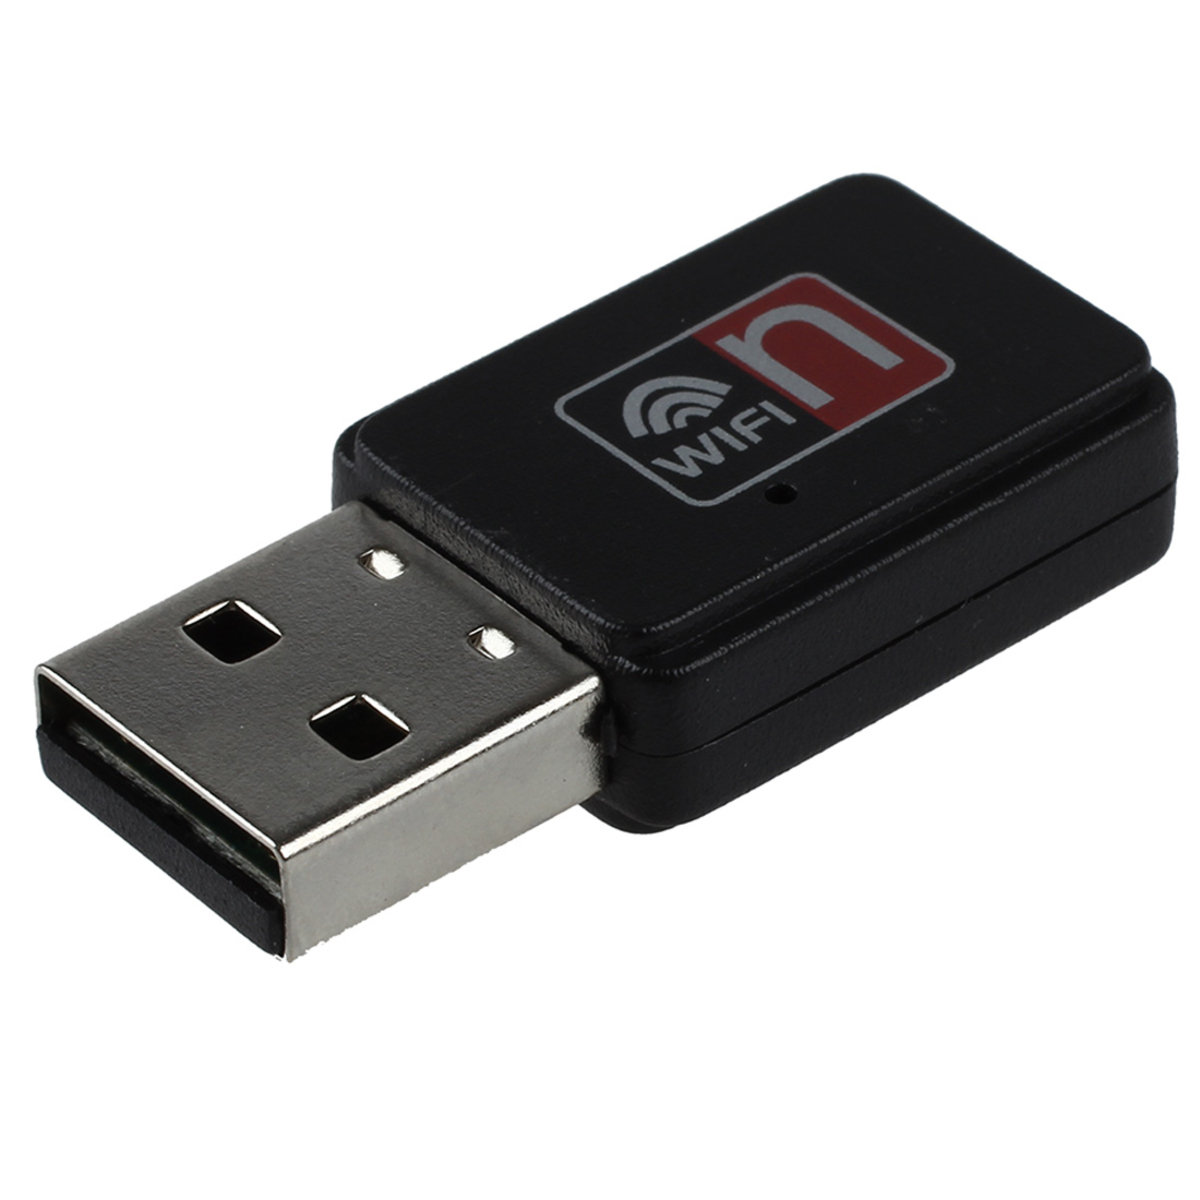
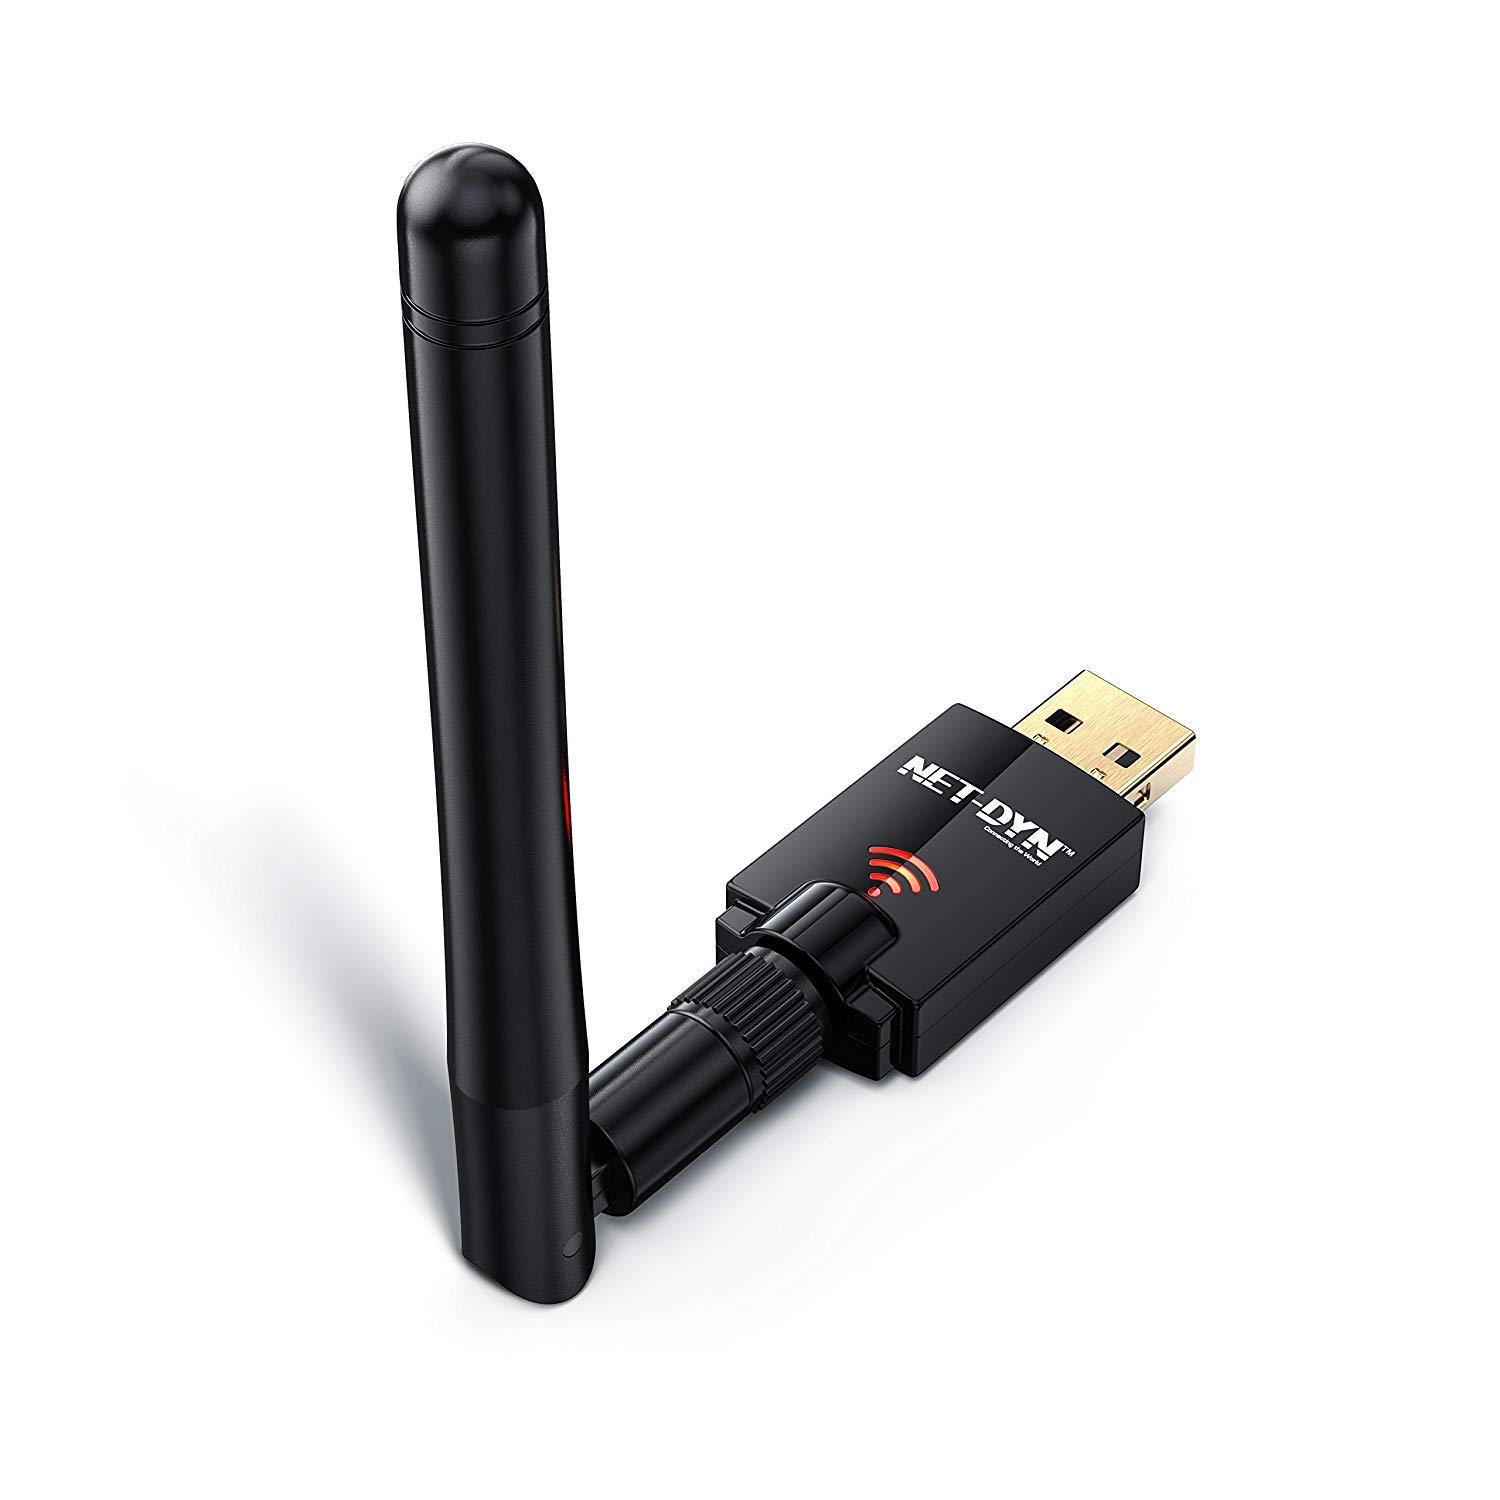
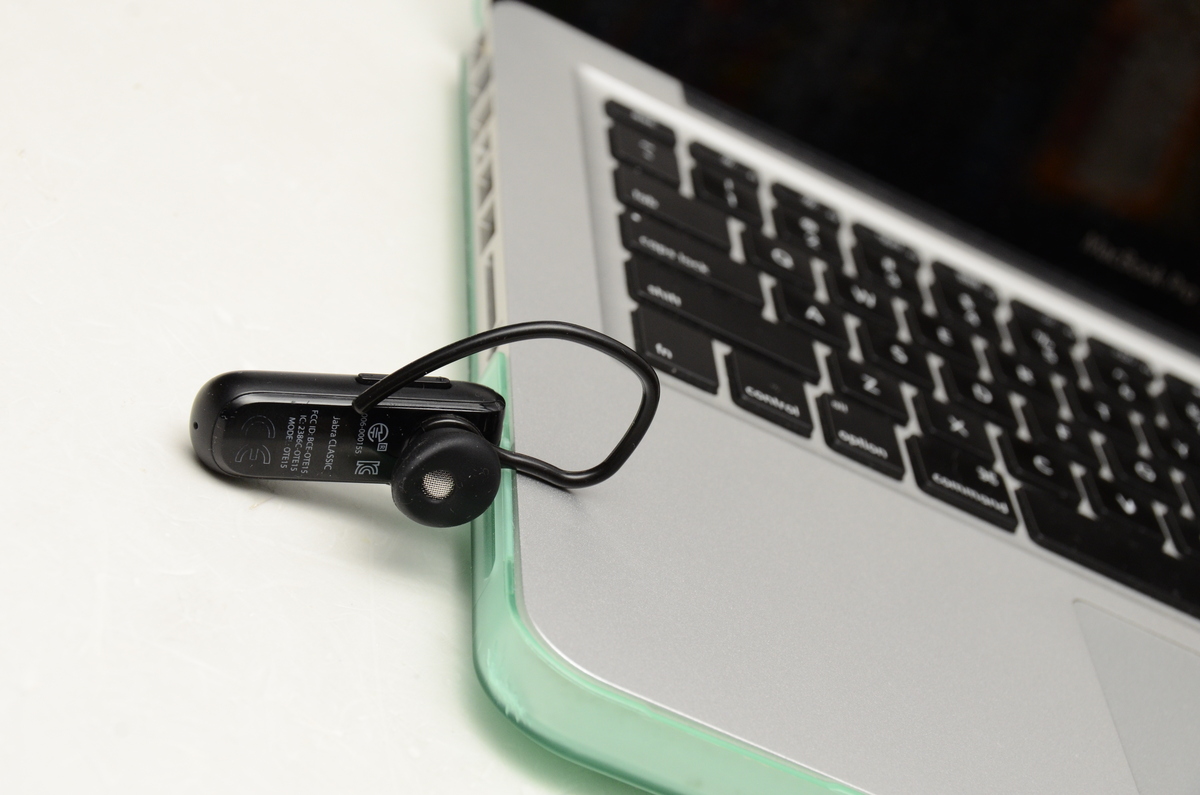
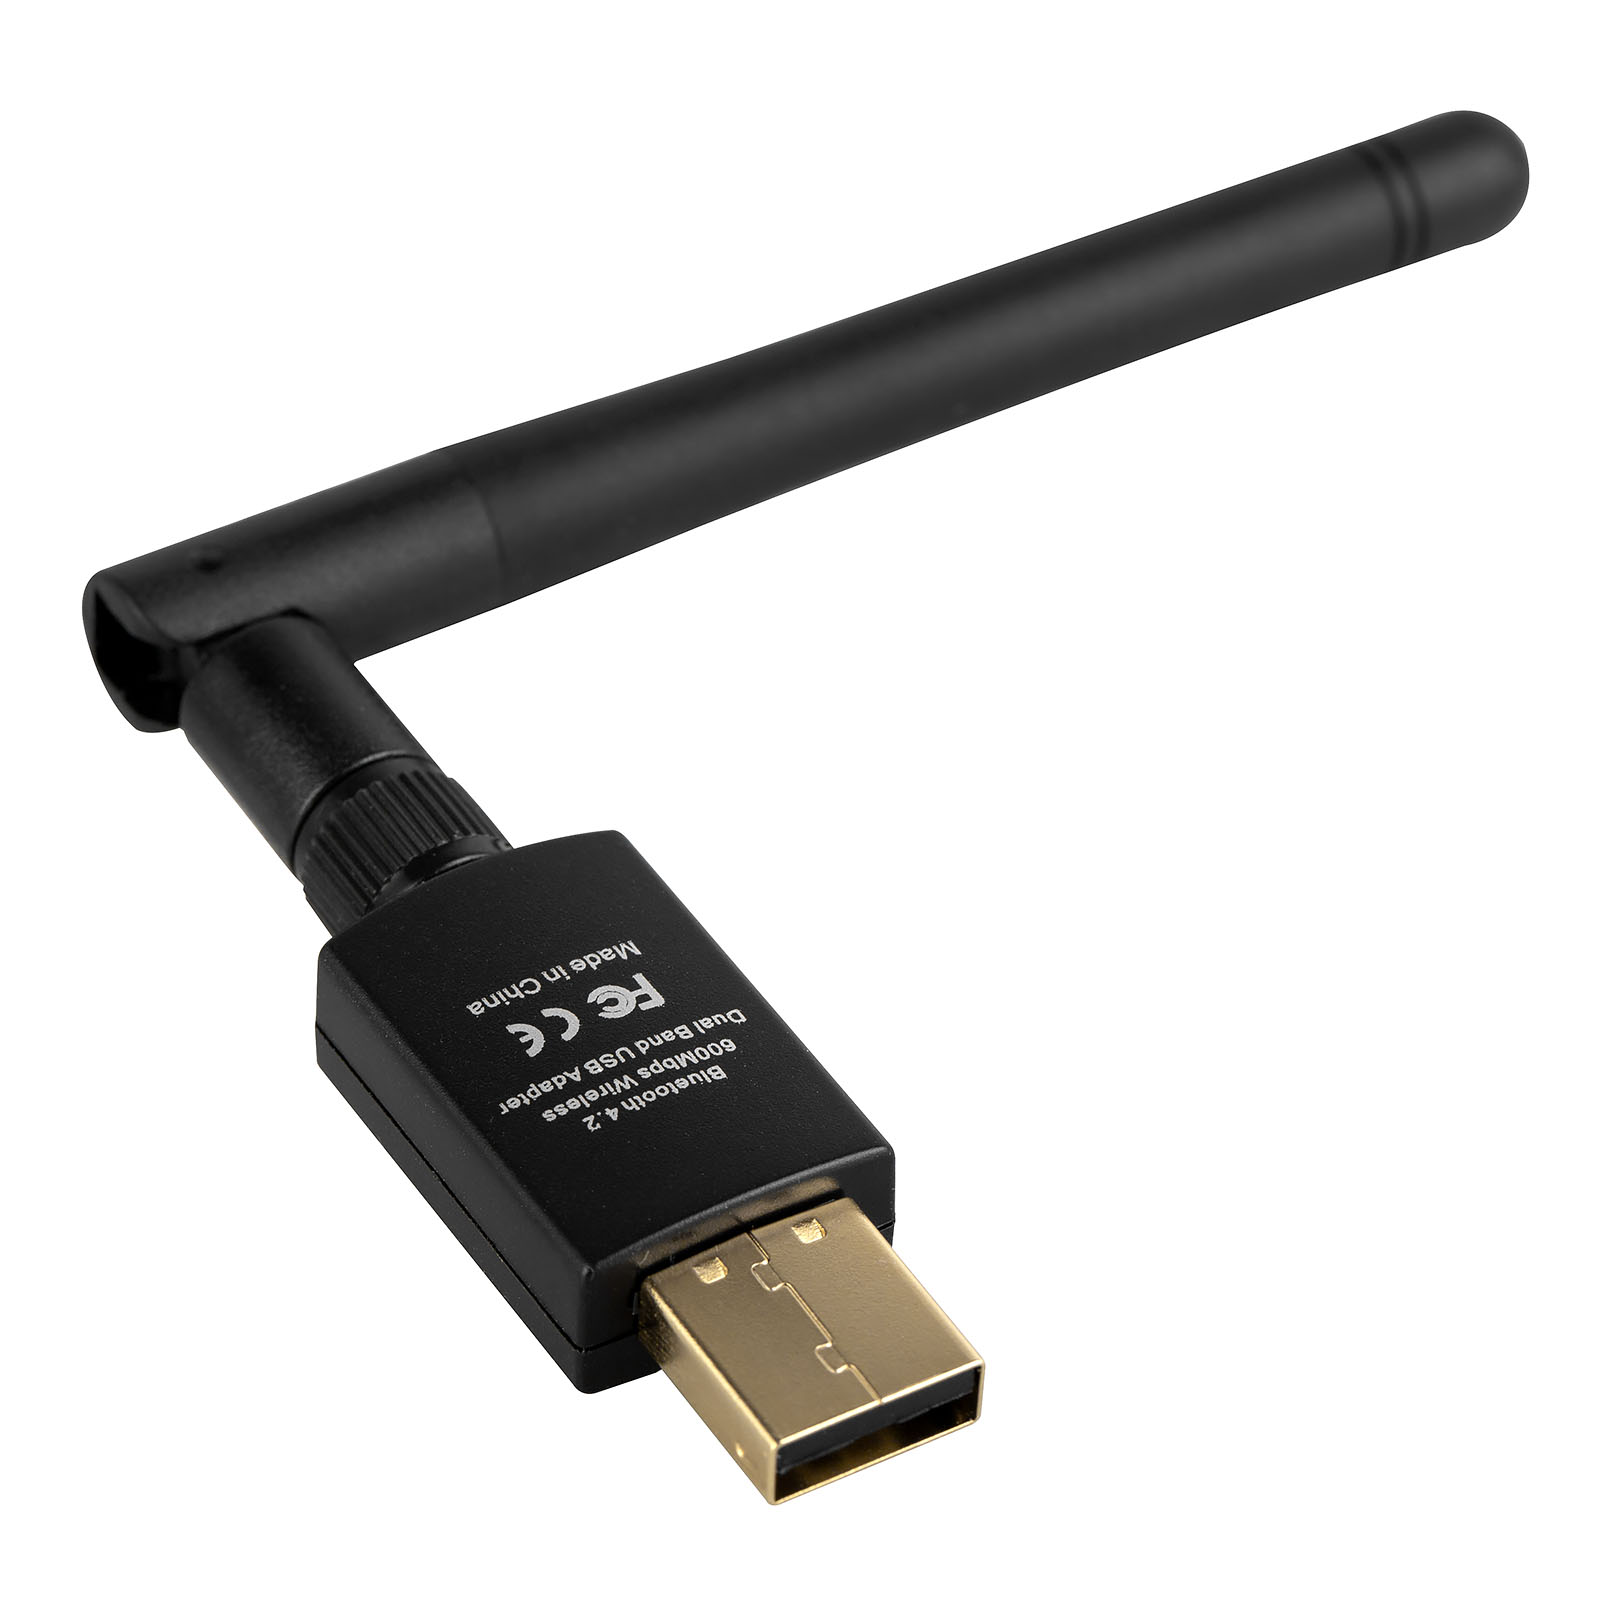
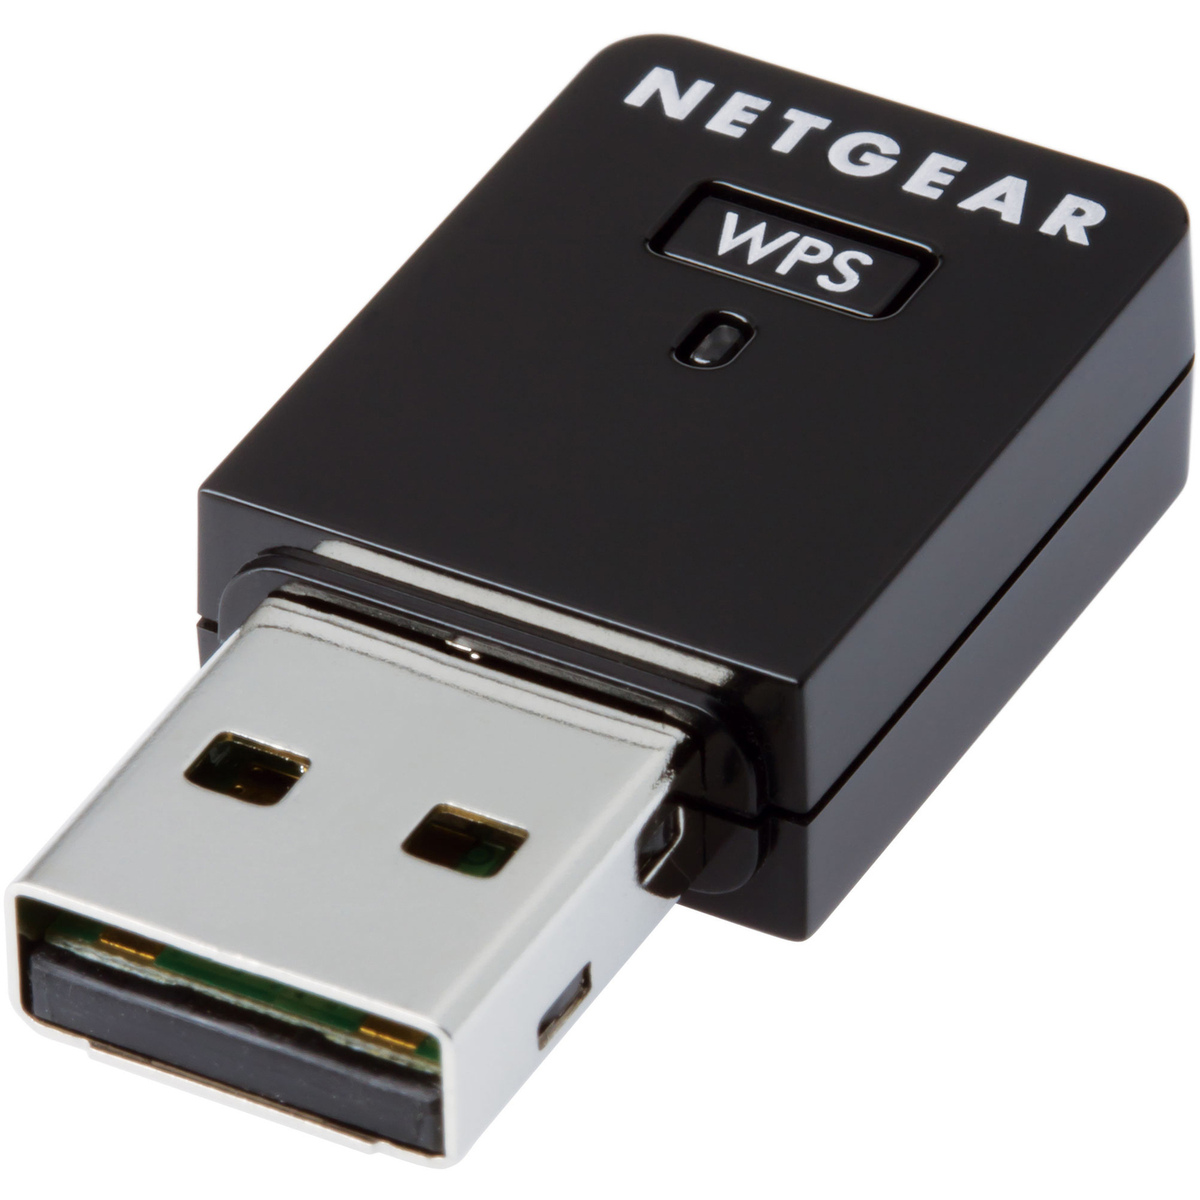
- A Wi-Fi adapter compatible with your PC’s operating system
- A screwdriver
- The user manual or installation guide for your specific Wi-Fi adapter
- Any additional cables or connectors required for the installation (if applicable)
It’s important to choose a Wi-Fi adapter that is compatible with your PC’s operating system. Most Wi-Fi adapters are designed to work with a range of operating systems, including Windows, macOS, and Linux. However, it’s always a good idea to double-check the compatibility specifications before purchasing to avoid any compatibility issues.
Additionally, the user manual or installation guide provided with your Wi-Fi adapter will contain valuable information and step-by-step instructions specific to your adapter model. Make sure to keep the manual handy throughout the installation process.
With these materials in hand, you’re now ready to move on to the next step and start installing the Wi-Fi adapter in your PC.
Step 2: Shutting down the PC
Before you begin working on the internal components of your PC, it’s crucial to shut down the system properly. This ensures your safety and prevents any accidental damage to the hardware.
To shut down your PC, follow these steps:
- Save any open files or documents to avoid losing unsaved work.
- Close all running applications and programs.
- Click on the “Start” button in the bottom left corner of your screen.
- Select the “Power” option from the start menu.
- Choose “Shut down” from the drop-down menu.
Wait for your PC to completely shut down before proceeding to the next step. It’s essential to give your computer enough time to ensure that all processes are closed and the system is safely powered off.
Remember, safety is paramount when working with PC hardware, so take the time to shut down your system properly before moving on to the next step.
Step 3: Opening the PC case
In order to install the Wi-Fi adapter, you’ll need to access the internal components of your PC. This requires opening the PC case. Here’s how you can do it:
- Make sure your PC is shut down and unplugged from the power source.
- Place your PC on a stable surface with enough space to work comfortably.
- Depending on the type of PC case you have, you will either need to remove screws or latch mechanisms to open it. Refer to your PC’s manual for specific instructions on how to open the case.
- Once you have identified the necessary screws or latch mechanisms, use a screwdriver or your hands to remove them.
- Gently slide the side panel of the PC case away from the main chassis.
With the PC case open, you will have full access to the internal components, including the expansion slots where the Wi-Fi adapter will be installed.
It’s important to handle the PC case with care and avoid any unnecessary force. Take your time, and if you encounter any difficulties, consult your PC’s manual or seek assistance from a knowledgeable individual.
Now that you have successfully opened the PC case, you are ready to move on to the next step and identify the available expansion slots for installing the Wi-Fi adapter.
Step 4: Identifying the available expansion slots
When installing a Wi-Fi adapter, it’s important to determine the available expansion slots on your PC’s motherboard. Expansion slots are connectors that allow you to add additional hardware components, such as a Wi-Fi adapter, to your computer.
To identify the available expansion slots, follow these steps:
- Take a close look at your PC’s motherboard, which is the main circuit board inside the case.
- Look for elongated slots on the motherboard, typically located towards the lower half.
- Common types of expansion slots include PCI, PCIe, and M.2 slots.
- Refer to your PC’s manual to determine which type of expansion slots your motherboard has.
- Keep in mind that different Wi-Fi adapters may require different types of slots. Make sure the slot you choose is compatible with your Wi-Fi adapter.
If you’re unsure about the available expansion slots or need further clarification, you can consult your PC’s manual or do some online research specific to your motherboard model. It’s important to select the correct slot to ensure proper functionality of the Wi-Fi adapter.
Once you have identified the appropriate expansion slot, you’re ready to move on to the next step and start installing the Wi-Fi adapter.
When installing a WiFi adapter in your PC, make sure to download the latest drivers from the manufacturer’s website before physically installing the adapter. This will ensure that your device is ready to use as soon as it’s installed.
Read more: How To Install Netgear Wifi Adapter
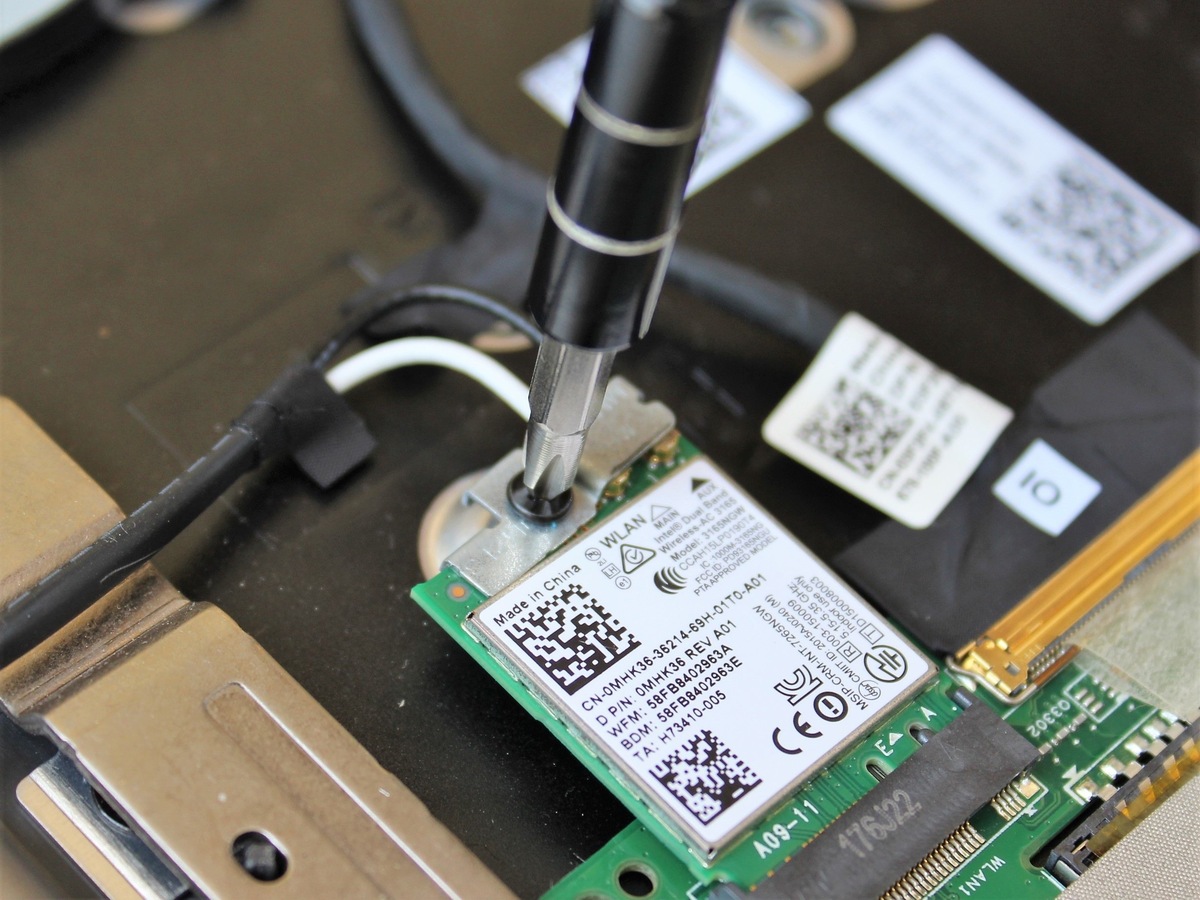
Step 5: Installing the Wi-Fi adapter
Now that you have identified the available expansion slots, it’s time to install the Wi-Fi adapter into your PC. Follow the steps below for a successful installation:
- Locate the chosen expansion slot on the motherboard where you’ll install the Wi-Fi adapter.
- Gently align the Wi-Fi adapter with the chosen slot, ensuring that the connectors on the adapter correspond to the slot.
- Once aligned, apply gentle and even pressure to push the Wi-Fi adapter into the slot until it is fully inserted.
- If the Wi-Fi adapter has a securing mechanism, such as a screw or latch, secure it in place to ensure a stable connection.
It’s important to handle the Wi-Fi adapter with care and avoid excessive force when inserting it into the expansion slot. Take your time and ensure that it is properly aligned before applying pressure. If you encounter any resistance or difficulties, double-check the alignment and try again.
After installing the Wi-Fi adapter, double-check that it is securely in place. Make sure that none of the connectors are loose and that the adapter is firmly attached to the motherboard.
With the Wi-Fi adapter successfully installed, you’re ready to move on to the next step of closing the PC case.
Step 6: Closing the PC case
After installing the Wi-Fi adapter, it’s time to close the PC case to ensure the internal components are protected and secure. Follow these steps to close the case properly:
- Ensure that all cables and connectors inside the PC case are properly organized and out of the way.
- Gently slide the side panel of the PC case back into place.
- Align the screw holes or latch mechanisms on the side panel with those on the main chassis.
- Securely fasten the screws or latch mechanisms to close the PC case.
When closing the PC case, it’s crucial to handle it with care and avoid applying excessive force. Make sure the side panel is aligned properly before attempting to secure it.
Double-check that all screws or latch mechanisms are tightened sufficiently to ensure a snug fit. However, be cautious not to overtighten the screws, as this could cause damage to the case or components.
Once the PC case is securely closed, you are ready to move on to the next step: powering on the PC.
Step 7: Powering on the PC
Now that you have installed the Wi-Fi adapter and closed the PC case, it’s time to power on your PC and ensure that the installation was successful. Follow these steps to power on your PC:
- Ensure that all external cables and connectors, such as the power cord, keyboard, mouse, and monitor, are properly connected.
- Double-check that the power switch on the back of the PC, typically located near the power supply unit (PSU), is in the “on” position.
- Press the power button on the front of the PC case to turn it on.
After pressing the power button, you should see the PC booting up. Keep an eye out for any startup messages or prompts on the screen. If the PC starts normally without any issues, it’s a good sign that the Wi-Fi adapter installation was successful.
Depending on your operating system, you may need to perform additional configuration steps to activate and set up the Wi-Fi adapter. Consult the user manual or documentation provided with your adapter for specific instructions on how to proceed with the setup process.
If you encounter any issues or the PC fails to start after installing the Wi-Fi adapter, double-check the installation steps and ensure that all connections are secure. If you’re still experiencing problems, consider seeking assistance from a knowledgeable individual or contacting the Wi-Fi adapter manufacturer’s support.
Congratulations! You have successfully powered on your PC after installing the Wi-Fi adapter. The final step is to install the necessary drivers to enable the functionality of the adapter, which we’ll cover in the next step.
Step 8: Installing the drivers
After successfully powering on your PC, the next step is to install the drivers for your newly installed Wi-Fi adapter. Drivers are software packages that enable your operating system to communicate with and control the hardware device.
To install the drivers for your Wi-Fi adapter, follow these steps:
- Check the packaging or the manufacturer’s website for any driver installation media or download links specific to your Wi-Fi adapter model.
- If you have a driver installation disk, insert it into the appropriate drive of your PC.
- If you need to download the drivers, visit the manufacturer’s website and navigate to the support or downloads section. Locate the drivers for your specific Wi-Fi adapter model and operating system.
- Follow the on-screen instructions provided by the driver installation wizard.
- Once the driver installation is complete, restart your PC to ensure that the changes take effect.
During the driver installation process, make sure to carefully read and follow any prompts or instructions provided by the installation wizard. It’s important to install the correct drivers for your specific Wi-Fi adapter model and operating system to ensure compatibility and optimal performance.
If you encounter any issues during the driver installation, such as error messages or compatibility problems, consult the troubleshooting section in the user manual or contact the manufacturer’s support for assistance.
Once the drivers are successfully installed and your PC has restarted, your Wi-Fi adapter should be ready to use. You can proceed to connect to a Wi-Fi network and enjoy the benefits of wireless connectivity.
Congratulations! You have successfully installed the drivers for your Wi-Fi adapter. The installation process is now complete, and you can start enjoying the convenience of wireless internet access on your PC.
Conclusion
Installing a Wi-Fi adapter in your PC can greatly expand your connectivity options, allowing you to enjoy the convenience of wireless internet access. By following the step-by-step guide outlined in this article, you have learned how to install a Wi-Fi adapter with ease.
From gathering the necessary materials to shutting down the PC, opening the case, identifying the expansion slots, and installing the Wi-Fi adapter, each step has taken you closer to a successful installation. Additionally, you have learned how to close the PC case, power on the system, and install the necessary drivers to enable the functionality of the adapter.
Throughout the installation process, it’s important to handle the PC and internal components with care, ensuring that connections are secure and alignment is correct. Taking the time to follow the instructions and consult the user manual or manufacturer’s documentation can help prevent any potential issues or complications.
Once the installation is complete and the drivers are installed, you can enjoy the freedom and flexibility of wireless internet connectivity. Whether you need to browse the web, stream media, or connect with others online, your Wi-Fi adapter will provide you with reliable network access.
Remember, should you encounter any difficulties during the installation or face any connectivity issues, refer back to the user manual or seek assistance from the manufacturer’s support team. They will be able to provide you with the necessary guidance and troubleshooting tips.
With your newly installed Wi-Fi adapter, you can now connect to the internet without the need for Ethernet cables, freeing up space and allowing for greater mobility. Enjoy the convenience and benefits of wireless connectivity on your PC.
Thank you for following this guide, and best of luck with your newly installed Wi-Fi adapter!
Frequently Asked Questions about How To Install A Wifi Adapter In Pc
Was this page helpful?
At Storables.com, we guarantee accurate and reliable information. Our content, validated by Expert Board Contributors, is crafted following stringent Editorial Policies. We're committed to providing you with well-researched, expert-backed insights for all your informational needs.
0 thoughts on “How To Install A Wifi Adapter In Pc”