Articles
How To Set Up Usb Wifi Adapter
Modified: December 7, 2023
Learn how to set up a USB WiFi adapter with our informative articles. Find step-by-step guides and troubleshoot common issues for a seamless connection.
(Many of the links in this article redirect to a specific reviewed product. Your purchase of these products through affiliate links helps to generate commission for Storables.com, at no extra cost. Learn more)
Introduction
Welcome to this comprehensive guide on how to set up a USB WiFi adapter. With the increasing reliance on wireless connectivity, having a reliable and fast internet connection is more important than ever. A USB WiFi adapter can be a great solution to upgrade your device’s wireless capabilities, allowing you to connect to WiFi networks with ease.
Whether you’re using a desktop computer, a laptop without built-in WiFi, or simply looking to improve your current wireless connection, a USB WiFi adapter can provide the solution you need. In this guide, we will walk you through the step-by-step process of setting up a USB WiFi adapter on your device.
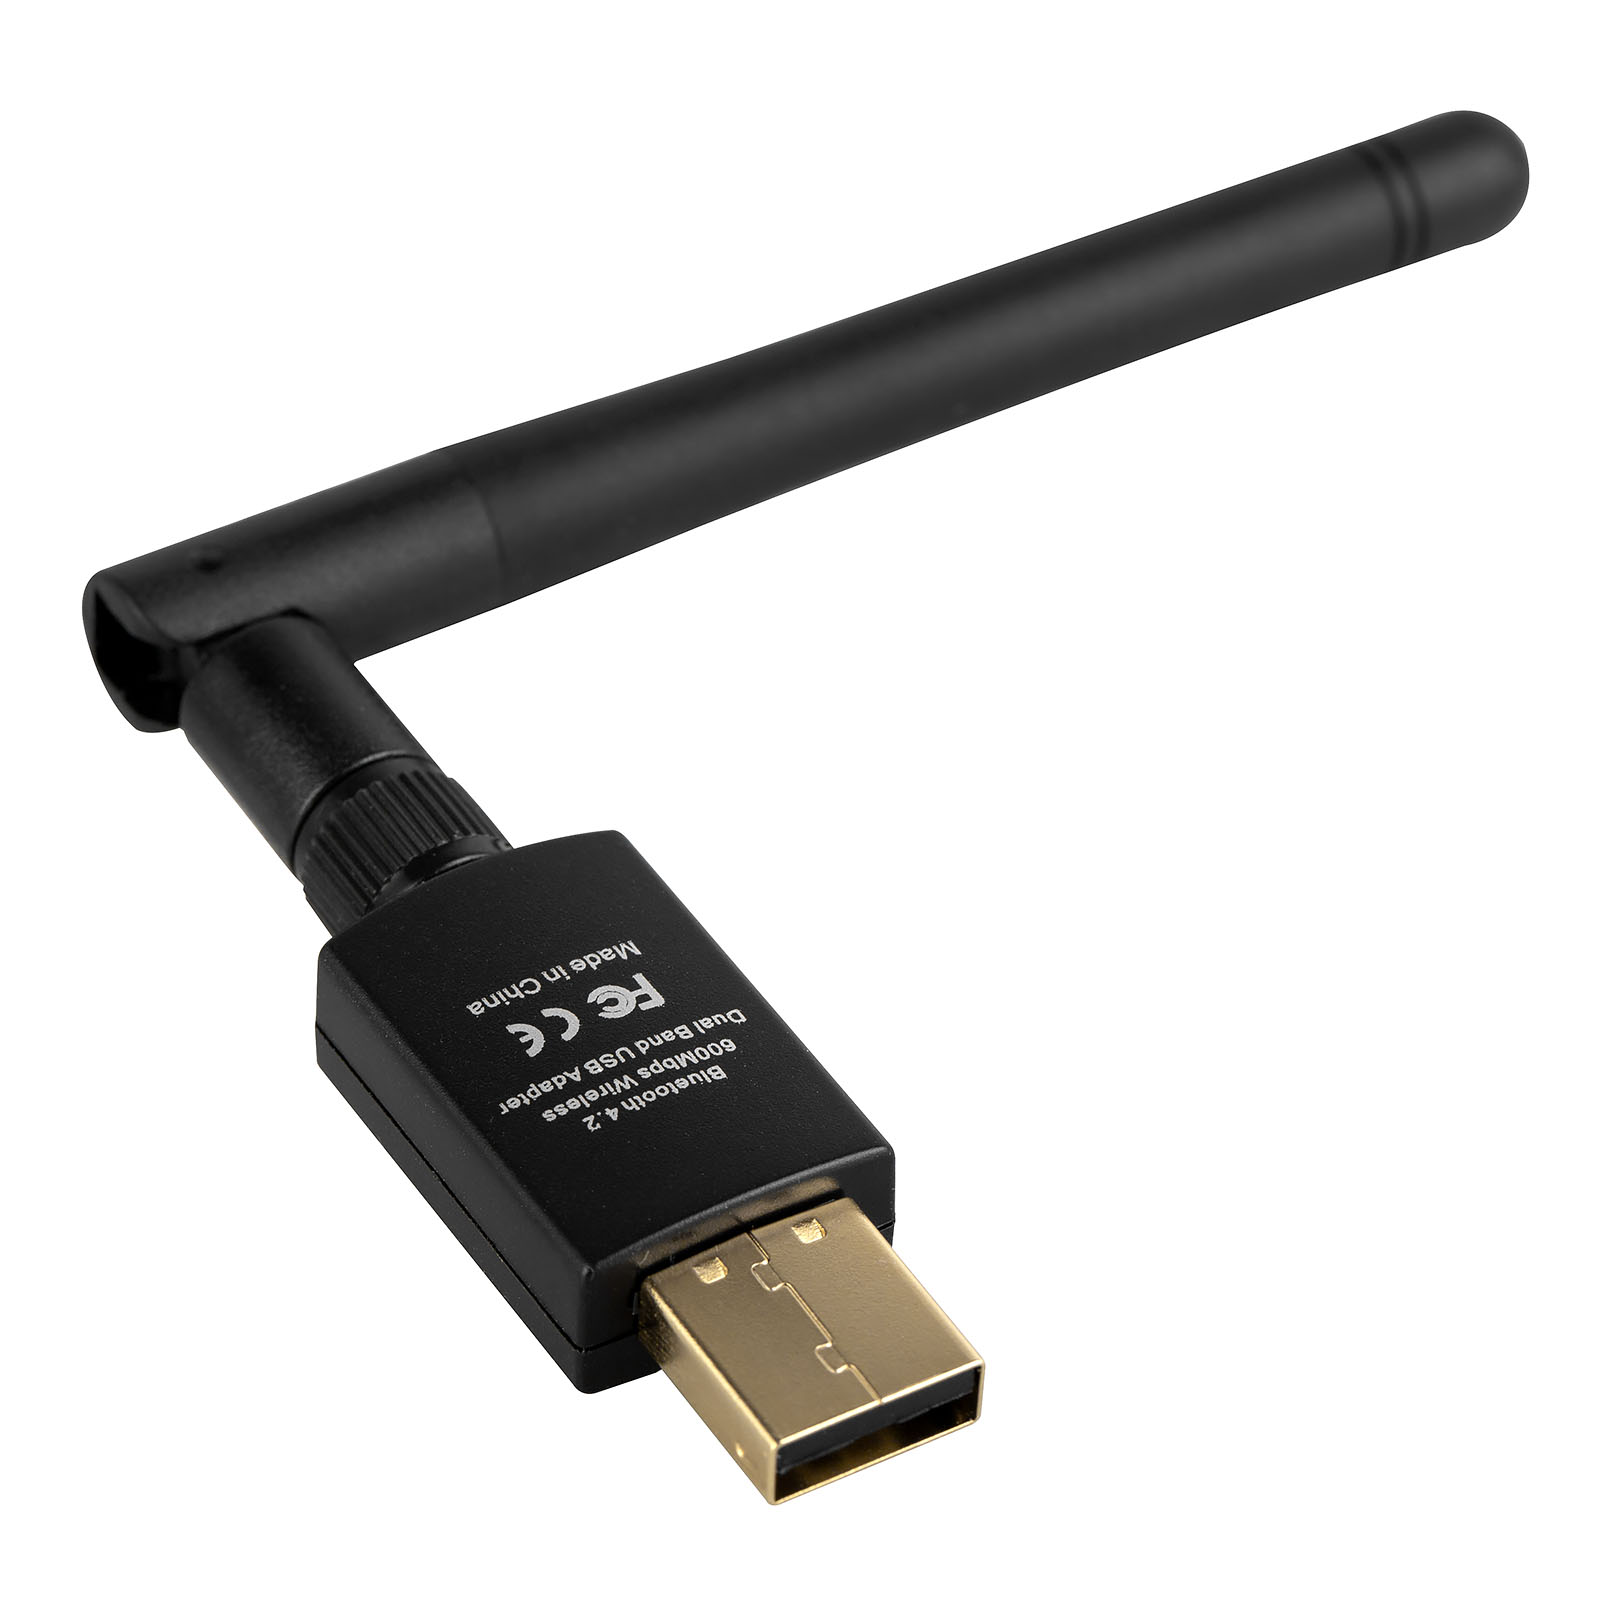
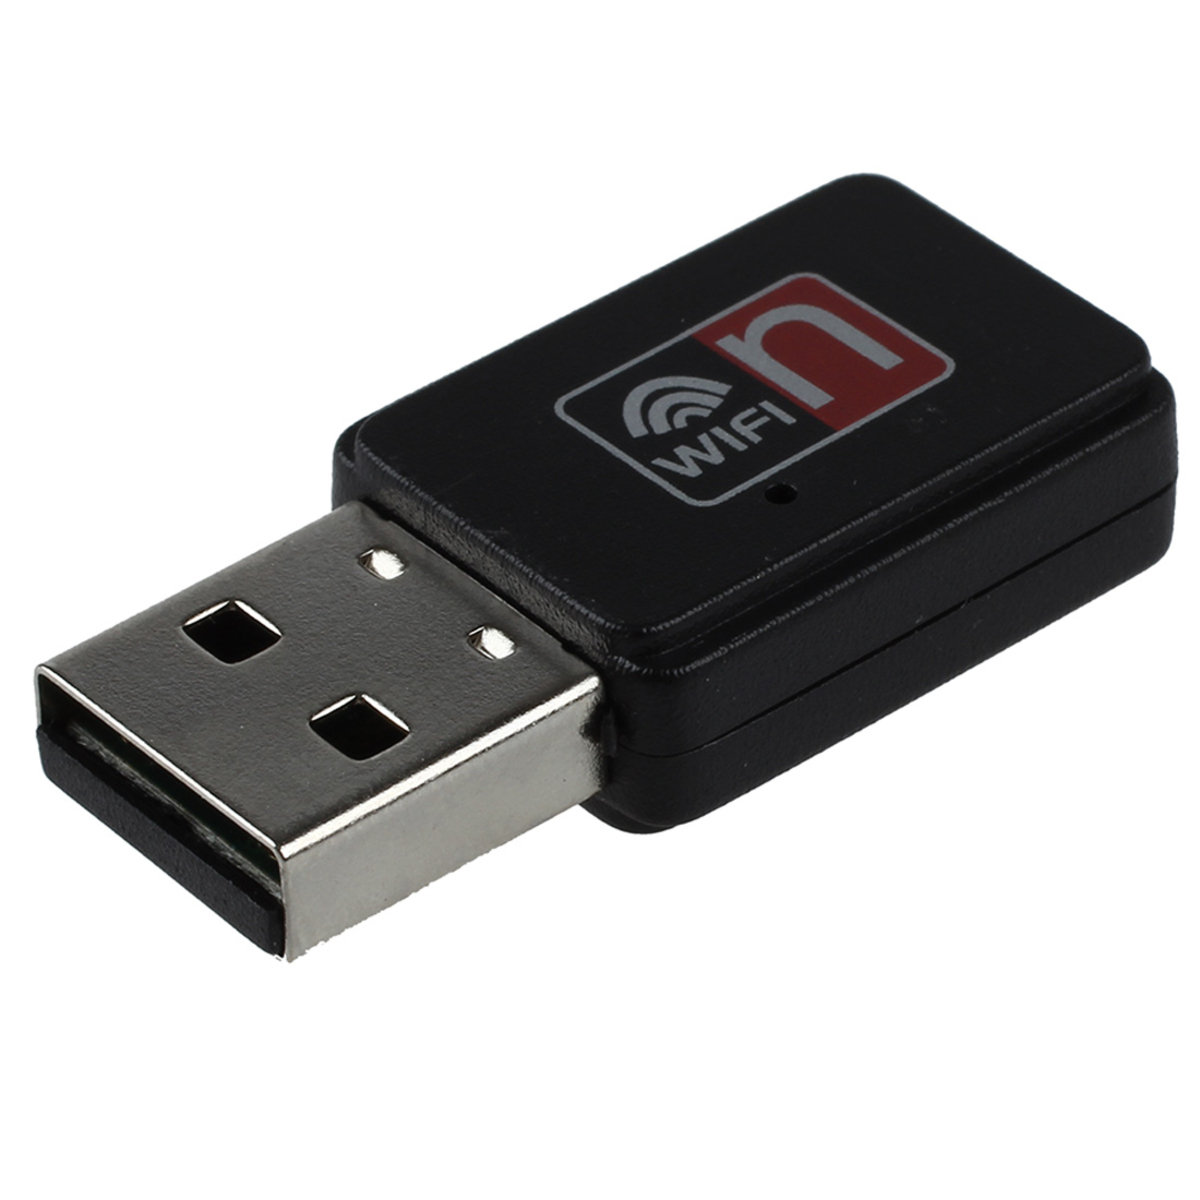
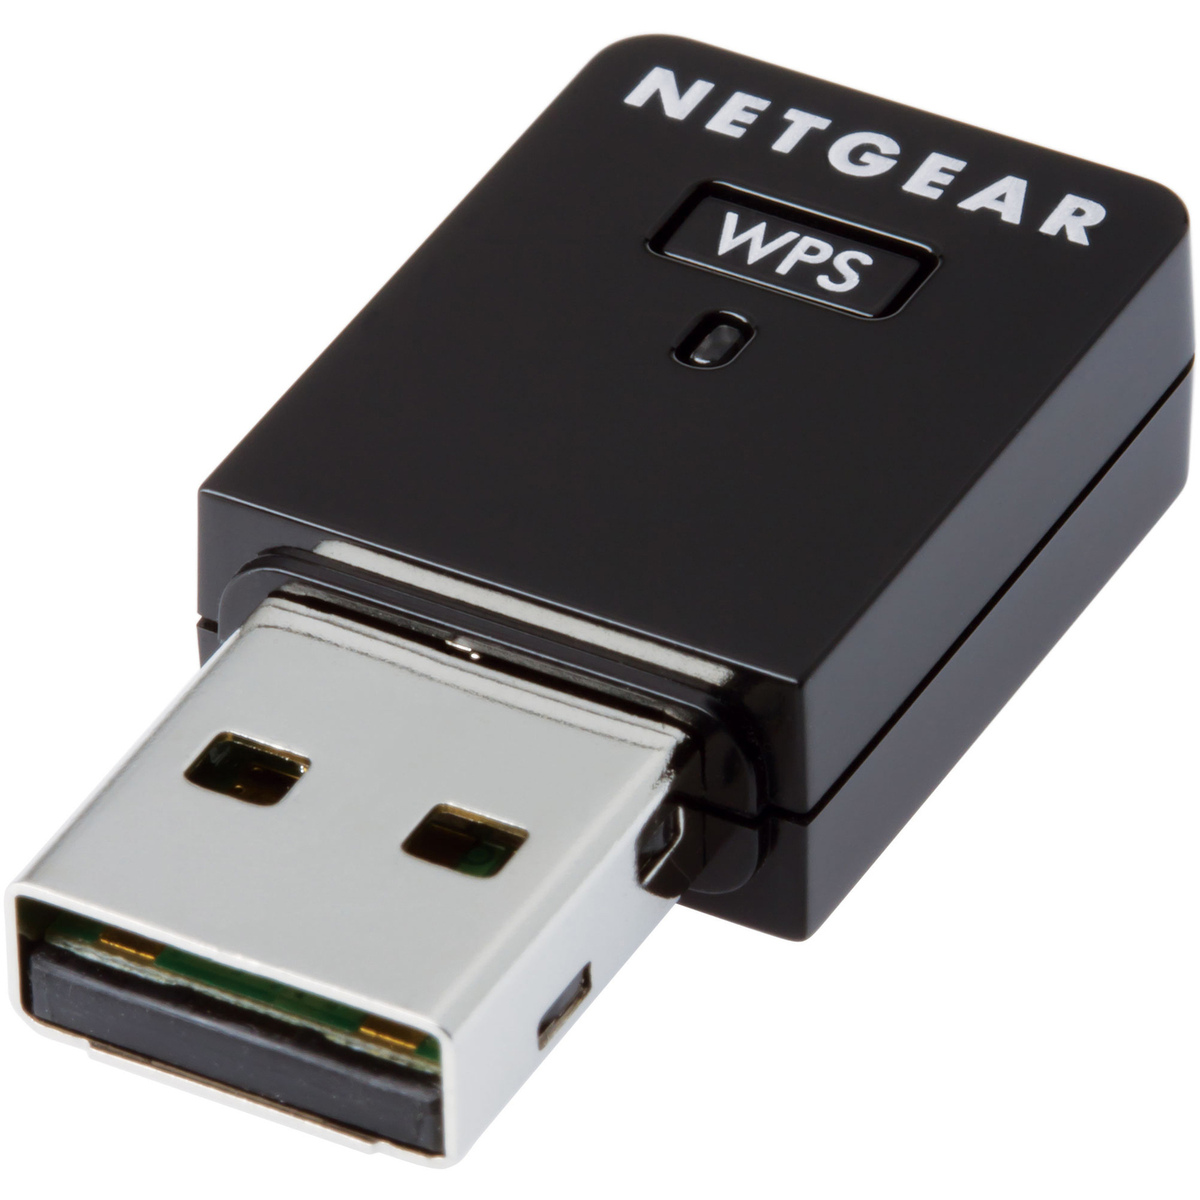
Before we begin, let’s take a moment to understand what a USB WiFi adapter is and how it works. A USB WiFi adapter is a small external device that plugs into a USB port on your computer or laptop. It acts as a receiver and transmitter, allowing your device to connect to wireless networks. These adapters typically support the latest WiFi standards, such as 802.11ac, ensuring fast and reliable connections.
Setting up a USB WiFi adapter is a relatively straightforward process. However, there are a few key steps you need to follow to ensure a successful installation and connection. In the upcoming sections, we will cover everything you need to know, from checking system requirements and installing necessary drivers to connecting to a wireless network and testing the connection.
It’s important to note that the specific steps may vary slightly depending on the brand and model of your USB WiFi adapter. However, the general principles discussed in this guide should apply to most adapters available on the market.
Now that we understand the basics, let’s dive into the step-by-step process of setting up a USB WiFi adapter and get you connected to the wireless world!
Key Takeaways:
- Setting up a USB WiFi adapter is a simple process that involves checking system requirements, installing drivers, connecting to a wireless network, and testing the connection. Enjoy the benefits of wireless internet access with ease!
- Positioning the USB WiFi adapter in an area with strong signal reception and troubleshooting any connection issues can ensure a stable and reliable wireless experience. Embrace the freedom of seamless internet connectivity!
Read more: What Is Wifi Adapter
Step 1: Check System Requirements
Before you start setting up your USB WiFi adapter, it’s important to ensure that your device meets the necessary system requirements. This will help prevent any compatibility issues and ensure a smooth installation process.
Here are the key system requirements to check:
- Operating System: Verify that your computer or laptop is running a compatible operating system. The USB WiFi adapter should be compatible with major operating systems like Windows, macOS, and Linux. Check the adapter’s product specifications or user manual for specific operating system compatibility.
- USB Port: Make sure your device has an available USB port to plug in the adapter. Most adapters use USB 2.0 or USB 3.0 ports for connectivity. USB 3.0 ports are recommended for optimal performance, especially if you need faster data transfer speeds.
- Internet Connection: Ensure that you have an active internet connection. The USB WiFi adapter will enable your device to connect to existing WiFi networks, so it’s important to have an internet connection available for the initial setup and driver installation.
Additionally, it’s worth considering the specific requirements of your WiFi network. For example, if your network operates on the 5GHz frequency, make sure the USB WiFi adapter supports this frequency band. Similarly, if your network uses specific encryption methods like WEP, WPA, or WPA2, verify that the adapter is compatible with these security protocols.
Once you have confirmed that your device meets the system requirements, you can proceed to the next step of installing the necessary drivers.
Step 2: Install Necessary Drivers
After verifying that your device meets the system requirements, the next step is to install the necessary drivers for your USB WiFi adapter. Drivers are software programs that enable your operating system to communicate with the hardware device.
Here’s a general guide to installing drivers for your USB WiFi adapter:
- Check the Adapter Package: When you purchased your USB WiFi adapter, it likely came with a driver installation CD or a USB flash drive containing the necessary drivers. Start by checking the adapter package to see if the drivers are included. If so, insert the CD or plug in the USB drive into your computer or laptop.
- Automatic Installation: In many cases, when you insert the driver installation CD or connect the USB drive, your operating system will automatically recognize it and prompt you to install the drivers. Follow the on-screen instructions to complete the installation process. If you encounter any issues, consult the user manual or support documentation provided with your USB WiFi adapter.
- Manual Installation: If the automatic installation doesn’t initiate or you prefer to install the drivers manually, you can do so by navigating to the “Device Manager” on your computer. On Windows, right-click on the “Start” button, select “Device Manager,” and expand the “Network adapters” category. Right-click on the USB WiFi adapter and select “Update driver.” Choose the option to browse your computer for drivers and locate the driver files from the CD or USB drive provided with your adapter.
It’s important to note that for certain USB WiFi adapters, you may need to connect to the internet using an Ethernet cable during the driver installation process. This allows your computer to download the latest drivers from the manufacturer’s website. Once the drivers are installed, you can disconnect the Ethernet cable and rely on your USB WiFi adapter for wireless connectivity.
Once you have successfully installed the drivers, you are ready to move on to the next step of attaching the USB WiFi adapter to your device.
Step 3: Attach the USB WiFi Adapter to Your Device
Now that you have installed the necessary drivers for your USB WiFi adapter, it’s time to physically connect it to your device. Follow these steps:
- Locate an Available USB Port: Look for a free USB port on your computer or laptop. USB ports are typically located on the sides or back of the device. If you’re using a desktop computer, the USB ports may be located on the front panel as well.
- Insert the Adapter: Gently insert the USB WiFi adapter into the USB port. Make sure to push it all the way in until it is securely connected. You may hear a click sound or see a LED light up on the adapter to indicate that it is properly inserted.
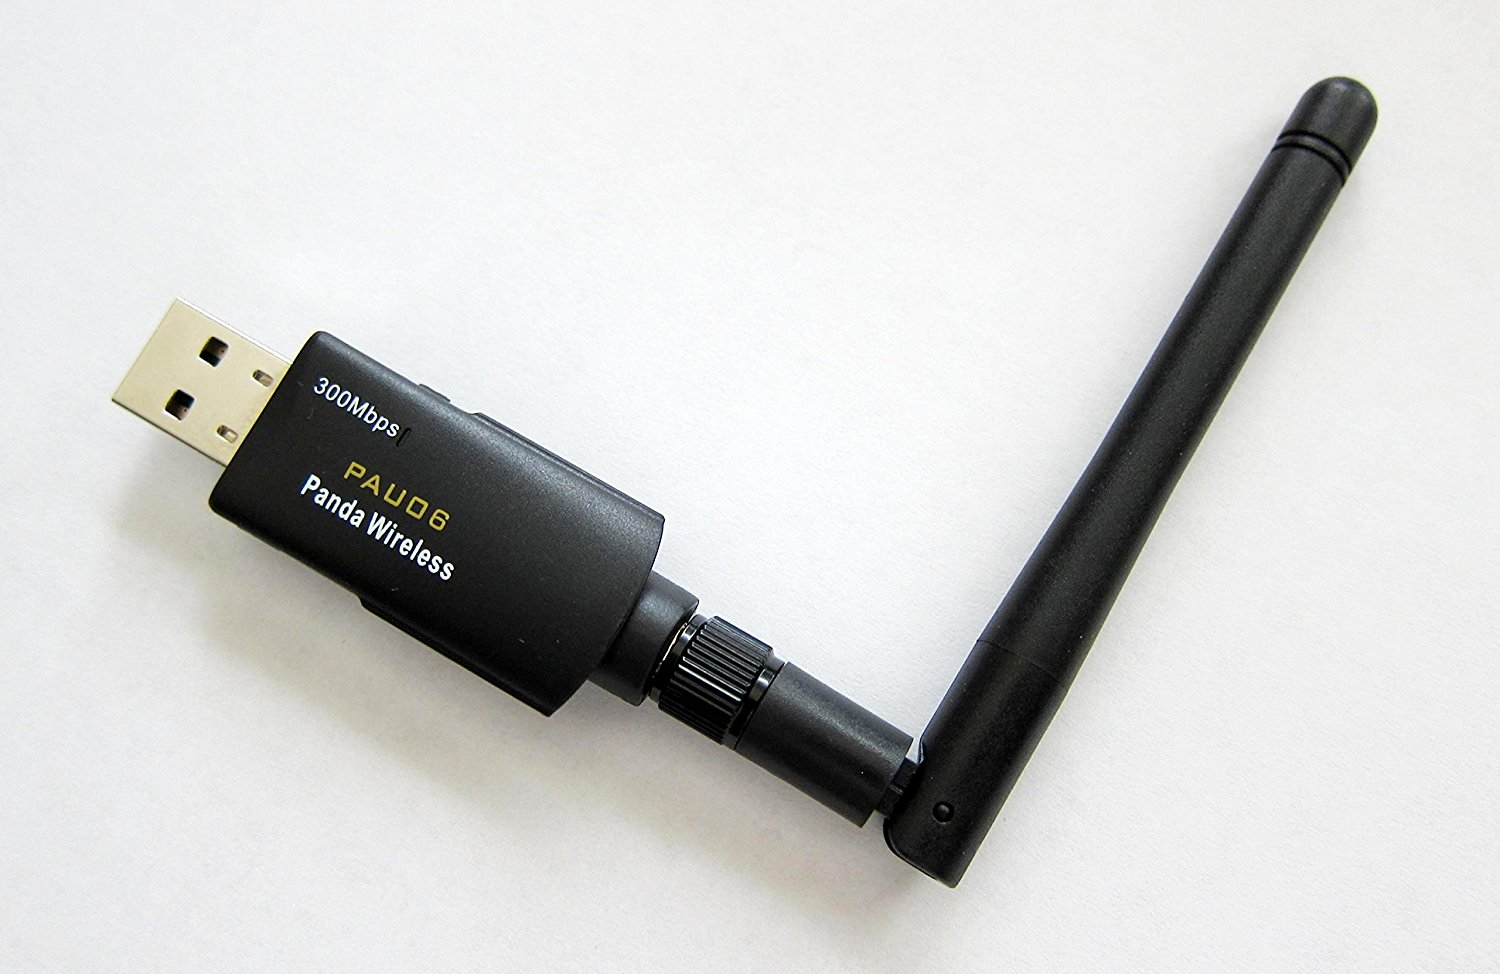
- Position the Adapter (if necessary): In some cases, the USB WiFi adapter may have an external antenna or a flexible cable to improve signal reception. If your adapter has these features, you can adjust the position of the antenna or cable to optimize WiFi performance. Experiment with different orientations to find the best position for your adapter.
Once the USB WiFi adapter is connected to your device, your operating system will recognize it as a new network device. It may take a few moments for the system to detect and initialize the adapter.
It’s important to remember that the USB WiFi adapter should be used in a location with good WiFi signal reception. If there are obstructions or interferences blocking the WiFi signal, such as walls or other electronic devices, consider repositioning your device or using a WiFi range extender to improve the signal strength.
With the USB WiFi adapter successfully connected to your device, you are now ready to proceed to the next step of connecting to a wireless network.
When setting up a USB WiFi adapter, make sure to install the necessary drivers and software from the manufacturer’s website before plugging in the adapter. This will ensure that it works properly with your computer.
Step 4: Connect to a Wireless Network
Now that you have attached the USB WiFi adapter to your device, it’s time to connect to a wireless network. Follow these steps:
- Open Network Settings: Locate the network settings on your device. On most operating systems, you can find this by clicking on the network icon in the system tray or by navigating to the network settings in the control panel or system preferences.
- Scan for Networks: In the network settings, click on the option to scan for available WiFi networks. Your USB WiFi adapter will detect nearby networks and display them in a list.
- Select a Network: From the list of available networks, select the one you want to connect to. If the network is secured, you may be prompted to enter the network’s security key or password. Enter the correct credentials and click on the “Connect” button.
- Wait for Connection: Your device will attempt to connect to the selected network using the USB WiFi adapter. It may take a few moments to establish a connection. Once connected, you will see a confirmation message or an icon indicating a successful connection.
It’s important to note that depending on your operating system, the steps and options in the network settings may vary slightly. If you encounter any difficulties during the connection process, refer to the user manual or support documentation provided with your USB WiFi adapter or consult the online support resources for your operating system.
Once you are successfully connected to a wireless network, you can start enjoying the benefits of wireless internet access on your device. However, before you start browsing or using online applications, it’s recommended to perform a quick test to ensure the connection is stable and reliable.
In the next step, we will discuss how to test the connection and make sure everything is functioning as expected.
Read more: How To Fix Wifi Adapter
Step 5: Test the Connection
After connecting to a wireless network using your USB WiFi adapter, it’s important to test the connection to ensure that everything is working properly. Here are a few steps you can take to test the connection:
- Check Signal Strength: Take note of the signal strength indicator on your device. It is usually represented by bars or a numerical value. A stronger signal indicates a better connection. If the signal strength is weak, consider repositioning your device or the USB WiFi adapter to improve it.
- Open a Web Browser: Launch a web browser on your device and try loading a website. If the page loads without any issues, it indicates that your internet connection is functioning correctly.
- Perform a Speed Test: To ensure that you are getting the expected internet speed, you can perform a speed test. There are many online tools available that allow you to measure your internet speed. Simply search for “internet speed test” in your preferred search engine and follow the instructions on the website.
- Stream or Download Content: Try streaming a video or downloading a file to test the stability and speed of your connection. If the content streams smoothly and downloads at an acceptable rate, your connection is performing well.
If you encounter any issues during the testing process, such as slow internet speeds, frequent disconnections, or difficulty accessing websites, there are a few troubleshooting steps you can take:
- Ensure that your USB WiFi adapter is positioned in an area with a strong and stable WiFi signal.
- Check if there are any firmware or driver updates available for your USB WiFi adapter. Visit the manufacturer’s website or use their software tools to check for updates.
- Restart your device and the wireless router to refresh the network connection.
- Disable any conflicting software or firewalls that may be blocking the connection.
- If the issue persists, consult the user manual or contact the technical support for your USB WiFi adapter for further assistance.
With the connection successfully tested and any issues resolved, you can now enjoy the benefits of wireless internet access on your device. Whether you’re browsing the web, streaming videos, or working remotely, having a USB WiFi adapter can greatly improve your online experience.
Congratulations! You have now completed the steps to set up your USB WiFi adapter and connect to a wireless network. Feel free to explore and make use of your newfound wireless freedom!
Conclusion
Setting up a USB WiFi adapter is a straightforward process that can greatly enhance your device’s wireless capabilities. By following the steps outlined in this guide, you can easily connect to a wireless network and enjoy seamless internet access.
We started by checking the system requirements to ensure compatibility with your device. Then, we installed the necessary drivers, either through automatic or manual installation. Next, we attached the USB WiFi adapter to your device, making sure it was properly inserted. After that, we connected to a wireless network by selecting and entering the necessary credentials. Finally, we tested the connection to ensure it was stable and reliable.
It’s important to note that while this guide provides general steps that apply to most USB WiFi adapters, there may be slight variations depending on the specific brand and model you’re using. Always refer to the user manual and support documentation provided by the manufacturer for detailed instructions.
With your USB WiFi adapter successfully set up, you can now enjoy the benefits of wireless internet access. Whether you’re working, streaming, gaming, or browsing the web, the convenience and flexibility of a wireless connection can greatly improve your overall experience.
If you encounter any difficulties during the setup process or face issues with your connection, remember to consult the user manual, check for firmware or driver updates, and reach out to the technical support provided by the manufacturer for further assistance.
Thank you for following this comprehensive guide on how to set up a USB WiFi adapter. We hope it has been helpful in getting you connected to the wireless world. Enjoy the freedom and convenience of wireless internet access!
Frequently Asked Questions about How To Set Up Usb Wifi Adapter
Was this page helpful?
At Storables.com, we guarantee accurate and reliable information. Our content, validated by Expert Board Contributors, is crafted following stringent Editorial Policies. We're committed to providing you with well-researched, expert-backed insights for all your informational needs.


0 thoughts on “How To Set Up Usb Wifi Adapter”