Articles
How To Turn A Router Into A Wifi Adapter
Modified: August 28, 2024
Transform your router into a reliable WiFi adapter with step-by-step articles, maximizing your connectivity and expanding your internet options.
(Many of the links in this article redirect to a specific reviewed product. Your purchase of these products through affiliate links helps to generate commission for Storables.com, at no extra cost. Learn more)
Introduction
As technology continues to advance, so does the need for a reliable and strong WiFi connection. In many cases, the WiFi signal provided by a standard router may not reach all areas of your home or office, resulting in weak or unstable connectivity. This is where the concept of turning a router into a WiFi adapter comes in handy.
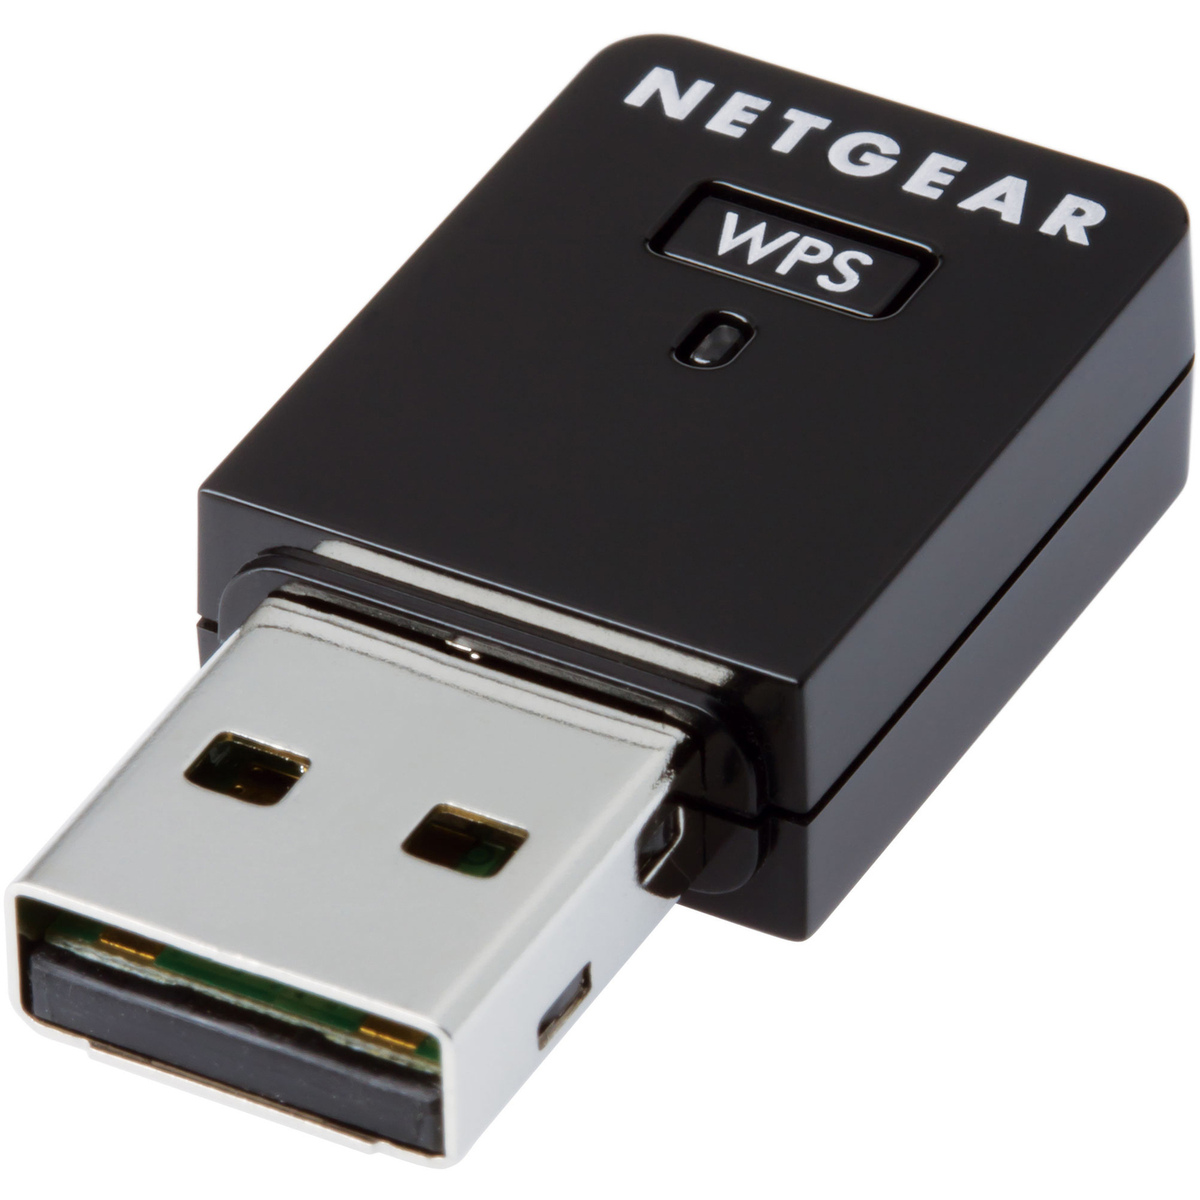
A WiFi adapter is a device that allows you to connect your computer or other devices to a wireless network. It receives the WiFi signal from the main router and transmits it to your device, ensuring a strong and seamless connection. However, purchasing a separate WiFi adapter can be costly.
Fortunately, there is a cost-effective solution – converting a router into a WiFi adapter. This allows you to repurpose an old or unused router and turn it into a powerful wireless network receiver. Not only is this a budget-friendly option, but it also helps extend the range of your existing WiFi network.
In this article, we will guide you through the process of transforming a router into a WiFi adapter. We will explain the necessary steps and precautions to take, helping you improve your WiFi coverage without breaking the bank. So, let’s dive in!
Key Takeaways:
- Transforming a router into a WiFi adapter is a cost-effective and eco-friendly solution that extends WiFi coverage, saves money, and repurposes old routers for improved connectivity without breaking the bank.
- Converting a router into a WiFi adapter is a straightforward process that involves resetting the router, configuring settings, and connecting devices, providing a seamless and reliable WiFi experience throughout your home or office.
Read more: What Is Wifi Adapter
Understanding Router and WiFi Adapter
Before we delve into the process of converting a router into a WiFi adapter, it’s essential to understand the roles and functions of both devices.
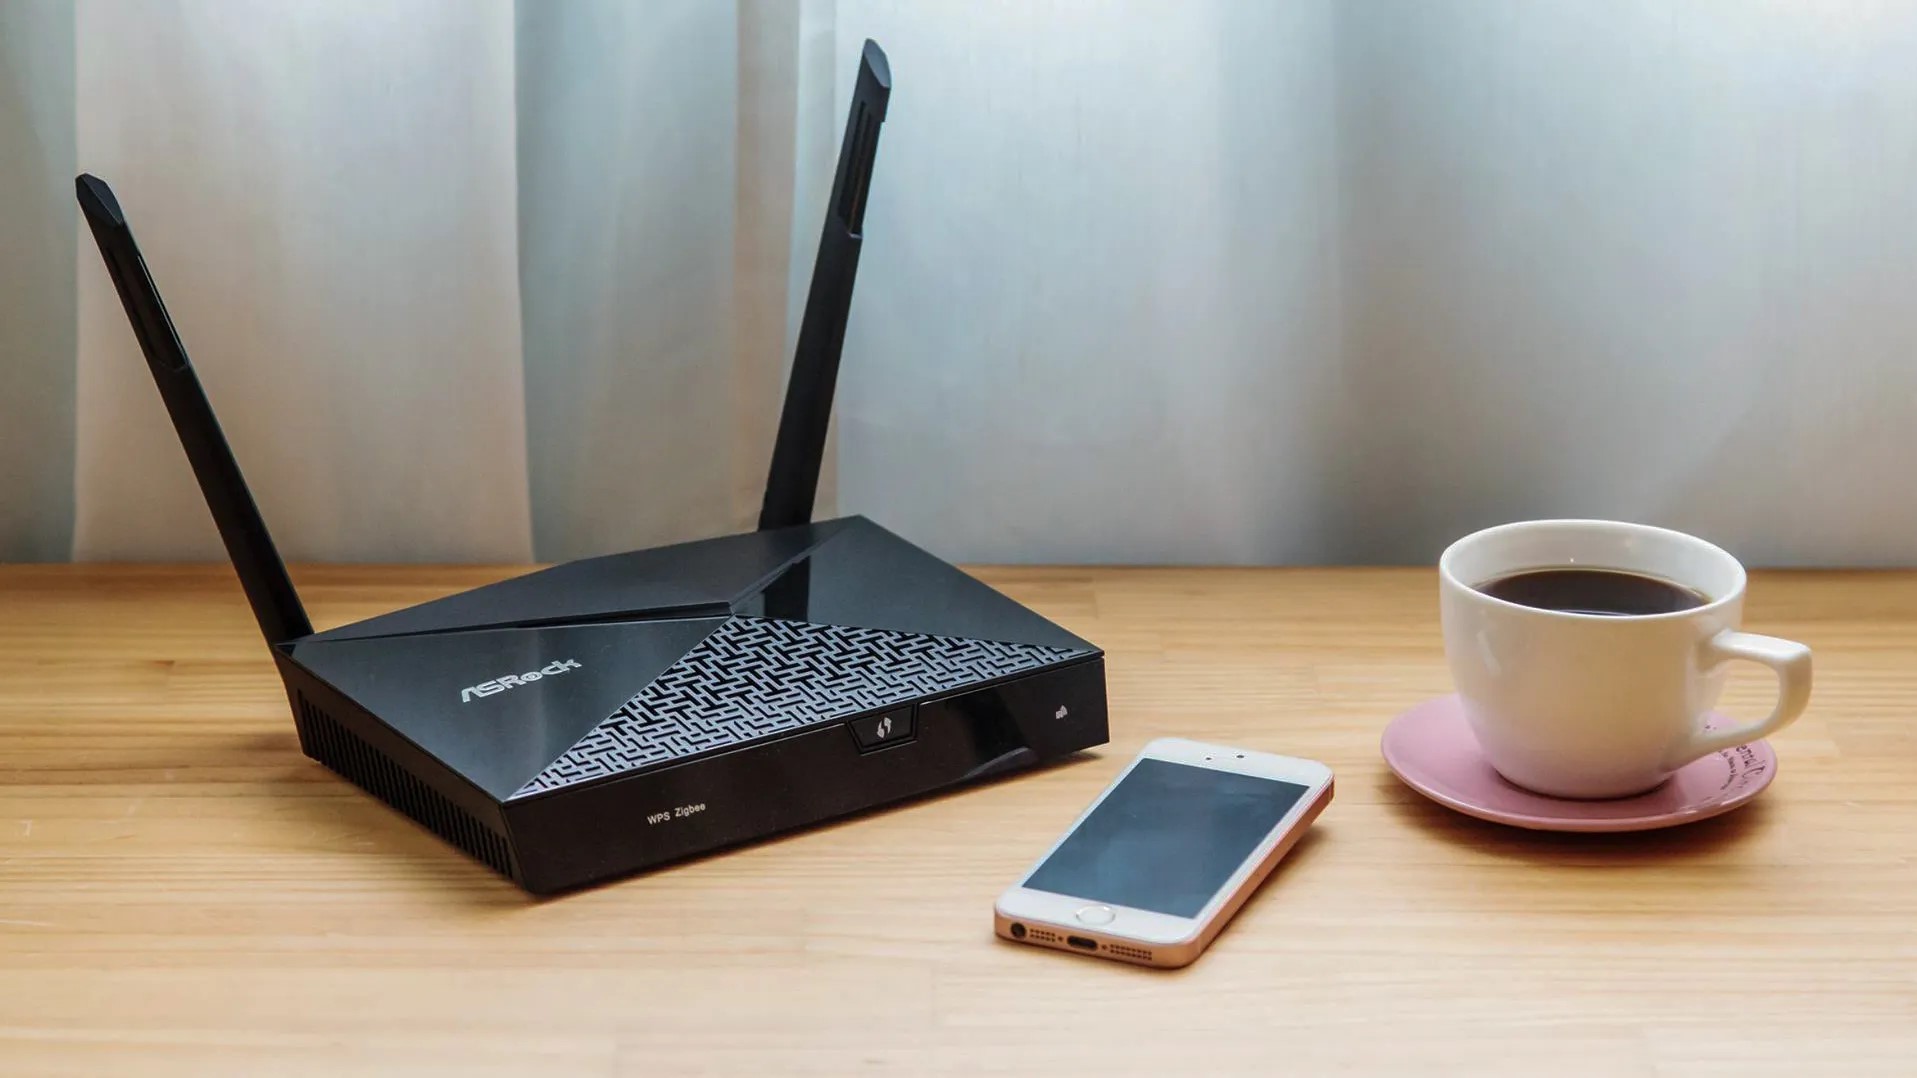
A router is a device that connects multiple devices to a local network and facilitates communication between them. It acts as a gateway between your home or office network and the internet, allowing devices to send and receive data.
A WiFi adapter, on the other hand, is a device that enables computers and other devices to connect to a wireless network. It receives wireless signals from a router and converts them into a format that your device can understand, providing a seamless internet connection.
While routers are typically used to create and manage a wireless network, WiFi adapters are used to connect devices to that network. WiFi adapters come in various forms, including USB dongles, PCIe cards, and internal antennas.
Each device has its own specific functions and limitations. Routers are designed to distribute the internet signal and manage network traffic, whereas WiFi adapters are designed to receive and transmit the wireless signal to connect devices to the network.
When you convert a router into a WiFi adapter, you essentially repurpose its functions to act solely as a receiver and transmitter, extending the range of your WiFi network. This allows you to connect devices that are located far away from the main router, ensuring a stable and reliable connection.
It’s important to note that not all routers can be easily converted into WiFi adapters. Some routers have limitations or lack the necessary features to support this functionality. Therefore, it’s crucial to check the specifications and capabilities of your router before proceeding with the conversion process.
With a solid understanding of the roles of both routers and WiFi adapters, you can now move forward to convert your router into a WiFi adapter. In the next section, we will discuss the reasons why you might want to undertake this conversion.
Why Convert a Router Into a WiFi Adapter?
There are several reasons why you might consider converting a router into a WiFi adapter:
- Extended WiFi Coverage: Converting a router into a WiFi adapter allows you to extend the range of your existing WiFi network. By strategically placing the WiFi adapter in a location where the WiFi signal is weak, you can improve coverage in areas that were previously out of reach.
- Cost Savings: Purchasing a separate WiFi adapter can be expensive. By repurposing an old or unused router, you can save money while still achieving the same functionality. This is particularly beneficial if you have multiple devices that need to connect to the WiFi network.
- Eco-Friendly Solution: Rather than disposing of or letting an old router collect dust, converting it into a WiFi adapter is an eco-friendly solution. It allows you to give new life to an otherwise unused device, reducing electronic waste.
- Flexibility: Having a dedicated WiFi adapter gives you the flexibility to connect devices that are located far away from the main router. Whether it’s a computer in a separate room or a gaming console in the basement, a WiFi adapter can help ensure a strong and stable connection.
- Easy Setup: Converting a router into a WiFi adapter is a relatively straightforward process. With proper guidelines and steps, even users with limited technical knowledge can successfully repurpose their routers for improved WiFi connectivity.
While there are many benefits to converting a router into a WiFi adapter, it’s important to consider the limitations as well. Some routers may not support this functionality, or they may have hardware or software limitations that hinder the conversion process. Therefore, it’s crucial to research and ensure that your router is compatible before attempting this transformation.
Now that you understand the advantages of converting a router into a WiFi adapter, let’s move on to the preparation steps you need to take before you begin the conversion process.
Before You Begin
Before you dive into converting your router into a WiFi adapter, there are a few important considerations and preparations to keep in mind:
- Router Compatibility: Not all routers can be easily converted into WiFi adapters. It’s crucial to check the specifications and capabilities of your router to ensure it supports this functionality. Look for features like “Bridge Mode” or “Wireless Repeater Mode” in the router’s documentation or settings.
- Resetting the Router: It’s recommended to reset your router to its factory settings before attempting the conversion process. This ensures that any previous configurations or settings that could interfere with the conversion are cleared.
- Required Equipment: Gather all the necessary equipment beforehand. You will typically need an Ethernet cable to connect the router to your computer, and a computer with an Ethernet port to access the router’s admin panel.
- Access to the Router’s Admin Panel: You need to access the router’s admin panel to make the required configuration changes. Ensure you have the router’s default IP address, username, and password on hand. You can usually find these details on the router itself or in the router’s instruction manual.
- Basic Networking Knowledge: While converting a router into a WiFi adapter is not overly complex, having a basic understanding of networking concepts will be helpful. Familiarize yourself with terms like IP addresses, subnet masks, and DHCP servers.
- Internet Connection: Ensure that your main WiFi network has a stable internet connection before starting the conversion process. This will ensure that the WiFi adapter can properly connect to and transmit the internet signal to your devices.
By taking these precautions and considering these factors, you will be well-prepared to proceed with converting your router into a WiFi adapter. In the next section, we will guide you through the step-by-step process of repurposing your router for enhanced WiFi coverage.
Step 1: Gather the Required Equipment
Before you can begin the process of converting your router into a WiFi adapter, you will need to gather the necessary equipment. Having everything you need on hand will make the process smoother and more efficient. Here is a list of the essential equipment:
- Router: The first and most crucial item on the list is, of course, the router itself. Ensure that the router is in good working condition and compatible with the conversion process. It’s recommended to use a router that supports third-party firmware, such as DD-WRT or OpenWRT, as these tend to offer more advanced configuration options.
- Ethernet Cable: You will need an Ethernet cable to connect the router to your computer during the configuration process. Make sure you have a compatible cable available, preferably a Cat5e or Cat6 cable for optimal performance.
- Computer: You will need a computer with an Ethernet port to access the router’s admin panel and make the necessary configuration changes. Ensure that the computer is in working order and has the required ports and connectivity.
- Power Adapter: Ensure that you have the appropriate power adapter for the router. This is necessary to provide power to the router during the configuration process. Make sure the power adapter is compatible with the router’s specifications.
- Pen and Paper: It’s always a good idea to have pen and paper handy during the process. You may need to jot down important settings, IP addresses, or configuration details.
By gathering these essential items before you begin, you can ensure a smooth and hassle-free conversion process. Once you have everything you need, you can move on to the next step in turning your router into a WiFi adapter. In the following section, we will guide you through resetting the router to its factory settings.
Read more: How To Fix Wifi Adapter
Step 2: Reset the Router to Factory Settings
Before you can start the process of converting your router into a WiFi adapter, it’s important to reset the router to its factory settings. This ensures that any previous configurations or settings that could interfere with the conversion process are cleared. Here are the steps to reset your router:
- Locate the reset button on the router. The location of the button may vary depending on the model of your router, but it is commonly found on the back or bottom of the device.
- Using a small, pointed object such as a paperclip or pin, press and hold the reset button for about 10-15 seconds. Make sure you press and hold the button until you see the router’s lights blink or change indicating that the reset process has started.
- Release the reset button and wait for the router to restart. This may take a few minutes, so be patient.
Once the router has restarted, it will be reset to its factory settings. Any previous configurations, including the WiFi network name (SSID), password, and other settings, will be erased. It’s important to note that resetting the router will disconnect any devices connected to it, so you may need to reconnect them later.
After completing the reset process, you can move on to the next step of connecting your router to a computer. In the following section, we will guide you through this process and accessing the router’s admin panel.
Step 3: Connect the Router to a Computer
With your router reset to its factory settings, the next step is to establish a connection between the router and your computer. This will allow you to access the router’s admin panel and make the necessary configuration changes. Here’s how to connect the router to your computer:
- Plug one end of the Ethernet cable into the LAN port of the router. The LAN ports are typically numbered and located on the back of the router.
- Connect the other end of the Ethernet cable to the Ethernet port of your computer. Make sure the cable is securely inserted into both the router and computer ports.
- Ensure that your computer is powered on and connected to the Ethernet cable. The computer should detect the Ethernet connection automatically.
Once the physical connection is established, you are ready to access the router’s admin panel. In the next step, we will show you how to access the admin panel and make the necessary configuration changes to convert the router into a WiFi adapter.
Note: Some routers may also have a web-based setup wizard that automatically detects the connection. If this is the case with your router, follow the on-screen instructions to proceed with the setup.
You can turn a router into a WiFi adapter by disabling its DHCP server, connecting it to the main router via an Ethernet cable, and configuring it to work in bridge mode. This will allow it to receive and transmit WiFi signals as a secondary access point.
Step 4: Access the Router’s Admin Panel
Now that your router is connected to your computer, you can access the router’s admin panel to make the necessary configuration changes. The admin panel is where you can modify settings and configure the router to function as a WiFi adapter. Here’s how to access the router’s admin panel:
- Open a web browser on your computer. Commonly used browsers include Google Chrome, Mozilla Firefox, or Microsoft Edge.
- In the address bar of the browser, type in the default IP address of your router. The default IP address is usually found on a sticker on the router itself or in the router’s manual. It is typically in the format of 192.168.x.x or 10.0.x.x.
- Press Enter or click the Go button to access the admin panel of the router.
- You will be prompted to enter the router’s username and password. These credentials are typically found on the router or in its documentation. If you have changed the default credentials in the past and cannot remember them, you may need to reset the router again.
- After entering the correct login credentials, you will be logged into the router’s admin panel. The interface may vary depending on the brand and model of your router.
Once you have successfully accessed the router’s admin panel, you can proceed to the next step of disabling the router’s DHCP server. This step is crucial to ensure that there are no conflicts between the main router and the converted WiFi adapter. In the following section, we will guide you through this process.
Step 5: Disable the Router’s DHCP Server
Disabling the router’s DHCP (Dynamic Host Configuration Protocol) server is an important step to prevent conflicts and ensure proper connectivity when converting it into a WiFi adapter. The DHCP server is responsible for assigning IP addresses to devices on a network, and it is typically enabled by default on routers. Follow these steps to disable the DHCP server:
- Once you are logged into the router’s admin panel, navigate to the “LAN” or “Network” settings. The exact location may vary depending on the router’s interface.
- Look for the DHCP settings. There should be an option to disable the DHCP server.
- Disable the DHCP server by selecting the appropriate checkbox or toggle switch.
- Save the changes and apply the new settings.
- After disabling the DHCP server, the router will no longer assign IP addresses to devices connected to it. Instead, it will rely on the main router to handle the IP address assignments.
It’s important to note that disabling the DHCP server may cause your computer to lose its connection temporarily. After saving the changes, you may need to release and renew the IP address on your computer to establish a new connection with the router.
With the DHCP server disabled, the router is now ready to be configured as a WiFi adapter. In the next step, we will guide you through the process of configuring the router’s wireless settings.
Read more: How To Update Wifi Adapter Drivers
Step 6: Configure the Router’s Wireless Settings
Configuring the router’s wireless settings is a crucial step in converting it into a WiFi adapter. This ensures that the router can properly receive and transmit the WiFi signal from the main router. Follow these steps to configure the router’s wireless settings:
- In the router’s admin panel, navigate to the “Wireless” or “Wireless Settings” section.
- Find the option to set the wireless mode. Select the “Client” or “Wireless Client” mode. This mode allows the router to function as a WiFi adapter.
- Next, you will need to connect the router to your main WiFi network. Look for the option to scan for available WiFi networks. Select your main WiFi network from the list and enter the network’s password if required.
- After connecting to your main WiFi network, you may have the option to configure additional wireless settings such as the SSID (WiFi network name) and security settings. For optimal performance, it’s recommended to match these settings with your main router’s wireless settings.
- Save the changes and apply the new settings.
Once the router’s wireless settings are configured, it will act as a WiFi adapter, receiving the WiFi signal from your main router and transmitting it to your connected devices. Make sure to place the router in an optimal location to ensure the best WiFi coverage for your devices.
With the router configured as a WiFi adapter, you can now proceed to the next step of connecting the router to your main WiFi network. In the following section, we will guide you through this process.
Step 7: Connect the Router to the Main WiFi Network
Now that your router is configured as a WiFi adapter, the next step is to connect it to your main WiFi network. This will allow the router to receive the WiFi signal from your main router and transmit it to your connected devices. Follow these steps to connect the router to your main WiFi network:
- Ensure that the router is powered on and connected to your computer via the Ethernet cable.
- In the router’s admin panel, navigate to the “Wireless” or “WiFi” settings section.
- In the wireless settings, look for the option to scan for available WiFi networks.
- Select your main WiFi network from the list of available networks.
- If prompted, enter the password for your main WiFi network.
- Save the changes and apply the new settings.
Once the router is connected to your main WiFi network, it will act as a bridge, receiving the WiFi signal from your main router and transmitting it to your connected devices. The router will now function as a WiFi adapter, extending the range and coverage of your WiFi network.
Make sure to place the router in an optimal location to maximize its range and performance. Consider factors like distance from the main router, potential obstructions, and interference from other electronic devices.
With the router successfully connected to your main WiFi network, you can now proceed to the final step of connecting your devices to the router. In the next section, we will guide you through this process.
Step 8: Connect Devices to the Router
With your router now functioning as a WiFi adapter, the final step is to connect your devices to the router to enjoy the extended WiFi coverage. Follow these steps to connect your devices to the router:
- Ensure that the router is powered on and connected to your main WiFi network, as explained in the previous steps.
- On your device (e.g., computer, smartphone, tablet), go to the WiFi settings menu.
- Look for available WiFi networks and select the network name (SSID) of the router you converted into a WiFi adapter.
- If prompted, enter the password for the router’s WiFi network. This password is typically the same as your main WiFi network’s password, especially if you configured the wireless settings to match your main router.
- Once connected, your device will now be able to access the internet through the WiFi adapter, which is receiving the WiFi signal from your main router and transmitting it to your device.
Make sure to test the connection on your device by browsing the internet or using any online services. If you experience any issues with the connection, check the placement and positioning of the WiFi adapter and adjust as needed. You may also need to troubleshoot any potential interference or network configuration issues.
Remember, the WiFi adapter’s performance and range may vary depending on factors such as the router’s capabilities, the signal strength of your main WiFi network, and the positioning of devices in relation to the adapter.
Congratulations! You have successfully converted your router into a WiFi adapter, extending the range of your WiFi network and providing better coverage in areas that were previously out of reach. Enjoy the improved WiFi connectivity throughout your home or office!
If you encounter any issues or need further assistance, refer to the router’s user manual or consult the manufacturer’s support resources for troubleshooting tips specific to your router model.
With the devices connected to the router and enjoying the extended WiFi coverage, you have completed the process of converting a router into a WiFi adapter. This cost-effective solution allows you to repurpose an old or unused router, saving money while enhancing your WiFi network’s performance. Now sit back, relax, and enjoy a seamless internet experience in every corner of your space.
Troubleshooting Tips
While converting a router into a WiFi adapter can significantly improve your WiFi coverage, there may be instances where you encounter issues or face challenges. Here are some troubleshooting tips to help you overcome common problems:
- Signal Interference: Ensure that the router is placed away from other electronic devices that could cause signal interference, such as cordless phones, microwave ovens, or baby monitors.
- Router Placement: Experiment with the placement of the router to find the optimal position that provides the best WiFi coverage. Consider elevating the router and avoiding obstructions like walls and furniture.
- Signal Strength: Check the signal strength of the router’s WiFi network on your devices. If the signal is weak, try repositioning the router or using a WiFi extender to amplify the signal.
- Network Congestion: In areas with a high number of WiFi networks, network congestion can impact the performance of the WiFi adapter. Try changing the wireless channel on the router to avoid interference from neighboring networks.
- Compatibility Issues: Ensure that the router firmware is up to date, as outdated firmware can cause compatibility issues. Check the manufacturer’s website for any available updates.
- Incorrect Settings: Double-check the configuration settings on the router to ensure that you have correctly disabled the DHCP server and configured the wireless settings. Refer to the router’s documentation or online resources for guidance.
- Restarting Devices: If you encounter connectivity issues, try restarting both the router and the devices connected to it. This can help resolve temporary glitches or conflicts.
- Professional Assistance: If you have exhausted all troubleshooting options and still experience connectivity issues, consider seeking professional assistance from an IT expert or contacting the router’s manufacturer support for further guidance.
Remember that troubleshooting steps may differ depending on your specific router model and network setup. Refer to the documentation and support resources provided by the router’s manufacturer for detailed troubleshooting instructions.
By following these troubleshooting tips, you can overcome common issues and ensure a seamless and reliable WiFi connection throughout your space.
Read more: Where Is Wifi Adapter In Pc
Conclusion
Congratulations! You now have the knowledge and understanding to convert a router into a WiFi adapter, extending the reach and improving the coverage of your WiFi network. By repurposing an old or unused router, you can save money while achieving better connectivity throughout your home or office.
In this article, we covered the step-by-step process of converting a router into a WiFi adapter. You learned about the roles and functions of routers and WiFi adapters, the reasons why you might want to undertake this conversion, and the necessary precautions and preparations before beginning the process.
We guided you through steps such as resetting the router to factory settings, connecting the router to a computer, accessing the router’s admin panel, disabling the DHCP server, configuring the wireless settings, connecting the router to the main WiFi network, and connecting devices to the router.
We also provided troubleshooting tips to help you overcome common challenges and ensure a smooth WiFi experience. Remember that each router model may have slight variations in the steps and settings, so consult your router’s documentation for specific instructions.
By putting these steps into action and troubleshooting any issues that may arise, you can enjoy the benefits of an extended WiFi network. Whether it’s streaming entertainment, working from home, or simply browsing the web, you can now do so with a strong and reliable connection throughout your space.
So go ahead, repurpose that old router, save some money, and experience the improved WiFi coverage that a converted WiFi adapter can provide. Happy surfing!
Frequently Asked Questions about How To Turn A Router Into A Wifi Adapter
Was this page helpful?
At Storables.com, we guarantee accurate and reliable information. Our content, validated by Expert Board Contributors, is crafted following stringent Editorial Policies. We're committed to providing you with well-researched, expert-backed insights for all your informational needs.

0 thoughts on “How To Turn A Router Into A Wifi Adapter”