Articles
How To Insulate A Window AC Unit
Modified: October 20, 2024
Learn how to effectively insulate your window AC unit with these helpful articles. Find tips, tricks, and step-by-step instructions to ensure optimum performance and energy efficiency.
(Many of the links in this article redirect to a specific reviewed product. Your purchase of these products through affiliate links helps to generate commission for Storables.com, at no extra cost. Learn more)
Introduction
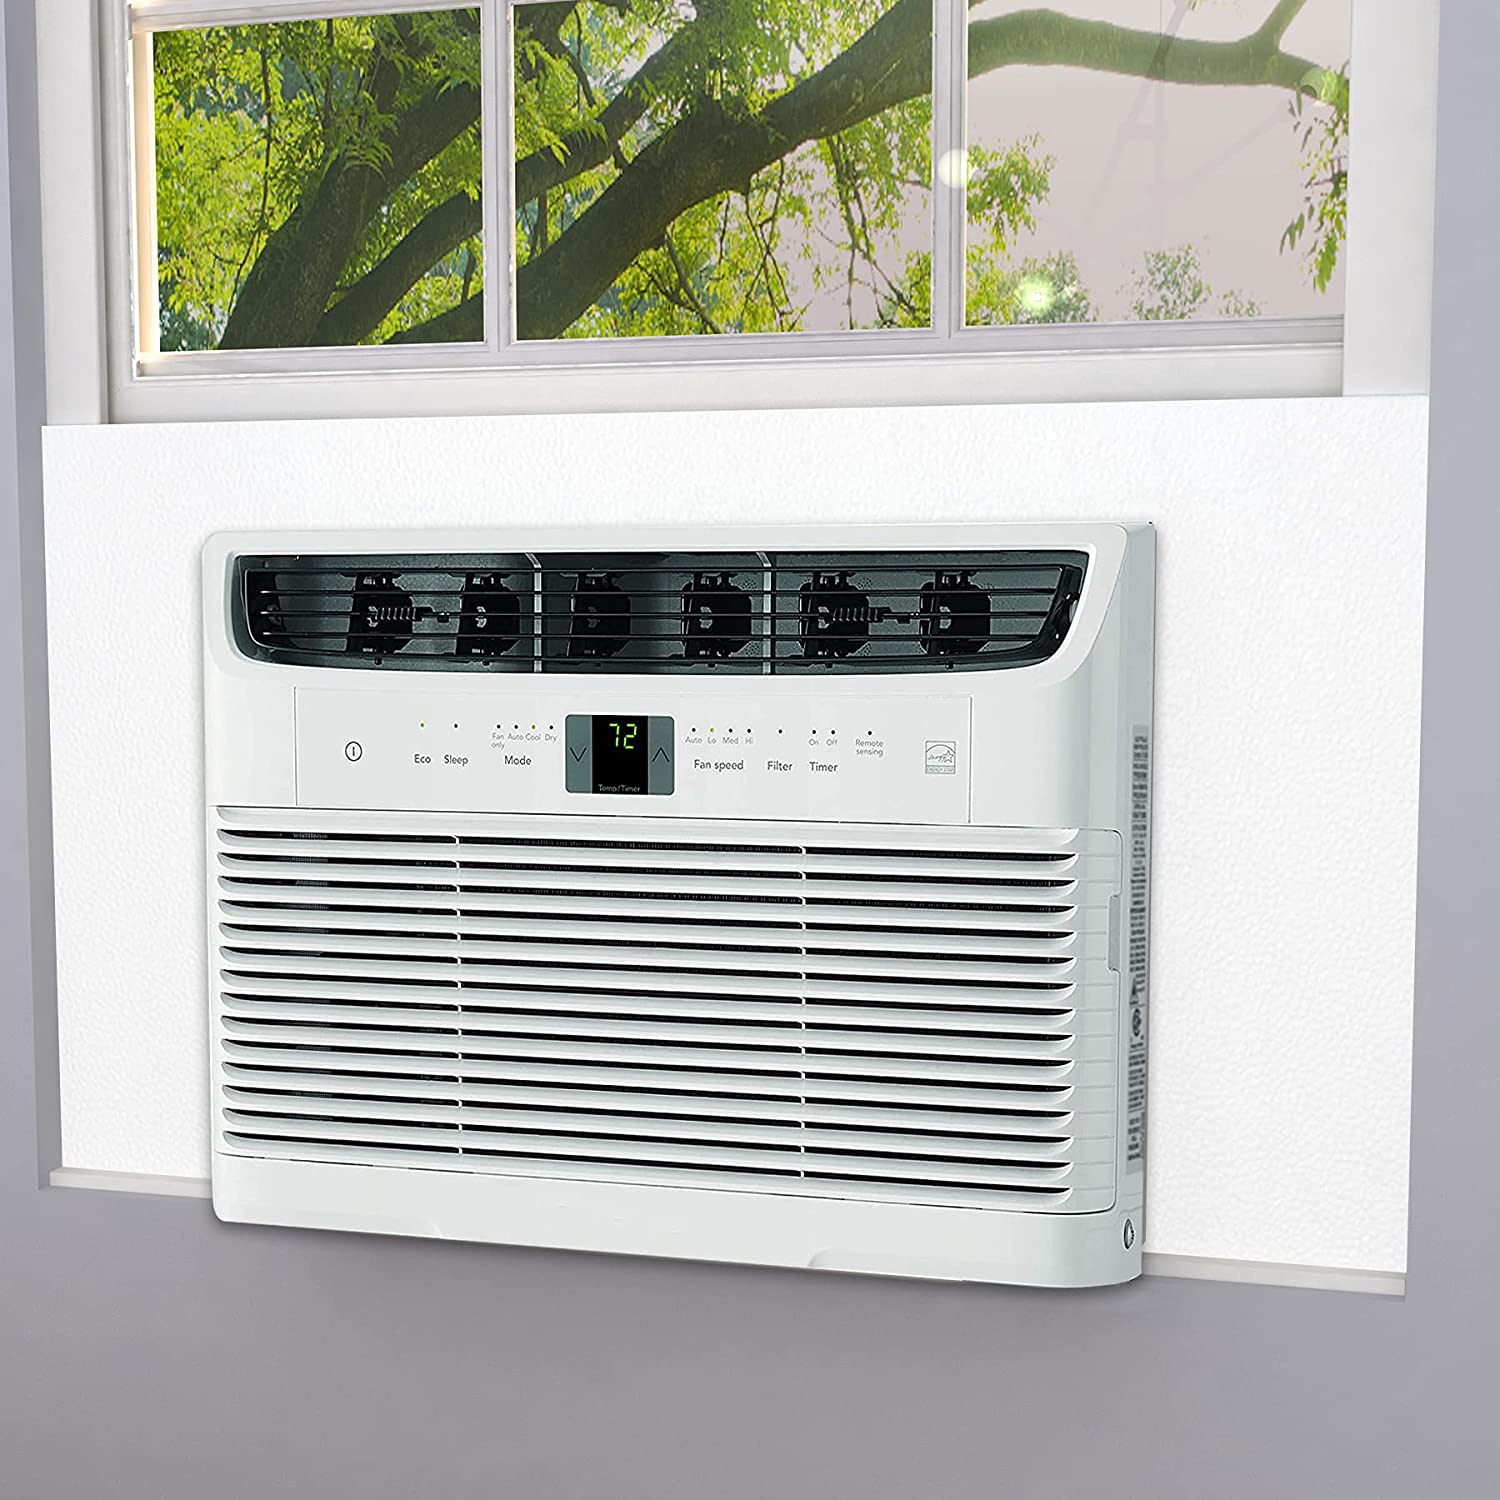
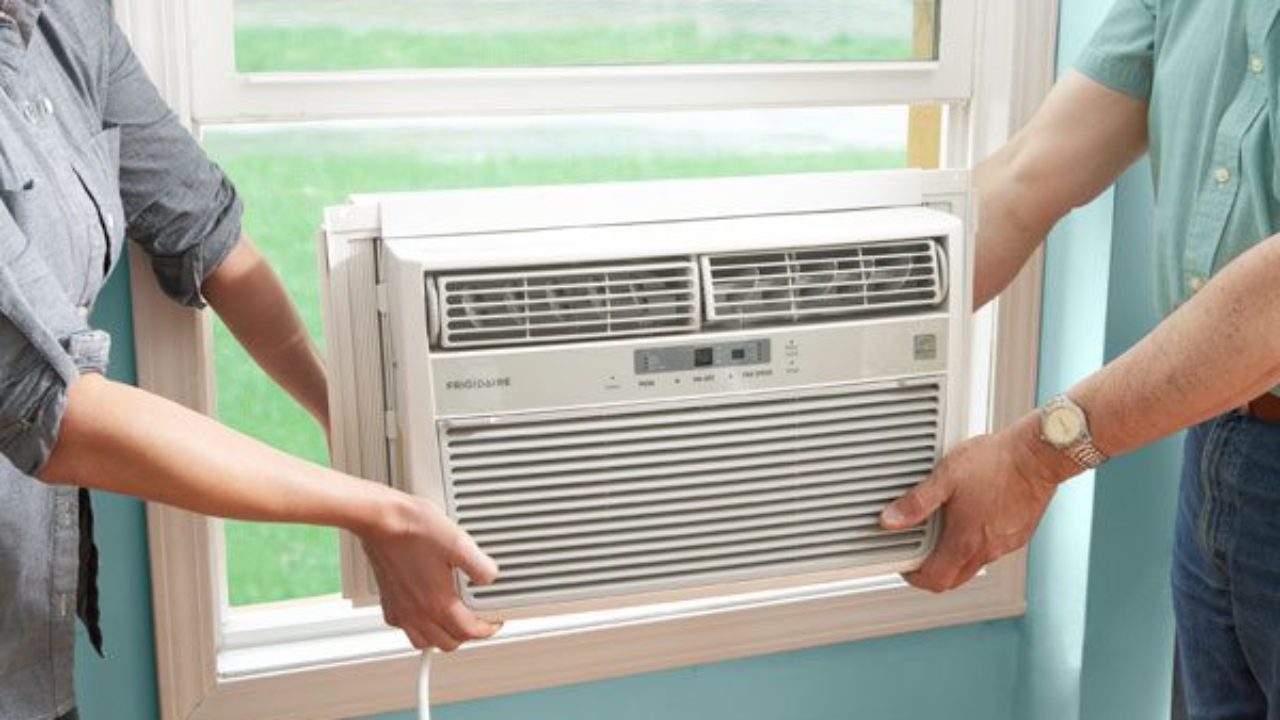
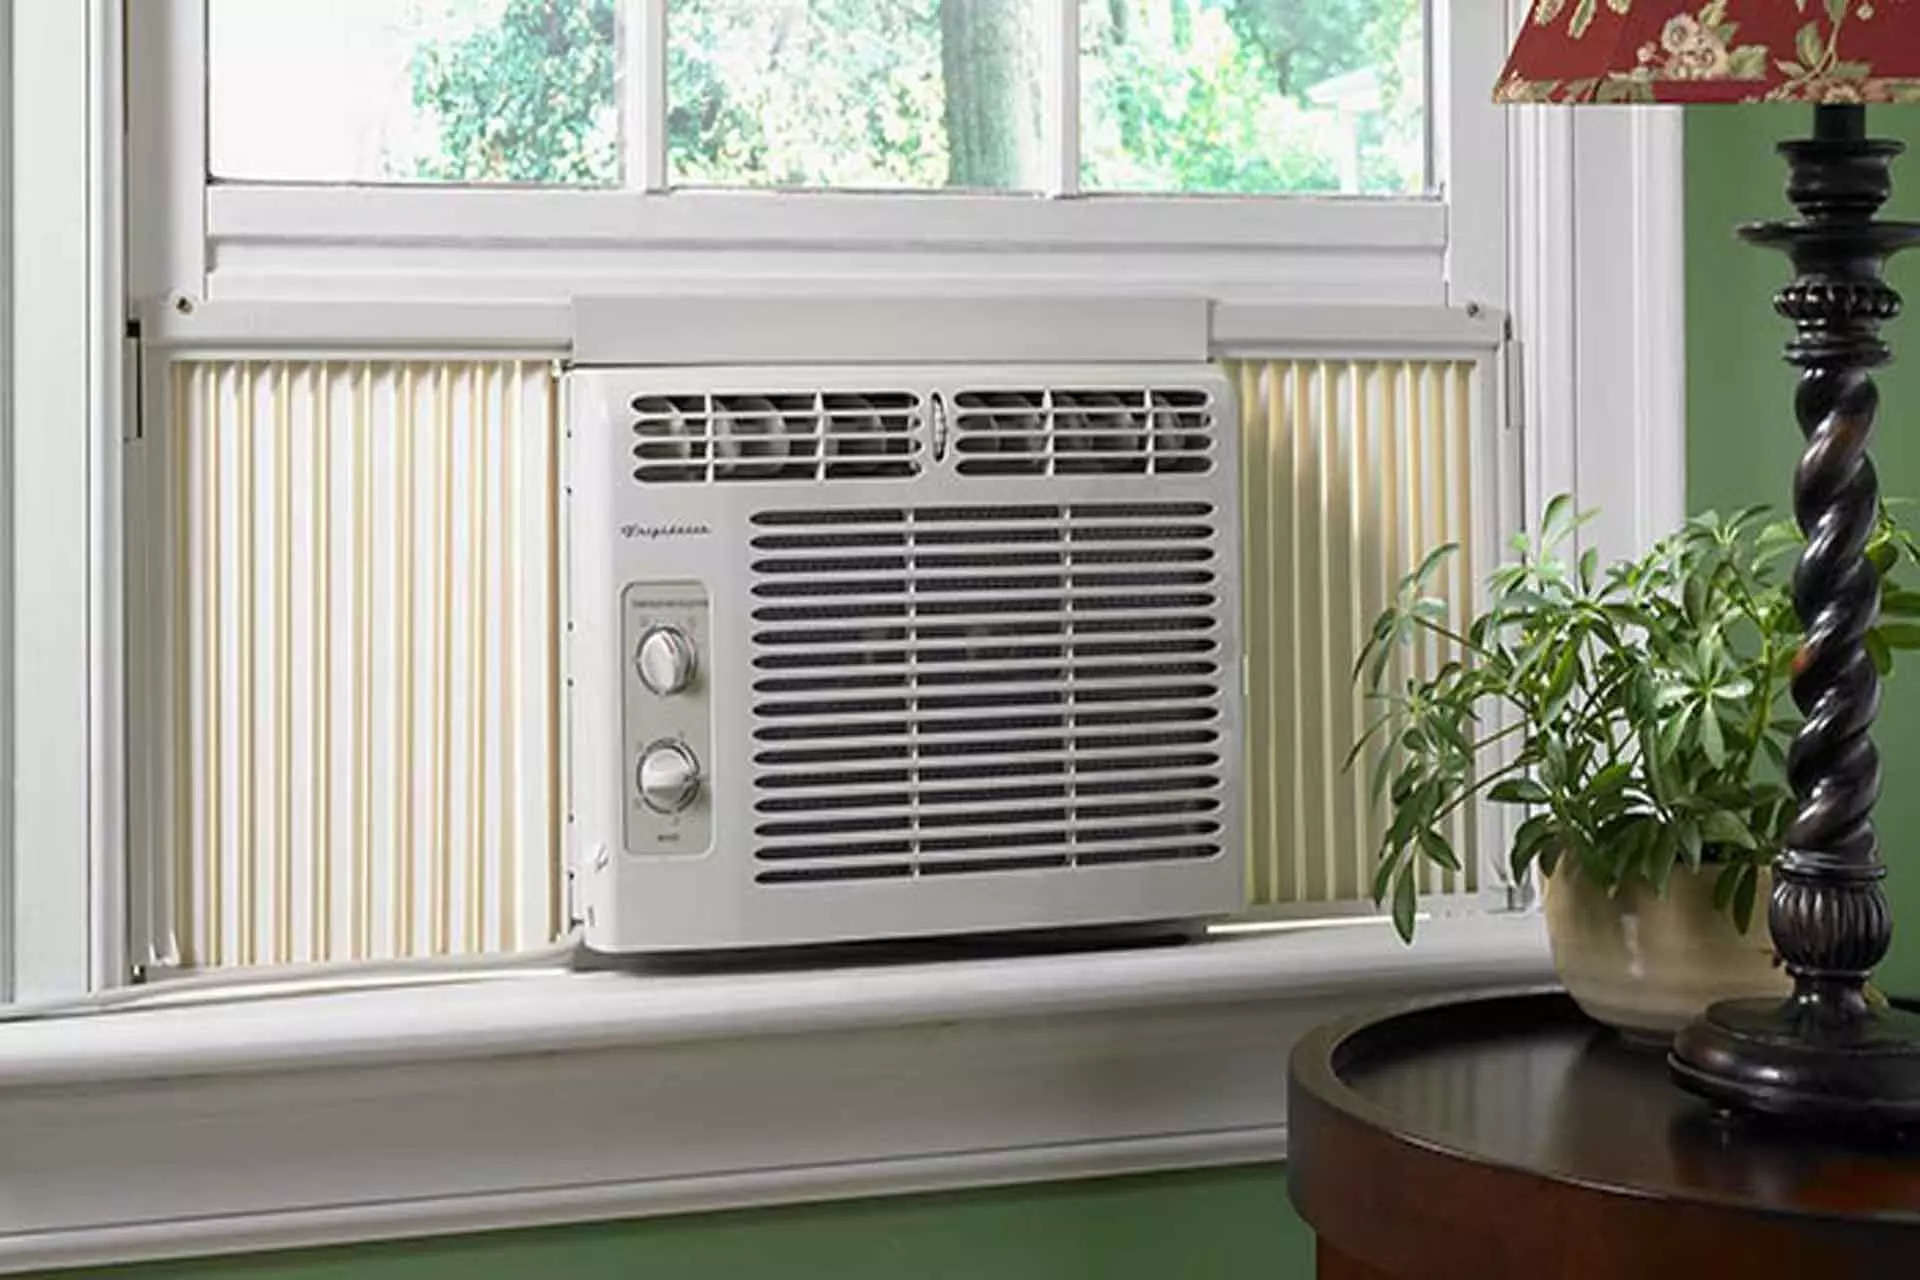
Window air conditioning units are a popular choice for cooling smaller spaces or individual rooms. They are efficient, cost-effective, and easy to install. However, one common issue with window AC units is the loss of cool air through the gaps around the unit, which can result in decreased efficiency and increased energy costs.
To combat this issue, it is essential to properly insulate your window AC unit. Insulating your unit not only helps to keep the cool air inside but also prevents warm air from seeping in from the outside. This can significantly improve the effectiveness of your window AC unit, ensuring that it operates at maximum efficiency throughout the hot summer months.
In this article, we will guide you through the step-by-step process of how to insulate a window AC unit. By following these instructions, you can easily create a tight seal around your unit, preventing air leakage and maximizing cooling efficiency.
Key Takeaways:
- Properly insulating your window AC unit with foam weatherstripping and an insulation blanket can maximize cooling efficiency and reduce energy costs, creating a comfortable space during hot summer months.
- Regularly monitoring and adjusting the insulation as needed, along with performing routine maintenance tasks, ensures continuous efficiency and contributes to energy conservation and cost savings.
Read also: 12 Amazing Window AC Insulation for 2025
Step 1: Gather the necessary materials
Before you start insulating your window AC unit, it is important to gather all the necessary materials. Having everything ready beforehand will make the process much smoother and ensure that you have everything you need to complete the insulation effectively.
Here are the essential materials you will need:
- Foam weatherstripping: This will be used to create a seal around the edges of the window unit, preventing air leakage.
- Insulation blanket: This blanket will cover the window unit and provide an additional layer of insulation, keeping the cool air inside and the warm air outside.
- Caulk or weatherstripping tape: These materials will be used to seal any gaps or cracks around the window unit or window frame.
- Scissors or utility knife: You will need these to cut the foam weatherstripping and insulation blanket to the appropriate size.
- Measuring tape: This will help you accurately measure the dimensions of the window unit and determine the necessary size for the weatherstripping and insulation blanket.
- Clean cloth: Use this to clean the area around the window unit before installing the insulation.
By having all these materials readily available, you can proceed with the insulation process smoothly and ensure that you have everything you need at hand.
Step 2: Clean the area around the window unit
Before you start installing the insulation, it’s crucial to clean the area around the window unit. Over time, dust, dirt, and debris can accumulate, creating a barrier between the window unit and the surface it sits on. This can prevent the insulation from adhering properly and hinder its effectiveness.
Here’s how to clean the area around the window unit:
- Start by turning off the window unit and unplugging it from the power source for safety.
- Use a clean cloth or a vacuum cleaner with a brush attachment to gently remove any dust or dirt from the surface around the window unit.
- Pay extra attention to the edges of the unit, as this is where the insulation will be applied.
- Take your time to ensure that the area is thoroughly cleaned, as any remaining debris can compromise the effectiveness of the insulation.
Once you have cleaned the area, you can now proceed to the next step: installing the foam weatherstripping.
Remember, a clean surface will provide the best adhesion for the insulation materials and help create a tighter seal, preventing air leakage around the window unit.
Step 3: Install foam weatherstripping
Installing foam weatherstripping is an important step in insulating your window AC unit. This material helps create a tight seal between the unit and the window frame, preventing air leakage and improving energy efficiency.
Follow these steps to install foam weatherstripping:
- Measure the dimensions of the window unit and determine the necessary length of the foam weatherstripping.
- Cut the foam weatherstripping to the appropriate size using scissors or a utility knife.
- Peel off the backing from the foam weatherstripping and carefully apply it to the edges of the window unit where it will come into contact with the window frame.
- Press firmly to ensure a secure attachment, making sure the foam compresses slightly to create a tight seal.
- Repeat this process for each side of the window unit.
It’s important to ensure that the foam weatherstripping creates a continuous seal around the entire perimeter of the window unit. This will help minimize air leakage and improve the efficiency of your window AC unit.
Once the foam weatherstripping is installed, you can proceed to the next step: covering the window unit with an insulation blanket.
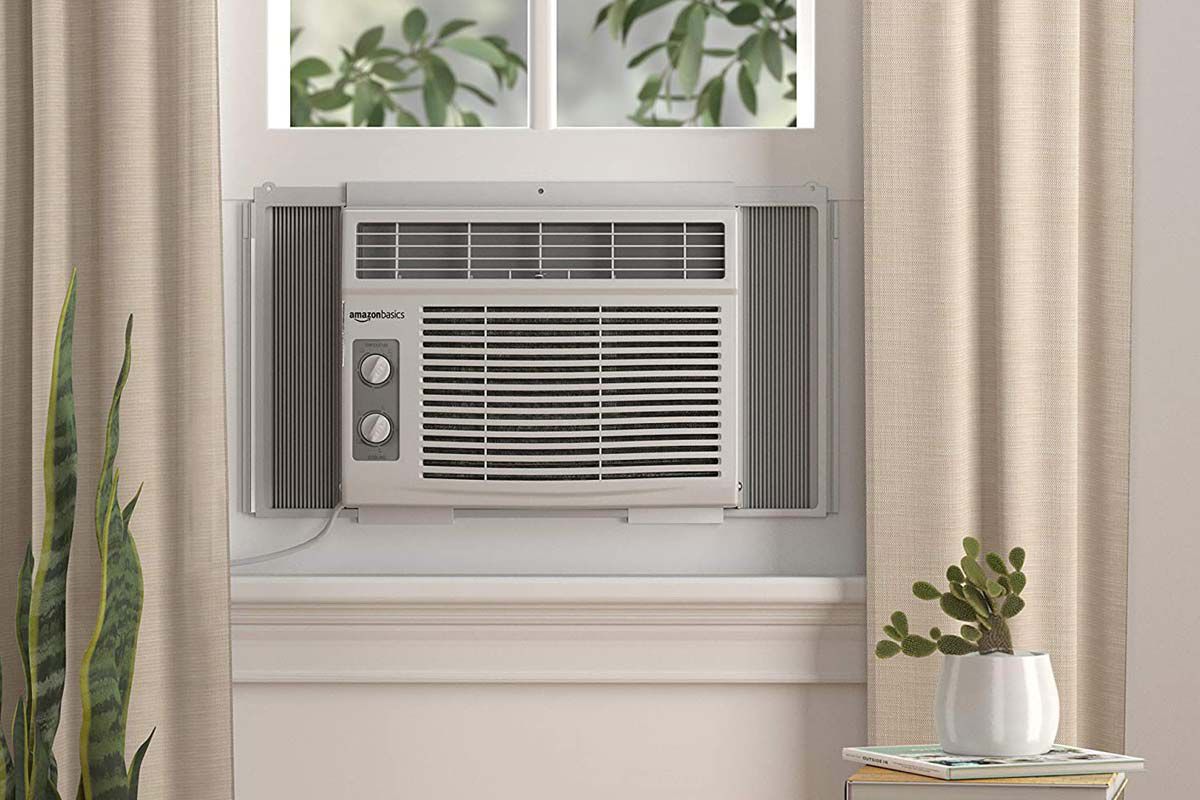
Step 4: Cover the window unit with an insulation blanket
Covering the window unit with an insulation blanket is a crucial step in creating a barrier between the interior of your space and the outdoor elements. The insulation blanket helps in reducing the transfer of heat and maintaining a consistent temperature inside the room.
Here’s how to cover the window unit with an insulation blanket:
- Measure the dimensions of the window unit to determine the size of the insulation blanket needed.
- Unroll the insulation blanket and place it over the window unit, ensuring that it covers the top, sides, and back of the unit completely.
- Allow the front of the window unit to remain uncovered, as it needs unrestricted air circulation for proper functioning.
- Use scissors or a utility knife to trim any excess insulation blanket if necessary.
- Make sure that the insulation blanket fits securely around the window unit without any gaps or loose edges.
It’s important to choose an insulation blanket specifically designed for window AC units. These blankets are typically made of a combination of materials to provide optimal insulation while allowing for proper airflow and maintenance of the unit.
Once the window unit is covered with the insulation blanket, you can move on to the next step: sealing any gaps or cracks.
Read more: How To Seal Window AC Unit
Step 5: Seal any gaps or cracks with caulk or weatherstripping tape
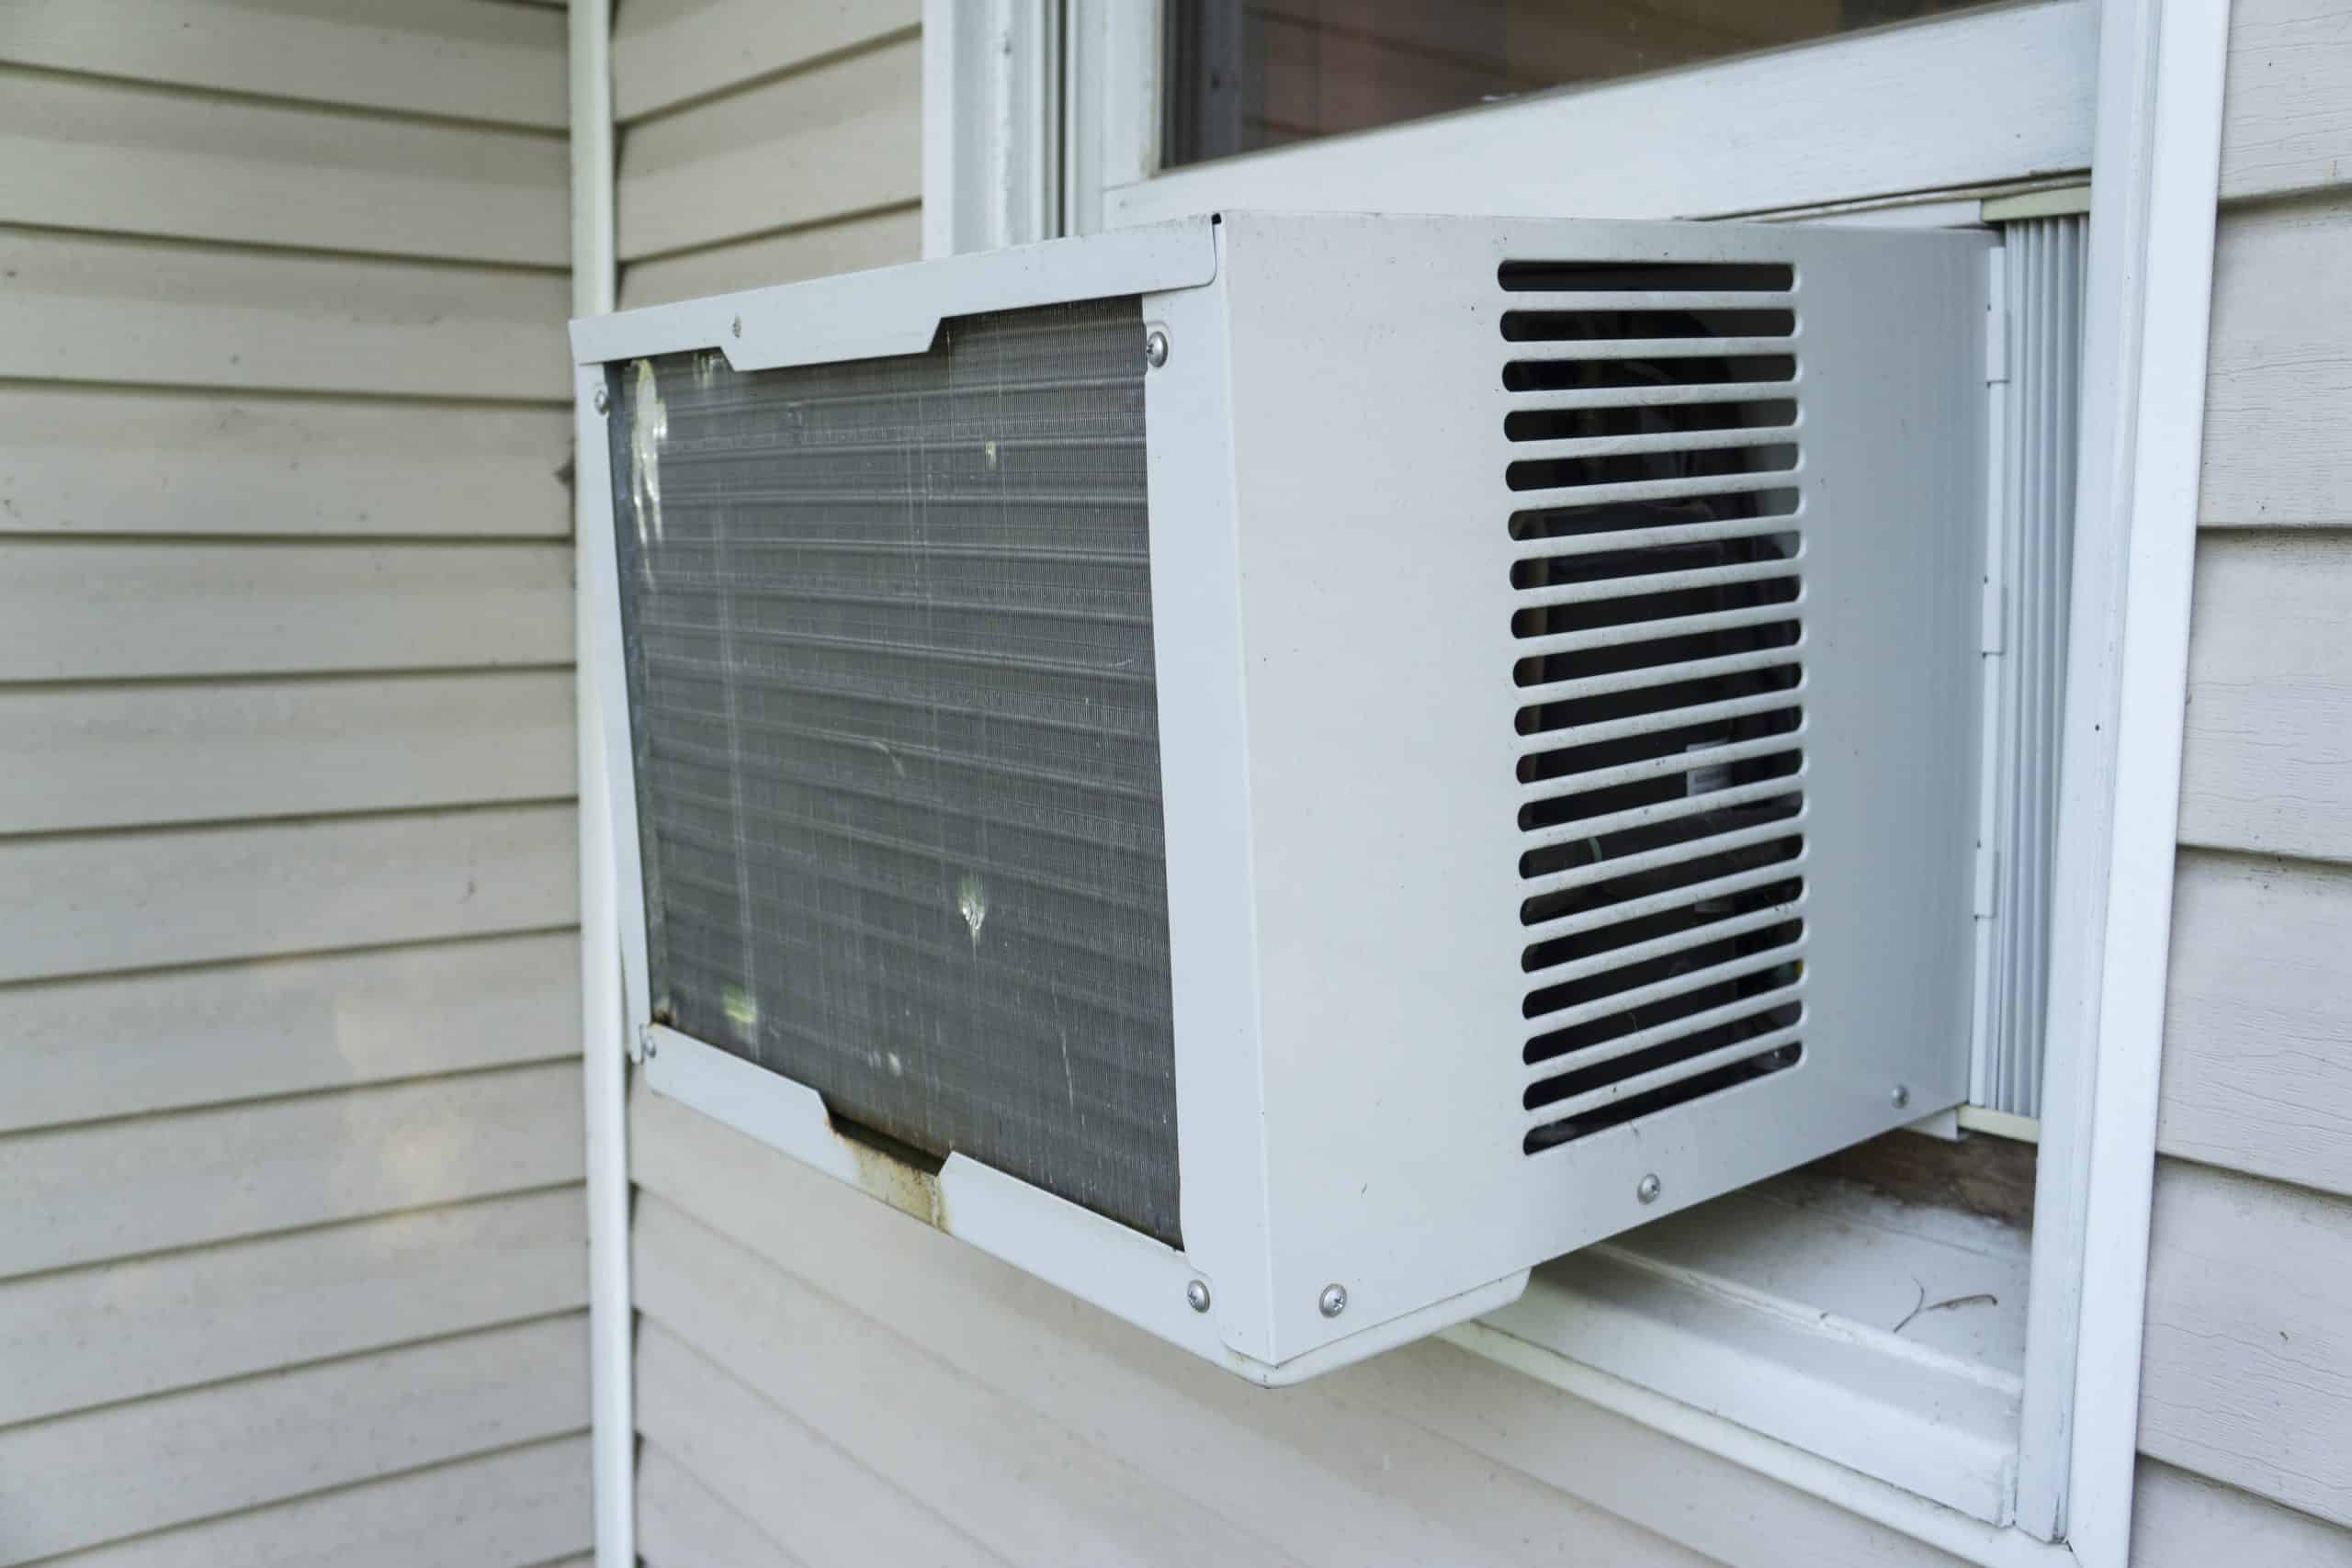
Sealing any gaps or cracks around the window unit is crucial to prevent air leakage and maintain the effectiveness of the insulation. These gaps or cracks can allow warm air from outside to enter the room, reducing the efficiency of your window AC unit.
Follow these steps to seal any gaps or cracks:
- Inspect the area around the window unit carefully, paying attention to the window frame and any openings where air could potentially escape.
- Identify any gaps or cracks that need to be sealed, taking note of their size and location.
- Choose either caulk or weatherstripping tape as your preferred sealing material.
- If using caulk, load a caulk gun with the appropriate caulk and apply it along the gaps or cracks, ensuring a continuous bead of caulk.
- If using weatherstripping tape, measure and cut the tape to fit the length of the gaps or cracks. Apply the tape firmly to create a seal.
Both caulk and weatherstripping tape serve as effective sealing materials, preventing air leakage and enhancing the insulation of your window AC unit. Choose the option that best suits the nature and size of the gaps or cracks you need to seal.
Properly sealing these gaps or cracks not only improves energy efficiency but also helps in reducing noise infiltration and keeping out dust and pests.
Once you have sealed the gaps or cracks, you can proceed to the next step: securing the insulation blanket in place.
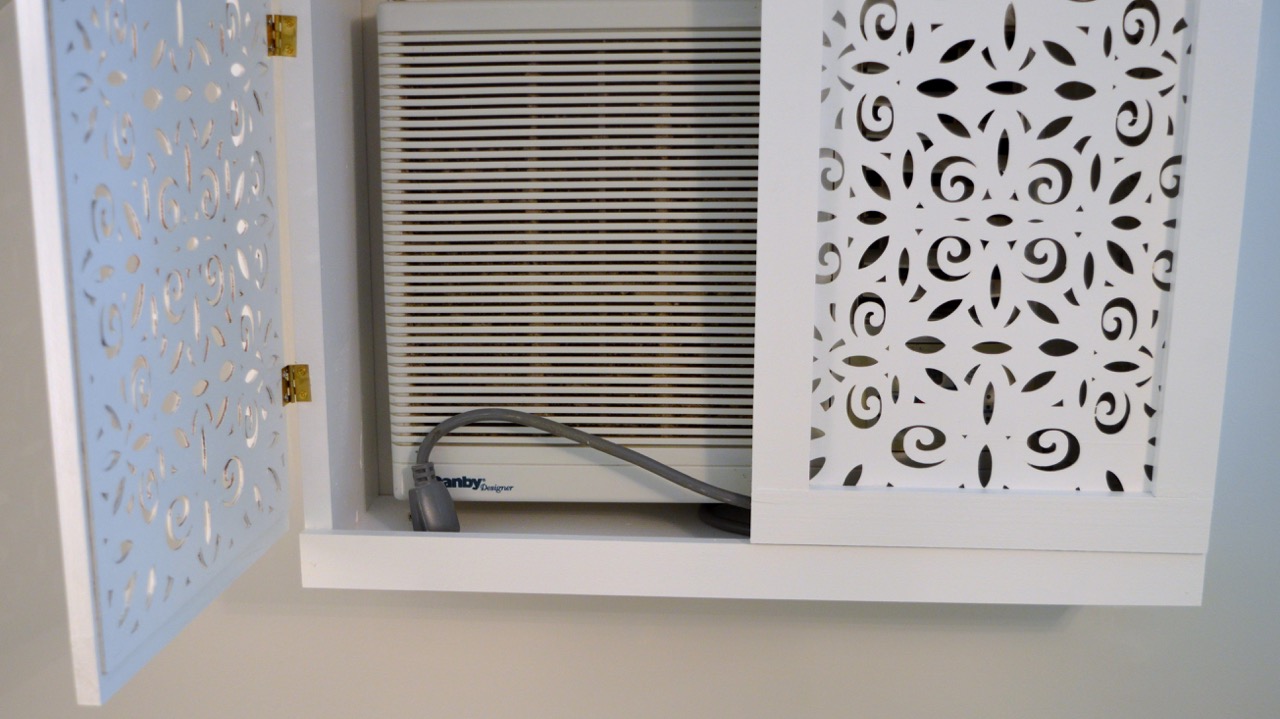
Consider using foam insulation panels to cover the sides of the window AC unit. These panels can help prevent hot air from entering the room and improve the unit’s efficiency.
Step 6: Secure the insulation blanket in place
Securing the insulation blanket in place is crucial to ensure that it remains in position and provides maximum insulation for your window AC unit. Properly securing the blanket will prevent it from shifting or falling off, ensuring optimal energy efficiency.
Follow these steps to secure the insulation blanket:
- Start by identifying any attachment points on the insulation blanket or the window unit itself, such as hooks, loops, or straps.
- If the insulation blanket has attachment points, simply attach them to the corresponding points on the window unit to hold it in place.
- If attachment points are not present, you can use adhesive-backed Velcro strips or tape to secure the insulation blanket to the window unit.
- Place the Velcro strips or tape at strategic points on the window unit and the insulation blanket, ensuring a strong and secure hold.
- Press the Velcro strips or tape firmly to ensure a proper bond between the blanket and the unit.
It’s important to ensure that the insulation blanket is securely attached to the window unit to prevent any gaps or loose edges that may compromise its effectiveness. This will provide a tight seal and help maintain the temperature inside your space.
Once the insulation blanket is securely in place, you can proceed to the next step: testing for any remaining air leaks.
Step 7: Test for any remaining air leaks
After completing the insulation process for your window AC unit, it’s important to test for any remaining air leaks. Even with proper insulation, there may still be some small gaps or cracks that need to be addressed to ensure maximum energy efficiency and cooling performance.
Here’s how to test for any remaining air leaks:
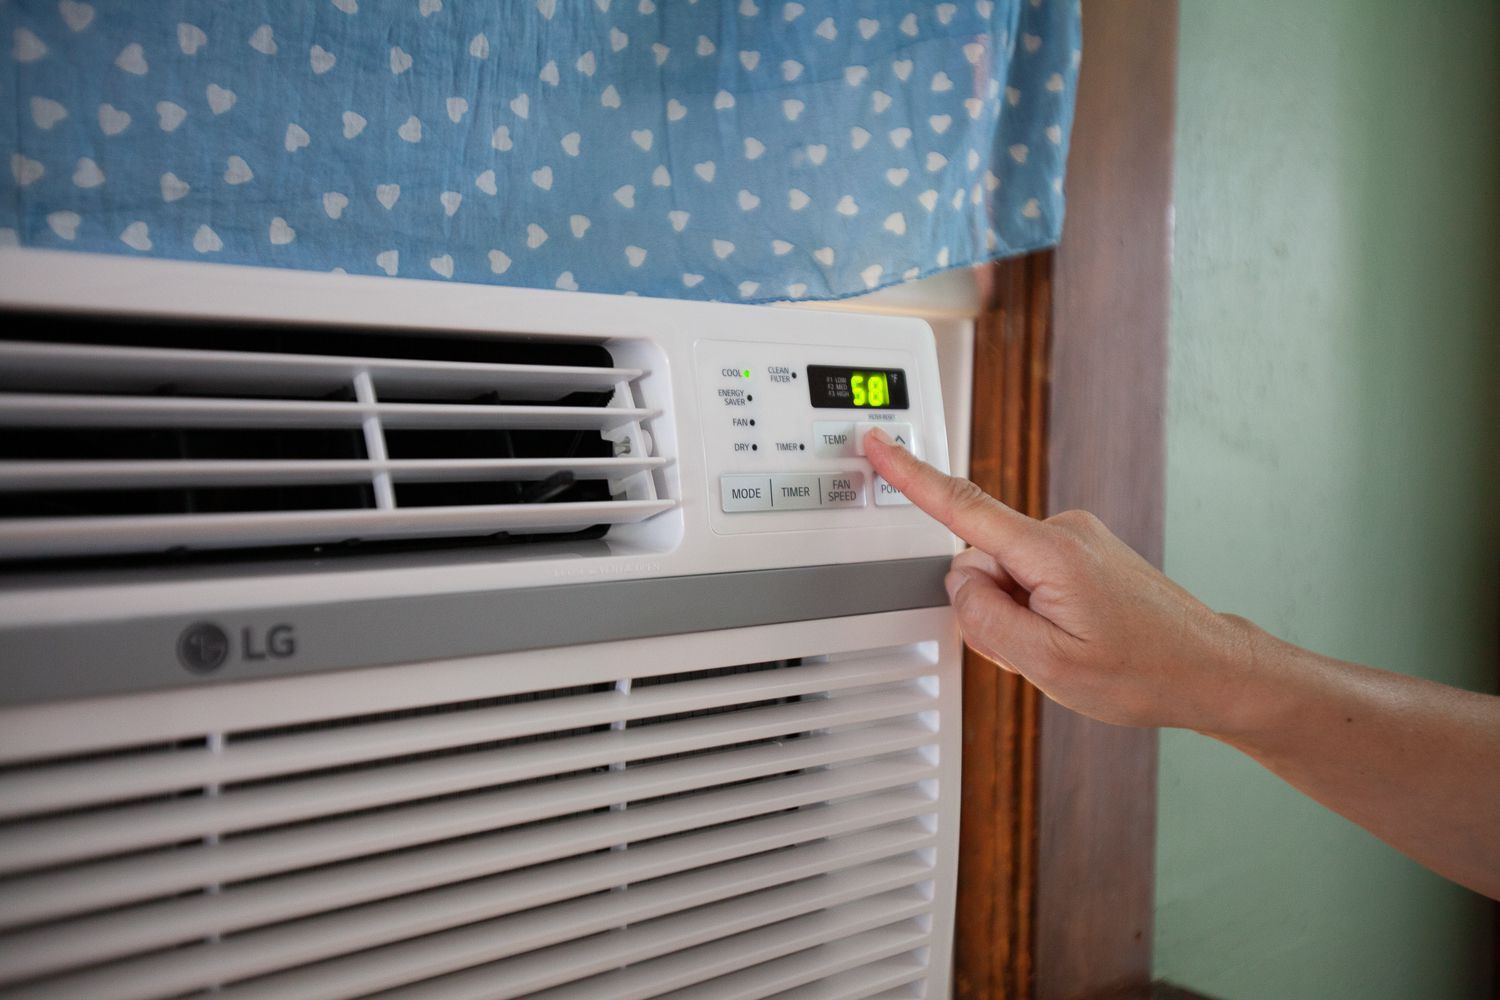
- Turn on your window AC unit and set it to a cool temperature.
- Carefully inspect the area around the window unit for any signs of air leakage, such as feeling drafts or hearing noticeable air sounds.
- Pay close attention to the edges of the window unit, the gaps between the window frame and the unit, and any areas where the insulation blanket may not be securely attached.
- If you notice any air leaks, use caulk or weatherstripping tape to seal the gaps or cracks.
- Re-test the area to ensure that the air leaks have been successfully addressed.
By thoroughly testing for air leaks and addressing any remaining gaps or cracks, you can ensure that your window AC unit operates at its maximum efficiency, keeping your space cool and reducing energy consumption.
Once you have tested for air leaks and taken the necessary steps to seal them, you can proceed to the next step: reinstalling the window unit’s front cover.
Step 8: Reinstall the window unit’s front cover
After completing the insulation and sealing process for your window AC unit, it’s time to reinstall the front cover. The front cover not only provides a protective layer for the unit but also helps maintain its aesthetic appeal.
Follow these steps to reinstall the window unit’s front cover:
- Ensure that the window unit is turned off and unplugged from the power source for safety.
- Locate the front cover and carefully line it up with the front of the window unit.
- Slide the front cover back into place, making sure it aligns properly with the unit’s frame.
- If the front cover has any screws or clips, secure them in place to ensure a tight fit.
- Double-check that the front cover is securely attached and that there are no loose or hanging parts.
Reinstalling the front cover helps protect the internal components of the window AC unit and maintains its overall functionality. It also gives the unit a polished appearance, enhancing the overall aesthetic of your space.
Once the front cover is successfully reinstalled, you can move on to the final step: monitoring and adjusting the insulation as needed.
Read more: How To Remove A Window AC Unit
Step 9: Monitor and adjust insulation as needed
After completing the insulation process for your window AC unit, it’s important to regularly monitor and adjust the insulation as needed. Over time, the effectiveness of the insulation may diminish due to wear and tear or changes in weather conditions. By staying vigilant and making necessary adjustments, you can ensure that your window AC unit continues to operate at its maximum efficiency.
Here are a few tips on how to monitor and adjust the insulation as needed:
- Periodically check the insulation blanket for any signs of damage, such as tears or loose edges. If any damage is observed, replace the insulation blanket with a new one.
- Inspect the foam weatherstripping around the window unit for any signs of wear or deterioration. If necessary, replace the foam weatherstripping to maintain a tight seal.
- During extreme weather conditions, such as heavy rain or strong winds, inspect the insulation for any potential damage or displacement. Make any necessary adjustments or repairs to ensure continued effectiveness.
- If you notice any changes in the cooling performance of the window AC unit or detect air leakage, recheck the insulation and reseal any gaps or cracks that may have appeared.
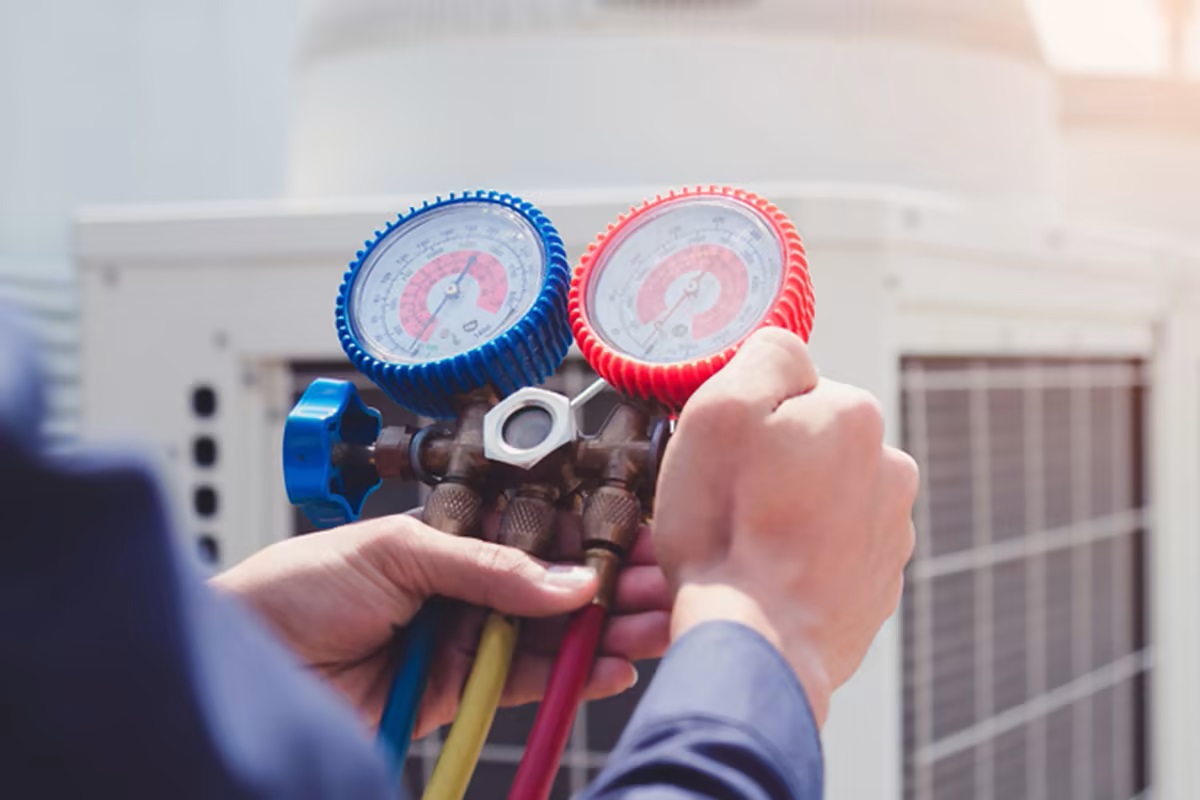
- Consider performing routine maintenance tasks, such as cleaning the unit’s filters or coils, as this can also help maintain the efficiency and performance of your window AC unit.
By regularly monitoring and adjusting the insulation as needed, you can ensure that your window AC unit continues to provide optimal cooling, energy efficiency, and comfort.
With these nine steps, you now have a comprehensive guide on how to insulate a window AC unit. By properly insulating your unit, you can minimize energy loss, improve cooling performance, and save on energy costs. Follow these steps and enjoy a cool and comfortable space throughout the hot summer months.
Conclusion
Insulating your window AC unit is a simple yet highly effective way to maximize its efficiency and reduce energy costs. By following the step-by-step process outlined in this article, you can create a tight seal around your window unit, preventing air leakage and improving cooling performance.
From gathering the necessary materials to monitoring and adjusting the insulation as needed, each step plays a crucial role in ensuring that your window AC unit operates at its peak efficiency. The use of foam weatherstripping, insulation blankets, and sealing materials like caulk or weatherstripping tape helps create a barrier against air leaks and keeps the cool air inside your space.
Regularly cleaning the area around the window unit and reinstalling the front cover helps maintain the unit’s functionality and aesthetic appeal. By monitoring and adjusting the insulation as needed, you can address any potential issues, such as wear and tear or weather-related damage, to ensure continuous efficiency.
Through proper insulation, you not only enhance the cooling performance of your window AC unit but also contribute to energy conservation and cost savings. Efficient insulation helps reduce the workload of the unit, resulting in decreased energy consumption and a smaller ecological footprint.
Remember, the insulation process should be performed with care and attention to detail. Take the time to measure, cut, and install the insulation materials properly to ensure a secure fit and optimal performance. Regular maintenance tasks, such as cleaning filters and coils, will further enhance the efficiency and longevity of your window AC unit.
Insulating your window AC unit is a valuable investment that will pay off in terms of comfort, energy efficiency, and cost savings. By following the steps outlined in this article, you can create a more comfortable living or working environment while reducing your carbon footprint.
Frequently Asked Questions about How To Insulate A Window AC Unit
Was this page helpful?
At Storables.com, we guarantee accurate and reliable information. Our content, validated by Expert Board Contributors, is crafted following stringent Editorial Policies. We're committed to providing you with well-researched, expert-backed insights for all your informational needs.


0 thoughts on “How To Insulate A Window AC Unit”