Articles
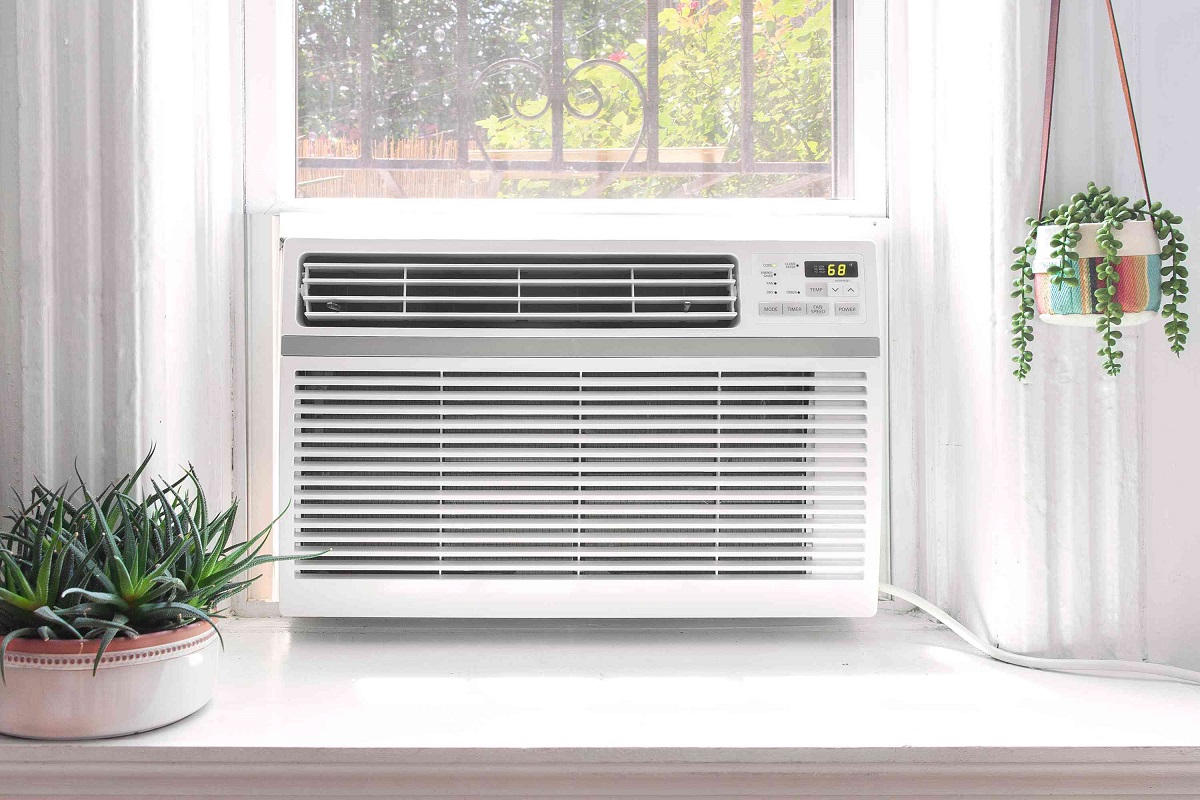
Why Does My Window AC Leak Water
Modified: September 2, 2024
Read informative articles on why your window AC might be leaking water and how to fix the issue. Get expert tips and guidance on window air conditioner maintenance.
(Many of the links in this article redirect to a specific reviewed product. Your purchase of these products through affiliate links helps to generate commission for Storables.com, at no extra cost. Learn more)
Introduction
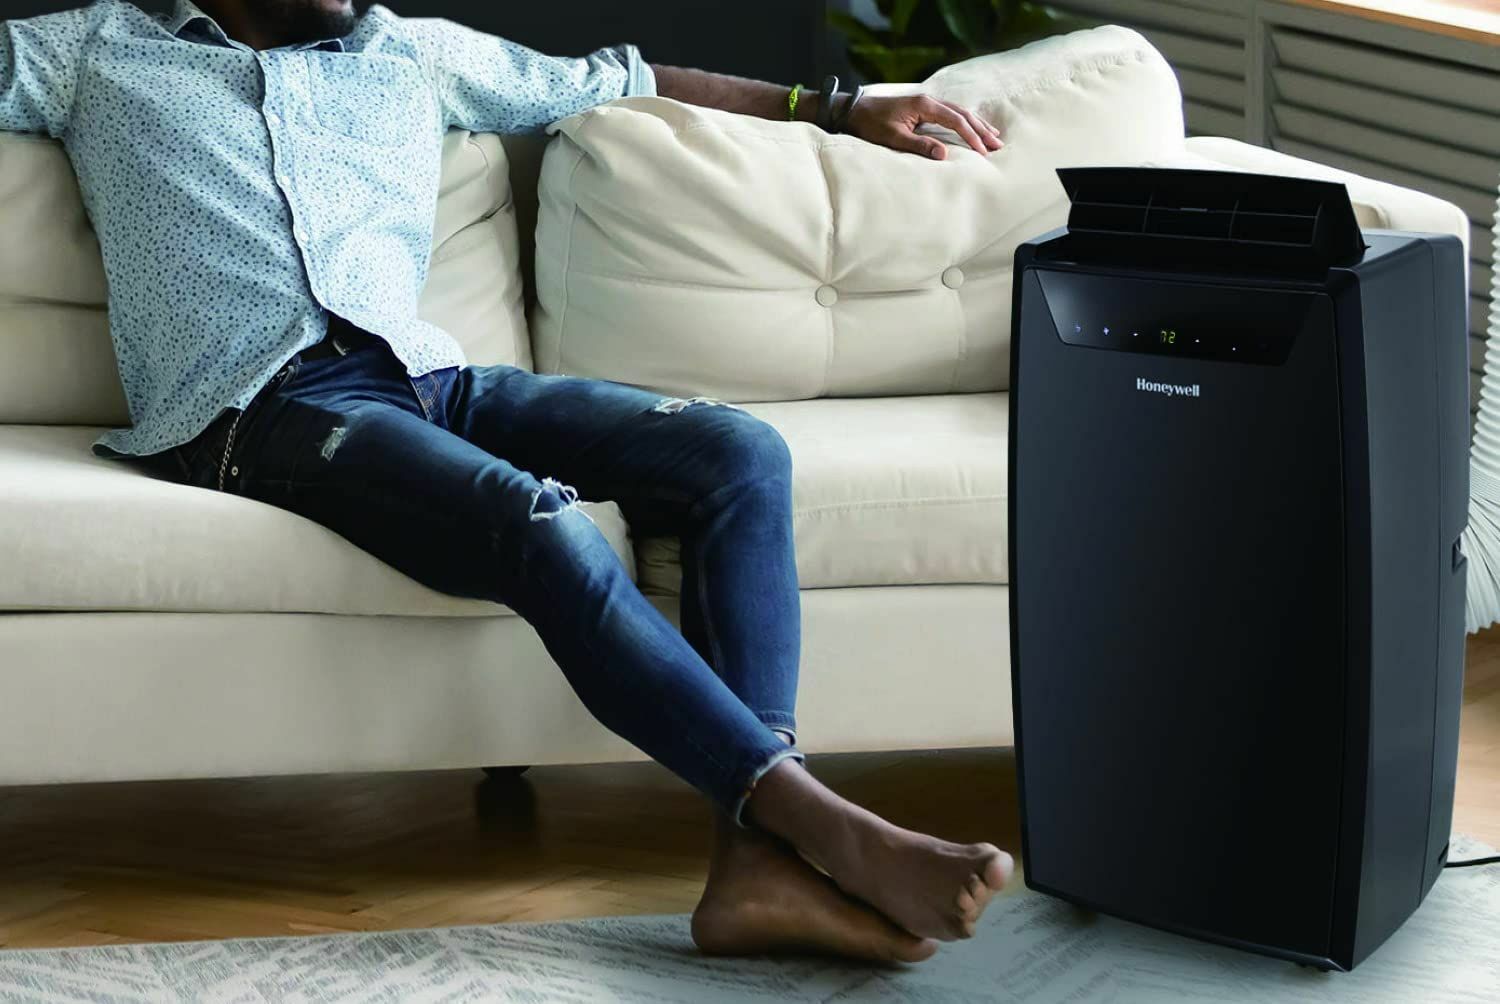
Window air conditioners are a popular choice for cooling small spaces, providing relief during hot summer months. However, it can be frustrating when your window AC unit starts leaking water. Not only can it cause damage to your walls and floors, but it can also lead to mold and mildew growth, resulting in health issues. Understanding why your window AC leaks water and how to fix the issue is crucial in maintaining the efficiency and longevity of your cooling system.
Before diving into the causes of water leakage, it’s important to have a basic understanding of how a window AC unit works. These air conditioners consist of various components such as a compressor, evaporator coil, condenser coil, fan, and a drainage system. The unit cools the air by removing heat and moisture from the room, and the moisture collects on the evaporator coil. This moisture needs to be drained properly to prevent water leakage.
There are several common causes of water leakage in window AC units. Identifying the root cause will help you troubleshoot and address the issue effectively. Let’s explore these causes in more detail:
Key Takeaways:
- Regularly cleaning or replacing the air filter, maintaining proper insulation, and controlling indoor humidity levels are crucial in preventing water leakage from your window AC unit and ensuring a cool, comfortable home environment.
- Promptly addressing water leakage issues, identifying underlying causes, and seeking professional assistance when needed can help maintain the efficiency and longevity of your window AC unit, ensuring a stress-free cooling experience.
Read more: Why Is My Portable AC Leaking Water
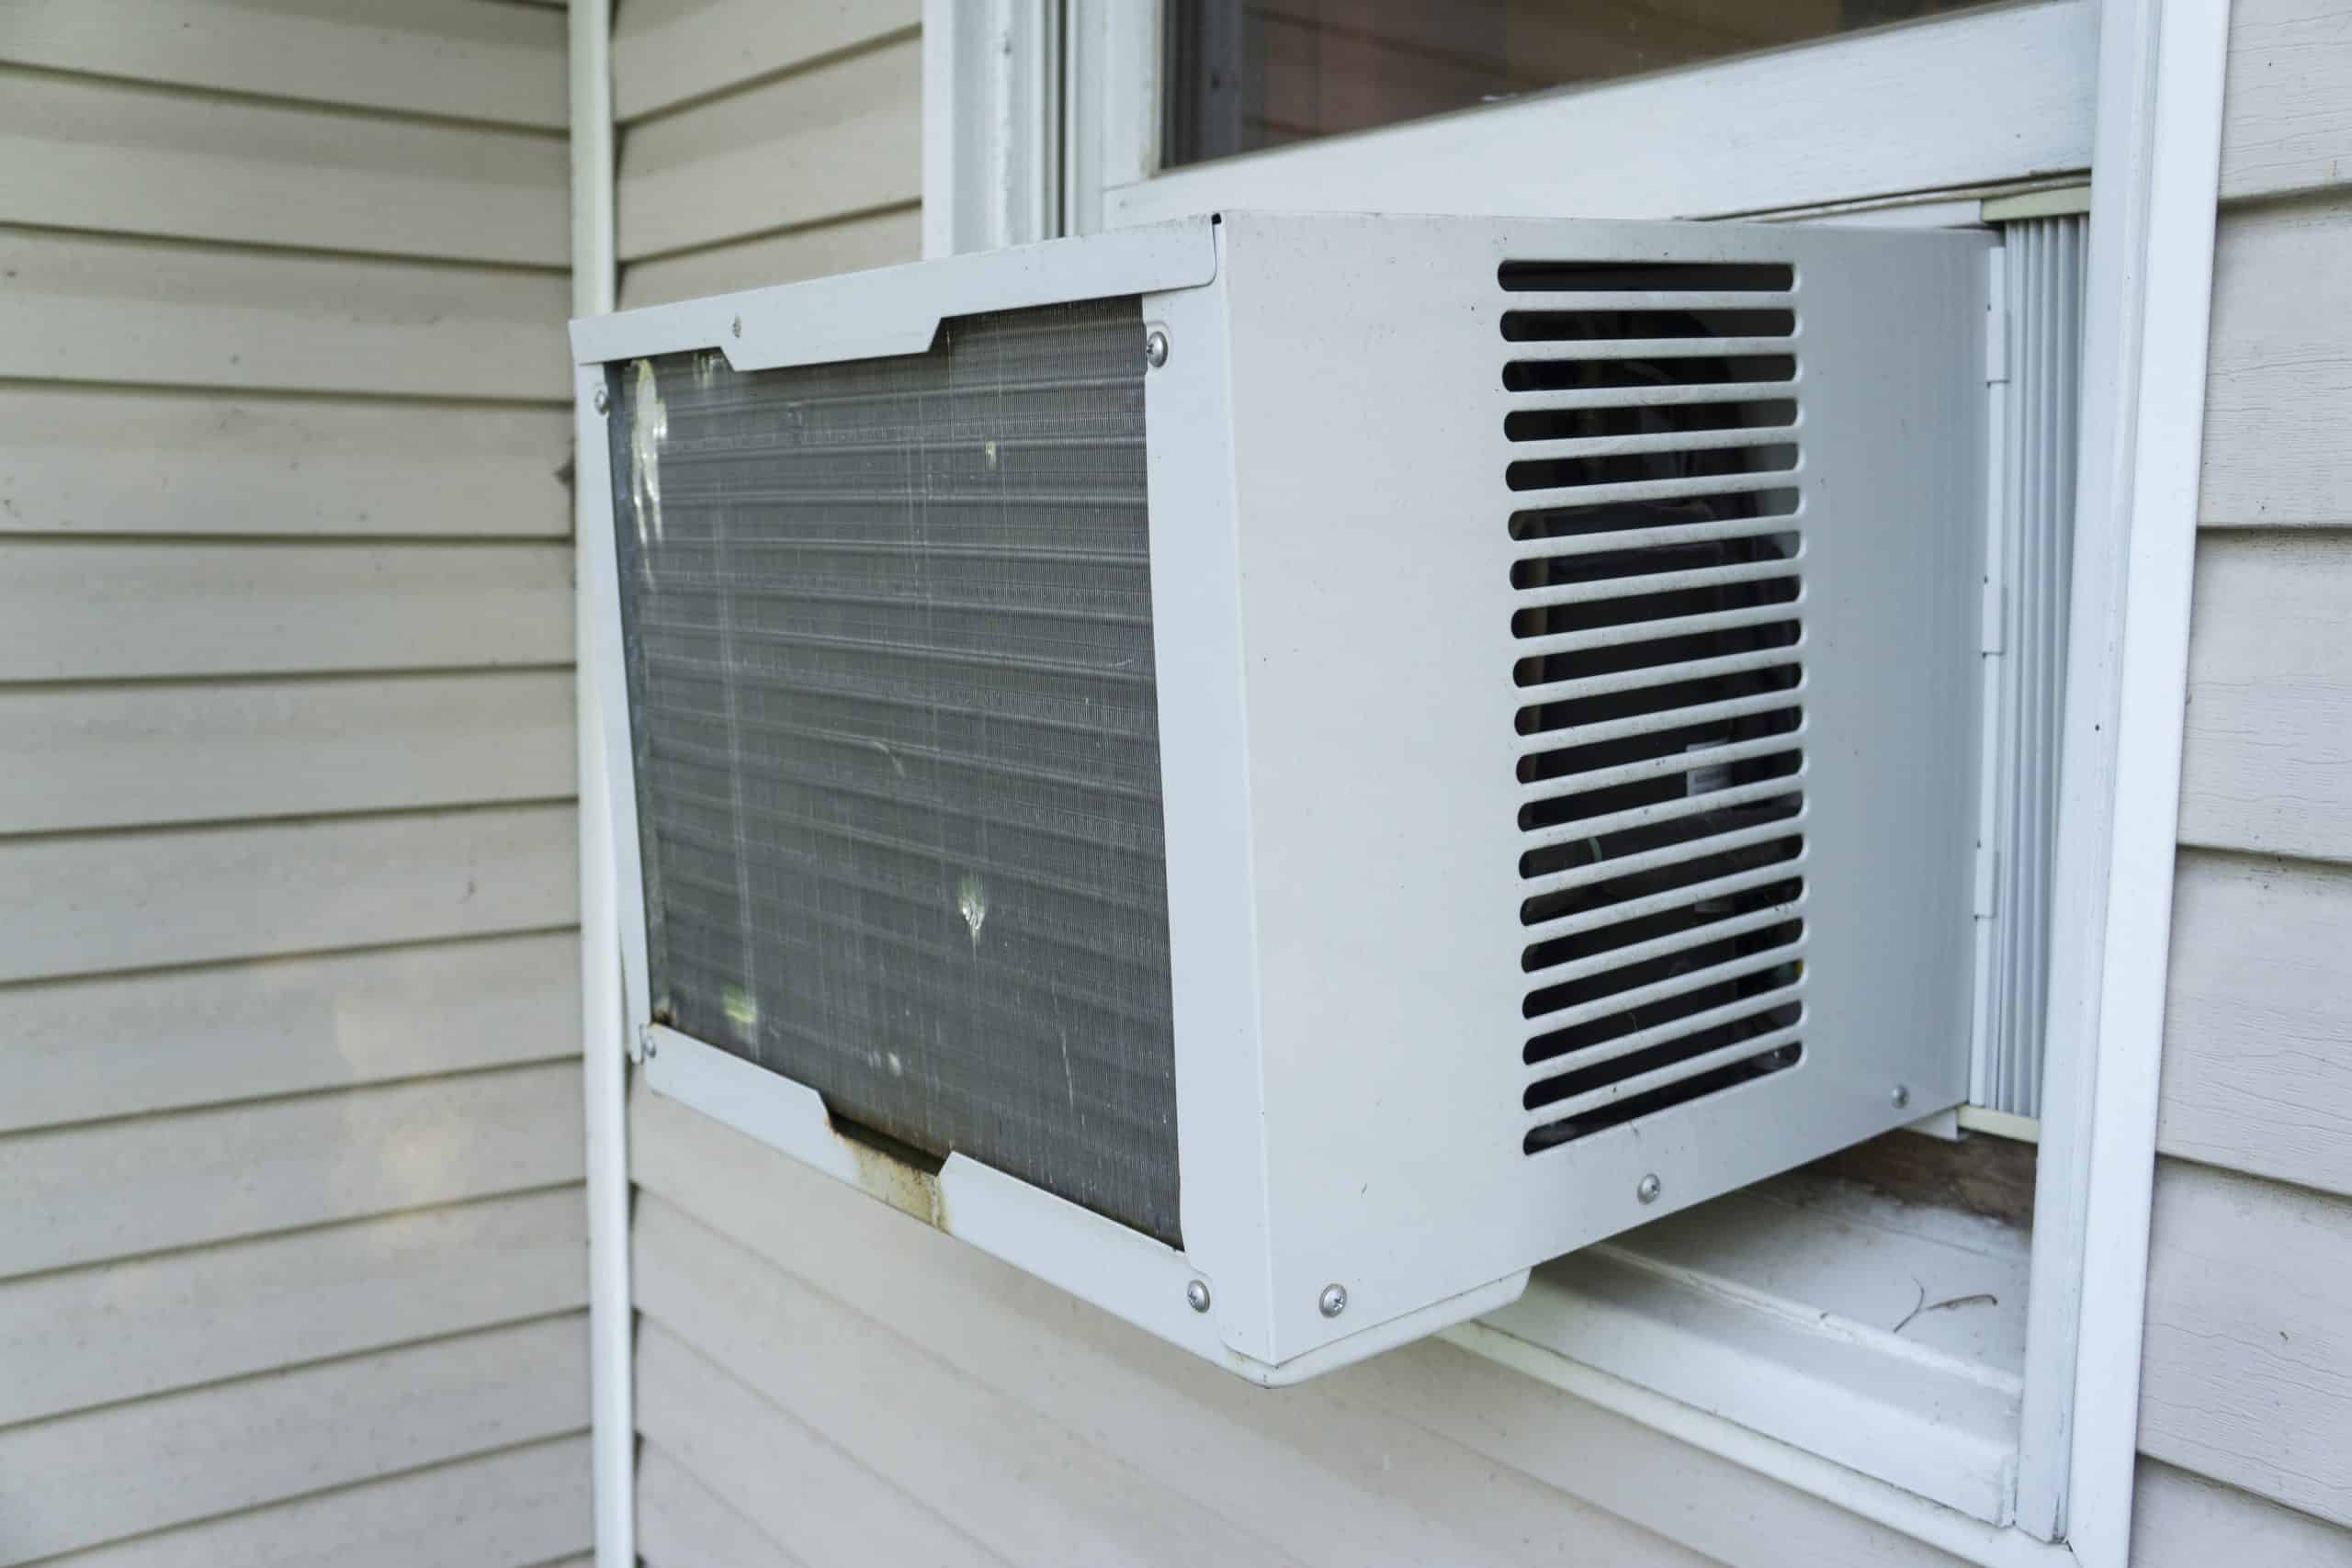
Understanding the Window AC Unit
To fully comprehend why your window AC unit may be leaking water, it’s essential to have a clear understanding of its components and how they function together.
A window AC unit consists of a few key parts:
- Compressor: This is the component responsible for compressing the refrigerant gas, raising its temperature.
- Evaporator Coil: Located inside the unit, the evaporator coil cools the air by absorbing heat from it.
- Condenser Coil: Located on the outside of the unit, the condenser coil dissipates the heat absorbed by the evaporator coil.
- Fan: The fan circulates air inside and outside the unit, allowing for heat transfer.
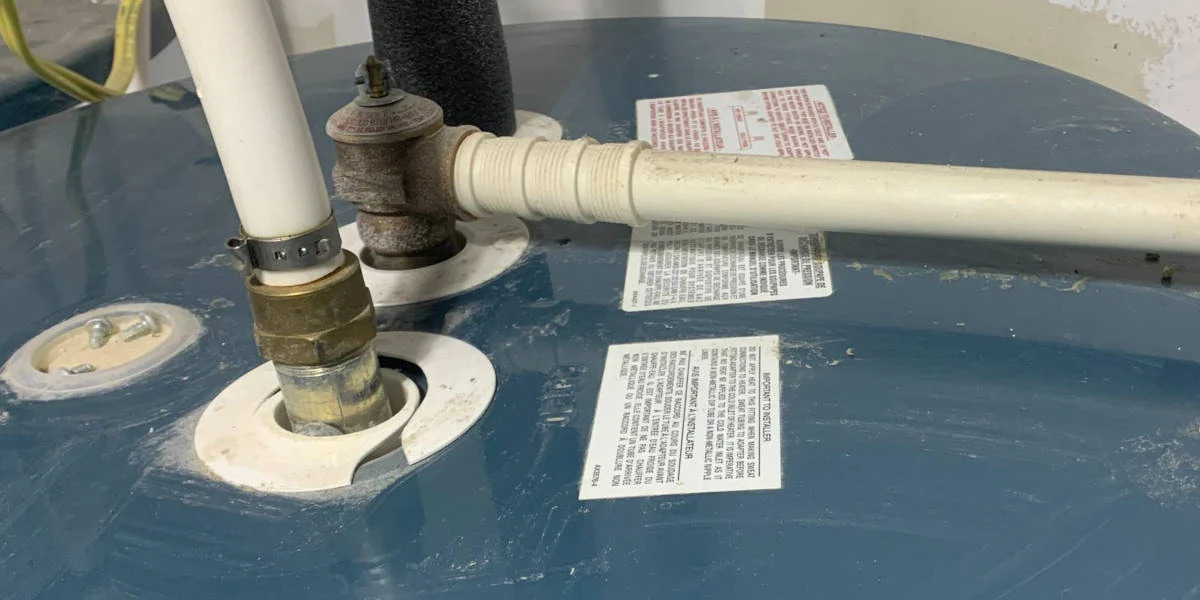
- Drainage System: This system collects the condensate, the moisture that forms on the evaporator coil, and directs it outside the unit.
The window AC unit works by pulling warm air from the room, cooling it down using the evaporator coil, and then blowing the cooled air back into the room. As the warm air passes over the cold evaporator coil, moisture in the air condenses on the coil’s surface. This moisture is then collected in a drain pan, which is designed to catch and hold the water.
Proper drainage is crucial to prevent water leakage. The drain pan is equipped with a small hole or outlet, usually at the back of the unit, where the collected water can escape. From there, the water should flow through a drainage tube and be directed outside or into a designated drainage area.
If any part of this system malfunctions or becomes blocked, water leakage can occur. Understanding the window AC unit’s components and how they work together will help you identify and resolve the cause of water leakage in your specific situation.
Common Causes of Water Leakage
Water leakage from a window AC unit can be attributed to various factors. Here are some common causes to consider:
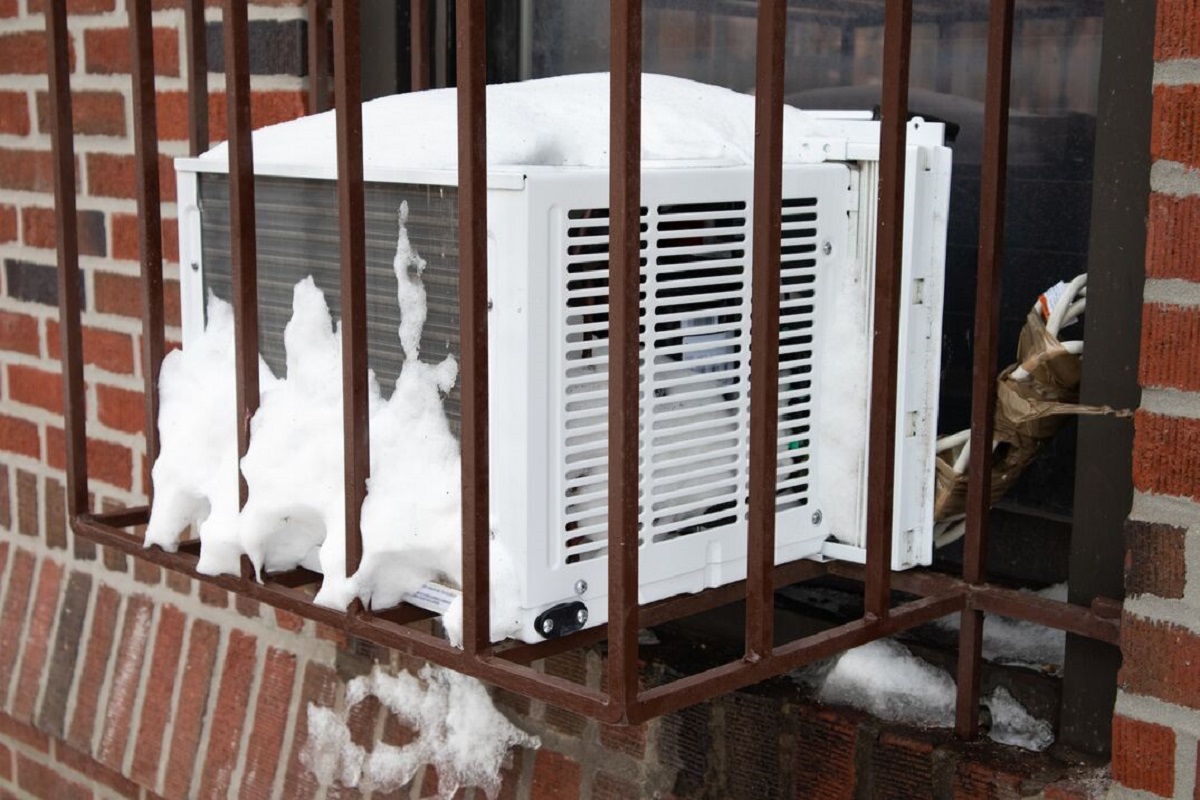
- Clogged or Dirty Air Filter: A dirty or clogged air filter restricts airflow, causing the evaporator coil to freeze. When the coil eventually melts, excessive water can overflow from the drain pan and result in leakage.
- Faulty or Damaged Drain Pan: Over time, the drain pan can develop cracks or become damaged, leading to water leakage. Additionally, a poorly designed or improperly installed drain pan can cause water to overflow rather than drain properly.
- Improper Installation: If your window AC unit is not installed correctly, it can tilt inward or lack proper insulation. This can lead to improper drainage and cause water to accumulate and leak inside your home.
- Low Refrigerant Levels: Insufficient refrigerant levels can cause the evaporator coil to freeze. When the ice melts, it can overwhelm the drain pan and result in water leakage.
- Condensation Buildup: Excessive condensation on the evaporator coil can overflow the drain pan, especially if the drainage system is not functioning properly.
- Blocked or Improperly Installed Drainage Tube: A drainage tube that is blocked by debris or not properly installed can cause water to back up and leak inside your space instead of being directed outside.
- Inadequate Insulation: Poor insulation around the unit can cause condensation to form on the outside of the AC unit. If this condensation is not properly drained, it can lead to water leakage.
- Extreme Humidity Levels: High humidity can cause an increase in condensation on the evaporator coil, overwhelming the drainage system and resulting in water leakage.
Addressing these common causes of water leakage in your window AC unit will require troubleshooting and taking appropriate measures. In the next sections, we will provide step-by-step guidance on how to fix water leakage based on each specific cause.
Clogged or Dirty Air Filter
A clogged or dirty air filter is one of the most common causes of water leakage in a window AC unit. The air filter is responsible for trapping dust, dirt, and other particles from the air, ensuring that clean air is circulated throughout the room. Over time, the filter can become clogged with debris, hindering proper airflow and causing the evaporator coil to freeze.
When the evaporator coil freezes, it creates an icy layer on the surface. As the ice eventually melts, the excess water can overwhelm the drain pan, leading to water leakage. To fix this issue, follow these steps:
- Turn off the window AC unit and unplug it from the power source.
- Locate the air filter, which is usually located behind a removable cover on the front or side of the unit.
- Remove the air filter from its housing and inspect it for dirt, debris, and dust accumulation.
- If the filter is visibly dirty or clogged, gently clean it with a vacuum cleaner or rinse it with water. Make sure to follow the manufacturer’s instructions for proper cleaning.
- Allow the filter to dry completely before placing it back into the unit.
- Once the filter is dry, reinsert it into its housing, making sure it fits securely.
- Turn on the window AC unit and check if the airflow has improved.
Regularly cleaning or replacing the air filter is crucial in maintaining the efficiency and performance of your window AC unit. It is recommended to clean the filter every 1-2 months or according to the manufacturer’s guidelines. By keeping the air filter clean, you will prevent the evaporator coil from freezing and reduce the risk of water leakage from your window AC unit.
Faulty or Damaged Drain Pan
A faulty or damaged drain pan is another common cause of water leakage in a window AC unit. The drain pan is designed to collect the condensed water that forms on the evaporator coil and safely drain it away from the unit. However, over time, the drain pan can develop cracks, become misaligned, or suffer from other damage, leading to water leakage. To address this issue, follow these steps:
- Turn off the window AC unit and unplug it from the power source.
- Locate the drain pan, which is typically situated at the back of the unit or beneath the evaporator coil.
- Inspect the drain pan for any visible cracks, damage, or misalignment.
- If you notice any cracks or damage, you can try patching it with an epoxy or sealant that is compatible with the material of the drain pan. Follow the product instructions carefully, and ensure that the patch is secure and properly sealed.
- If the drain pan is severely damaged or cannot be effectively repaired, it may need to be replaced. Contact the manufacturer or a professional technician to obtain a replacement drain pan suitable for your specific model.
- After repairing or replacing the drain pan, make sure it is properly aligned and securely in place.
- Turn on the window AC unit and monitor for any signs of water leakage. If the issue persists, additional troubleshooting may be required.
Regular inspection and maintenance of the drain pan can help prevent water leakage in the future. It is recommended to check the drain pan periodically for any signs of damage and address any issues promptly to avoid further complications.
Read more: Why Is My Water Pump Leaking
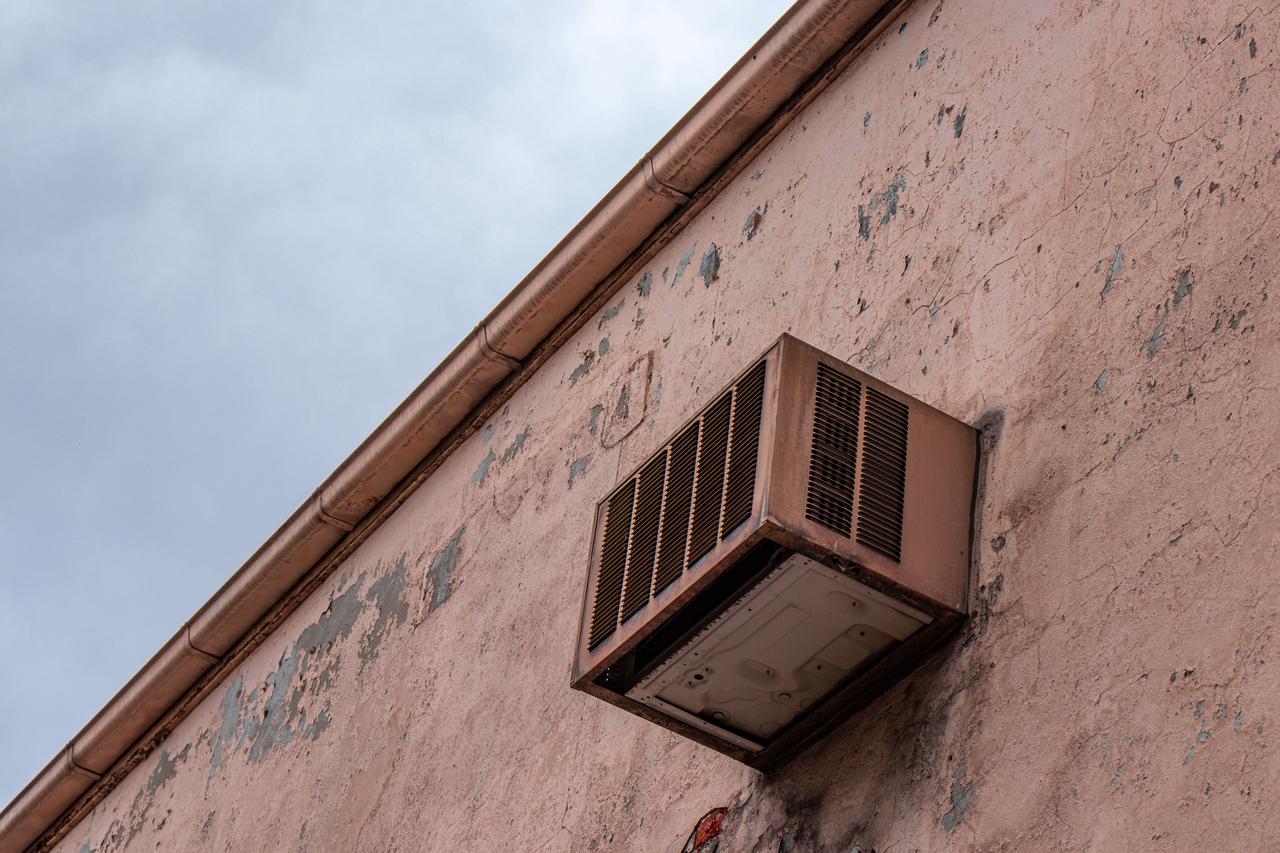
Improper Installation
Improper installation of a window AC unit can lead to water leakage. If the unit is not installed correctly, it can tilt inward or lack proper insulation, causing water to accumulate and leak inside your home. To address this issue, follow these steps:
- Turn off the window AC unit and unplug it from the power source.
- Carefully inspect the installation of the unit. Look for any signs of tilting or improper positioning.
- If the unit is tilted inward, adjust it so that it is properly angled towards the outside. This will ensure that any condensation or collected water can flow freely towards the drain pan and drainage system.
- Check for proper insulation around the unit. Inadequate insulation can lead to condensation forming on the outside of the AC unit, which can then result in water leakage.
- If there are any gaps or insufficient insulation, use weatherstripping or insulation material to seal around the unit. Be sure to follow the manufacturer’s guidelines and instructions for proper installation.
- Turn on the window AC unit and observe if there is any improvement in the drainage and water leakage. If the issue persists, further troubleshooting may be required.
Proper installation is crucial in ensuring the efficient and effective operation of your window AC unit. If you are uncertain about the installation process or encounter difficulties, it is advisable to seek professional assistance. They can ensure that the unit is installed correctly and minimize the risk of water leakage and other potential issues.
Low Refrigerant Levels
Low refrigerant levels in a window AC unit can cause the evaporator coil to freeze, leading to water leakage. Refrigerant is the substance responsible for absorbing heat from the air and cooling it down. When the refrigerant levels are insufficient, the evaporator coil may not be able to adequately absorb heat, causing the coil to become excessively cold and freeze over. Once the ice melts, it can overwhelm the drain pan and result in water leakage.
Addressing low refrigerant levels typically requires professional assistance as it involves handling and replenishing refrigerant. Follow these steps to resolve the issue:
- Turn off the window AC unit and unplug it from the power source.
- Contact a qualified HVAC technician or an air conditioning service professional to assess the refrigerant levels in your unit.
- The technician will use specialized tools to check the refrigerant levels and identify any leaks or potential issues with the system.
- If low refrigerant levels are detected, the technician will recharge the system with the appropriate amount of refrigerant.
- The technician may also inspect the system for any leaks and repair them if necessary.
- Once the refrigerant levels are restored, the technician will test the unit to ensure proper cooling and observe if there is any improvement in the water leakage issue.
It’s important to note that handling refrigerant requires expertise and specialized equipment, so it is not recommended for inexperienced individuals to attempt to refill or repair the refrigerant system themselves. Always rely on trained professionals to address issues related to low refrigerant levels in your window AC unit.
Regular maintenance and servicing of your AC unit can help prevent low refrigerant levels and ensure its optimal performance. Additionally, be sure to schedule routine inspections to catch any potential problems early and avoid water leakage caused by low refrigerant levels.
Condensation Buildup
Condensation buildup on the evaporator coil is another common cause of water leakage in a window AC unit. When warm air comes into contact with the cold evaporator coil, moisture in the air condenses and forms droplets on the coil’s surface. However, if the condensation exceeds the capacity of the drain pan or if the drainage system is not functioning properly, water leakage may occur. To address this issue, follow these steps:
- Turn off the window AC unit and unplug it from the power source.
- Inspect the evaporator coil for any signs of excessive condensation or ice buildup.
- If you notice excessive condensation, gently remove any droplets or ice buildup from the coil using a soft cloth or sponge.
- Ensure that the drainage system is clear of any obstructions or blockages. Check the drainage tube and the outlet where the water should flow out.
- If the drainage system is blocked, use a small brush or pipe cleaner to clear any debris or buildup.
- Make sure the drain pan is securely placed and properly aligned to collect the condensation and direct it towards the drainage system.
- Turn on the window AC unit and monitor for any signs of water leakage. If the issue persists, additional troubleshooting may be required.
Regular maintenance and cleaning of the evaporator coil can help prevent excessive condensation buildup and reduce the risk of water leakage. It is recommended to clean the coil annually or as needed, following the manufacturer’s instructions. Additionally, maintaining a clear and unobstructed drainage system will ensure proper flow and prevent condensation from overflowing and causing leakage.
If condensation buildup persists or if you are unsure about how to address the issue, it is advisable to seek professional assistance. They can assess the situation, identify any underlying problems, and provide the necessary solutions to resolve the water leakage caused by condensation buildup in your window AC unit.
Blocked or Improperly Installed Drainage Tube
A blocked or improperly installed drainage tube is a common cause of water leakage in a window AC unit. The drainage tube is responsible for carrying the condensate, the collected moisture from the evaporator coil, outside or to a designated drainage area. If the drainage tube becomes blocked by debris or is not correctly installed, water can back up and leak inside your space. To address this issue, follow these steps:
- Turn off the window AC unit and unplug it from the power source.
- Locate the drainage tube, which is usually connected to the drain pan or the outlet at the back of the unit.
- Inspect the tube for any obstructions or blockages. Clear away any debris or buildup that may be clogging the tube.
- Ensure that the drainage tube is properly installed and securely connected to the drain pan or outlet.
- Double-check that the tube is angled downward and not bent or kinked, as this can impede proper drainage.
- If necessary, detach the drainage tube and clean it thoroughly with water and a mild detergent. Remove any stubborn debris by using a small brush or pipe cleaner.
- Reattach the drainage tube securely and ensure that it is properly aligned.
- Turn on the window AC unit and monitor for any signs of water leakage. If the issue persists, further troubleshooting may be required.
Regular inspection and maintenance of the drainage tube are crucial to prevent blockages and ensure proper drainage. It is recommended to clean the tube periodically, especially if you notice any signs of reduced airflow or water leakage. Additionally, ensure that the tube is free from any sharp bends or kinks that may hinder the smooth flow of water.
If you encounter difficulties or are uncertain about how to address the issue with the drainage tube, consider seeking professional assistance. They can help diagnose and resolve any blockages or installation problems, ensuring that water is properly drained from your window AC unit.
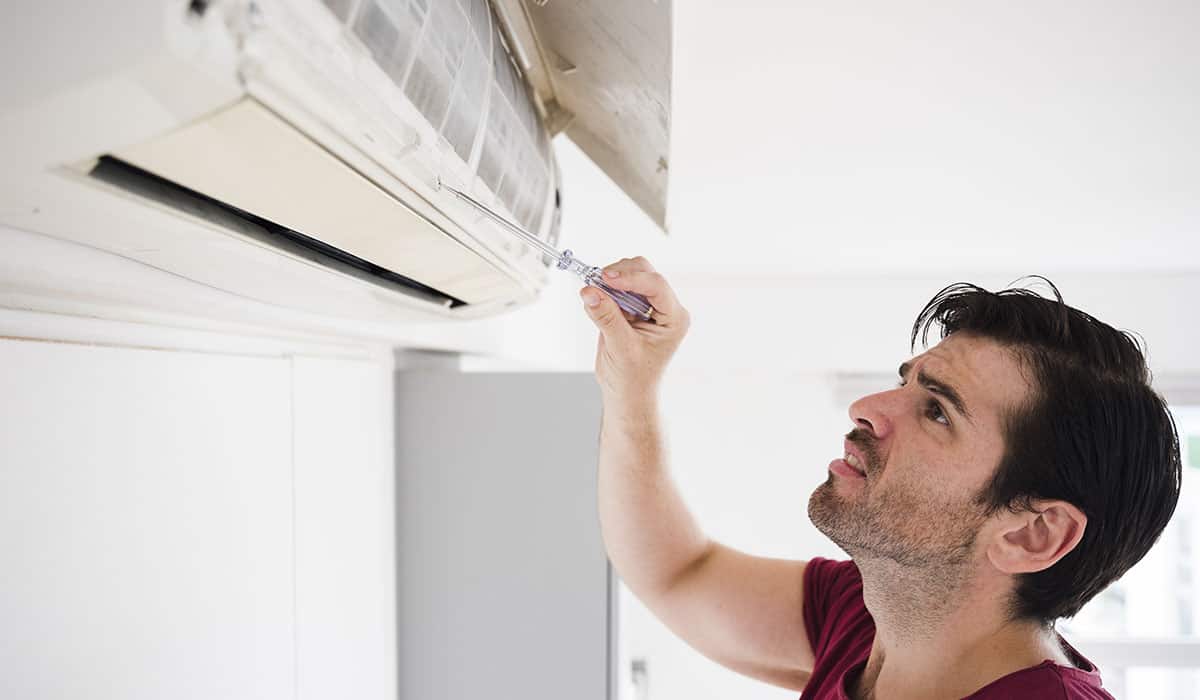
Check the drainage hole at the back of the AC unit for clogs and clear any debris. Also, make sure the unit is properly installed with a slight tilt towards the outside for proper drainage.
Read more: Why Is My Freezer Leaking Water
Inadequate Insulation
Inadequate insulation around a window AC unit can contribute to water leakage. Poor insulation allows warm air from outside to come into contact with the cold surfaces of the unit, resulting in condensation. If this condensation is not properly drained, it can lead to water leakage inside your home. To address this issue, follow these steps:
- Turn off the window AC unit and unplug it from the power source.
- Inspect the area around the unit for any gaps or insufficient insulation.
- Use weatherstripping or insulation material to seal any gaps or openings around the unit. This will help prevent warm air infiltration and reduce condensation.
- Apply insulation foam around the unit if necessary, following the manufacturer’s instructions to ensure proper installation.
- Carefully check the area where the unit meets the window or wall. Ensure that there is a tight seal to prevent any air leakage.
- Reinstall any removable panels or covers securely, ensuring that they are properly sealed.
- Turn on the window AC unit and monitor for any signs of water leakage. If the issue persists, additional troubleshooting may be required.
Inadequate insulation is not only a potential cause of water leakage, but it can also lead to energy inefficiency and poor cooling performance of your window AC unit. By properly insulating the area around the unit, you can enhance its efficiency and reduce the risk of water leakage.
If you are unsure about how to effectively insulate the unit or encounter difficulties during the process, consider consulting a professional technician. They can provide guidance and assistance in properly insulating your window AC unit to prevent condensation and water leakage.
Extreme Humidity Levels
Extreme humidity levels can contribute to water leakage in a window AC unit. When the humidity is excessively high, the evaporator coil may struggle to remove enough moisture from the air. This can result in an overabundance of condensation forming on the coil, overwhelming the drain pan and leading to water leakage. To address this issue, follow these steps:
- Turn off the window AC unit and unplug it from the power source.
- Check the humidity levels in the room using a hygrometer or a humidity monitoring device. Ideally, the humidity should be maintained between 30% and 50% for optimal comfort and to reduce the risk of excessive condensation.
- If the humidity levels are extremely high, consider employing additional measures to reduce humidity in the room, such as using a dehumidifier or employing natural methods like improving ventilation or using moisture-absorbing materials.
- Ensure that the drain pan and drainage system are clear of any obstructions, allowing the excess condensation to drain properly.
- If necessary, clean the drain pan and drainage tube to remove any accumulated debris or mold that may be hindering proper drainage of the condensate.
- Turn on the window AC unit and monitor for any signs of water leakage. If the issue persists, additional troubleshooting may be required.
Managing extreme humidity levels in the room can help prevent excessive condensation and reduce the risk of water leakage. By taking steps to control humidity and ensuring proper drainage, you can maintain a comfortable and efficient cooling environment.
If you continue to experience water leakage issues even after addressing the humidity levels, it may be beneficial to consult a professional technician. They can assess the situation, identify any underlying problems, and provide appropriate solutions to resolve the water leakage caused by extreme humidity levels in your window AC unit.
Other Possible Causes
In addition to the common causes mentioned earlier, there are a few other factors that may contribute to water leakage in a window AC unit. While these causes are less common, it’s important to be aware of them when troubleshooting the issue:
- Leaky or Damaged Seals: Over time, the seals around the window or the unit itself can deteriorate or become damaged. This can allow water to seep through and cause leakage. Inspect the seals and replace any that show signs of wear or damage.
- Excessive Tilt: If the window AC unit is tilted excessively, it can lead to improper drainage. Ensure that the unit is installed level and there is a slight downward angle for proper water flow.
- Faulty Internal Components: Internal components such as the condenser or evaporator coil, fan motor, or fan blades could be malfunctioning or damaged, causing water leakage. If you suspect a fault with any of these components, it’s best to consult a professional technician for repair or replacement.
- Electrical Issues: In rare cases, electrical issues within the window AC unit can lead to water leakage. If you suspect an electrical problem, it’s crucial to turn off the unit and seek professional assistance to prevent any safety hazards.
When faced with water leakage from your window AC unit, it’s important to consider all possible causes and eliminate them one by one. Sometimes, multiple factors may be contributing to the issue. If you have addressed the common causes and are still experiencing water leakage, it may be necessary to consult a professional technician for a thorough diagnosis and repair.
Remember, regular maintenance and inspections can help identify and prevent potential causes of water leakage. By taking proactive measures, you can ensure that your window AC unit operates efficiently and effectively, providing you with reliable cooling and avoiding water leakage issues.
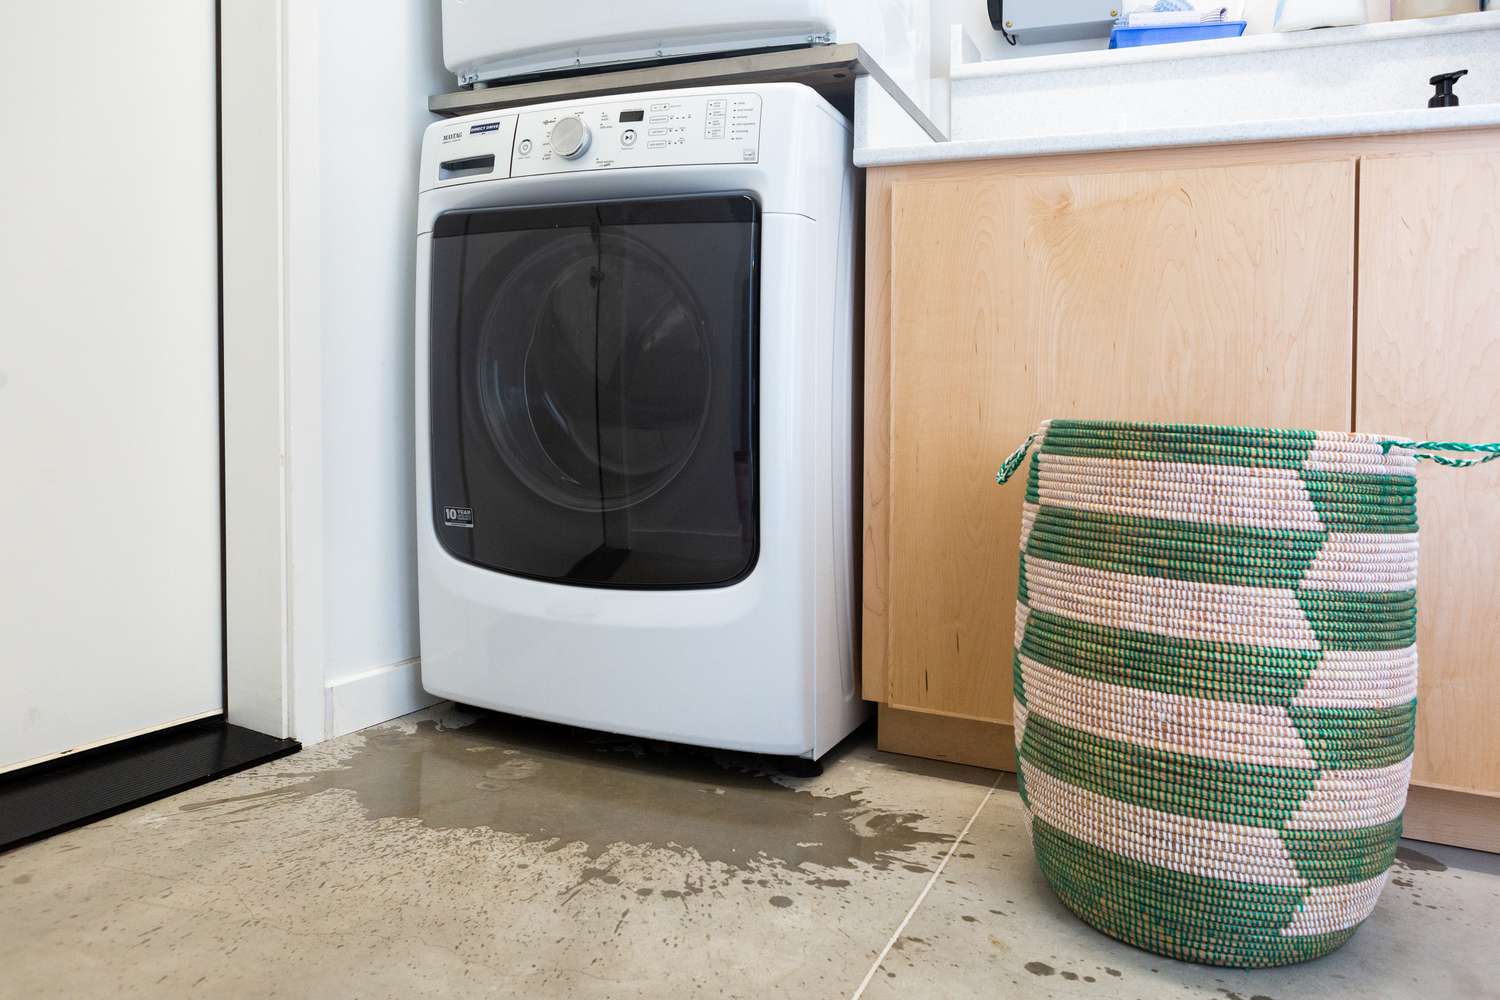
The Dangers of Window AC Water Leakage
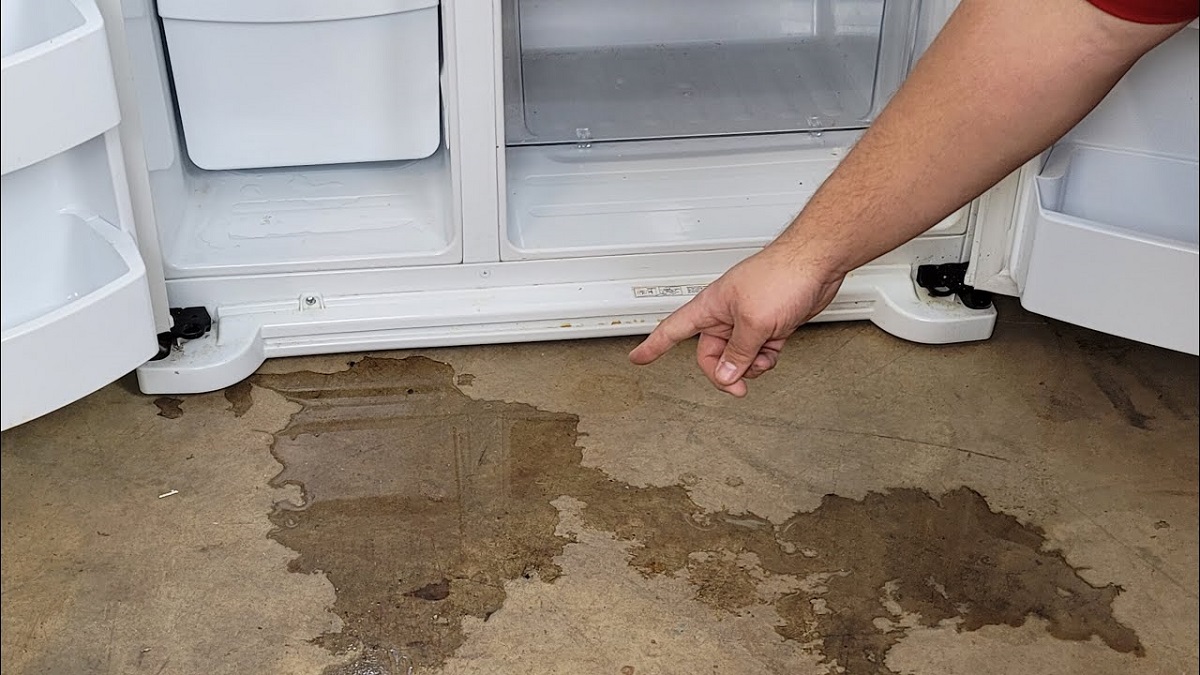
Water leakage from a window AC unit may seem like a minor inconvenience, but it can lead to various dangers if left unaddressed. Understanding the potential risks associated with water leakage is essential for taking prompt action and preventing further damage. Here are some of the dangers to be aware of:
- Structural Damage: Constant water leakage can cause significant damage to your walls, floors, and ceilings. Over time, this can lead to weakened structures, warped materials, and potentially costly repairs.
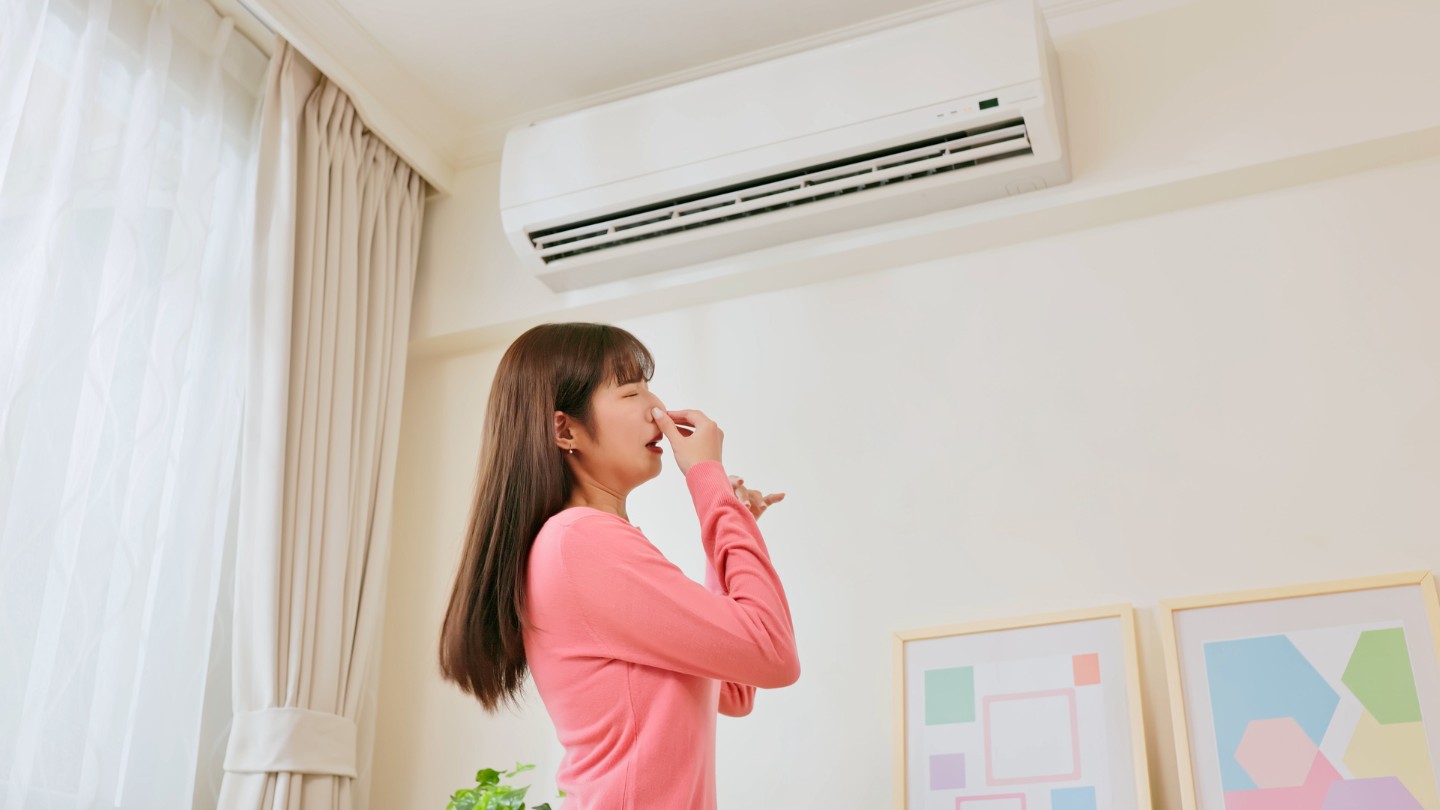
- Mold and Mildew Growth: Excess moisture from water leakage can create an ideal environment for mold and mildew to thrive. These fungal growths can cause respiratory issues, allergies, and other health problems. They can also be difficult and expensive to remove once they have spread.
- Electrical Hazards: Water leakage near electrical components poses a serious risk of electrical shock or short-circuits. If water comes into contact with live wires or electrical connections, it can lead to fires and other electrical accidents.
- Health Concerns: The presence of mold, mildew, and excessive moisture can contribute to poor indoor air quality, leading to respiratory problems, allergies, and other health issues for you and your family members.
- Reduced Energy Efficiency: Water leakage can affect the performance and efficiency of your window AC unit. It forces the system to work harder to cool the room, increasing energy consumption and utility bills.
It’s crucial to address water leakage from your window AC unit as soon as you notice it to minimize these dangers. Taking prompt action can help prevent further damage and protect the health and safety of your household. By identifying and resolving the underlying causes of water leakage, you can mitigate these risks and ensure the proper functioning of your cooling system.
Regular maintenance, such as cleaning filters, inspecting drainage systems, and scheduling professional inspections, can help identify potential issues before they turn into major problems. Additionally, maintaining a suitable indoor humidity level and addressing any water leakage promptly will help create a safe, comfortable, and healthy environment in your home.
Read more: Why Is My HVAC Leaking
How to Fix Window AC Water Leakage
If you’re experiencing water leakage from your window AC unit, it’s important to address the issue promptly to prevent further damage. While the specific solution will depend on the underlying cause of the leakage, here is a general step-by-step guide to help you fix the problem:
- Turn off the unit: Disconnect the power supply to the window AC unit to ensure your safety during the troubleshooting process.
- Inspect the unit: Check for any visible signs of water leakage such as puddles or dampness around the unit. Take note of the location and severity of the leakage.
- Identify the cause: Consider the common causes mentioned earlier, such as a clogged air filter, faulty drain pan, or inadequate insulation. Based on the symptoms and your observations, try to determine the likely cause.
- Address the cause: Once you have identified the cause of the water leakage, follow the appropriate steps to resolve it. For example:
- If it’s a clogged air filter, clean or replace the filter as needed.
- If it’s a faulty or damaged drain pan, repair or replace the pan to ensure proper drainage.
- If it’s inadequate insulation, seal any gaps or open spaces around the unit to prevent condensation.
- Check the drainage system: Inspect the drainage tube, outlet, and other components of the drainage system for any blockages or misalignments. Clear any obstructions and ensure proper alignment for smooth water flow.
- Test the unit: After addressing the cause and checking the drainage system, turn on the window AC unit and observe if the water leakage has stopped or reduced. Monitor the unit for a significant period to ensure the problem has been resolved.
- Seek professional help if needed: If the water leakage persists or if you’re unable to identify and resolve the issue yourself, it’s advisable to contact a professional technician or HVAC specialist. They can provide expert guidance, diagnose the problem accurately, and perform any necessary repairs or replacements.
Preventing future water leakage issues involves regular maintenance, such as cleaning filters, inspecting drains, and checking for proper insulation. Following the manufacturer’s guidelines and scheduling professional inspections can help identify and address potential problems before they worsen.
Remember, safety should always be a priority when working with electrical appliances. If you’re uncertain or uncomfortable with troubleshooting electrical or mechanical components, it’s best to rely on qualified professionals for assistance.
Step-by-Step Guide to Fixing Water Leakage
Water leakage from a window AC unit can be a nuisance, but with the right steps, you can fix the issue and prevent further damage. Follow this step-by-step guide to address the water leakage:
- Turn off the unit: Before starting any troubleshooting, turn off the window AC unit and unplug it from the power source to ensure your safety.
- Inspect the unit: Look for visible signs of water leakage, such as puddles or dampness around the unit. Identify the location and severity of the leakage.
- Check the air filter: A clogged or dirty air filter can restrict airflow and lead to freezing of the evaporator coil. Remove the filter and clean it using a vacuum cleaner or rinse it with water if it’s washable. If the filter is damaged or cannot be cleaned, replace it with a new one.
- Inspect the drain pan: Examine the drain pan located beneath the evaporator coil. If it’s cracked, damaged, or improperly aligned, repair or replace it as needed. Ensure that the drain pan is securely in place and properly aligned with the drainage system.
- Check the drainage system: Inspect the drainage tube and outlet for any blockages or misalignments. Clear any debris or obstructions that may be causing the water to back up. Ensure that the drainage tube is properly connected and sloping downward to allow for proper water flow.
- Examine insulation: Inspect the area around the unit for inadequate insulation. Seal any gaps or openings with weatherstripping or insulation material to prevent warm air from entering and causing condensation.
- Turn on the unit and monitor: Once you have addressed the possible causes of water leakage, turn on the window AC unit and monitor it for a period of time. Check if the water leakage has stopped or significantly reduced. Keep an eye out for any signs of ongoing leaks.
- Seek professional help if needed: If the water leakage persists or if you are unable to identify and resolve the issue on your own, it’s best to contact a professional technician or HVAC specialist. They have the expertise to diagnose and fix complex problems, ensuring the proper functioning of your window AC unit.
Regular maintenance, including cleaning or replacing the air filter, inspecting the drain pan, and ensuring proper insulation, can help prevent water leakage issues in the future. Following the manufacturer’s guidelines and scheduling professional inspections can identify and address potential problems before they escalate.
Remember to prioritize safety when working with electrical appliances. If you are unsure or uncomfortable with troubleshooting electrical or mechanical components, it is always best to seek assistance from qualified professionals.
Prevention Tips
Preventing water leakage from your window AC unit is easier than dealing with the consequences. By following these prevention tips, you can minimize the risk of water leakage and ensure the efficient operation of your cooling system:
- Regularly clean or replace the air filter: Keeping the air filter clean prevents dust and debris from obstructing airflow and causing the evaporator coil to freeze. Clean or replace the filter according to the manufacturer’s recommendations or at least every 1-2 months.
- Maintain a level installation: Ensure that your window AC unit is installed properly and level to facilitate proper drainage. A tilted unit can impede water flow and lead to leakage.
- Inspect and maintain the drain pan: Regularly inspect the drain pan for cracks, damage, or misalignment. Repair or replace the drain pan as necessary to ensure effective water collection and drainage.
- Clean and clear the drainage system: Check the drainage tube, outlet, and other components of the drainage system for any blockages or debris. Clear any obstructions to ensure unobstructed water flow.
- Ensure adequate insulation: Proper insulation around the window AC unit helps prevent condensation on the exterior surfaces. Seal any gaps or openings with weatherstripping or insulation material to minimize condensation and subsequent water leakage.
- Control indoor humidity: Use dehumidifiers or natural methods such as ventilation and moisture-absorbing materials to keep indoor humidity levels in the recommended range of 30-50%. This will reduce the amount of moisture that the unit needs to remove, minimizing condensation and potential leakage.
- Schedule regular professional maintenance: Engage a professional technician to perform regular maintenance on your window AC unit. They can inspect, clean, and tune up the system, ensuring optimal performance and addressing potential issues before they lead to water leakage.
- Monitor for early signs of leakage: Regularly check around the unit for any signs of water leakage, such as wet spots or dampness. Address any potential issues promptly to prevent further damage.
By implementing these prevention tips and staying proactive with your window AC unit maintenance, you can minimize the risk of water leakage and ensure a cool and comfortable environment in your home. Remember to consult with a professional if you encounter any persistent issues or are unsure about any maintenance procedures.
Conclusion
Water leakage from a window AC unit can be a frustrating and potentially damaging issue. However, by understanding the common causes and following proper maintenance and prevention techniques, you can effectively address and prevent water leakage. Regularly cleaning or replacing the air filter, inspecting and maintaining the drain pan and drainage system, ensuring proper insulation, and controlling indoor humidity levels are key steps to minimize the risk of water leakage.
When faced with water leakage, it’s important to take action promptly. Identifying the underlying cause and following the appropriate steps to resolve the issue can help prevent further damage to your home and ensure the efficiency and longevity of your cooling system.
Remember, if you are unsure or uncomfortable with troubleshooting or maintenance procedures, it’s best to seek professional assistance. HVAC technicians have the expertise and knowledge to diagnose and fix complex issues and keep your window AC unit in optimal condition.
By practicing regular maintenance, scheduling professional inspections, and adopting preventive measures, you can enjoy a cool and comfortable environment in your home without the stress of water leakage from your window AC unit. Stay vigilant, prioritize safety, and take proactive steps to keep your cooling system running smoothly for years to come.
Frequently Asked Questions about Why Does My Window AC Leak Water
Was this page helpful?
At Storables.com, we guarantee accurate and reliable information. Our content, validated by Expert Board Contributors, is crafted following stringent Editorial Policies. We're committed to providing you with well-researched, expert-backed insights for all your informational needs.
0 thoughts on “Why Does My Window AC Leak Water”