Articles
How To Remove A Window AC Unit
Modified: August 16, 2024
Learn the step-by-step process of safely removing a window AC unit in this informative article. Discover tips and tricks for a smooth and hassle-free uninstallation.
(Many of the links in this article redirect to a specific reviewed product. Your purchase of these products through affiliate links helps to generate commission for Storables.com, at no extra cost. Learn more)
Introduction
Removing a window AC unit may seem like a daunting task, but with the right guidance and preparation, you can easily accomplish it. Whether you are moving to a new place, cleaning the windows, or simply storing the unit for the off-season, knowing how to remove a window AC unit properly is essential to ensure a smooth and hassle-free process.
In this article, we will walk you through a step-by-step guide on how to remove a window AC unit safely and efficiently. We will also share some important safety precautions to keep in mind throughout the process.
Before we begin, it is important to note that the specific steps and requirements may vary depending on the type and model of your window AC unit. Always refer to the manufacturer’s instructions and guidelines for your particular unit to ensure you follow the correct procedures.
Now, without further ado, let’s dive into the instructions and get you on your way to removing your window AC unit with ease.
Key Takeaways:
- Safely remove a window AC unit by gathering supplies, following safety precautions, and using proper lifting techniques. Clean and store the unit to ensure longevity and optimal performance for future use.
- Prioritize safety, gather necessary supplies, and follow manufacturer’s instructions to remove a window AC unit with ease. Clean and store the unit properly to maintain its performance and prolong its lifespan.
Read more: How To Seal Window AC Unit
Step 1: Gather the necessary supplies
Before you start removing your window AC unit, it’s important to gather all the necessary supplies. Having everything you need within reach will streamline the process and save you time and frustration.
Here are the essential supplies you should have on hand:
- Protective gear: It’s crucial to prioritize your safety during the removal process. Wear sturdy gloves to protect your hands from sharp edges or debris, and consider wearing safety goggles to shield your eyes.
- Basic toolkit: Keep a set of basic tools handy, including a screwdriver, pliers, and a wrench. These tools will come in handy when removing screws or bolts that secure the unit.
- Drop cloth or tarp: Placing a drop cloth or tarp beneath the AC unit will protect your flooring or window sill from any potential dirt, debris, or water that may drip during the process.
- Assistance: Depending on the size and weight of your AC unit, you may need an extra pair of hands to help with lifting and maneuvering it. Enlist a friend or family member to assist you if needed.
By gathering these supplies before you begin, you’ll be well-prepared to tackle the task of removing your window AC unit. With everything in place, you can proceed to the next step with confidence.
Step 2: Safety precautions before removing the AC unit
Before you start the process of removing your window AC unit, it’s important to take certain safety precautions to ensure your well-being and the integrity of your surroundings. By following these steps, you can minimize the risk of accidents or damage:
- Turn off the power: Before you do anything, it’s crucial to turn off the power supply to the AC unit. Locate the circuit breaker that controls the unit and switch it off to prevent any electrical mishaps.
- Double-check the power source: Once you’ve turned off the power, make sure the AC unit is truly unplugged by checking the power cord. Ensure that it is not connected to any electrical outlet to avoid any accidental electric shocks.
- Read the manufacturer’s instructions: Take the time to familiarize yourself with the manufacturer’s instructions and guidelines for removing the window AC unit. Each model may have specific requirements, so it’s important to follow their recommendations to prevent any damage to the unit or surrounding areas.
- Clear the area around the unit: Remove any items that may obstruct your path or hinder the smooth removal of the AC unit. This includes furniture, curtains, or any other objects near the window. Clearing the area will ensure a clear and safe path for you to work with.
- Secure loose items: Ensure that all loose items, such as decorations or loose parts of the window frame, are properly secured. This will prevent any accidents or damage during the removal process.
- Take note of any gas lines or refrigerant: If your AC unit uses gas lines or contains refrigerants, exercise caution and consult an HVAC professional before attempting to remove the unit. Improper handling of these components can be dangerous and may require professional assistance.
By following these safety precautions, you can mitigate risks and ensure a smooth removal process for your window AC unit. Safety should always be a top priority when dealing with any electrical appliances, and taking these precautions will help protect both you and your surroundings.
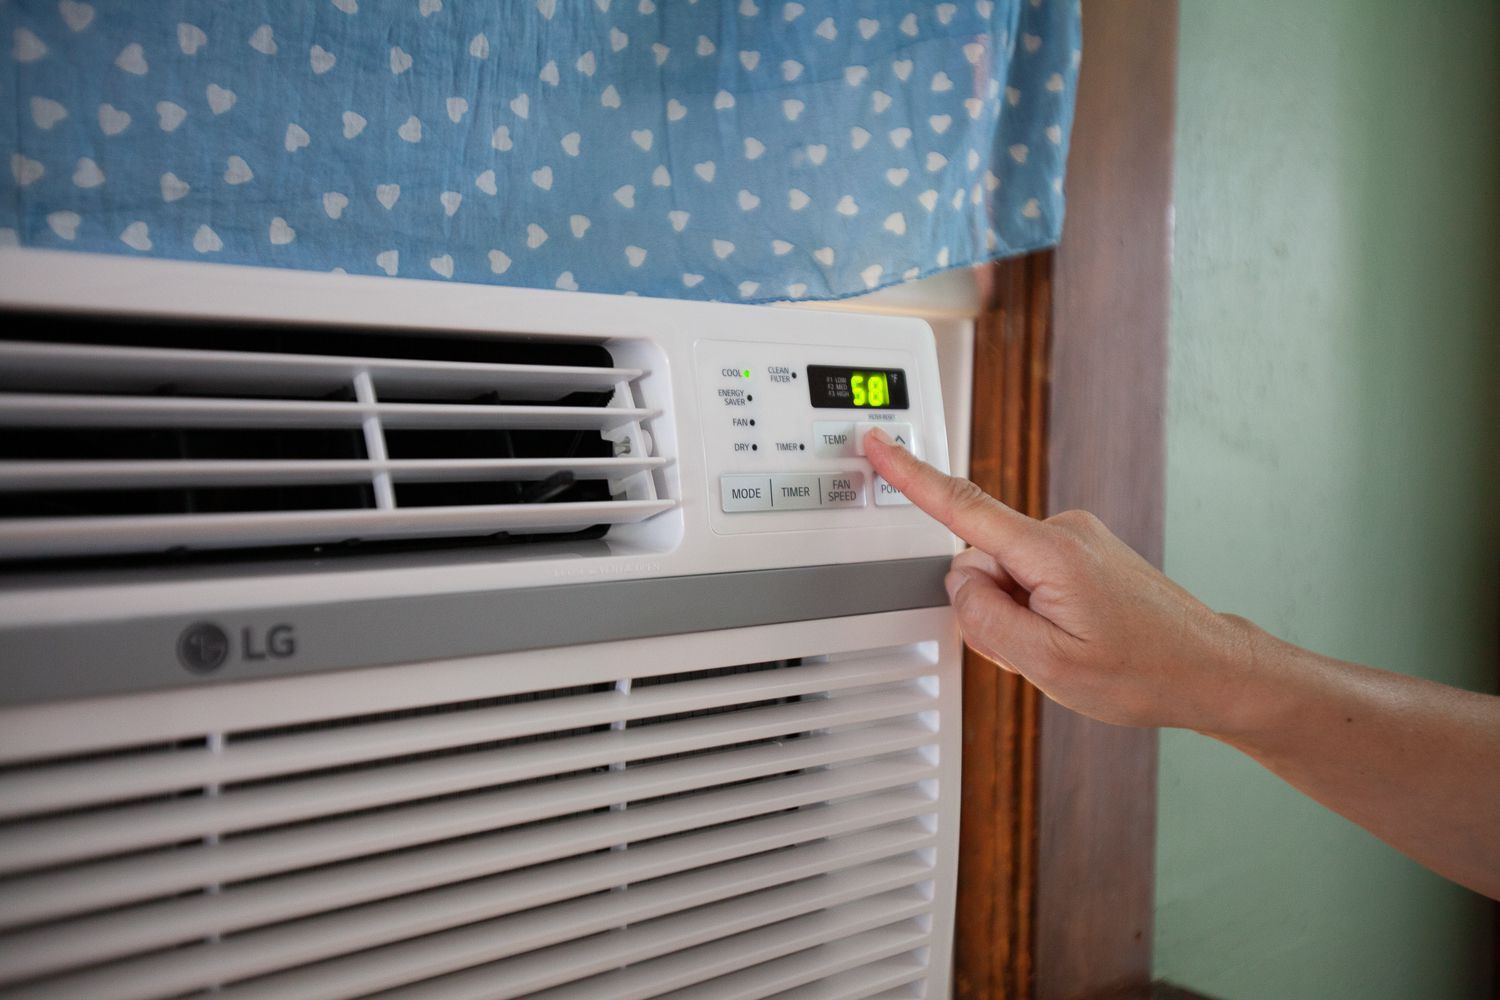
Step 3: Turn off power and unplug the unit
Once you’ve gathered your supplies and taken necessary safety precautions, it’s time to turn off the power and unplug your window AC unit. This step is crucial to ensure your safety and prevent any electrical accidents.
Here’s how to properly turn off the power and unplug the unit:
- Locate the circuit breaker: Find the circuit breaker that controls the power supply to your AC unit. It is typically labeled “AC” or “Air Conditioner” on the breaker panel.
- Turn off the circuit breaker: Flip the switch associated with the AC unit to the “off” position. This will cut off the power supply to the unit, ensuring that it is safe to proceed with the removal process.
- Unplug the unit: After turning off the circuit breaker, locate the power cord connected to the AC unit. Simply unplug it from the electrical outlet, ensuring that there is no power flowing to the unit.
- Store the power cord: To prevent any tripping hazards or damage to the cord, neatly coil it up and secure it with a twist tie or cord organizer. Keep it in a safe place so that it doesn’t get tangled or damaged during the removal process.
By turning off the power and unplugging the unit, you eliminate the risk of electrical shocks or accidents during the removal process. Always double-check that the power is completely cut off before proceeding to the next steps.
With the unit safely disconnected from the power source, you can now move on to the next step of removing the front cover or grille of the window AC unit.
Step 4: Remove the front cover or grille
Now that you have safely turned off the power and unplugged the window AC unit, it’s time to remove the front cover or grille. This step will give you access to the internal components of the unit, making it easier to remove it from the window.
Follow these steps to remove the front cover or grille:
- Inspect the front of the unit: Take note of any screws or fasteners holding the front cover or grille in place. These may be located on the sides, top, or bottom of the unit.
- Remove the screws or fasteners: Use a screwdriver or the appropriate tool to carefully remove the screws or fasteners. Place them in a safe location to prevent misplacement.
- Gently slide or lift the front cover or grille: Once the fasteners are removed, you can slide or lift the front cover or grille. Be cautious as you do this, as it may be attached to the unit and require some gentle force or maneuvering to detach it completely.
- Set aside the front cover or grille: Once the front cover or grille is detached, set it aside in a safe and clean area. Be mindful of any fragile components or parts that may be exposed now that the cover is removed.
Removing the front cover or grille will expose the interior of the window AC unit, allowing you to proceed with the next steps of removing the unit from the window itself. Remember to handle the cover or grille with care to avoid any damage or injuries.
With the front cover or grille safely removed, you are ready to continue with the process of removing the window AC unit. The next step involves removing the screws that secure the unit in place.
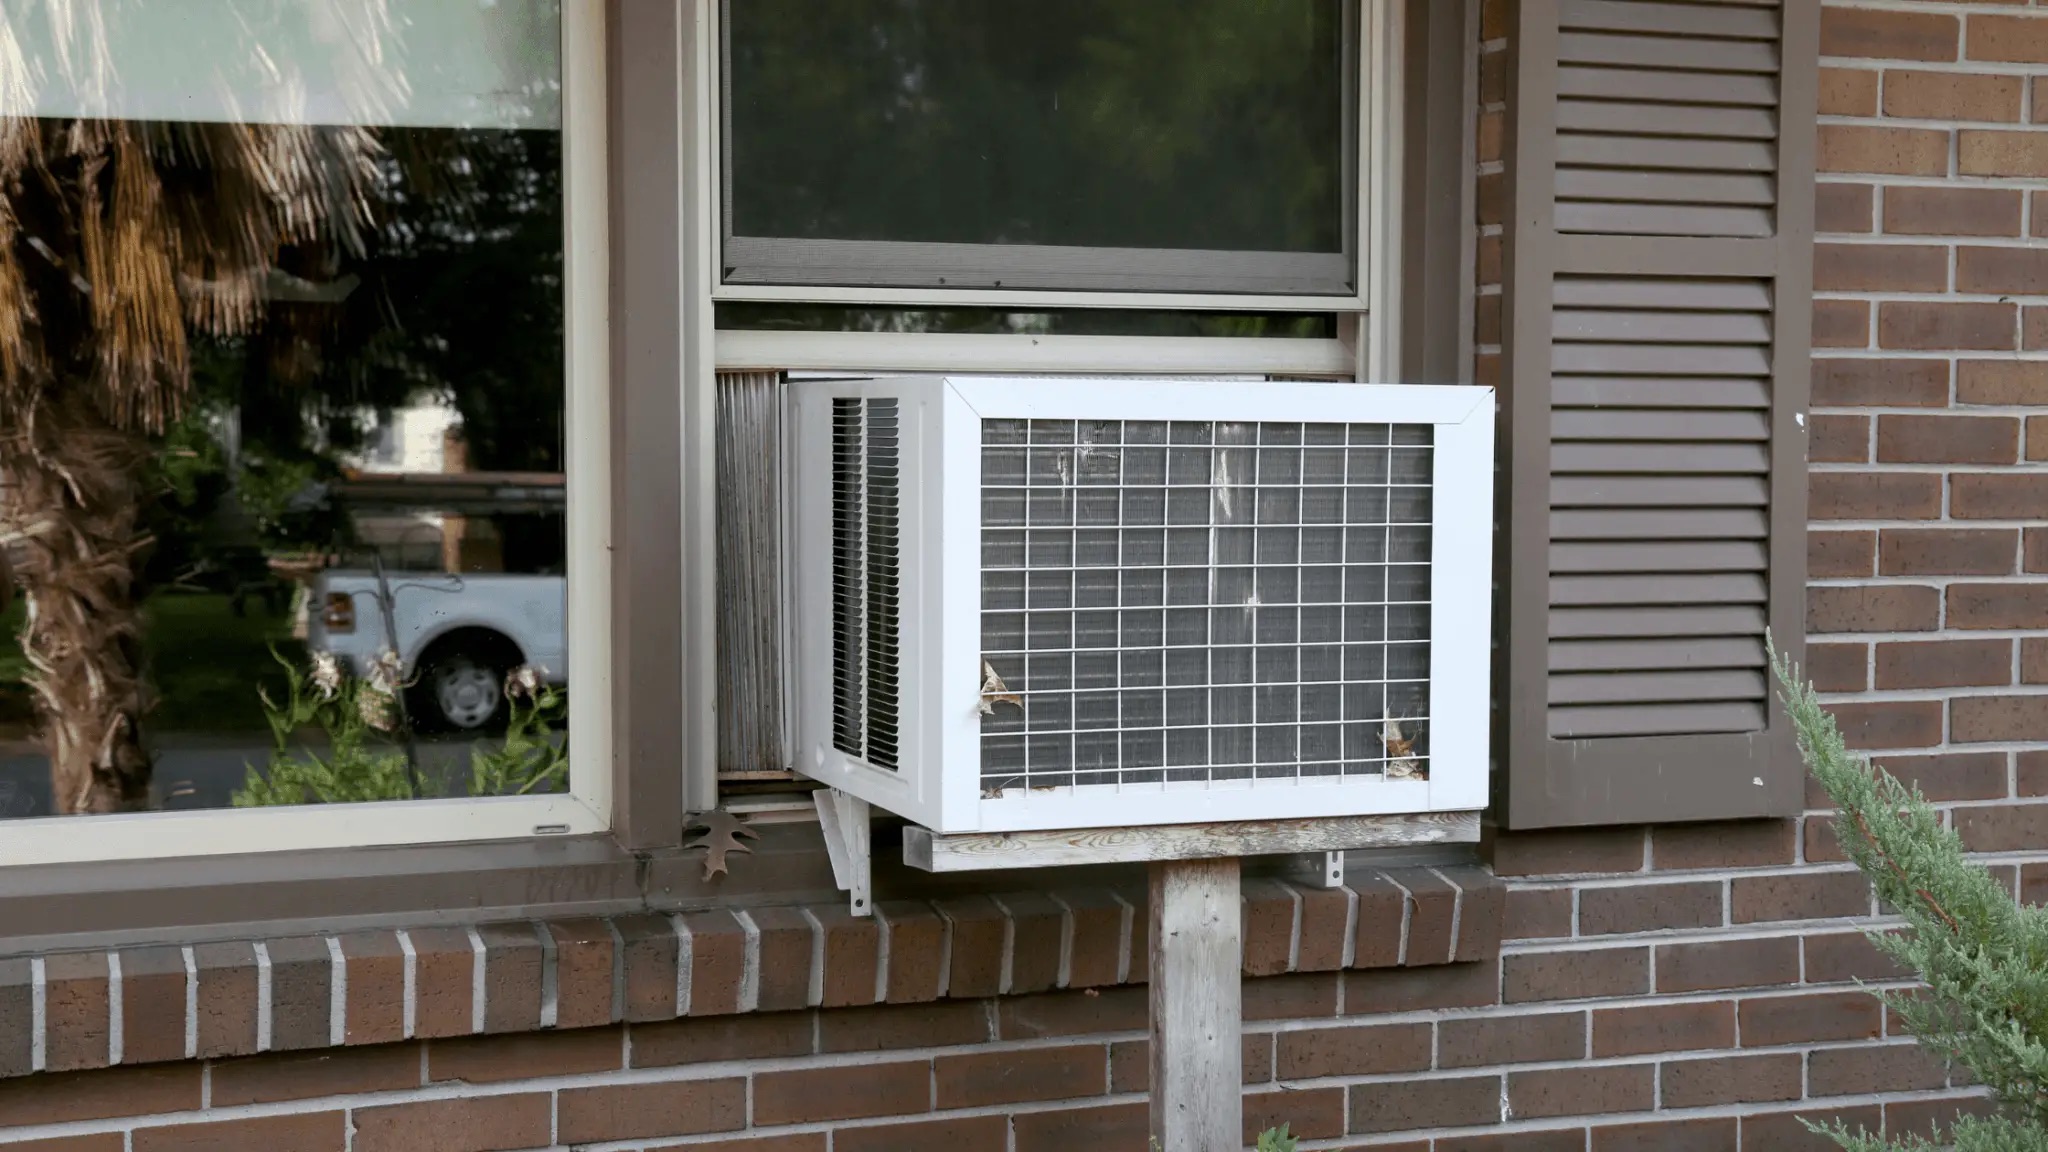
Before removing a window AC unit, make sure to turn off the power and disconnect it from the electrical outlet. Then, carefully lift the unit out of the window and have someone help you to avoid any accidents.
Read more: How To Recharge Window AC Unit
Step 5: Remove the screws securing the unit
Now that you have successfully removed the front cover or grille of your window AC unit, it’s time to focus on removing the screws that secure the unit in place. These screws are typically located at the sides or bottom of the unit and keep it firmly attached to the window frame.
Follow these steps to remove the screws securing the unit:
- Locate the screws: Examine the sides or bottom of the window AC unit to find the screws that are holding it in place. They may be visible or hidden beneath plastic covers.
- Use the appropriate tool: Depending on the type of screws, you may need a screwdriver, a wrench, or another tool to remove them. Ensure you have the necessary tool on hand before proceeding.
- Loosen the screws: Carefully loosen or remove the screws one by one. Be mindful of their size and placement, as you will need to reattach them when reinstalling the unit or cover.
- Set aside the screws: As you remove each screw, place them in a secure container or bag to prevent misplacement. It’s important to keep them organized for easy access when the time comes to reinstall the unit.
By removing the screws, you are now one step closer to removing the window AC unit from the window frame. However, it’s important to note that the unit may still be attached by other means, such as brackets or support arms. Take caution and be prepared to support the weight of the unit when fully removing it.
Once you have safely removed the screws securing the unit, you can proceed to the next step of carefully lifting and removing the unit from the window.
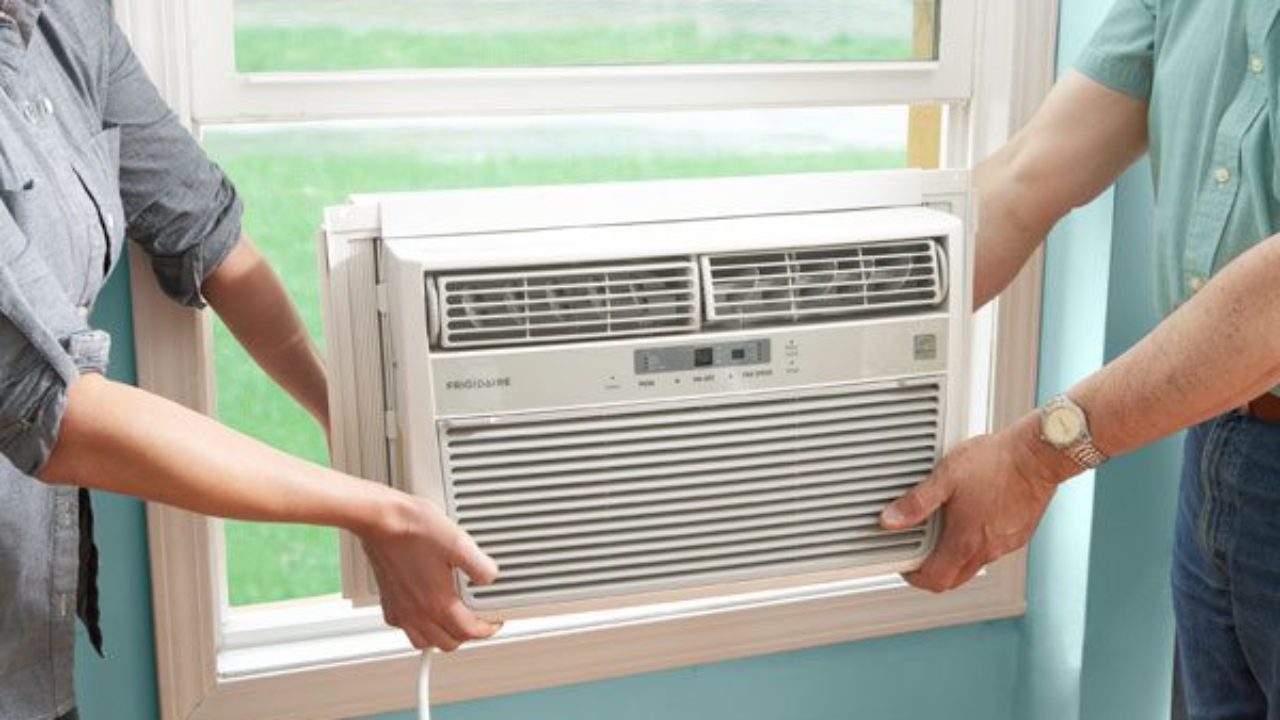
Step 6: Carefully lift and remove the unit from the window
With the screws removed and the window AC unit no longer secured to the window frame, it’s time to proceed with safely lifting and removing the unit from the window. This step requires careful handling and coordination, as the unit can be heavy and awkward to maneuver.
Follow these steps to lift and remove the unit from the window:
- Gather additional assistance if needed: Depending on the size and weight of your window AC unit, you may need additional help to lift and carry it safely. Don’t hesitate to ask a friend or family member for assistance.
- Position yourself for lifting: Stand in front of the unit, ensuring you have a firm and secure footing. Bend your knees and keep your back straight, using your leg muscles to lift the unit rather than straining your back.
- Gradually lift the unit: Using your leg muscles, lift the window AC unit gradually, maintaining a steady and controlled motion. Lift with care and be mindful of any obstacles or hazards in your surroundings.
- Clear the window: Once the unit is lifted off the window frame, carefully move it towards you or to the side to fully clear the window. Take your time and avoid any sudden movements to prevent accidents or damage.
- Lower the unit to the ground: After the unit is clear of the window, lower it gently to the ground or onto a secure surface. Make sure to place it in a safe location away from foot traffic or potential tripping hazards.
When lifting and removing the window AC unit, it’s important to prioritize your safety and that of those assisting you. Use proper lifting techniques, take breaks if needed, and communicate effectively to ensure a smooth and injury-free process.
With the window AC unit successfully removed from the window, you can now move on to the final step of cleaning and storing the unit properly.
Step 7: Clean and store the AC unit
Now that you have successfully removed the window AC unit from the window, it’s essential to clean and store it properly to ensure its longevity and functionality in the future. Cleaning the unit will help remove any dirt, debris, or pollutants that may have accumulated over time, while proper storage will protect it from damage and maintain its performance.
Follow these steps to clean and store the AC unit:
- Inspect the unit for dirt and debris: Take a close look at the unit and remove any visible dirt, dust, or debris. Use a brush or a vacuum cleaner with a soft brush attachment to gently clean the exterior and the front grille.
- Clean the filters: The filters are a critical component of the AC unit that trap dust and pollutants. Remove the filters and carefully clean them according to the manufacturer’s instructions. If the filters are damaged or significantly dirty, it may be a good idea to replace them.
- Clean the condenser coils: The condenser coils are located on the back or side of the unit and are responsible for dissipating heat. Use a soft brush or a coil cleaning brush to remove any dirt or lint that has accumulated on the coils.
- Clean the drainage channels: Check the drainage channels for any blockages or clogs. Use a small brush or a piece of wire to clear any debris from the channels to ensure proper drainage of condensation water.
- Allow the unit to dry completely: After cleaning, allow the unit to dry completely before storing it. Place it in a well-ventilated area and ensure that all parts are dry to prevent the growth of mold or mildew.
- Store the unit in a safe location: Find a clean and dry location to store the AC unit until it is needed again. If possible, store it in its original packaging or wrap it in a protective cover to shield it from dust and moisture.
- Label and organize: As you store the unit, consider labeling it with the date and any other necessary information. This will make it easier to identify and retrieve when you need it again in the future.
By following these steps, you can ensure that your window AC unit remains clean and well-maintained while in storage. Proper cleaning and storage extend the lifespan of the unit and help it perform at its best when you reinstall it or use it again.
With the cleaning and storing process complete, you have successfully removed and prepared your window AC unit for safekeeping. Whether you’re moving, cleaning, or simply storing the unit for the off-season, these steps will guide you through the process with ease and efficiency.
Remember to consult the manufacturer’s instructions for specific guidelines on cleaning and storing your specific model of window AC unit. Following their recommendations will help ensure optimal performance and longevity for your unit.
Now that you’re equipped with the knowledge and steps to remove and store your window AC unit, you can confidently tackle this task whenever the need arises.
Conclusion
Removing a window AC unit may seem like a daunting task, but with the right knowledge and preparation, it can be a straightforward and safe process. By following the step-by-step guide provided in this article, you can confidently remove your window AC unit and prepare it for storage or other purposes.
Throughout the process, it is crucial to prioritize your safety and the safety of those assisting you. Take the time to gather the necessary supplies, follow the safety precautions, and use proper lifting techniques when removing the unit from the window.
Additionally, cleaning and storing the AC unit properly is essential to maintain its performance and prolong its lifespan. Take the time to clean the unit, including the filters, condenser coils, and drainage channels. Ensure that the unit is completely dry before storing it in a clean and dry location.
Remember to consult the manufacturer’s instructions for your specific model of window AC unit, as they may provide additional recommendations and guidelines for removal, cleaning, and storage.
By following these steps and adhering to the manufacturer’s instructions, you can confidently remove your window AC unit and ensure that it remains in good condition for future use.
We hope that this guide has been helpful in assisting you with the removal process of your window AC unit. With the proper knowledge and preparation, you can successfully remove and store your unit, making it a hassle-free experience.
Now that you have the knowledge and confidence, go ahead and tackle the task of removing your window AC unit with ease!
Frequently Asked Questions about How To Remove A Window AC Unit
Was this page helpful?
At Storables.com, we guarantee accurate and reliable information. Our content, validated by Expert Board Contributors, is crafted following stringent Editorial Policies. We're committed to providing you with well-researched, expert-backed insights for all your informational needs.


0 thoughts on “How To Remove A Window AC Unit”