Articles
How To Seal Window AC Unit
Modified: September 2, 2024
Learn how to effectively seal your window AC unit with these informative articles. Ensure maximum efficiency and comfort in your home.
(Many of the links in this article redirect to a specific reviewed product. Your purchase of these products through affiliate links helps to generate commission for Storables.com, at no extra cost. Learn more)
Introduction
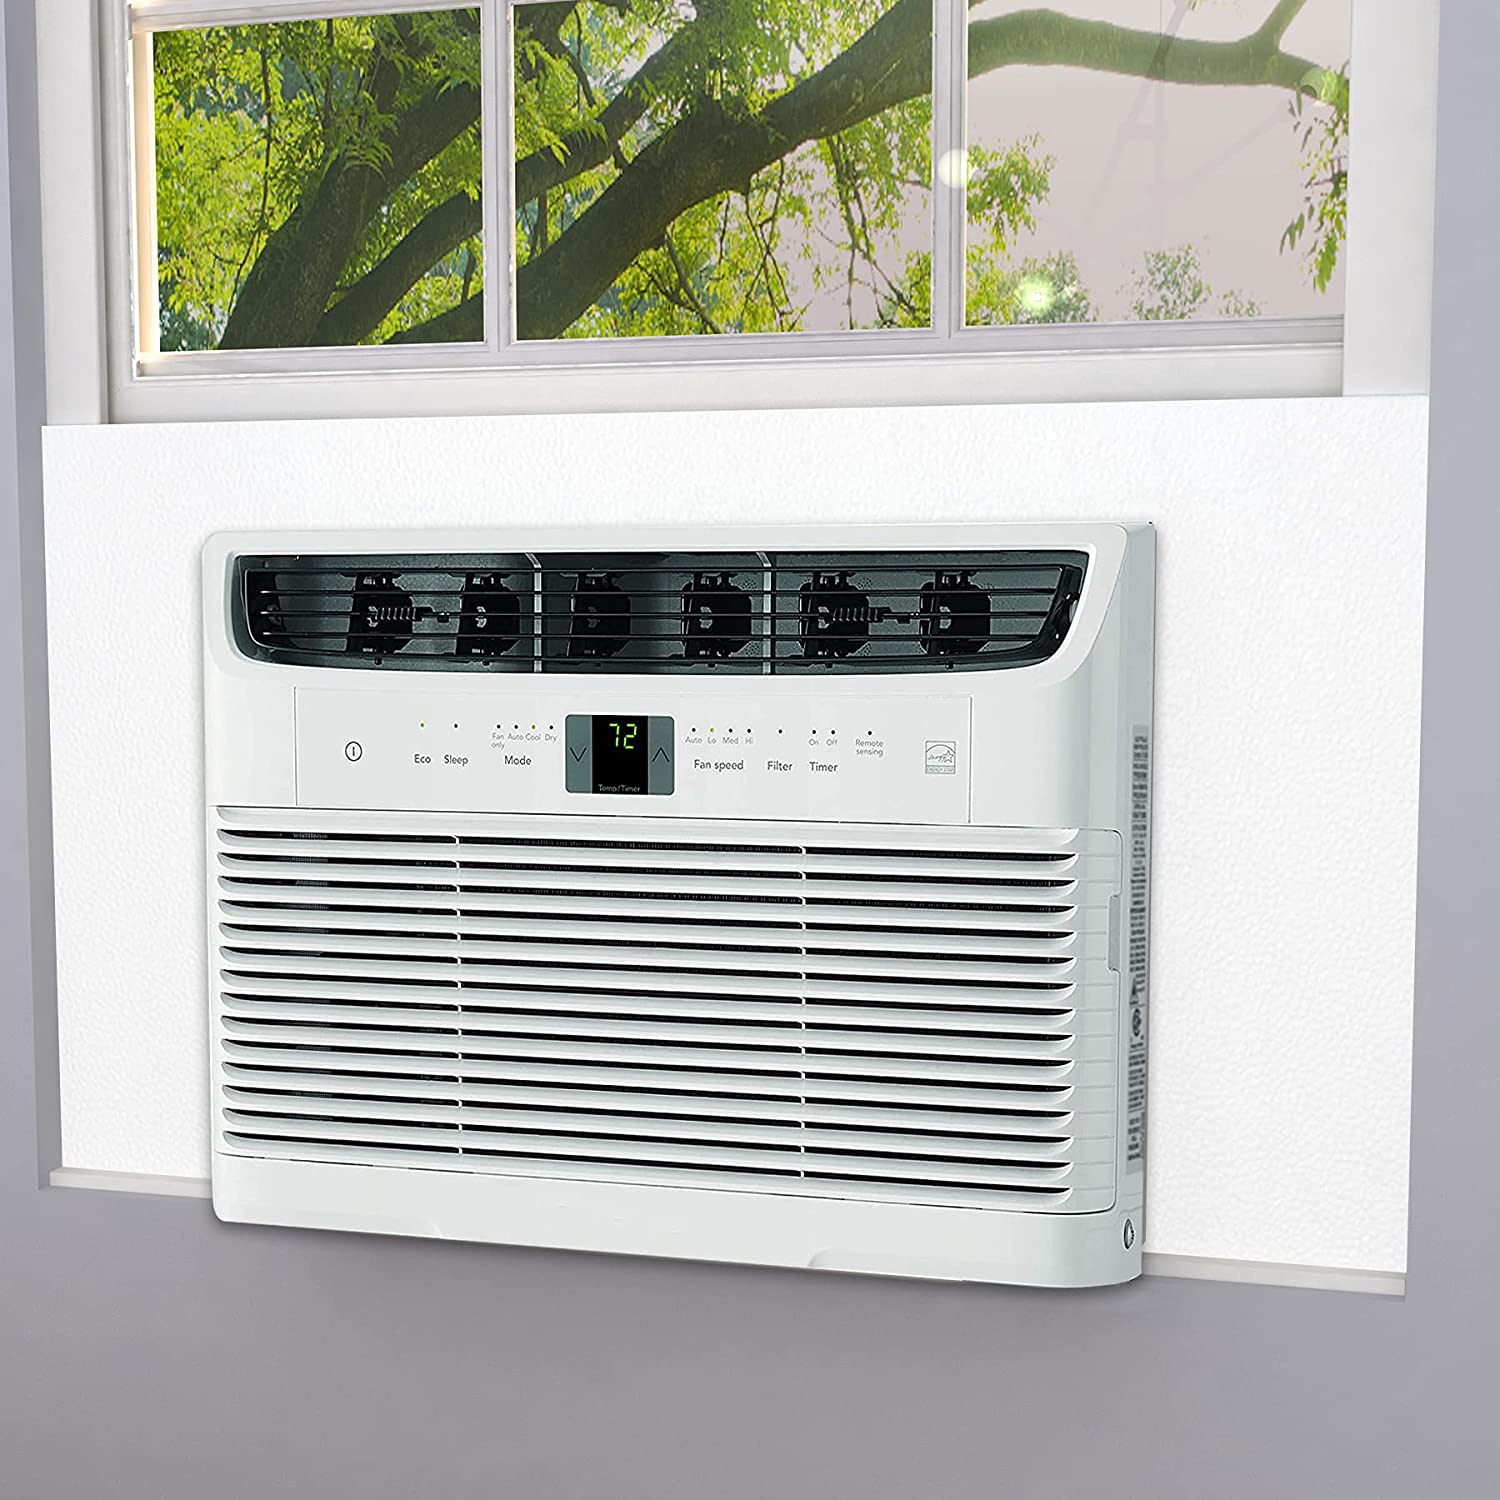
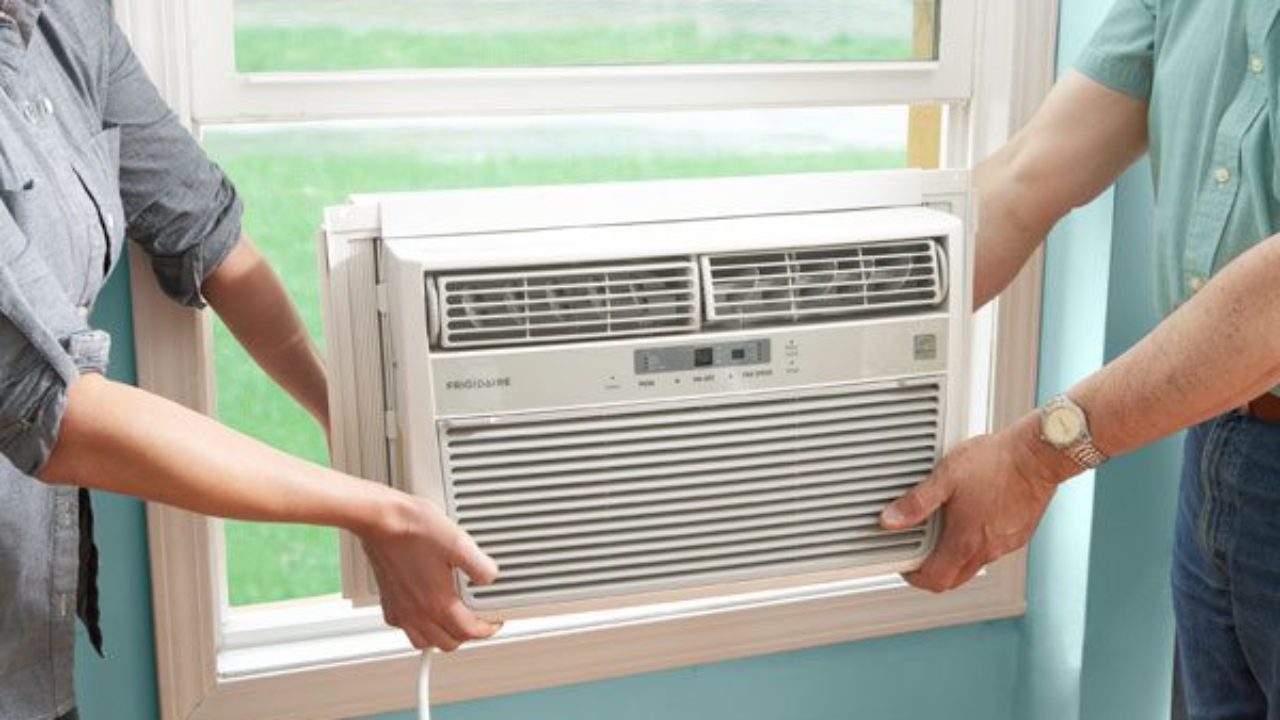
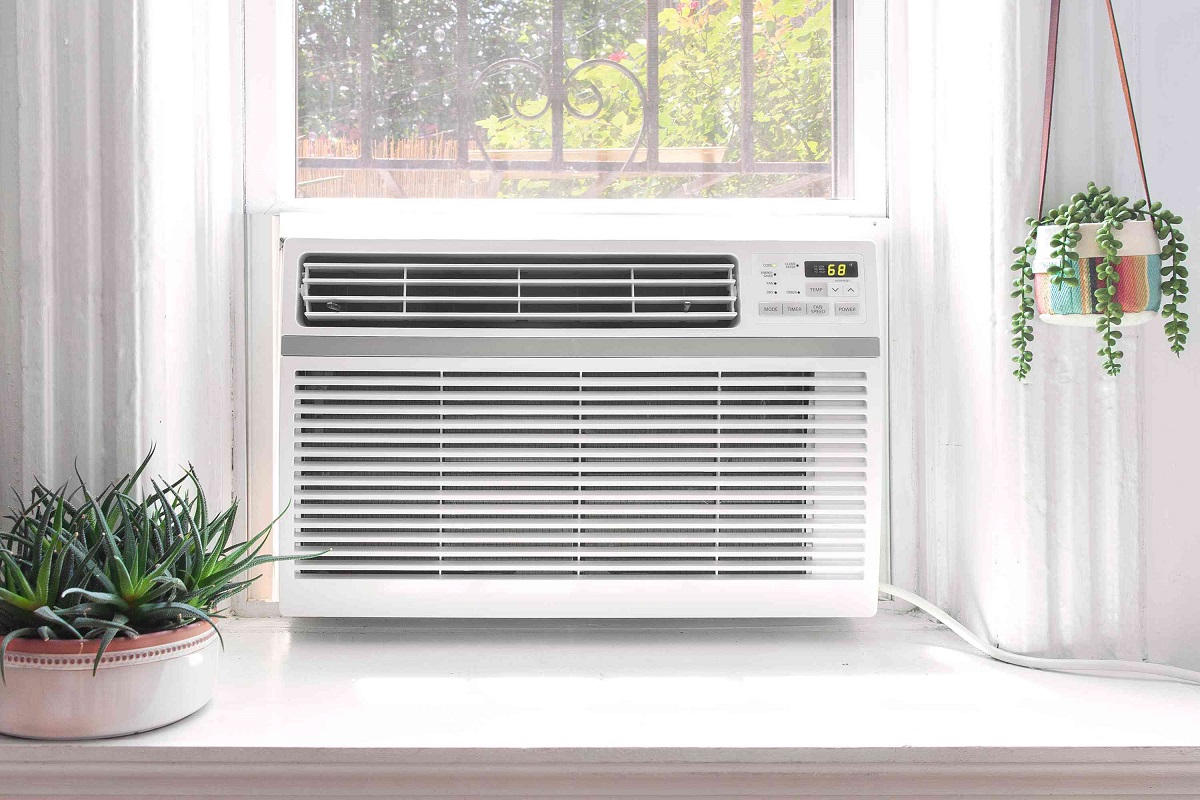
Window air conditioning units are a popular choice for cooling individual rooms or small spaces. However, if not properly sealed, these units can let in hot air from outside, making them less effective and energy-efficient. In order to optimize the performance of your window AC unit, it is important to seal any gaps or leaks around the unit.
In this article, we will guide you through the process of sealing your window AC unit to ensure maximum cooling efficiency. We will discuss the tools and materials you will need, as well as the step-by-step process to effectively seal your unit. By following these instructions, you can keep your room cool while minimizing energy consumption and saving on utility bills.
Key Takeaways:
- Properly sealing your window AC unit is essential for maximizing cooling efficiency and saving on energy bills. Follow the step-by-step guide to ensure a tight and secure seal, preventing air leaks and drafts.
- Testing your window AC unit after sealing is crucial to identify any remaining gaps and ensure optimal cooling performance. Address any issues promptly to prevent energy wastage and maintain a comfortable indoor environment.
Read also: 7 Best AC Window Seal for 2025
Tools and Materials Needed
Before you begin sealing your window AC unit, gather the following tools and materials:
- Measuring tape
- Scissors or utility knife
- Cleaning solution or mild detergent
- Sponge or cloth
- Foam tape
- Weatherstripping
- Adhesive (if necessary)
- Optional: Caulk and caulk gun
You may already have some of these items on hand, but if not, they can easily be found at your local hardware store or online.
Ensure that you have all the necessary tools and materials before proceeding with the sealing process. This will help you complete the task efficiently and without interruptions.
Step 1: Clean the AC Unit
Before you start sealing your window AC unit, it is essential to ensure that it is clean and free from any dust, debris, or dirt. A clean surface will allow for proper adhesion of the foam tape and weatherstripping, ensuring a tight seal.
Here’s how to clean your AC unit:
- Switch off and unplug the AC unit from the power source.
- Remove the front cover or grille of the unit by unscrewing or unclipping it, following the manufacturer’s instructions.
- Mix a cleaning solution or mild detergent with water in a basin or bucket.
- Dip a sponge or cloth into the cleaning solution and gently wipe the interior components of the AC unit, including the fan blades, coils, and vents.
- Pay close attention to removing any dirt or debris that may have accumulated on the surfaces.
- Rinse the sponge or cloth with clean water and wipe away any soap residue.
- Allow the AC unit to air dry completely before continuing with the sealing process.
- If necessary, clean the front cover or grille with the same cleaning solution and rinse it thoroughly.
- Once the AC unit and cover are dry, reattach the front cover or grille securely.
By taking the time to clean your AC unit, you can ensure proper functioning and increase the efficiency of the sealing process.
Step 2: Inspect the Foam Tape
Inspecting the foam tape that is currently in place around your window AC unit is an important step in the sealing process. Over time, the foam tape may become worn, damaged, or lose its adhesive properties, compromising the efficiency of the seal.
Follow these steps to inspect the foam tape:
- Locate the existing foam tape around the edges of the AC unit where it meets the window frame.
- Observe the condition of the foam tape. Look for any signs of wear, damage, or deterioration, such as cracks or gaps that may affect the seal.
- Check the adhesion of the foam tape. Ensure that it is sticking firmly to both the window frame and the AC unit without any signs of peeling or detachment.
- If the foam tape appears damaged or has lost its adhesive properties, it will need to be replaced. Proceed to the next step to remove the old foam tape.
- If the existing foam tape is still in good condition and securely adhered, you can skip to Step 4.
By thoroughly inspecting the foam tape, you can determine whether it needs to be replaced or if it can be reused for an effective seal. Maintaining a tight and secure seal is crucial for optimal cooling efficiency and energy savings.
Step 3: Remove Old Foam Tape
Once you have inspected the condition of the foam tape around your window AC unit and determined that it needs to be replaced, it’s time to remove the old foam tape. Removing the old tape will ensure a clean surface for applying the new foam tape and creating a tight seal.
Follow these steps to remove the old foam tape:
- Starting at one corner of the AC unit, gently peel back the old foam tape from the window frame. Use your fingers or a small pry tool to carefully lift the tape and avoid damaging the window frame or the AC unit.
- Continue peeling the tape along the edges of the AC unit until all the old foam tape has been removed.
- If there are any adhesive residue or stubborn remnants of the old tape remaining on the window frame or the AC unit, use a mild adhesive remover and a clean cloth to wipe away the residue.
- Make sure to thoroughly clean the area where the old foam tape was removed to ensure a smooth and clean surface for applying the new foam tape.
Removing the old foam tape is an essential step in the sealing process, as it prepares the window frame and the AC unit for the application of the new foam tape. Double-check that all remnants of the old tape and adhesive have been removed before proceeding to the next step.
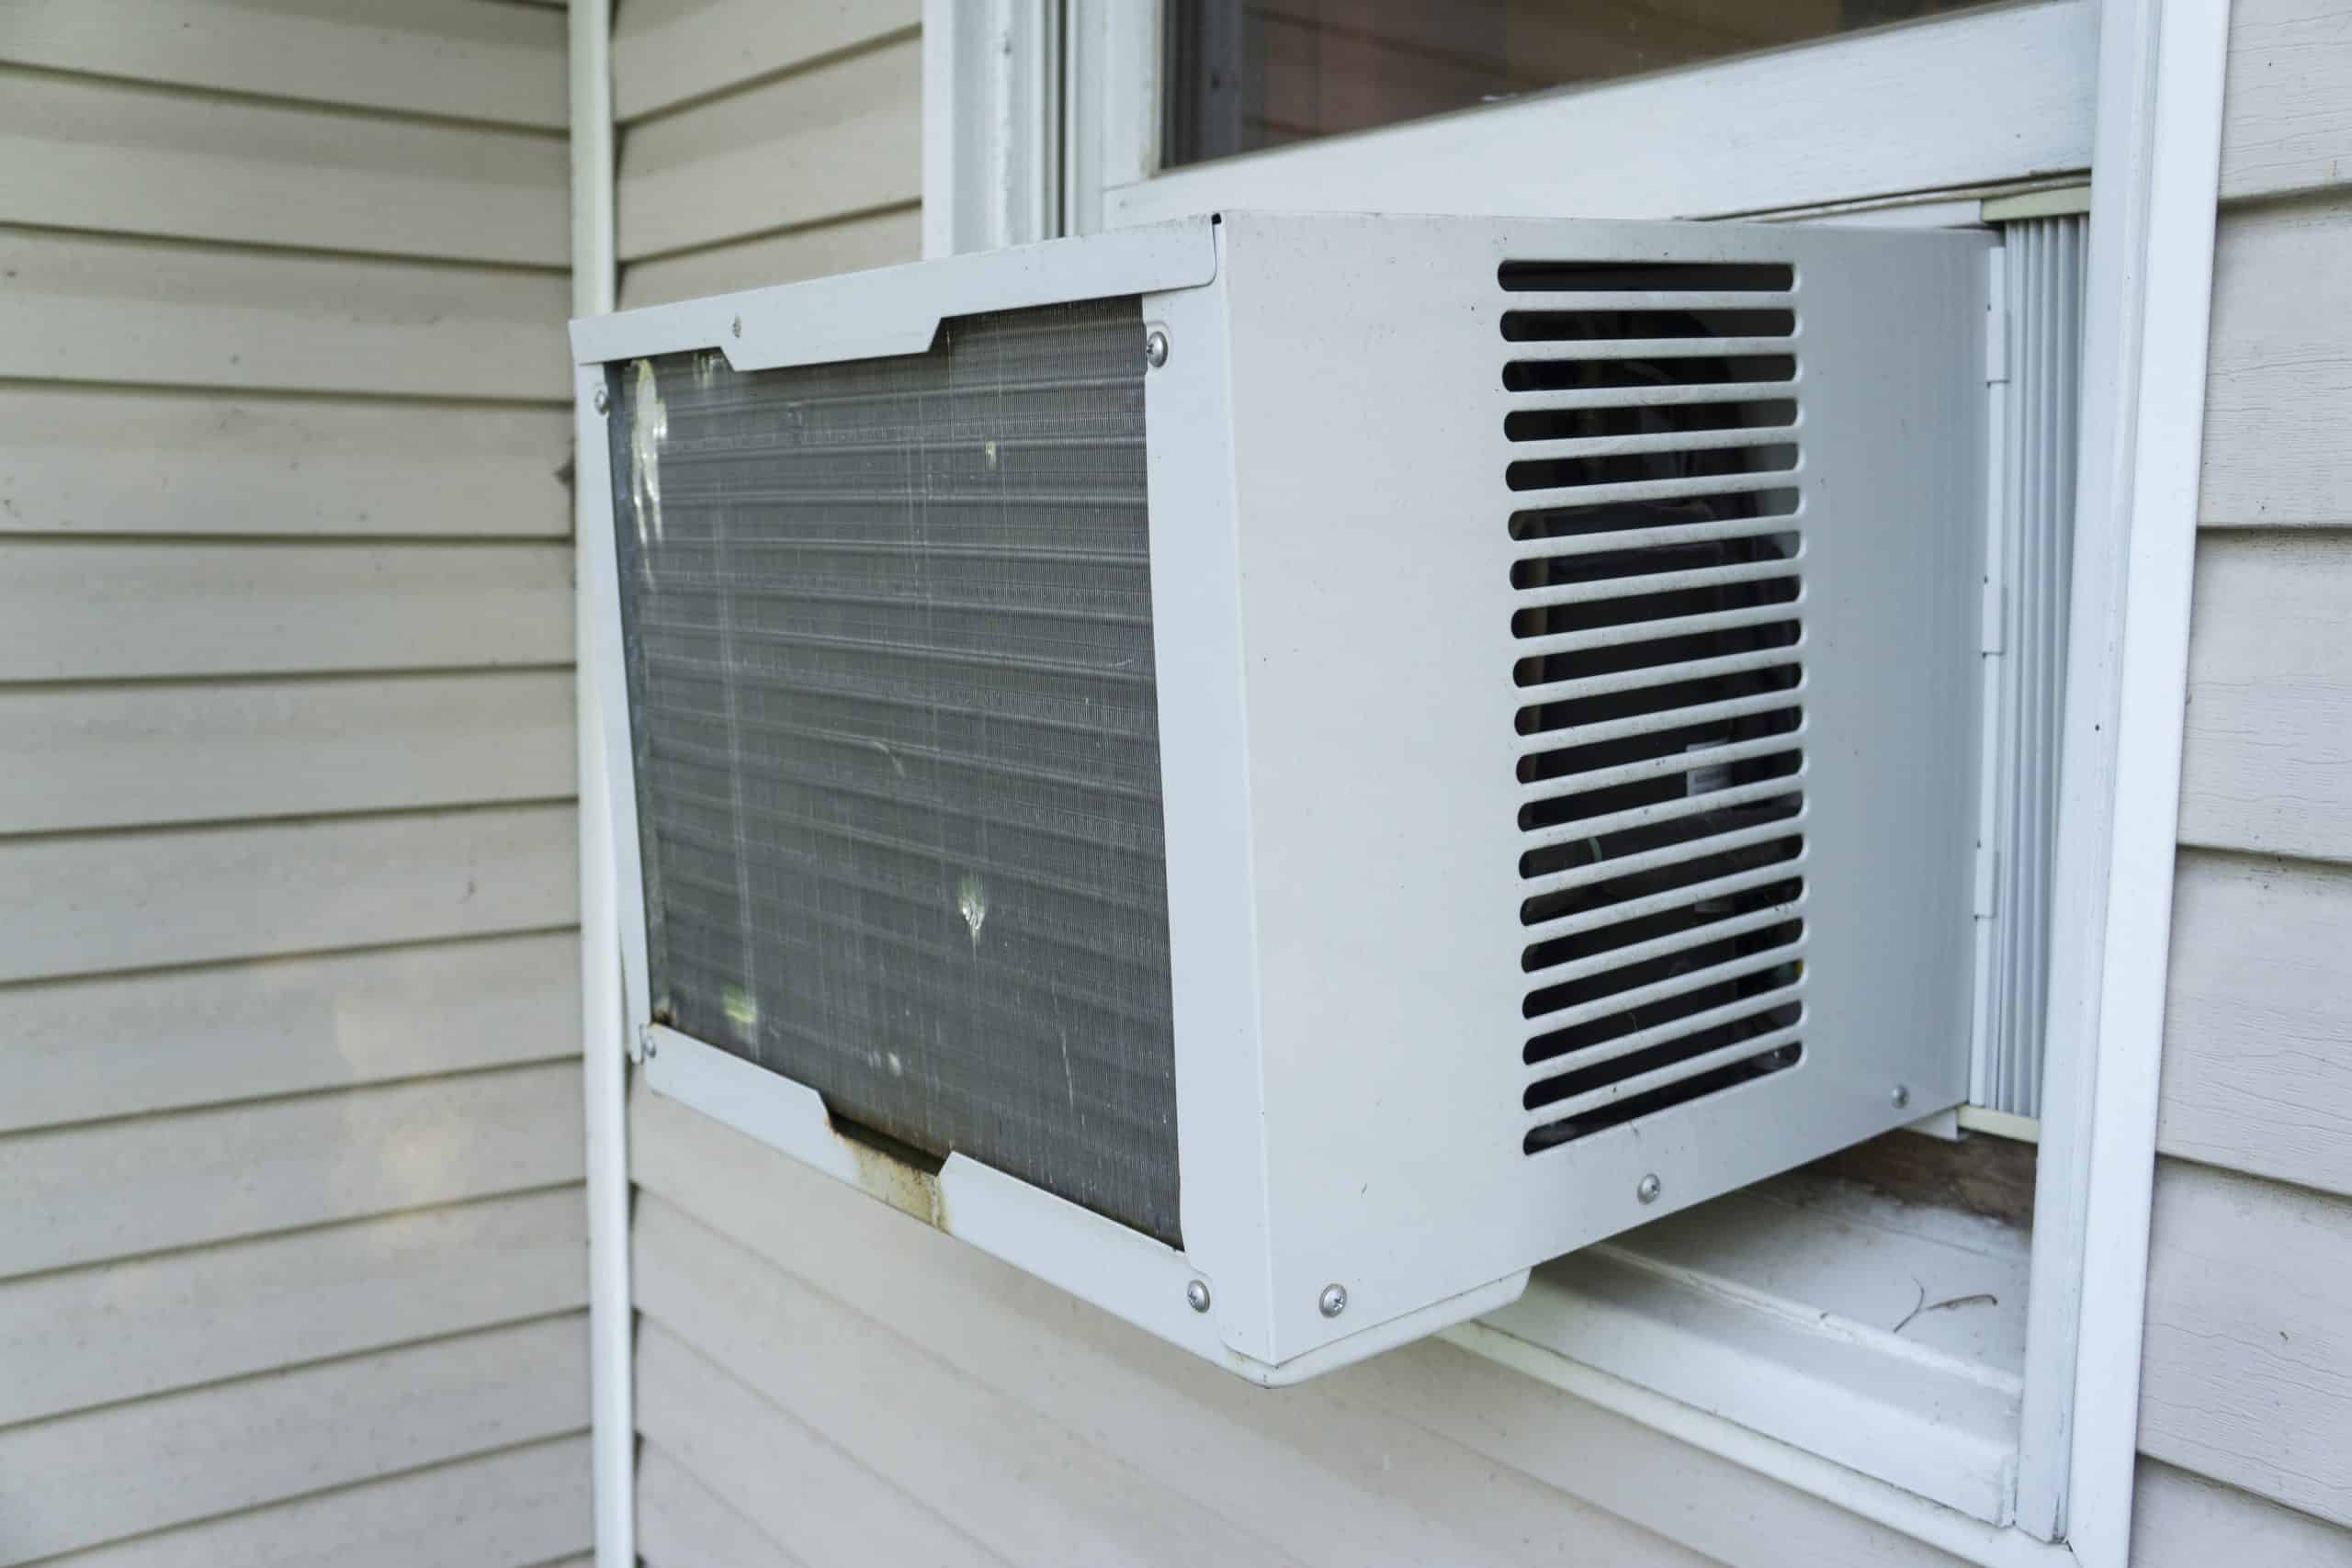
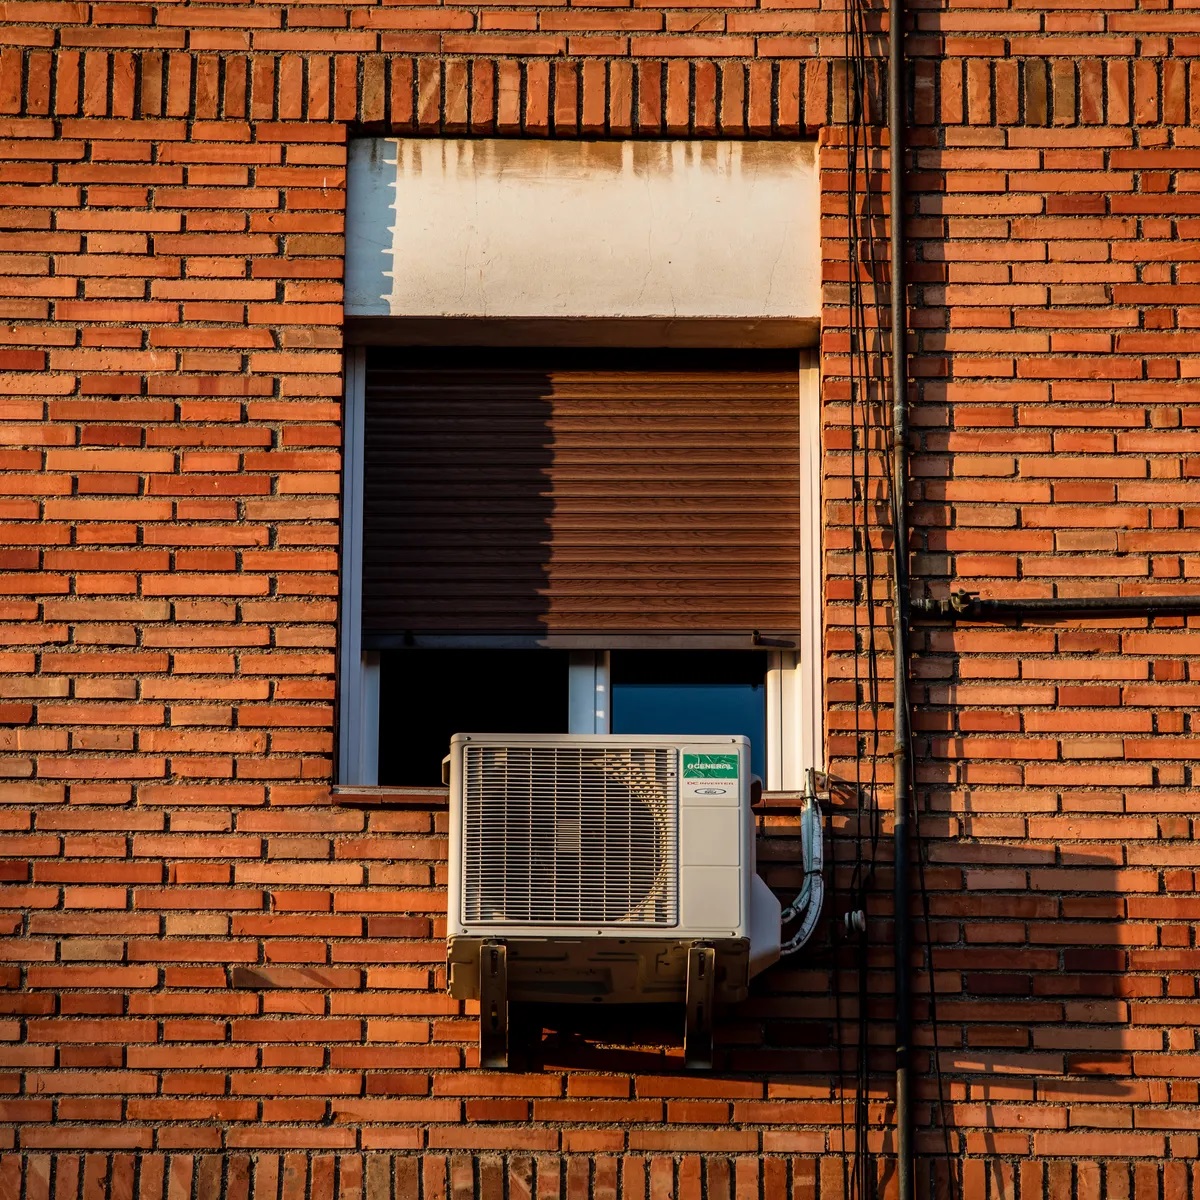
Clean the area around the window AC unit and ensure the unit is properly sealed with weatherstripping or foam tape to prevent air leaks. This will improve energy efficiency and cooling performance.
Read more: How To Remove A Window AC Unit
Step 4: Measure and Cut New Foam Tape
After removing the old foam tape from your window AC unit, the next step is to measure and cut the new foam tape. Accurately measuring and cutting the tape ensures a proper fit and a secure seal between the AC unit and the window frame.
Follow these steps to measure and cut the new foam tape:
- Measure the length of each side of the window frame where the AC unit will be placed. Use a measuring tape to get precise measurements.
- Transfer the measurements to the foam tape, marking the appropriate lengths on the adhesive side using a pen or pencil.
- Using a pair of scissors or a utility knife, carefully cut the foam tape along the marked lines.
- Ensure that the cut foam tape pieces match the lengths of the corresponding sides of the window frame.
- For curved or angled areas, you may need to cut the foam tape at an angle to create a seamless fit. Take your time and make precise cuts for a secure seal.
It’s important to measure and cut the new foam tape accurately to achieve a snug and effective seal. Double-check your measurements and make any necessary adjustments before proceeding to the next step.
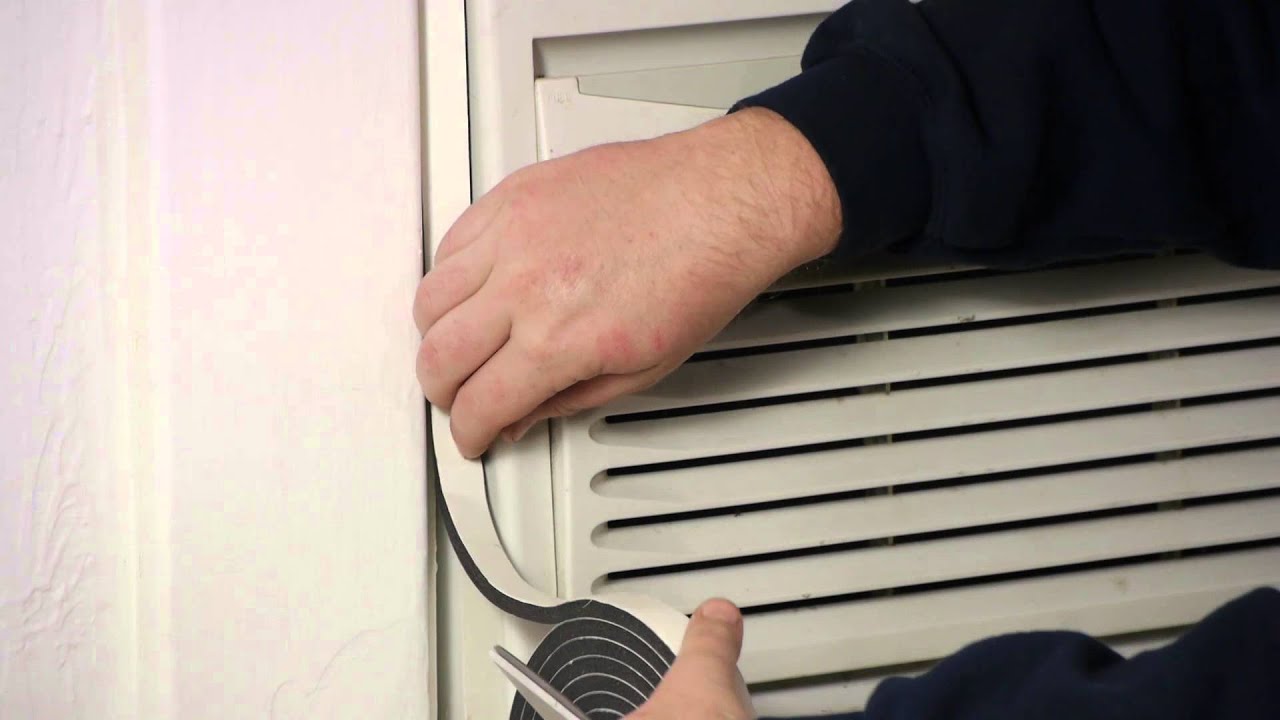
Step 5: Apply New Foam Tape
With the new foam tape cut to the proper measurements, it’s time to apply it to your window AC unit. Applying the new foam tape will create a tight seal between the unit and the window frame, preventing hot air from entering and improving the efficiency of your cooling system.
Follow these steps to apply the new foam tape:
- Starting at one corner of the window frame, peel off the backing paper from the adhesive side of the foam tape.
- Align the foam tape with the edge of the window frame and press it firmly in place, ensuring that the foam makes full contact with both the unit and the frame.
- Continue applying the foam tape all the way around the unit, following the shape of the window frame.
- For curved or angled areas, gently stretch the foam tape to conform to the shape of the frame, maintaining continuous contact between the foam and the unit.
- Press down firmly along the entire length of the foam tape to secure it in place.
- Repeat the process for each side of the window frame, making sure the foam tape is even and smooth.
Ensure that the foam tape is properly adhered and provides a tight seal between the window frame and the AC unit. This will help to effectively seal any gaps or leaks and improve the overall performance of your window AC unit.
Step 6: Seal with Weatherstripping
In addition to the foam tape, using weatherstripping is another effective method to further seal your window AC unit. Weatherstripping helps to enhance the seal by providing an extra barrier against drafts and outside air.
Follow these steps to seal your window AC unit with weatherstripping:
- Cut weatherstripping strips to match the length of each side of the window frame where the AC unit is installed.
- Peel off the backing paper from the adhesive side of the weatherstripping.
- Align the weatherstripping along the window frame, pressing it firmly against the unit.
- Continue applying weatherstripping along the remaining sides of the window frame, making sure it is evenly placed.
- For curved or angled areas, carefully stretch the weatherstripping to fit the contours of the frame, maintaining a consistent seal.
- Press down firmly on the weatherstripping to ensure it adheres securely.
The weatherstripping will enhance the seal created by the foam tape, providing an extra layer of insulation. This will further prevent any air leaks and improve the energy efficiency of your window AC unit.
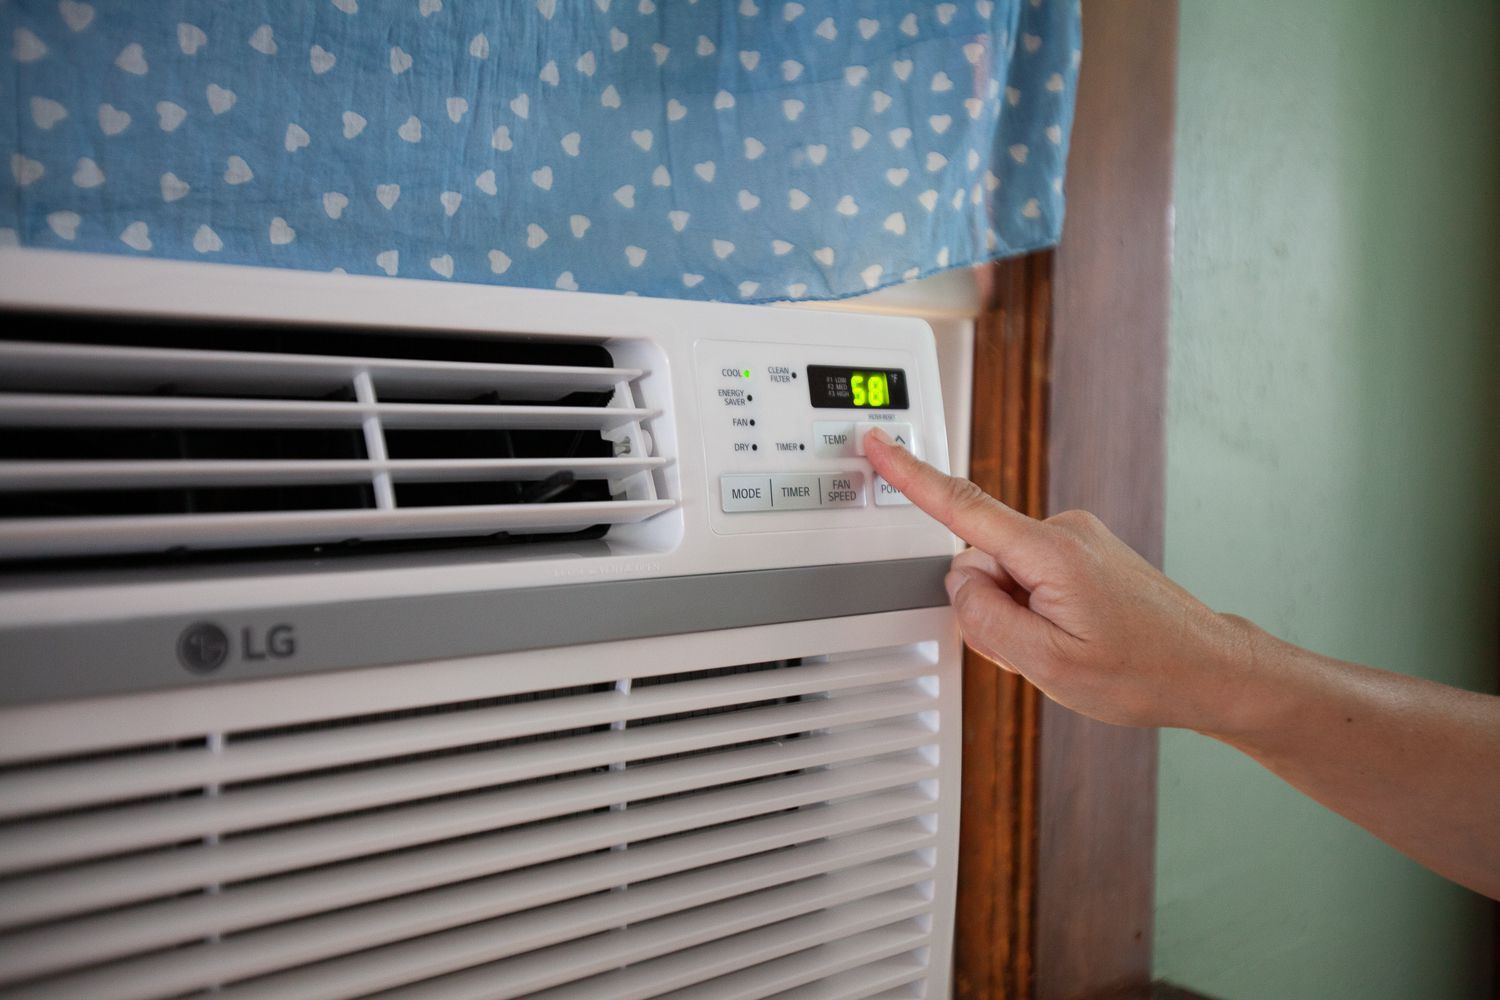
Step 7: Test the Window AC Unit
After completing the sealing process, it’s important to test your window AC unit to ensure that it is properly sealed and functioning optimally. Testing the unit will help you identify any remaining gaps or issues that may need to be addressed to achieve maximum cooling efficiency.
Follow these steps to test your window AC unit:
- Plug in and turn on the AC unit.
- Set the desired temperature and fan speed according to your preferences.
- Wait for a few minutes and observe the cooling performance of the unit.
- Feel for any drafts or air leakage around the edges of the unit or the window frame.
- If you detect any air leakage or drafts, identify the specific areas where the seal may not be effective.
- Reapply foam tape or weatherstripping in those areas to create a tighter seal.
- Once you have addressed any potential issues, retest the AC unit to ensure that the improvements have resolved the problem.
- If necessary, repeat the process of applying foam tape or weatherstripping until you achieve a tight and secure seal.
Testing your window AC unit will help you identify any areas that require further attention to ensure optimal cooling efficiency. It’s important to address any air leaks or drafts promptly to prevent energy wastage and maintain a comfortable indoor environment.
Read more: How To Recharge Window AC Unit
Conclusion
Sealing your window AC unit is a crucial step in maximizing its cooling efficiency and preventing energy wastage. By properly sealing any gaps or leaks around the unit, you can ensure that it functions optimally and effectively cools your space.
In this article, we have provided a comprehensive guide on how to seal your window AC unit. We discussed the tools and materials you will need, as well as the step-by-step process to follow. By cleaning the AC unit, inspecting and removing old foam tape, measuring and cutting new foam tape, applying the new foam tape, and sealing with weatherstripping, you can create a tight and secure seal between the unit and the window frame.
It is essential to test the window AC unit after sealing to ensure that there are no air leaks or drafts. If any areas require additional attention, make the necessary adjustments by reapplying foam tape or weatherstripping until you achieve an effective seal.
By sealing your window AC unit, you can enhance its energy efficiency, save on utility bills, and enjoy a cool and comfortable living environment. Take the time to properly seal your AC unit using the steps outlined in this article, and enjoy the benefits of optimized cooling performance.
Frequently Asked Questions about How To Seal Window AC Unit
Was this page helpful?
At Storables.com, we guarantee accurate and reliable information. Our content, validated by Expert Board Contributors, is crafted following stringent Editorial Policies. We're committed to providing you with well-researched, expert-backed insights for all your informational needs.


0 thoughts on “How To Seal Window AC Unit”