Articles
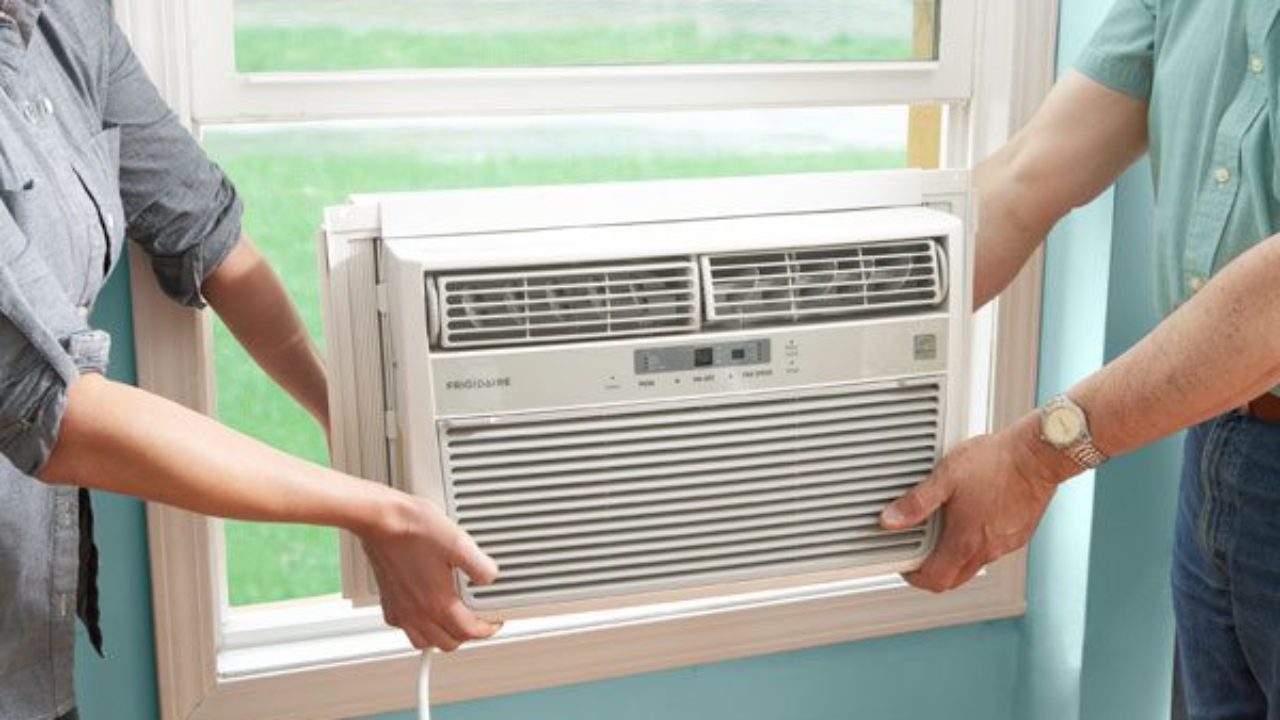
How To Recharge Window AC Unit
Modified: October 20, 2024
Looking for articles on how to recharge your window AC unit? Check out our informative guides and step-by-step instructions to keep your AC running smoothly.
(Many of the links in this article redirect to a specific reviewed product. Your purchase of these products through affiliate links helps to generate commission for Storables.com, at no extra cost. Learn more)
Introduction
Welcome to this comprehensive guide on how to recharge a window AC unit. Window air conditioners play a crucial role in keeping our homes comfortable during hot summer months. However, over time, the refrigerant levels in these units can become depleted, leading to diminished cooling performance. Recharging the AC unit is a simple and cost-effective solution to restore its efficiency and keep your living space cool.
In this article, we will discuss the step-by-step process of recharging a window AC unit. We will cover everything from gathering the necessary tools to checking the refrigerant levels and monitoring pressure levels. By following these instructions, you will be able to recharge your window AC unit and enjoy optimal cooling performance once again.
Before we begin, it is important to note that recharging an AC unit requires a basic understanding of its components and safety precautions. If you are not confident in your abilities or are uncomfortable working with electrical appliances, it is best to seek professional assistance. Safety should always be your top priority.
Now, let’s dive into the steps required to recharge a window AC unit and get your home back to a cool and comfortable temperature.
Key Takeaways:
- Recharging a window AC unit involves gathering tools, checking refrigerant levels, and monitoring pressure. Following safety precautions and manufacturer’s instructions is crucial for a successful recharge.
- After recharging, ensure proper ventilation, monitor pressure levels, and check for cool air output. Regular maintenance and early detection of low refrigerant levels can prevent cooling issues and save on energy costs.
Read more: How Much Is An AC Recharge
Step 1: Gather Necessary Tools and Equipment
Before starting the process of recharging your window AC unit, it is essential to gather all the necessary tools and equipment. Having everything prepared beforehand will ensure a smooth and efficient recharging process. Here are the tools and equipment you will need:
- Refrigerant: Check your AC unit’s manual or label to determine the type and amount of refrigerant required for recharging. You can purchase the appropriate refrigerant from an HVAC supply store.
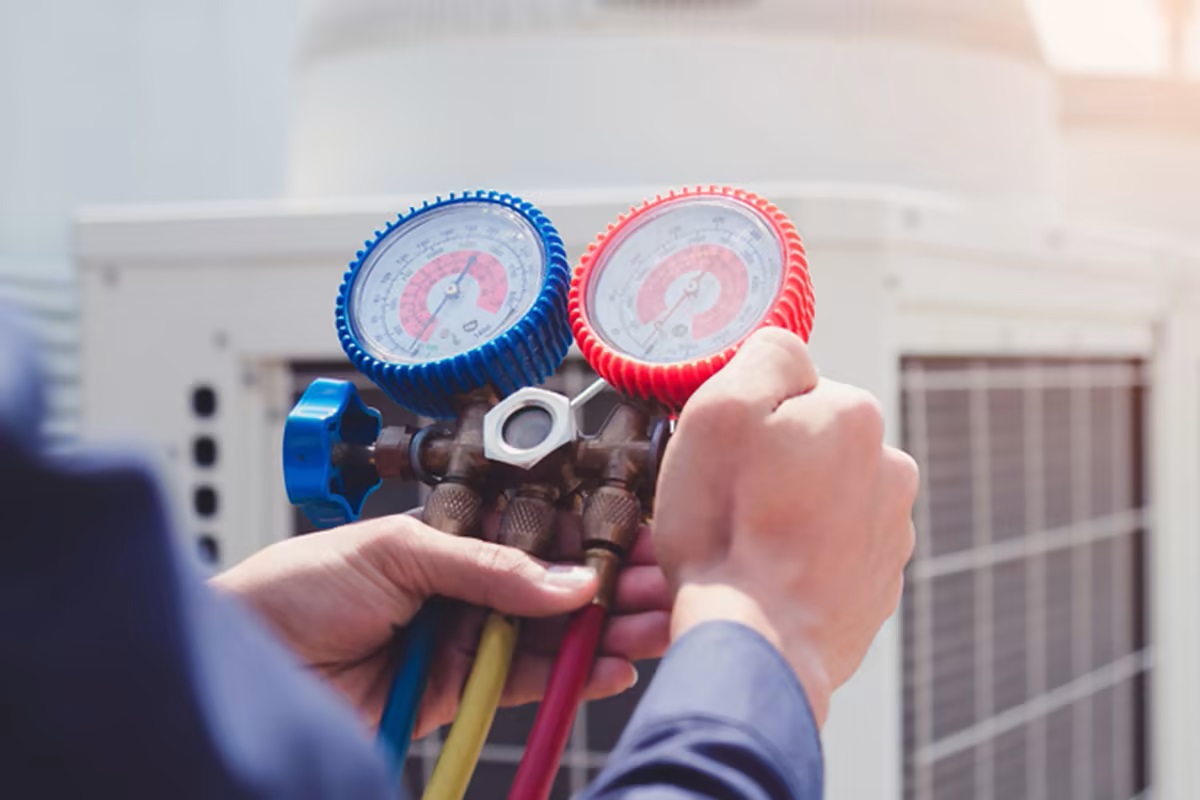
- Gauges: Gauges are used to measure the pressure levels of the refrigerant. They are essential for monitoring the recharging process accurately.
- Charging Hose: The charging hose connects the refrigerant canister to the AC unit. Make sure to use a hose that is compatible with your specific AC unit.
- Screwdriver or wrench: A screwdriver or wrench will be needed to remove any panels or covers that are obstructing access to the service valve.
- Protective gloves and eyewear: Recharging the AC unit involves working with chemicals and potential refrigerant leaks, so it is crucial to protect yourself with gloves and safety glasses.
- Rags or towels: Keep rags or towels handy to clean up any spills or leaks that may occur during the recharging process.
- Leak detector: A leak detector is an optional tool but can be useful in identifying any refrigerant leaks before starting the recharge.
- Owner’s manual: It is always a good idea to have the owner’s manual for your AC unit on hand. It provides valuable information about your specific model and may contain specific instructions for recharging.
Once you have gathered all the necessary tools and equipment, you are ready to move on to the next step: turning off the AC unit.
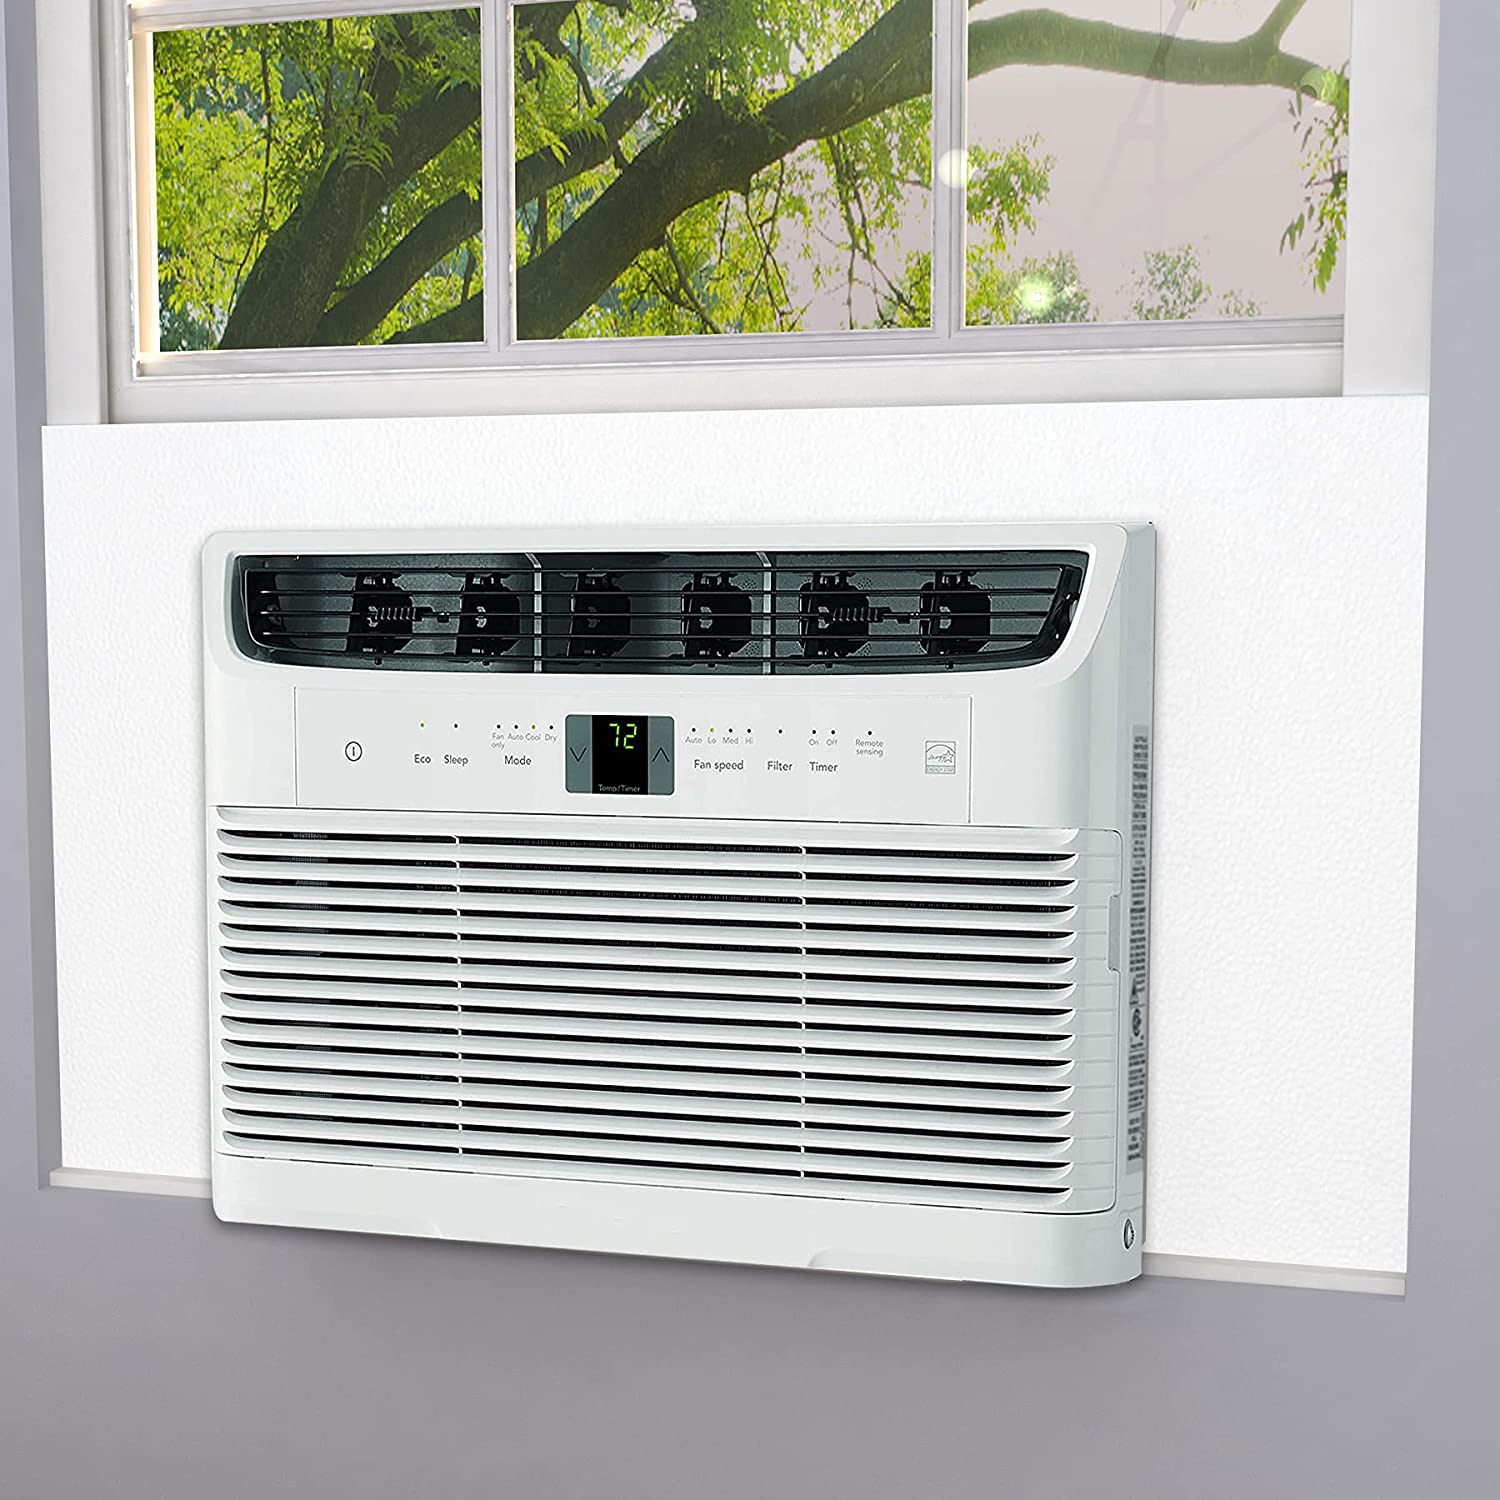
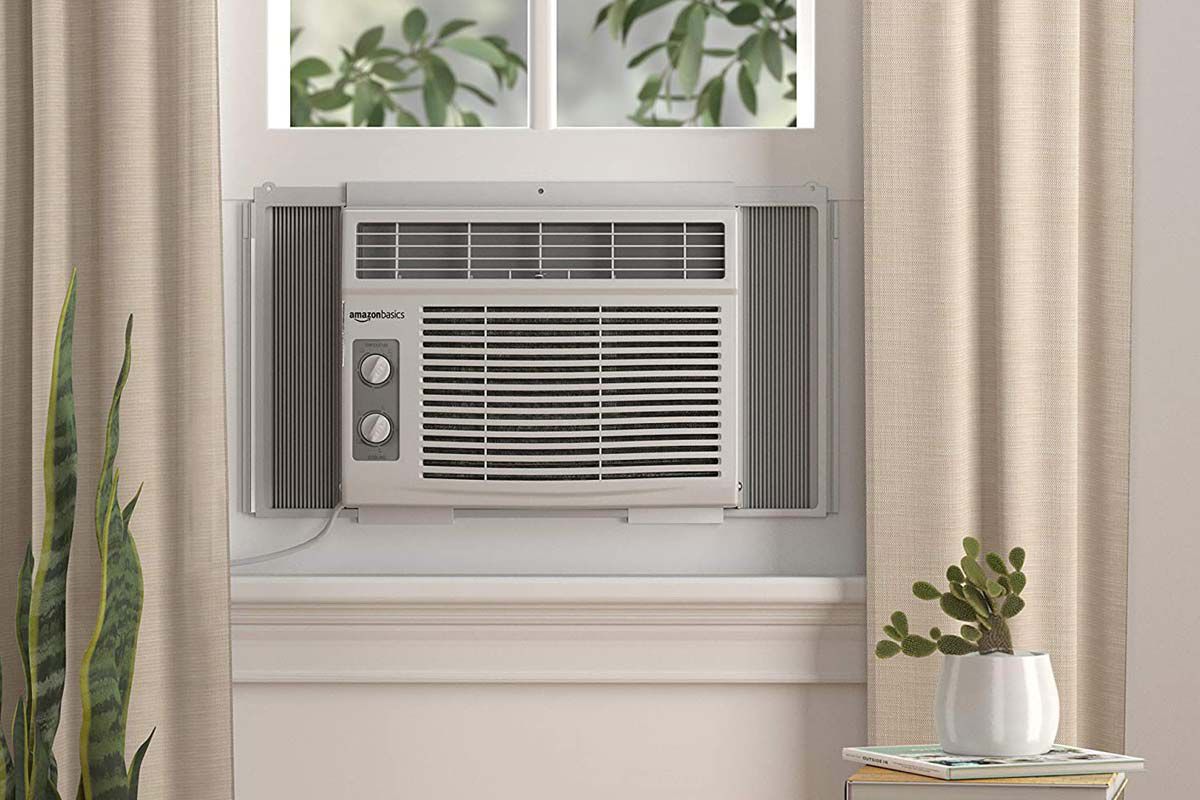
Step 2: Turn off the AC Unit
Now that you have gathered all the necessary tools and equipment, it’s time to turn off the AC unit before beginning the recharging process. This step is crucial to ensure your safety and prevent any accidents or damage to the unit.
Follow these steps to turn off the AC unit:
- Set the thermostat to “off”: Locate the thermostat control on your window AC unit and set it to the “off” position. This will prevent the unit from starting while you’re working on it.
- Unplug the unit: If your AC unit is plugged into a wall outlet, unplug it to cut off the electrical supply completely. This will protect you from any electrical shocks or accidents during the recharging process.
- Flip the circuit breaker: If your AC unit is hardwired to the electrical system, locate the circuit breaker that controls the unit and turn it off. This will ensure that no power flows to the unit while you’re working on it.
- Double-check the power: After performing the above steps, use a voltage tester to confirm that there is no power flowing to the AC unit. This extra precaution will provide peace of mind and ensure your safety.
Once you have turned off the AC unit and confirmed that there is no power supply to it, you can proceed to the next step: locating the service valve.
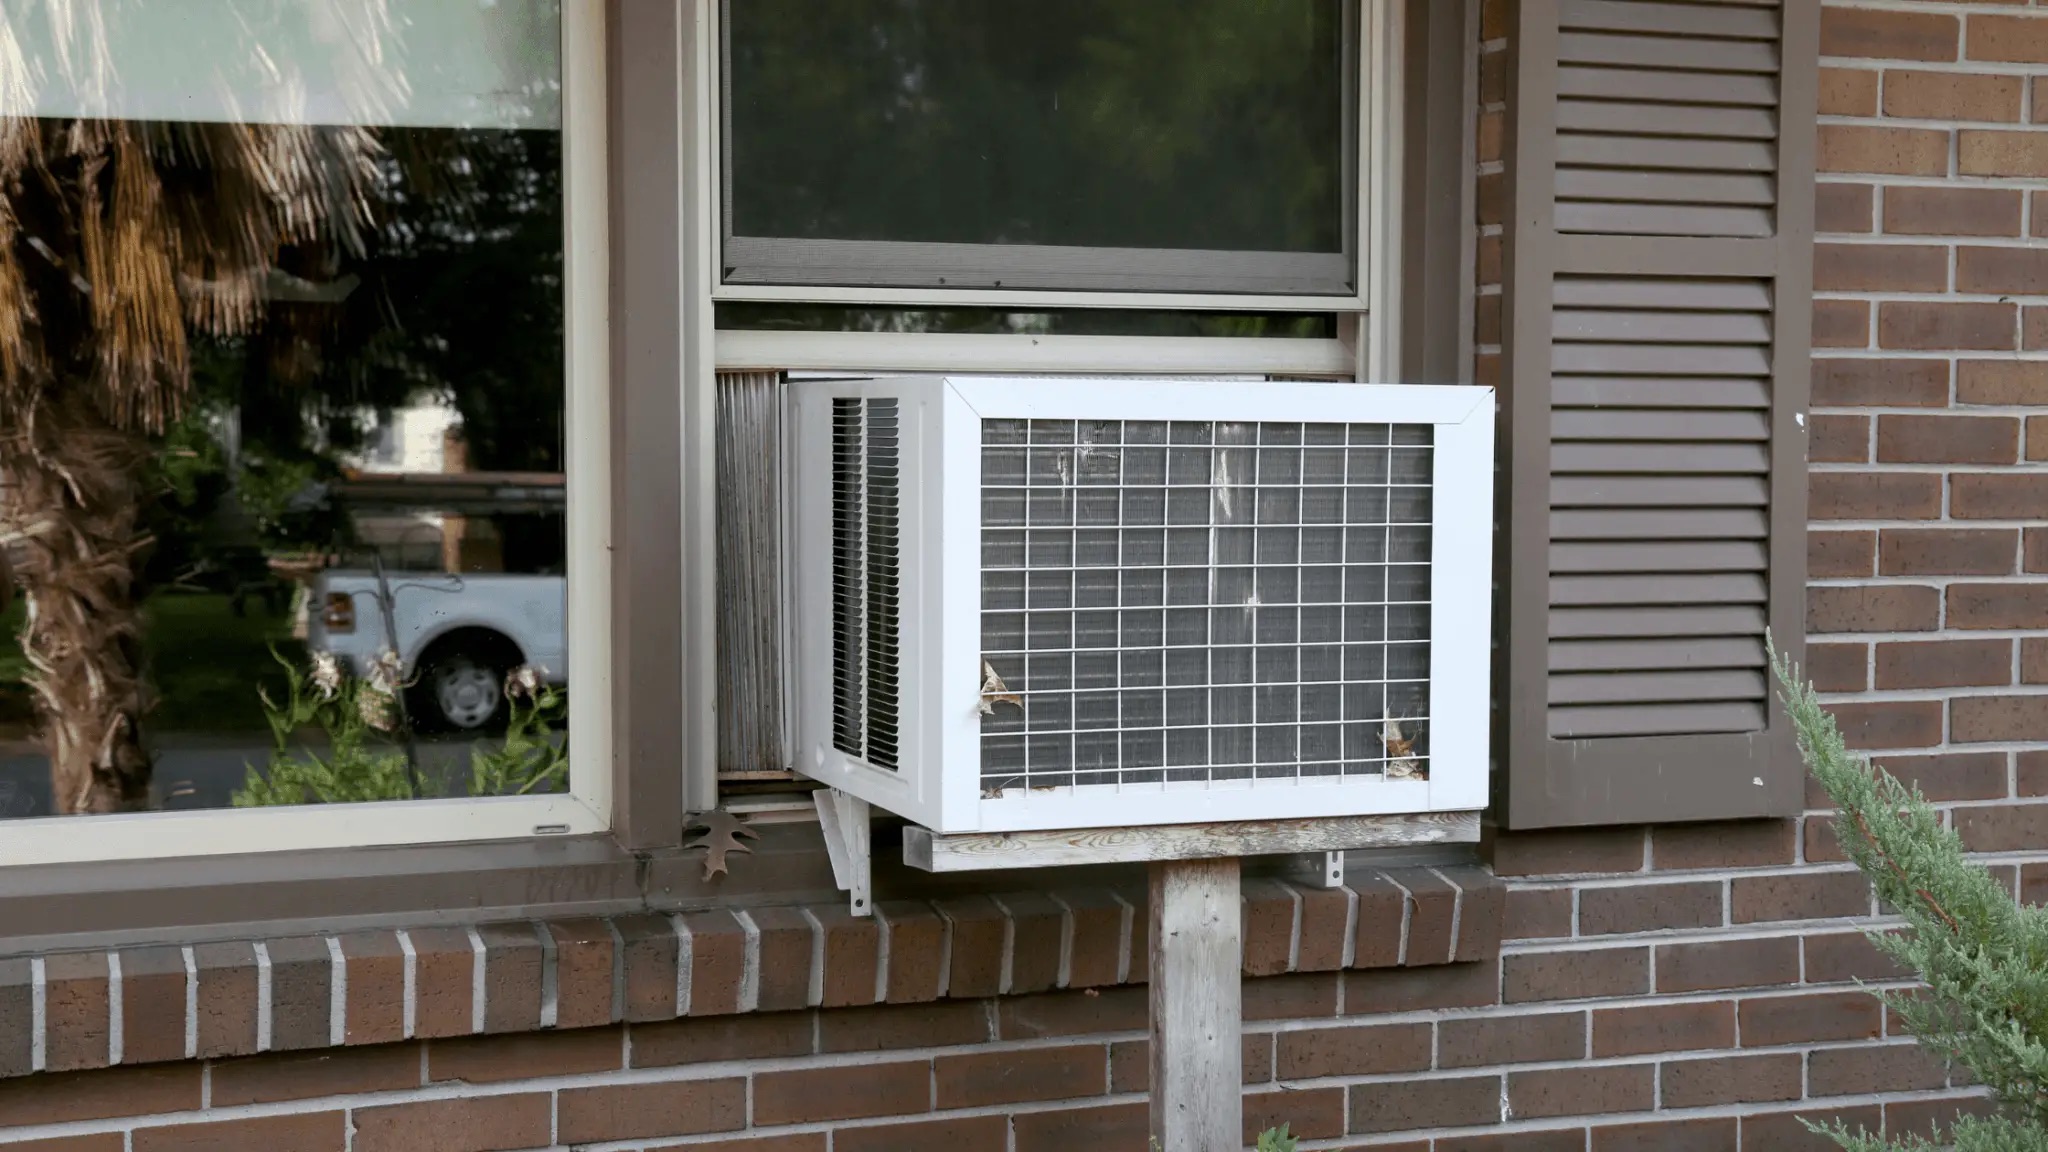
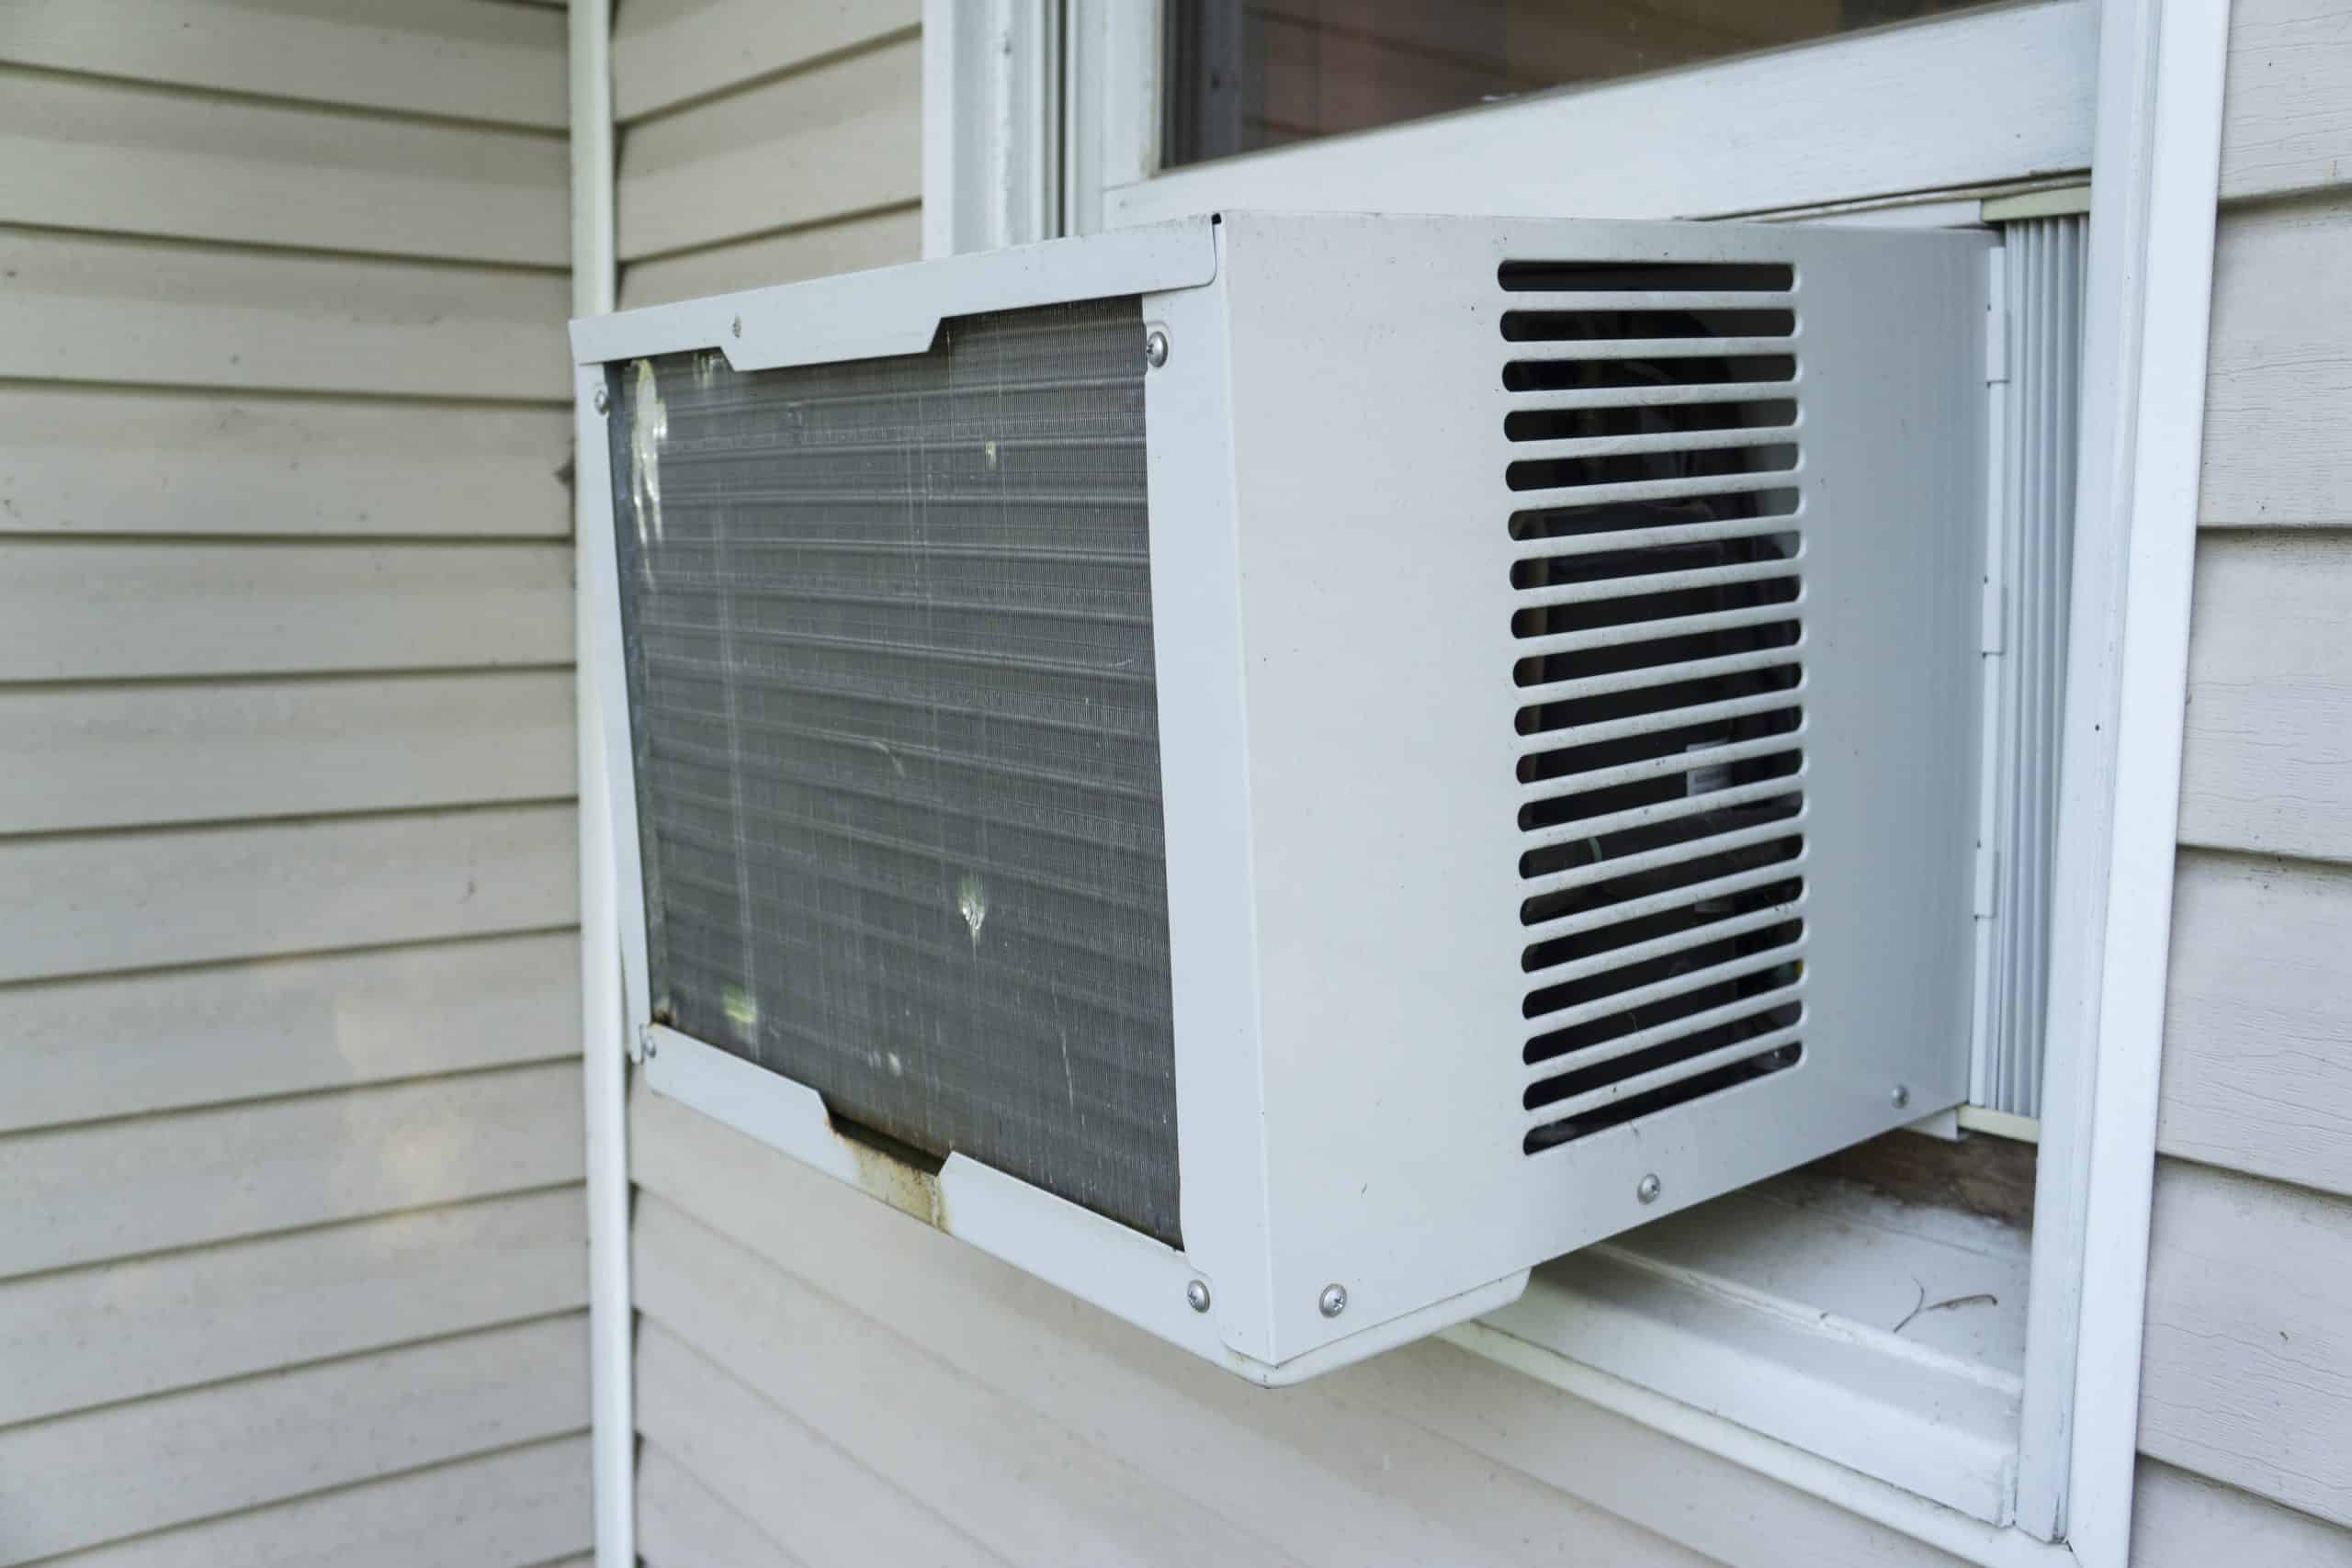
Step 3: Locate the Service Valve
Now that the AC unit is turned off, it’s time to locate the service valve. The service valve is the access point on the AC unit where you can connect the charging hose and recharge the refrigerant. The valve is typically located on the back or side of the unit and can be identified by its distinct shape and connection points.
Follow these steps to locate the service valve:
- Refer to the owner’s manual: Check the owner’s manual that came with your AC unit. It may contain specific instructions on the location of the service valve for your particular model.
- Inspect the AC unit: Take a close look at the back and sides of the AC unit. Look for any visible pipes or tubing. The service valve will typically be located near these components and may be marked with a label or cap.
- Look for the larger valve: The service valve will usually be larger in size compared to other valves or connections on the AC unit. It may have a hexagonal or square shape with a threaded connection point to attach the charging hose.
- Identify the high-pressure and low-pressure sides: The service valve will have two connection points: one for the high-pressure side and one for the low-pressure side. The high-pressure side is typically marked with a red cap and is connected to the smaller tube, while the low-pressure side is marked with a blue cap and is connected to the larger tube.
Once you have located the service valve and identified the high-pressure and low-pressure sides, you are ready to move on to the next step: attaching the charging hose.
Step 4: Attach the Charging Hose
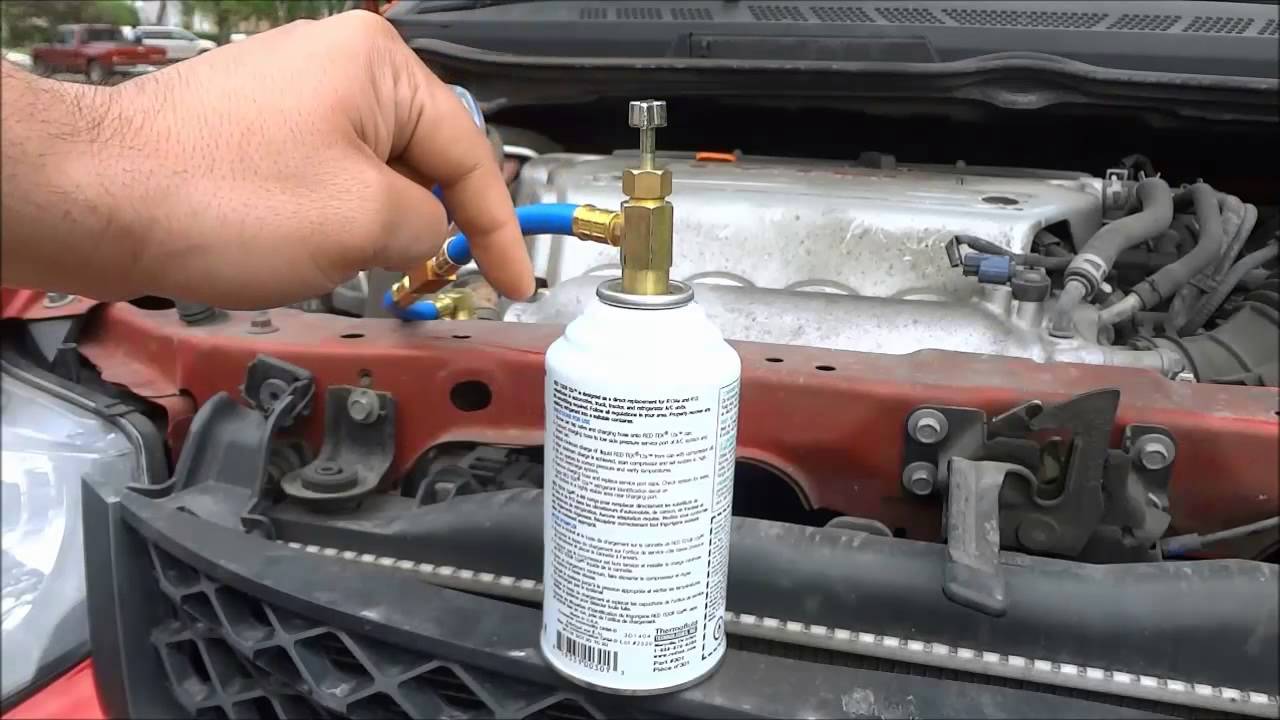
With the service valve located, it’s time to attach the charging hose to the AC unit. The charging hose is the connection point between the refrigerant canister and the service valve, allowing you to transfer the refrigerant into the system. Follow these steps to attach the charging hose:
- Inspect the charging hose: Before attaching the charging hose, inspect it closely for any signs of damage or wear. Ensure that the hose is clean and free from any debris or blockages.
- Identify the connection points: The charging hose will have two ends with different connection points. One end will have a thread that matches the threading on the service valve, while the other end will have a fitting that attaches to the refrigerant canister.
- Remove the valve caps: Unscrew the valve caps from the high-pressure and low-pressure sides of the service valve. Set the caps aside in a safe place to prevent them from getting lost.
- Attach the fitting end: Take the end of the charging hose with the fitting and securely attach it to the refrigerant canister. Ensure that it is tightly connected to prevent any leaks during the recharging process.
- Attach the threaded end: Take the other end of the charging hose with the threaded connection and carefully screw it onto the service valve. Use a wrench or screwdriver, if necessary, to ensure a tight and secure connection.
Once you have attached the charging hose to the AC unit, you are ready to move on to the next step: checking the refrigerant levels.
Read more: How To Recharge An AC System
Step 5: Check the Refrigerant Levels
Before proceeding with recharging the AC unit, it is important to check the refrigerant levels to determine if a recharge is necessary. Low refrigerant levels can lead to reduced cooling performance and can indicate a leak or other issues with the system. Follow these steps to check the refrigerant levels:
- Put on safety gloves and eyewear: As a safety precaution, always wear protective gloves and eyewear when working with refrigerant.
- Turn on the AC unit: Plug in the AC unit or flip the circuit breaker to turn on the power. Set the thermostat to a temperature that will trigger the compressor to start. Allow the unit to run for a few minutes to stabilize.
- Locate the sight glass or pressure gauge: Look for a sight glass or pressure gauge near the service valve. These components will allow you to visually or electronically monitor the refrigerant levels.
- Observe the sight glass: If your AC unit has a sight glass, look into it while the unit is running. The sight glass should have a clear or slightly bubbly appearance, indicating that the refrigerant levels are sufficient. If the sight glass is empty or has a foamy appearance, it is a sign that the unit needs to be recharged.
- Check the pressure gauge: If your AC unit has a pressure gauge, take note of the reading while the unit is running. The pressure should fall within the recommended range specified in the unit’s manual. If the pressure reading is low, it indicates that the refrigerant levels are insufficient and a recharge is needed.
- Monitor for any signs of leaks: While checking the refrigerant levels, keep an eye out for any signs of refrigerant leaks, such as hissing sounds, oily residue, or ice buildup on the AC unit’s components. If you detect a leak, it is essential to fix it before proceeding with the recharge.
Once you have checked the refrigerant levels and determined that a recharge is necessary, you can move on to the next step: beginning the recharge process.
Clean or replace the air filter regularly to ensure proper airflow and efficient cooling. This can help to recharge the window AC unit and improve its performance.
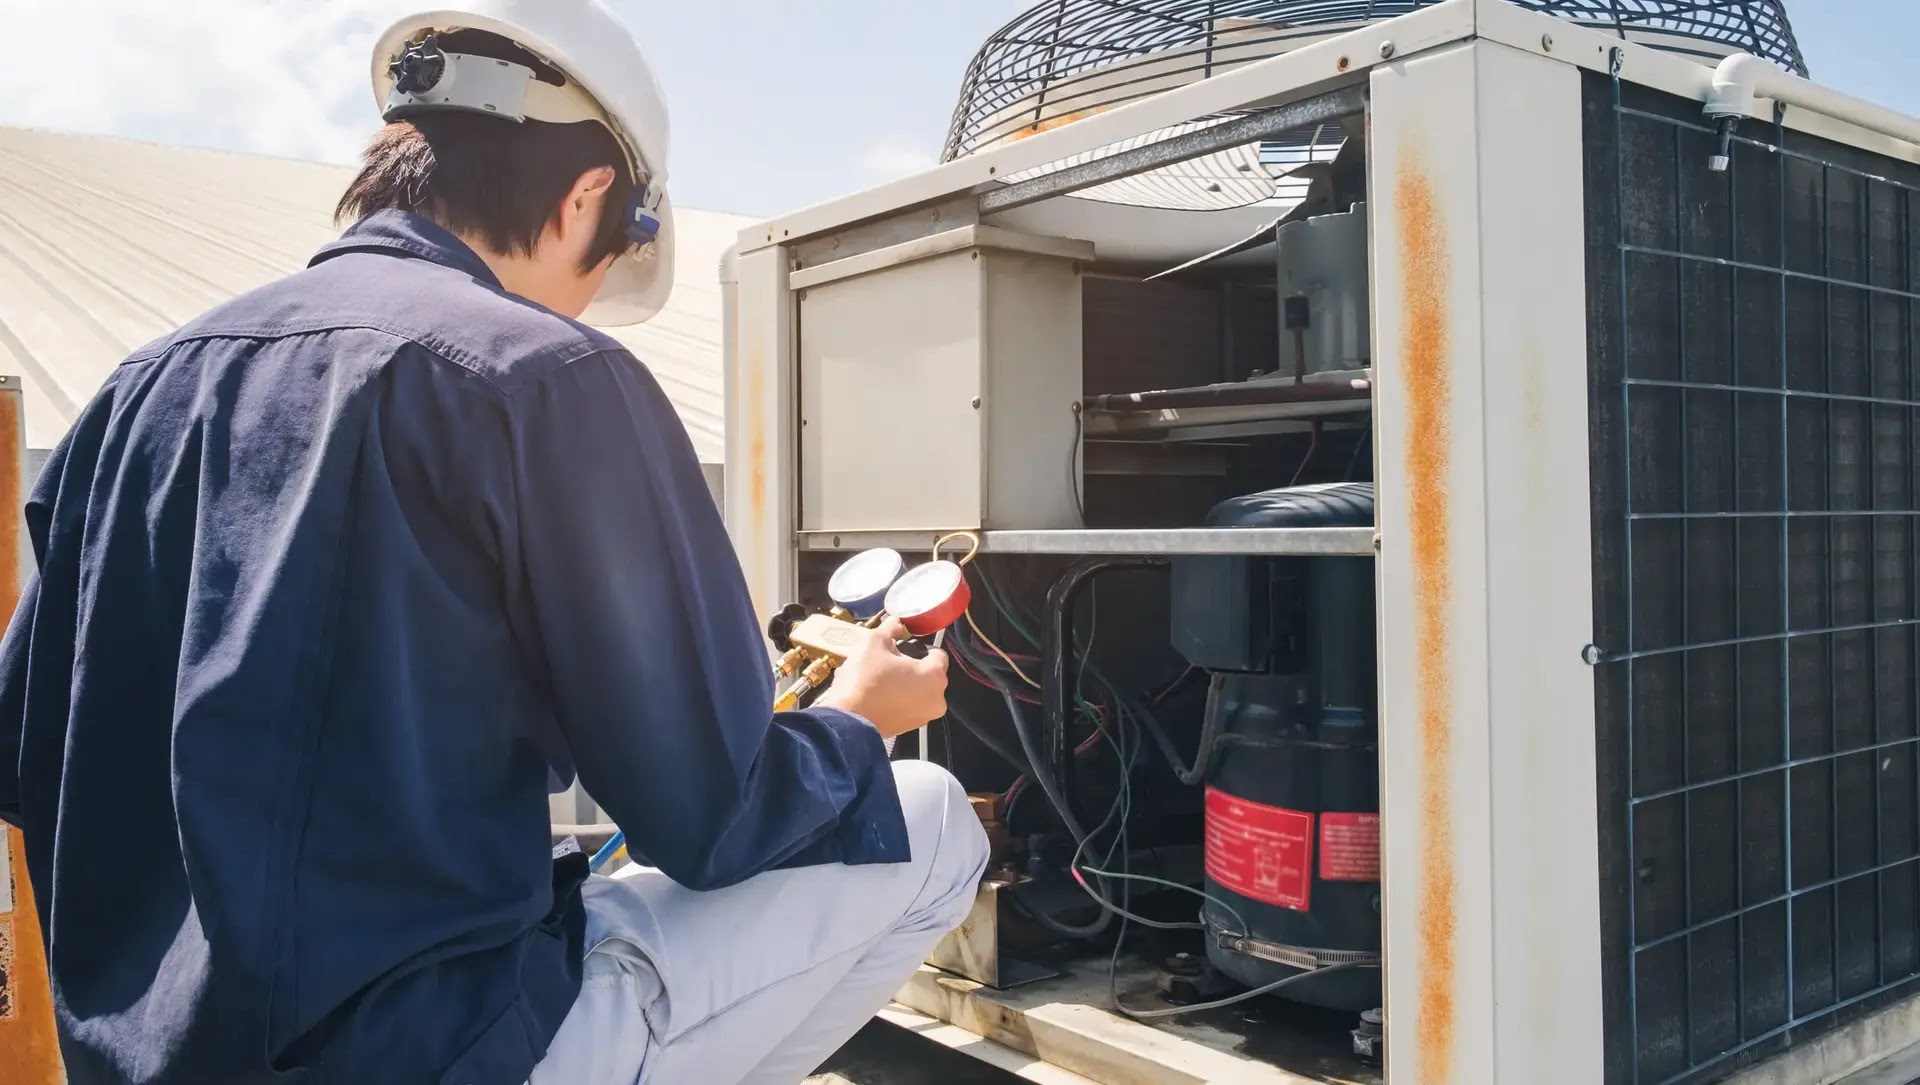
Step 6: Begin Recharging
With the refrigerant levels checked and confirmed to be low, it’s time to start the recharging process for your window AC unit. Recharging involves safely adding refrigerant to the system to restore its cooling capacity. Follow these steps to begin recharging:
- Ensure proper ventilation: Open windows or doors to ensure proper ventilation during the recharging process. This will help dissipate any fumes or gases that may be released.
- Double-check safety gear: Put on your safety gloves and eyewear to protect yourself from any refrigerant spills or leaks.
- Prepare the refrigerant canister: Shake the refrigerant canister gently to ensure the refrigerant is well-mixed. This helps to optimize the recharging process.
- Attach the canister to the charging hose: Take the end of the charging hose with the fitting and firmly attach it to the canister. Ensure a tight connection to prevent leaks during the recharge.
- Adjust the pressure on the canister: Follow the manufacturer’s instructions on the refrigerant canister to adjust the pressure to the recommended level for recharging your specific AC unit.
- Open the service valve: Turn the service valve on the AC unit counterclockwise or as instructed in the owner’s manual. This will allow the refrigerant to flow from the canister into the system.
- Slowly introduce the refrigerant: Begin slowly tilting the canister upside down to introduce the refrigerant into the system. Be careful not to invert it completely, as this can introduce contaminants into the AC unit.
- Monitor the canister and pressure levels: Pay close attention to the canister and pressure gauge throughout the recharge process. When the canister is empty or the pressure gauge shows the recommended levels have been reached, the recharge process is complete.
Remember to follow the manufacturer’s instructions and any specific guidelines provided in your AC unit’s manual. Additionally, be mindful of the environment and dispose of the empty refrigerant canister properly. With the recharge complete, you can move on to the next step: monitoring pressure levels.
Step 7: Monitor Pressure Levels
After starting the recharge process for your window AC unit, it is important to monitor the pressure levels to ensure that the correct amount of refrigerant is being added. Proper pressure levels are crucial for the optimal performance of the AC unit. Follow these steps to monitor the pressure levels:
- Refer to the AC unit’s manual: Consult the owner’s manual or manufacturer’s instructions to determine the recommended pressure range for your specific AC unit. This information will help you gauge whether the pressure levels are within the appropriate range during the recharge process.
- Observe the pressure gauge: Keep an eye on the pressure gauge as the refrigerant is being added. The gauge will provide real-time information about the pressure levels in the system. Aim to keep the pressure within the recommended range specified in the manual.
- Adjust the refrigerant flow: If the pressure levels are too low, you may need to adjust the flow of refrigerant to increase the pressure. Slowly tilt the canister more or adjust the pressure valve on the canister to gradually increase the flow of refrigerant into the system. Conversely, if the pressure levels are too high, decrease the flow by tilting the canister less or adjusting the pressure valve accordingly.
- Monitor for any pressure fluctuations: While the recharge is in progress, keep an eye out for any sudden fluctuations or irregularities in the pressure levels. This could indicate a potential problem with the AC unit or the charging process. If you notice any significant changes, it is advisable to stop the recharge and seek professional assistance.
- Take note of excessive pressure: If the pressure levels become too high or exceed the recommended range, it can pose a risk to the AC unit and the recharging process. In such cases, it is crucial to stop the recharge and contact a professional technician to assess and address the issue.
Remember, proper monitoring of the pressure levels throughout the recharge process is essential to ensure the optimal performance and longevity of your window AC unit. Once you have successfully monitored the pressure levels, you can proceed to the next step: disconnecting the charging hose.
Step 8: Disconnect the Charging Hose
After the successful completion of the recharge process and monitoring of the pressure levels, it’s time to disconnect the charging hose from the window AC unit. Properly disconnecting the charging hose will prevent any leaks or refrigerant discharge during the process. Follow these steps to disconnect the charging hose:
- Turn off the AC unit: Before disconnecting any components, make sure to turn off the AC unit by setting the thermostat to “off” and disconnecting the power supply.
- Allow the system to equalize: Wait for a few minutes to allow the system to equalize before proceeding with the disconnection. This will help in minimizing any pressure differences or refrigerant release.
- Wear protective gloves and eyewear: Always prioritize your safety by wearing gloves and protective eyewear before handling any refrigerant-related equipment.
- Secure the canister: If there is any refrigerant left in the canister, ensure that the valve is properly closed or sealed to prevent any leaks or accidental discharge.
- Detach the threaded end: Use a wrench or screwdriver, if necessary, to disconnect the threaded end of the charging hose from the service valve. Turn it clockwise to loosen and remove it carefully.
- Detach the fitting end: Release the fitting end of the charging hose from the refrigerant canister by unscrewing it in a counterclockwise direction. Ensure that there is no residual pressure before completely detaching the hose.
- Cap the service valve: With the charging hose removed, put the protective caps back on the service valve to prevent any debris or contaminants from entering the system.
- Properly store the charging hose and canister: Clean the charging hose and properly store it in a safe place until the next use. Dispose of the empty refrigerant canister according to local regulations.
By following these steps, you will safely and effectively disconnect the charging hose from your window AC unit. With the charging hose removed, you can proceed to the next step: turning on the AC unit.
Read more: How Often To Recharge Home AC
Step 9: Turn on the AC Unit
Now that you have successfully disconnected the charging hose, it’s time to turn on the AC unit and test its functionality. Follow these steps to safely turn on the AC unit:
- Ensure the power is off: Double-check that the thermostat is set to the “off” position and that the AC unit is not connected to a power source.
- Reconnect the power supply: If the AC unit was unplugged during the recharge process, plug it back into the wall outlet. If it is a hardwired unit, flip the circuit breaker to restore power.
- Set the desired temperature: Adjust the thermostat to your desired temperature setting. Start with a temperature a few degrees lower than the current room temperature to initiate the cooling process.
- Turn on the AC unit: Switch the AC unit to the “on” or “cool” mode. The unit’s compressor should start, and cool air should begin to circulate within a few minutes.
- Listen and observe: Pay attention to any unusual sounds or unusual behaviors from the AC unit. Verify that air is flowing from the unit’s vents and that it is gradually cooling the room.
- Check for any refrigerant leaks: Monitor the area around the AC unit for any signs of refrigerant leaks, such as hissing sounds, oily residue, or freezing on the refrigerant lines. If you detect a leak, contact a professional technician to address and fix the issue.
By following these steps, you can safely turn on your window AC unit and check if the recharge process has restored its cooling capabilities. Once the AC unit is up and running, you can proceed to the final step: checking for cool air output.
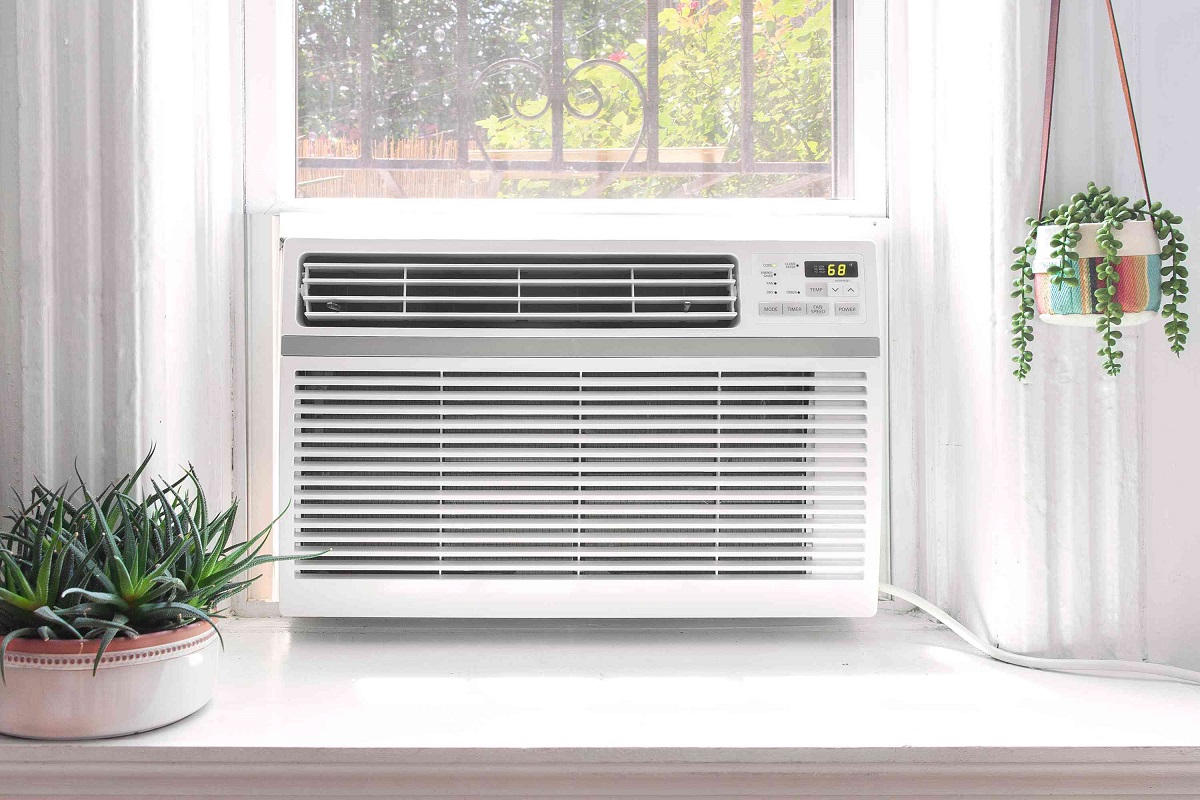
Step 10: Check for Cool Air Output
The final step in the window AC unit recharge process is to ensure that cool air is being efficiently circulated. Checking for cool air output will confirm that the recharge was successful and that the AC unit is operating at its optimal cooling capacity. Follow these steps to check for cool air output:
- Allow time for cooling: After turning on the AC unit, give it some time to cool the room. Depending on the size of the room and the initial temperature, it may take a few minutes for cool air to begin flowing.
- Stand in front of the AC unit: Position yourself in front of the AC unit’s output vents. This is usually located on the front grille and is where the cool air is expelled into the room.
- Feel the air temperature: Place your hand in front of the air vents to assess the temperature of the air being emitted. It should feel noticeably cooler than the ambient room temperature.
- Check for consistent airflow: Observe the airflow coming from the vents. There should be a steady and consistent flow of cool air. If the airflow is weak or intermittent, it may indicate a problem with the AC unit that requires further investigation or professional assistance.
- Assess the cooling performance: Take note of how effectively the AC unit is able to cool the room. Monitor the temperature level within the room and see if it gradually decreases over time as the AC unit operates.
- Make adjustments if necessary: If you feel that the cool air output is insufficient or there are issues with the cooling performance, refer to the AC unit’s manual for troubleshooting steps. It may be necessary to recalibrate the thermostat settings or clean the filters to improve performance.
By going through these steps, you can ensure that your window AC unit is providing cool and refreshing air after the recharge process. If you notice any persistent issues or concerns, it is recommended to seek professional assistance to address and resolve the problem effectively.
Congratulations! You have successfully completed the process of recharging your window AC unit. Enjoy the benefits of a cool and comfortable living space!
Conclusion
Recharging a window AC unit is a straightforward process that can restore its cooling performance and extend its lifespan. With the step-by-step instructions provided in this guide, you can confidently recharge your AC unit and enjoy a cool and comfortable living space.
From gathering the necessary tools and equipment to checking the refrigerant levels, attaching the charging hose, monitoring pressure levels, and finally, checking for cool air output, each step is crucial to ensuring a successful recharge. It is important to follow safety precautions, consult the AC unit’s manual, and exercise caution throughout the process.
Regular maintenance and recharging can prevent common cooling issues, such as loss of cooling capacity, reduced airflow, and inefficient performance. By detecting and addressing low refrigerant levels early on, you can avoid more significant problems and potentially save on energy costs.
Remember, if you are unsure or uncomfortable with any step of the recharging process, it is always advisable to seek professional assistance. HVAC experts have the knowledge, skills, and equipment to handle the task safely and efficiently.
By following this comprehensive guide and adopting good maintenance practices, you can prolong the lifespan of your window AC unit and enjoy a comfortable environment year-round.
Now that you have gained the knowledge on how to recharge a window AC unit, go ahead and apply this information to keep your home cool and comfortable during those hot summer months!
Frequently Asked Questions about How To Recharge Window AC Unit
Was this page helpful?
At Storables.com, we guarantee accurate and reliable information. Our content, validated by Expert Board Contributors, is crafted following stringent Editorial Policies. We're committed to providing you with well-researched, expert-backed insights for all your informational needs.


0 thoughts on “How To Recharge Window AC Unit”