Articles
How To Shape Brass With Hand Tools
Modified: August 28, 2024
Learn how to shape brass with hand tools and create stunning articles. Step-by-step guide filled with expert tips and techniques for crafting intricate designs.
(Many of the links in this article redirect to a specific reviewed product. Your purchase of these products through affiliate links helps to generate commission for Storables.com, at no extra cost. Learn more)
Introduction
Brass is a versatile and durable metal that has been used for centuries in various applications, including jewelry making, musical instruments, home decor, and plumbing fittings. While modern manufacturing processes have made brass shaping more efficient, there is still a certain charm and satisfaction in shaping brass with hand tools. Whether you are a hobbyist or a professional craftsman, being able to shape brass with hand tools allows for a more personalized and artistic touch to your creations.
In this article, we will explore the art of shaping brass with hand tools. We will cover the tools required, the techniques for bending and hammering brass, the process of soldering, and the finishing touches for a polished and professional look. So, if you’re ready to unleash your creativity and learn how to shape brass with hand tools, let’s dive in!
Key Takeaways:
- Unleash Your Creativity: Shaping brass with hand tools offers a personalized touch to your creations, allowing for unique and artistic brass pieces that reflect your imagination and craftsmanship.
- Masterful Artistry: From bending and hammering to soldering and finishing, shaping brass with hand tools is a rewarding process that requires practice, patience, and a passion for craftsmanship.
Read more: How To Shape Metal With Hand Tools
Understanding Brass
Before we dive into the process of shaping brass with hand tools, it is important to understand the characteristics of this unique metal. Brass is an alloy made primarily of copper and zinc, with varying proportions of each metal depending on the desired properties. The addition of zinc to copper results in a metal that is durable, corrosion-resistant, and has a distinctive yellow color.
Brass can be categorized into several different types, each with its own unique properties. Some common types of brass include:
1. Yellow Brass
This is the most common type of brass and is composed of approximately 70% copper and 30% zinc. Yellow brass has good malleability and can be easily shaped and formed.
2. Red Brass
Red brass, also known as gunmetal, contains a higher copper content, typically around 85%, and a lower zinc content. This type of brass is stronger and more corrosion-resistant but can be harder to work with.
3. Naval Brass
Naval brass is a type of brass with a high level of corrosion resistance, making it ideal for marine applications. It has a copper content of around 60% to 70%, with the remaining percentage consisting of zinc and a small amount of tin.
Understanding the different types of brass and their characteristics will help you choose the right type of brass for your specific project. It is also important to note that brass can be annealed, a process of heating and then slowly cooling the metal to make it more malleable and easier to shape.
Now that we have a basic understanding of brass, let’s move on to the tools you will need to shape it with hand tools.
Read more: How To Shape A Knife Blade With Hand Tools
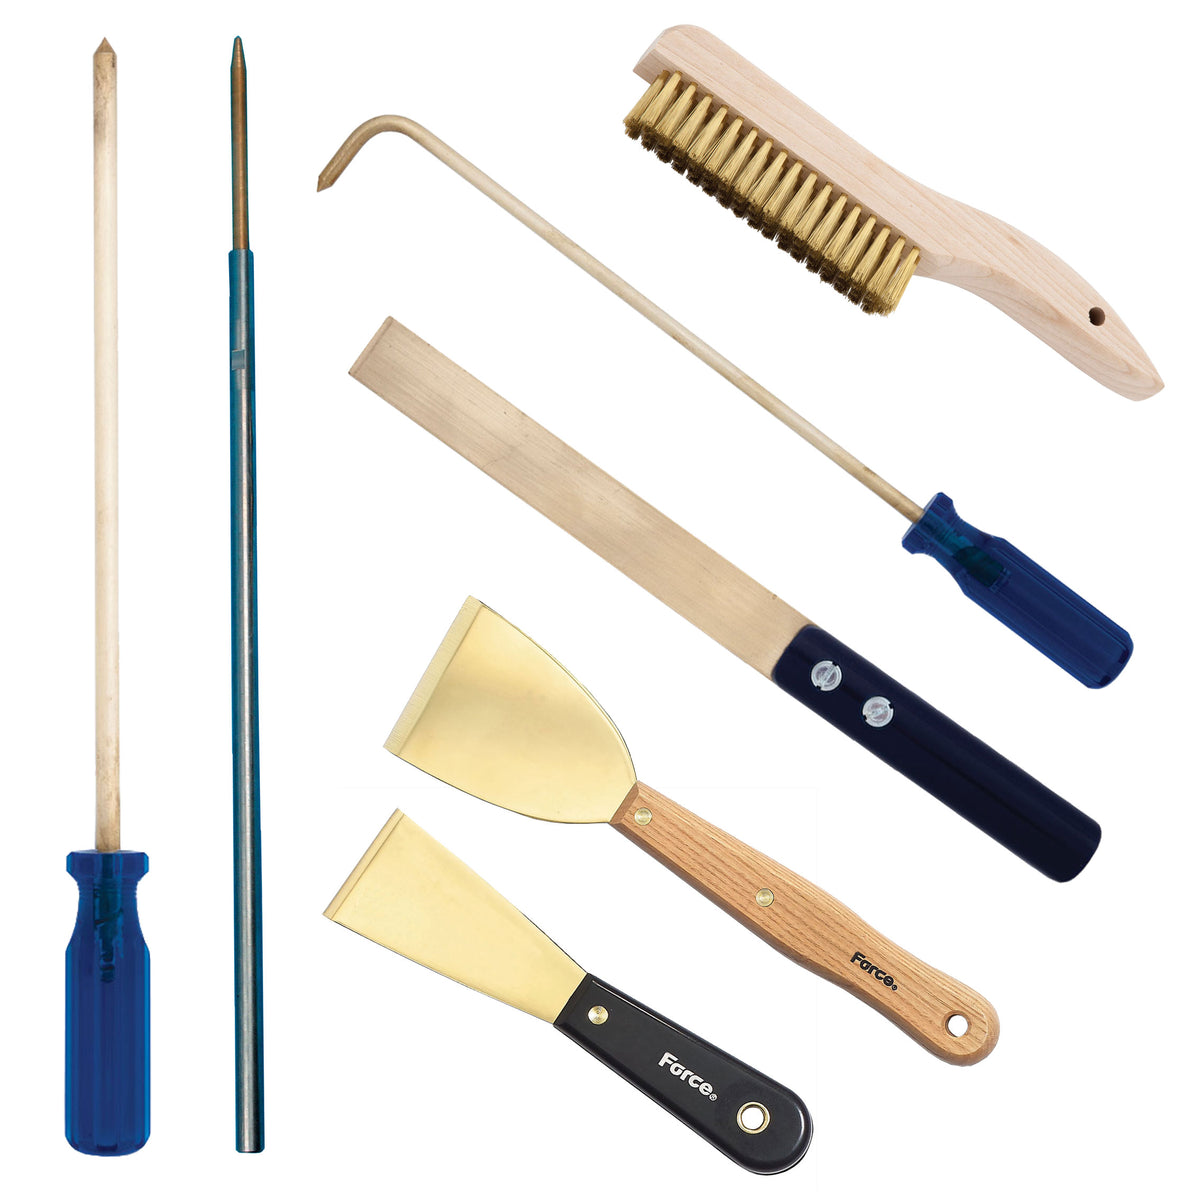
Tools Required
Shaping brass with hand tools requires a specific set of tools that will enable you to manipulate and form the metal with precision. Here are the essential tools you will need:
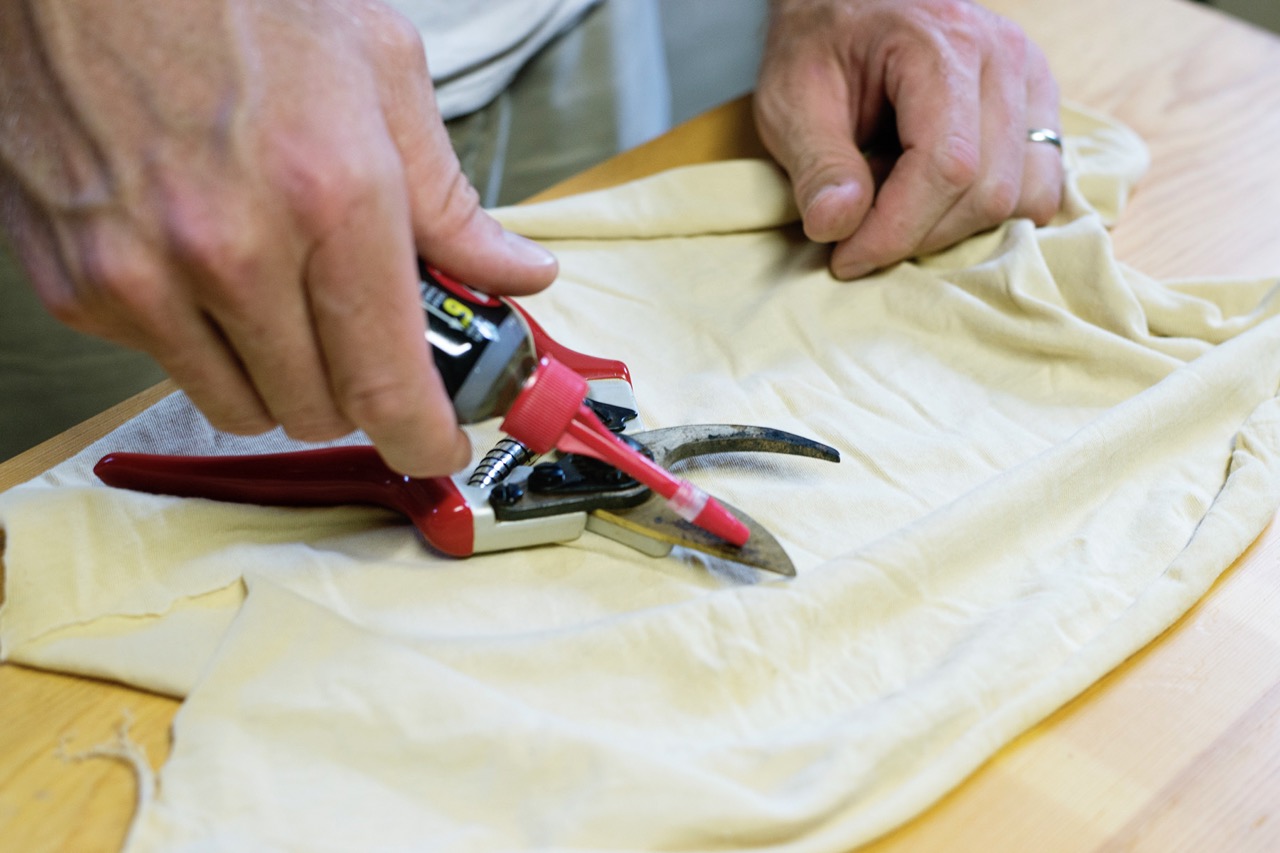
1. Brass Shears or Snips
These specialized scissors are designed specifically for cutting brass sheets and bars. Look for shears with sharp blades and comfortable handles to make clean and precise cuts.
2. Metal Files
Metal files are essential for smoothing rough edges and shaping brass. Different types of files, such as flat files, half-round files, and round files, can be used based on the shape and contour you want to achieve.
3. Ball Peen Hammer
A ball peen hammer is a versatile tool used for shaping and striking metal. The round head can be used to create texture and form brass into desired shapes.
Read more: How To Use Hand Tools To Shape Hard Wood
4. Bench Anvil
A bench anvil provides a stable surface for hammering and shaping brass. It is important to choose a heavy and sturdy anvil that won’t move or shift during the shaping process.
5. Soldering Iron
Soldering brass pieces together requires a soldering iron. Look for a soldering iron with adjustable temperature settings, as brass requires higher temperatures for proper soldering.
6. Soldering Flux and Solder
Soldering flux helps prevent oxidation and assists in the flow of solder. Choose a flux suitable for brass soldering. Additionally, you will need solder, preferably a lead-free brass solder, for joining brass pieces together.
7. Polishing Materials
To achieve a polished finish on your brass creations, you’ll need polishing materials such as brass polish, cloth, and brushes. These tools will help remove oxidation and bring out the shine of the brass surface.
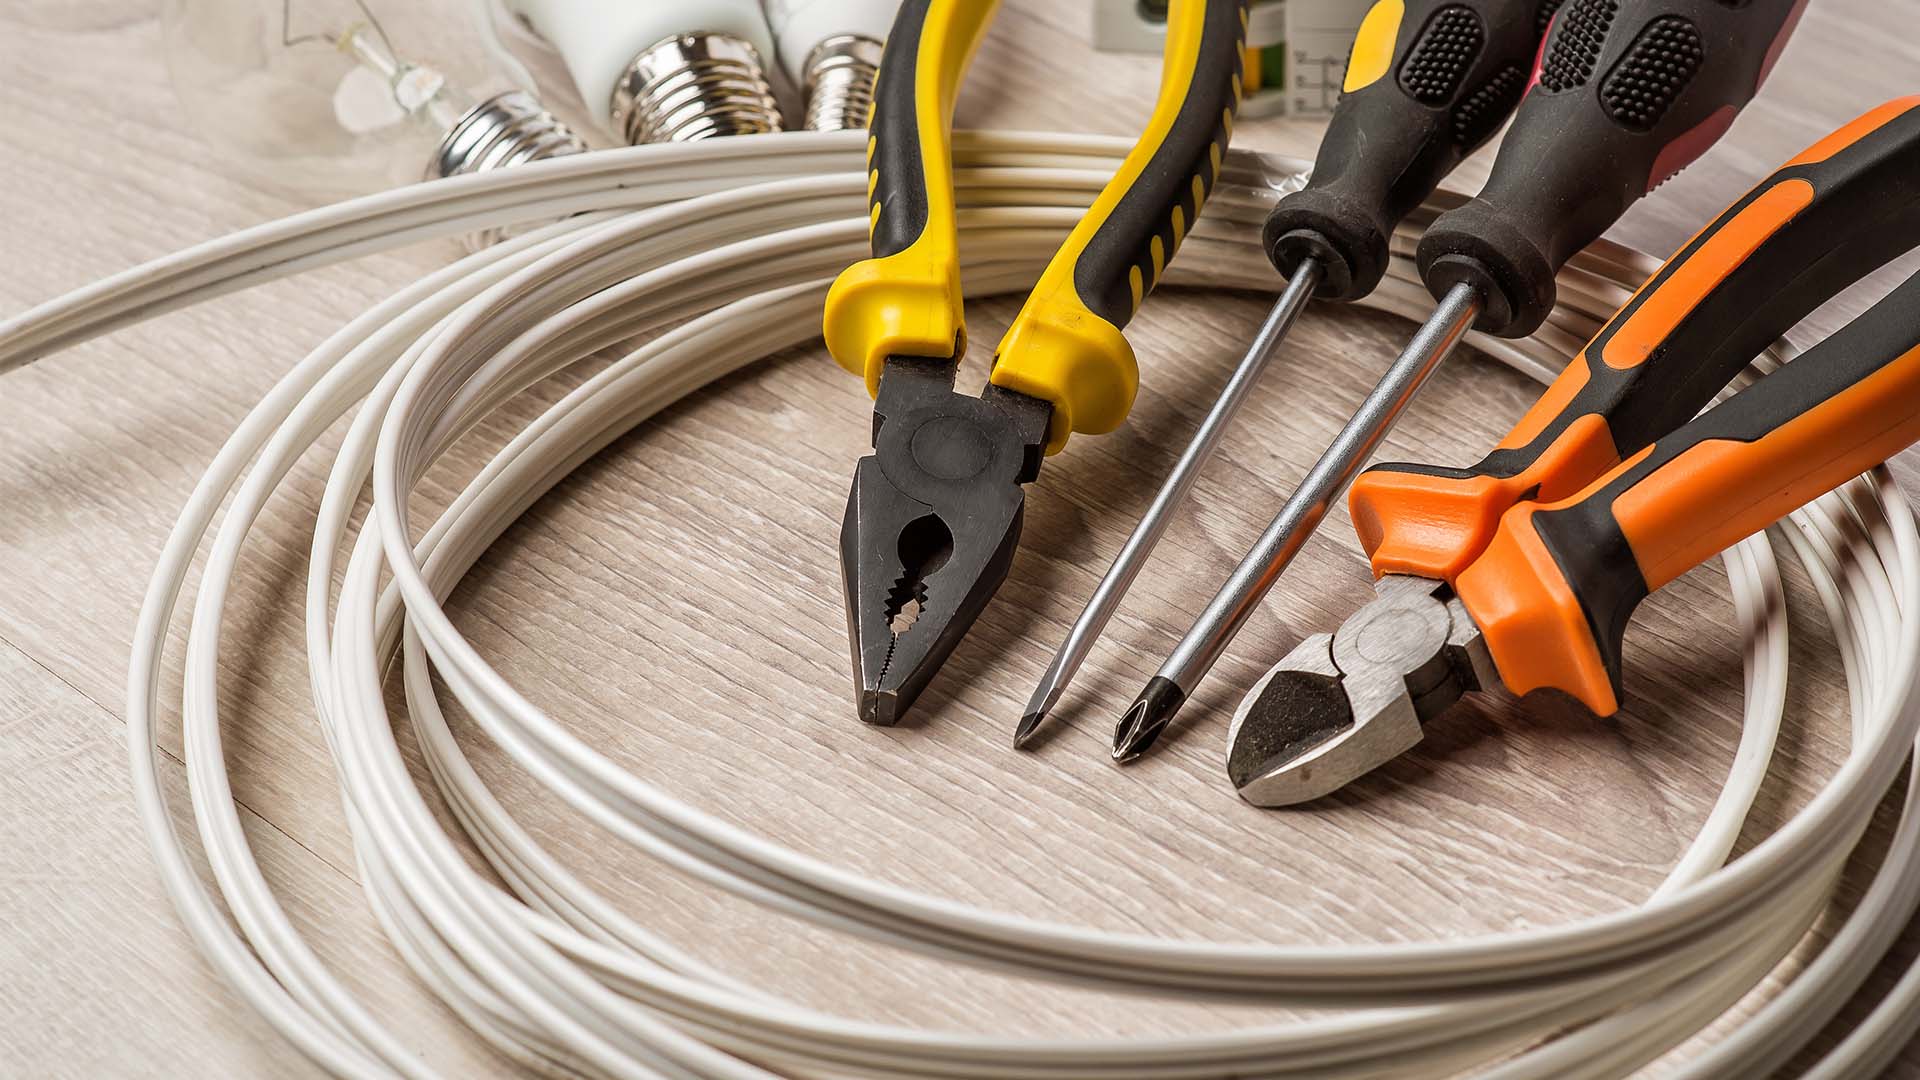
These are the basic tools you will need to shape brass with hand tools. Depending on the complexity of your project, you may also require additional tools such as pliers, wire cutters, and a vice for securing the brass during shaping. Now that you have the necessary tools, let’s move on to preparing the brass for shaping.
Preparing the Brass
Before you can start shaping brass with hand tools, it is important to properly prepare the brass for the shaping process. Here are the steps involved in preparing the brass:
1. Cleaning the Brass
Begin by thoroughly cleaning the brass using a mild soap or brass cleaner. Remove any dirt, grease, or grime from the surface of the brass using a soft cloth or brush. Cleaning the brass will ensure that you have a clear and smooth surface to work with.
2. Marking and Measuring
Using a ruler or measuring tape, mark the areas on the brass where you want to make cuts, bends, or other shaping techniques. This will serve as a guide throughout the shaping process and help ensure accurate and precise results.
3. Cutting the Brass
If you need to cut the brass into specific shapes or sizes, use brass shears or snips to make clean and accurate cuts along the marked lines. Take your time and apply even pressure to avoid warping or damaging the brass.
Read more: How To Hand Form Body Panels With Hand Tools
4. Annealing the Brass
If you are working with thicker brass or need to reshape it, consider annealing the brass. Heat the brass with a propane torch or a butane torch until it glows red-hot. Then, slowly cool it down by either allowing it to air cool or quenching it in water or oil. This process softens the brass, making it more malleable and easier to shape.
5. Sanding and Deburring
After cutting or shaping the brass, use sandpaper or a metal file to smooth out any rough edges or burrs. This will give your project a clean and professional finish.
By following these preparation steps, you will have a properly cleaned and prepared brass piece ready for shaping. In the next section, we will explore different techniques for shaping brass using hand tools.
Shaping Techniques
When it comes to shaping brass with hand tools, there are various techniques you can employ to achieve the desired forms and contours. Here are a few common shaping techniques:
1. Bending Brass
Bending brass is a fundamental technique used to create curves and angles in the metal. To bend brass, use a bench vise or pliers to hold the brass securely. Apply gradual pressure to bend the brass along the desired line. If you’re looking for sharper bends, you can use a bending jig or form to guide the metal into the desired shape.
2. Hammering Brass
Hammering brass is a technique used to create texture, form, and dimensional effects. Position the brass piece on a bench anvil and use a ball peen hammer to gently strike the surface. This method allows you to create unique patterns and shapes by controlling the force and angle of each hammer blow.
3. Forming and Raising
Forming and raising involve shaping brass into three-dimensional forms, such as bowls or cups. To achieve this, start with a flat brass sheet and use a forming stake or a wooden mallet to gradually shape the metal by striking and stretching it against the stake. This technique requires precision and patience to achieve the desired shape.
4. Embossing and Repousse
Embossing and repousse techniques involve creating designs and raised patterns on the surface of the brass. Use specialized embossing tools or hand punches to create intricate designs or textures on the brass sheet. Repousse involves shaping from the backside of the brass by using a ball peen hammer and a support form, pushing the metal outward to create raised designs.
These are just a few examples of the shaping techniques you can utilize when working with brass. Remember to take your time, practice patience, and experiment with different tools and methods to achieve your desired results. In the next sections, we will explore specific techniques such as bending, hammering, soldering, and finishing in more detail.
Bending Brass
Bending brass is a versatile technique that allows you to create curves, angles, and shapes in the metal. Whether you’re making jewelry, decorative accents, or even plumbing fittings, knowing how to bend brass is an essential skill. Here’s a step-by-step guide on how to bend brass:
Read more: How To Market Hand Tools
Step 1: Prepare the Brass
Ensure that your brass is properly cleaned and marked for bending. If needed, anneal the brass to soften it and make it more malleable. This step is particularly important for thicker brass or when you need to create tight bends.
Step 2: Secure the Brass
Use a bench vise or pliers to secure the brass firmly in place. Make sure the area you want to bend is accessible and not obstructed by the vise or pliers.
Step 3: Start Bending
Apply gentle and consistent pressure to the brass at the desired bending point. If you need to make a curved bend, slowly rotate the brass while applying pressure to achieve a smooth and even curve. If you need to create a sharp angle, incrementally increase the pressure until the desired angle is achieved.
Step 4: Check and Adjust
Regularly check the brass to ensure that it is bending according to your desired shape. Adjust as necessary, using pliers or a bending jig to achieve the desired bend. Take your time and work slowly to avoid over-bending or damaging the brass.
Read more: How To Label Your Hand Tools
Step 5: Finishing Touches
Once you have achieved the desired bend, remove the brass from the vise or pliers. Use a file or sandpaper to smooth out any rough edges or burrs created during the bending process. If necessary, perform any additional shaping or refining before proceeding to the next steps of your project.
Bending brass requires practice and precision, so don’t be afraid to experiment and learn from your mistakes. By mastering the art of bending brass, you can create a wide range of beautiful and functional objects. In the next sections, we will explore other techniques such as hammering, soldering, and finishing to further enhance your brass shaping skills.
Hammering Brass
Hammering brass is a technique that allows you to manipulate the metal’s shape and texture by using a ball peen hammer. This technique is commonly used to create unique designs, textures, and three-dimensional effects on brass objects. Here’s a step-by-step guide on how to hammer brass:
Read more: How To Market Hand Tools
Step 1: Prepare the Brass
Ensure that your brass piece is clean and securely mounted on a bench anvil or a sturdy surface. This will provide stability and prevent the brass from moving while you work on it.
Step 2: Determine the Hammering Technique
Decide on the type of hammering technique you want to employ. You can opt for a light, gentle tapping motion for a subtle texture, or use a more pronounced striking motion for a bolder and more pronounced effect.
Step 3: Start Hammering
Begin by lightly tapping the brass with the rounded end of the ball peen hammer. Start from the center and gradually work your way outward, applying even and controlled strikes. Experiment with different angles and patterns to create your desired texture or design.
Step 4: Vary the Pressure
Adjust the pressure of your strikes to achieve different levels of indentation and texture on the brass. Lighter strikes will create subtle textures, while firmer strikes will result in deeper indentations and more pronounced patterns.
Step 5: Refine and Check Progress
As you continue hammering, regularly check the brass piece to assess the progress of the texture or design. Use a file or sandpaper to remove any rough edges or imperfections and ensure a smooth finish.
Step 6: Experiment and Explore
Don’t be afraid to experiment with different hammering techniques and patterns. You can try overlapping strikes, random patterns, or even create specific designs by using stamps or other texturing tools. Let your creativity guide you and explore the endless possibilities of hammering brass.
Hammering brass is a technique that requires practice and patience. With time, you’ll develop your own unique style and create stunning textured effects on your brass creations. In the following sections, we will explore other techniques such as soldering and finishing to further enhance your brass shaping skills.
Read more: How To Design Hand Tools
Soldering Brass
Soldering brass is a crucial technique used to join brass pieces together, create complex structures, and add intricate details to your brass projects. Soldering involves melting a filler metal, known as solder, to create a strong and permanent bond between the brass surfaces. Here’s a step-by-step guide on how to solder brass:
Step 1: Gather Your Materials
Ensure that you have all the necessary materials for soldering brass. This includes a soldering iron, soldering flux, solder, a heat-resistant surface, safety goggles, and a ventilation source.
Step 2: Clean and Flux the Brass Surfaces
Thoroughly clean the areas you intend to solder using a gentle abrasive or a brass cleaner. Then, apply a thin layer of soldering flux to the cleaned brass surfaces. Flux prevents oxidation and enhances the flow of solder.
Step 3: Heat the Soldering Iron
Plug in your soldering iron and allow it to heat up to the appropriate temperature for soldering brass. The ideal temperature range for brass soldering is typically between 350°C and 400°C (662°F – 752°F). Consult the instructions provided with your soldering iron for precise temperature settings.
Read more: How Are Hand Tools Classified?
Step 4: Apply Heat and Solder
Using the heated soldering iron, carefully heat the intersection or joint where you want to solder the brass pieces together. Once the flux starts to bubble and the brass reaches the desired temperature, touch the solder to the heated area. The heat will cause the solder to melt and flow into the joint, creating a strong bond between the brass pieces.
Step 5: Clean and Inspect
After soldering, allow the brass to cool down. Once it has cooled, clean the soldered joint by removing any excess flux or solder with a damp cloth or a brass cleaner. Inspect the joint and ensure it is securely soldered and free of any defects.
Step 6: Repeat and Practice
With practice, you’ll become more skilled at soldering brass. Repeat the soldering process as needed for your project, taking care to ensure precise positioning and proper heat distribution. As you gain experience, you can experiment with different soldering techniques and incorporate more complex soldering details into your brass projects.
Soldering brass opens up a world of possibilities for creating intricate and beautiful brass structures and designs. In the next section, we will explore the finishing touches for your brass projects to give them a polished and professional appearance.
Polishing and Finishing
After shaping, bending, hammering, and soldering brass, the final step is to polish and finish your brass project. This step enhances the appearance of the brass, removes any imperfections, and gives it a professional and polished look. Here’s how to polish and finish your brass:
Read more: How To Test Hand Tools
Step 1: Cleaning
Before you begin the polishing process, make sure the brass is clean and free of any dirt or debris. Use a mild soap or brass cleaner to gently clean the surface, and dry it thoroughly with a soft cloth.
Step 2: Choose Your Polishing Method
There are several methods you can use to polish brass, including using commercial brass polishes, household items like vinegar or lemon juice, or homemade brass polishing solutions. Choose the method that best suits your preferences and the level of tarnish or oxidation on your brass piece.
Step 3: Polishing the Brass
Apply a small amount of the chosen polishing agent to a soft cloth or a brass polishing brush. Rub the polish onto the brass in small circular motions, focusing on areas with oxidation or tarnish. Continue until the desired level of shine and polish is achieved.
Step 4: Removing Excess Polish
After polishing, use a clean cloth to remove any excess polish and buff the brass to a brilliant shine. Make sure to remove all traces of the polishing agent to avoid leaving a residue on the brass surface.
Read more: How To Price Hand Tools
Step 5: Protective Coating
If you want to preserve the shine and protect the brass from tarnish, you can apply a protective coating. Options include lacquer, clear enamel, or a commercial brass sealer. Follow the manufacturer’s instructions for applying the protective coating and allow it to dry completely.
Step 6: Final Touches
Inspect the brass piece for any remaining imperfections or blemishes. Use a brass file, sandpaper, or additional polishing to address any issues. Once you are satisfied with the appearance, give the brass a final buffing with a clean, soft cloth to obtain a beautiful and polished finish.
By following these polishing and finishing steps, your brass project will have a professional and refined look. Remember to regularly clean and maintain the brass to prevent tarnishing and oxidation over time. Now, step back and admire your beautifully shaped and polished brass creation!
Conclusion
Shaping brass with hand tools is a rewarding and artistic process that allows you to create unique and personalized brass creations. Whether you’re a hobbyist or a professional craftsman, knowing how to shape brass with hand tools opens up a world of possibilities for expressing your creativity and producing beautiful, one-of-a-kind pieces.
In this article, we explored the fundamentals of shaping brass with hand tools. We discussed the importance of understanding brass and its properties, the essential tools required for brass shaping, the process of preparing the brass, and various techniques such as bending and hammering brass. We also delved into the art of soldering brass and the final step of polishing and finishing to give your brass projects a polished and professional look.
As with any craft, practice is key to improving your skills in shaping brass with hand tools. The more you work with brass and experiment with different techniques, the more proficient and creative you will become. Allow yourself the freedom to explore and try new ideas, as this will lead to unique and exceptional brass pieces.
Remember, shaping brass with hand tools is not only about the end result, but also about the joy of the process. Embrace the meditative nature of working with your hands and appreciate the craftsmanship involved in shaping this versatile metal.
So, whether you’re inspired to create intricate jewelry pieces, decorative home accents, or functional brass objects, I hope this article has provided you with valuable insights and techniques to embark on your brass shaping journey. Start with a vision, hone your skills, and let your imagination guide you as you shape and transform brass into extraordinary works of art.
Frequently Asked Questions about How To Shape Brass With Hand Tools
Was this page helpful?
At Storables.com, we guarantee accurate and reliable information. Our content, validated by Expert Board Contributors, is crafted following stringent Editorial Policies. We're committed to providing you with well-researched, expert-backed insights for all your informational needs.

0 thoughts on “How To Shape Brass With Hand Tools”