
Articles
How To Lift The Stove Top
Modified: August 25, 2024
Learn how to safely lift the stove top with these helpful articles. Find step-by-step instructions and expert tips to prevent damage and ensure proper maintenance.
(Many of the links in this article redirect to a specific reviewed product. Your purchase of these products through affiliate links helps to generate commission for Storables.com, at no extra cost. Learn more)
Introduction
Welcome to our comprehensive guide on how to lift the stove top. If you’re looking to clean or repair your stove, lifting the stove top is a crucial step. By lifting the stove top, you can access the components underneath, such as the burners, igniters, and gas valves, allowing for maintenance and troubleshooting.
Lifting the stove top may seem daunting at first, especially if you’ve never done it before. However, with the right tools and techniques, it can be a fairly straightforward process that you can easily accomplish on your own. In this article, we will take you through the step-by-step process of safely lifting the stove top, providing you with the knowledge and confidence to tackle this task.
Before we dive into the step-by-step instructions, it’s important to note that safety should always be a top priority. Make sure to disconnect the power source and turn off the gas supply before attempting to lift the stove top. Additionally, if you have any doubts or concerns about performing these tasks, it’s always a good idea to consult the manufacturer’s manual or seek professional assistance.
Now, let’s get started with the first step of this process: locating the stove top.
Key Takeaways:
- Safely lift and access your stove top for maintenance and repairs by following step-by-step instructions. Prioritize safety, gather necessary tools, and support the stove top to ensure a smooth and successful process.
- Gain confidence in lifting the stove top to clean or repair components underneath. Disconnect power, turn off gas, and follow proper lifting and lowering procedures for a well-maintained stove.
Read more: How To Build A Lift Top Coffee Table
Step 1: Locate the Stove Top
Before you can start lifting the stove top, you need to familiarize yourself with its location. Stove tops can vary depending on the type of stove you have, such as electric, gas, or induction. Here are a few common types and their corresponding locations:
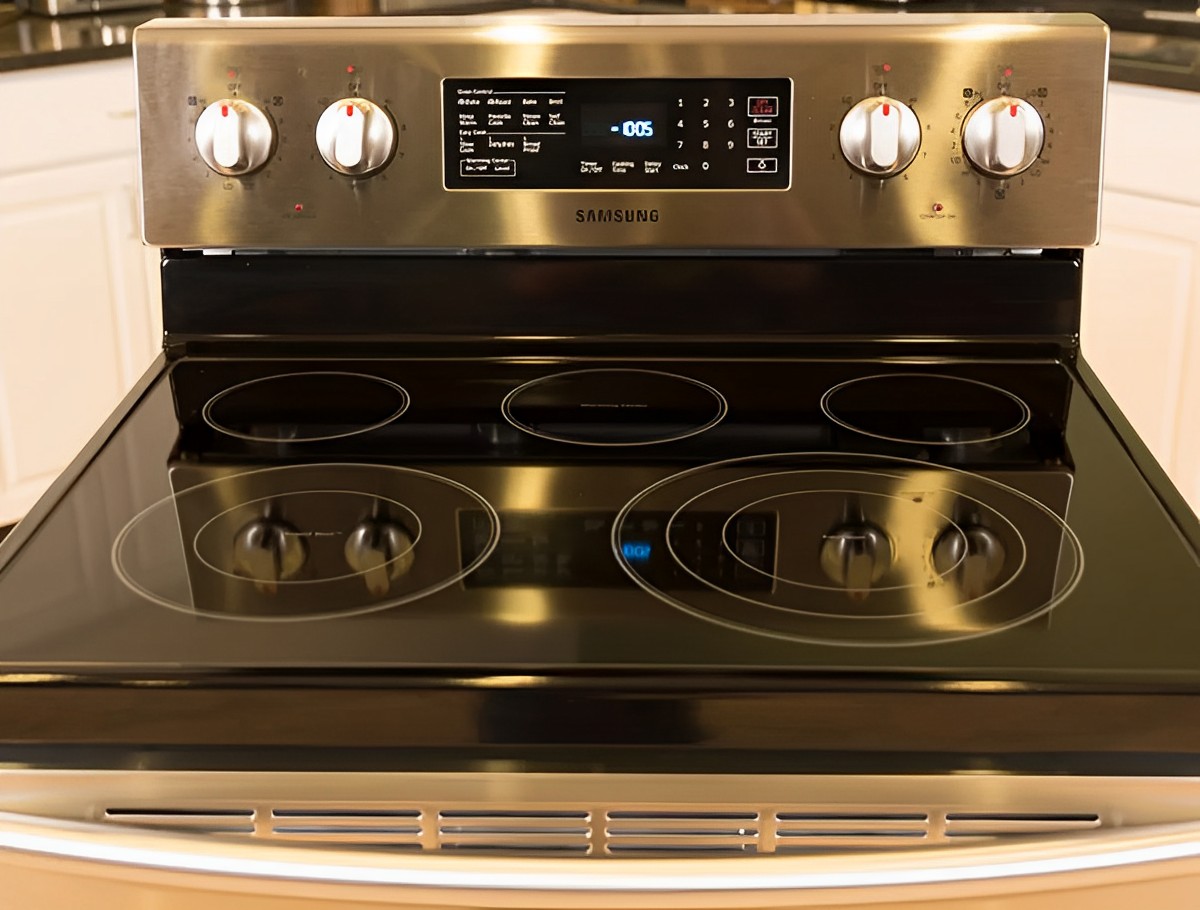
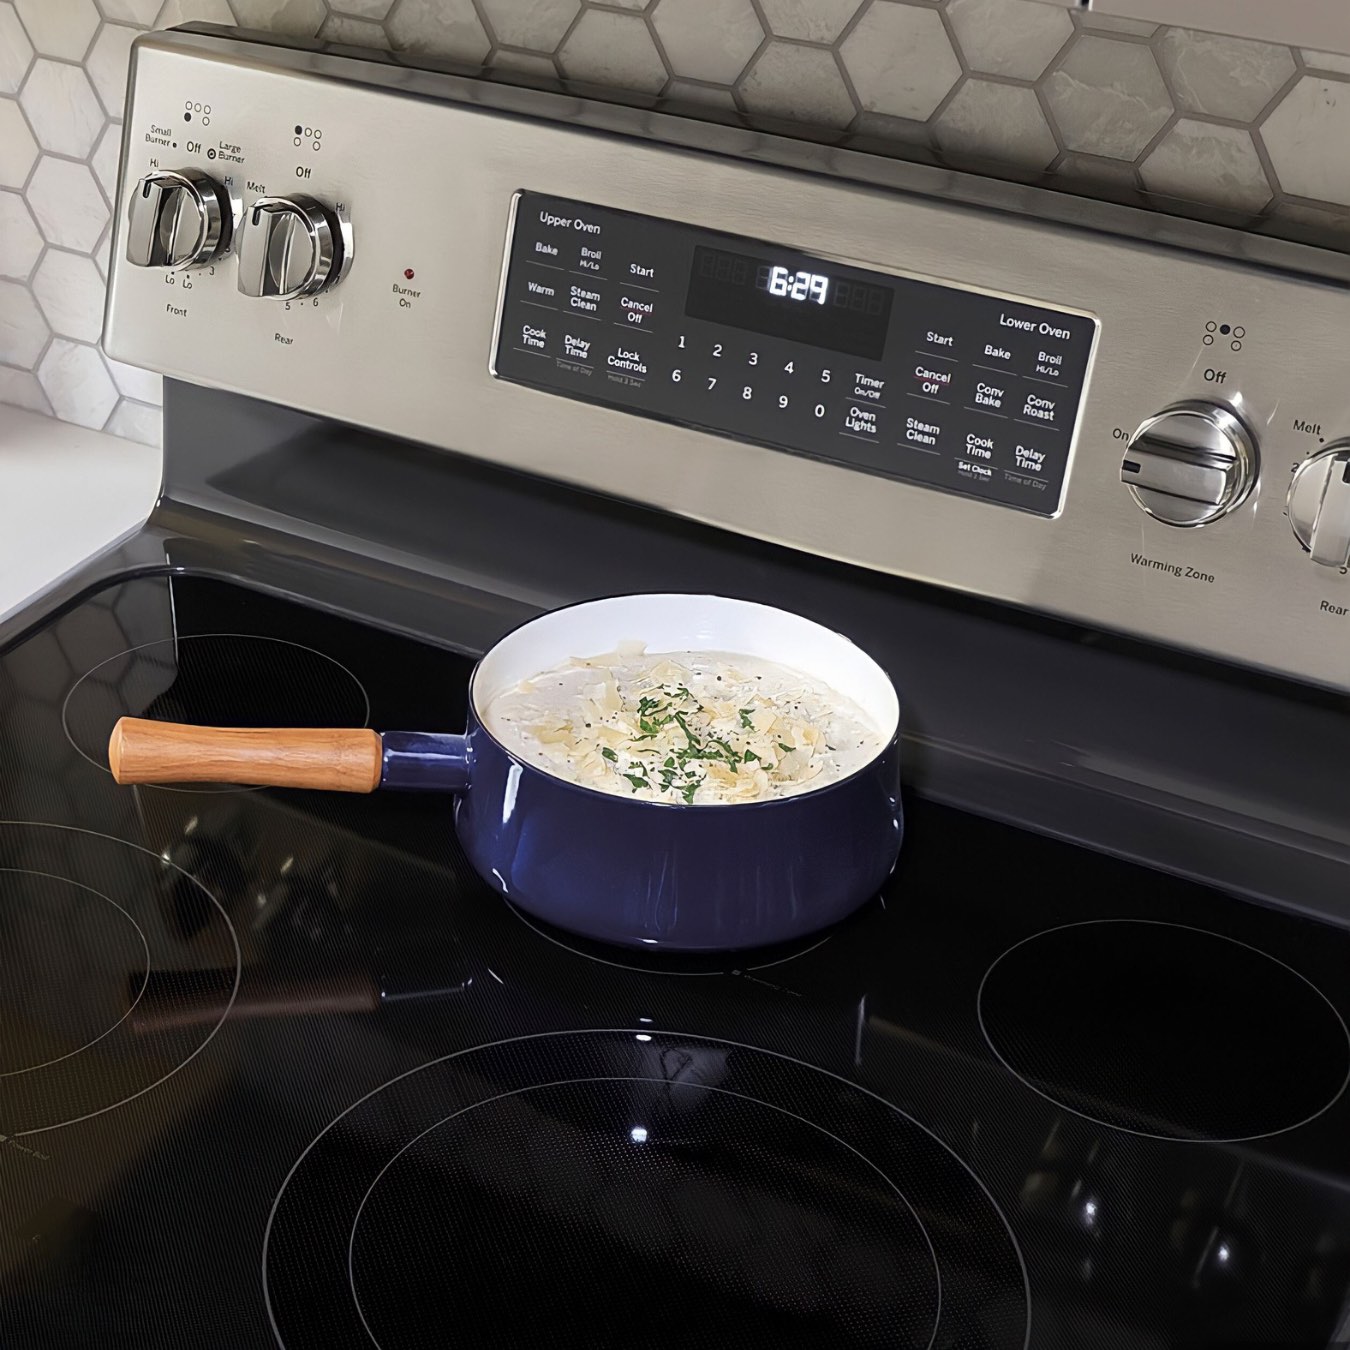
- Electric Stove: The stove top is usually a flat surface with heating elements or coils. It is typically located on top of the oven or range.
- Gas Stove: The stove top consists of burners and control knobs. It is commonly found on top of the oven or range, with gas pipes connecting to each burner.
- Induction Stove: The stove top is a flat glass surface that uses electromagnetic energy to heat cookware. It is usually located on top of the oven or range.
Once you have identified the type and location of your stove top, ensure that you have a clear and safe working area. Remove any objects or obstacles that may hinder the lifting process.
It’s also important to note that different stove models may require specific tools or techniques to lift the stove top. Consult your stove’s manual or manufacturer’s website for any specific instructions or guidelines.
Now that you have located your stove top and prepared the area, you are ready to move on to the next step: preparing for lifting.
Step 2: Prepare for Lifting
Before you proceed with lifting the stove top, it’s essential to take a few preparatory steps to ensure a smooth and safe process:
- Disconnect the Power: To avoid any electrical hazards, disconnect the power supply to your stove. Depending on your stove’s configuration, you may need to unplug it from the wall socket or turn off the circuit breaker. Refer to the manufacturer’s instructions for specific guidance.
- Turn Off the Gas: If you have a gas stove, it’s crucial to turn off the gas supply before lifting the stove top. Locate the gas shut-off valve, usually located near the stove or in a nearby cabinet. Rotate the valve to the “Off” position to prevent any gas leaks during the lifting process.
- Gather the Necessary Tools: To lift the stove top, you may require a few tools such as a screwdriver, pliers, or a socket wrench. Check the manufacturer’s manual or online resources to determine the specific tools needed for your stove model. Ensure that you have these tools readily available before proceeding.
- Protective Gear: It’s always a good idea to wear protective gear like gloves and safety glasses to protect your hands and eyes during the lifting process.
Once you have completed these preparatory steps, you are ready to move on to the next step: removing the burner grates and burner caps. This will allow you to access the stove top and lift it properly.
Step 3: Remove Burner Grates and Burner Caps
Before you can lift the stove top, you need to remove the burner grates and burner caps. These components sit on top of the stove top and need to be taken off to access the underlying mechanisms. Follow these steps to remove them:
- Turn Off the Burners: Make sure all the burners on your stove are turned off and have cooled down completely. This step will help prevent any accidental burns during the removal process.
- Lift the Grates: Start by lifting the burner grates. These are the metal grids that sit on top of the burners. Gently lift each grate and set them aside in a safe location.
- Remove the Burner Caps: The burner caps are the circular components covering the burner heads. Depending on your stove model, you may need to twist or lift the burner caps to remove them. Consult your stove’s manual for specific instructions. Once removed, set the burner caps aside with the grates.
- Clean the Grates and Caps: Take a moment to clean the grates and burner caps. Use warm, soapy water and a sponge or brush to remove any dirt, grease, or food residue. Rinse them thoroughly and allow them to dry before reinstallation.
With the burner grates and burner caps removed, you now have access to the stove top and can proceed to the next step: lifting the stove top itself.
Step 4: Lift the Stove Top
With the burner grates and burner caps removed, you are now ready to lift the stove top. Follow these steps to safely lift the stove top:
- Locate the Hinge Points: Look for the hinge points or release levers on either side of the stove top. These are typically located near the front of the stove top.
- Release the Hinge Points: Depending on your stove model, you may need to press down on the release levers or lift them up to unlock the stove top. Carefully follow the manufacturer’s instructions to ensure proper operation.
- Lift the Stove Top: Once the hinge points are released, gently lift the front of the stove top. It may require some force, but be cautious not to exert excessive pressure that could damage the stove top or the hinges.
- Support the Stove Top: To prevent any accidental damage or injuries, it’s crucial to support the stove top while lifted. You can use a sturdy object, such as a wooden block or a rolled-up towel, to prop up the front of the stove top and hold it in place.
When lifting the stove top, be mindful of any wires or connectors that may be attached to it. Take care not to strain or pull on these connections to avoid damaging them.
Now that the stove top is lifted and properly supported, you can move on to the next step: accessing the components underneath.
Before lifting the stove top, make sure to turn off the gas or electricity supply to the stove to avoid any accidents. Then, carefully lift the stove top from the front and gently prop it open to access the burners or interior components.
Read more: How To Make A Stove Top Distiller
Step 5: Support the Stove Top
Supporting the stove top is a crucial step to ensure its stability and prevent any accidental damage or injuries. Follow these steps to properly support the lifted stove top:
- Secure the Prop: If you haven’t done so already, choose a sturdy object, such as a wooden block or a rolled-up towel, to serve as a prop. Place it under the front of the stove top to provide support and prevent it from falling back down.
- Double Check Stability: Once the prop is in place, ensure that the stove top is securely supported and doesn’t wobble or shift. This will help maintain stability during the inspection or maintenance tasks.
- Avoid Excessive Pressure: While the stove top is lifted, be cautious not to put excessive pressure or weight on it. Avoid leaning or placing heavy objects on the stove top, as it may cause damage or affect its overall stability.
- Keep the Area Clear: Make sure the area surrounding the stove is clear of any clutter or obstacles. This will provide you with enough space to work comfortably and minimize the risk of accidents.
By properly supporting the stove top, you can safely access the components underneath and perform any necessary maintenance or repairs. Now that the stove top is securely in place, you can move on to the next step: accessing the components underneath.
Step 6: Access the Components Underneath
With the stove top lifted and properly supported, you now have access to the components underneath. This step allows you to inspect, clean, or repair various parts of your stove. Follow these steps to access the components underneath the stove top:
- Identify the Components: Take a moment to familiarize yourself with the different parts and components underneath the stove top. This may include the burners, igniters, gas valves, wiring, or other mechanisms depending on your stove model.
- Inspect and Clean: Carefully examine each component for any signs of damage, wear, or buildup. Use a soft brush or cloth to gently clean away any dirt, debris, or greasy residue that may have accumulated over time.
- Replace or Repair: If you notice any faulty or damaged components during the inspection, it may be necessary to replace or repair them. Consult your stove’s manual or contact a professional technician for guidance on proper replacement or repair procedures.
- Check for Gas Leaks: If you have a gas stove, it’s important to check for any gas leaks while the stove top is lifted. Apply a mixture of water and liquid dish soap to the gas connections, valves, and fittings. If you see bubbles forming, it indicates a gas leak. In such cases, turn off the gas supply and seek professional assistance to resolve the issue.
Remember to exercise caution and avoid touching any hot surfaces or live electrical components while accessing the components underneath the stove top. Safety should always be a top priority during this step.
Once you have completed the necessary inspections, cleanings, or repairs, you are ready to move on to the final step: lowering the stove top back into place.
Step 7: Lower the Stove Top
After you have finished inspecting, cleaning, or repairing the components underneath the stove top, it’s time to lower it back into place. Follow these steps to safely lower the stove top:
- Remove the Support: Start by carefully removing the prop that was supporting the front of the stove top. Lift it gently and set it aside in a safe location.
- Align the Hinge Points: Align the hinge points or release levers on both sides of the stove top. Carefully guide the stove top back into position, making sure that the hinge points are securely aligned.
- Lower the Stove Top: Lower the stove top slowly and steadily, ensuring that it sits evenly on the stove’s body. Avoid any sudden movements or excessive force that may cause damage or misalignment.
- Secure the Hinge Points: Once the stove top is back in place, secure the hinge points by pressing down or locking the release levers. Verify that the stove top is securely fastened and doesn’t move or wobble.
- Reinstall the Burner Grates and Caps: Finally, reattach the burner grates and caps onto the stove top. Place each grate over the burners, ensuring they fit snugly. Then, position the burner caps over the burner heads, aligning them correctly.
Take a moment to double-check that the burner grates and caps are properly seated and in their rightful place. This will ensure the stove top is fully assembled and ready for use.
With the stove top successfully lowered and the burner grates and caps in place, you have completed the process of lifting and lowering the stove top. Congratulations! Your stove is now ready for cooking, and you can enjoy the benefit of a well-maintained appliance.
Remember to reconnect the power and gas supply to the stove, following the appropriate safety measures. If you encounter any issues or concerns during the lifting and lowering process, it’s always a good idea to consult the manufacturer’s manual or seek professional assistance.
Thank you for following this comprehensive guide on how to lift the stove top. We hope this step-by-step process has been helpful in allowing you to perform maintenance, cleaning, or repairs on your stove with confidence and ease.
Conclusion
Lifting the stove top may seem like a daunting task, but with the right knowledge and approach, it can be easily accomplished. By following the steps outlined in this comprehensive guide, you can safely lift the stove top to access the components underneath for maintenance, cleaning, or repairs.
Remember to prioritize safety throughout the entire process. Disconnect the power and turn off the gas supply before starting. Use the appropriate tools and protective gear to ensure your well-being. If you encounter any difficulties or have concerns, consult the manufacturer’s manual or seek professional assistance.
By lifting the stove top, you gain access to important components such as burners, igniters, and gas valves, allowing for proper maintenance and troubleshooting. Inspect, clean, and repair any faulty or damaged parts as necessary, ensuring the optimal functioning of your stove.
Once you have completed the necessary tasks underneath the stove top, be sure to lower it back into place with care. Align the hinge points, lower it steadily, and secure the stove top to prevent any wobbling or damage. Reinstall the burner grates and caps to complete the process.
We hope that this guide has provided you with valuable insights and step-by-step instructions on how to lift the stove top. By following these guidelines, you can maintain your stove’s performance, extend its lifespan, and ensure a safe cooking environment.
Remember to always prioritize safety and consult the manufacturer’s instructions for any specific requirements or recommendations. With proper care and maintenance, your stove will continue to serve you well for years to come.
Thank you for reading, and happy cooking!
Frequently Asked Questions about How To Lift The Stove Top
Was this page helpful?
At Storables.com, we guarantee accurate and reliable information. Our content, validated by Expert Board Contributors, is crafted following stringent Editorial Policies. We're committed to providing you with well-researched, expert-backed insights for all your informational needs.


0 thoughts on “How To Lift The Stove Top”