Home>Articles>What Happens If My Gas Fireplace Pilot Light Goes Out

Articles
What Happens If My Gas Fireplace Pilot Light Goes Out
Modified: May 6, 2024
Learn what to do if your gas fireplace pilot light goes out. Our articles provide helpful tips and solutions to relight the pilot light and ensure a warm and cozy fireplace.
(Many of the links in this article redirect to a specific reviewed product. Your purchase of these products through affiliate links helps to generate commission for Storables.com, at no extra cost. Learn more)
Introduction
Welcome to the cozy world of gas fireplaces! There’s nothing quite like curling up next to a warm, crackling fire on a chilly evening. Gas fireplaces provide the perfect ambiance and convenience, allowing you to enjoy the beauty of a fire with just the flip of a switch. However, like any appliance, gas fireplaces require regular maintenance and can encounter occasional issues. One common problem that homeowners may face is a gas fireplace pilot light going out.
The pilot light is a small flame that ignites the gas fuel in your fireplace. It serves as a constant source of ignition, ensuring that you can easily start a fire whenever you want. If the pilot light goes out, it can prevent your gas fireplace from functioning properly. But don’t worry! In this article, we’ll walk you through the causes of a pilot light going out, safety measures to follow, steps to relight the pilot light yourself, and when it’s best to call a professional.
Understanding the workings of your gas fireplace and how to troubleshoot common issues can save you time, money, and potential frustration. So let’s dive in and explore what happens if your gas fireplace pilot light goes out.
Key Takeaways:
- Gas fireplace pilot light outages can be caused by issues such as insufficient gas supply, thermocouple malfunctions, drafts, and gas pressure problems. Understanding these causes can help homeowners troubleshoot and address the problem effectively.
- Safety is paramount when dealing with a gas fireplace pilot light outage. Following proper safety measures, knowing when to call a professional, and seeking expert assistance when needed ensures the continued functionality and enjoyment of your gas fireplace.
Read more: How To Clean A Pilot Light On Gas Fireplace
Overview of a Gas Fireplace Pilot Light
Before we delve into the reasons and solutions for a gas fireplace pilot light going out, let’s first understand what exactly a pilot light is and its significance in your fireplace.
A pilot light is a small, continuously burning flame that serves as an ignition source for your gas fireplace. It is typically located near the burner assembly and is responsible for lighting the main gas burner whenever you want to start a fire. The pilot light is fueled by a small amount of gas that flows constantly, allowing for quick and easy ignition.
The pilot light performs a vital role in gas fireplaces, ensuring that there is always a ready source of flame to ignite the gas fuel. This means you don’t have to go through the hassle of manually lighting a fire every time you want to enjoy the warmth and atmosphere of your fireplace.
There are two types of pilot lights commonly found in gas fireplaces:
- Standing Pilot Light: This is the traditional style of pilot light that remains continuously lit, even when the fireplace is not in use. It requires a small amount of gas supply at all times.
- Intermittent Pilot Light: Also known as an electronic ignition, this type of pilot light is only ignited when you want to start a fire. It saves energy by not consuming gas when the fireplace is not in use.
Both types of pilot lights have their advantages and operate on the same principle of providing a flame to ignite the gas fuel in your fireplace. Now that we have a clear understanding of what a pilot light is, let’s explore the common causes of a gas fireplace pilot light going out.
Causes of a Gas Fireplace Pilot Light Going Out
When your gas fireplace pilot light goes out unexpectedly, it can be frustrating, especially if you were looking forward to a cozy evening by the fire. Several factors can cause a pilot light to go out, ranging from minor issues to more significant problems. Let’s explore some of the common causes:
- Insufficient Gas Supply: One potential cause of a pilot light going out is a lack of gas supply. If there isn’t enough gas reaching the pilot assembly, the flame may not be sustained, resulting in the pilot light going out. This can happen due to issues with the gas line, a closed gas valve, or a clogged pilot orifice.
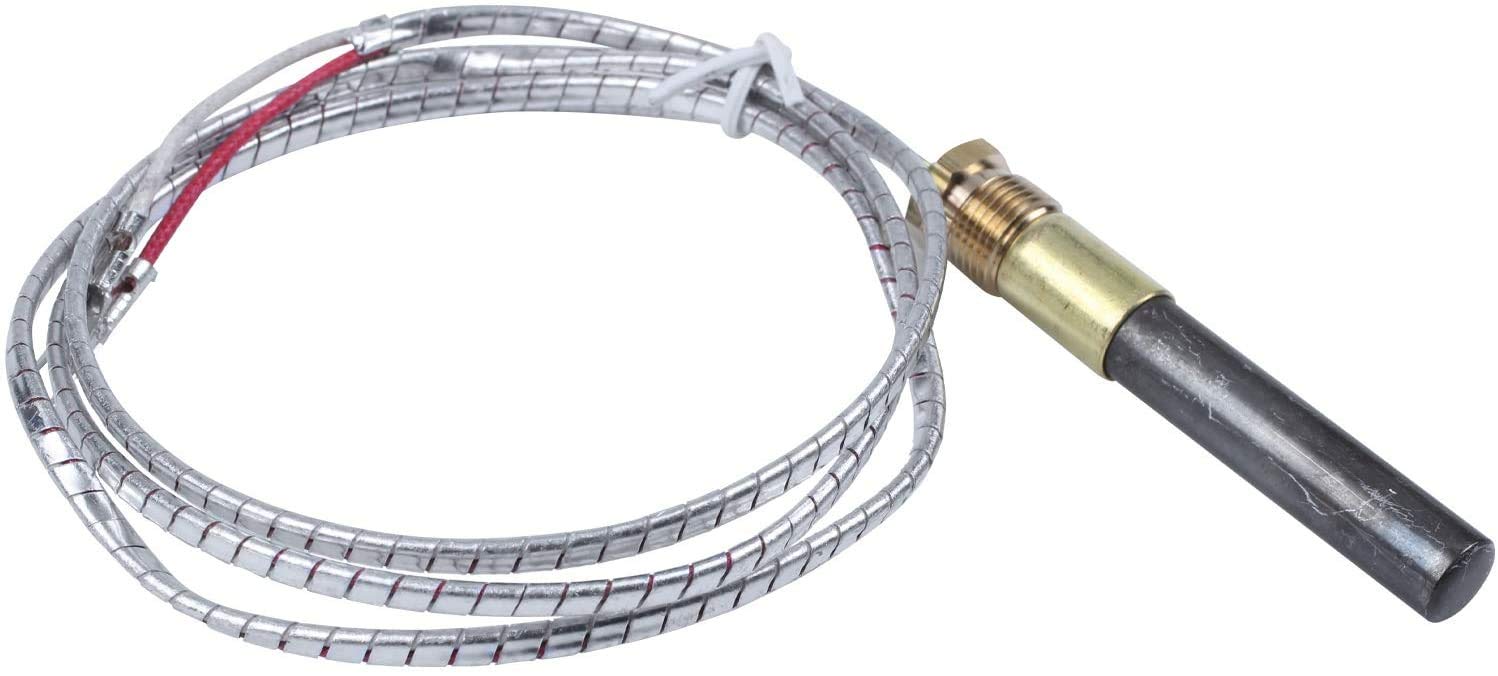
- Thermocouple Malfunction: The thermocouple is a safety device that detects whether the pilot light is lit. If the thermocouple senses that the pilot light is not ignited, it will automatically shut off the gas supply to prevent any potential gas leaks. A malfunctioning or faulty thermocouple can mistakenly indicate that the pilot light is out and shut off the gas flow.
- Drafts or Airflow Issues: Strong drafts or airflow near the fireplace can extinguish the pilot light. This can be caused by open windows or doors, a faulty damper, or improper venting. If there is an excessive amount of air blowing directly onto the pilot light, it can disrupt the flame and cause it to go out.
- Pilot Tube Obstruction: Over time, debris, dust, or spider webs can accumulate in the pilot tube, obstructing the flow of gas or disrupting the flame. If the pilot tube is blocked, the gas supply to the pilot light may be interrupted, causing it to go out.
- Gas Pressure Issues: Fluctuating gas pressure can also lead to the pilot light going out. If the gas pressure is too low or too high, it may affect the stability and consistency of the flame, causing it to extinguish. Gas pressure issues can be caused by problems with the gas line or regulator.
Identifying the specific cause of your pilot light going out is crucial in order to effectively address the issue. In the next section, we’ll discuss some safety measures you should follow if you encounter a pilot light outage.
Safety Measures to Follow if the Pilot Light Goes Out
Experiencing a gas fireplace pilot light going out can be concerning, but it’s important to prioritize safety when addressing the issue. Here are some safety measures you should follow if you encounter a pilot light outage:
- Turn Off the Gas: If you notice that the pilot light has gone out, the first step is to turn off the gas to your fireplace. Locate the gas valve, typically located near the gas supply line or on the fireplace itself, and turn it to the “Off” position. This will prevent any gas from flowing into the fireplace until the pilot light is relit.
- Allow Time for Gas Clearing: After turning off the gas, give it some time for any remaining gas to dissipate. This can help eliminate any potential gas buildup or lingering fumes that may have resulted from the pilot light going out. Open windows or doors in the vicinity to ensure proper ventilation.
- Do Not Use Open Flames or Electrical Devices: During the period when the pilot light is out, avoid using open flames or electrical devices near the fireplace. This includes refraining from using matches, lighters, or candles nearby. It’s crucial to prevent any accidental ignition of gas that may be present in the area.
- Follow Manufacturer’s Guidelines: Consult your fireplace’s user manual or manufacturer’s guidelines for specific safety instructions regarding the pilot light. Different fireplace models may have specific steps or precautions to follow. Adhering to these guidelines will ensure you are taking the appropriate safety measures.
- Use Caution with Ignition Attempts: If you decide to relight the pilot light yourself, exercise caution. Follow the proper procedure outlined by the manufacturer and use a long fireplace lighter or fireplace matches. Avoid using regular lighters or matches as they may not reach the pilot light safely. If you are unsure or uncomfortable with relighting the pilot light, it’s best to call a professional.
Remember, safety should always be the top priority. If you are unsure about any steps or encounter any issues, it is recommended to seek the assistance of a professional. In the next section, we’ll guide you through the steps to relight a gas fireplace pilot light yourself, provided you are comfortable doing so.
If your gas fireplace pilot light goes out, try relighting it by following the manufacturer’s instructions. If you’re unable to relight it, contact a professional to inspect and repair the fireplace.
Steps to Relight a Gas Fireplace Pilot Light
If you feel comfortable relighting the pilot light yourself, follow these steps to safely relight your gas fireplace pilot light:
- Turn Off the Gas: Before starting the relighting process, ensure that the gas valve to your fireplace is in the “Off” position. This will prevent any gas flow while you work on relighting the pilot light.
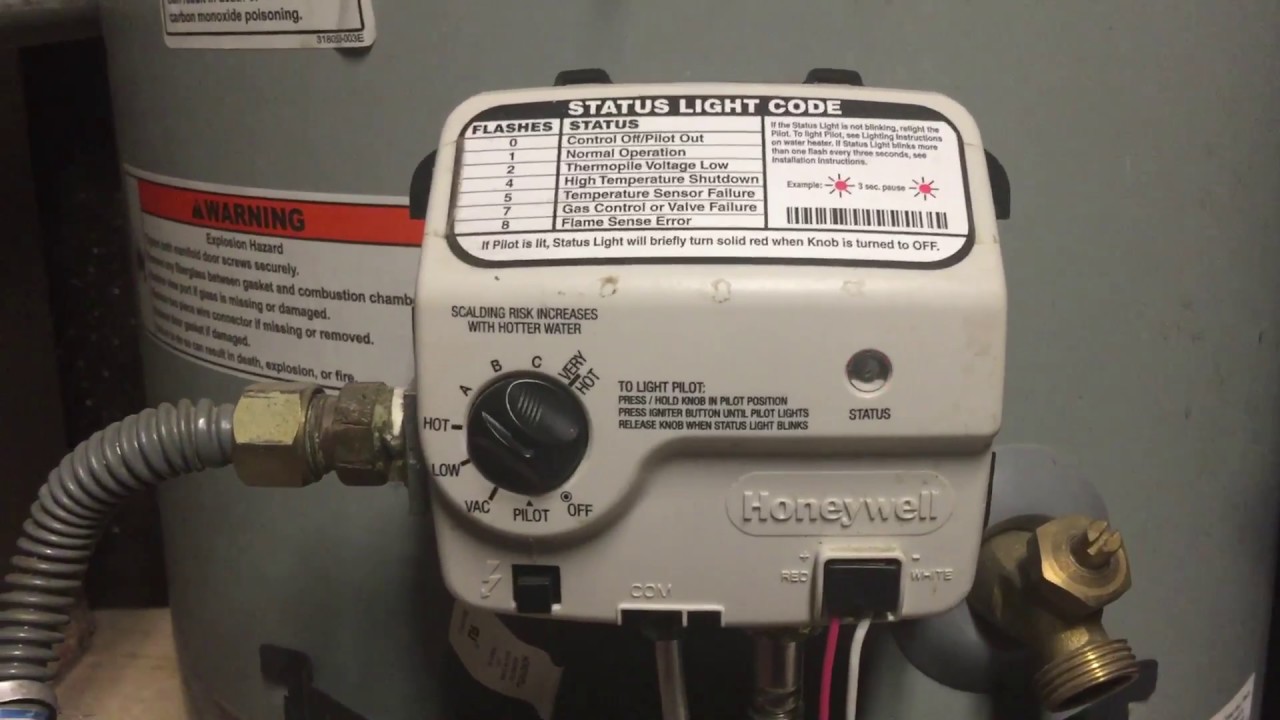
- Locate the Pilot Light Assembly: The pilot light assembly is usually located near the burner assembly, close to the bottom of the fireplace. Look for a small metal tube or pipe with a control knob. The control knob is typically marked with “Off,” “On,” and “Pilot.”
- Set the Control Knob to “Off”: Turn the control knob to the “Off” position and wait for at least five minutes. This will ensure that any residual gas has dissipated and there is no risk of ignition when relighting the pilot light.
- Prepare to Relight the Pilot Light: After the waiting period, turn the control knob to the “Pilot” position to prepare for relighting. Simultaneously, locate the red or black reset button near the control knob. This button may be recessed, so you may need to use a small tool like a pen or paperclip to push it.
- Press and Hold the Reset Button: Press and hold the reset button while using your other hand to hold a long-handled lighter or fireplace match to the pilot assembly. Position the flame near the pilot burner while keeping the reset button depressed. This will allow gas to flow to the pilot light and ignite.
- Continue Holding the Reset Button: Once the flame is lit, continue to hold the reset button for about 30 seconds to allow the thermocouple to heat up. This will send a signal to the gas valve, confirming that the pilot light is lit and stable.
- Release the Reset Button: After the 30-second interval, release the reset button. The pilot light should remain lit. If it goes out once you release the button, repeat the process from step 4. If the pilot light continues to go out even after multiple attempts, it’s best to call a professional for further assistance.
- Turn the Control Knob to “On”: Once the pilot light is successfully lit and stable, turn the control knob to the “On” position. This will allow gas flow to the main burner, enabling you to enjoy a cozy fire in your gas fireplace.
Remember to refer to your specific fireplace’s user manual or manufacturer’s guidelines for any additional instructions or precautions. If you are uncomfortable or unsure about relighting the pilot light yourself, it’s always best to seek the help of a professional to ensure your safety and the proper functioning of your gas fireplace.
In cases where relighting the pilot light doesn’t resolve the issue or the pilot light continues to go out, it’s recommended to contact a professional technician who specializes in gas fireplaces. They will have the expertise and equipment to diagnose and address any underlying problems.
Read more: How To Turn Off Fireplace Pilot Light
When to Call a Professional
While relighting a gas fireplace pilot light is a task that some homeowners can handle themselves, there are situations where it’s best to call a professional. Here are some scenarios when it’s advisable to seek the assistance of a professional technician:
- Frequent Pilot Light Outages: If you find that your pilot light consistently goes out, even after relighting it multiple times, it may indicate an underlying issue that requires professional attention. A technician can inspect and troubleshoot the problem to determine the root cause and provide the necessary repairs.
- Gas Odor: If you detect a strong gas odor in or around your gas fireplace, it is crucial to take immediate action. Gas leaks can be dangerous and pose a significant risk. In this case, do not attempt to relight the pilot light yourself and evacuate the area. Contact a professional technician or your gas utility provider for assistance.
- Thermocouple Replacement: If you suspect that the thermocouple is faulty or malfunctioning, it’s best to leave the replacement to a professional. The thermocouple plays a critical safety role in your gas fireplace, and proper installation is crucial to ensure its effectiveness. A technician will have the expertise to handle this task safely.
- Complex Fireplace Systems: If your gas fireplace has a more complex system or integrated features such as remote controls, fans, or electronic ignition, it may require specialized knowledge for troubleshooting and repairs. In such cases, it’s best to rely on a professional technician who is experienced in working with advanced fireplace systems.
- Gas Line Issues: Problems with the gas line, such as leaks or blockages, require the expertise of a licensed gas technician. Attempting to fix gas line issues without the proper training and equipment can be extremely dangerous. It’s crucial to rely on a professional technician to handle any gas line-related problems.
Remember, your safety and the proper functioning of your gas fireplace are paramount. When in doubt or faced with more complex issues, it’s always best to call a professional. They have the knowledge, skills, and tools to diagnose and resolve any problems effectively and safely.
By seeking professional help, you can have peace of mind knowing that your gas fireplace is in good hands and will continue to provide warmth, comfort, and enjoyment for years to come.
Conclusion
A gas fireplace pilot light going out can be a minor inconvenience, but with the right knowledge and precautions, it can be resolved safely and efficiently. In this article, we explored the overview of a gas fireplace pilot light, the common causes of a pilot light going out, safety measures to follow, steps to relight the pilot light yourself, and when it’s best to call a professional.
Understanding how your gas fireplace works, including the role of the pilot light, is essential for troubleshooting and maintenance. By familiarizing yourself with the various causes of a pilot light going out, such as insufficient gas supply, thermocouple malfunctions, drafts or airflow issues, pilot tube obstructions, and gas pressure problems, you can better identify and address the issue.
Ensuring your safety is paramount when dealing with a gas fireplace pilot light outage. Following safety measures such as turning off the gas, allowing time for gas clearing, refraining from open flames or electrical devices, and using caution during ignition attempts are critical to prevent accidents and gas leaks.
If you feel comfortable, relighting the pilot light yourself can be a cost-effective solution. We provided step-by-step instructions to guide you through the process. However, it’s important to know your limits. If you encounter frequent outages, gas odors, or complex fireplace systems, it’s best to call a professional technician to assess the situation and provide expert assistance.
Remember, the safety of your gas fireplace and your home should be your top priority. Regular maintenance, getting professional help when needed, and following the manufacturer’s guidelines can help ensure the continued functionality and enjoyment of your gas fireplace for years to come.
Now that you have a solid understanding of what happens if your gas fireplace pilot light goes out, you can approach any pilot light outage with confidence, knowing how to troubleshoot, maintain safety, and seek professional help when necessary. Stay warm and cozy!
Once you've managed to relight that pilot light, ensuring a cozy atmosphere at home, why not take a moment to check on your fireplace's overall safety? Our next piece dives into essential checks and balances every homeowner should perform regularly. Wondering about the integrity of your home's fireplace? Our insightful guide on fireplace safety will walk you through everything you need to know, helping you enjoy those flames worry-free.
Frequently Asked Questions about What Happens If My Gas Fireplace Pilot Light Goes Out
Was this page helpful?
At Storables.com, we guarantee accurate and reliable information. Our content, validated by Expert Board Contributors, is crafted following stringent Editorial Policies. We're committed to providing you with well-researched, expert-backed insights for all your informational needs.


0 thoughts on “What Happens If My Gas Fireplace Pilot Light Goes Out”