Articles
How To Turn On Pilot Light Gas Fireplace
Modified: February 23, 2024
Learn how to easily turn on the pilot light of your gas fireplace with these step-by-step articles. Get expert tips and troubleshooting advice for a cozy and warm home.
(Many of the links in this article redirect to a specific reviewed product. Your purchase of these products through affiliate links helps to generate commission for Storables.com, at no extra cost. Learn more)
Introduction
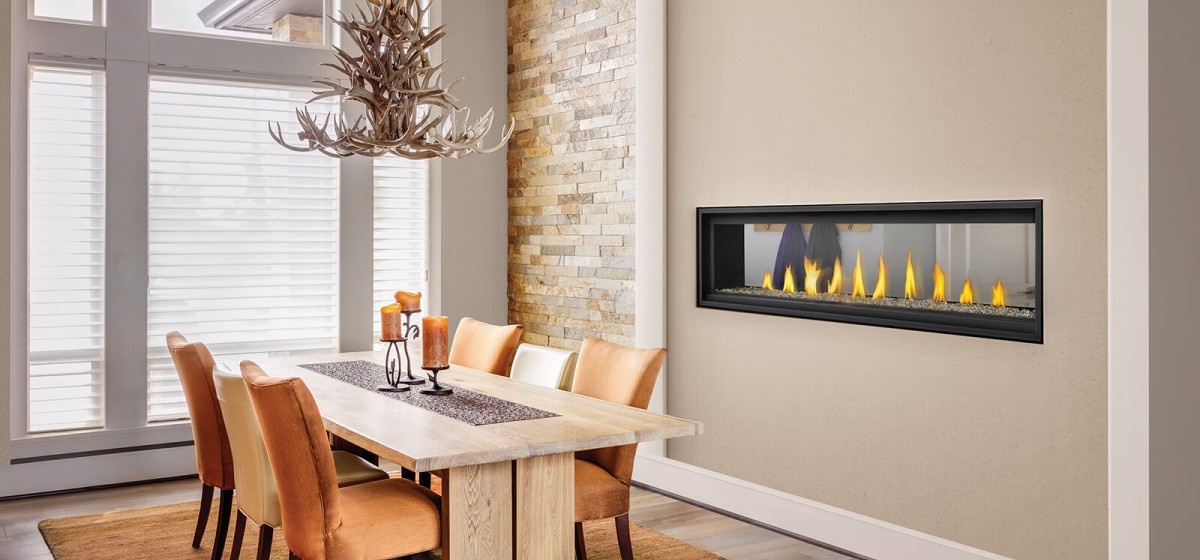
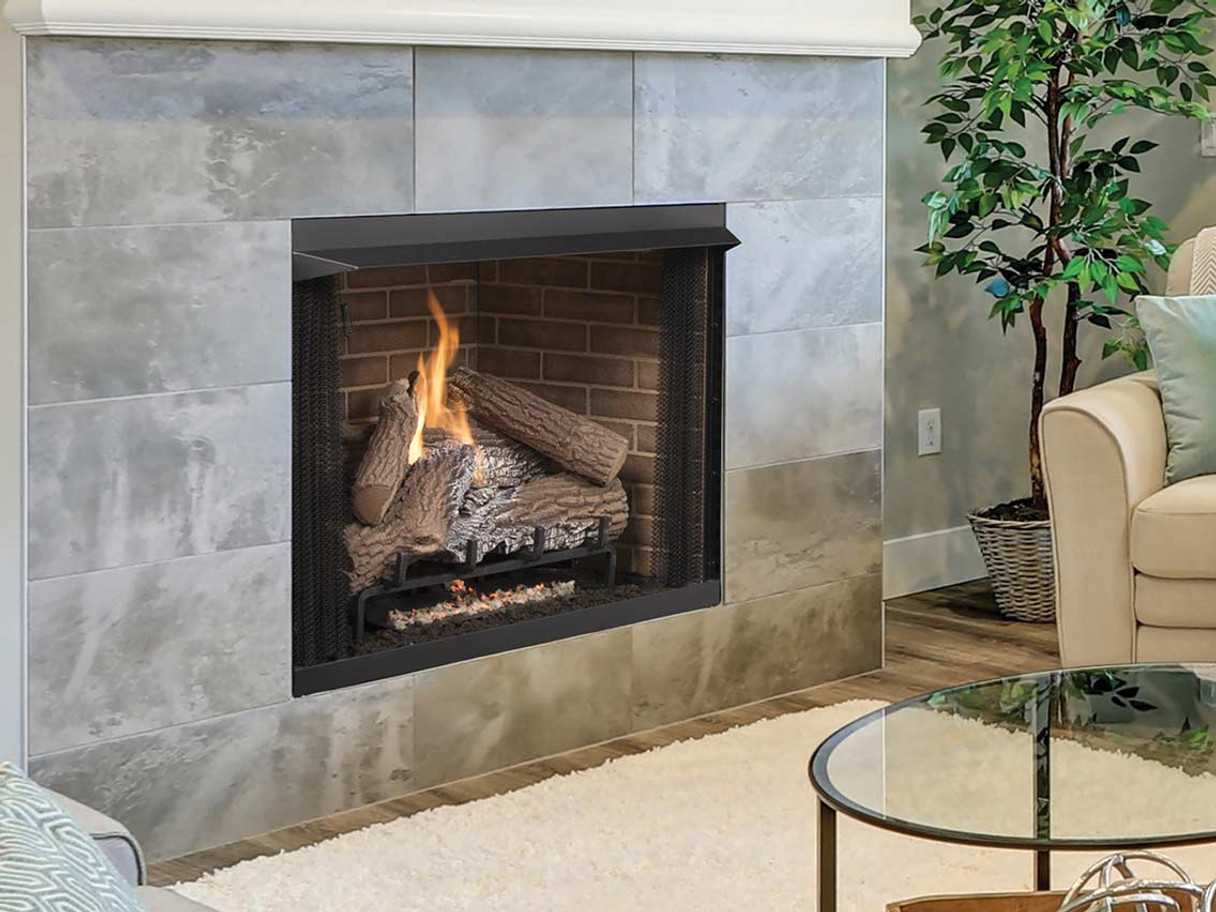
Having a gas fireplace can bring warmth and coziness to your home during the colder months. One essential component of a gas fireplace is the pilot light, which is responsible for igniting the main burner. However, there may be times when the pilot light goes out and needs to be relit. Whether you’re a new fireplace owner or simply need a refresher, this guide will walk you through the steps of turning on the pilot light of your gas fireplace.
Before we dive into the process, it’s important to note that working with gas appliances can be potentially dangerous. It’s crucial to prioritize safety and follow the necessary precautions. If you are uncomfortable or unsure about any step, it’s best to contact a professional technician to assist you. With that said, let’s explore the process of safely turning on the pilot light of a gas fireplace.
Key Takeaways:
- Safely relight your gas fireplace pilot light by following manufacturer’s instructions, ensuring proper ventilation, and using the right tools. Prioritize safety and seek professional help if needed.
- After safely relighting the pilot light, test your gas fireplace to ensure proper functionality. Adjust the flame, monitor for irregularities, and enjoy the cozy warmth it brings to your home.
Read more: How To Light A Pilot On Gas Fireplace
Important Safety Precautions
Before you attempt to turn on the pilot light of your gas fireplace, there are several important safety precautions you need to consider. These precautions will help ensure your safety and the proper functioning of your gas fireplace. Here are some key safety measures to keep in mind:
- Read the manufacturer’s instructions: Before you begin, thoroughly read the user manual or instructions provided by the manufacturer of your gas fireplace. This will familiarize you with specific safety guidelines and procedures unique to your fireplace model.
- Ensure proper ventilation: Gas fireplaces require proper ventilation to allow for the safe release of combustion gases. Make sure the venting system is clear of obstructions and functioning correctly.
- Check for gas leaks: Before starting any work on your fireplace, inspect the gas line and connections for leaks. You can use a gas leak detector or a mixture of soapy water to identify any leaks. If you detect a gas leak, immediately turn off the gas supply and contact a professional service technician.
- Use protective gear: Wear appropriate safety gear, such as gloves and safety glasses, to protect yourself during the process.
- Keep flammable items away: Clear the area around the fireplace of any flammable materials, such as curtains, furniture, or rugs. This will reduce the risk of accidents and ensure that the flame remains contained within the fireplace.
- Follow proper procedures: Stick to the step-by-step instructions outlined in this guide and follow the recommended procedures provided by the manufacturer. Skipping or improvising steps can expose you to unnecessary risks.
- Know when to seek professional help: If you have any doubts or concerns about your ability to safely relight the pilot light, it’s best to seek the assistance of a qualified professional technician.
By adhering to these safety precautions, you can ensure a safe and successful process of turning on the pilot light of your gas fireplace. Now that we’ve covered the essential safety measures, let’s move on to the step-by-step procedure of relighting the pilot light.
Step 1: Gather the Necessary Tools and Materials
Before you begin the process of turning on the pilot light of your gas fireplace, it’s important to gather all the required tools and materials. This will ensure that you have everything you need within reach, making the process smooth and efficient. Here’s a list of the essential tools and materials you’ll need:
- Long-reach lighter or fireplace matches: These are specifically designed to safely reach the pilot light without risking burns.
- Flashlight: A flashlight will come in handy to provide extra lighting in the fireplace area, especially if it’s dimly lit.
- Screwdriver: You may need a screwdriver to access certain components of your gas fireplace, such as the pilot light assembly.
- Owner’s manual: Keep the owner’s manual or manufacturer’s instructions nearby for reference throughout the process.
- Gas shut-off key or wrench: It’s essential to have a gas shut-off key or wrench on hand to turn off the gas supply if necessary.
Check that all the tools and materials listed above are in good condition and easily accessible. By having everything prepared beforehand, you can avoid interruptions and delays during the process of turning on the pilot light of your gas fireplace. With your tools and materials ready, we can now move on to the next step – locating the pilot light assembly.
Step 2: Locate the Pilot Light Assembly
Locating the pilot light assembly is an essential step in the process of turning on the pilot light of your gas fireplace. The pilot light assembly is usually located near the main burner and is responsible for igniting the gas that fuels the fire. Here’s how you can find the pilot light assembly:
- Consult the owner’s manual: The owner’s manual or manufacturer’s instructions will provide specific information about the location of the pilot light assembly for your particular gas fireplace model. Refer to the manual and look for any diagrams or descriptions that outline the pilot light assembly’s position.
- Inspect the fireplace exterior: Take a close look at the exterior of your gas fireplace. Look for any indicators such as labels, markings, or knobs that may point to the location of the pilot light assembly.
- Remove the fireplace’s front panel: In some cases, accessing the pilot light assembly may require removing the front panel of the fireplace. If this is the case for your fireplace, use a screwdriver or any appropriate tools to carefully remove the front panel and expose the inner components.
- Use a flashlight: Once you have a clear view of the inner components, use a flashlight to examine the area around the main burner. Look for a small metal tube or pipe that leads to the pilot light assembly.
- Identify the pilot light apparatus: The pilot light assembly typically consists of a small gas nozzle or valve, a thermocouple, and a pilot light ignition switch. Take note of these components as you will need to interact with them during the process of turning on the pilot light.
It’s important to familiarize yourself with the location and components of the pilot light assembly before proceeding further. This understanding will help you navigate through the subsequent steps more confidently. With the pilot light assembly identified, we can now move on to Step 3 – turning off the gas supply.
Step 3: Turn Off the Gas Supply
Before proceeding any further, it’s essential to turn off the gas supply to ensure your safety while working on the pilot light of your gas fireplace. Follow these steps to turn off the gas supply:
- Locate the gas shut-off valve: The gas shut-off valve is typically located near the gas line that feeds into the fireplace. It may be situated on the floor or wall nearby.
- Turn the gas shut-off valve to the “Off” position: Use a gas shut-off key or wrench to rotate the valve handle clockwise until it stops. This will shut off the flow of gas to the fireplace.
- Verify the gas supply is off: To ensure the gas supply is truly off, try to ignite the fireplace using the regular controls. If the fireplace does not ignite, it means the gas supply has been successfully turned off.
- Leave the gas supply off for a few minutes: It’s recommended to wait for a few minutes after turning off the gas supply. This allows any lingering gas in the pipes to dissipate, minimizing the risk of accidental ignition.
Turning off the gas supply is a crucial safety precaution that prevents gas leaks and potential hazards while working on the pilot light. Now that you’ve turned off the gas supply, we can proceed to the next step – accessing the pilot light ignition switch.
Read more: How To Turn Off Fireplace Pilot Light
Step 4: Access the Pilot Light Ignition Switch
In this step, we will focus on accessing the pilot light ignition switch, which is responsible for igniting the pilot light of your gas fireplace. Follow these instructions to gain access to the ignition switch:
- Ensure the gas supply is turned off: Before proceeding, double-check that you have successfully shut off the gas supply as outlined in Step 3. This step is crucial for your safety.
- Remove the front panel or access panel: Depending on the design of your gas fireplace, you may need to remove the front panel or an access panel to reach the pilot light ignition switch. Use a screwdriver or any appropriate tools to carefully remove these panels.
- Locate the pilot light ignition switch: Once you have removed the necessary panels, locate the pilot light ignition switch. It is typically a small red or black button located near the pilot light assembly.
- Ensure the ignition switch is in the “Off” position: Take a moment to verify that the ignition switch is in the “Off” position. This is important to ensure a controlled and safe ignition process when we get to that step.
By following these steps, you should now have access to the pilot light ignition switch. Take note of its location and position to proceed to the next step smoothly. In Step 5, we will prepare the pilot light for ignition.
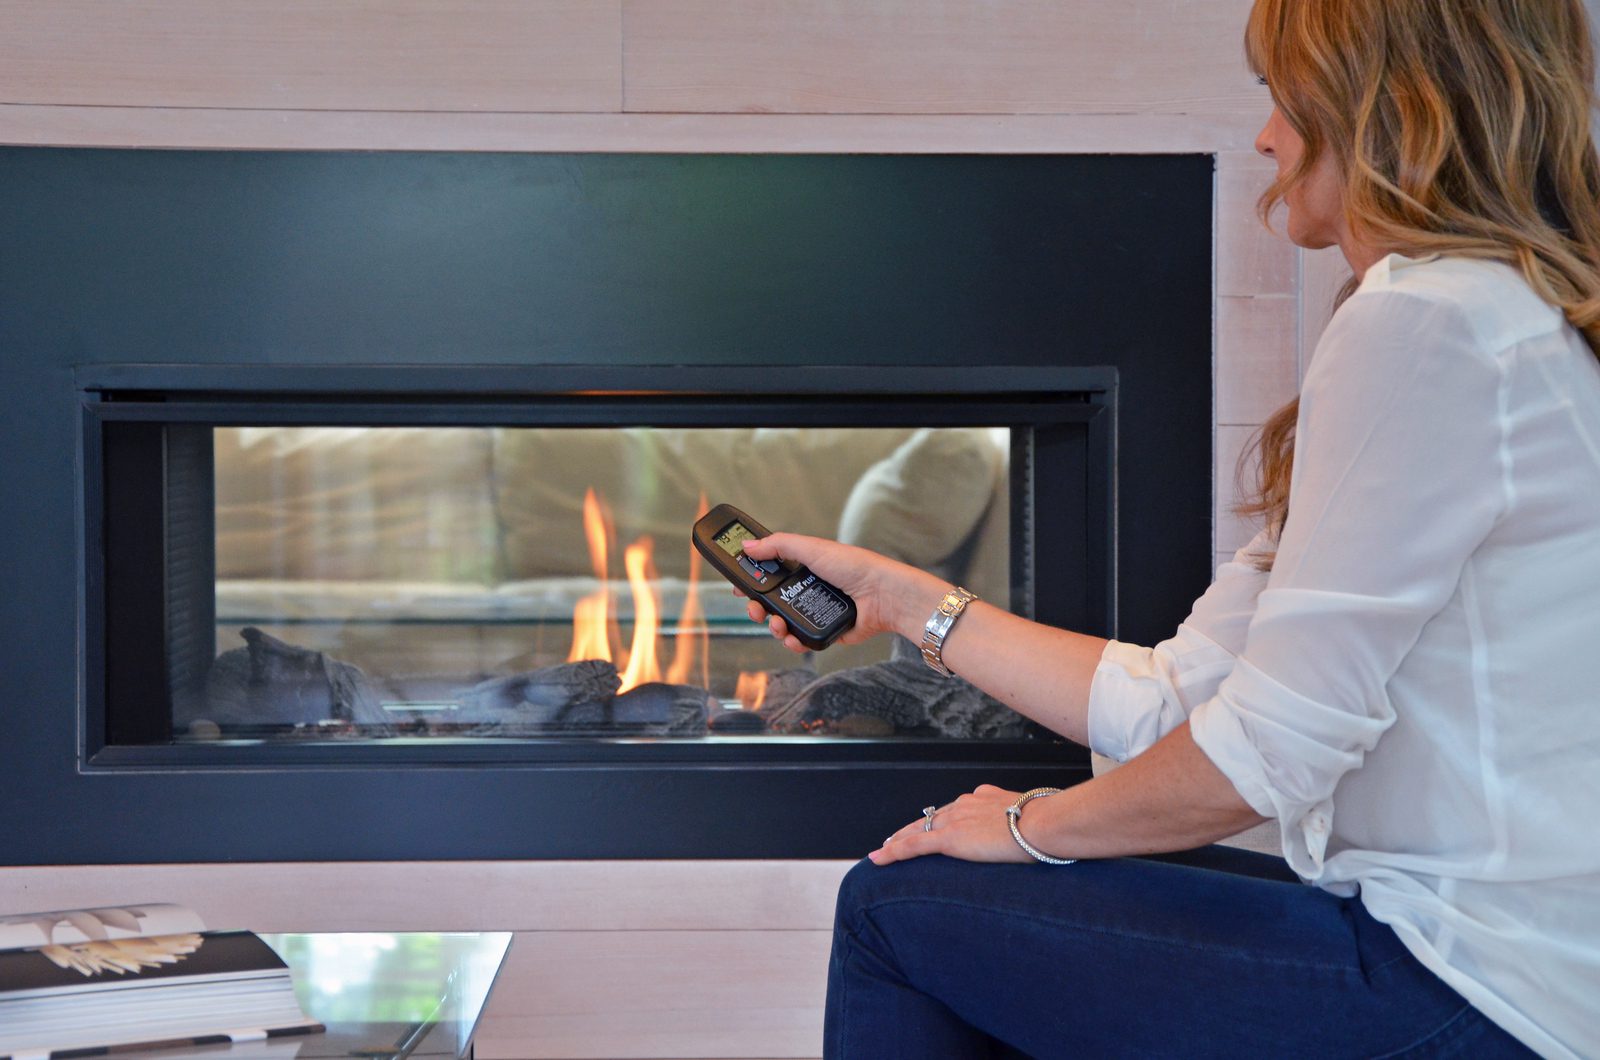
Before attempting to turn on the pilot light of a gas fireplace, make sure to carefully follow the manufacturer’s instructions provided in the user manual. It’s important to ensure the gas supply is turned on and to follow the proper ignition procedure to safely light the pilot light.
Step 5: Prepare the Pilot Light for Ignition
Before you can ignite the pilot light of your gas fireplace, it’s important to properly prepare the pilot light and its surrounding area. Follow these steps to ensure the pilot light is ready for ignition:
- Clean the pilot light assembly: Use a soft brush or cloth to remove any dust, debris, or cobwebs that may have accumulated around the pilot light assembly. This will help ensure a clear and unobstructed pathway for the gas to flow.
- Inspect the thermocouple: The thermocouple is a safety device that detects the presence of the pilot flame. Check that it is clean and properly aligned with the pilot light. If it appears damaged or misaligned, consult a professional technician for assistance.
- Check the gas line: Inspect the gas line for any signs of damage or corrosion. If you notice any issues, it’s best to contact a professional technician to address the problem.
- Verify proper ventilation: Ensure that the venting system is clear and functioning correctly. Any obstruction can impede the flow of combustion gases and pose a safety risk.
- Remove flammable objects: Clear the area around the pilot light of any flammable materials, such as paper, cloth, or cleaning supplies. This will minimize the risk of accidental fires.
By taking these precautions and preparing the pilot light properly, you are setting the stage for a safe and successful ignition. With the pilot light assembly cleaned and the surrounding area free from hazards, you can now proceed to Step 6 – igniting the pilot light.
Step 6: Ignite the Pilot Light
Now that you have properly prepared the pilot light, it’s time to ignite it. Follow these step-by-step instructions to safely ignite the pilot light:
- Locate the pilot light ignition switch: Refer back to Step 4 and locate the pilot light ignition switch. It is usually a small red or black button near the pilot light assembly.
- Depress and hold the ignition switch: Press and hold the ignition switch down to allow gas to flow to the pilot light. While continuing to hold it down, move to the next step.
- Ignite the pilot light: Use a long-reach lighter or fireplace matches to carefully ignite the pilot light. Insert the flame near the pilot light assembly and slowly move it until the flame catches on the gas. Continue to hold down the ignition switch throughout this process.
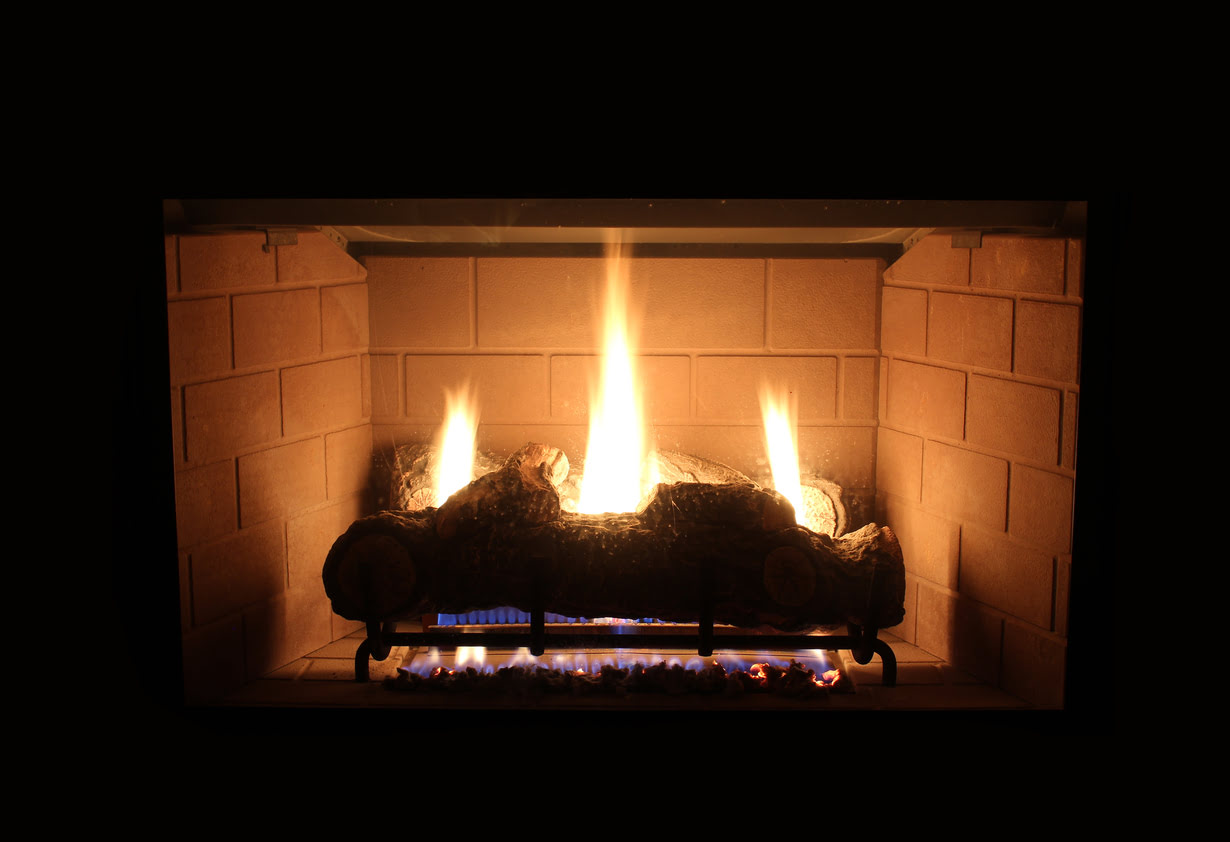
- Observe the pilot light: Once the flame is ignited, keep an eye on the pilot light. It should burn steadily and produce a small, constant flame. Verify that the flame is touching the thermocouple.
It’s important to note that during the process of igniting the pilot light, you may hear a clicking sound. This is the sound of the ignition system attempting to light the pilot. If the pilot light does not ignite after a few attempts, release the ignition switch and wait a few minutes before trying again. If you continue to experience difficulties, it’s best to seek the assistance of a professional technician.
Once you have successfully ignited the pilot light and observed a steady flame, you can proceed to the next step to adjust the flame and confirm that the pilot light is on.
Step 7: Adjust the Flame and Confirm the Pilot Light is On
After igniting the pilot light, it’s important to adjust the flame to ensure it is burning at the optimal level and to confirm that the pilot light is indeed on. Follow these steps to adjust the flame and confirm its presence:
- Release the ignition switch: Once the pilot light is ignited and stable, release the ignition switch. The flame should continue to burn on its own.
- Wait for the flame to stabilize: Allow the flame to burn for a few moments to stabilize and reach its steady state. At this point, it should be a small, steady blue flame.
- Adjust the flame height: Locate the pilot light adjustment screw, which is usually located on the pilot light assembly. Use a screwdriver to turn the screw clockwise to increase the flame height or counterclockwise to decrease it. Aim for a flame that is approximately 1 to 1.5 inches tall.
- Confirm the pilot light is on: With the flame adjusted, visually inspect the pilot light. It should be a steady, consistent flame touching the thermocouple. A properly functioning pilot light will provide a reliable and continuous source of ignition for the main burner.
While adjusting the flame, be cautious not to set it too high, as this can result in excessive gas consumption and potential safety hazards. It’s important to strike a balance and maintain a flame that is both stable and efficient.
Once you have adjusted the flame and confirmed that the pilot light is on, you are now ready to move on to Step 8 – restoring the gas supply.
Read more: How To Clean A Pilot Light On Gas Fireplace
Step 8: Restore the Gas Supply
Now that the pilot light is successfully ignited and adjusted, it’s time to restore the gas supply to your fireplace. Follow these steps to safely restore the gas supply:
- Double-check the pilot light: Before proceeding, take a moment to verify that the pilot light is still burning steadily and the flame is touching the thermocouple. This is essential to ensure that the main burner will ignite properly.
- Locate the gas shut-off valve: Recall the location of the gas shut-off valve, which you identified in Step 3. It is typically situated near the gas line or on the floor or wall nearby.
- Turn the gas shut-off valve to the “On” position: Use a gas shut-off key or wrench to rotate the valve handle counterclockwise until it is fully open. This will restore the flow of gas to the fireplace.
- Listen for the gas flow: As you turn on the gas supply, listen carefully for the sound of gas flowing into the fireplace. This indicates that the gas supply has been successfully restored.
- Inspect for any gas leaks: Once the gas supply is restored, perform a quick visual inspection of the gas line and connections for any signs of gas leaks, such as hissing sounds or the smell of gas. If you suspect a gas leak, immediately turn off the gas supply and contact a professional technician.
By following these steps, you can safely restore the gas supply to your fireplace. It’s crucial to be attentive and responsive to any signs of gas leaks, as safety should always be the top priority. Now that the gas supply is restored, we can proceed to Step 9 – testing the fireplace.
Step 9: Test the Fireplace
With the pilot light successfully ignited and the gas supply restored, it’s time to test the functionality of your gas fireplace. Follow these steps to ensure that everything is working properly:
- Turn on the main burner: Locate the main burner control knob or switch on your fireplace. Turn it on to activate the main burner.
- Observe the flame: As the main burner ignites, observe the flame. It should ignite smoothly and burn with a steady, consistent flame. The flame should be blue in color, indicating proper combustion.
- Check for proper ignition: Confirm that the main burner ignites consistently with the pilot light. The pilot light should act as the ignition source for the main burner every time you turn it on.
- Adjust the flame height (if necessary): If the flame height of the main burner is too low or too high, use the appropriate controls to adjust it to your desired level. Aim for a flame that is balanced and visually pleasing.
- Monitor for any irregularities: Keep an eye on the fireplace as it operates. Watch for any unusual sounds, abnormal odors, or fluctuations in flame behavior. If you notice anything out of the ordinary, it’s best to contact a professional technician for further inspection.
By testing the fireplace, you can ensure that both the pilot light and main burner are functioning correctly. If everything appears to be in order and the flame is stable, congratulations! You have successfully turned on and tested your gas fireplace.
Remember to always exercise caution when operating gas appliances and to follow manufacturer guidelines for ongoing maintenance and safety. Regularly inspect and clean your fireplace to keep it in optimal working condition and enjoy the warmth and ambiance it brings to your home.
With the process of testing the fireplace complete, you have successfully completed all the necessary steps to turn on the pilot light and ensure the proper operation of your gas fireplace. Enjoy the cozy atmosphere and comforting warmth it provides.
Conclusion
Turning on the pilot light of your gas fireplace may seem like a daunting task, but by following the step-by-step instructions and taking the necessary safety precautions, you can do so with confidence. Remember that safety should always be your top priority when working with gas appliances, so don’t hesitate to seek professional assistance if you have any doubts or concerns.
In this guide, we have covered the essential steps to safely and effectively turn on the pilot light of your gas fireplace. We started by emphasizing the importance of safety precautions, such as reading the manufacturer’s instructions and ensuring proper ventilation. Then, we walked through each step, from gathering the necessary tools and materials to locating and igniting the pilot light.
We also highlighted the significance of adjusting the flame and confirming the pilot light is on, as well as restoring the gas supply and testing the fireplace to ensure its proper functioning. By adhering to these steps and regularly maintaining your gas fireplace, you can enjoy its cozy warmth and inviting ambiance throughout the colder months.
Remember, if at any point you feel uncomfortable or unsure about any step, it’s always best to consult a professional technician. They have the expertise and experience to handle any fireplace-related concerns and ensure your safety.
With all the necessary knowledge and guidelines at your disposal, you can now confidently turn on the pilot light of your gas fireplace and experience the comfort and beauty it brings to your home. Stay warm, stay safe, and enjoy the cozy moments by your fireplace!
Frequently Asked Questions about How To Turn On Pilot Light Gas Fireplace
Was this page helpful?
At Storables.com, we guarantee accurate and reliable information. Our content, validated by Expert Board Contributors, is crafted following stringent Editorial Policies. We're committed to providing you with well-researched, expert-backed insights for all your informational needs.


0 thoughts on “How To Turn On Pilot Light Gas Fireplace”