Home>Articles>How To Change The Battery In A Liftmaster Garage Door Opener
Articles
How To Change The Battery In A Liftmaster Garage Door Opener
Modified: January 8, 2024
Learn how to change the battery in your Liftmaster garage door opener with our informative articles. Ensure smooth operation and avoid unexpected disruptions.
(Many of the links in this article redirect to a specific reviewed product. Your purchase of these products through affiliate links helps to generate commission for Storables.com, at no extra cost. Learn more)
Introduction
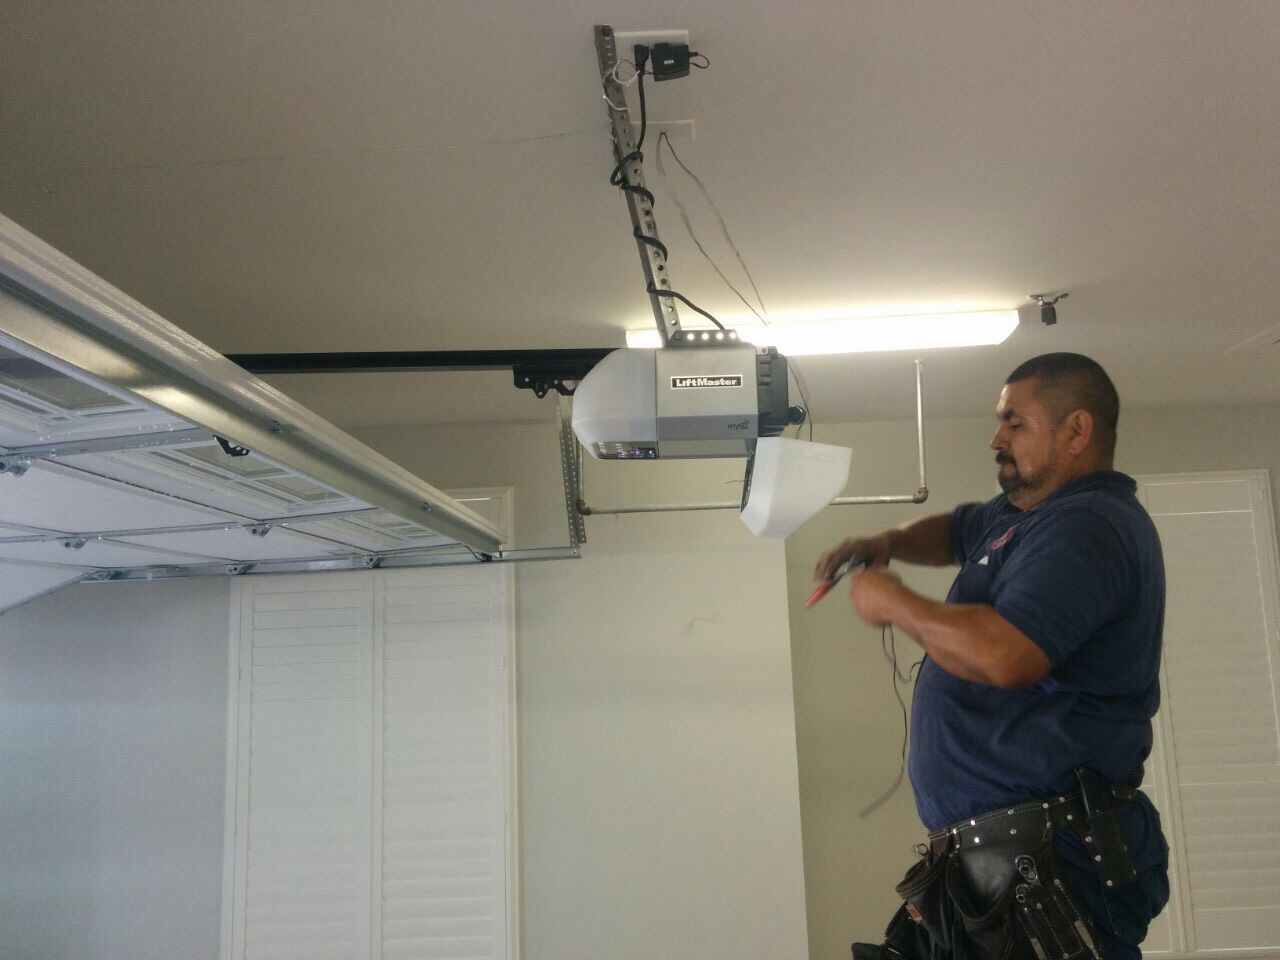
Having a garage door opener is a convenient way to access your garage without the need to manually open and close the door. Liftmaster garage door openers are known for their reliability and ease of use. However, like any electronic device, the battery in your Liftmaster garage door opener will eventually need to be replaced.
In this article, we will guide you through the process of changing the battery in a Liftmaster garage door opener. By following these steps, you’ll be able to keep your garage door opener running smoothly and ensure that you never have to worry about being locked out of your garage.
Before we dive into the steps, it’s important to note that safety should always be your top priority. Make sure to follow all the safety precautions outlined by the manufacturer and proceed with caution. If you are unsure about any of the steps or encounter any issues, it’s best to consult a professional.
To change the battery in your Liftmaster garage door opener, you will need a few tools and materials. These include:
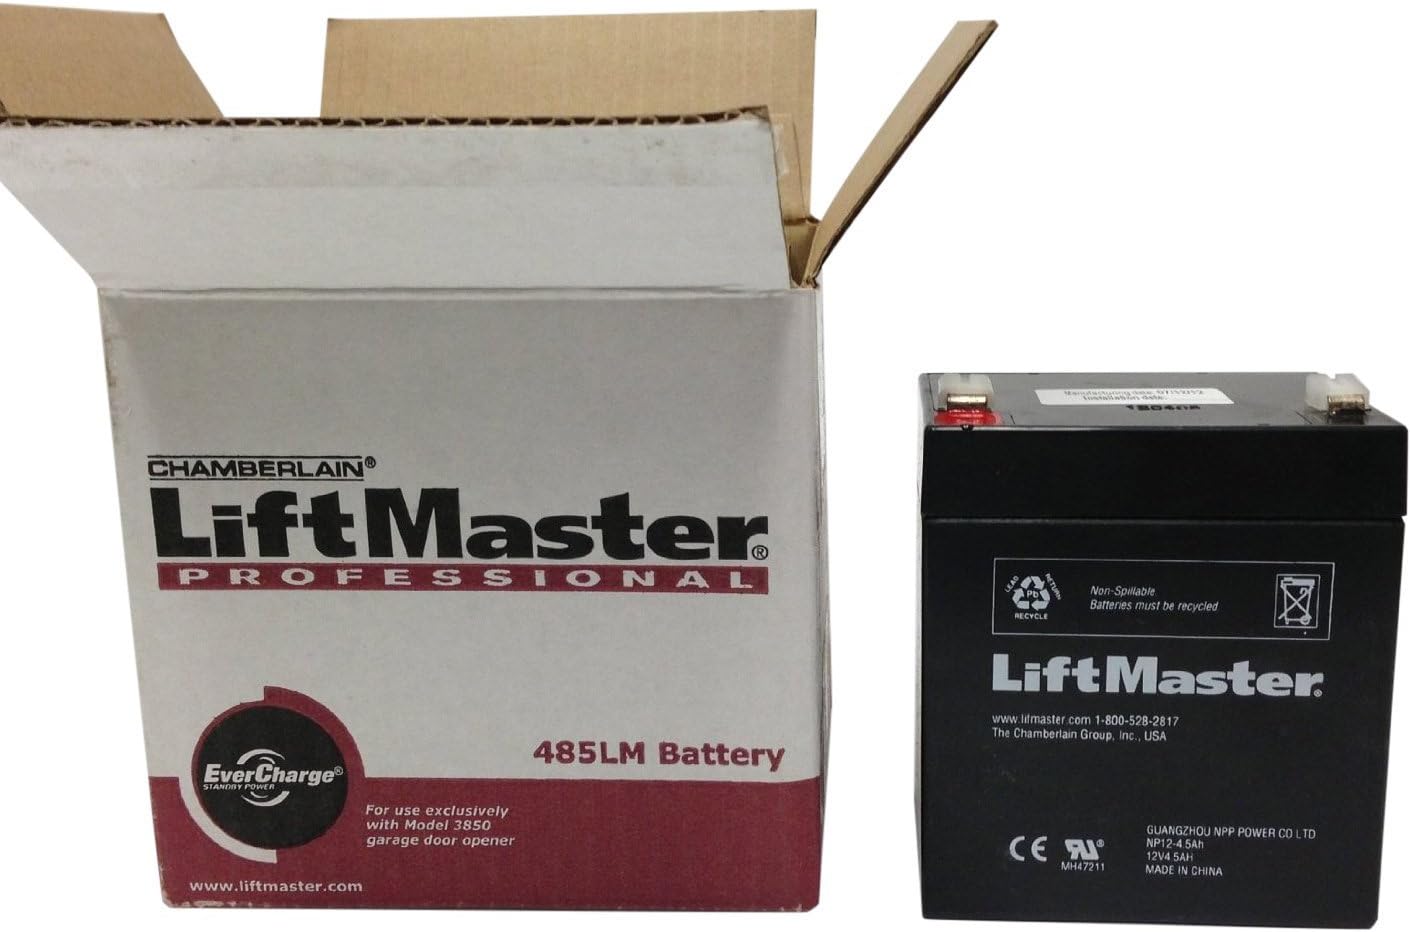
- Replacement battery compatible with your garage door opener model
- Screwdriver or nut driver
- Ladder or step stool (if needed)
Now that we have covered the introduction and the necessary tools, let’s get started with the step-by-step guide to changing the battery in your Liftmaster garage door opener.
Key Takeaways:
- Safety First
Prioritize safety by disconnecting power, securing the area, using proper lifting techniques, wearing protective gear, and familiarizing yourself with the manufacturer’s instructions before changing the battery in your Liftmaster garage door opener. - Smooth Battery Replacement
Gather the necessary tools and materials, follow the step-by-step guide to disconnect power, remove the cover, locate the battery compartment, replace the old battery with a new one, reassemble the opener, and reconnect the power for a hassle-free battery replacement process.
Safety Precautions
Before starting the battery replacement process, it’s important to adhere to these safety precautions to ensure a safe and smooth operation:
- Disconnect the power: Before beginning any work on your garage door opener, ensure that the power is disconnected. This can typically be done by unplugging the opener from the power source or turning off the circuit breaker that supplies power to the opener. This precaution will prevent any accidental activation or electrical shock.
- Secure the area: Clear any objects or debris from the vicinity of the garage door opener to create a safe working environment. Make sure the area is well-lit and free from any tripping hazards.
- Use proper lifting techniques: If you are using a ladder or step stool to access the garage door opener, make sure you use it on a stable surface and follow proper ladder safety guidelines. Always maintain a firm grip and properly balance yourself while working at heights.
- Protective gear: It’s recommended to wear safety glasses or goggles to protect your eyes from any debris or particles that may dislodge during the battery replacement process.
- Familiarize yourself with the manufacturer’s instructions: Refer to the user manual or online resources provided by Liftmaster to understand the specific safety guidelines and precautions for your particular model of garage door opener. This will ensure that you are aware of any specific requirements or warnings.
By following these safety precautions, you can minimize the risk of accidents or injuries while replacing the battery in your Liftmaster garage door opener. Additionally, if you encounter any difficulties or uncertainties during the process, it is always advisable to seek professional assistance to avoid any further complications.
Tools and Materials Needed
Before you begin the battery replacement process for your Liftmaster garage door opener, it’s important to gather all the necessary tools and materials. Here’s what you’ll need:
- Replacement battery: Check the user manual or Liftmaster’s website to determine the specific type of battery required for your garage door opener. Make sure to purchase a compatible replacement battery to ensure proper functionality.
- Screwdriver or nut driver: Depending on the model of your Liftmaster garage door opener, you may need either a screwdriver or a nut driver to remove the cover and access the battery compartment.
- Ladder or step stool: If your garage door opener is installed at a height, you may need a ladder or step stool to safely reach and work on the opener. Make sure the ladder or step stool is secure and stable before climbing on it.
Gathering these tools and materials beforehand will ensure a smooth and hassle-free battery replacement process.
Step 1: Disconnect the Power
Before starting the battery replacement process, it is crucial to disconnect the power to your Liftmaster garage door opener to ensure your safety. Follow these steps:
- Locate the power cord or power supply of your garage door opener. This is usually located near the ceiling of your garage or on the back of the opener unit.
- If your garage door opener has a power cord, unplug it from the electrical outlet. If it is directly connected to a power supply, such as a junction box, turn off the circuit breaker that controls the opener.
- Ensure that the power is completely disconnected by activating the garage door opener and verifying that it does not respond.
By disconnecting the power, you eliminate the risk of electrical shock or accidental activation of the garage door opener during the battery replacement process.
Note: If your Liftmaster garage door opener has a backup battery system, it is recommended to remove the backup battery as well to prevent any accidental electrical discharge.
Once you have successfully disconnected the power, you are ready to proceed to the next step of the battery replacement process.
Step 2: Remove the Cover of the Garage Door Opener
Now that the power is disconnected, you can safely remove the cover of your Liftmaster garage door opener to access the battery compartment. Follow these steps:
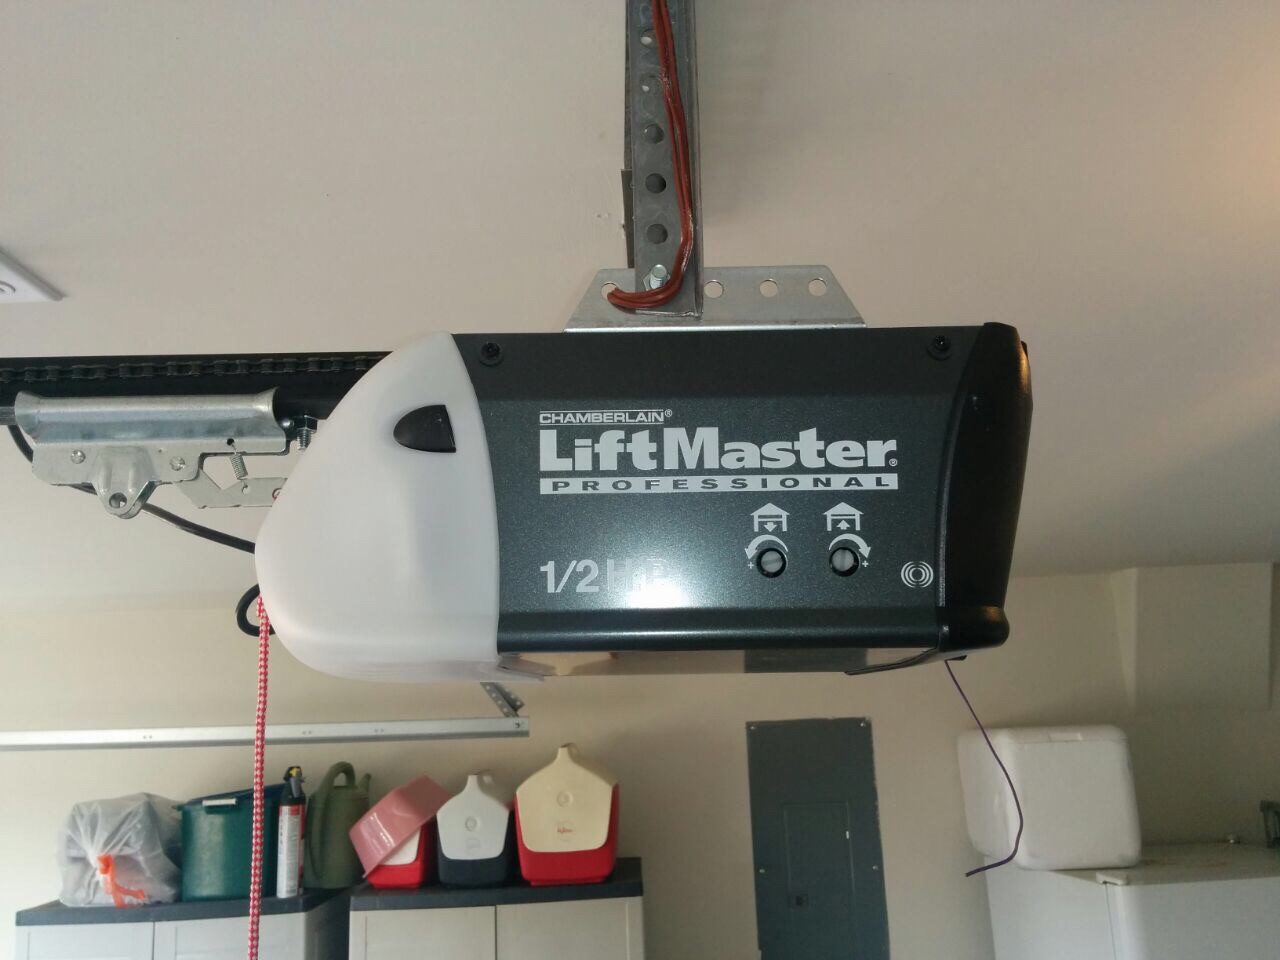
- Locate the cover of the garage door opener. It is typically located at the front or top of the unit, depending on the model.
- Using a screwdriver or a nut driver, remove the screws that secure the cover in place. Set the screws aside in a safe place.
- Gently lift or slide the cover off the unit. Be cautious as the cover may still be connected by wires or hinges.
- If there are any wires connecting the cover to the unit, carefully disconnect them by gently pulling the connectors apart. Take note of their positions to ensure proper reconnection later.
By removing the cover, you gain access to the internal components of your Liftmaster garage door opener, including the battery compartment. Take care not to damage any wires or components while removing the cover.
With the cover removed, you are now ready to proceed to the next step of the battery replacement process.
Step 3: Locate the Battery Compartment
With the cover of your Liftmaster garage door opener removed, the next step is to locate the battery compartment. Follow these steps to find the battery compartment:
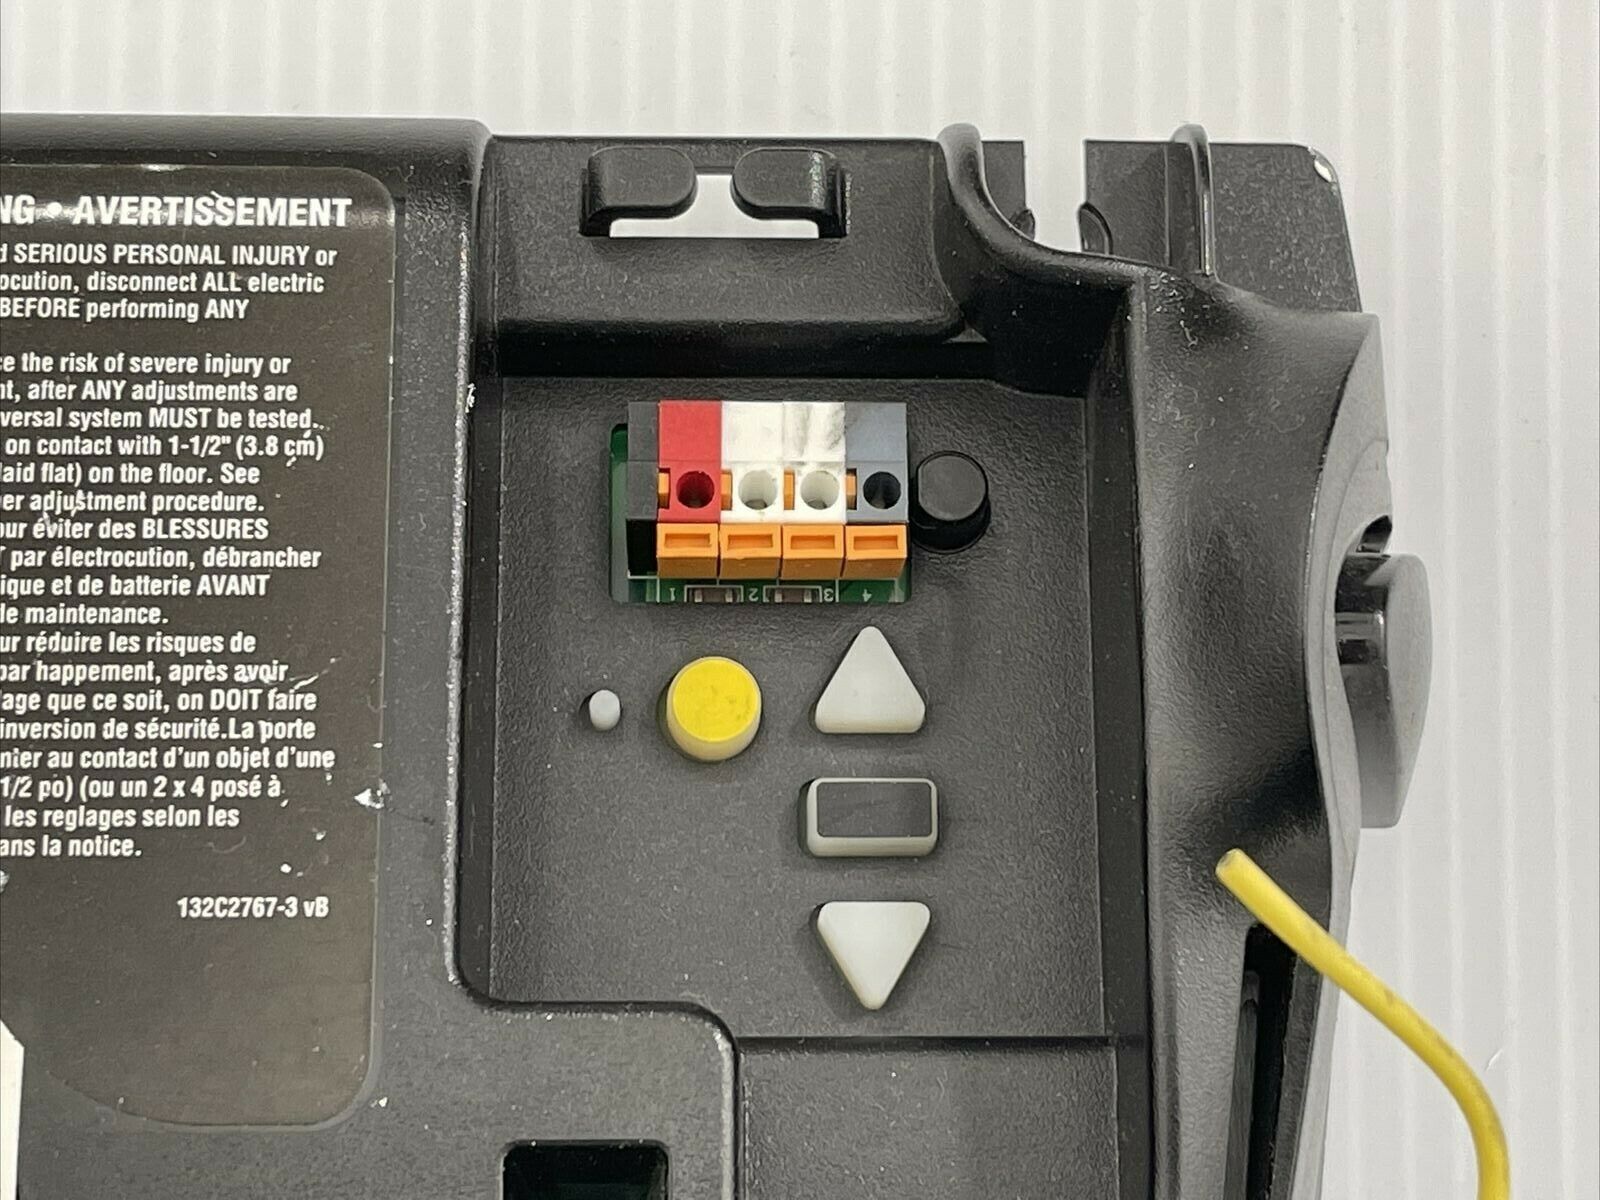
- Take a closer look at the internal components of your garage door opener. Locate the area or compartment where the battery is housed. It is typically a small compartment with a cover or latch.
- Refer to the user manual or Liftmaster’s website for your specific model to get a better understanding of where the battery compartment is located. Different models may have variations in design and placement.
- Once you have identified the battery compartment, take note of any clips, screws, or latches that secure the compartment cover. This will help you in the next step when you need to open the battery compartment.
It’s important to locate the battery compartment correctly to ensure seamless replacement of the old battery with the new one. By following these steps, you will have a clear understanding of where to focus your attention when opening the battery compartment.
Now that you have successfully located the battery compartment, it’s time to move on to Step 4: removing the old battery.
Before changing the battery in a Liftmaster garage door opener, make sure to unplug the power cord to avoid any electrical accidents. Then, carefully remove the old battery and replace it with a new one, ensuring it is properly seated and connected.
Step 4: Remove the Old Battery
Now that you have located the battery compartment in your Liftmaster garage door opener, it’s time to remove the old battery. Follow these steps:
- Inspect the battery compartment to identify how the old battery is held in place. It may be secured by clips, screws, or a latch.
- Depending on the design of your garage door opener, use a screwdriver or your fingers to remove any screws or release any clips or latches that are holding the old battery in place.
- Once the securing mechanism is released, carefully lift or slide out the old battery from the compartment. Take note of its orientation and position as you remove it.
- Set the old battery aside in a safe place. It is important to properly dispose of the old battery according to local regulations and guidelines for battery disposal.
By removing the old battery, you make way for a new one that will provide reliable power to your Liftmaster garage door opener. Take care not to damage any wires or components while removing the old battery.
With the old battery removed, you are now ready to move on to Step 5: inserting the new battery into the compartment.
Step 5: Insert the New Battery
Now that you have removed the old battery from your Liftmaster garage door opener, it’s time to insert the new battery into the battery compartment. Follow these steps:
- Take the new battery that is compatible with your garage door opener and ensure that it is fully charged. Refer to the user manual or the manufacturer’s instructions for specific details on the type and specifications of the battery.
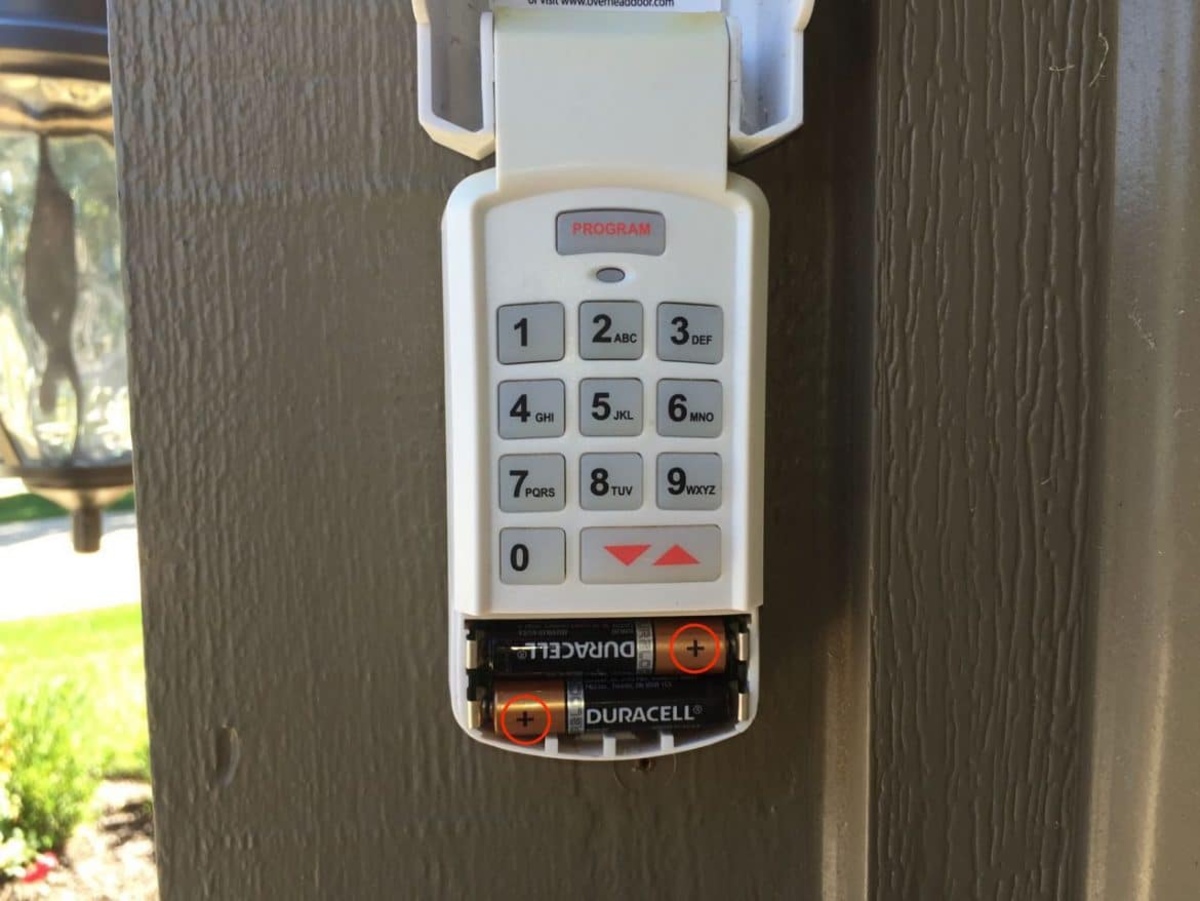
- Position the new battery in the same orientation as the old battery. Pay attention to the positive (+) and negative (-) terminals of the battery and align them correctly with the markings or connectors inside the battery compartment.
- Slide or place the new battery into the compartment, ensuring a snug fit. Make sure that the battery does not move or jostle inside the compartment.
- If there are any securing mechanisms, such as clips or latches, reattach them to hold the new battery in place securely.
By inserting the new battery, you ensure that your Liftmaster garage door opener has a reliable power source to operate smoothly. Double-check the positioning and connection of the new battery to ensure proper functionality.
With the new battery securely in place, you are now ready to move on to the next step: reassembling the garage door opener.
Step 6: Reassemble the Garage Door Opener
With the new battery successfully inserted into your Liftmaster garage door opener, it’s time to reassemble the unit. Follow these steps to complete the reassembly:
- Take the cover of the garage door opener that you removed earlier.
- Align the cover properly with the unit, making sure it fits securely and lines up with any screw holes or connectors.
- If there were any wires connected to the cover, carefully reconnect them to their respective connectors. Ensure that the connectors are firmly attached and properly aligned.
- If there were any screws that secured the cover, use a screwdriver or nut driver to reattach them, making sure they are tightened appropriately.
By reassembling the garage door opener, you protect the internal components and ensure that everything is securely in place. Proper alignment and attachment of the cover are crucial for the optimal functioning of your Liftmaster garage door opener.
With the garage door opener reassembled, you are one step closer to fully completing the battery replacement process.
Now, let’s move on to the final step: reconnecting the power to the garage door opener.
Read more: How Much Are Liftmaster Garage Door Openers
Step 7: Reconnect the Power
After successfully reassembling your Liftmaster garage door opener, it’s time to reconnect the power and bring your opener back to life. Follow these steps to complete the process:
- Locate the power source or the power cord of your garage door opener. This is the same source that you disconnected in Step 1.
- If you unplugged the power cord, plug it back into the electrical outlet. If you turned off the circuit breaker, switch it back on to restore power to the garage door opener.
- Once the power is connected, verify that the garage door opener is receiving power by trying to activate it using the remote or wall-mounted control panel.
- If the garage door opener operates normally, you have successfully completed the battery replacement process. If you encounter any issues or the opener does not respond, double-check the connections and consult the manufacturer’s instructions or seek professional assistance if needed.
By reconnecting the power, you restore the functionality of your Liftmaster garage door opener and ensure it is ready to be used.
Congratulations! You have successfully changed the battery in your Liftmaster garage door opener. With the new battery in place, you can enjoy years of reliable operation and convenient access to your garage.
If you have any further questions or encounter any difficulties, refer to the user manual or contact Liftmaster’s customer support for additional assistance.
Thank you for following this step-by-step guide. We hope it has been helpful in completing the battery replacement process for your Liftmaster garage door opener.
Conclusion
Changing the battery in your Liftmaster garage door opener is a simple yet important maintenance task that ensures the smooth operation of your garage door system. By following the step-by-step guide outlined in this article, you can easily replace the battery and keep your opener functioning optimally.
Throughout the process, it is crucial to prioritize safety by disconnecting the power and taking necessary precautions. Always refer to the user manual or consult the manufacturer’s instructions for specific guidelines pertaining to your garage door opener model.
Remember to gather the necessary tools and materials before starting, including a compatible replacement battery, screwdriver or nut driver, and a ladder or step stool if required.
The step-by-step guide covered disconnecting the power, removing the cover of the garage door opener, locating the battery compartment, removing the old battery, inserting the new battery, reassembling the opener, and finally reconnecting the power.
By following these steps, you can successfully change the battery in your Liftmaster garage door opener and ensure its reliable performance for years to come.
If you encounter any difficulties or have any concerns during the process, it is recommended to seek professional assistance to prevent any damage or risk.
Thank you for taking the time to read this comprehensive guide. With your new battery in place, you can enjoy the convenience and security of your Liftmaster garage door opener.
Remember to regularly check the condition of your battery and replace it as needed to maintain the smooth operation of your garage door opener system.
Happy garage door opening!
Frequently Asked Questions about How To Change The Battery In A Liftmaster Garage Door Opener
Was this page helpful?
At Storables.com, we guarantee accurate and reliable information. Our content, validated by Expert Board Contributors, is crafted following stringent Editorial Policies. We're committed to providing you with well-researched, expert-backed insights for all your informational needs.
0 thoughts on “How To Change The Battery In A Liftmaster Garage Door Opener”