Home>Articles>How To Change The Code On A Liftmaster Garage Door Opener
Articles
How To Change The Code On A Liftmaster Garage Door Opener
Modified: May 6, 2024
Learn how to change the code on your Liftmaster Garage Door Opener with our informative articles. Take control of your home security and access control today.
(Many of the links in this article redirect to a specific reviewed product. Your purchase of these products through affiliate links helps to generate commission for Storables.com, at no extra cost. Learn more)
Introduction
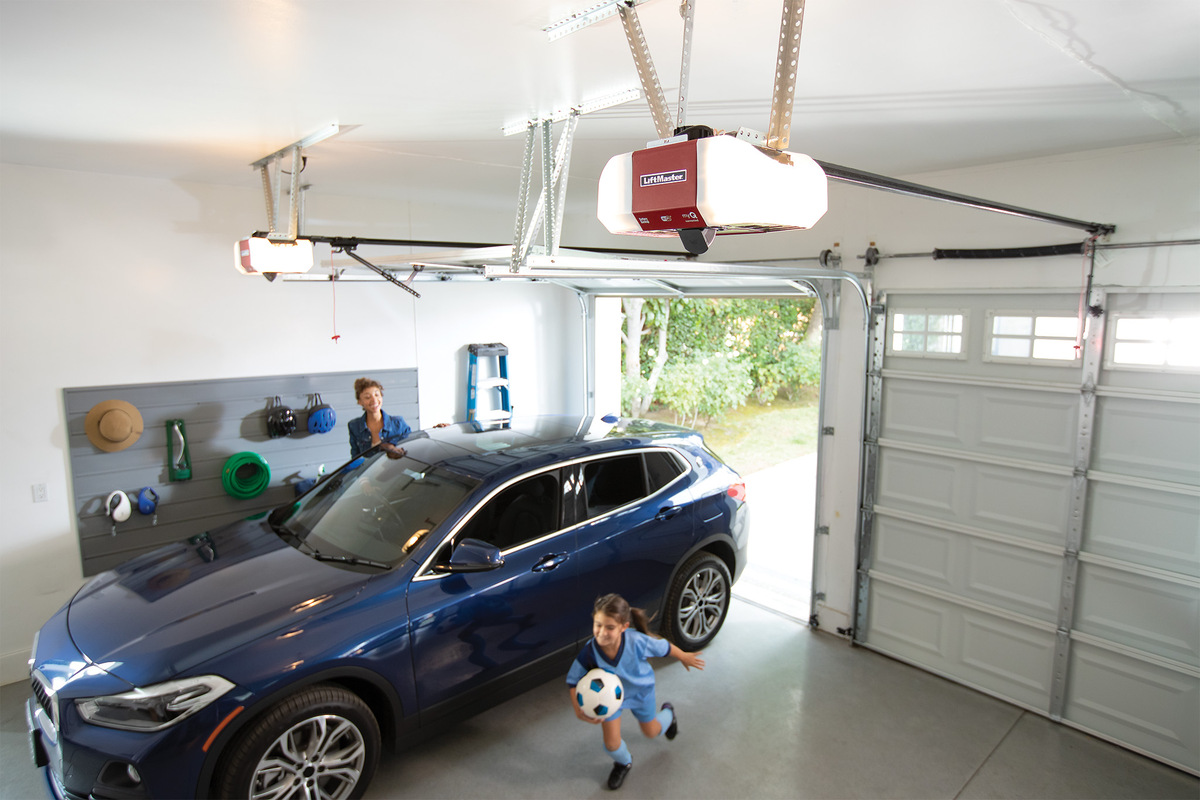
Changing the code on your Liftmaster garage door opener is an important step to ensure the security and protection of your home. Whether you’ve recently moved into a new house or simply want to update your security measures, knowing how to change the code on your garage door opener can give you peace of mind and control over who can access your garage.
In this article, we will provide you with a step-by-step guide on how to change the code on a Liftmaster garage door opener. We will walk you through the process, from gathering the necessary tools and materials to testing the new code to ensure it works correctly. By following these instructions, you’ll be able to successfully update your garage door opener’s code and strengthen the security of your home.
Before we begin, it’s important to note that the specific steps may vary depending on the model of your Liftmaster garage door opener. Therefore, it’s always a good idea to consult your owner’s manual for any manufacturer-specific instructions. However, our guide will provide you with a general overview of the process that applies to most Liftmaster models.
So, without further ado, let’s dive into the steps required to change the code on a Liftmaster garage door opener and give yourself an added layer of security and control.
Key Takeaways:
- Ensure the security of your home by following a step-by-step guide to changing the code on your Liftmaster garage door opener. Take control of who can access your garage and enjoy peace of mind.
- Safeguard your home and loved ones by regularly updating your garage door opener’s code. Follow the simple process to enhance security and maintain control over access to your garage.
Read more: How To Connect Garage Door Opener Liftmaster
Step 1: Prepare the necessary tools and materials
Before you begin changing the code on your Liftmaster garage door opener, it’s essential to gather all the necessary tools and materials. Having everything ready will streamline the process and ensure that you have everything you need to complete the task successfully.
Here are the tools and materials you’ll need:
- Step ladder: A step ladder will enable you to reach the garage door opener and access the programming buttons comfortably. Choose a ladder that is the appropriate height for your garage.
- Owner’s manual: Locate the owner’s manual that came with your Liftmaster garage door opener. This manual will provide you with specific instructions and diagrams that are relevant to your model.
- Pen and paper: Keep a pen and paper handy to jot down any important information or the new code you’ll be entering.
- Replacement batteries: If your Liftmaster garage door opener uses batteries, ensure you have a fresh set of replacement batteries on hand. This will ensure that the opener continues to function properly once the code is changed.
By gathering these tools and materials, you’ll be well-prepared to tackle the code change process. Ensure that you have a safe and well-lit workspace, and double-check that you have all the necessary items before you move on to the next step.
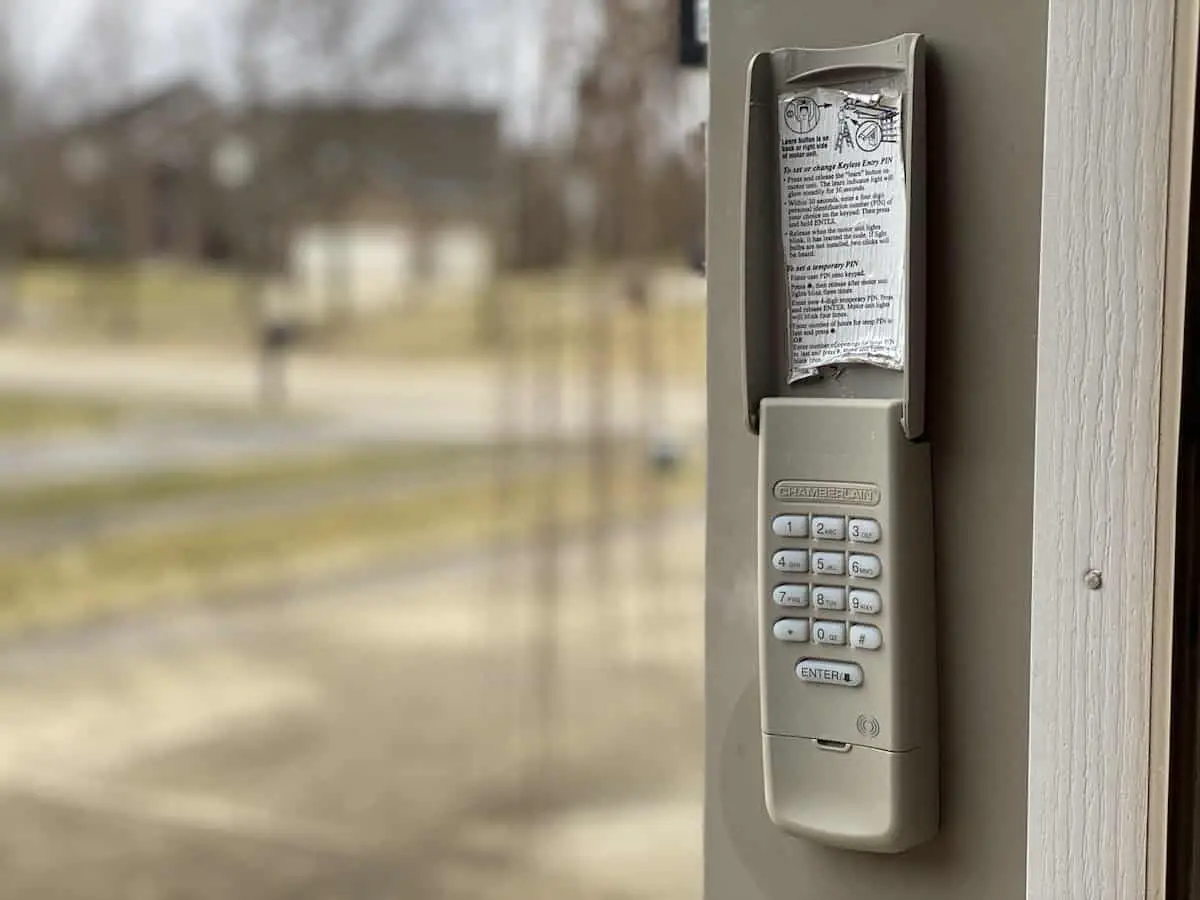
Step 2: Locate the program button on your Liftmaster garage door opener
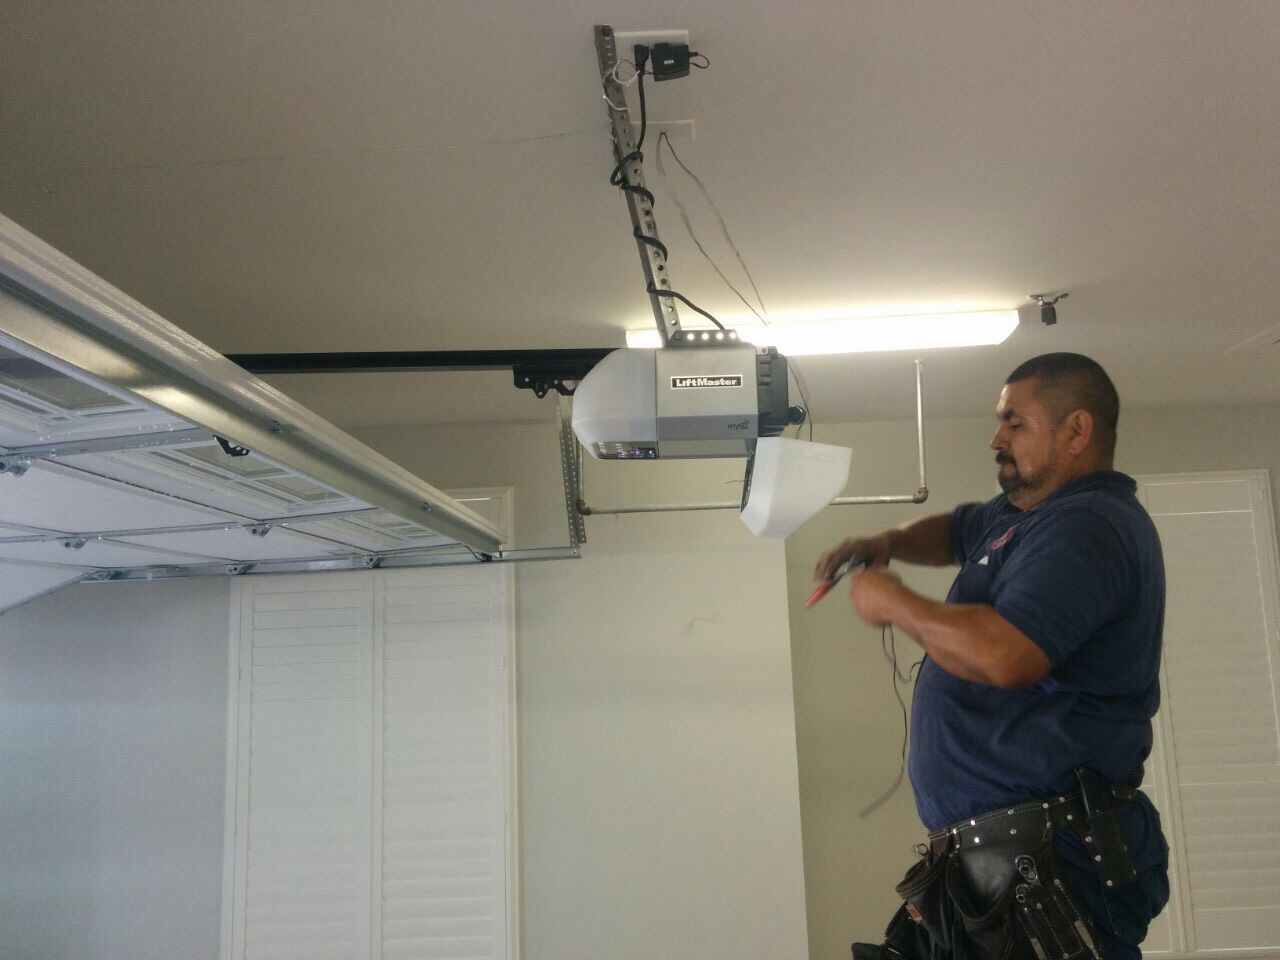
Once you have gathered all the necessary tools and materials, the next step is to locate the program button on your Liftmaster garage door opener. The location of the program button may vary depending on the model of your opener, so referring to the owner’s manual is crucial.
To find the program button, follow these general guidelines:
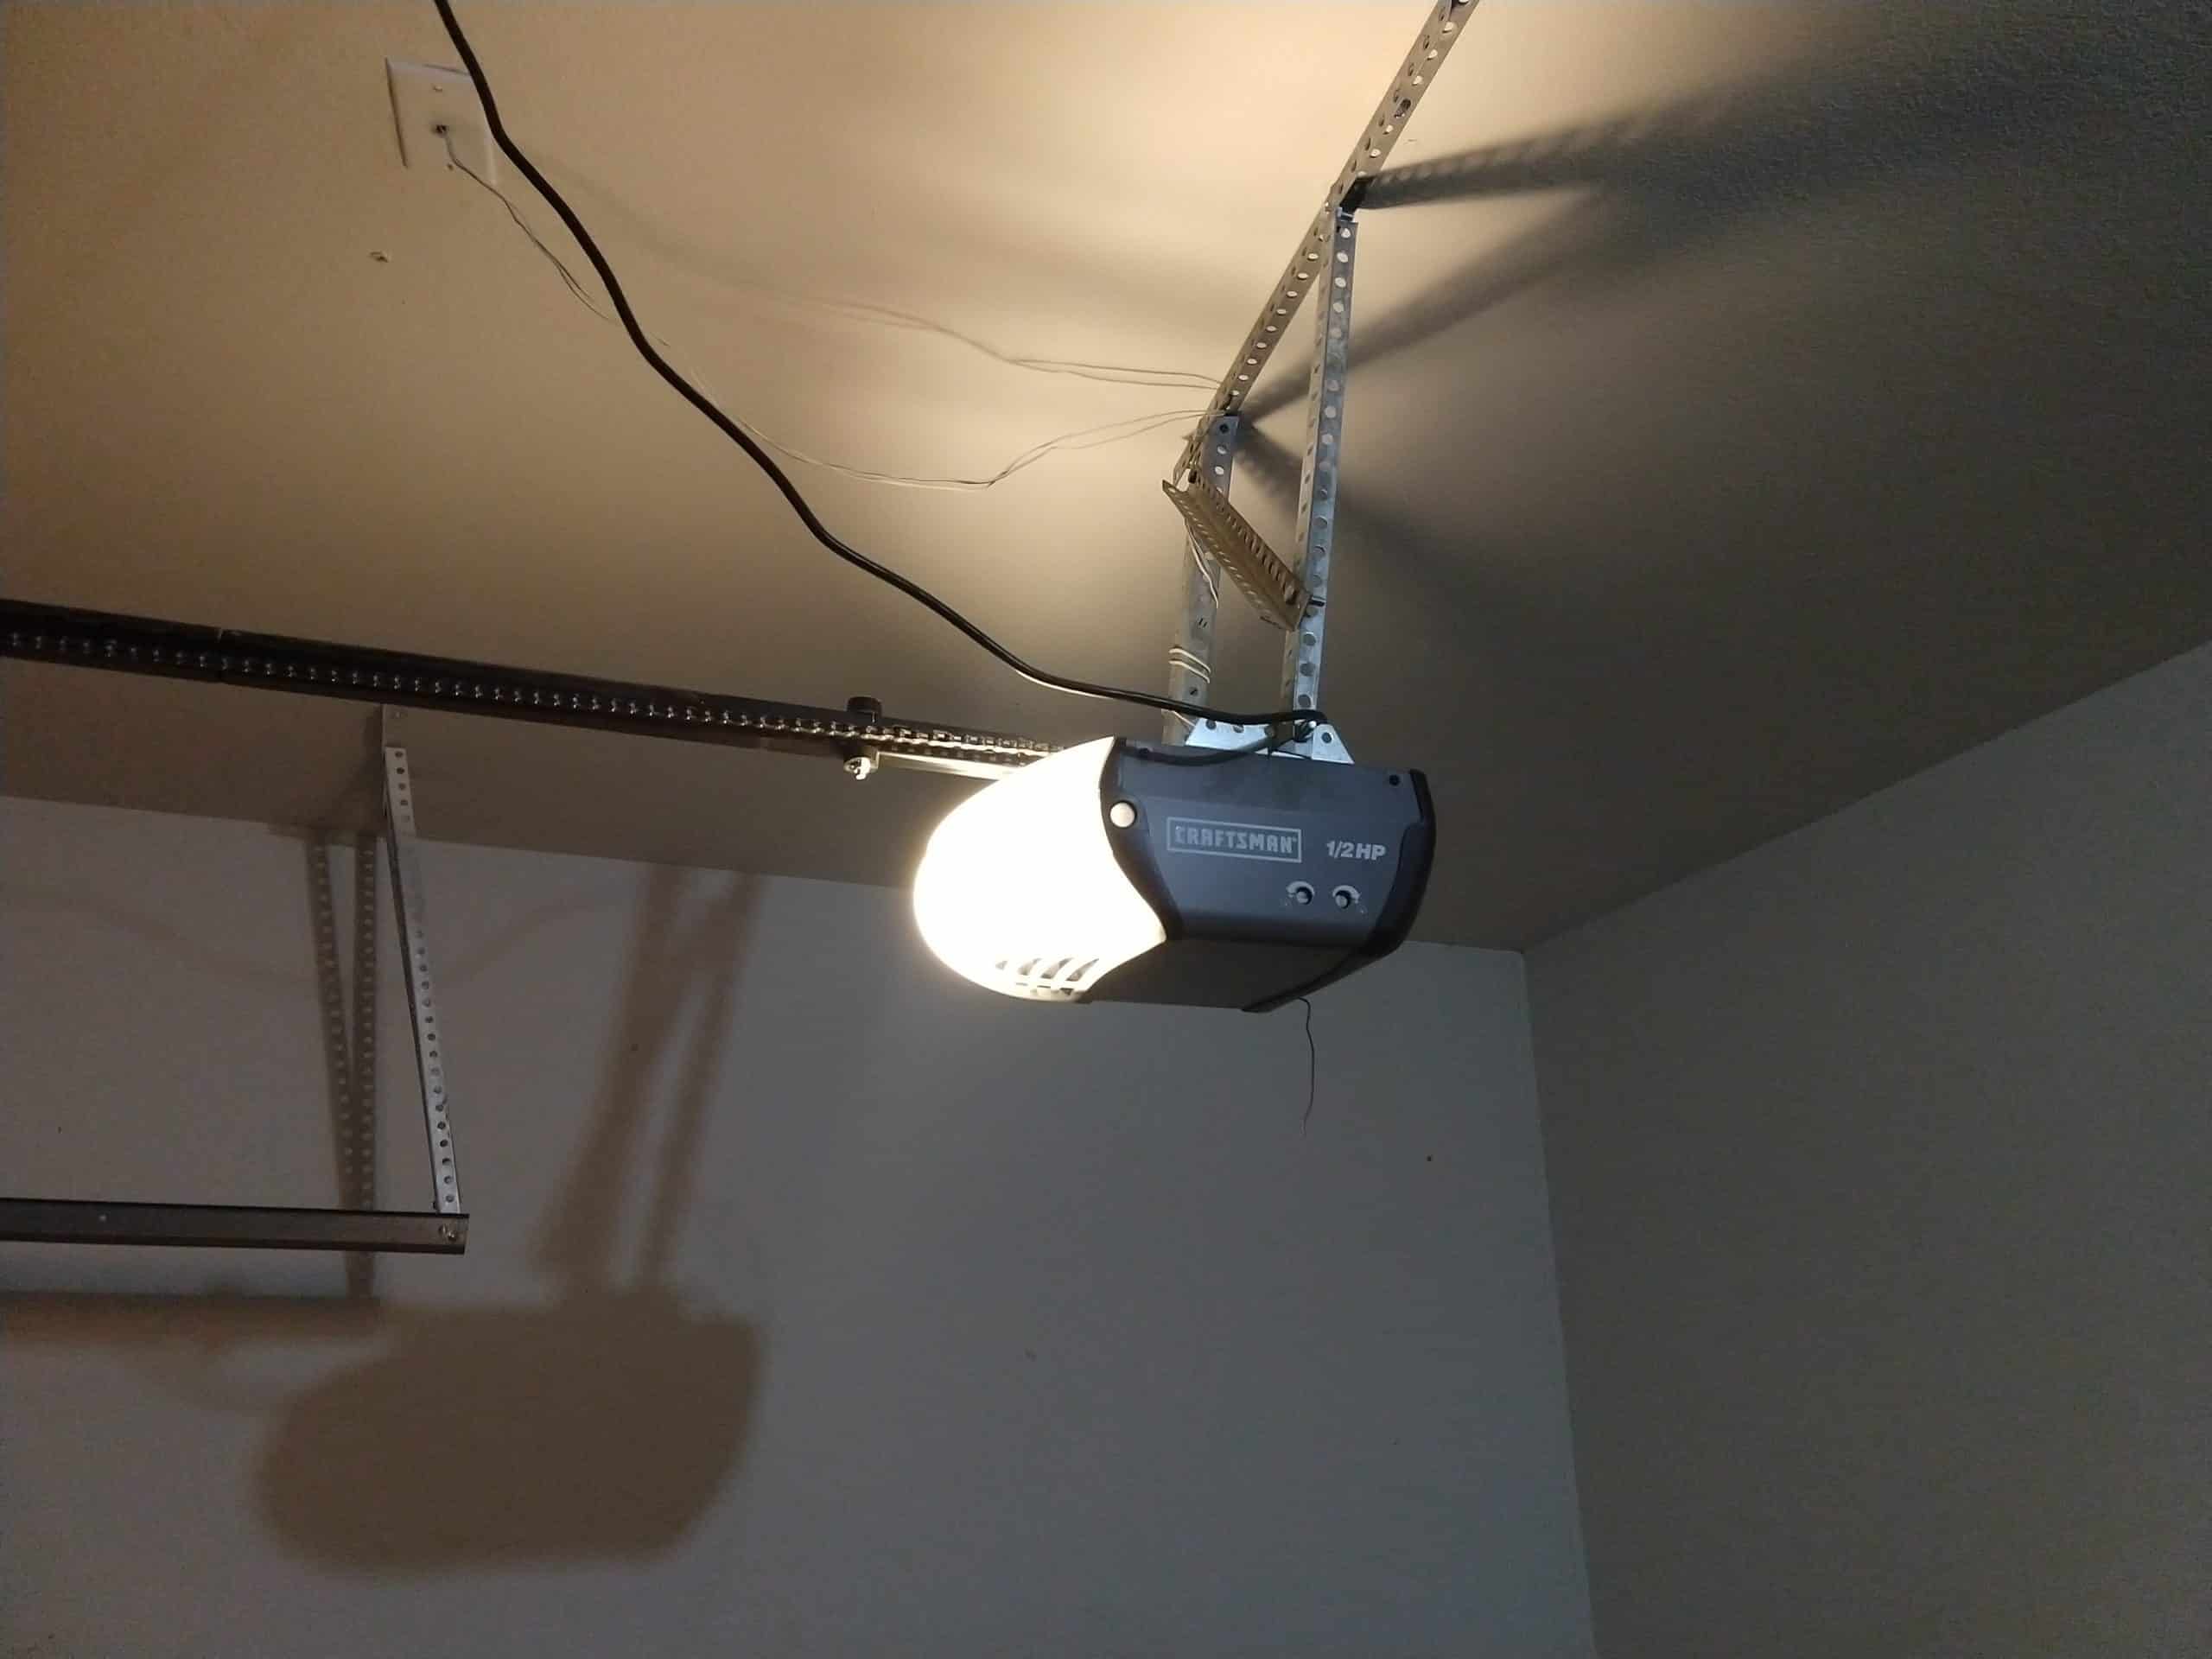
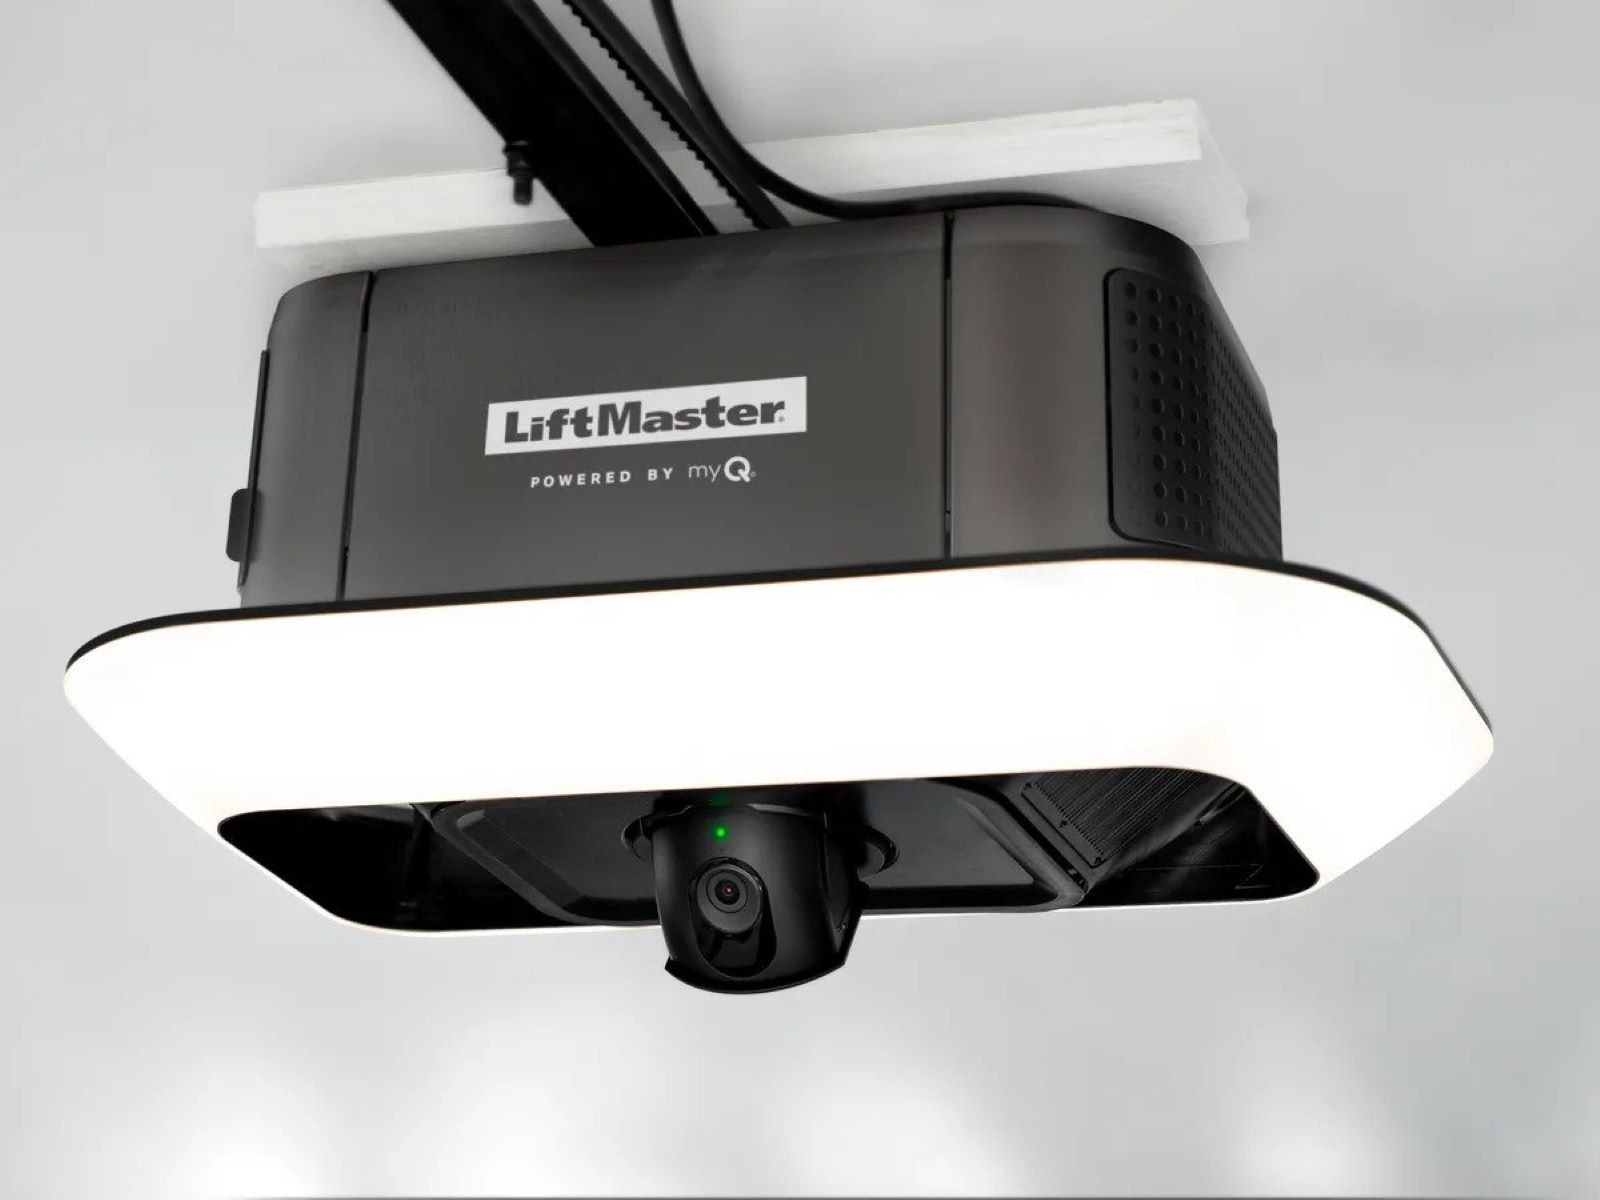
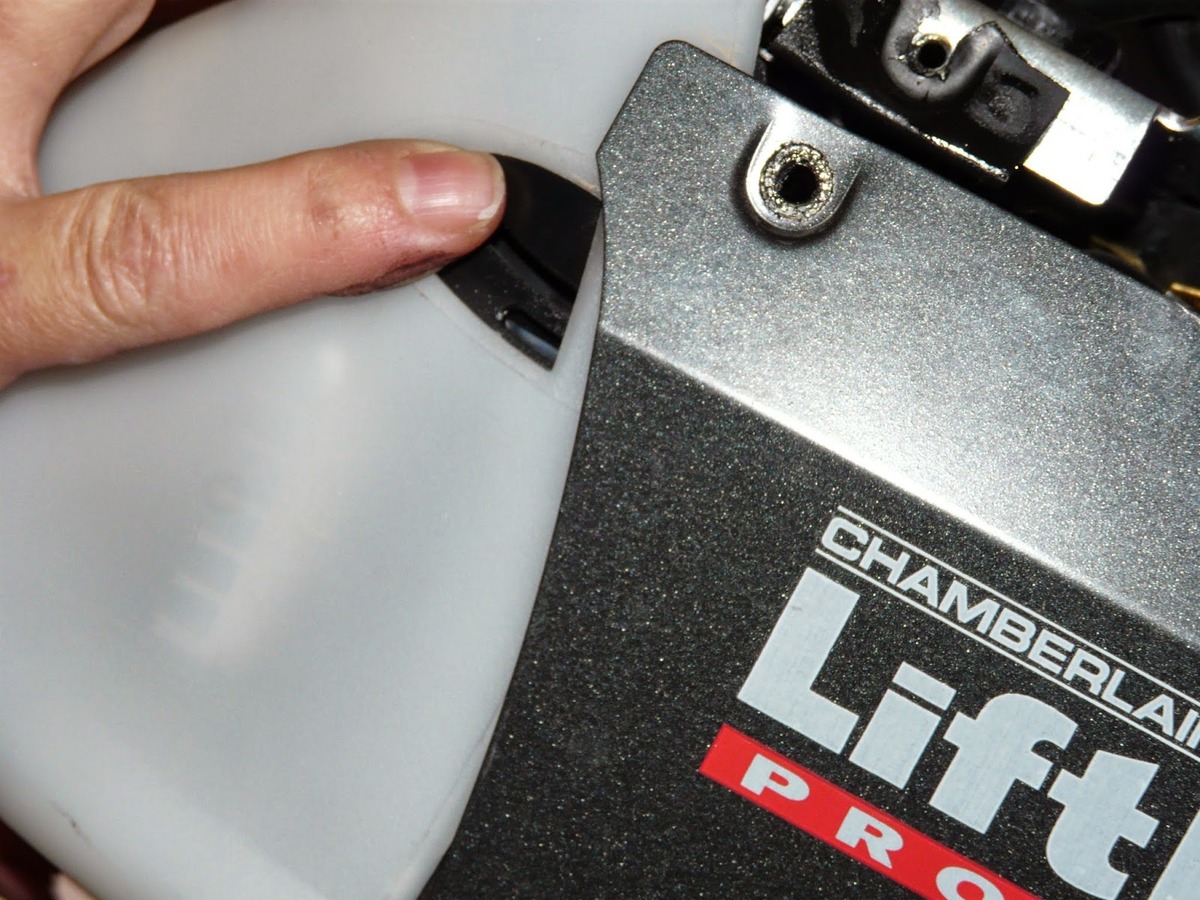
- Inspect the garage door opener unit: Look for a small button or a set of buttons on the opener itself. They are typically black or red and may be labeled as “Learn,” “Program,” or feature an icon resembling a lock or a gear.
- Check the control panel: Some models have the program button located on the wall-mounted control panel inside the garage. Examine the control panel for any buttons that allow you to enter programming mode.
If you are unable to locate the program button based on these guidelines, consult your owner’s manual for the specific location on your particular model.
It’s important to note that some Liftmaster garage door openers may require you to remove the cover or access panel to reveal the program button. If this is the case, use a screwdriver or any appropriate tool to remove the cover carefully.
Remember, the location of the program button may differ from model to model, so taking the time to find it will ensure you can proceed with the code change process smoothly.
Step 3: Access the programming mode
After locating the program button on your Liftmaster garage door opener, the next step is to access the programming mode. This mode allows you to enter the new code and update your garage door opener’s settings.
Here’s how to access the programming mode:
- Make sure your garage door is closed: Before entering the programming mode, ensure that your garage door is fully closed. This will prevent any accidental movements or potential safety hazards during the process.
- Press the program button: Press and hold down the program button on the garage door opener. The indicator light on the opener may start blinking, indicating that it has entered programming mode. Refer to your owner’s manual for the specific duration for which you need to hold down the button.
- Release the program button: Once the indicator light starts blinking, release the program button. The opener is now in programming mode and ready to receive the new code.
It’s important to note that the process for accessing programming mode may vary slightly based on your Liftmaster garage door opener model. Therefore, consult your owner’s manual for any model-specific instructions or additional steps you may need to follow.
Now that you have successfully accessed the programming mode, you’re ready to proceed to the next step: entering the new code.
To change the code on a Liftmaster garage door opener, locate the “Learn” button on the opener and press it. Then, enter a new code on the keypad and press “Enter” to confirm.
Step 4: Enter the new code
With the Liftmaster garage door opener in programming mode, you can now proceed to enter the new code. This code will serve as the new access password for your garage door opener, providing enhanced security for your home.
Follow these steps to enter the new code:
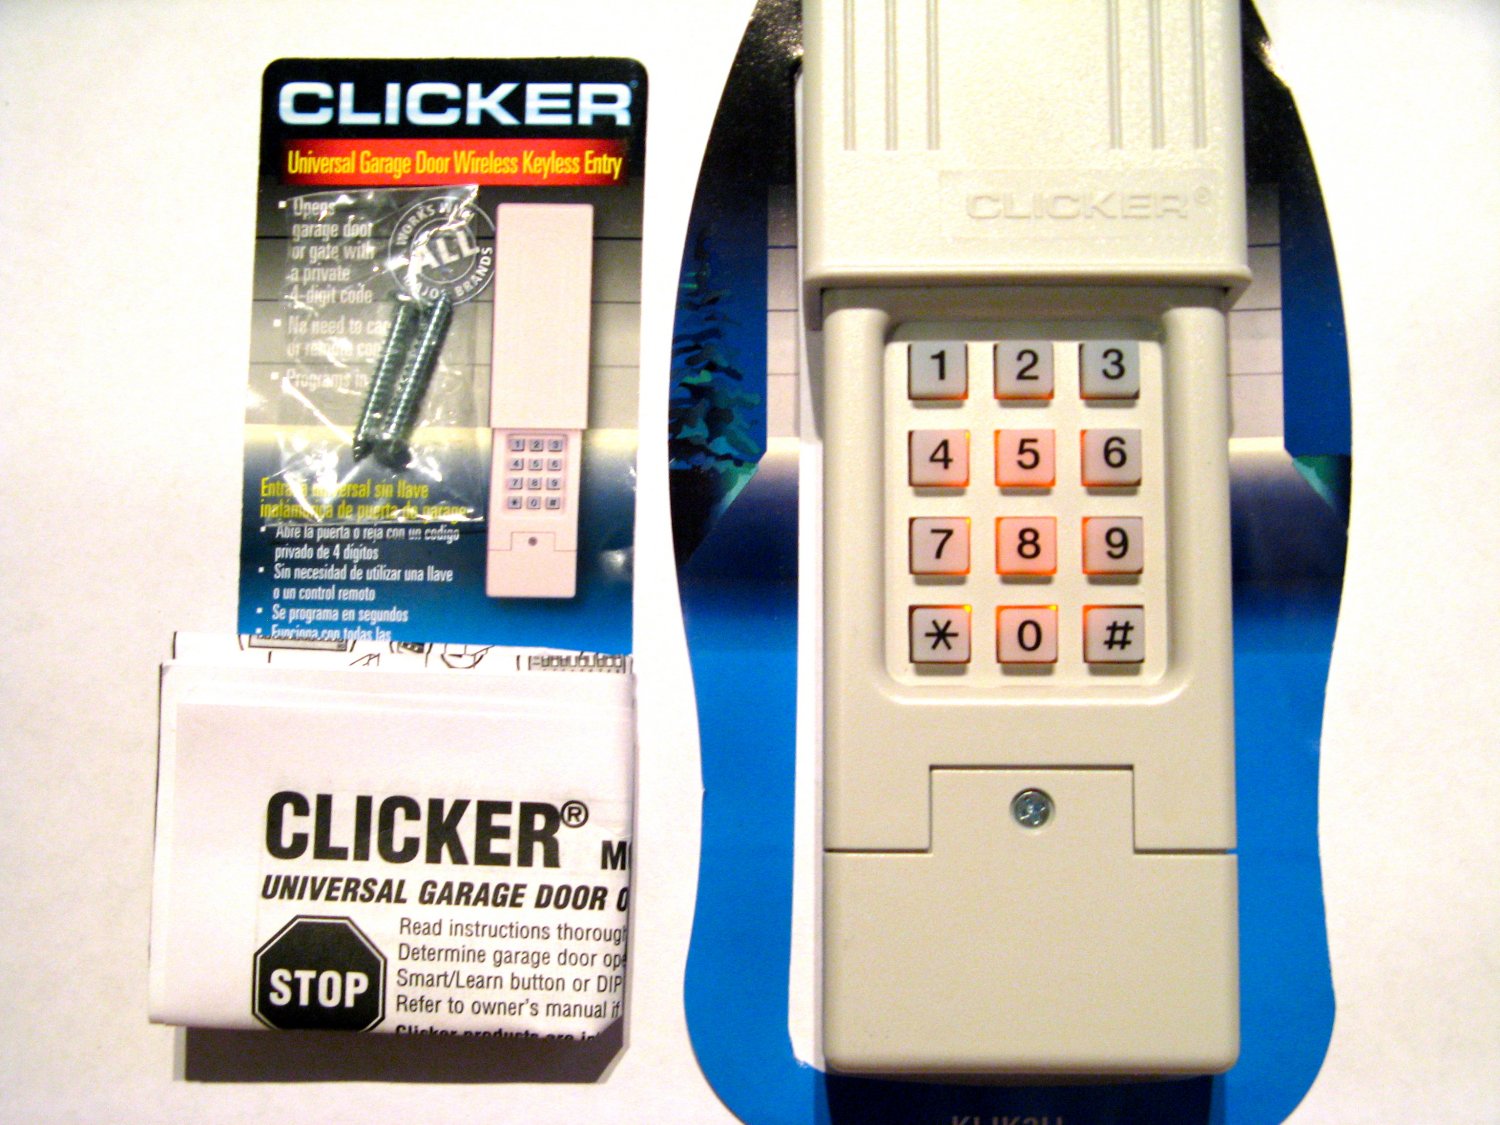
- Using the keypad or remote control: Depending on the model of your Liftmaster garage door opener, you will either use the built-in keypad or a remote control to enter the new code. Consult your owner’s manual to determine the method for your specific model.
- Enter the desired code: Use the keypad or remote control to enter your desired code. The code can typically range from 4 to 6 digits. Choose a code that is easy for you to remember but difficult for others to guess.
- Confirm the new code: After entering the desired code, press the enter button on the keypad or remote control to confirm the code. This will save the new code in the garage door opener’s memory.
Once you have entered and confirmed the new code, the Liftmaster garage door opener will recognize it and store it as the new access code. This ensures that only individuals with knowledge of the updated code will be able to open your garage door.
Remember to write down the new code in a secure place, such as in your home office or on a password manager app, to prevent forgetting it.
Now that you have successfully entered the new code, it’s time to move on to the next step: testing the new code to ensure it works properly.
Read more: How Much Are Liftmaster Garage Door Openers
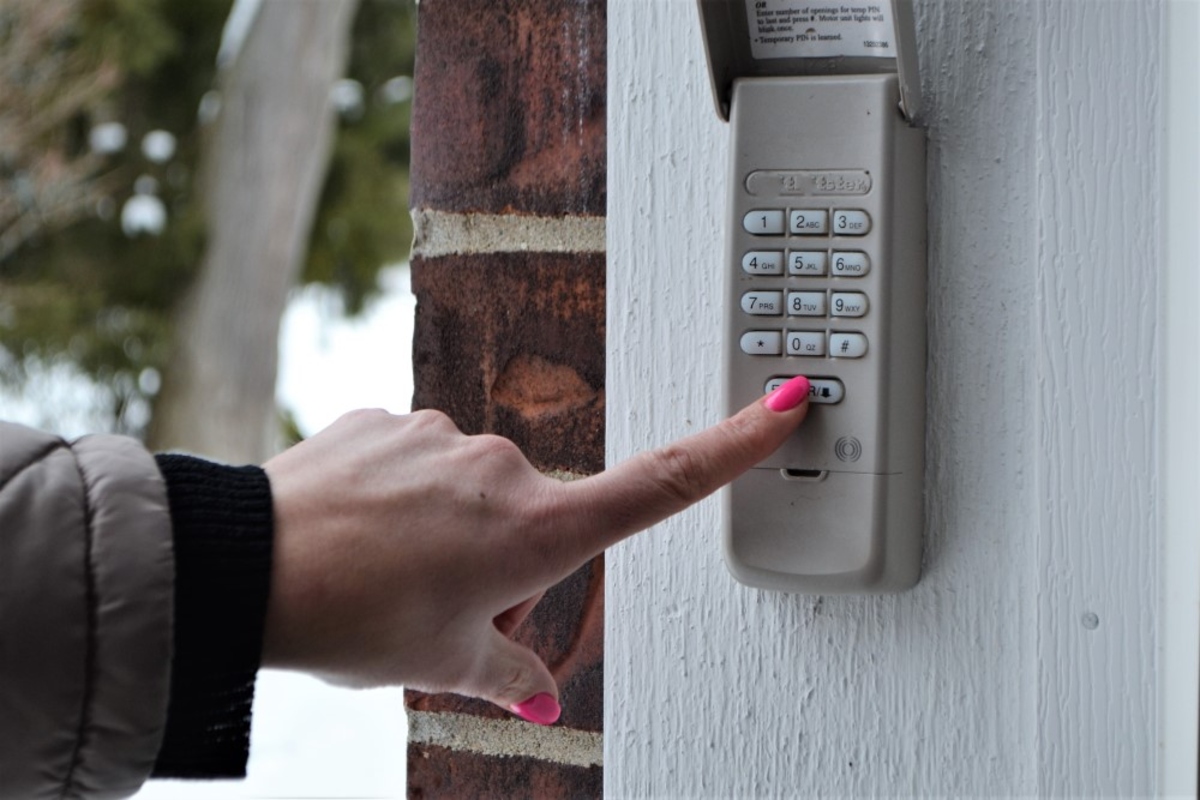
Step 5: Test the new code
After entering the new code into your Liftmaster garage door opener, it’s crucial to test it to ensure that it functions correctly. Testing the new code will help confirm that the programming process was successful and that you can access your garage using the updated code.
Here’s how to test the new code:
- Close the garage door: If it’s not already closed, lower the garage door completely before proceeding with the testing process. This ensures a proper simulation of accessing the garage with the new code.
- Stand within range: Position yourself within range of the garage door opener, whether it’s in your car or near the control panel inside the garage.
- Enter the new code: Use the keypad or remote control to enter the new code you programmed into the garage door opener.
- Observe the garage door: Pay attention to the response of the garage door after entering the code. If the code was entered correctly, the door should start opening. If it fails to open, ensure that the code was entered accurately and try again.
- Test multiple times: Repeat the code entry process a few times to verify that the new code consistently opens the garage door. This ensures that there are no accidental errors or glitches.
If the new code successfully opens the garage door during the testing process, congratulations! You have completed the code change process and can now securely access your garage. However, if the door does not respond as expected, you may need to repeat the programming process or consult your owner’s manual for troubleshooting guidance.
It’s essential to thoroughly test the new code to ensure that it functions reliably. This helps prevent any issues with unauthorized access or potential security breaches.
Once you have confirmed that the new code works correctly, you can proceed to the final step: finalizing the programming process.
Step 6: Finalize the programming process
After successfully testing the new code on your Liftmaster garage door opener, it’s time to finalize the programming process. This step ensures that the new code is saved and that the garage door opener is properly set up to recognize it in the future.
Follow these steps to finalize the programming process:
- Press the program button again: Locate the program button on your Liftmaster garage door opener and press it once more. This action will signal the end of the programming process and save the new code.
- Observe the indicator light: After pressing the program button, observe the indicator light on the garage door opener. It may flash or turn off to indicate that the programming process is complete and the new code is now set.
- Test the code again: Once you have finalized the programming process, test the new code one more time to ensure that it still works. Repeat the same steps as in Step 5 to verify that the garage door opens and closes smoothly with the updated code.
- Restore the cover or access panel: If you had to remove the cover or access panel to access the program button, now is the time to carefully replace it. Ensure that it is securely fastened to protect the inner workings of the garage door opener.
By following these steps, you can be confident that the programming process is complete and the new code is successfully saved in your Liftmaster garage door opener. Regularly testing the code and ensuring the proper functioning of the garage door will help maintain the security and convenience of your home.
It’s essential to keep the new code confidential and only share it with trusted individuals who need access to your garage. Regularly changing the code or updating it as needed will further enhance your home’s security.
With the programming process finalized, you can now enjoy the peace of mind and security that comes with a freshly changed code on your Liftmaster garage door opener.
Conclusion
Changing the code on your Liftmaster garage door opener is an essential step in ensuring the security and protection of your home. By following the step-by-step guide provided in this article, you can confidently update the code and have full control over who can access your garage.
Throughout this process, we covered the necessary steps, including gathering the tools and materials, locating the program button, accessing the programming mode, entering the new code, testing it for functionality, and finalizing the programming process. Following these steps will help safeguard your home and provide you with peace of mind.
Remember to consult your owner’s manual for specific instructions related to your Liftmaster garage door opener model, as the steps may vary slightly. Additionally, keep track of the new code in a secure place, and consider changing it regularly to maintain optimal security.
Regular maintenance and periodic updates to your garage door opener’s code will help ensure the continued security of your home. By implementing these measures, you can better protect your family, belongings, and property from unauthorized access.
We hope that this comprehensive guide has been helpful in assisting you with changing the code on your Liftmaster garage door opener. By following these steps, you are taking an important proactive step in bolstering the security of your garage and ultimately your home. Enjoy the added peace of mind that comes with knowing you have control over who can access your garage, keeping your home and loved ones safe.
Now that you've mastered changing the code on your Liftmaster Garage Door Opener, why not take home security and convenience to the next level? Delving into home automation can transform your living space into a haven of efficiency and comfort. For those intrigued by the latest advancements, smart home technology offers insights into innovative devices that are reshaping how we interact with our environments. Don’t miss out on these engaging reads that can inspire and guide you through the exciting world of automated home solutions!
Frequently Asked Questions about How To Change The Code On A Liftmaster Garage Door Opener
Was this page helpful?
At Storables.com, we guarantee accurate and reliable information. Our content, validated by Expert Board Contributors, is crafted following stringent Editorial Policies. We're committed to providing you with well-researched, expert-backed insights for all your informational needs.

0 thoughts on “How To Change The Code On A Liftmaster Garage Door Opener”