Home>Articles>How To Make A Pantry From A Built-In China Cabinet
Articles
How To Make A Pantry From A Built-In China Cabinet
Modified: January 31, 2024
Discover expert articles on how to repurpose a built-in china cabinet into a functional pantry. Transform your space with these DIY tips and ideas.
(Many of the links in this article redirect to a specific reviewed product. Your purchase of these products through affiliate links helps to generate commission for Storables.com, at no extra cost. Learn more)
Introduction
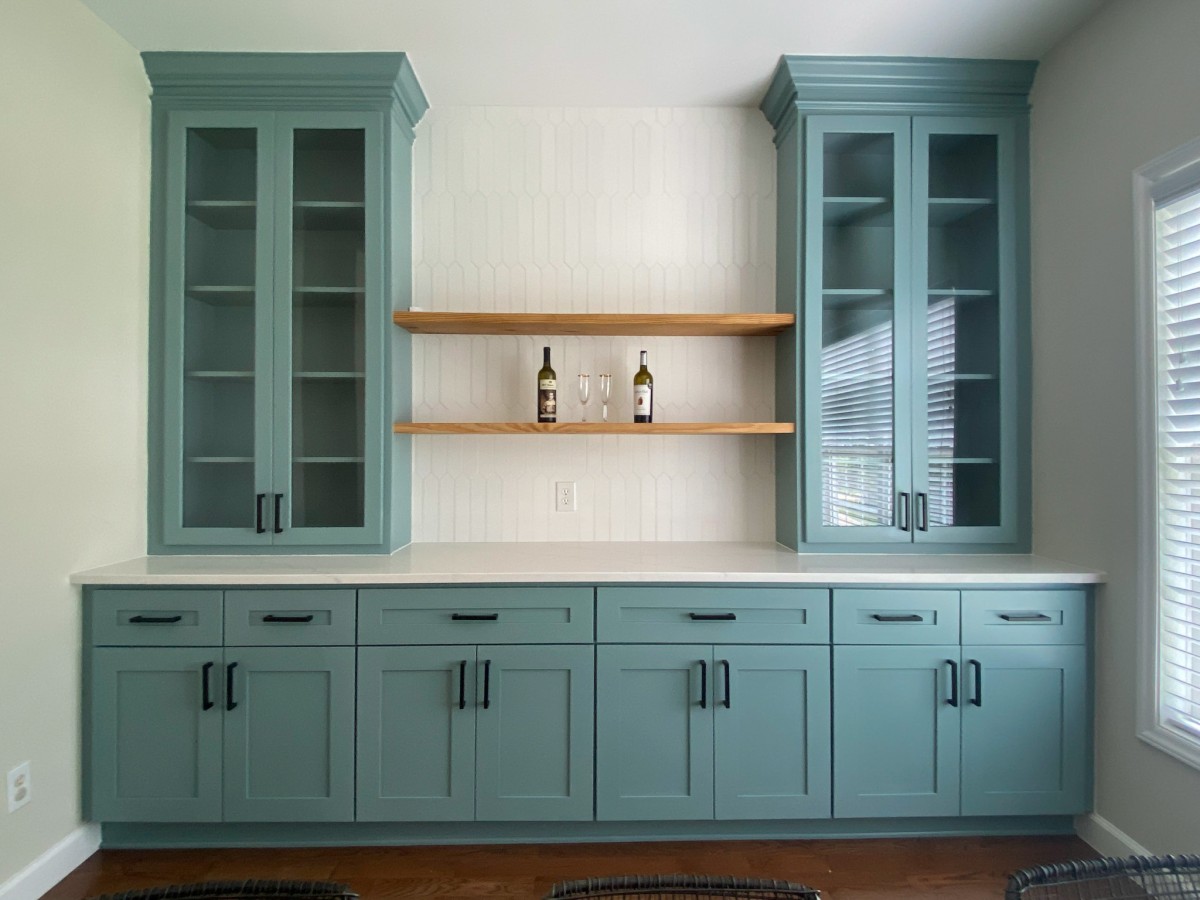
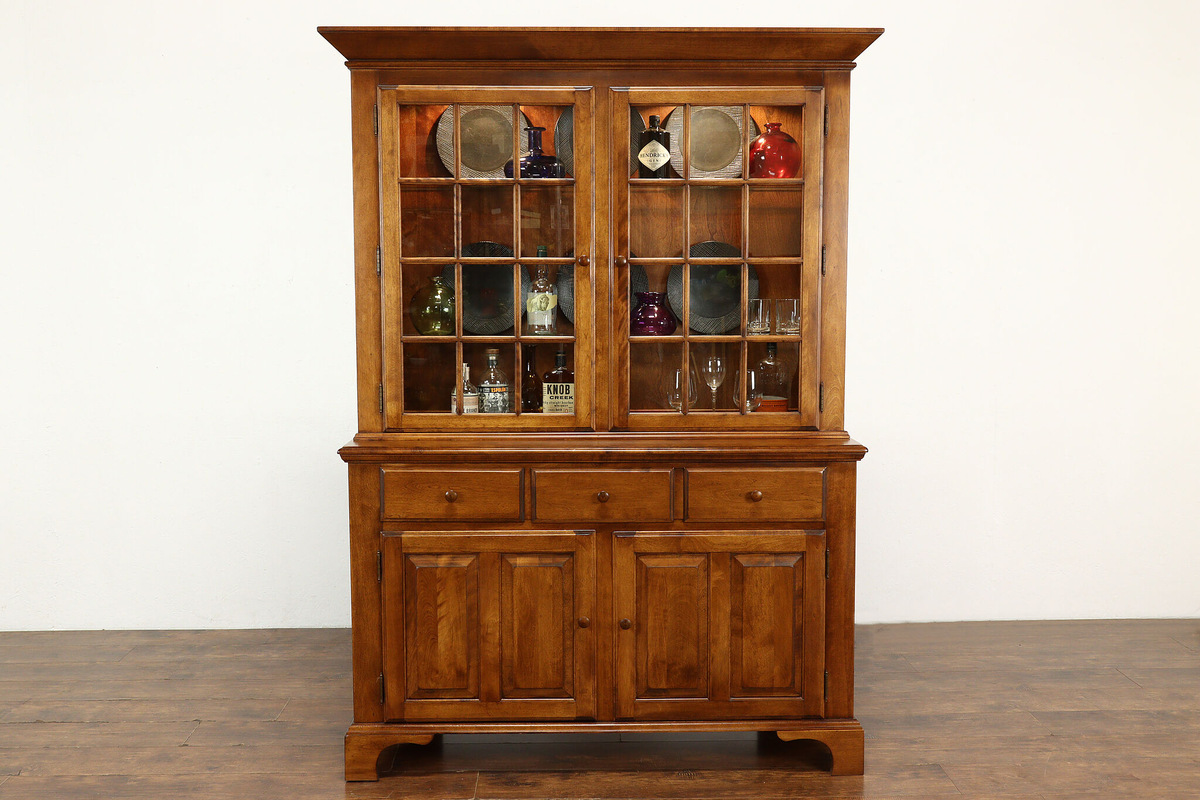
Creating a well-organized and functional pantry is a dream for many homeowners. It not only makes meal planning and grocery shopping easier, but it also adds value and convenience to your kitchen. If you’re looking to transform a built-in china cabinet into a pantry, you’re in luck! This article will guide you through the step-by-step process of repurposing your china cabinet into a beautifully organized pantry.
Before we dive into the specifics, it’s important to note that this project requires some basic woodworking skills and tools. But don’t worry if you’re not a DIY expert; with some patience and determination, you can easily complete this transformation.
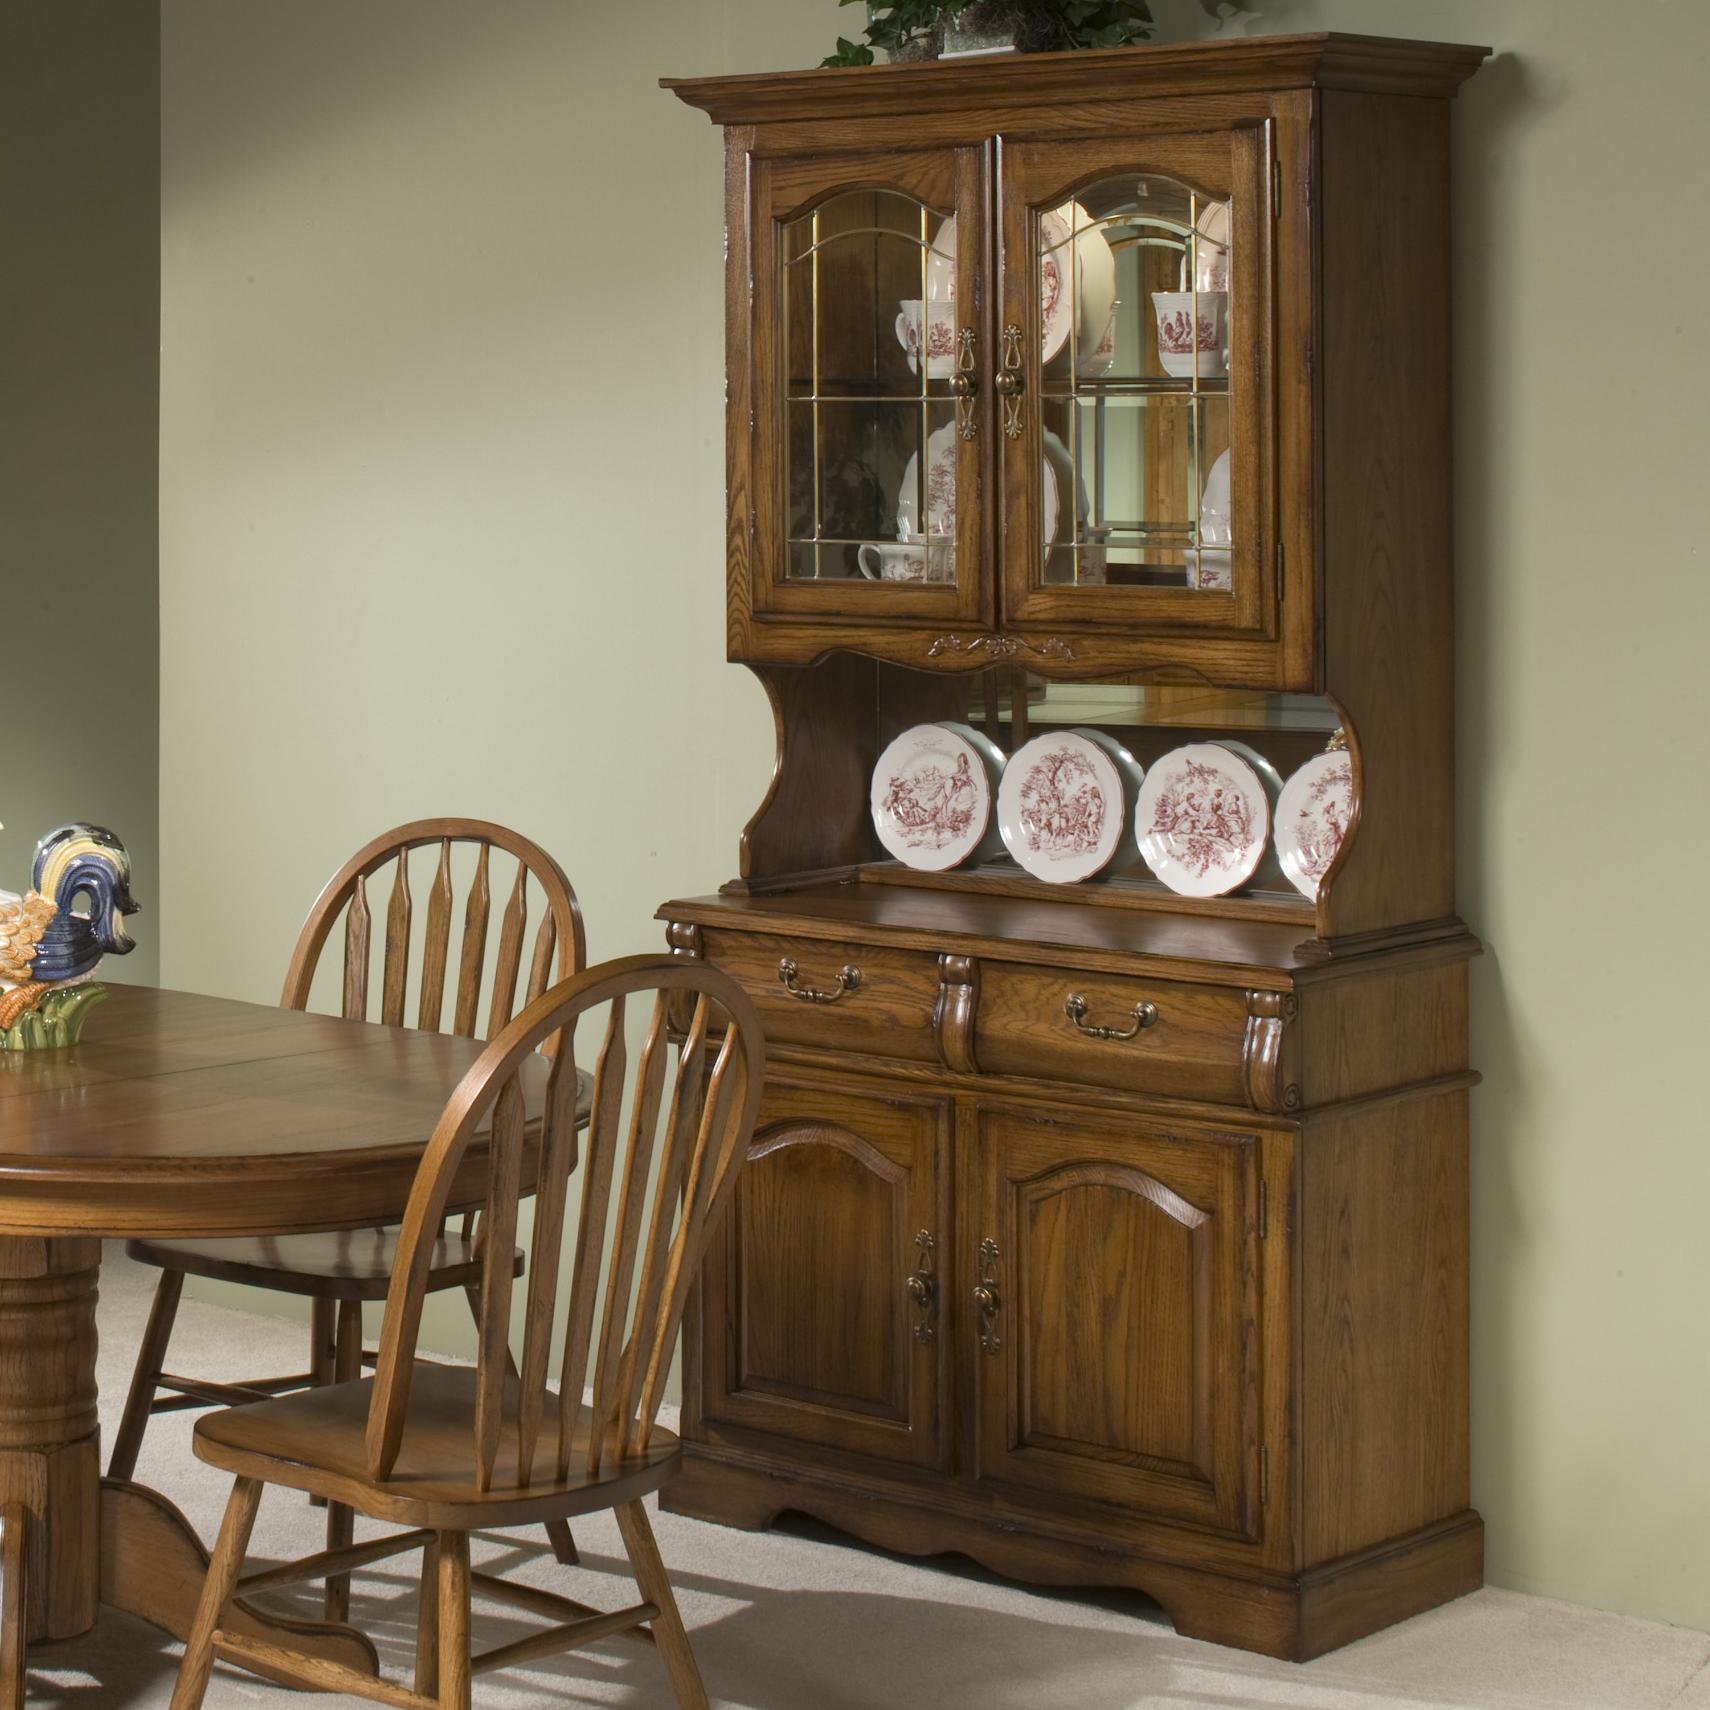
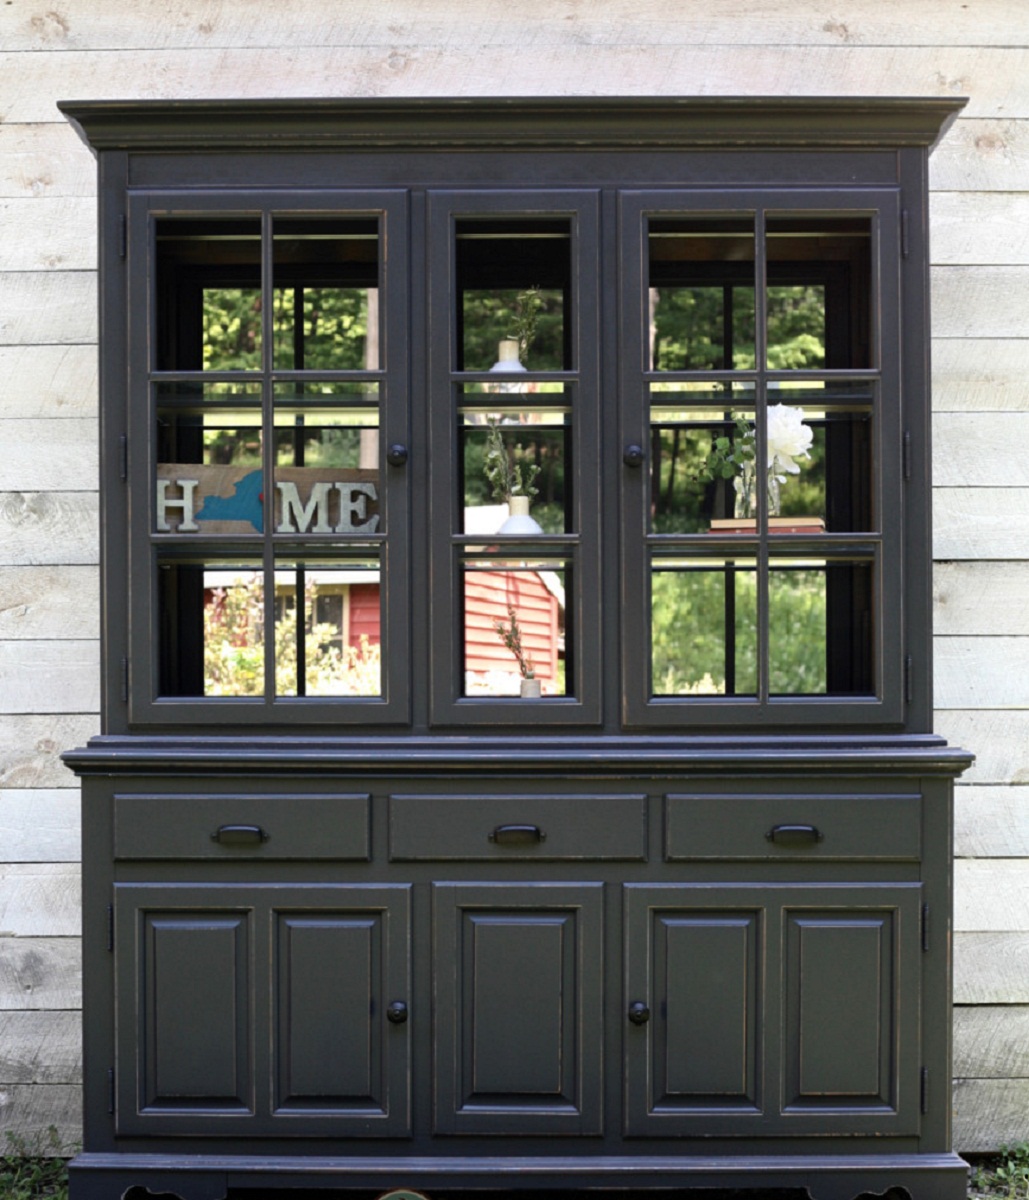
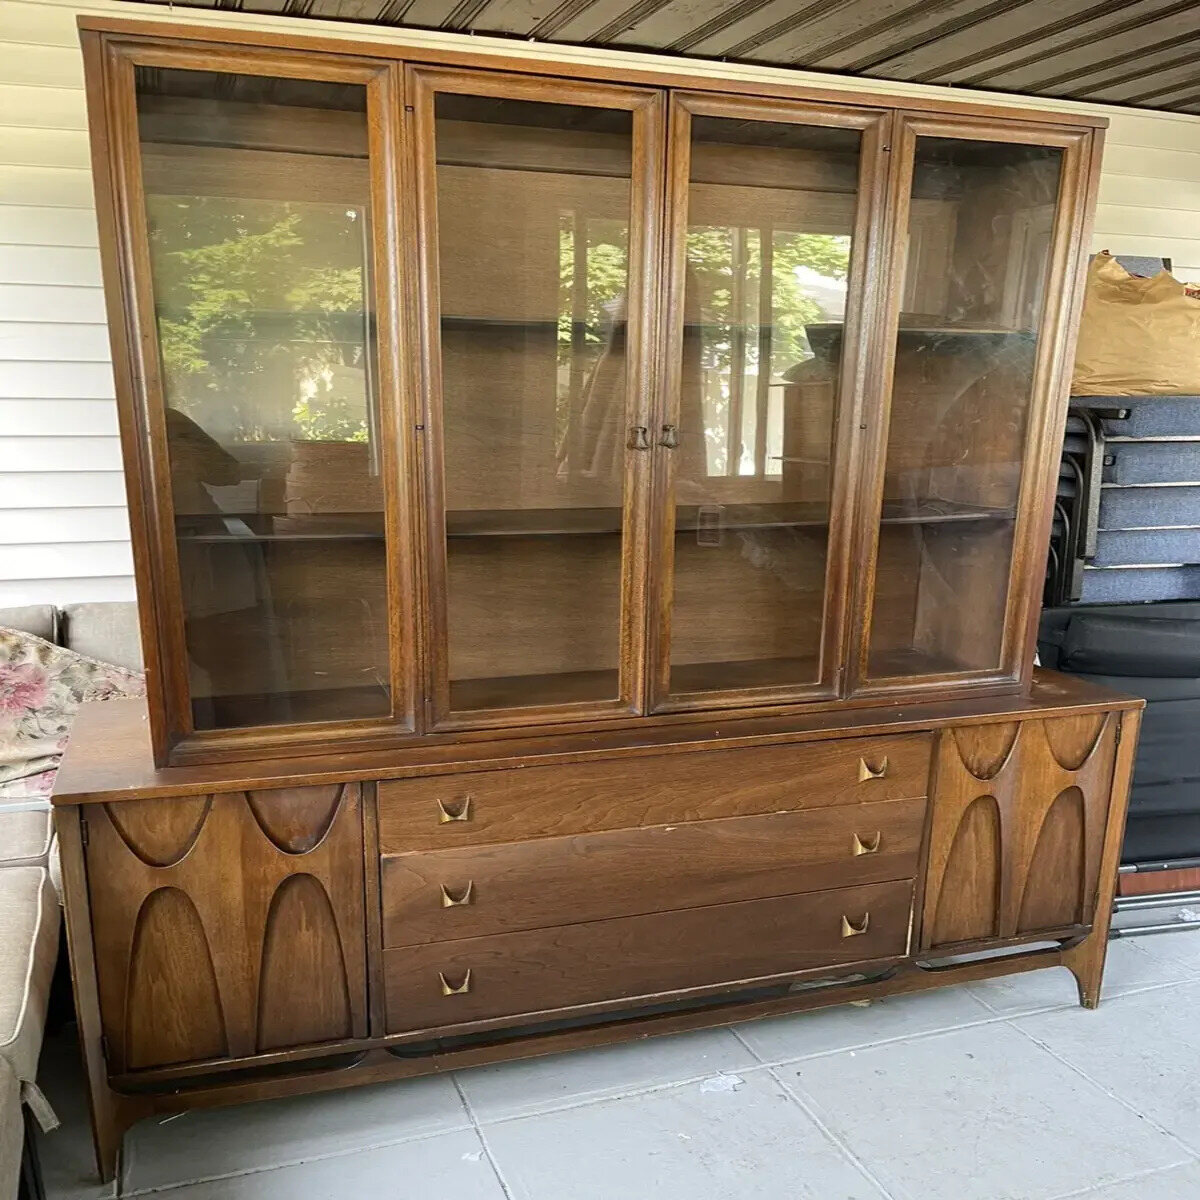
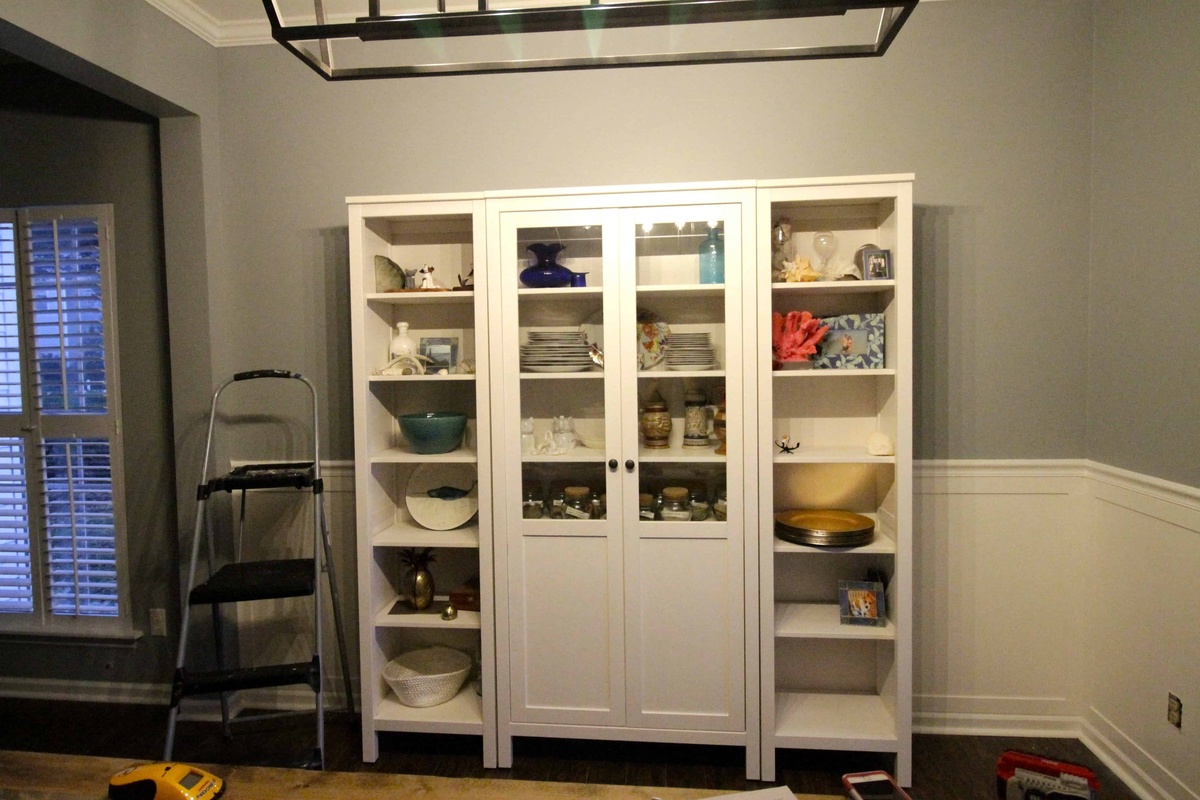
The first step in repurposing your china cabinet is assessing its size and layout. Consider how much space you have available and analyze the current configuration of the shelves and doors. This will help you determine the modifications needed to turn it into a functional pantry.
Once you have a clear vision of what you want to achieve, the next step is removing the shelves and doors from the cabinet. Carefully unscrew or detach them, making sure to keep track of any screws or hardware for later use. This will open up the cabinet and allow you to customize the interior according to your pantry needs.
After removing the shelves and doors, take some time to clean and prepare the cabinet. Use a mild cleaning solution to wipe down the surfaces, removing any dust or grime. Sand the interior walls and shelves to create a smooth surface for painting or refinishing.
Now comes the fun part: installing pull-out shelves. These are essential for easy access and optimal organization in your pantry. Measure the interior dimensions of the cabinet and purchase or build pull-out shelves that fit snugly. Follow the manufacturer’s instructions or use your woodworking skills to install the slides and attach the shelves.
In addition to pull-out shelves, consider adding additional storage solutions such as door-mounted racks, spice organizers, or hanging baskets. These smart storage solutions will maximize the use of space and help keep your pantry items neatly organized.
Once you have installed all the necessary storage solutions, it’s time to organize and stock your newly transformed pantry. Sort your items into categories and arrange them in a way that makes it easy to locate what you need. Consider using clear containers or labels to further streamline the pantry organization.
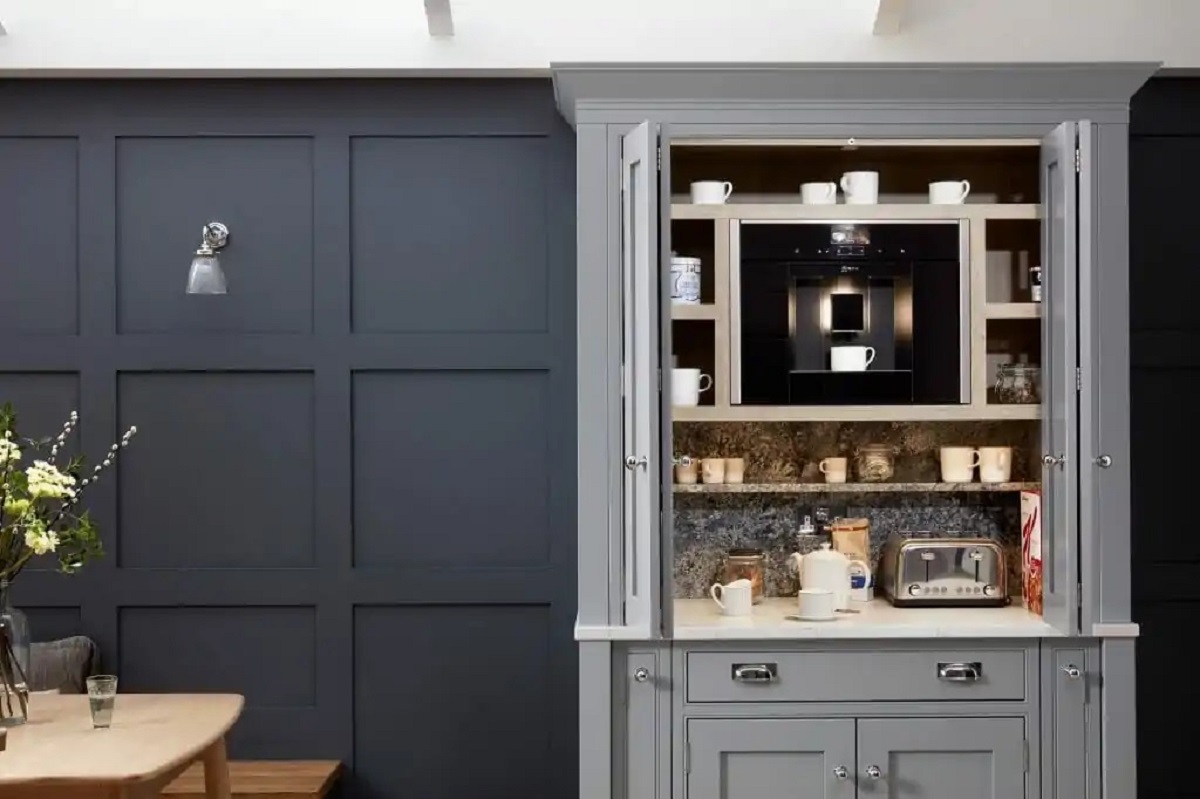
Finally, put the finishing touches on your pantry by styling it with decorative elements. Add a touch of greenery with potted plants or place a stylish kitchen-themed art piece on a nearby wall. These small details will elevate the overall aesthetic of your pantry and make it a truly inviting space.
By following these step-by-step instructions, you can transform a built-in china cabinet into a functional and stylish pantry. Enjoy the convenience of a well-organized space that makes meal prep a breeze and grocery shopping a pleasure. Get creative and personalize your pantry to suit your needs and taste. Happy repurposing!
Key Takeaways:
- Transforming a built-in china cabinet into a pantry involves assessing, cleaning, and adding storage solutions. The process includes installing pull-out shelves and organizing items thoughtfully to create a functional and visually appealing space.
- By incorporating decorative elements, maximizing vertical space, and utilizing clear storage containers, you can create a well-organized pantry that simplifies meal planning and enhances your kitchen experience. Regular maintenance is essential to keep the pantry fresh and efficient.
Read more: How To Make A Pull Out Pantry Cabinet
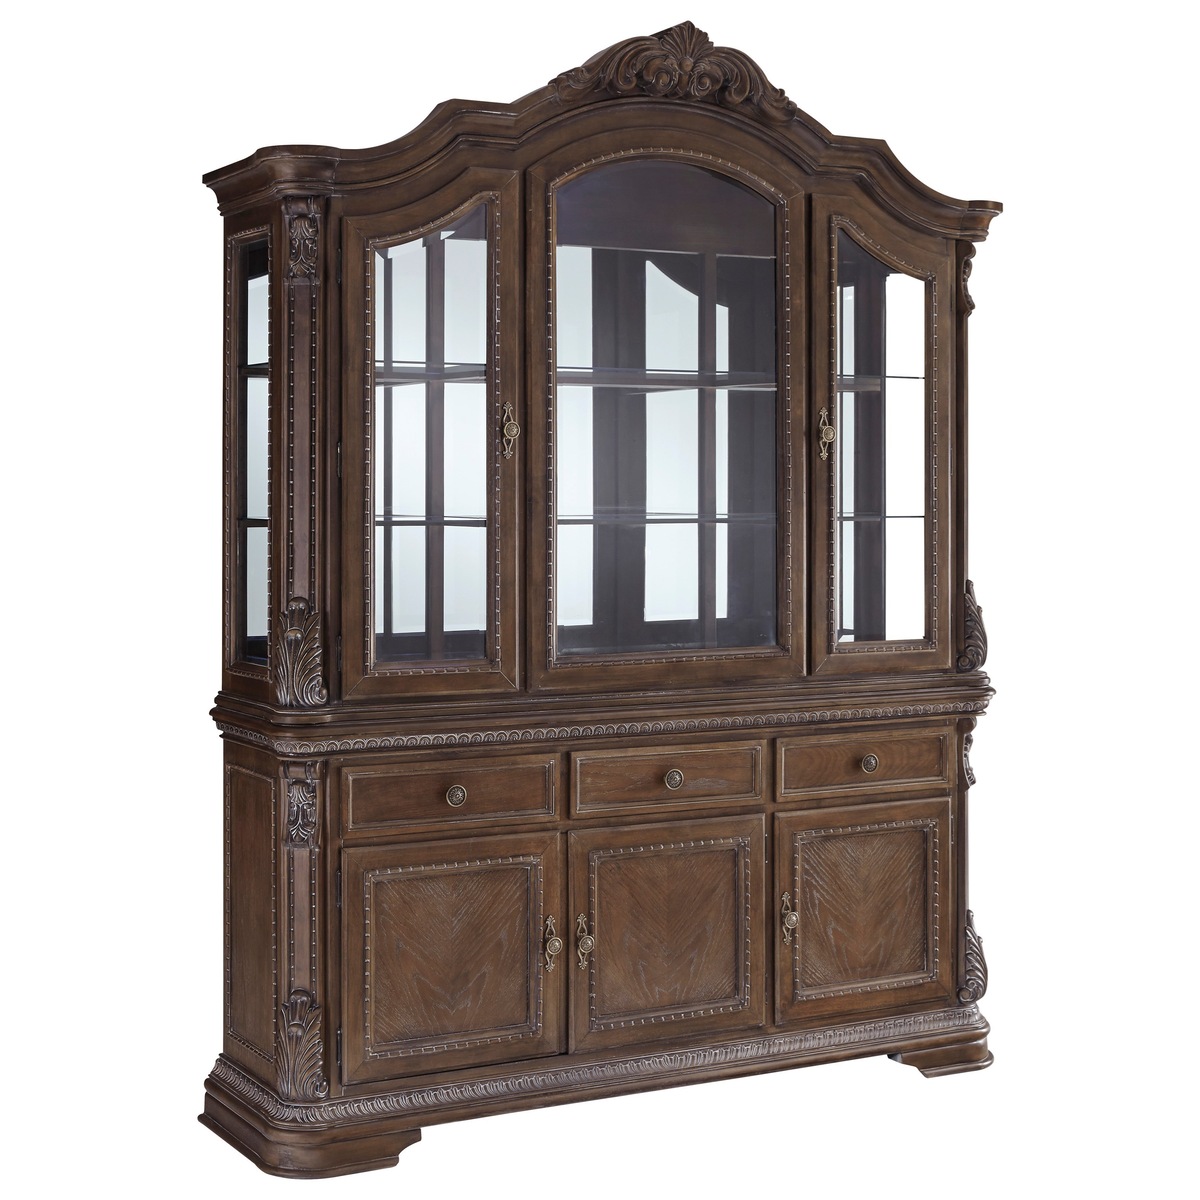
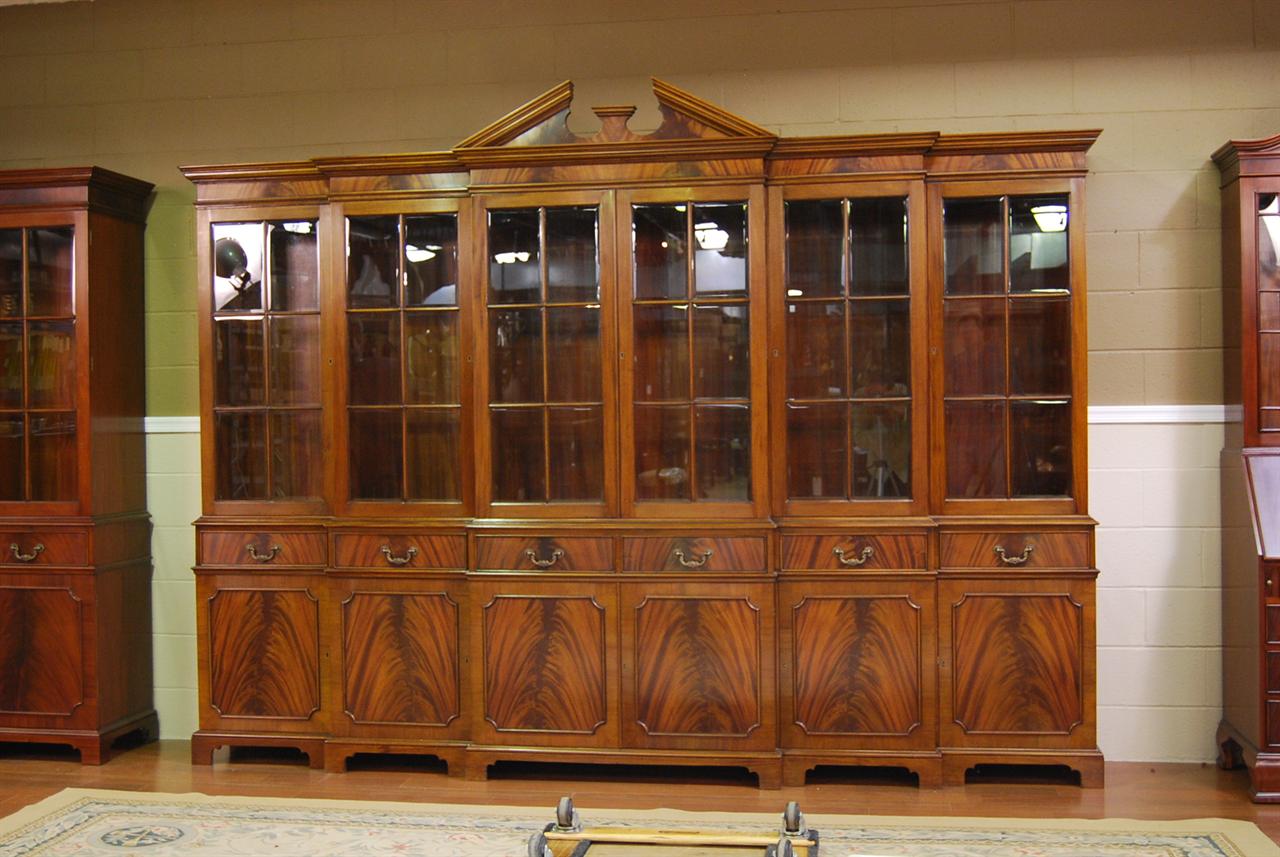
Step 1: Assessing the Cabinet
The first step in repurposing your built-in china cabinet into a pantry is to assess the cabinet itself. This involves examining its size, layout, and current configuration to determine the modifications needed for a functional pantry.
Start by measuring the dimensions of the cabinet, including its height, width, and depth. This will give you a clear understanding of the available space and help you plan the layout of your pantry. Take note of any obstacles, such as pipes or electrical outlets, that may affect the placement of shelves or storage solutions.
Next, consider the current configuration of the shelves and doors. Determine whether the existing shelves are adjustable or fixed in place. Assess the number of shelves and their spacing to see if you need to make any adjustments for better storage capacity and organization.
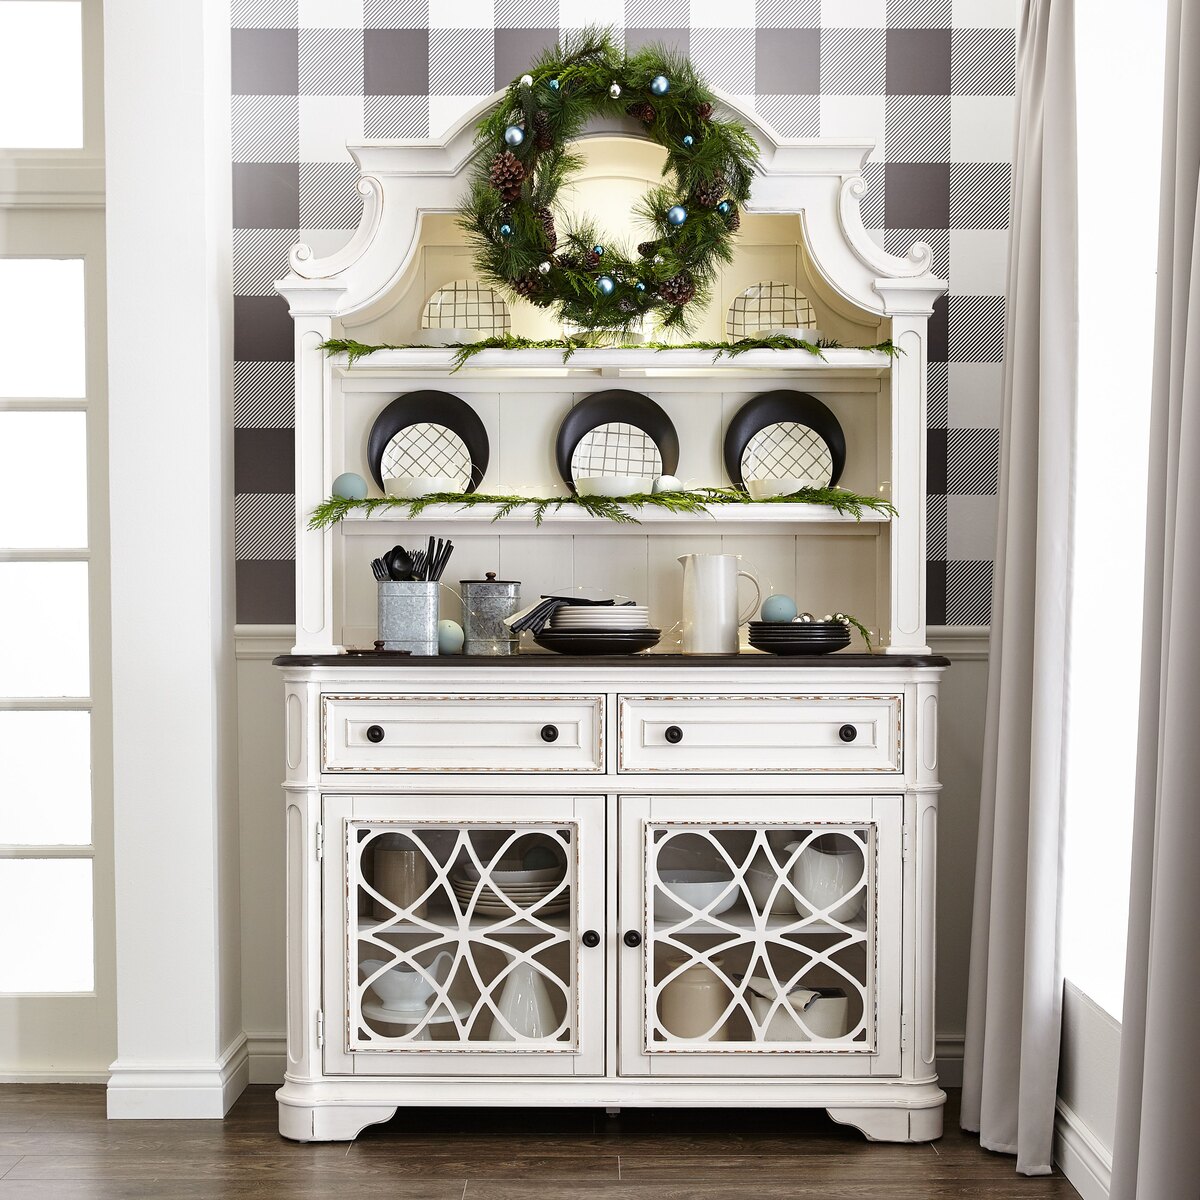
Take a closer look at the cabinet doors as well. Decide whether you want to keep them or remove them entirely. Removing the doors can create an open and accessible pantry, but if you prefer a more concealed look, you can keep the doors and consider adding glass inserts for visual appeal.
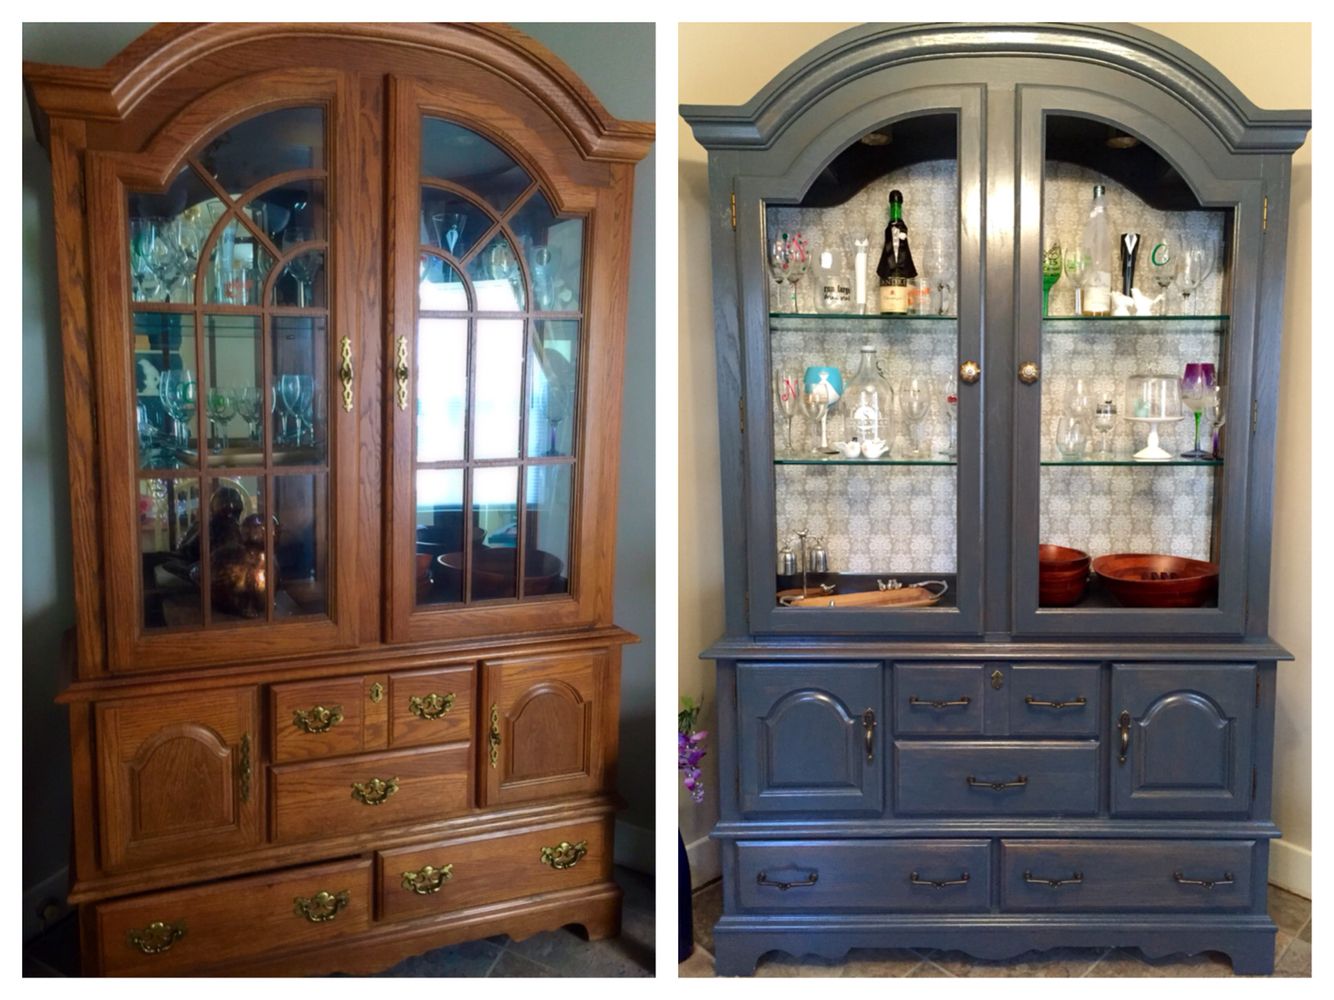
Consider the material and finish of the cabinet as well. Determine whether it needs any repairs or refinishing before proceeding with the transformation. If the cabinet has any dents, scratches, or peeling paint, sanding and repainting may be necessary to achieve a fresh and polished look.
As you assess the cabinet, also think about the location and accessibility of the pantry. Ideally, it should be situated in a convenient spot near your kitchen, allowing easy access to the ingredients and supplies you need when cooking and preparing meals.
During this assessment phase, it’s helpful to gather inspiration and ideas from magazines, websites, or social media platforms like Pinterest. Look for pantry designs and storage solutions that align with your preferences and needs. This can provide valuable insights into how you can make the most of your space and create a well-organized pantry.
Once you have a clear understanding of the cabinet’s dimensions, current layout, and desired modifications, you can move on to the next step: removing the shelves and doors. With careful planning and a vision in mind, you’re well on your way to transforming your china cabinet into a functional and efficient pantry.
Step 2: Removing Shelves and Doors
Now that you’ve assessed the built-in china cabinet and have a clear vision of the modifications you want to make, it’s time to move on to step 2: removing the shelves and doors. This process will open up the cabinet and allow you to customize the interior according to your pantry needs.
Start by emptying the cabinet of any items or decorations. Carefully remove any items on the shelves, taking note of their placement. This will make it easier to reorganize them once the transformation is complete. Set aside any hardware or screws in a safe place so you can easily locate them later.
To remove the shelves, you’ll need to locate the screws or supports holding them in place. Look on the underside of the shelves or along the sides of the cabinet walls to identify any fasteners. Use a screwdriver or power drill to unscrew or remove the supports, being careful not to damage the cabinet or shelves in the process.
If the shelves are not secured with screws, they may be held in place with wooden pegs or other types of fasteners. Gently tap the shelves from underneath with a rubber mallet or a block of wood to loosen them. Once they are loose, carefully lift them out of the cabinet and set them aside for later use or discard them if they’re no longer needed.
Next, focus on removing the doors. This step is optional, as you may choose to keep the doors for a more concealed look or remove them for an open and accessible pantry. If you decide to remove the doors, start by locating the hinges that attach them to the cabinet frame.
Using a screwdriver or power drill, unscrew the hinges from the cabinet frame. It’s a good idea to have someone assist you during this step to hold the doors in place as you remove the screws. Once the screws are removed, carefully lift the doors off the hinges and set them aside.
If you plan to keep the doors but want to add a decorative touch, consider replacing the existing door handles or knobs. This small change can instantly update the look of the pantry and add a personal touch.
Now that you have removed the shelves and doors, take a moment to appreciate the open space and possibilities that lie ahead. In the next step, we will focus on cleaning and preparing the cabinet to ensure a smooth and fresh foundation for your pantry transformation.
Remember, take your time during this process and handle the shelves and doors with care to avoid any damage. By removing these components, you are one step closer to creating a customized and functional pantry that suits your unique needs.
Step 3: Cleaning and Preparing the Cabinet
With the shelves and doors removed, it’s time to move on to step 3: cleaning and preparing the built-in china cabinet. This crucial step ensures that you have a clean and smooth surface to work with as you transform it into a pantry.
Begin by dusting off any loose debris or cobwebs inside the cabinet. Use a soft cloth or a duster to gently remove any dirt or dust from the surfaces, including the walls, shelves, and corners. If there are stubborn stains or grease marks, you may need to use a mild cleaning solution to remove them.
Mix a small amount of dish soap or mild detergent with warm water to create a cleaning solution. Dip a sponge or cloth into the solution and gently scrub the interior surfaces of the cabinet. Be careful not to use excessive water or saturate the wood, as this can cause damage.
If the cabinet has any signs of mold or mildew, create a mixture of equal parts vinegar and water. Apply this mixture to the affected areas and let it sit for a few minutes before wiping it away with a cloth. This natural solution will help remove mold and prevent it from recurring.
After you’ve cleaned the interior surfaces, it’s time to prepare the cabinet for refinishing, if desired. If the existing finish is in good condition, you may choose to leave it as is. However, if the cabinet shows signs of wear or an outdated finish, refinishing can give it a fresh and updated look.
If you plan to refinish the cabinet, start by lightly sanding the surfaces. Use a fine-grit sandpaper, such as 120 or 150 grit, to gently sand the walls, shelves, and any other visible areas. This will create a smooth surface and help the new finish adhere properly.
After sanding, wipe away any dust with a damp cloth or tack cloth. This will remove any residue and ensure a clean surface for the new finish. If there are any scratches or imperfections, you may choose to fill them with wood filler and sand them down before proceeding.
Now that the cabinet is clean and prepared, you have a fresh canvas to work with as you transform it into a functional pantry. In the next step, we will focus on installing pull-out shelves to maximize storage and organization. Get ready to take your pantry to the next level!
Remember, it’s important to take your time during the cleaning and preparation phase to achieve the best results. By ensuring a clean and smooth surface, you’ll create a solid foundation for the rest of the pantry transformation process.
Step 4: Installing Pull-Out Shelves
Now that you have a clean and prepared cabinet, it’s time to move on to step 4: installing pull-out shelves. These shelves are essential for maximizing storage space and making your pantry items easily accessible.
Start by measuring the interior dimensions of the cabinet. Measure the width, height, and depth accurately to ensure a perfect fit for your pull-out shelves. Take note of any obstructions such as pipes or electrical outlets that may affect the placement of the shelves.
Once you have your measurements, you can either purchase ready-made pull-out shelves or build them yourself. If you opt for ready-made shelves, make sure to choose ones that are designed for your specific cabinet dimensions.
To install the pull-out shelves, start by attaching the slide rails or drawer slides to the sides of the cabinet. Follow the manufacturer’s instructions for this step, as the process may vary depending on the type of slides you are using. Use a screwdriver or power drill to secure the slides in place.
Next, attach the other portion of the slide or the brackets to the pull-out shelf itself. Again, refer to the manufacturer’s instructions for the specific steps. Make sure to align the slides or brackets properly so that the shelf slides smoothly in and out of the cabinet.
Once the slides or brackets are securely attached, carefully insert the pull-out shelf into the cabinet. Test the glide and ensure that it moves smoothly and securely. Adjust the placement if necessary to ensure a proper fit.
Continue this process for each pull-out shelf you plan to install. Make sure to leave enough space between each shelf to accommodate the height of your pantry items. You may need to adjust the positioning of the slides or brackets to achieve the desired spacing.
When all the pull-out shelves are installed, take a moment to test their functionality. Pull them out fully and load them with items to make sure they can handle the weight and glide smoothly. Make any necessary adjustments or tighten any loose screws to ensure optimal performance.
Installing pull-out shelves in your pantry not only adds convenience, but it also helps keep your items organized and easily accessible. Take the time to measure accurately and follow the manufacturer’s instructions for a seamless installation.
In the next step, we will explore additional storage solutions that you can incorporate into your pantry to further enhance its functionality. Get ready to take your pantry organization to the next level!
Remember, take your time during the installation process to ensure that the pull-out shelves are properly aligned and secure. This will ensure a well-functioning and efficient pantry system for years to come.
When converting a built-in china cabinet into a pantry, consider adding adjustable shelves to maximize storage space and accommodate different sized items.
Read more: How To Store China Without A China Cabinet
Step 5: Adding Additional Storage Solutions
With the pull-out shelves installed, it’s time to move on to step 5: adding additional storage solutions to maximize the functionality and organization of your pantry.
Start by evaluating the available space in your pantry and identifying areas where you could utilize additional storage options. Look for empty walls, doors, or even the sides of the cabinet itself that can be utilized for storage.
One popular option is to install door-mounted racks or organizers. These racks can hold spices, condiments, or even small kitchen utensils. They are easy to install and can significantly increase the storage capacity of your pantry.
If you have a bit of wall space available, consider adding a pegboard or a series of hooks. This provides a versatile storage solution where you can hang pots, pans, or even measuring cups and spoons. You can also hang small baskets or wire caddies on the hooks to hold snacks, tea bags, or other frequently used items.
Another space-saving solution is to install a magnetic knife strip or a metal sheet inside the cabinet. This allows you to safely store knives and other metal utensils without taking up valuable drawer or countertop space.
Utilizing the sides of the cabinet is another great option for additional storage. You can attach hooks or magnetic strips to hang small baskets or store frequently used tools, such as measuring spoons or spice jars.
If you have a deep pantry cabinet, consider adding pull-out wire baskets or storage bins. These can be easily accessed and allow you to store items that may be less frequently used or bulkier in size, such as baking sheets, cutting boards, or small appliances.
Remember, maximizing vertical space is key in a pantry. Consider using stacking bins, shelves, or tiered organizers to make the most of the cabinet’s height. These accessories help divide and compartmentalize the space, making it easier to locate particular items.
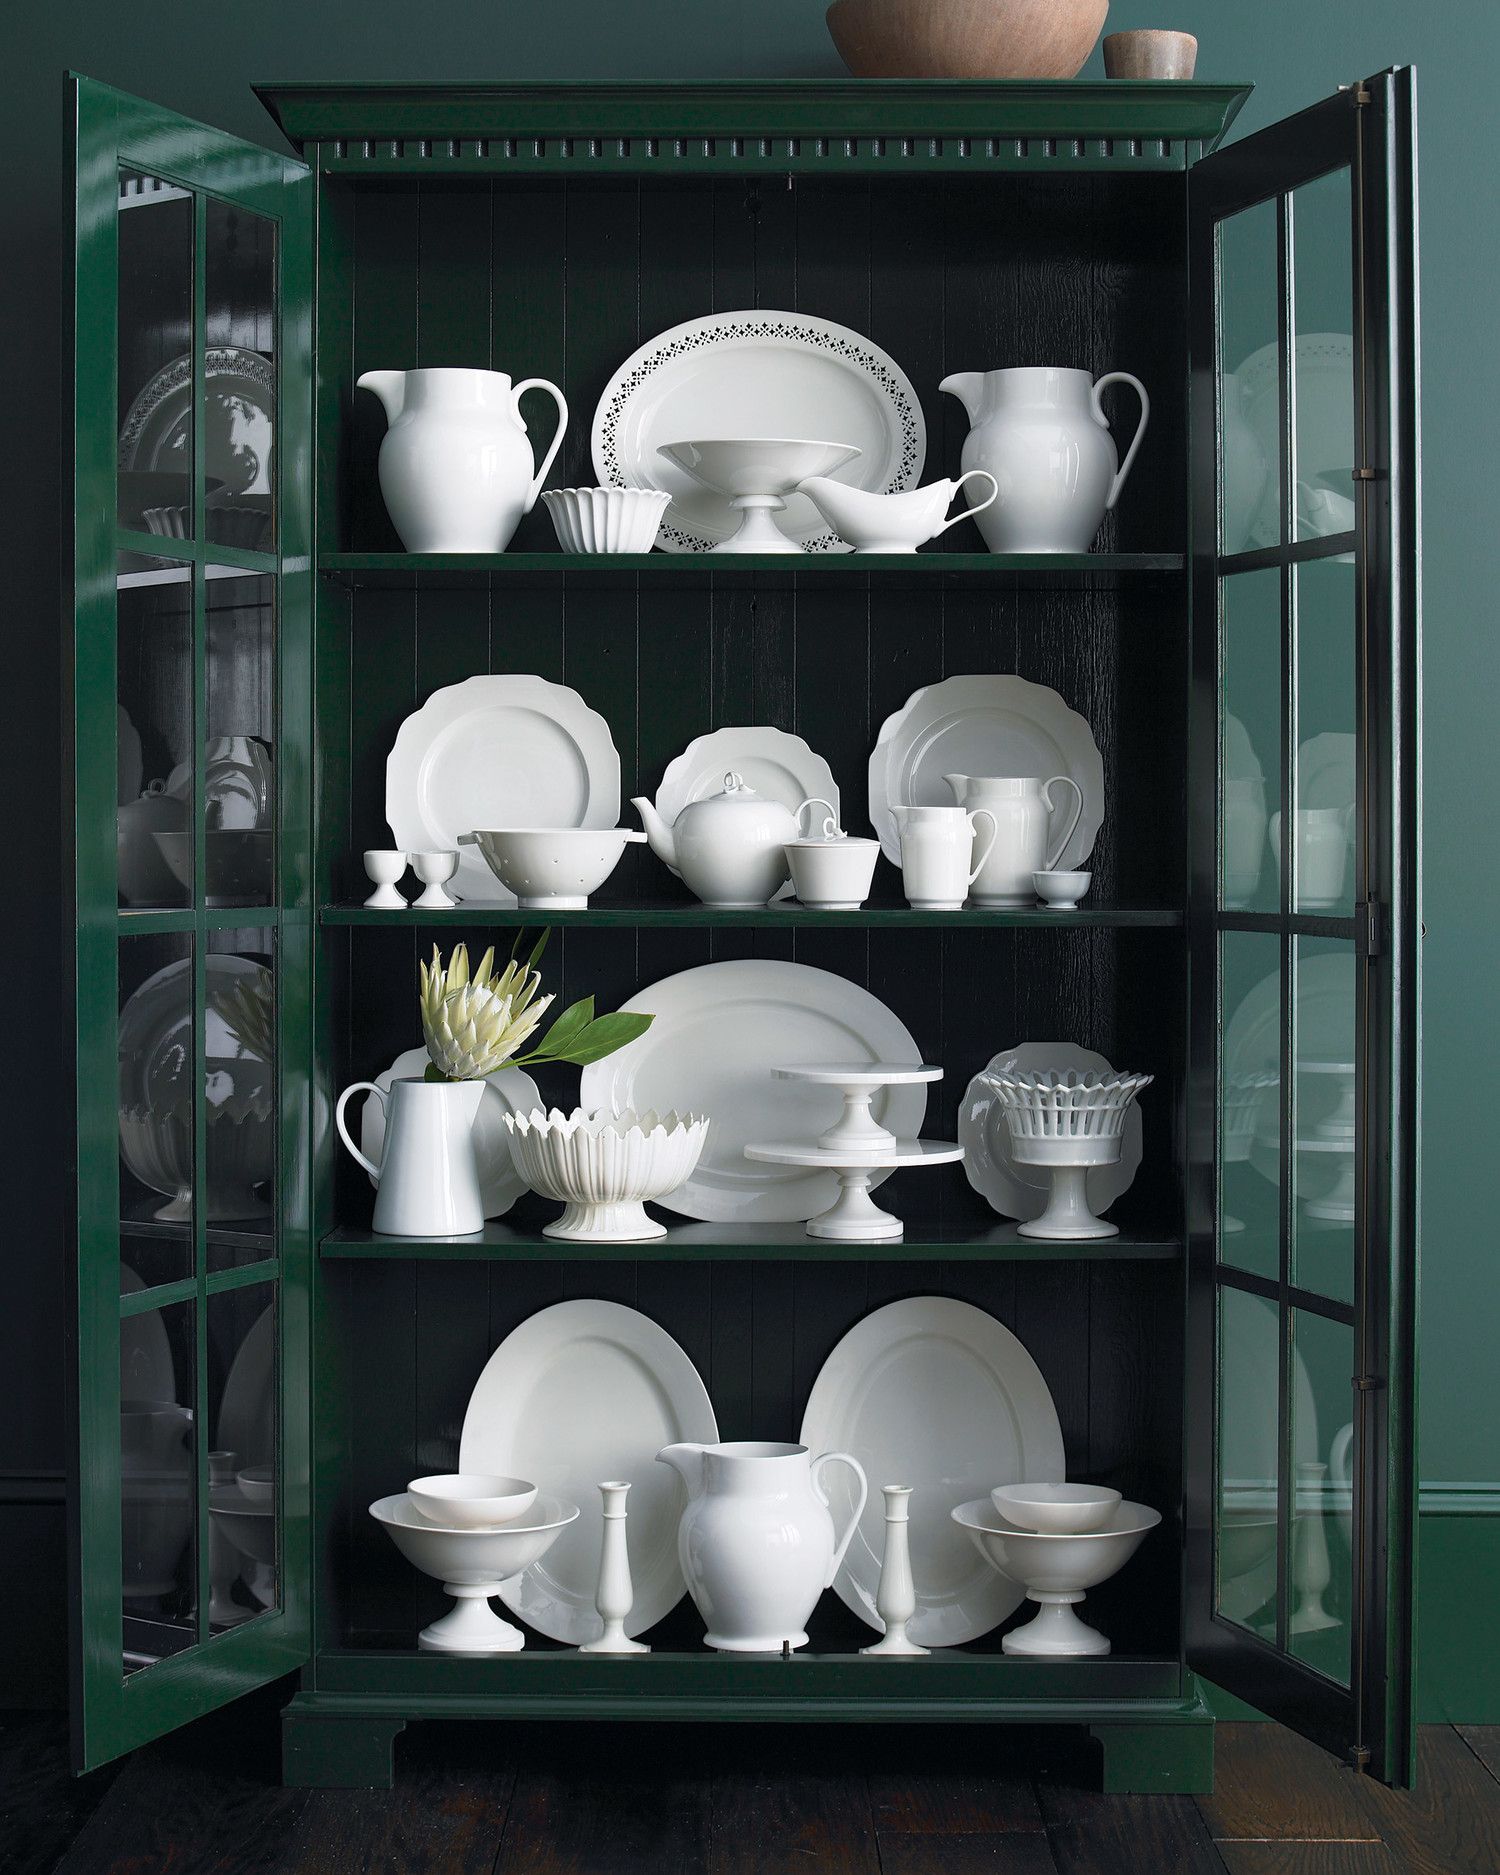
Lastly, don’t forget to utilize clear storage containers or bins. They can help organize items like cereals, rice, pasta, or snacks, while also keeping them fresh and visible. Labeling these containers can further improve organization and make it easier to locate specific items.
Once you have chosen the additional storage solutions that suit your needs, take some time to install them properly. Follow the manufacturer’s instructions for each item and secure them in place according to the specific mounting requirements.
By incorporating these additional storage solutions, you’ll be able to optimize the usage of space in your pantry, enhance organization, and create a more efficient cooking and meal preparation experience.
In the next step, we will dive into organizing and stocking your newly transformed pantry. Get ready to see your pantry come to life!
Remember, adapt these storage solutions to fit your unique pantry and needs. You have the flexibility to mix and match different options to create a customized and functional storage system.
Step 6: Organizing and Stocking Your Pantry
With your pantry transformed and additional storage solutions in place, it’s time to move on to step 6: organizing and stocking your newly revamped pantry. This step will ensure that your pantry is not only functional but also visually appealing and easy to navigate.
Begin by sorting through your pantry items and grouping them into categories. Consider grouping items such as canned goods, grains, baking supplies, snacks, and spices. This will help you determine the storage needs and space requirements for each category.
Next, assign designated areas or shelves for each category. This will make it easier to find items when you need them and maintain a tidy and organized pantry. Consider placing frequently used items within easy reach, while reserving higher or lower shelves for less frequently used items.
As you place items in their designated shelves, take advantage of clear storage containers or bins. Transfer items like cereals, pasta, and baking ingredients into these containers to keep them fresh and neatly contained. Label the containers for easy identification.
Consider using vertical space wisely by using tiered shelf organizers or expandable shelves. This will allow you to make the most of the cabinet’s height and prevent items from being lost or forgotten at the back of the shelves.
If you have installed pull-out shelves, arrange items in a visually pleasing and organized way. Utilize clear bins or dividers for smaller items like spices or condiments. This will prevent them from rolling around and keep them easily accessible.
Don’t forget to take advantage of any door-mounted racks or organizers you have installed. Use them to store commonly used items like spices, sauces, or measuring cups. This will free up valuable shelf space and make these items easily within reach.
Consider incorporating some labeling into your pantry organization. Use labels for shelves, bins, and containers to help you quickly locate what you need and maintain the order. This will also make restocking easier, as you can quickly identify empty containers or expired items.
Finally, as you stock your pantry, take note of any items that may be running low or expired. Regularly check the expiration dates and rotate items to ensure that you’re using the oldest items first. This will help minimize food waste and ensure that your pantry is always stocked with fresh and usable products.
By organizing and stocking your pantry thoughtfully, you’ll have a well-ordered space that makes meal planning and cooking much more efficient. Enjoy the convenience of easily locating ingredients, snacks, and staples, and take pride in the functional beauty of your pantry.
Now it’s time for the final touches and styling to truly make your pantry shine!
Remember, organizing your pantry is a personal process, and the way you arrange and stock varies depending on your own preferences and needs. Let your creativity shine and find the organization system that works best for you.
Step 7: Final Touches and Styling
We’ve reached the final step: Step 7, where we add the final touches and styling to complete the transformation of your pantry into a visually appealing and functional space.
Consider adding some decorative elements to give your pantry a personal touch. One idea is to incorporate potted plants or fresh herbs to bring a touch of greenery into the space. Not only will they add visual interest, but they can also contribute to a fresh and welcoming atmosphere.
Another styling option is to add a small kitchen-themed art piece or a chalkboard with inspiring quotes or a weekly meal planner. This can add a charming and personalized touch to your pantry space.
Take a step back and examine the overall aesthetic of your pantry. Consider the color scheme and lighting in your kitchen and pantry area, and choose decorative elements that complement the existing style. Coordinated baskets, jars, or containers can add a cohesive and polished look to the space.
Utilize the empty wall space to hang small shelves or hooks for displaying or storing visually appealing cookbooks, colorful kitchen utensils, or even a decorative apron. These small touches will add a sense of personality and warmth to your pantry.
Additionally, pay attention to the lighting in your pantry. Good lighting is crucial for both functionality and aesthetics. Consider installing under-cabinet lighting to illuminate your pantry shelves and make it easier to spot items. LED lighting strips are a popular option as they provide bright, energy-efficient lighting.
Lastly, don’t forget to regularly maintain and declutter your pantry to keep it looking fresh and organized. As you use items, reevaluate and restock accordingly. Dispose of expired items and always keep an eye out for any signs of pests or spoilage.
By adding these final touches and paying attention to the overall styling, you will create a pantry space that is not only practical and organized but also visually appealing and inspiring.
Congratulations! You have successfully transformed your built-in china cabinet into a fully functional and stylish pantry. Enjoy the convenience and pleasure of a well-organized space that simplifies meal planning and enhances your kitchen experience!
Remember, the final touches and styling of your pantry are an opportunity to showcase your unique personality and create a space that reflects your taste and preferences. Have fun with it and let your creativity shine!
Conclusion
Congratulations on completing the transformation of your built-in china cabinet into a beautifully organized pantry! By following the step-by-step process outlined in this article, you have created a functional and visually appealing space that will enhance your cooking and meal preparation experience.
Starting from assessing the cabinet and determining the modifications needed, to removing shelves and doors, cleaning and preparing the cabinet, and installing pull-out shelves, you have taken the necessary steps to transform your old cabinet into a practical pantry.
Adding additional storage solutions and organizing your pantry items in a thoughtful manner has further improved the functionality and efficiency of the space. By maximizing vertical and horizontal space, utilizing door-mounted racks and wire baskets, and implementing labeling and clear storage containers, you have created a well-organized pantry that allows for easy access and inventory management.
The final touches and styling of your pantry, such as adding decorative elements and lighting, have elevated its overall aesthetic appeal. By incorporating greenery, artwork, and lighting, you have made the space visually pleasing and inviting.
Now, you can revel in the convenience and joy of having a well-stocked and organized pantry. Meal planning and grocery shopping will be a breeze, and the efficiency of your kitchen will be greatly improved. No more searching for ingredients or dealing with cluttered shelves!
Remember, although you have completed the transformation, your pantry requires regular maintenance. Regularly assess and restock your pantry, declutter as needed, and keep an eye on expiration dates to ensure that you’re using fresh and usable items.
Enjoy the benefits of your transformed pantry and savor the joy of a well-organized and efficiently functioning kitchen. With everything in its place and a pantry tailored to your needs, you can focus more on creating delicious meals and enjoying time with your loved ones.
Thank you for joining us on this journey of repurposing your built-in china cabinet into a pantry. We hope that this article has provided you with the knowledge and guidance needed to create a pantry that meets your unique needs and style.
Happy cooking, meal planning, and pantry organization!
Frequently Asked Questions about How To Make A Pantry From A Built-In China Cabinet
Was this page helpful?
At Storables.com, we guarantee accurate and reliable information. Our content, validated by Expert Board Contributors, is crafted following stringent Editorial Policies. We're committed to providing you with well-researched, expert-backed insights for all your informational needs.


0 thoughts on “How To Make A Pantry From A Built-In China Cabinet”