Articles
How To Install A Cabinet Pantry Toe Kick
Modified: August 24, 2024
Learn how to install a cabinet pantry toe kick with our comprehensive articles. Discover step-by-step guides and expert tips for a seamless installation process.
(Many of the links in this article redirect to a specific reviewed product. Your purchase of these products through affiliate links helps to generate commission for Storables.com, at no extra cost. Learn more)
Introduction
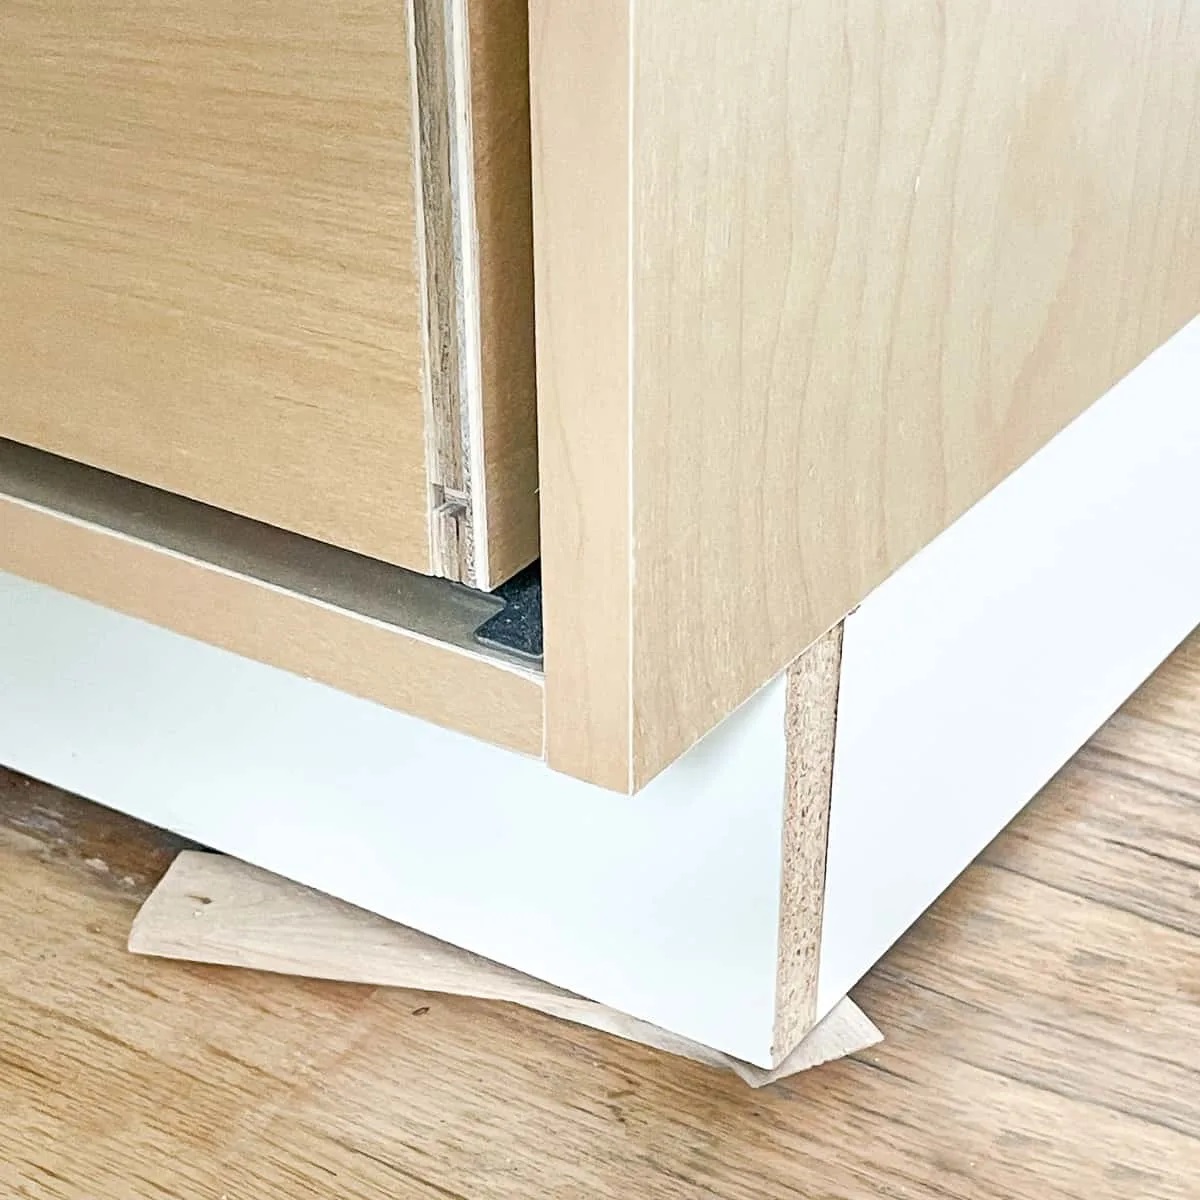
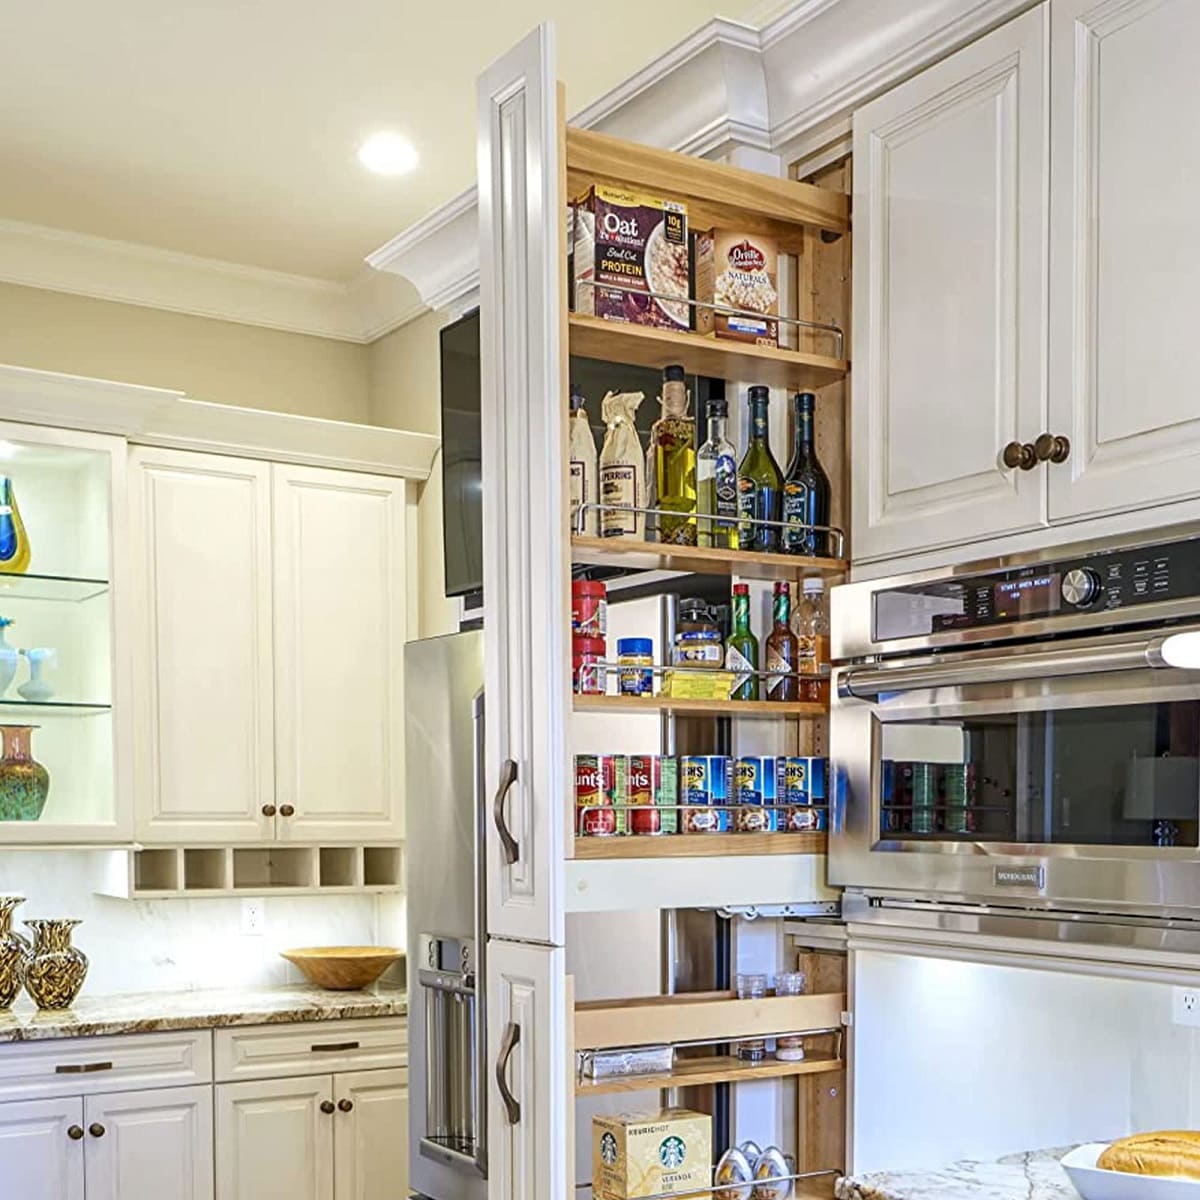
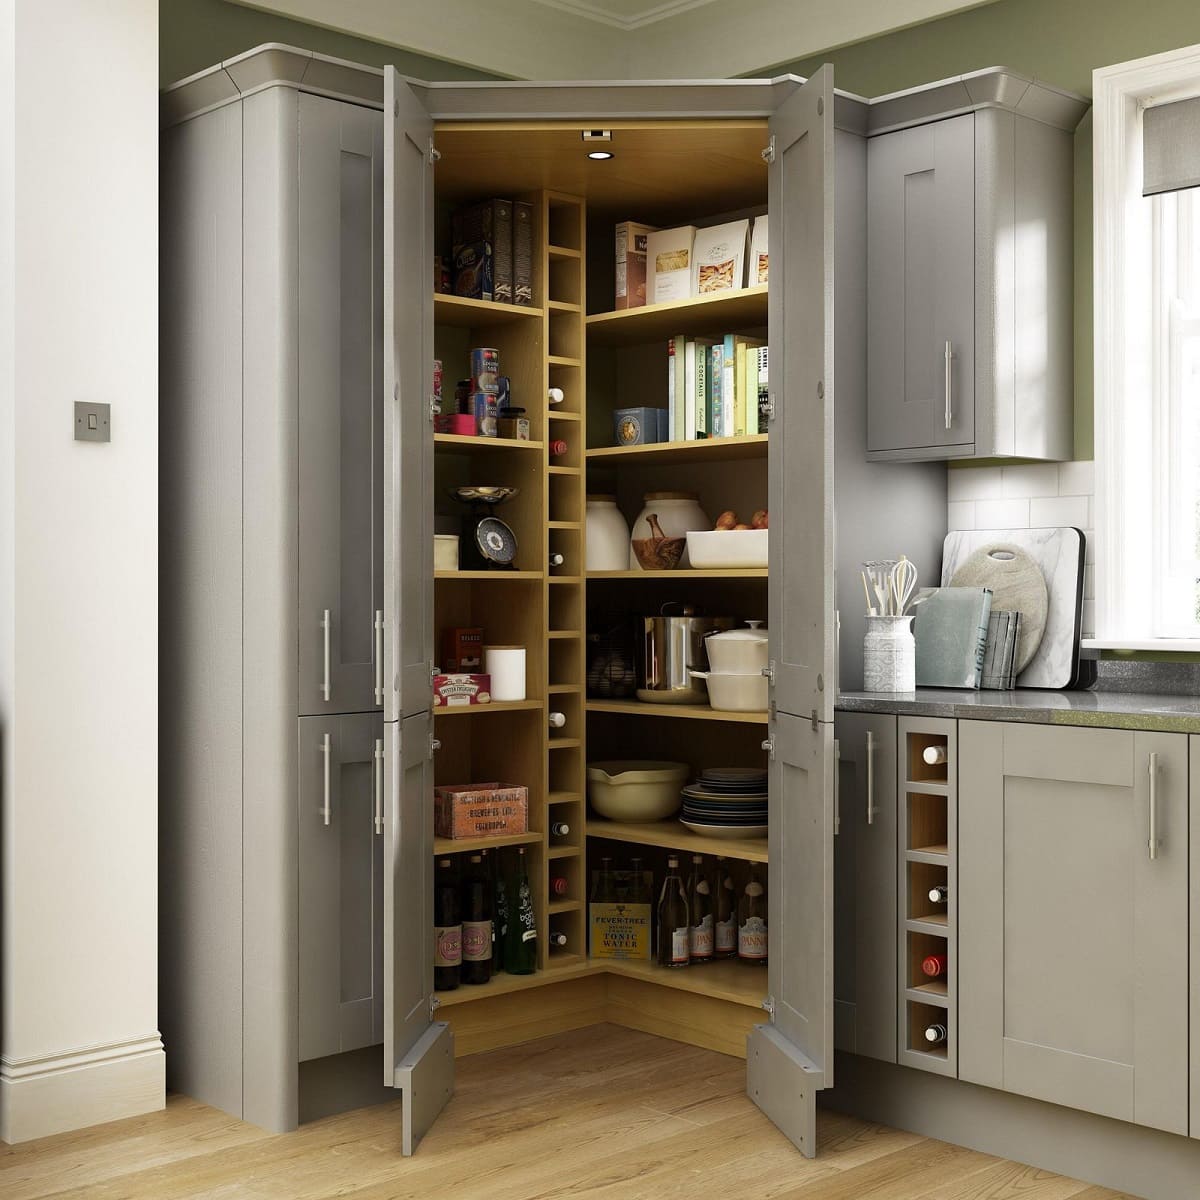
Installing a cabinet pantry toe kick can be a great way to enhance the functionality and aesthetics of your kitchen. A toe kick is the recessed area at the bottom of cabinets, typically located between the cabinet base and the floor. It provides a space for your feet to rest comfortably while you’re working in the kitchen. Additionally, a properly installed toe kick can help prevent dirt and debris from accumulating under your cabinets.
In this article, we will guide you through the process of installing a cabinet pantry toe kick. Whether you’re a DIY enthusiast or a professional contractor, following these steps will ensure a successful installation.
Before we dive into the installation process, it’s essential to gather the necessary tools and materials. This will help streamline the process and ensure you have everything you need at hand.
Key Takeaways:
- Enhance your kitchen’s functionality and aesthetics by installing a cabinet pantry toe kick. Follow our step-by-step guide for a professional and rewarding DIY project.
- Ensure a seamless and stable installation of your cabinet pantry toe kick by gathering the right tools, precise measurements, and careful attention to detail. Enjoy the added comfort and personalized touch it brings to your kitchen.
Step 1: Gather necessary tools and materials
Before you begin installing the cabinet pantry toe kick, you’ll need to gather the following tools and materials:
- Measuring tape: to accurately measure the dimensions of the toe kick area.
- Pencil: to mark the measurements on the toe kick board.
- Circular saw: to cut the toe kick board to the required size.
- Screwdriver or drill: to attach the toe kick board to the cabinet.
- Wood screws: to secure the toe kick board in place.
- Sandpaper: to smooth out any rough edges.
- Paint or stain: to finish the toe kick board and match the existing cabinet color.
- Paintbrush or sponge: to apply the paint or stain.
- Dust mask and safety goggles: for protection during the cutting and sanding process.
Make sure you have all the tools and materials ready before you start the installation process. This will save you time and ensure a smooth workflow. Accurate measurements and the right tools will result in a professional-looking finished product.
Step 2: Measure and mark the toe kick area
Once you have gathered all the necessary tools and materials, it’s time to measure and mark the area where the toe kick will be installed. This step is crucial for ensuring a precise fit and a seamless integration with your cabinet.
- Clear the area: Remove any items or obstacles that may obstruct your workspace.
- Measure the height: Use a measuring tape to determine the vertical measurement of the toe kick area. Typically, the height of a toe kick ranges between 3 to 4 inches.
- Measure the width: Measure the horizontal distance between the cabinet sides where the toe kick will be installed.
- Mark the measurements: Using a pencil, mark the measurements on the toe kick board. Ensure that the marks are clear and visible.
Double-check your measurements to ensure accuracy. Remember that precision is key when it comes to installing the toe kick. An ill-fitting toe kick can affect the overall appearance and functionality of your cabinet pantry.
Take into consideration any obstructions, such as plumbing or electrical outlets, that may affect the placement of the toe kick. Make necessary adjustments to ensure a proper fit.
Once you have measured and marked the toe kick area, move on to the next step: cutting the toe kick board.
Step 3: Cut the toe kick board
Now that you have measured and marked the toe kick area, it’s time to cut the toe kick board to the required size. This step requires careful precision to ensure that the board fits perfectly into the designated space.
- Prepare your workspace: Find a flat and stable surface to work on. Use sawhorses or a workbench if available.
- Position the toe kick board: Place the toe kick board on your workspace, making sure it is secure and won’t move during the cutting process.
- Align the marks: Align the marked measurements on the board with the corresponding measurements you made on the previous step.
- Use a circular saw: Carefully cut along the marked lines using a circular saw. Follow all safety precautions and guidelines for using the tool. Take your time and make smooth, precise cuts.
- Check the fit: Once you have cut the toe kick board, test its fit in the designated area. It should fit snugly against the cabinet base and align with the surrounding surfaces.
If the toe kick board doesn’t fit properly, double-check your measurements and make any necessary adjustments. It’s better to re-measure and recut the board to ensure a perfect fit rather than trying to force an ill-fitting piece.
After you have successfully cut the toe kick board, proceed to the next step: attaching the toe kick board to the cabinet.
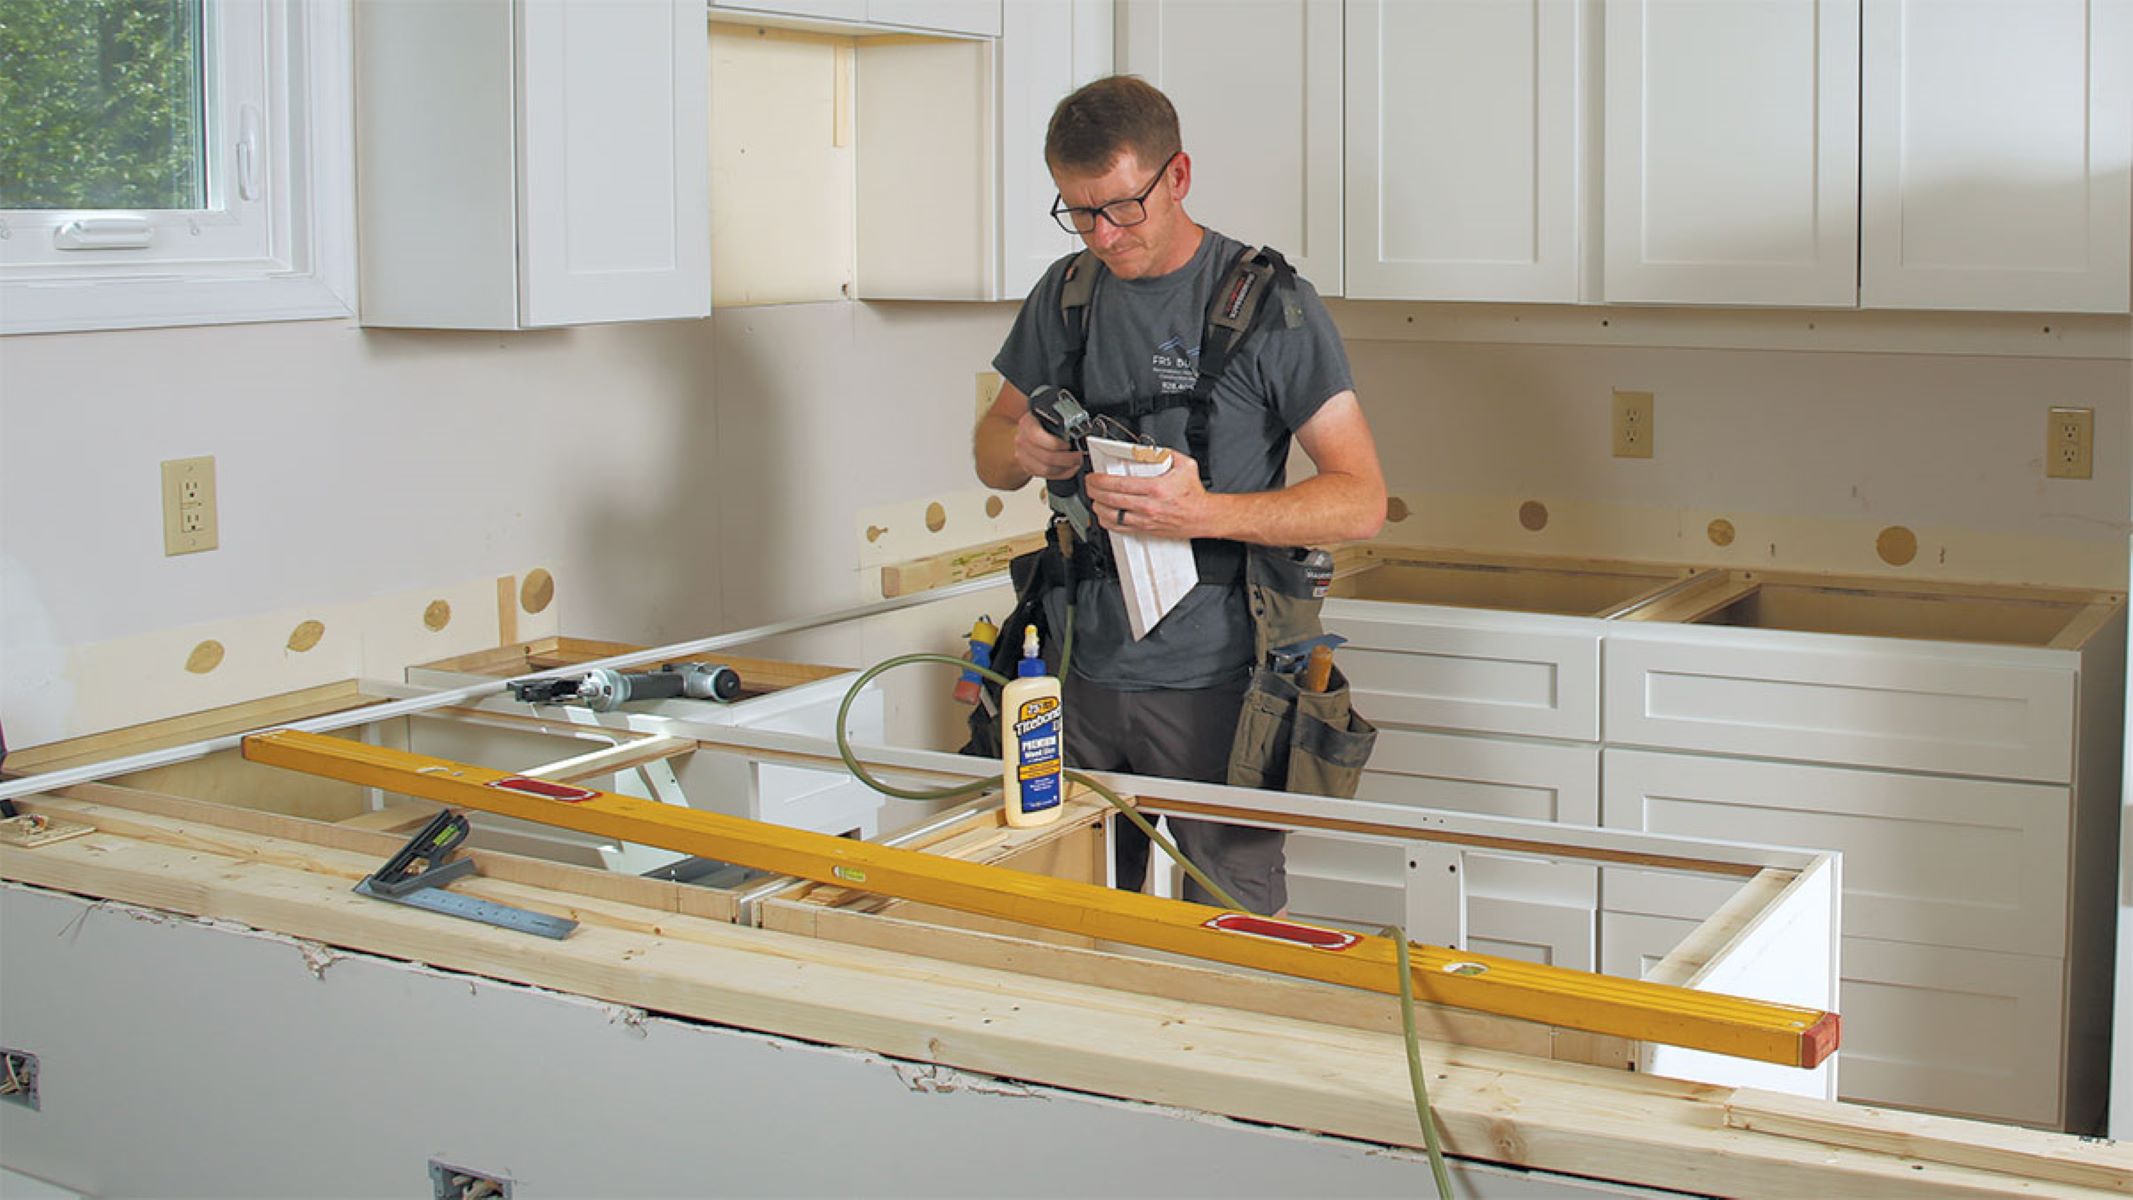
Step 4: Attach the toe kick board to the cabinet
Now that you have cut the toe kick board to the proper size, it’s time to attach it to the cabinet. This step will secure the toe kick in place and ensure its stability and durability.
- Position the toe kick board: Place the cut toe kick board in its designated position at the base of the cabinet. Ensure that it aligns properly with the cabinet sides and back.
- Pre-drill pilot holes: Using a drill or screwdriver, pre-drill pilot holes along the toe kick board where it will be attached to the cabinet.
- Attach the screws: Insert wood screws through the pilot holes and into the cabinet base. Use screws of an appropriate length to ensure a strong and secure attachment.
- Tighten the screws: Use a screwdriver or drill to tighten the screws, ensuring that the toe kick board is securely fastened to the cabinet.
Take your time during this step to ensure that the toe kick is aligned properly and that the screws are secured tightly. This will prevent any wobbling or movement of the toe kick once it’s installed.
Repeat this process for each section of the toe kick board, securing it to the cabinet base. Ensure that the edges of each section meet smoothly to maintain a seamless appearance.
Once you have attached the toe kick board to the cabinet, move on to the next step: securing the toe kick board in place.
When installing a cabinet pantry toe kick, make sure to measure and cut the toe kick to fit the length of the cabinet. Use a level to ensure it is installed evenly and securely.
Read more: What Is A Pantry Cabinet
Step 5: Secure the toe kick board in place
After attaching the toe kick board to the cabinet, it’s important to secure it in place to ensure long-lasting stability. This step will prevent the toe kick from shifting or becoming loose over time.
- Reinforce with additional screws: Along the top edge of the toe kick board, insert additional wood screws through the board and into the cabinet base. This will provide extra support and reinforcement.
- Check for evenness: Use a level to ensure that the toe kick board is even and straight. Make any necessary adjustments by tightening or loosening the screws.
- Secure the sides: If your toe kick extends to the sides of the cabinet, secure it in place by inserting wood screws through the side panels and into the toe kick board. This will prevent any shifting or movement.
By securely fastening the toe kick board to both the cabinet base and the side panels, you can ensure that it remains in place, even with regular use and foot pressure.
Take the time to check the stability of the toe kick board by applying gentle pressure. It should feel firm and not move or flex under normal conditions. If you notice any wobbling or instability, reinforce the attachment points with additional screws or adjust the placement of the toe kick board.
With the toe kick board securely in place, we can now move on to the next step: trimming and finishing the edges of the toe kick board.
Step 6: Trim and finish the toe kick board edges
Trimming and finishing the edges of the toe kick board is an important step to give it a polished and professional appearance. This will also help protect the board from moisture and prevent any splintering or rough edges.
- Trim excess length: If the toe kick board extends beyond the desired length, use a circular saw or a hand saw to trim it to the correct size. Take your time to make precise cuts.
- Sand the edges: Use sandpaper to smooth out any rough or sharp edges along the cut edge of the toe kick board. Start with a coarse-grit sandpaper and gradually move to finer grits for a smooth finish.
- Round the edges: To further enhance the appearance and safety of the toe kick board, consider rounding the edges with sandpaper or a router. This will give the board a softened and finished look.
- Fill any gaps: If there are any small gaps between the toe kick board and the cabinet, use wood putty or filler to fill them in. Smooth out the filler with a putty knife and let it dry according to the manufacturer’s instructions.
After you have trimmed, sanded, and filled any gaps, inspect the edges of the toe kick board for a smooth and seamless look. Run your hand along the edges to check for any rough spots or imperfections.
Once you are satisfied with the smoothness of the edges, you can move on to the final step: testing and adjusting the toe kick for proper fit.
Step 7: Test and adjust the toe kick for proper fit
Now that you have completed the installation of the cabinet pantry toe kick, it’s important to test its fit and make any necessary adjustments to ensure a seamless integration with your cabinet.
- Check for proper alignment: Stand back and visually inspect the toe kick board to ensure that it aligns properly with the surrounding cabinet components. It should be level and flush with the cabinet base.
- Test for stability: Gently apply pressure to the toe kick board to test its stability. It should feel secure and not move or flex under normal use.
- Open and close cabinet doors: Verify that the toe kick does not interfere with the opening and closing of the cabinet doors. They should operate smoothly without any obstruction.
- Check for gaps or unevenness: Examine the edges of the toe kick board to ensure that there are no gaps or unevenness in the alignment. Adjust the board as needed to achieve a seamless integration.
If you notice any issues during the testing process, such as misalignment or instability, make the necessary adjustments. This may involve loosening and tightening screws, repositioning the toe kick board, or sanding the edges for a better fit.
Remember, the goal is to achieve a professional and seamless installation that enhances both the function and appearance of your cabinet pantry.
Finally, step back and admire your newly installed cabinet pantry toe kick. You have successfully completed the installation process, and now you can enjoy the added comfort and aesthetic appeal it brings to your kitchen.
Congratulations on a job well done!
Conclusion
Installing a cabinet pantry toe kick is a rewarding project that can greatly enhance the functionality and appearance of your kitchen. By following the step-by-step guide outlined in this article, you can successfully install a toe kick that provides a comfortable space for your feet while also preventing dirt and debris from accumulating under your cabinets.
From gathering the necessary tools and materials to measuring and marking the toe kick area, cutting and attaching the toe kick board, securing it in place, and trimming and finishing the edges, each step plays a crucial role in achieving a seamless and professional installation.
Remember to take your time, double-check your measurements, and make any necessary adjustments along the way. By paying attention to detail, you can ensure that the toe kick fits perfectly and blends seamlessly with your cabinet pantry.
Once the installation is complete, don’t forget to test the toe kick for proper fit, stability, and functionality. Address any issues that may arise and make the necessary adjustments to achieve the desired result.
Now, step back and admire your newly installed cabinet pantry toe kick. Enjoy the added comfort and aesthetic appeal it brings to your kitchen. Be proud of your accomplishment and the personalized touch it adds to your home.
Thank you for following this step-by-step guide. We hope it has been informative and helpful in your cabinet pantry toe kick installation journey. Happy renovating!
Frequently Asked Questions about How To Install A Cabinet Pantry Toe Kick
Was this page helpful?
At Storables.com, we guarantee accurate and reliable information. Our content, validated by Expert Board Contributors, is crafted following stringent Editorial Policies. We're committed to providing you with well-researched, expert-backed insights for all your informational needs.


0 thoughts on “How To Install A Cabinet Pantry Toe Kick”