Articles
How To Make A Tool Belt For A Child
Modified: August 31, 2024
Learn how to create a durable and customizable tool belt for your child with our informative articles. Equip them with the necessary tools for exploration and play.
(Many of the links in this article redirect to a specific reviewed product. Your purchase of these products through affiliate links helps to generate commission for Storables.com, at no extra cost. Learn more)
Introduction
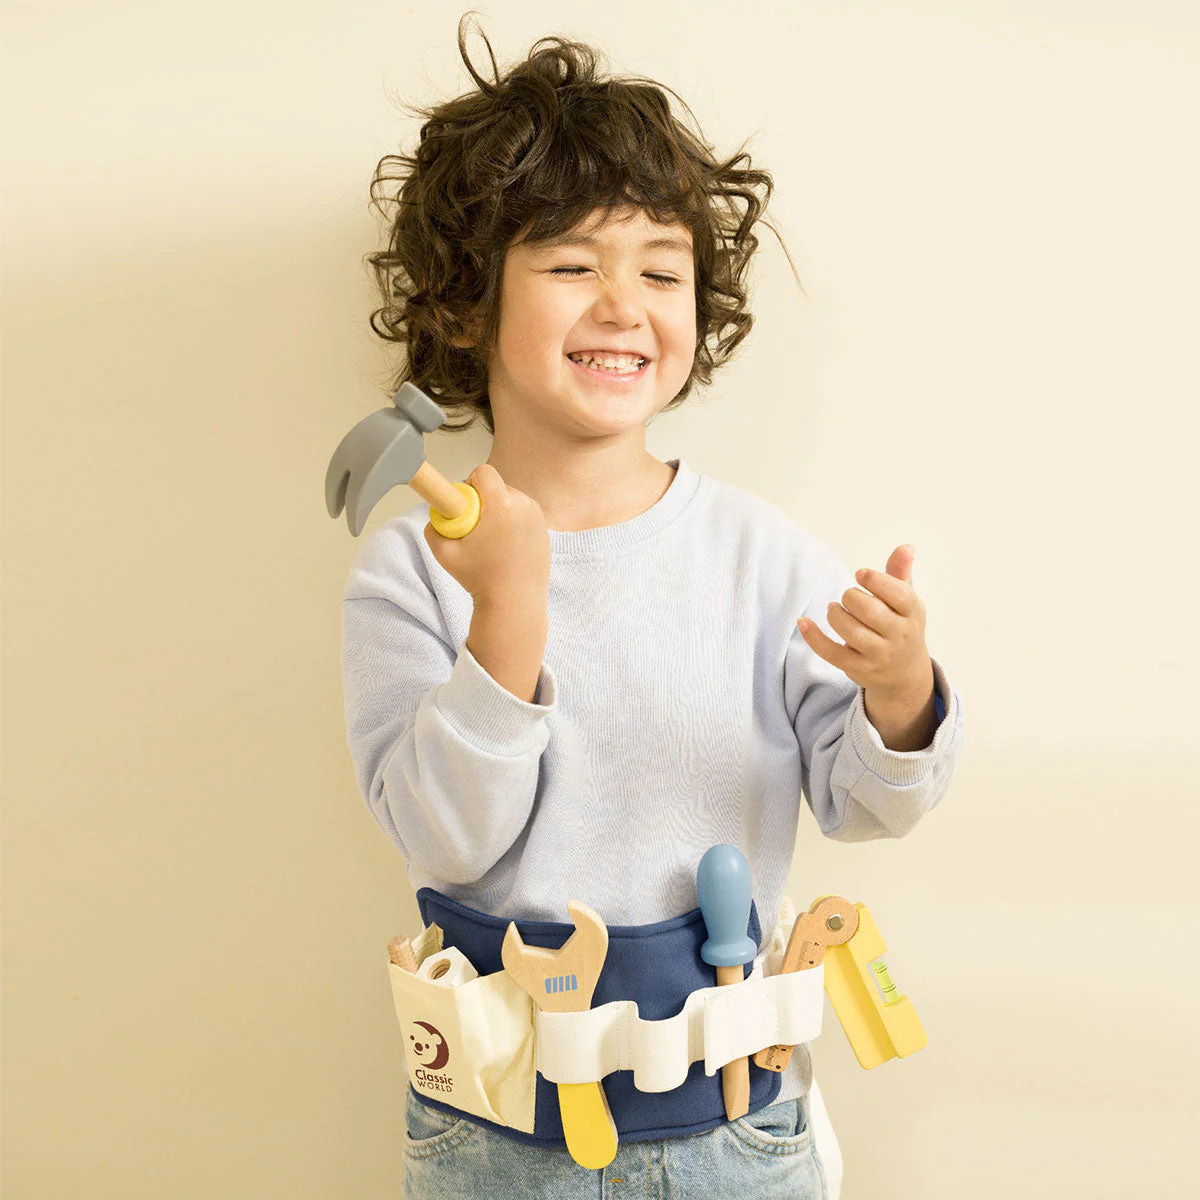
Are you looking for a fun and practical project to do with your child? Why not make a tool belt that they can use for all their little DIY projects? Not only will this project provide them with a sense of accomplishment, but it will also encourage their creativity and imagination.
A tool belt is a fantastic accessory for any aspiring young builder or handy-person. It allows them to have their tools and supplies handy while keeping their hands free. Plus, they will feel like a true professional as they carry out their little projects around the house.
In this article, we will guide you through the steps to make a tool belt for your child. It’s a simple and enjoyable project that can be completed in just a few hours, and the best part is that you can customize it to your child’s preferences.
Before we get started, here are a few supplies you will need:
- Fabric of your choice
- Scissors
- Sewing machine or needle and thread
- Measuring tape
- Fasteners or buckles (optional)
- Fabric markers or paints (optional)
Once you have gathered all the necessary supplies, let’s dive into the step-by-step process of creating a tool belt for your child!
Key Takeaways:
- Encourage your child’s creativity and independence by making a personalized tool belt together. It’s a fun and practical project that fosters imagination and provides a sense of accomplishment.
- Creating a tool belt for your child not only keeps their tools organized but also allows them to feel like a professional while engaging in DIY projects. It’s a simple and enjoyable way to encourage their interest in building and crafting.
Read more: How To Make A Child’s Pillowcase
Supplies Needed
Before you begin making the tool belt, make sure you have the following supplies ready:
- Fabric: Choose a sturdy fabric that can withstand the wear and tear of regular use. Canvas or denim are great options.
- Scissors: You’ll need scissors to cut the fabric to the desired size.
- Sewing Machine or Needle and Thread: Depending on your sewing proficiency, you can use a sewing machine or sew by hand using a needle and thread.
- Measuring Tape: A measuring tape will help you accurately measure your child’s waist to ensure the belt fits correctly.
- Fasteners or Buckles (Optional): If you want to add extra security to the tool belt, consider attaching fasteners or buckles.
- Fabric Markers or Paints (Optional): If your child is feeling creative, you can use fabric markers or paints to decorate the tool belt and make it uniquely theirs.
Once you have gathered these supplies, you are ready to start creating your child’s tool belt. Remember to provide adult supervision throughout the process, especially when using sharp tools or a sewing machine.
Step 1: Measuring and Cutting the Fabric
The first step in creating a tool belt for your child is to measure and cut the fabric. Here’s how:
- Measure your child’s waist: Use a measuring tape to measure your child’s waist accurately. Add a few inches to the measurement to allow for overlap and adjustment.
- Cut the fabric: Using the measurements you obtained in the previous step, cut a strip of fabric that is long enough to wrap around your child’s waist comfortably.
- Consider the width: The width of the tool belt is up to your preference and the tools your child will be carrying. A width of 4-6 inches is generally suitable.
- Optional: Cut additional pieces for pockets: If you want to add pockets to the tool belt, cut pieces of fabric in the desired size and shape. These will be sewn onto the main fabric strip later.
Ensure that you cut the fabric straight and even to ensure a neat final product. It’s always better to cut the fabric slightly bigger than necessary as you can trim it later if needed.
Once you have measured and cut the fabric, you are ready to move on to the next step: sewing the pockets.
Step 2: Sewing the Pockets
Adding pockets to the tool belt will provide storage space for small tools and supplies. Follow these steps to sew the pockets onto the fabric strip:
- Position the fabric pieces: Take the additional fabric pieces you cut for the pockets and position them onto the main fabric strip. Arrange them in a way that is aesthetically pleasing to you and allows easy access to the tools.
- Pin the fabric pieces: Use sewing pins to secure the pocket fabric pieces onto the main fabric strip. This will prevent the fabric from shifting while you sew.
- Sew the pocket fabric pieces: Using a sewing machine or needle and thread, sew along the edges of the pocket fabric pieces to attach them securely to the main fabric strip. You can use a straight stitch or a decorative stitch for added flair.
- Ensure durability: Reinforce the corners and edges of the pockets with additional stitches to ensure they can withstand the weight of the tools.
- Optional: Add divisions to the pockets: If you want to organize the tools within the pockets, you can sew vertical stitches to create divisions. This will prevent the tools from sliding around and make them easier to locate.
Take your time while sewing the pockets to ensure neat and strong stitches. Double-check the alignment and positioning of the pockets before sewing to ensure they meet your desired specifications.
Once the pockets are securely sewn onto the fabric, you can proceed to the next step: attaching the belt straps.
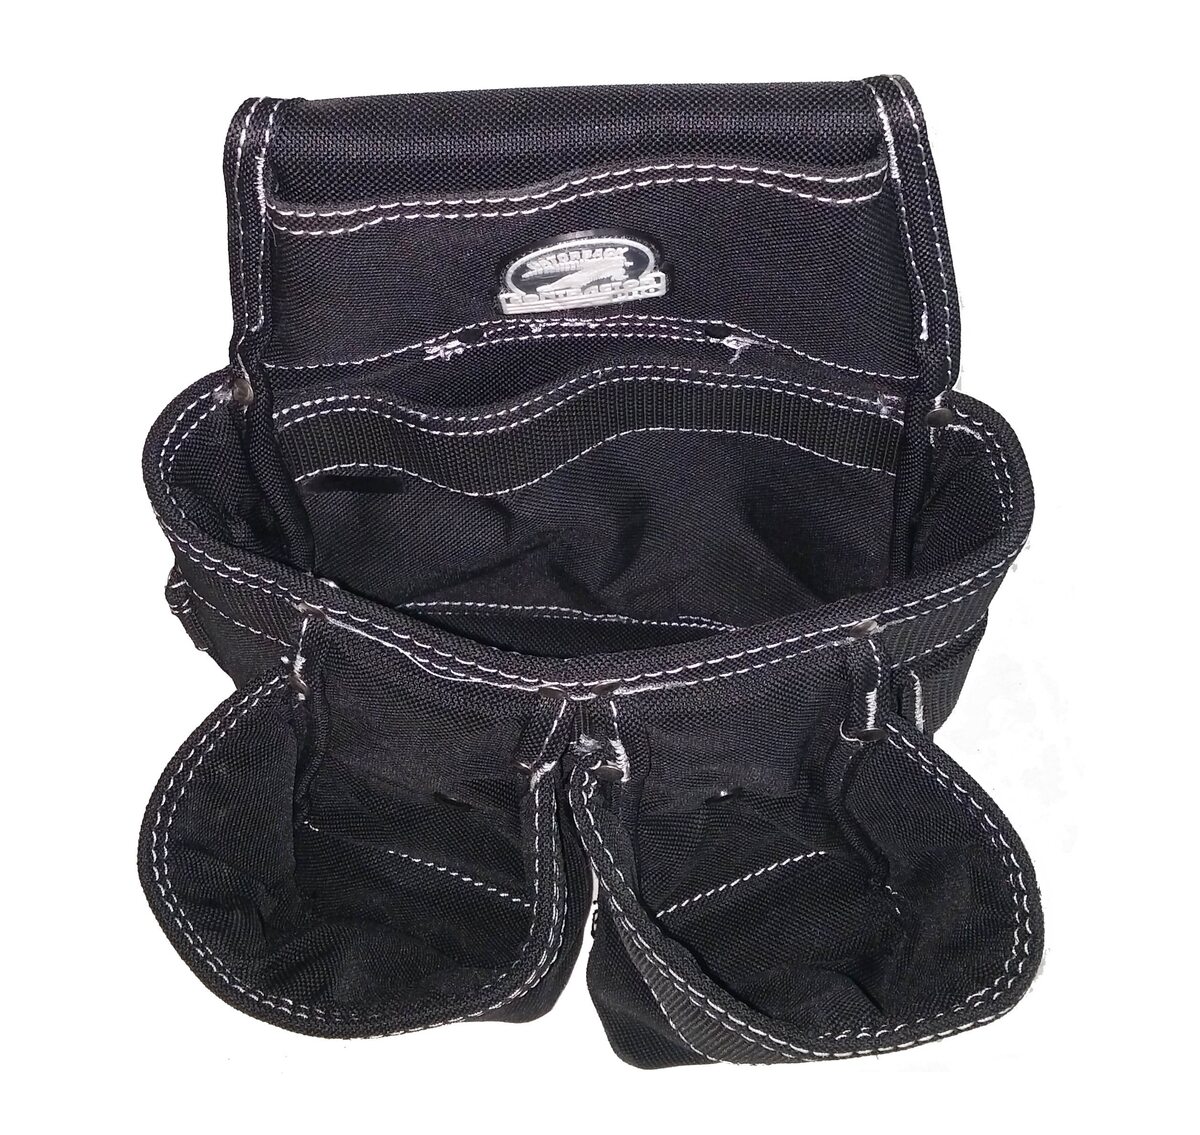
When making a tool belt for a child, be sure to use durable and child-friendly materials, such as canvas or nylon. Include pockets and loops for holding small tools and make sure the belt is adjustable for a comfortable fit.
Step 3: Attaching the Belt Straps
Attaching the belt straps is an important step to ensure the tool belt stays in place while your child is wearing it. Here’s how you can accomplish this:
- Prepare the belt straps: Cut two additional strips of fabric, approximately 1-2 inches wide, to serve as the belt straps. The length of the straps will depend on how you want the tool belt to fit around your child’s waist.
- Position the straps: Lay the main fabric strip flat and position one end of each strap on the top corners of the tool belt. Ensure that the straps are centered and aligned with the edges of the fabric.
- Sew the straps: Using a sewing machine or needle and thread, stitch the straps securely to the main fabric strip. You can sew a square or an “X” pattern to reinforce the attachment.
- Optional: Adjustability and fasteners: If you want the tool belt to be adjustable, you can sew fasteners, such as Velcro or snaps, onto the ends of the straps. This will allow your child to easily adjust the tool belt to their desired tightness.
When sewing the straps, it’s important to sew through multiple layers of fabric to ensure strength and durability. Reinforce the stitching by going back and forth a few times at the start and end of each strap.
Once the belt straps are securely attached, you are ready for the next step: adding fasteners or buckles (optional).
Read more: How To Make Leather Tool Belt
Step 4: Adding Fasteners or Buckles
Adding fasteners or buckles to the tool belt can provide an extra level of security and adjustability. Follow these steps to incorporate fasteners or buckles into your child’s tool belt:
- Choose the type of fastener or buckle: There are various options available, such as Velcro, snaps, or quick-release buckles. Consider the age and dexterity of your child when selecting the most suitable option.
- Position the fasteners or buckles: Determine where you want the fasteners or buckles to be placed on the tool belt. The most common locations are near the belt straps’ ends to allow for adjustment.
- Attach the fasteners or buckles: Follow the manufacturer’s instructions for attaching the chosen fasteners or buckles. This may involve sewing, adhering, or riveting them to the fabric.
- Test the functionality: Once the fasteners or buckles are in place, test their functionality. Ensure that they provide a secure closure and can be easily opened and closed by your child.
Adding fasteners or buckles can make it easier for your child to put on and take off the tool belt independently. It also allows for adjustments as they grow or if they prefer a looser or tighter fit.
With the fasteners or buckles incorporated, you can now move on to the final step: decorating the tool belt.
Step 5: Decorating the Tool Belt
Now that the functional aspects of the tool belt are complete, it’s time to let your child’s creativity shine by decorating the tool belt. Here are some ideas to make it visually appealing and personalized:
- Fabric markers or paints: Use fabric markers or paints to draw patterns, designs, or your child’s name on the tool belt. This adds a personal touch and allows them to showcase their artistic abilities.
- Fabric appliques: Attach fabric appliques in fun shapes such as tools, animals, or their favorite characters. These can be sewn or adhered to the fabric using fabric glue.
- Embroidery: If you have embroidery skills, consider adding decorative stitches or embroidered designs to the tool belt. This adds texture and a unique touch.
- Patches or badges: Sew or iron-on patches or badges that represent your child’s interests or achievements. For example, a “Junior Builder” patch or a badge for completing a DIY project.
- Ribbons or trimmings: Add colorful ribbons, pom-poms, or other decorative trims along the edges of the tool belt for a playful and eye-catching look.
Encourage your child to take an active part in decorating the tool belt. It’s an opportunity for them to express their personality and have a sense of ownership over their creation.
Remember to allow any paints or adhesives to dry completely before letting your child use the tool belt.
Once the tool belt is decorated to your liking, it’s ready to be worn and enjoyed by your little DIY enthusiast!
Conclusion
Congratulations! You have successfully created a tool belt for your child, providing them with a functional and personalized accessory for their DIY projects. By following the steps outlined in this article, you were able to measure and cut the fabric, sew pockets, attach belt straps, add fasteners or buckles, and decorate the tool belt to your child’s liking.
Not only does the tool belt provide a practical solution for keeping tools and supplies organized, but it also fosters creativity and imagination in your child. They can now embark on their little projects with their tools close at hand, feeling like a professional builder or handy-person.
Remember to always supervise your child while they are wearing the tool belt to ensure their safety. Additionally, periodically check the belt’s integrity and make any necessary repairs to maintain its functionality.
Now, it’s time to encourage your child to explore their imagination and unleash their inner DIY enthusiast. Whether they are fixing things around the house or engaging in imaginative play, the tool belt you created will be a cherished and cherished accessory.
Enjoy the journey of creativity and discovery as you and your child embark on new projects together with their very own tool belt!
Frequently Asked Questions about How To Make A Tool Belt For A Child
Was this page helpful?
At Storables.com, we guarantee accurate and reliable information. Our content, validated by Expert Board Contributors, is crafted following stringent Editorial Policies. We're committed to providing you with well-researched, expert-backed insights for all your informational needs.


0 thoughts on “How To Make A Tool Belt For A Child”