Articles
How To Make Almond Milk In A Juicer
Modified: October 20, 2024
Discover how to make delicious almond milk using your juicer in this informative article. Learn the step-by-step process and enjoy a healthy alternative to dairy.
(Many of the links in this article redirect to a specific reviewed product. Your purchase of these products through affiliate links helps to generate commission for Storables.com, at no extra cost. Learn more)
Introduction
Welcome to the world of homemade almond milk! If you’re a fan of plant-based milk alternatives or you’re simply looking to try something new, making almond milk in a juicer is a fantastic option. Almond milk is not only delicious and creamy, but it’s also rich in nutrients, making it a great addition to your diet.
While almond milk is readily available in stores, making it at home allows you to control the ingredients, ensuring freshness and avoiding any unwanted additives or preservatives. Plus, it’s surprisingly simple to make, especially with the help of a juicer.
In this article, we’ll take you through a step-by-step guide on how to make almond milk in a juicer. From soaking the almonds to extracting the milk and storing it, we’ve got you covered. So, let’s get started on this nutty, creamy adventure!
Key Takeaways:
- Enjoy the creamy, additive-free goodness of homemade almond milk by following simple steps with a juicer. Experiment with flavors and repurpose leftover almond pulp for a rewarding, healthier alternative to store-bought options.
- Embrace a healthier lifestyle and take control of your ingredients by making almond milk in a juicer. From soaking to storing, savor the freshness and versatility of homemade almond milk while exploring endless flavor possibilities.
Read more: How To Store Almond Milk
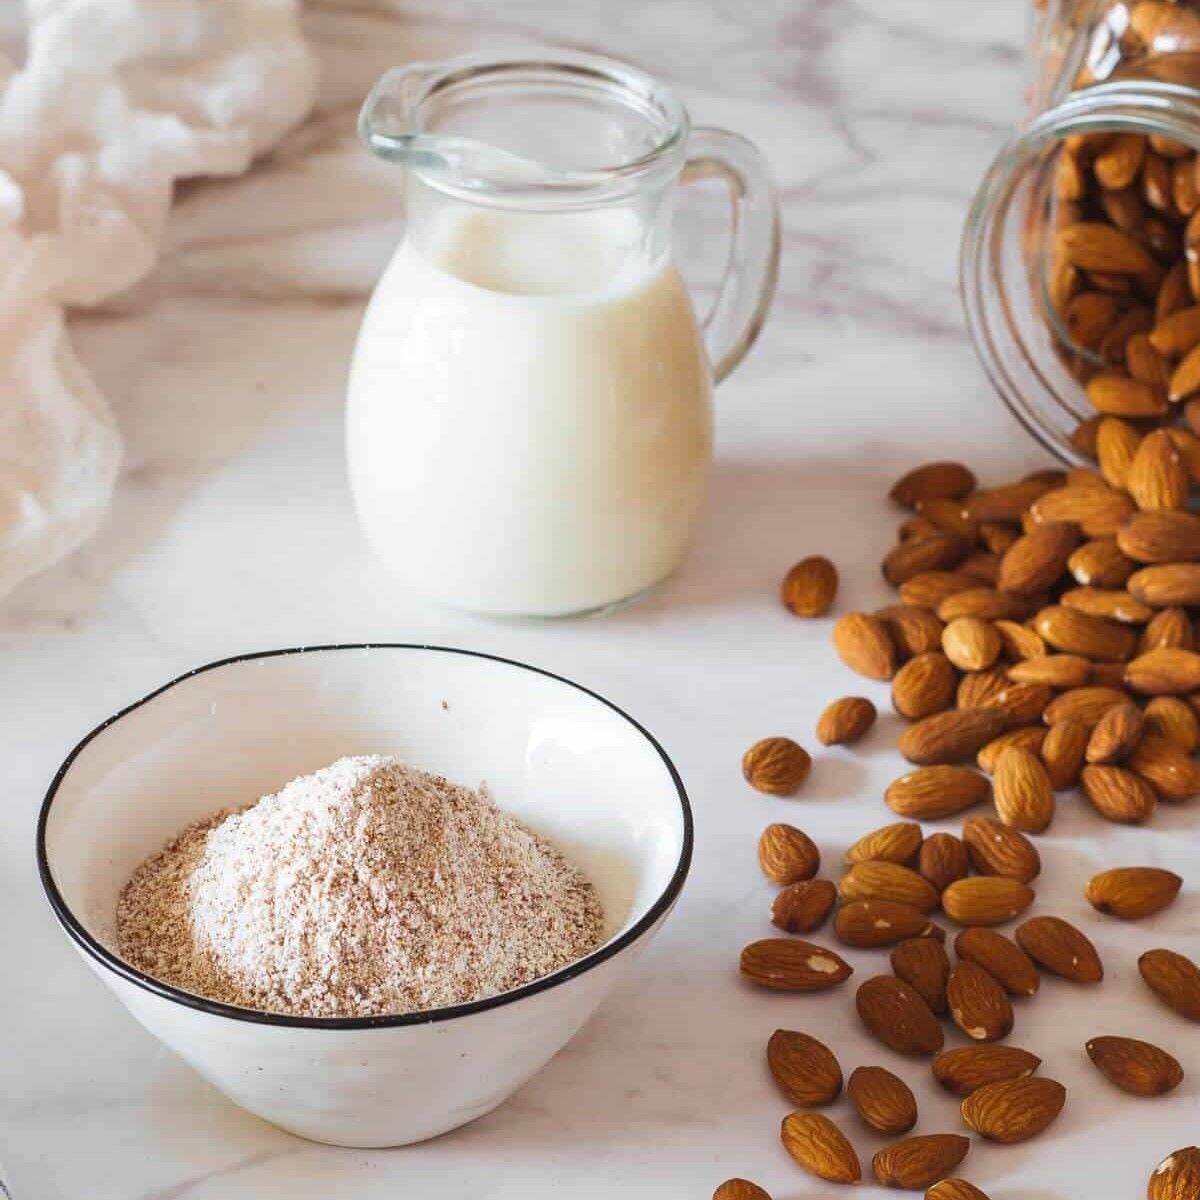
Step 1: Soaking the Almonds
The first step in making almond milk is to soak the almonds. This is an important step as it helps soften the almonds and makes them easier to blend, resulting in a smoother milk.
Start by measuring out the desired amount of almonds. It’s recommended to use raw, unsalted almonds for the best flavor and nutritional value. You can use anywhere from 1 to 2 cups of almonds, depending on how much almond milk you want to make.
Once you’ve measured out the almonds, place them in a bowl or container and cover them with water. Make sure the water completely covers the almonds. It’s best to use filtered water to avoid any impurities or chemicals.
Now, let the almonds soak for at least 8 hours or overnight. Soaking the almonds allows them to absorb water, which makes them plump and soft. This step also helps remove the enzyme inhibitors present in the almonds, which makes them easier to digest.
After the soaking time is complete, you’ll notice that the almonds have expanded in size and have become slightly softer. Drain the soaked almonds and rinse them thoroughly with fresh water. This helps remove any residue or impurities.
Once the almonds are rinsed, they are ready to be used for making almond milk in the juicer. So, let’s move on to the next step!
Step 2: Preparing the Almond Milk Ingredients
Now that you have soaked and rinsed the almonds, it’s time to prepare the rest of the ingredients for your homemade almond milk.
Here’s what you’ll need:
- Soaked and rinsed almonds
- Filtered water
- Optional: sweetener such as dates, maple syrup, or vanilla extract
Start by measuring out the desired amount of soaked almonds. Depending on the capacity of your juicer, you may need to make the almond milk in batches. If necessary, adjust the quantities accordingly.
Next, fill a pitcher or a container with filtered water. The amount of water you’ll need depends on the desired consistency of your almond milk. For a creamier texture, use a bit less water. If you prefer a lighter consistency, add more water.
If you prefer your almond milk to have a touch of sweetness, you can add a natural sweetener such as pitted dates, maple syrup, or a splash of vanilla extract. This step is completely optional, and you can adjust the amount according to your personal taste preferences.
At this point, you can also get creative and customize your almond milk by adding flavorings, such as cinnamon, cocoa powder, or even a pinch of salt for a more savory option.
Once you have gathered all the ingredients, it’s time to move on to the next step and start extracting the almond milk using your juicer.
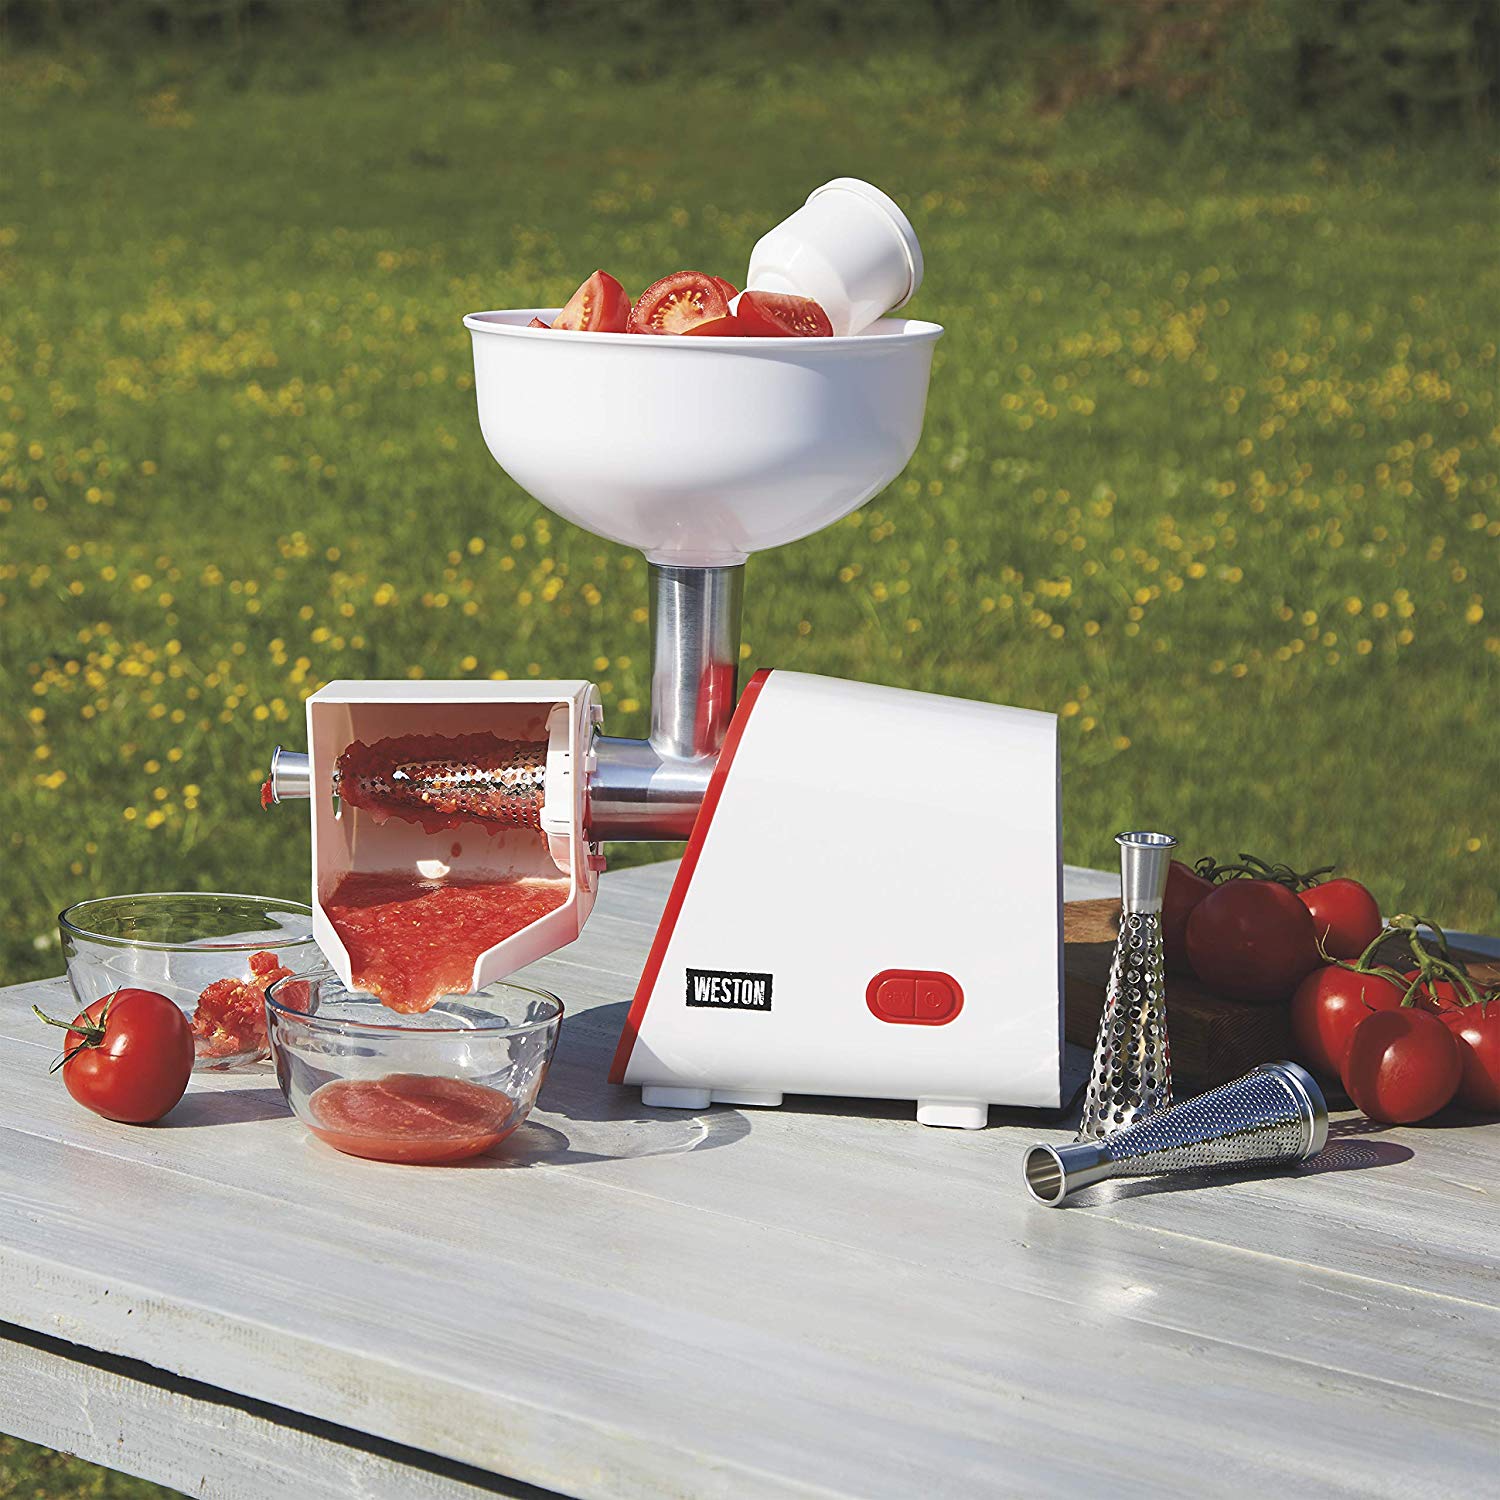
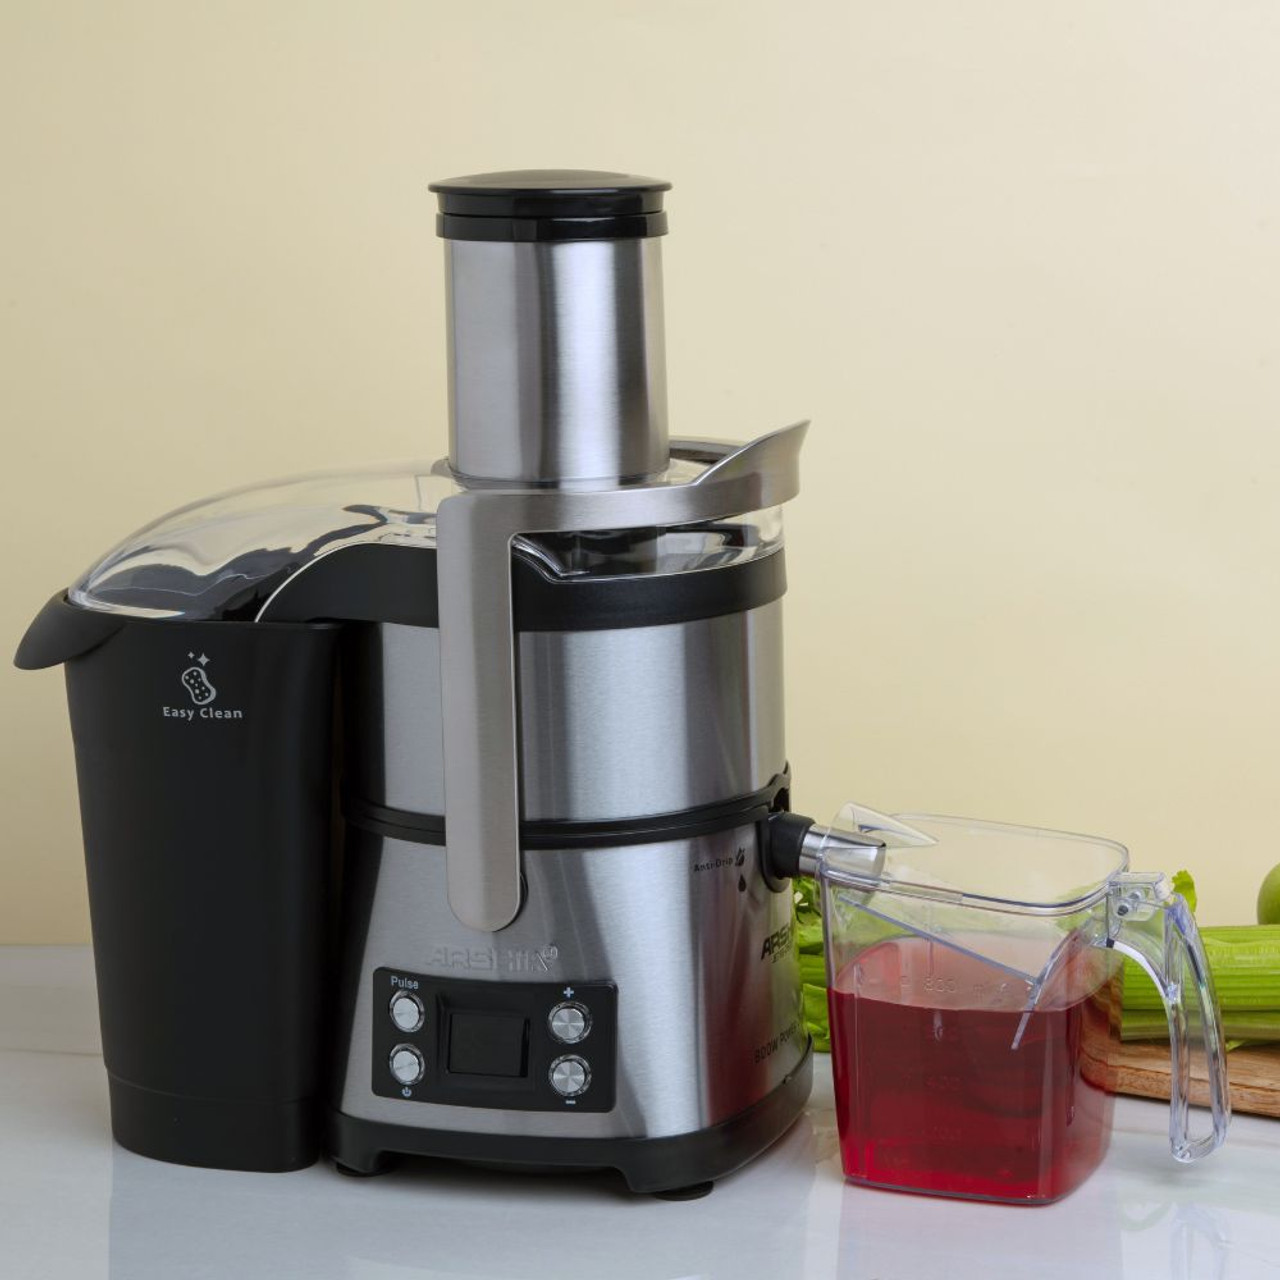
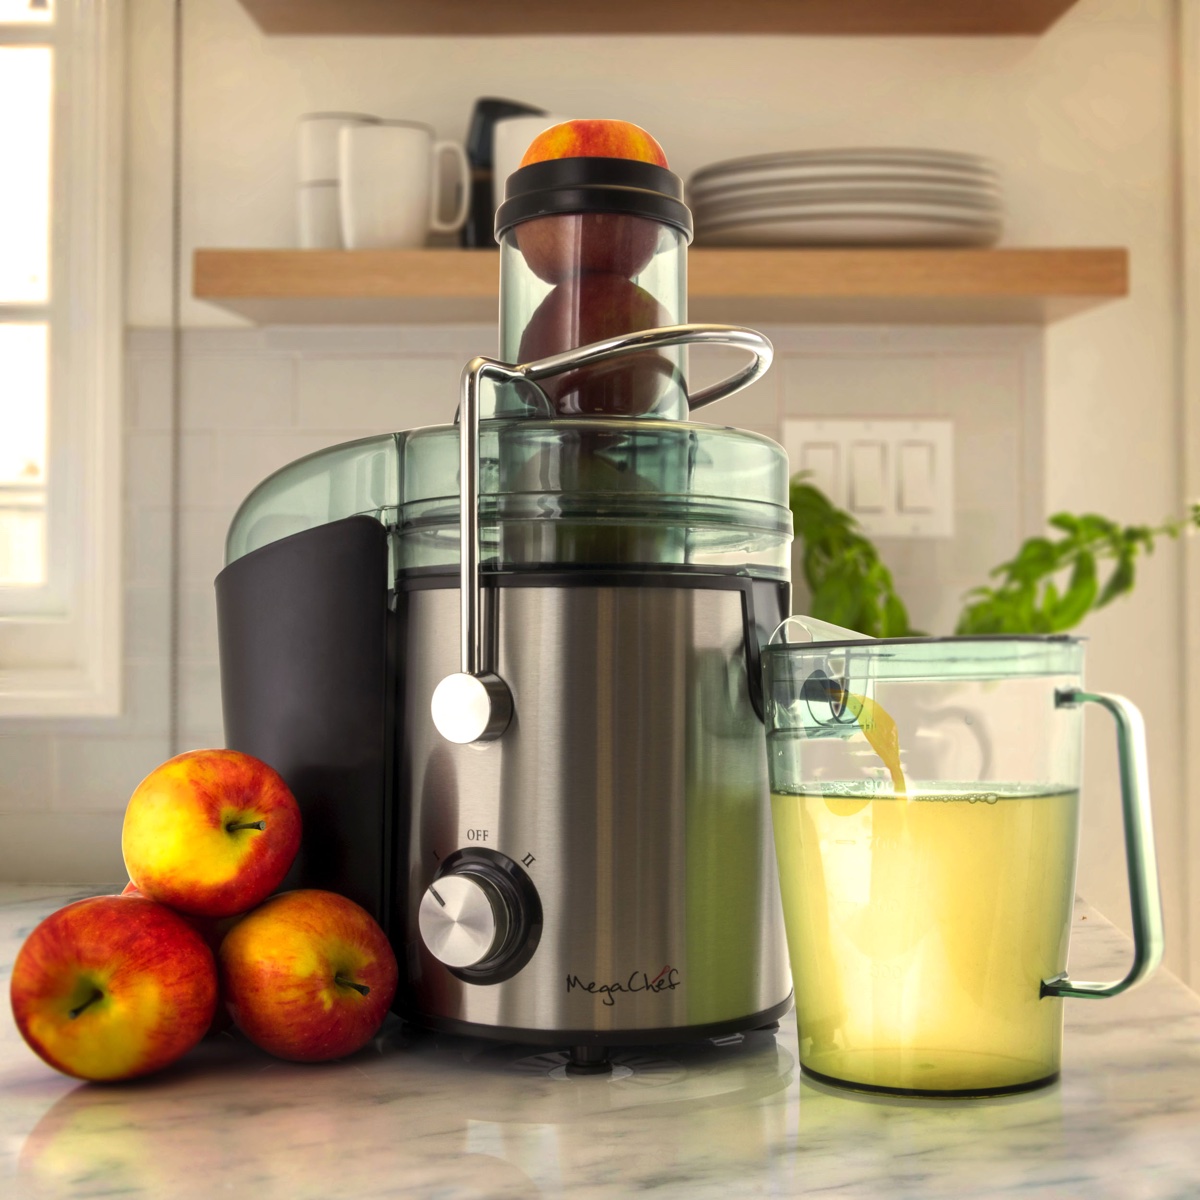
Step 3: Assembling the Juicer
Now that you have prepared the almond milk ingredients, it’s time to assemble your juicer for the almond milk extraction process. Follow these simple steps to get your juicer ready:
- First, ensure that your juicer is clean and free from any residue or debris. This will help maintain the purity and quality of your almond milk.
- Next, locate the juicing container or pitcher that came with your juicer. This container is used to collect the extracted almond milk.
- Attach the juicer blade or auger to the juicer’s base. Make sure it is securely attached and properly aligned.
- Place the juicing container or pitcher under the spout of the juicer. This ensures that the extracted almond milk flows directly into the container, making it convenient for further processing.
- Double-check that all juicer parts are properly assembled and secured. This will prevent any accidents or spills during the extraction process.
Once you have completed the assembly process, your juicer is ready to go! Now, let’s move on to the exciting part: extracting the almond milk from the soaked almonds using your juicer.
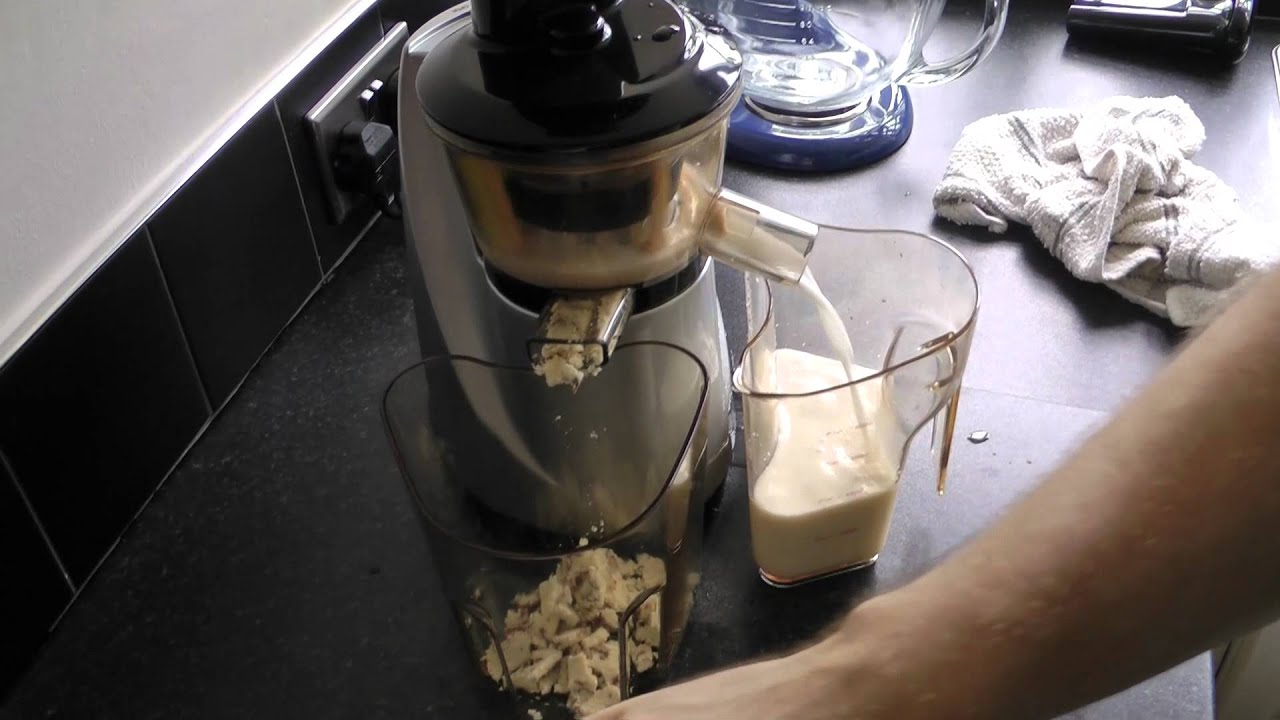
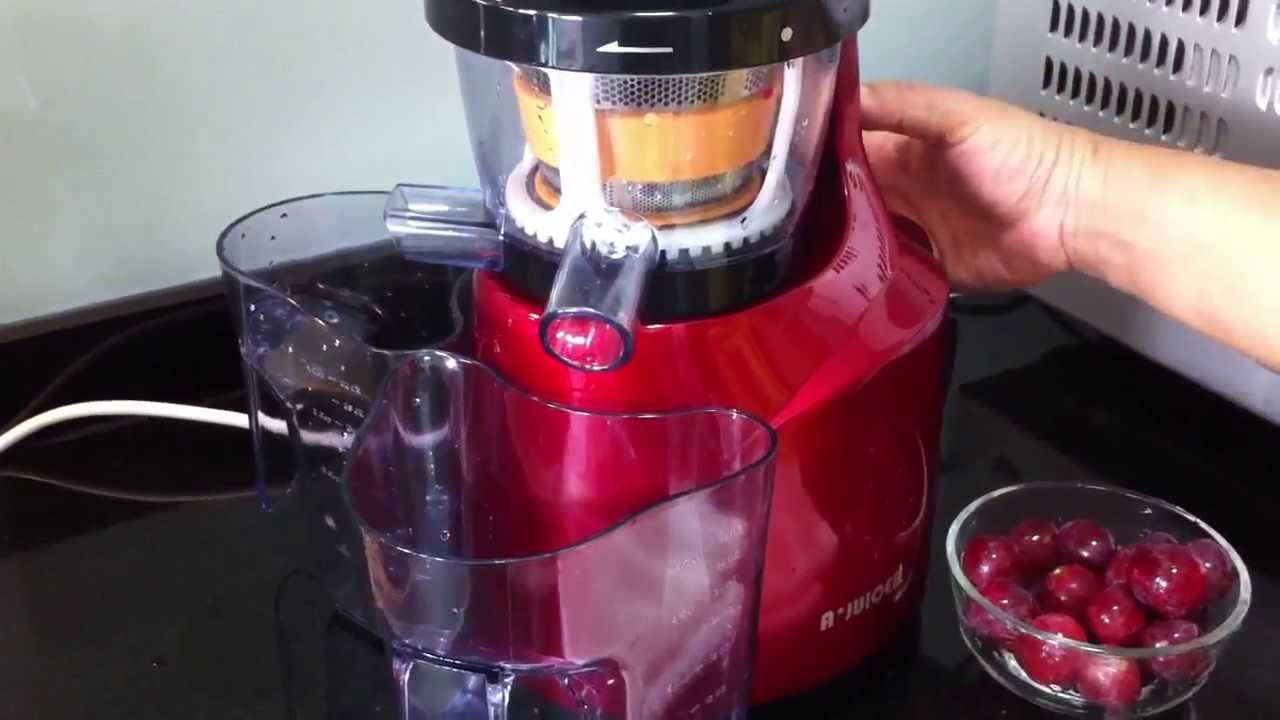
Step 4: Extracting the Almond Milk
With your juicer assembled and ready, it’s time to start extracting the almond milk from the soaked almonds. Follow these steps for a smooth and successful extraction process:
- Take a handful of the soaked almonds and place them in the feeding tube of the juicer. Ensure that you don’t overload the juicer with too many almonds at once, as this may strain the motor and affect the performance.
- Switch on the juicer and let it run at a medium speed. The blades or auger will grind and break down the almonds, extracting their milky goodness.
- Continue feeding the almonds into the juicer gradually, allowing the machine to extract the almond milk at a steady pace. Take breaks if needed to prevent overheating of the juicer.
- Repeat this process until you have processed all the soaked almonds and extracted all the almond milk into the juicer container or pitcher.
As you extract the almond milk, you may notice that some almond pulp or residue remains in the juicer. This is normal and can be collected later for further use or discarded.
Remember to take it slow and steady during this process to ensure optimal extraction and prevent overworking your juicer. Once you have extracted all the almond milk, it’s time to move on to the next step: straining the almond milk.
Soak the almonds in water for at least 8 hours before juicing to soften them and make the milk creamier.
Read more: How To Store Almonds
Step 5: Straining the Almond Milk
Now that you have successfully extracted the almond milk using your juicer, it’s time to strain out any remaining almond pulp or solids. This step will give your almond milk a smooth and creamy consistency.
Follow these steps to strain your freshly extracted almond milk:
- Place a nut milk bag or a fine-mesh sieve over a large bowl or pitcher.
- Gently pour the extracted almond milk into the nut milk bag or sieve, ensuring that you capture all the liquid while filtering out any solids.
- Gently squeeze or press the nut milk bag to strain out the almond pulp and extract as much milk as possible. If using a sieve, use the back of a spoon to press against the almond pulp and extract the milk.
- Continue the straining process until you have strained all the almond milk, leaving behind only the almond pulp in the nut milk bag or sieve.
Once you have strained the almond milk, you may notice that it has a slightly frothy or foamy consistency. This is normal and will settle over time. You can also give the almond milk a gentle stir to help reduce any foam.
If desired, you can strain the almond milk a second time for an even smoother texture. This step is optional but can further refine the consistency of your homemade almond milk.
Now that your almond milk is beautifully strained, it’s time to move on to the final step: storing your homemade almond milk.
Step 6: Storing the Almond Milk
After straining the almond milk, it’s important to store it properly to maintain its freshness and extend its shelf life. Follow these steps to store your homemade almond milk:
- Transfer the strained almond milk into clean glass bottles or containers with tight-fitting lids. Glass containers are preferred as they help preserve the flavor and prevent any unwanted odors or flavors from seeping in.
- Label the containers with the date of preparation to ensure you keep track of the freshness of the almond milk.
- Store the almond milk in the refrigerator. It’s recommended to consume the almond milk within 4-5 days for the best taste and quality.
- Give the almond milk a gentle shake or stir before each use, as natural separation may occur over time. This will help to evenly distribute any settled solids and maintain a consistent texture.
- Remember that homemade almond milk doesn’t contain any preservatives, so it’s important to keep an eye on its freshness. If you notice any unusual odors or changes in texture, it’s best to discard the almond milk.
Alternatively, if you find that you have made more almond milk than you can consume within the recommended timeframe, you can freeze it in ice cube trays or freezer-safe containers. Frozen almond milk cubes can be conveniently used for smoothies or thawed for later use.
Now that you have stored your homemade almond milk, it’s time to enjoy its creamy goodness in a variety of ways! But before we conclude, here are a few tips and variations to enhance your almond milk experience.
Tips and Variations
Now that you have mastered the art of making almond milk in a juicer, here are some tips and variations to help you take your homemade almond milk to the next level:
- To add a touch of sweetness to your almond milk, try blending in pitted dates, a drizzle of maple syrup, or a dash of vanilla extract.
- For a flavored twist, you can add a pinch of cinnamon, a teaspoon of cocoa powder, or a hint of almond extract to your almond milk.
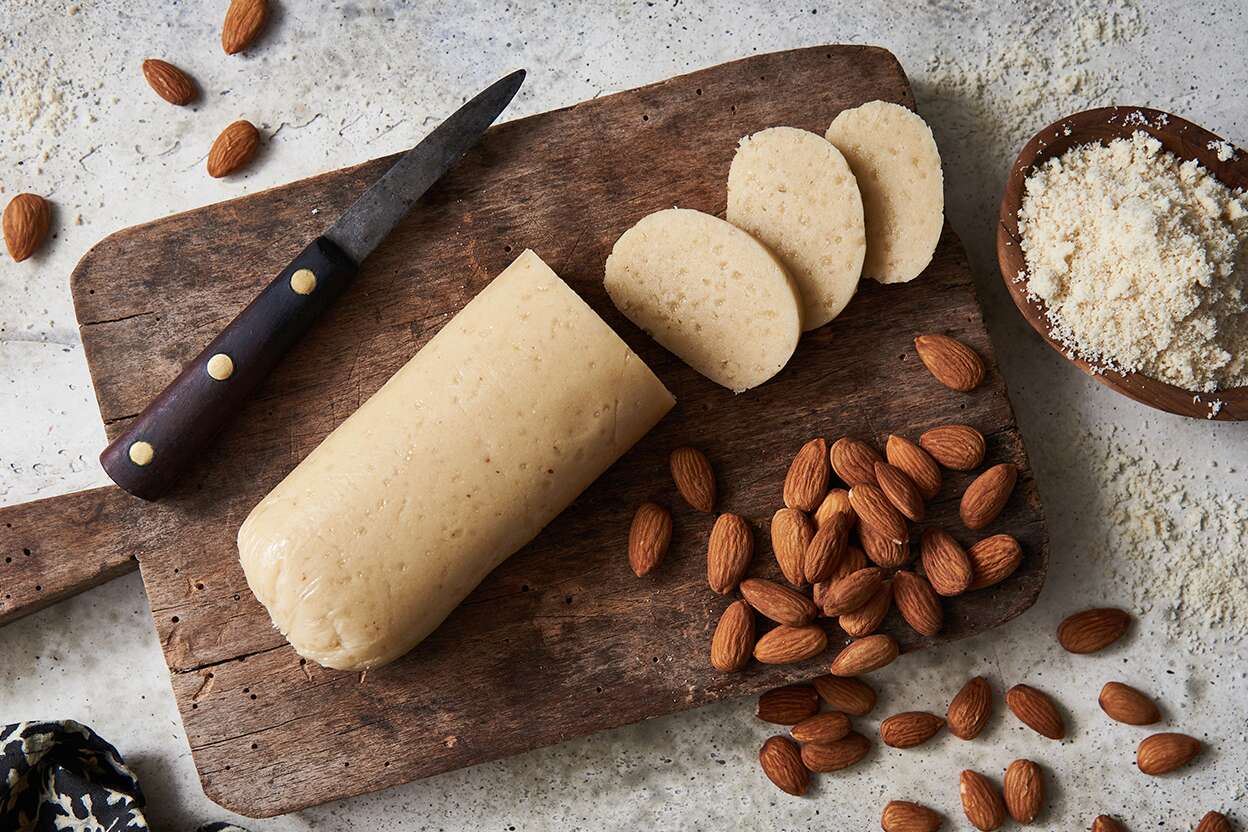
- Don’t throw away the leftover almond pulp! It can be repurposed for various recipes such as baking, making energy balls, or adding texture to smoothies and porridge.
- If you prefer a lighter consistency, you can adjust the amount of water used during the almond milk extraction process.
- Experiment with different proportions of almonds to water to find the perfect balance of creaminess for your taste preferences.
- Consider using almond milk pulp as a facial mask or incorporating it into DIY skincare recipes for its nourishing properties.
- Feel free to customize your almond milk by adding other nuts, such as cashews or hazelnuts, for a unique flavor profile.
- Remember to be patient and enjoy the process of making your own almond milk. It’s a rewarding and healthier alternative to store-bought options.
- Lastly, don’t hesitate to get creative! Almond milk can be used in various recipes, from smoothies and lattes to desserts and baked goods.
With these tips and variations, you can tailor your homemade almond milk to suit your preferences and explore an array of delicious opportunities.
Now that you’re equipped with the knowledge to make your own almond milk in a juicer, it’s time to start experimenting and enjoying the creamy goodness of this plant-based milk alternative. Cheers to a refreshing and nourishing homemade almond milk!
Conclusion
Congratulations on successfully learning how to make almond milk in a juicer! By following the simple steps outlined in this article, you can now enjoy the creamy and nutritious goodness of homemade almond milk whenever you desire.
Making your own almond milk allows you to take control of the ingredients, ensuring that you’re consuming a fresh and additive-free beverage. Plus, the process is surprisingly easy, especially with the help of a juicer.
From soaking the almonds to extracting the milk, straining, and storing it properly, each step is crucial in creating a smooth and flavorful almond milk. Don’t forget to get creative with variations and use the leftover almond pulp for other culinary adventures!
Remember to experiment with different flavors and proportions until you find the perfect taste that suits your preferences. Whether you decide to add a touch of sweetness with dates or experiment with different nuts, the possibilities are endless.
By making your own almond milk, you’re not only enjoying a delicious and versatile plant-based milk alternative, but you’re also embracing a healthier lifestyle. Almonds are packed with nutrients, including protein, healthy fats, and essential vitamins and minerals.
So, why settle for store-bought almond milk when you can create your own? Whip up a batch of homemade almond milk in your juicer and savor the freshness and creaminess that only homemade can provide.
Now that you have the knowledge and techniques, it’s time to get started on your almond milk-making journey. Enjoy the process and the delightful taste of your homemade creations. Cheers to nourishing and satisfying sips of homemade almond milk!
Frequently Asked Questions about How To Make Almond Milk In A Juicer
Was this page helpful?
At Storables.com, we guarantee accurate and reliable information. Our content, validated by Expert Board Contributors, is crafted following stringent Editorial Policies. We're committed to providing you with well-researched, expert-backed insights for all your informational needs.


0 thoughts on “How To Make Almond Milk In A Juicer”