Home>Articles>How To Make An Angel Costume From A Pillowcase
Articles
How To Make An Angel Costume From A Pillowcase
Modified: October 20, 2024
Learn how to transform a simple pillowcase into a stunning angel costume with our step-by-step articles. Perfect for any dress-up occasion!
(Many of the links in this article redirect to a specific reviewed product. Your purchase of these products through affiliate links helps to generate commission for Storables.com, at no extra cost. Learn more)
Introduction
Are you in need of a quick and easy costume idea? Look no further than your own linen closet! With just a simple pillowcase and a few basic materials, you can create a stunning angel costume that is perfect for Halloween, costume parties, or school plays. This DIY project is not only budget-friendly, but it also allows you to tap into your creativity and transform a humble pillowcase into a beautiful costume that will surely impress.
Creating your own angel costume is a fantastic way to add a personal touch and ensure that your outfit stands out from the crowd. By following this step-by-step guide, you will be able to make an angel costume from a pillowcase with minimal effort and maximum impact. So, let’s gather our materials and get started!
Key Takeaways:
- Transform a simple pillowcase into a stunning angel costume with just a few materials and a touch of creativity. Stand out at Halloween or costume parties with your unique DIY ensemble.
- Embrace your inner angel and let your creativity soar as you craft a budget-friendly costume that reflects your personal style. From measuring and cutting to decorating, enjoy the process of bringing your angelic vision to life.
Read more: Loofah Costumes: How To Make
Materials Needed
Before we begin, let’s make sure we have all the necessary materials on hand. Here’s what you’ll need:
- Pillowcase: Choose a white or light-colored pillowcase to serve as the base of your angel costume. A standard-sized pillowcase should work well.
- Scissors: A pair of sharp scissors will be essential for cutting and shaping the fabric.
- Marker or pen: You will need a marker or pen to mark the areas where you’ll be cutting and sewing.
- Elastic or ribbon: To create the waistband and secure the costume, gather some elastic or ribbon in a coordinating color.
- Needle and thread or fabric glue: Depending on your preference and sewing skills, you can either use a needle and thread to attach the elastic or ribbon or opt for fabric glue if you prefer a no-sew option.
Once you have gathered all these materials, you are ready to proceed with creating your angel costume. Let’s move on to the next steps and transform that simple pillowcase into a heavenly ensemble!
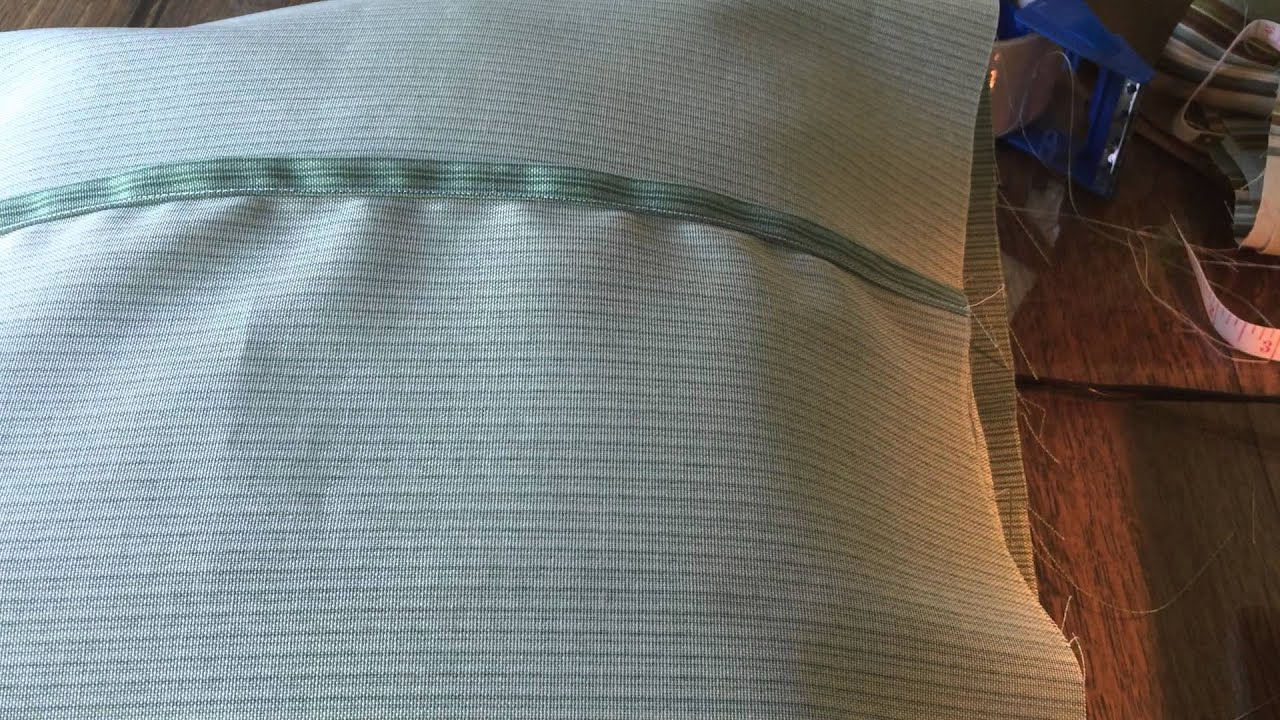
Step 1: Measure and Cut
The first step in creating your angel costume is to measure and cut the pillowcase to fit your desired length. Start by laying the pillowcase flat on a clean surface. Take a moment to envision the length you’d like for the costume. It could be ankle-length, knee-length, or any other length that suits your preference.
Grab a measuring tape and measure from the top opening of the pillowcase down to the desired length. Mark this measurement using a marker or pen. Make sure to mark it evenly on both sides of the pillowcase to ensure an even cut.
Once you have marked the desired length, take your sharp scissors and carefully cut along the marked lines. Take your time with this step to ensure a clean and even cut.
At this stage, you should have a rectangular piece of fabric that will serve as the main body of your angel costume. Set aside any excess fabric from the cut edges, as we may use it for additional embellishments later on.
Now that you have your fabric cut to size, you’re ready to move on to the next step: marking and cutting armholes.
Step 2: Mark and Cut Armholes
In this step, we will be creating the armholes for your angel costume. Place the cut fabric flat on a surface, making sure it is free from wrinkles or folds. You can use a table or a clean floor for this step.
To determine the placement of the armholes, hold the fabric against your body, aligning the top edge of the fabric with your shoulders. Use a marker or pen to make a small dot or mark where your arm naturally falls at the side of your body.
Once you have marked the placement of your armpits, carefully cut two semi-circles on each side of the fabric, using the marks as a guide. The size of the armholes will depend on your preference and comfort. Make sure the openings are large enough for your arms to move freely.
Take your time with this step and continually check the armhole size by slipping your arms through the openings. Adjust the cuts as necessary until you are satisfied with the size and shape.
After cutting the armholes, you should now have a fabric piece with openings for your arms. This brings us to the next step: creating the angel sleeves.
Step 3: Create the Angel Sleeves
Now that you have the armholes cut, it’s time to transform your angel costume into a heavenly ensemble with beautiful sleeves. For this step, you will need the excess fabric that was trimmed off during the cutting process.
Begin by taking one of the excess fabric pieces and folding it in half lengthwise, with the right sides of the fabric facing each other. This will create a long, narrow strip of fabric.
Next, use your marker or pen to draw a gentle curve from the folded edge to one end of the strip. This will be the shape of your angel sleeve. You can make the curve as dramatic or subtle as you like, depending on your personal preference.
Once you have drawn the curve, carefully cut along the marked line while ensuring that you are cutting through both layers of fabric. When unfolded, the fabric should resemble a half-circle shape.
Repeat this process with the remaining excess fabric to create the second angel sleeve.
Now, take each sleeve and align the straight edge with the armhole of the costume, making sure the fabric is right side out. Pin or hold the fabric in place and use either a needle and thread or fabric glue to attach the sleeves to the armholes of the costume. Take care to secure the fabric properly, ensuring that the sleeves are evenly attached, with no excess or loose fabric.
Once you have attached the sleeves, move on to the next step: attaching elastic or ribbon for the waist.
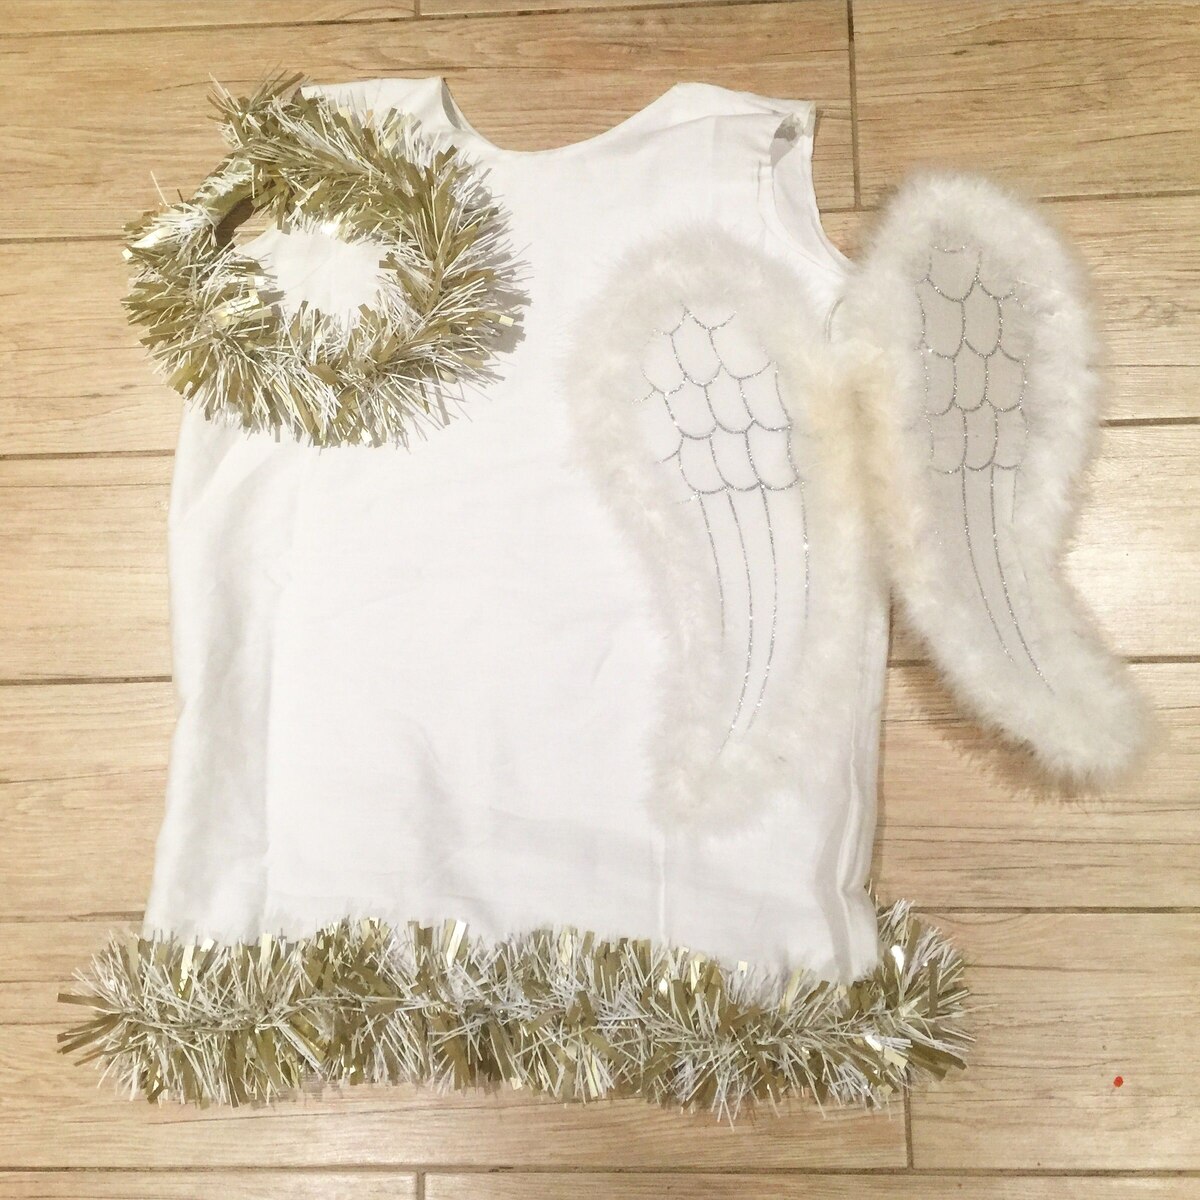
To make an angel costume from a pillowcase, cut armholes at the top corners, then decorate with ribbon, lace, and glitter. Add a halo headband for the finishing touch.
Read more: How To Make A Pillowcase Dress From Fabric
Step 4: Attach Elastic or Ribbon for the Waist
Now that your angel costume is taking shape, it’s time to add a waistband to give it a more defined and flattering silhouette. For this step, you will need either elastic or ribbon.
Start by measuring the circumference of your waist or the desired location for the waistband. Add an extra inch or two to allow for a comfortable fit and ease of movement.
If you’re using elastic, cut a piece of elastic to match the measured length. If you prefer ribbon, cut a length of ribbon that is twice the measured waist circumference. This extra length will allow for tying a bow or securing the ribbon in the back.
Next, fold the top edge of the costume’s fabric inward, creating a clean edge. Pin or hold the fold in place, leaving a small opening to insert the elastic or ribbon.
If you’re using elastic, thread it through the opening, creating a loop around the waist. Secure the ends of the elastic together by either sewing them or using a safety pin. If you’re using ribbon, thread it through the opening, evenly distributing it around the waist, and tie a knot or a bow in the back.
Once the elastic or ribbon is securely in place, adjust the gathers on the fabric to create a flattering waistline. Make sure the waistband is comfortable and sits at the desired location on your body.
With the waistband attached, you’re now ready to move on to the next step: decorating and embellishing your angel costume.
Step 5: Decorate the Costume
Now it’s time to let your creativity shine and add decorative touches to your angel costume. This step is where you can personalize the costume and make it truly unique.
Here are a few ideas to get you started:
- Glitter and sequins: Add some sparkle and shine by gluing or sewing glitter and sequins onto the costume. Create patterns, designs, or even a halo shape on the back.
- Fabric paint: Use fabric paint to add intricate designs, feathers, or angelic symbols onto the fabric. You can also create a gradient effect by blending different colors together.
- Ribbon or lace trim: Enhance the edges of the costume by sewing or gluing ribbon or lace trim. This can add a delicate and feminine touch to the overall look.
- Feathers: Attach feathers to the sleeves, neckline, or waistband to give your angel costume a whimsical and ethereal feel. Choose feathers in white or ivory for a classic angelic look, or mix in some metallic or colored feathers for a unique twist.
- Accessories: Complete your angelic ensemble with accessories such as a halo made from a headband or wire, angel wings, or a wand.
Take your time during this step to play around with different embellishments and find the perfect combination that suits your vision. Remember, the goal is to create a costume that reflects your creativity and personal style.
Once you are satisfied with the decorative elements, it’s time for the final step: finishing the costume.
Step 6: Finish the Costume
Congratulations! You’re in the final stretch of creating your angel costume. Now it’s time to add the finishing touches and ensure that your costume is ready for the spotlight.
Here are a few things you can do to complete the look:
- Trim and hem: Take a moment to inspect the edges of your costume and trim any loose threads or uneven edges. If desired, you can also hem the bottom of the costume for a polished finish.
- Try it on: Put on your angel costume and have a look in the mirror. Take note of any adjustments that need to be made, such as tightening the waistband or repositioning some of the decorative elements.
- Accessorize: Consider adding some final accessories to elevate your angelic look. This could include a pair of white tights or leggings, delicate jewelry, or even a pair of white gloves.
- Practice your angelic pose: Strike a pose and practice your angelic demeanor. Stand tall, spread your wings (if you have them), and exude grace and elegance. After all, you’re an angel!
Once you’ve completed these final touches, your angel costume is ready to be worn and admired! Whether it’s for Halloween, a costume party, or a school play, you can confidently step into your role as a heavenly being.
Remember to have fun with your costume and let your inner angel shine. With a little creativity and imagination, you can transform a simple pillowcase into a stunning angelic ensemble that will surely turn heads.
Conclusion
Congratulations on successfully creating your own angel costume from a humble pillowcase! With just a few basic materials and some creativity, you have transformed an ordinary household item into a heavenly ensemble fit for any occasion.
Throughout the process, you’ve measured, cut, sewn (or glued), and adorned your costume with personal touches to make it truly unique. By following the step-by-step guide, you’ve created a stunning angel costume that showcases your creativity and style.
Not only is making your own costume a budget-friendly option, but it also allows you to infuse your personality and imagination into the final product. Whether you’re wearing your costume for Halloween, a costume party, or a school play, you can be proud of your DIY creation.
Remember, the possibilities are endless when it comes to decorating your angel costume. From adding glitter and sequins to incorporating feathers, lace, or fabric paint, you can let your creativity soar and turn your costume into a true work of art.
Now it’s time to put on your angelic attire, spread your wings (if you have them), and embrace the ethereal beauty of being an angel. Step into the spotlight with confidence and grace, knowing that you’ve created something truly special.
Have fun embodying the spirit of an angel and enjoy the reactions and compliments that come your way. Your hard work and creativity will surely shine through as you bring your angel costume to life.
So, go forth and spread your angelic charm wherever you go. With your unique DIY costume, you’re sure to leave a lasting impression on everyone around you. Happy costume-wearing!
Frequently Asked Questions about How To Make An Angel Costume From A Pillowcase
Was this page helpful?
At Storables.com, we guarantee accurate and reliable information. Our content, validated by Expert Board Contributors, is crafted following stringent Editorial Policies. We're committed to providing you with well-researched, expert-backed insights for all your informational needs.


0 thoughts on “How To Make An Angel Costume From A Pillowcase”