Articles
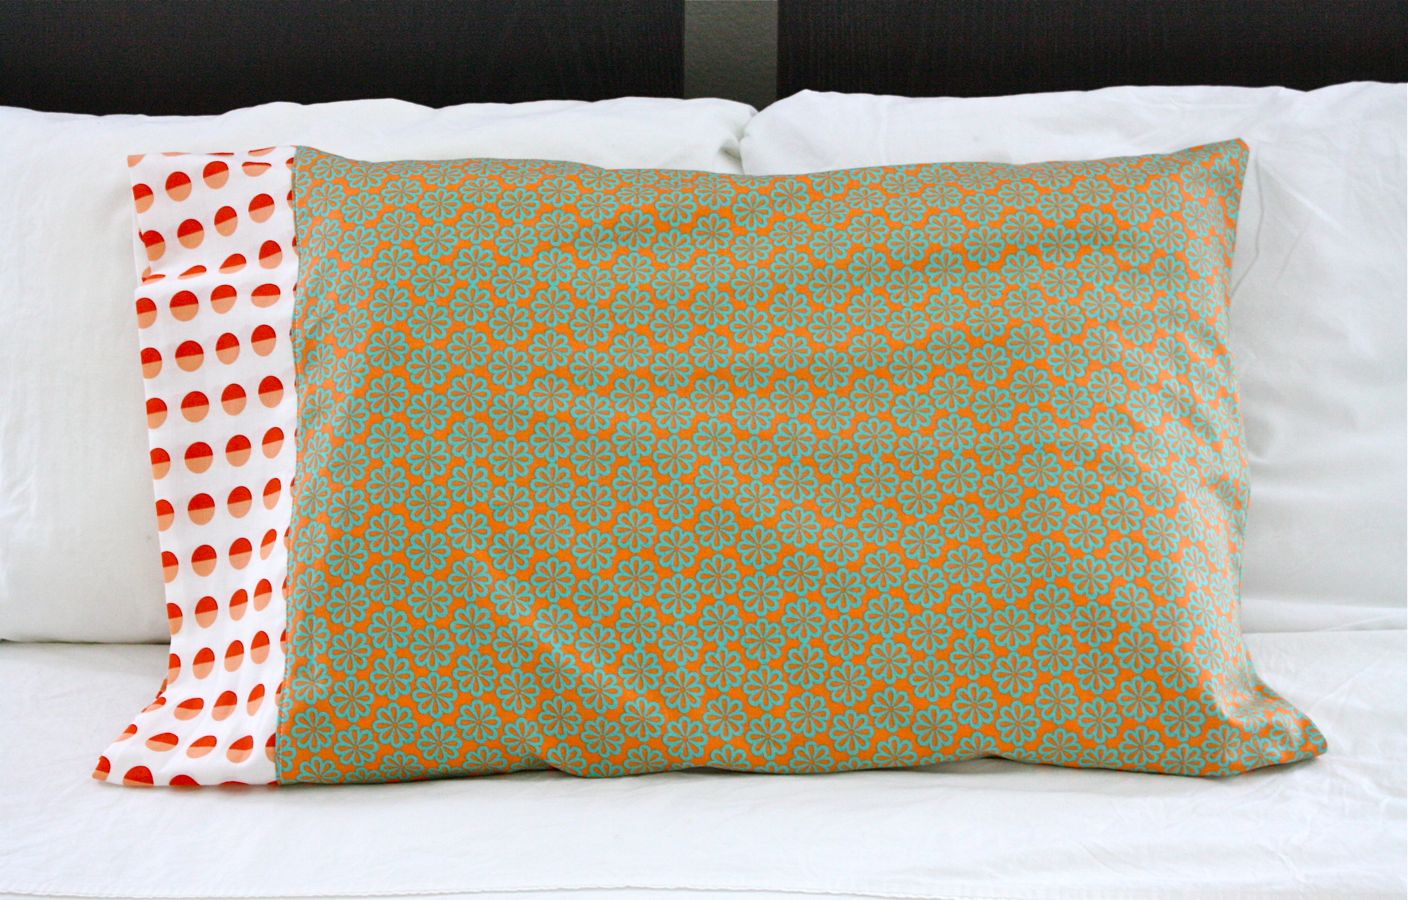
How To Make A Bag Out Of A Pillowcase
Modified: August 16, 2024
Learn how to repurpose a pillowcase into a trendy and functional bag with our step-by-step guide. Find more articles on creative DIY projects.
(Many of the links in this article redirect to a specific reviewed product. Your purchase of these products through affiliate links helps to generate commission for Storables.com, at no extra cost. Learn more)
Introduction
Are you tired of your old pillowcases taking up space in your linen closet? Why not repurpose them and create something useful and stylish instead? In this article, we will show you how to transform a pillowcase into a trendy bag that you can use for shopping, carrying your essentials, or even as a cute fashion accessory.
Not only is this project a fun and creative way to upcycle your old pillowcases, but it also allows you to showcase your sewing skills and customize your bag according to your personal taste. Whether you’re a seasoned seamstress or a beginner with a sewing machine, this step-by-step guide will walk you through the process of turning a simple pillowcase into a functional and fashionable bag.
Before we dive into the details, let’s take a look at the materials you’ll need for this project.
Key Takeaways:
- Turn old pillowcases into trendy, personalized bags with just a few simple steps. Showcase your sewing skills and creativity while reducing waste and creating a functional fashion accessory.
- Repurpose old pillowcases into stylish, durable bags perfect for everyday use. Enjoy the process of transforming forgotten textiles into eye-catching, practical accessories.
Read more: How To Make A Sling Out Of A Pillowcase
Materials Needed
Before you get started, gather the following materials:
- One pillowcase of your choice
- Scissors
- Measuring tape or ruler
- Thread in a coordinating color
- Sewing machine or needle for hand stitching
- Pins
- Iron and ironing board
- Optional: Decorative ribbon or trim for embellishments
Make sure to select a pillowcase that is durable and made from a fabric that can withstand the weight of the items you plan to carry in your bag. Additionally, consider choosing a pillowcase with an interesting pattern or texture to add a touch of style to your finished bag.
Now that you have all the necessary materials, let’s begin with the first step of preparing the pillowcase.
Step 1: Preparing the Pillowcase
The first step in turning your pillowcase into a bag is to prepare it for sewing. Start by removing any buttons, zippers, or embellishments from the pillowcase, as these can interfere with the construction of the bag.
Next, give the pillowcase a good wash and press it to remove any wrinkles. This will ensure that your finished bag looks neat and professional.
If your pillowcase has a hem at the open end, you will need to remove it. Carefully use your scissors to cut off the hem, making sure to leave a straight edge. This will allow you to easily sew the bottom and sides of the bag without any obstructions.
Once you have prepared the pillowcase, it’s time to move on to measuring and cutting.
Step 2: Measuring and Cutting
Now that your pillowcase is prepped and ready, it’s time to measure and cut it to the desired size for your bag.
Start by determining the height you want for your bag. Measure from the top edge of the pillowcase and mark the desired measurement with a pin or fabric marker on both sides.
Next, decide how wide you want your bag to be. Measure the width of the pillowcase and mark the desired width with pins or fabric marker on both sides.
Once you have your measurements marked, use your scissors to cut along the marked lines, creating a rectangular shape for your bag.
Remember to double-check your measurements before cutting to ensure that your bag will be the size you want.
With the pillowcase cut to size, you are ready to move on to the next step: sewing the bottom of the bag.
Step 3: Sewing the Bottom
Now that the pillowcase is cut to size, it’s time to sew the bottom of the bag to create a sturdy base.
Start by folding up the bottom edge of the fabric approximately 1 inch and press it with an iron. This will create a clean and neat hem for the bottom of your bag.
Next, fold it up again, this time about 2-3 inches, depending on how deep you want the base of your bag to be. Make sure the folded edge aligns with the bottom edge of the side seams.
Secure the folded hem in place with pins or clips along the sides to prevent it from shifting while sewing.
Using a sewing machine or needle and thread, sew along the edge of the folded hem, about 1/8 inch from the edge. Make sure to backstitch at the beginning and end to reinforce the seam.
Once you have sewn the bottom, trim any excess fabric to create a clean edge.
With the bottom securely sewn, it’s time to move on to the next step: sewing the sides of the bag.
When sewing the bottom of the pillowcase to create the bag, reinforce the seam by sewing it twice to ensure it can hold the weight of the items inside the bag.
Read more: How To Make A Quilt Out Of Crown Royal Bags
Step 4: Sewing the Sides
With the bottom of the bag complete, it’s time to sew the sides to give your bag its shape.
Start by folding the bag in half, aligning the side edges and matching the corners. Use pins or clips to hold the fabric in place.
Using a sewing machine or needle and thread, sew along the side edges, starting from the top opening of the bag and going all the way down to the bottom. Make sure to backstitch at the beginning and end to secure the seams.
If you prefer, you can also sew a double seam for added strength. Simply sew a second line of stitching parallel to the first, about 1/4 inch away.
Once the sides are sewn, trim any excess fabric and threads.
Now that the sides are sewn, your bag is taking shape. But we’re not done yet! It’s time to add handles to make your bag easy to carry.
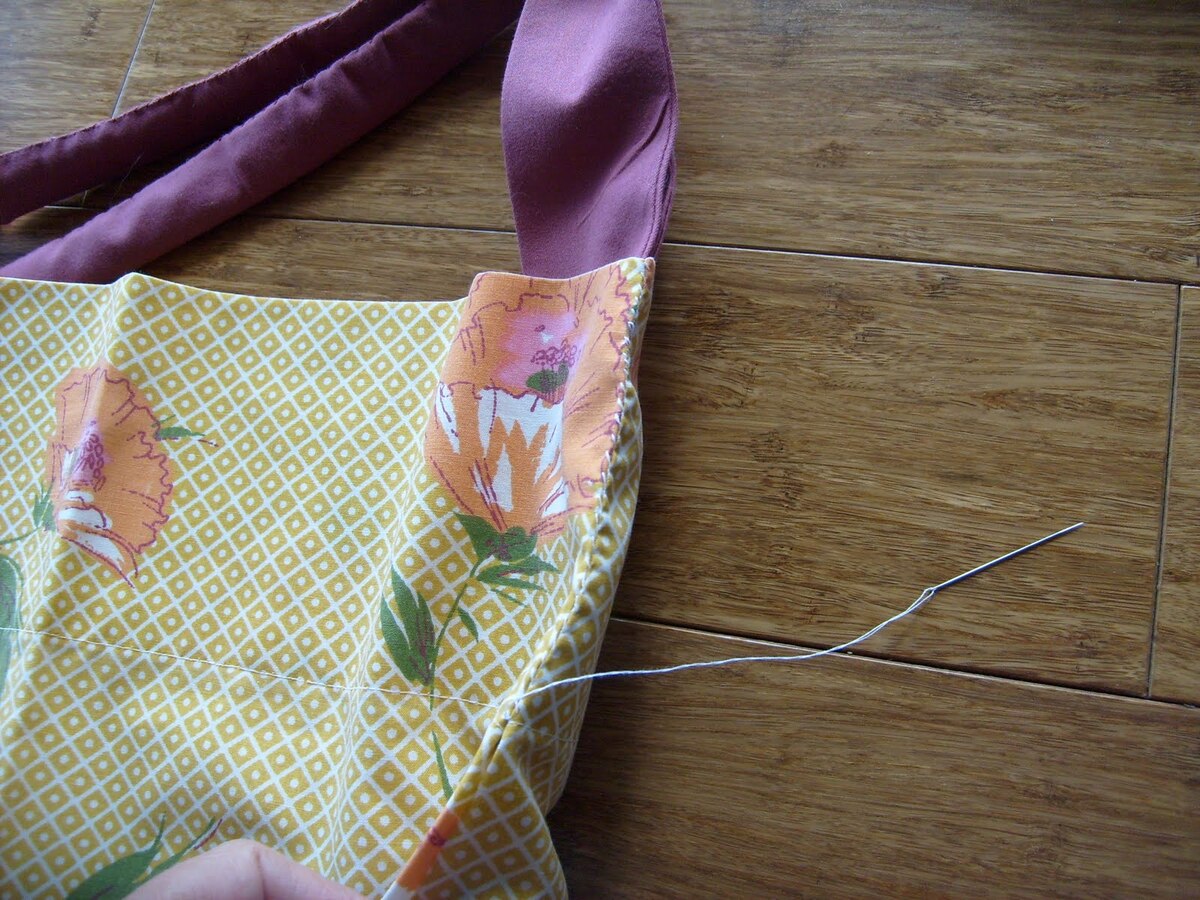
Step 5: Adding Handles
Adding handles to your bag will not only make it easier to carry but also add a stylish touch to the overall design.
Start by determining the desired length of your handles. Measure and mark the desired length on each side of the bag, making sure the handles are evenly spaced. Typically, handles are around 20-24 inches long, but you can adjust to your preference.
Using your scissors, cut two strips of fabric or use pre-made handles, such as ribbons or cords, to create the handles.
Place one end of each handle at the marked points on each side of the bag, aligning it with the top edge. Make sure the handles are centered and evenly spaced.
Secure the handles in place by folding the top edge of the bag over them. Pin or clip the folds to keep them in place.
Using a sewing machine or needle and thread, sew along the top edge of the bag, securing the handles and creating a clean finish. Sew a few times over the handles to reinforce the stitches and ensure they are securely attached to the bag.
Once the handles are securely sewn, trim any excess fabric and threads.
With the handles added, your bag is almost complete. It’s time to move on to the final step: the finishing touches.
Step 6: Finishing Touches
Now that your bag is assembled, it’s time to add some finishing touches to make it even more special.
If you want to add some embellishments, now is the time to do so. You can sew on decorative ribbons, patches, or even appliques to personalize your bag. Get creative and let your imagination run wild!
Take a moment to inspect your bag for any loose threads or uneven seams. Trim any stray threads and make any necessary adjustments to ensure a clean and polished final product.
Once you’re satisfied with the look of your bag, give it a final press with an iron to remove any wrinkles and flatten the seams.
Your bag is now complete and ready to be used! Whether you’re using it for grocery shopping, carrying your essentials, or simply as a fashionable accessory, your upcycled pillowcase bag is sure to turn heads and make a statement.
Remember to be proud of your DIY creation and share it with others. It’s not only a practical and stylish bag, but also a testament to your creativity and sustainability efforts.
Now, go ahead and show off your new bag and enjoy the compliments that will surely come your way!
Congratulations on successfully transforming a simple pillowcase into a functional and fashionable bag. Happy sewing!
Conclusion
Turning a pillowcase into a stylish bag is a fun and creative project that allows you to breathe new life into old textiles. With just a few simple steps, you can transform a basic pillowcase into a functional and fashionable accessory.
This DIY project not only helps you repurpose items that would otherwise go to waste but also allows you to showcase your sewing skills and personalize your bag according to your own style and taste. Whether you choose a bold patterned pillowcase or a simple solid color, the end result will be a unique and eye-catching bag that is sure to draw attention.
By following the steps outlined in this article, you can easily create a custom bag that is perfect for everyday use. From shopping trips to carrying your essentials, your upcycled pillowcase bag will prove to be a reliable and versatile companion.
Remember, the key to a successful bag transformation is careful preparation, precise measurements, and secure stitching. Take your time and enjoy the process of creating something new and useful out of something old.
So, grab your sewing machine or needle and thread, gather your materials, and get ready to turn those forgotten pillowcases into fashionable bags that are as practical as they are stylish.
Happy sewing!
Frequently Asked Questions about How To Make A Bag Out Of A Pillowcase
Was this page helpful?
At Storables.com, we guarantee accurate and reliable information. Our content, validated by Expert Board Contributors, is crafted following stringent Editorial Policies. We're committed to providing you with well-researched, expert-backed insights for all your informational needs.


0 thoughts on “How To Make A Bag Out Of A Pillowcase”