Articles
How To Make An Envelope Pillowcase
Modified: August 20, 2024
Learn how to make an envelope pillowcase with this step-by-step guide. Find articles, tips, and tricks to master the art of pillowcase making.
(Many of the links in this article redirect to a specific reviewed product. Your purchase of these products through affiliate links helps to generate commission for Storables.com, at no extra cost. Learn more)
Introduction
Welcome to the world of DIY home decor! Making your own envelope pillowcase is a fun and rewarding project that can add a personal touch to your living space. Whether you are a beginner or an experienced seamstress, this step-by-step guide will walk you through the process of creating a beautiful pillowcase that will impress your friends and family.
In this article, we will explore the materials needed, measurements to consider, and the sewing techniques required to make a perfectly fitted envelope pillowcase. So grab your sewing machine and let’s get started!
Not only will making your own pillowcase save you money, but it also allows you to customize the fabric and design to match your existing decor. With just a few simple steps, you can transform a plain pillow into a stylish accessory that adds a pop of color and personality to any room.
Don’t worry if you are new to sewing. This project is beginner-friendly and can be completed in just a few hours. All you need is some basic sewing skills and a willingness to learn. So let’s dive in and discover how to create a fabulous envelope pillowcase!
Key Takeaways:
- Unleash your creativity and personalize your living space by making a DIY envelope pillowcase. This beginner-friendly project allows you to choose fabric, sew the closure, and add decorative touches for a unique home decor accent.
- Save money and express your individual style by creating custom pillowcases. With basic sewing skills and a few hours, you can transform plain pillows into stylish accessories that add personality to any room.
Read more: What Is An Envelope Closure Pillowcase
Materials Needed
Before we begin, let’s gather all the necessary materials for making an envelope pillowcase. Here’s a list of what you’ll need:
- Fabric of your choice – Select a fabric that complements your interior decor and is durable enough for pillowcase use. Cotton and linen are popular choices.
- Measuring tape – This will help you accurately measure your pillow to ensure a proper fit.
- Scissors – A good pair of fabric scissors will make cutting the fabric a breeze.
- Sewing machine – While you can hand sew the pillowcase, using a sewing machine will save you time and give you a more professional finish.
- Thread – Choose a thread color that matches or complements your fabric.
- Straight pins – These will be used to hold the fabric in place while sewing.
- Iron and ironing board – Ironing the fabric before and after sewing will help create neat and crisp seams.
- Optional: Decorative trim or piping – If you want to add an extra decorative element, you can consider using trim or piping to enhance the look of your pillowcase.
Make sure you have all these materials ready before starting the project to ensure a smooth and efficient sewing process. Once you have everything, we can move on to the next step: choosing and measuring the fabric!
Step 1: Choosing and Measuring Fabric
The first step in making an envelope pillowcase is selecting the fabric that best suits your style and home decor. Consider the color, pattern, and texture that will complement your living space. Popular options include cotton, linen, and even upholstery fabrics.
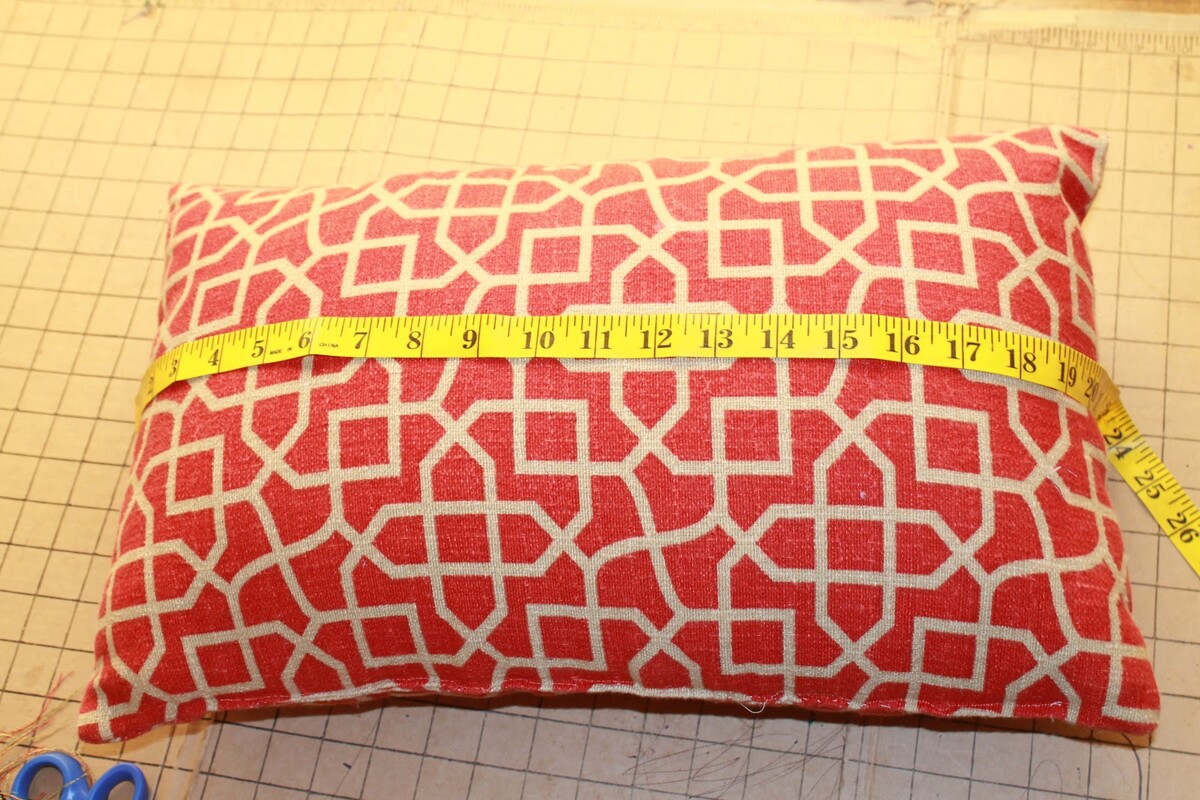
Once you have chosen your fabric, it’s time to measure your pillow to determine the size of the pillowcase pieces you need to cut. Place the pillow on a flat surface and measure the width and length using a measuring tape. Add a half-inch to each measurement to account for seam allowances.
For example, if your pillow measures 16 inches by 16 inches, your fabric pieces should be cut to 16.5 inches by 16.5 inches.
It’s important to note that the envelope pillowcase consists of a front piece and two overlapping back pieces. The back pieces will create the envelope closure, allowing you to easily insert and remove the pillow. The width of the back pieces should be approximately two-thirds the width of the pillow.
Therefore, if your pillow is 16 inches wide, your back pieces should be 10.5 inches wide each. The length of the back pieces should match the length of the front piece.
Once you have your fabric measurements, mark them on the fabric using a fabric pencil or washable marker. Double-check your measurements to ensure accuracy before moving on to the next step.
Now that we have our fabric chosen and measured, let’s move on to cutting the fabric pieces!
Step 2: Cutting the Fabric Pieces
With your fabric measurements in hand, it’s time to cut the fabric pieces for your envelope pillowcase. Lay your chosen fabric on a clean and flat surface, ensuring that it is free from any wrinkles or folds.
Using fabric scissors, carefully cut out the front piece of the pillowcase according to the measured dimensions. Place it aside for now.
Next, cut the two back pieces for the envelope closure. Remember that the width of each back piece should be approximately two-thirds the width of the pillow, and the length should be the same as the front piece.
Once all the pieces are cut, it is a good idea to iron them to remove any creases and achieve crisp edges. Lay them flat on your ironing board and press them with a warm iron, following the fabric’s care instructions. Ironing will make the sewing process easier and give your pillowcase a professional finish.
Now that you have your fabric pieces ready, let’s move on to the next step: hemming the edges!
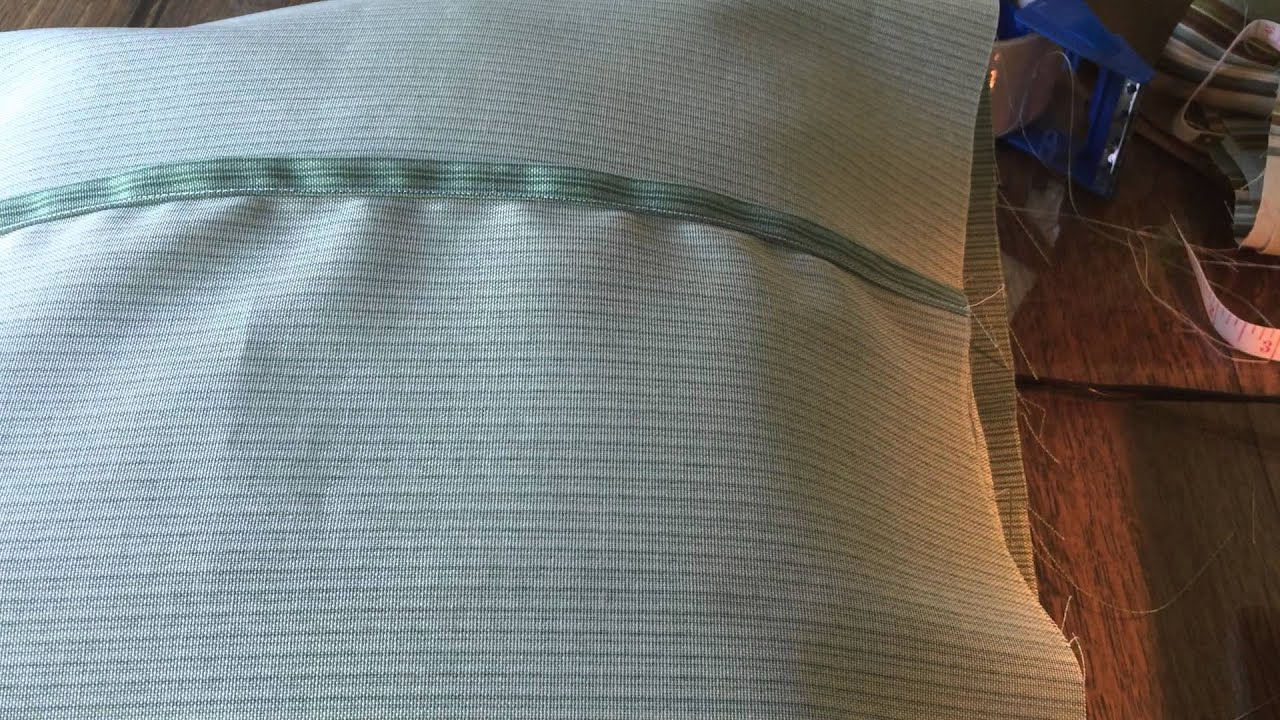
Step 3: Hemming the Edges
Before we start sewing the pieces together, we need to hem the edges of the fabric. Hemming will prevent fraying and give the pillowcase a clean and finished look.
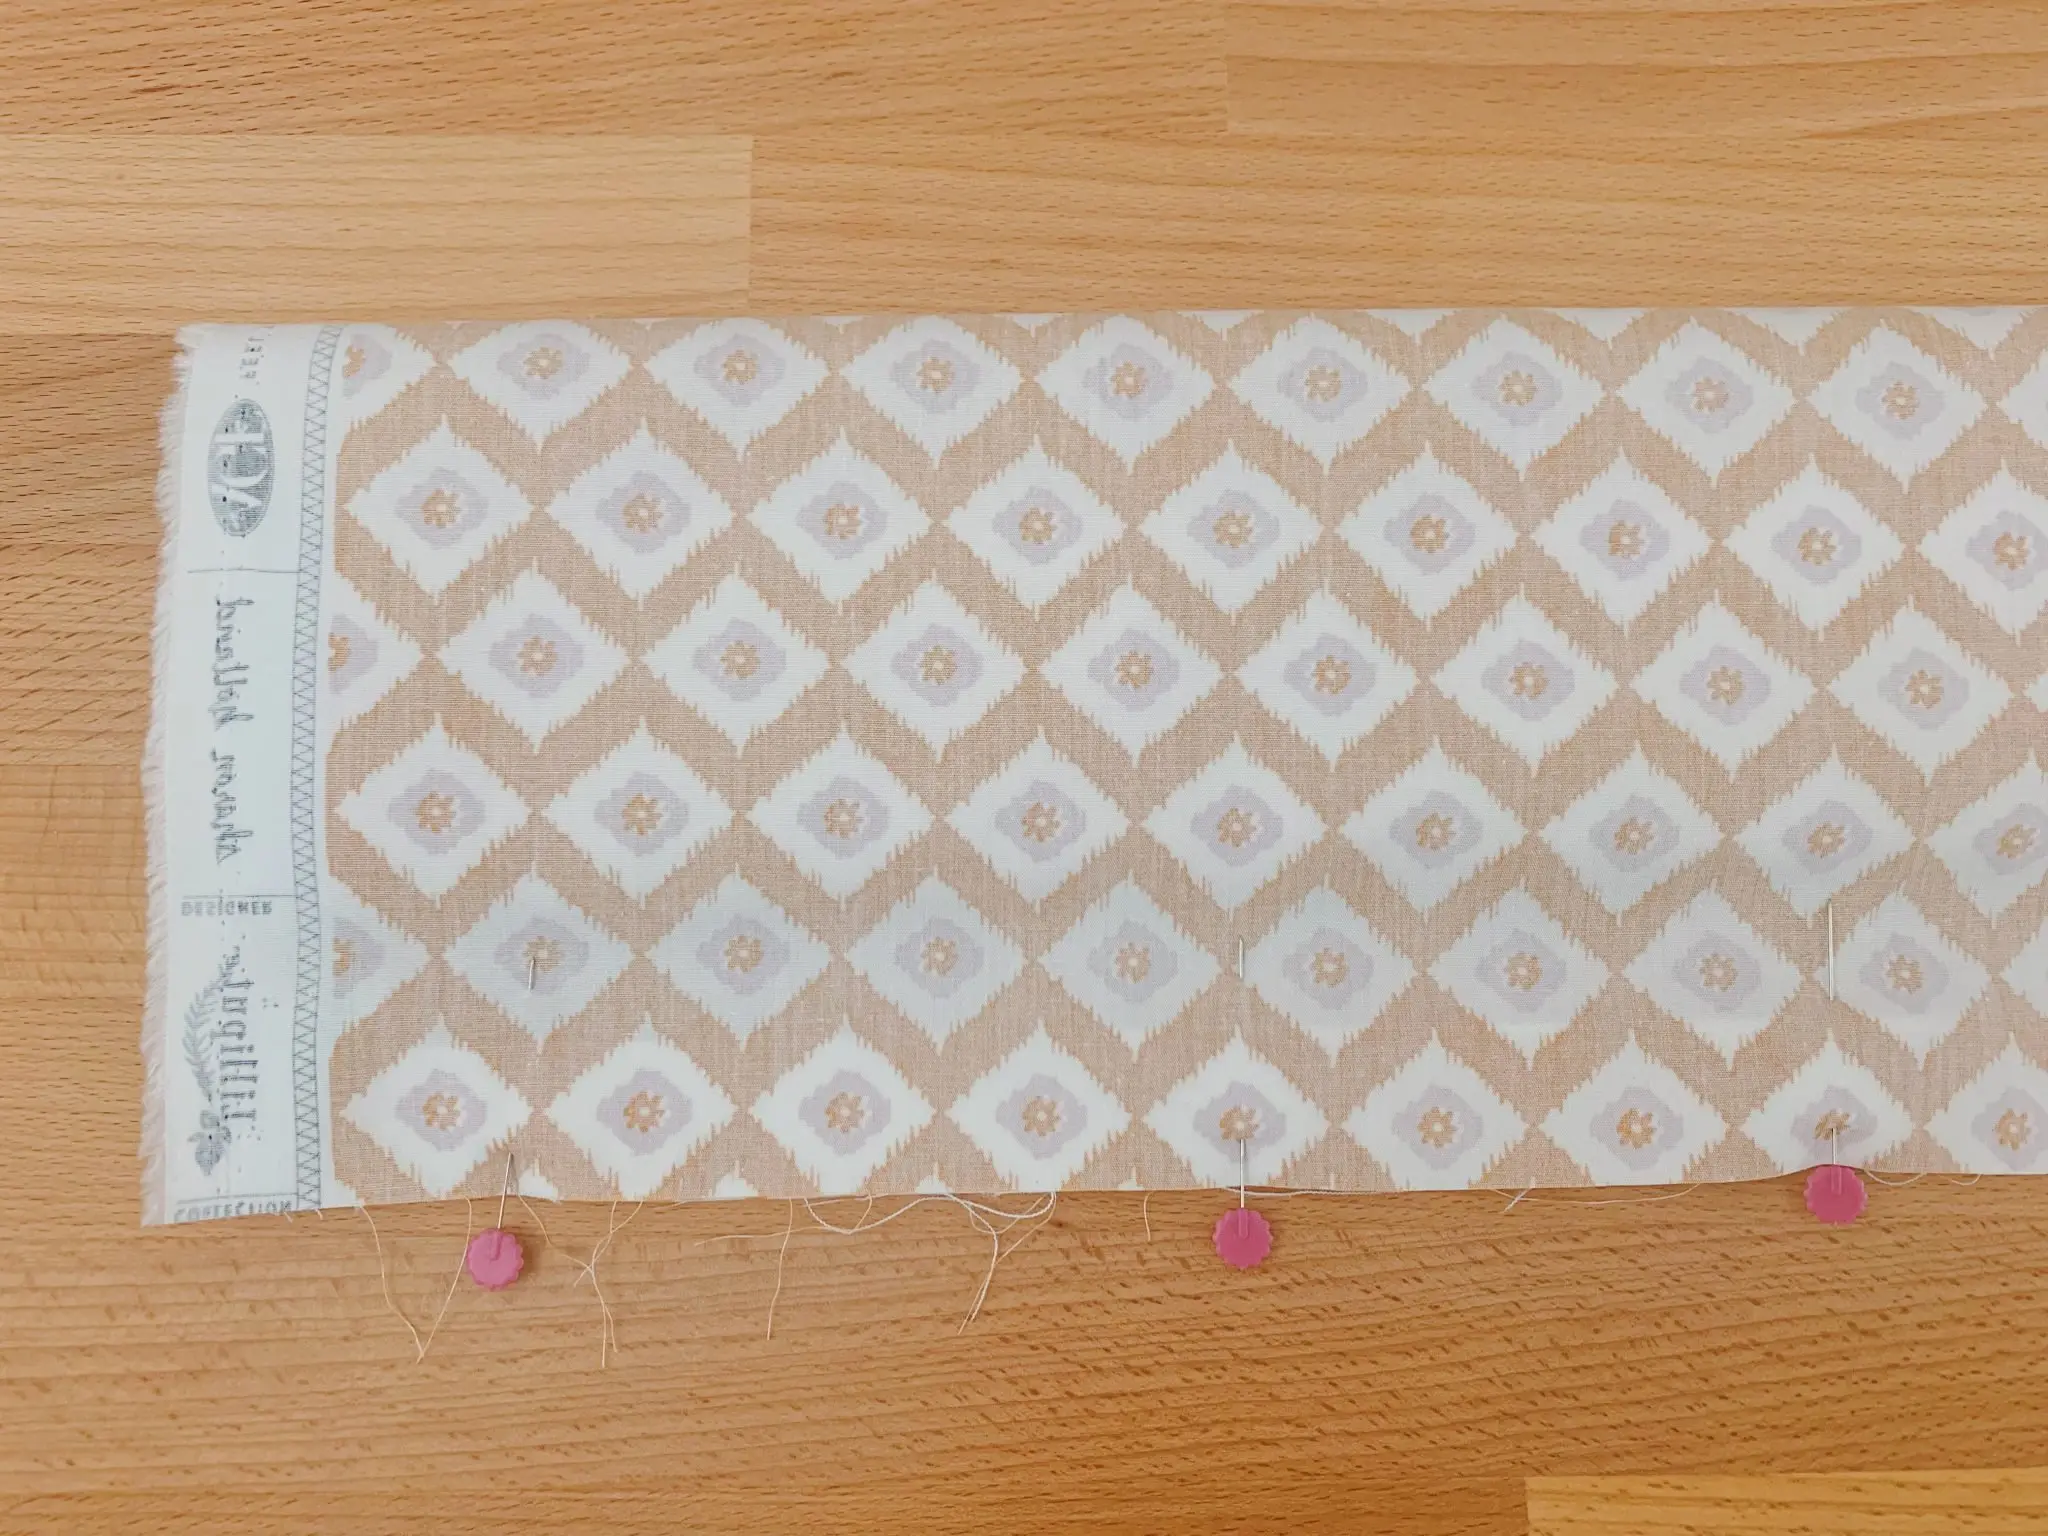
Begin by folding over one short edge of each back piece about ¼ inch towards the wrong side of the fabric. Press the fold with an iron to create a crease. Then, fold over the same edge again, this time about ½ inch, creating a double-fold hem. Press and pin this hem in place.
Repeat this process for the other short edge of each back piece.
Using a straight stitch on your sewing machine, sew along the pinned hem, about ⅛ inch from the folded edge. Remove the pins as you sew, ensuring that the stitches are even and secure.
Once the short edges are hemmed, it’s time to move on to the long edges. Repeat the folding and pressing process for both long edges of each back piece, creating another double-fold hem.
Again, pin the hem in place and sew along the folded edge, approximately ⅛ inch from the edge, removing the pins as you go.
After hemming all the edges, give your fabric pieces a final press with the iron to ensure crisp and neat hems.
Now that the edges are hemmed, we can proceed to the next step: sewing the envelope closure.
When sewing the envelope pillowcase, be sure to backstitch at the beginning and end of each seam to secure the stitches and prevent unraveling.
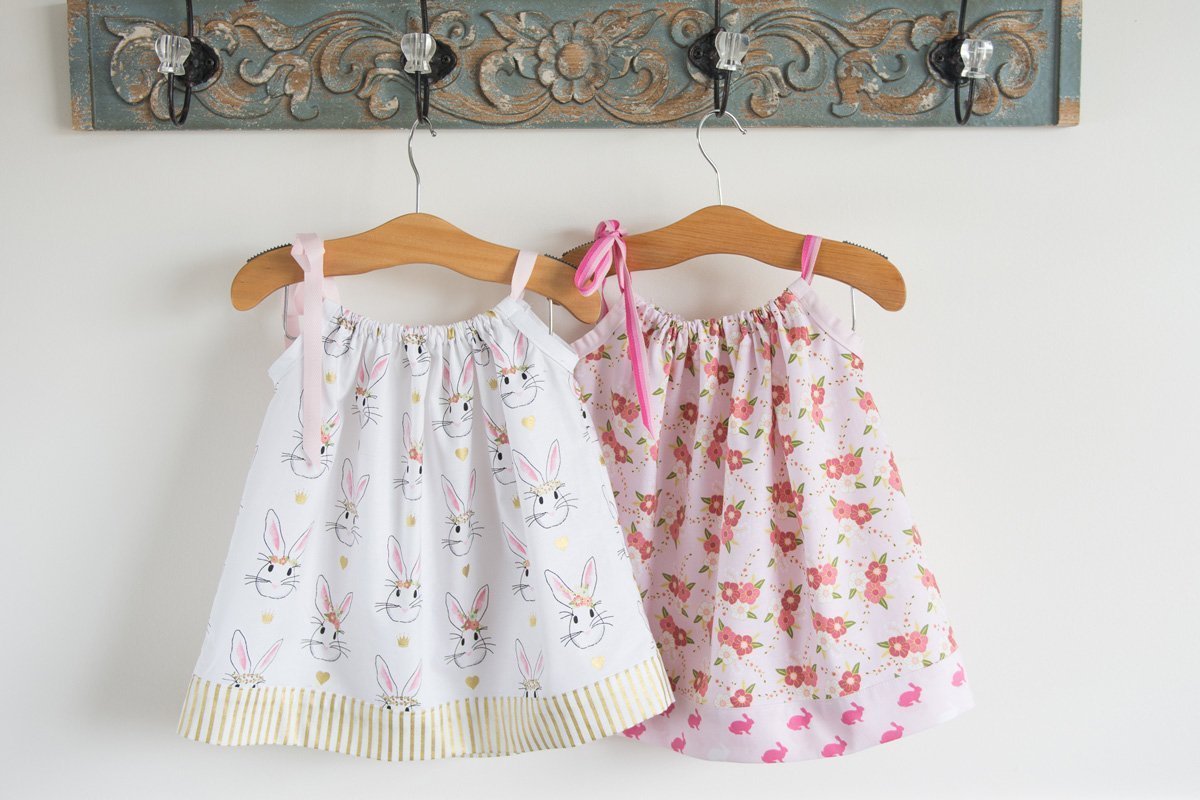
Read more: How To Make A Child’s Pillowcase
Step 4: Sewing the Envelope Closure
Now that the edges are hemmed, it’s time to sew the envelope closure of the pillowcase. This closure allows for easy insertion and removal of the pillow.
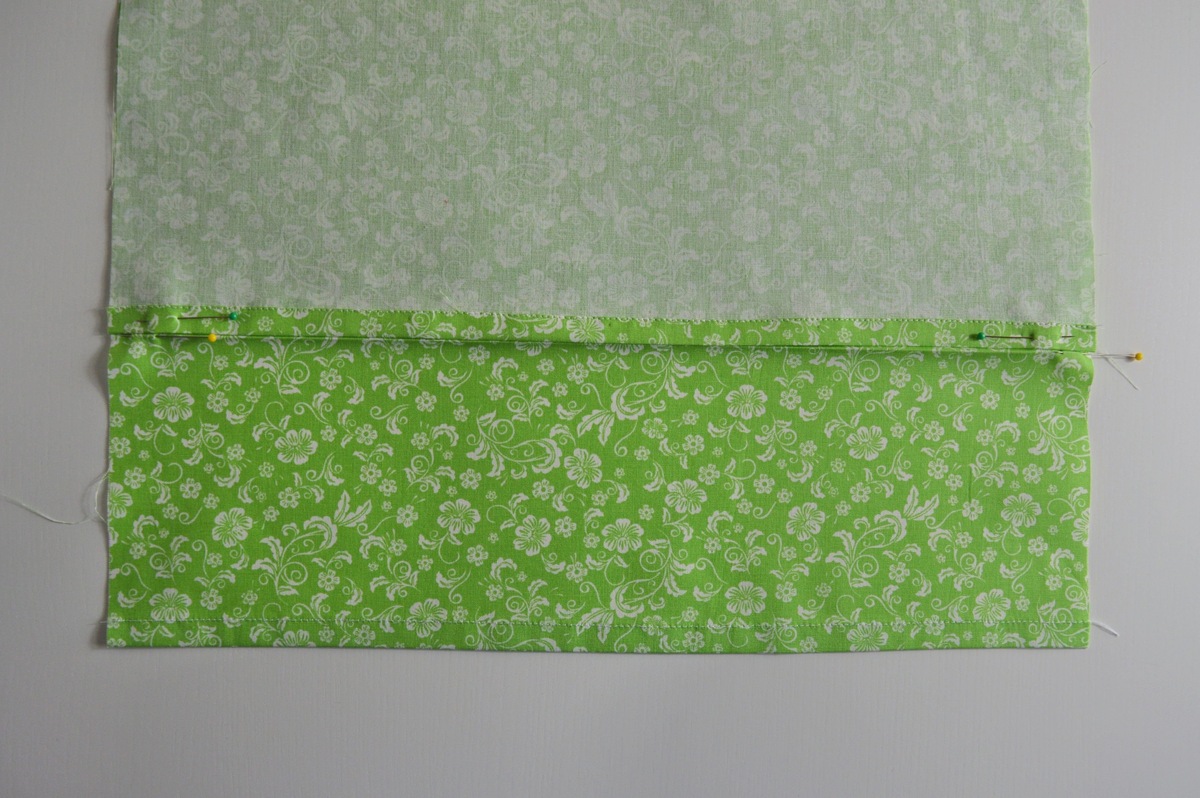
Take one of the back pieces and place it right side up on your work surface. Place the other back piece on top, right side down, aligning the raw edges with the sides and bottom of the front piece.
Pin the layers together along the side edges, ensuring that the hemmed edges overlap in the center. This overlapping section will create the envelope opening for inserting the pillow.
Using a straight stitch on your sewing machine, sew along the pinned edges with a ½ inch seam allowance, starting from the top and backstitching at the beginning and end to secure the stitches.
Once the side edges are sewn, remove the pins and press the seams open with an iron. This will create a smooth and professional finish.
Now, take a moment to admire your progress! You have successfully sewn the envelope closure of your pillowcase. The next step will bring all the pieces together and complete the pillowcase.
Before we move on, I want to mention that if you’d like to add any decorative trims or piping to your pillowcase, you can do so before sewing the pieces together. Simply align and pin the trim along the raw edges of the front piece, then sew it in place using a coordinating thread and a straight or decorative stitch.
Now, let’s move on to sewing the pillowcase together!
Step 5: Sewing the Pillowcase Together
With the envelope closure sewn, it’s time to bring all the pieces together and sew the pillowcase. This step will transform your fabric pieces into a functional and stylish pillowcase.
Start by placing the front piece of the pillowcase right side up on your work surface. Then, take the back piece with the envelope closure and place it on top, aligning the raw edges with the sides and bottom of the front piece.
Next, take the second back piece and place it on top, aligning the raw edges with the sides and bottom of the front piece as well. Make sure that the hemmed edges of the back pieces overlap in the center.
Pin the layers together along the sides and bottom, securing all three pieces in place. Take care to match the corners and edges to ensure a neat and even finish.
Using a straight stitch, sew along the pinned edges with a ½ inch seam allowance, starting from the top and backstitching at the beginning and end to reinforce the stitches.
Once the side and bottom edges are sewn, trim any excess fabric and clip the corners to reduce bulk and achieve crisp corners when the pillowcase is turned right side out.
Now, turn the pillowcase right side out through the envelope opening. Use a blunt object, such as a knitting needle or chopstick, to gently push out the corners for a clean and polished look.
Give the pillowcase a final press with an iron to smooth out any wrinkles and create sharp edges.
Congratulations! You have successfully sewn the pillowcase together. The final step will add those finishing touches and complete your handmade creation.
Before we move on, take a moment to ensure that all the seams are securely sewn and that the envelope closure functions properly. Adjust any loose stitches or misaligned edges as needed.
Now, let’s move on to the last step: adding the finishing touches to your envelope pillowcase!
Step 6: Finishing Touches
Congratulations on reaching the final step of creating your envelope pillowcase! Now it’s time to add those finishing touches that will make your pillowcase stand out.
Start by giving the pillowcase a final press with an iron to ensure all the seams are crisp and neat. This will also help to remove any remaining wrinkles.
If you want to add a decorative touch, consider adding trim or piping along the edges of the pillowcase. Align the trim or piping along the raw edges of the front piece, pin it in place, and sew it using a coordinating thread and a straight or decorative stitch.
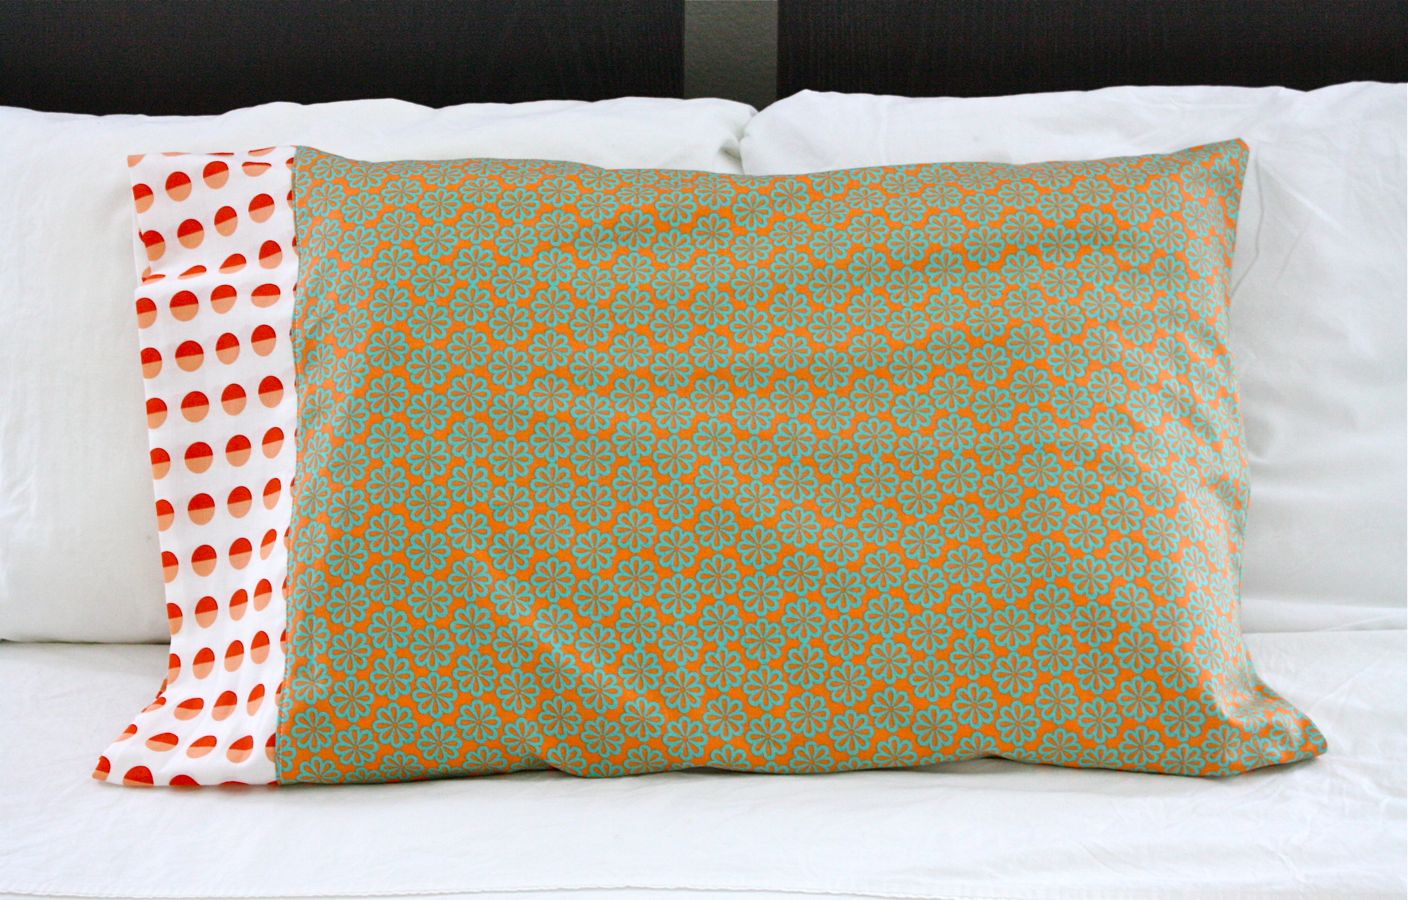
Once you have added any desired decorative elements, it’s time to admire your completed pillowcase! Insert your pillow through the envelope opening, fluff it up, and enjoy the satisfaction of creating a beautiful and custom-made pillowcase for your home.
Remember, you can make multiple pillowcases using different fabrics to switch up your home decor as desired. These pillowcases also make thoughtful and personalized gifts for friends and family.
Lastly, take a moment to clean up your workspace and gather your materials. Store any leftover fabric, scissors, and other sewing supplies in a safe place for future projects.
Thank you for joining us on this DIY journey to create an envelope pillowcase. We hope you have enjoyed this project and feel inspired to explore more sewing and home decor endeavors.
Now go ahead and showcase your sewing skills and creativity by displaying your handmade pillowcase on your couch, bed, or favorite cozy spot in your home. Happy sewing!
Conclusion
Congratulations on completing your DIY envelope pillowcase! By following this step-by-step guide, you have successfully learned how to choose fabric, measure and cut fabric pieces, hem edges, sew the envelope closure, sew the pillowcase together, and add finishing touches. You now have a beautiful and personalized pillowcase that adds a touch of charm to your home decor.
This project has not only allowed you to unleash your creativity but has also given you the satisfaction of creating something functional and unique with your own hands. And the best part? You can replicate this process to make additional pillowcases, experimenting with different fabrics, colors, and trim options to suit your style and preferences.
Remember to take your time and enjoy the process of sewing. Each stitch is a testament to your patience, craftsmanship, and love for creating beautiful things. With practice, your skills will continue to grow, and you’ll be able to take on even more challenging projects in the future.
Whether you choose to showcase your handmade pillowcase as a centerpiece on your couch or as an accent on your bed, it’s sure to draw compliments and add a cozy touch to your living space. You’ve not only saved money by making it yourself, but you’ve also created a piece that is truly one-of-a-kind.
We hope this article has empowered you to explore your creativity and sparked your passion for DIY home decor. Remember, the possibilities are endless when it comes to crafting and making your living space reflect your unique personality.
So, gather your supplies, set up your sewing machine, and embark on your next sewing adventure. From pillowcases to curtains, table linens to quilts, there’s always something new to create and bring beauty to your surroundings.
Thank you for joining us on this journey, and happy sewing!
Frequently Asked Questions about How To Make An Envelope Pillowcase
Was this page helpful?
At Storables.com, we guarantee accurate and reliable information. Our content, validated by Expert Board Contributors, is crafted following stringent Editorial Policies. We're committed to providing you with well-researched, expert-backed insights for all your informational needs.


0 thoughts on “How To Make An Envelope Pillowcase”