
Articles
How To Make Butter In Blender
Modified: February 26, 2024
Learn the easy step-by-step process of making butter in a blender at home. Find informative articles and helpful tips to create delicious homemade butter.
(Many of the links in this article redirect to a specific reviewed product. Your purchase of these products through affiliate links helps to generate commission for Storables.com, at no extra cost. Learn more)
Introduction
Welcome to the world of homemade butter! Making your own butter may seem like a daunting task, but with the help of a blender, you can easily whip up a batch of creamy, delicious butter right in the comfort of your own kitchen. Not only is homemade butter a healthier alternative to store-bought versions, but it also allows you to customize the taste and texture to your liking.
In this article, we will guide you through the step-by-step process of making butter in a blender. Whether you’re a seasoned home cook or a beginner in the kitchen, you’ll find that creating your own butter is a rewarding and enjoyable experience.
Before we dive into the process, let’s take a look at the materials you’ll need to get started.
Key Takeaways:
- Making butter in a blender is a rewarding and enjoyable process that allows you to create a healthier, customizable alternative to store-bought butter. Experiment with flavors and enjoy the satisfaction of homemade butter!
- With high-quality cream and a capable blender, you can easily create delicious homemade butter. Store it properly for freshness and enjoy the fruits of your labor in every creamy, buttery bite!
Read more: How To Make Peanut Butter In A Blender
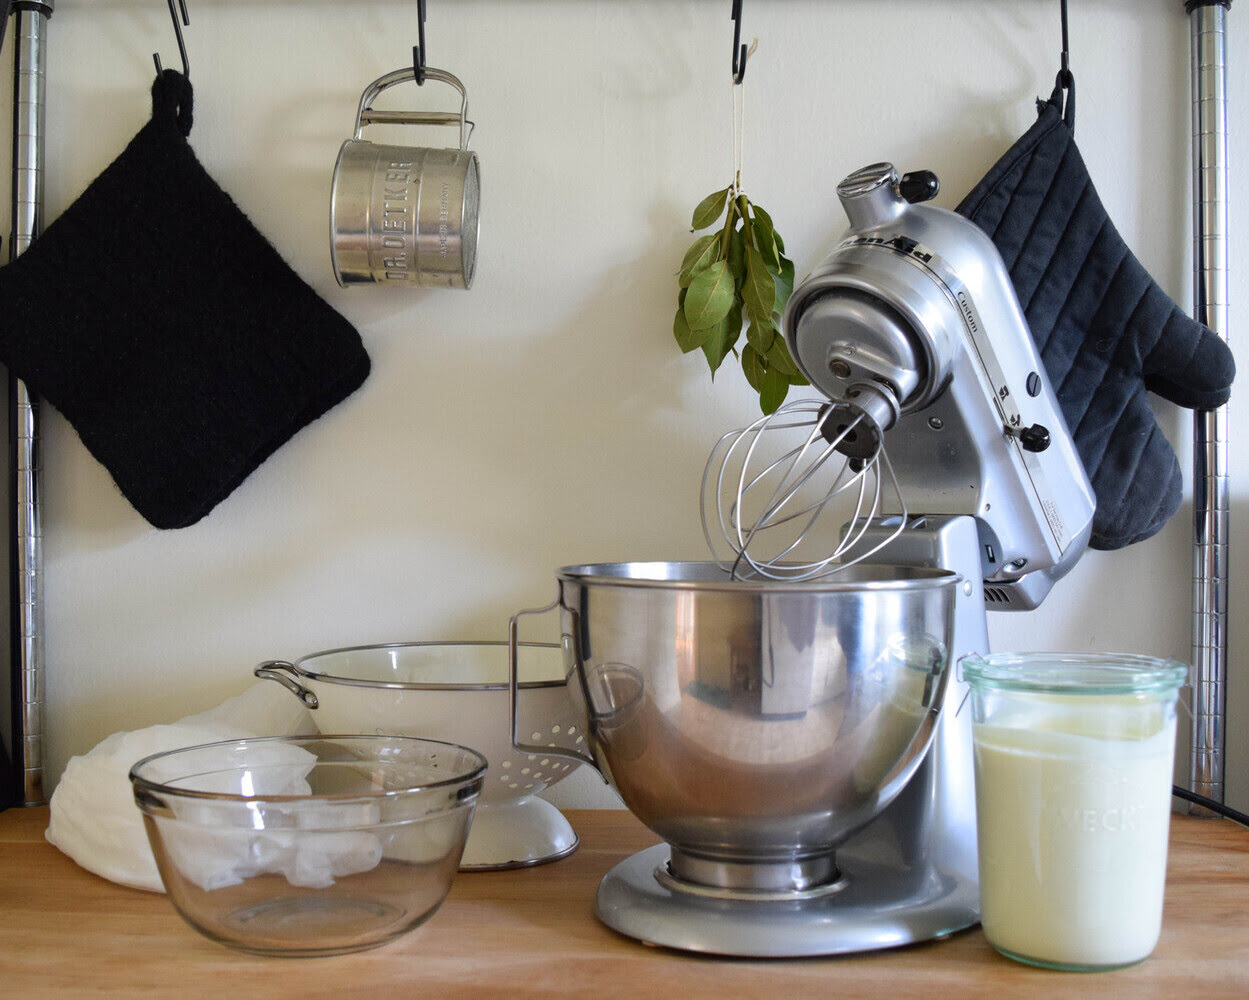
Materials Needed
To make butter in a blender, you’ll need the following materials:
- Fresh heavy cream: Look for high-quality heavy cream with a high fat content. Using organic or grass-fed cream can result in a richer and more flavorful butter.
- Blender: Choose a blender that is capable of handling thick liquids. A high-speed blender is ideal for achieving a smooth and creamy texture.
- Strainer: A fine-mesh strainer or cheesecloth will be needed to separate the buttermilk from the butter.
- Cold water: Cold water is used for washing the butter to remove any residual buttermilk.
- Salt (optional): If you prefer salted butter, you can add a pinch of salt at the end to enhance the flavor.
- Storage container: Prepare a clean jar or airtight container to store your homemade butter.
Once you have gathered all the necessary materials, you’re ready to begin the process of making butter in your blender. Let’s get started!
Step 1: Gathering Cream
The first step in making butter in a blender is to gather fresh heavy cream. Look for cream with a high fat content, as this will yield a richer and creamier butter. You can find heavy cream at your local grocery store or consider sourcing it from a local dairy for a more artisanal touch.
It’s important to note that the amount of cream you use will determine the quantity of butter you end up with. Typically, one cup of heavy cream will yield approximately half a cup of butter. Feel free to adjust the quantity based on your desired amount.
Before you start, ensure that your cream is cold. Cold cream will help in achieving a better consistency and prevent the butter from melting too quickly during the process.
Once you have your cream ready, it’s time to move on to the next step: pouring the cream into the blender.
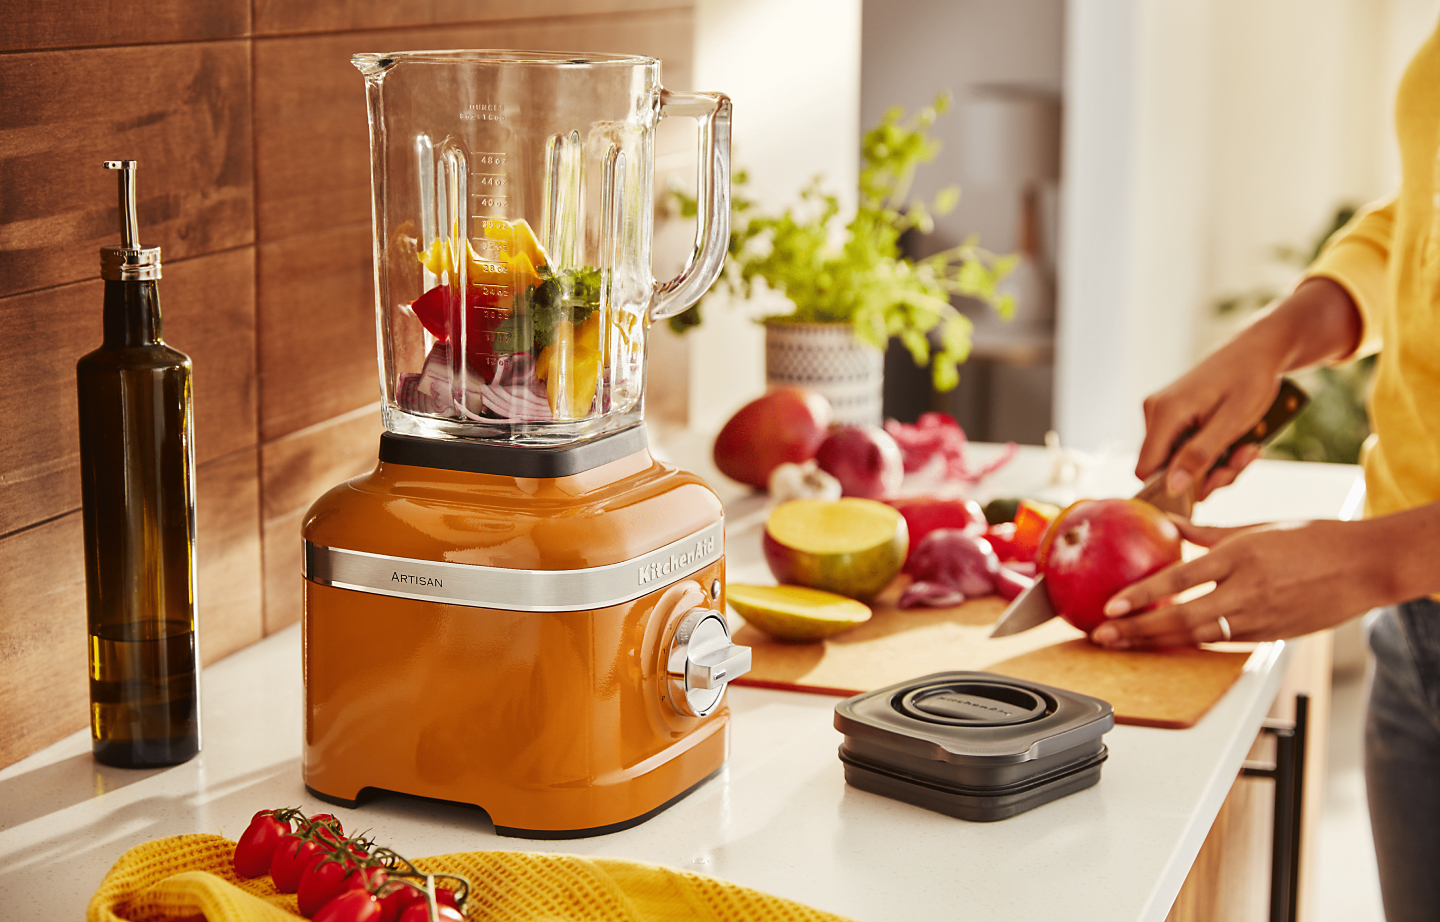
Step 2: Pouring Cream into Blender
Now that you have your fresh heavy cream, it’s time to pour it into your blender. Ensure that your blender is clean and dry before proceeding.
Start by removing the lid from your blender and carefully pour the cold cream into the blender jar. Be mindful of not overfilling the blender, as the cream will expand during the blending process.
If you’re making a larger batch of butter, you may need to work in batches to avoid overflowing the blender. It’s essential to leave some room in the blender for the cream to move and blend properly.
Once you’ve poured the cream into the blender, replace the lid securely to prevent any spills during blending. Now, it’s time to move on to the next step and start blending the cream to transform it into butter.
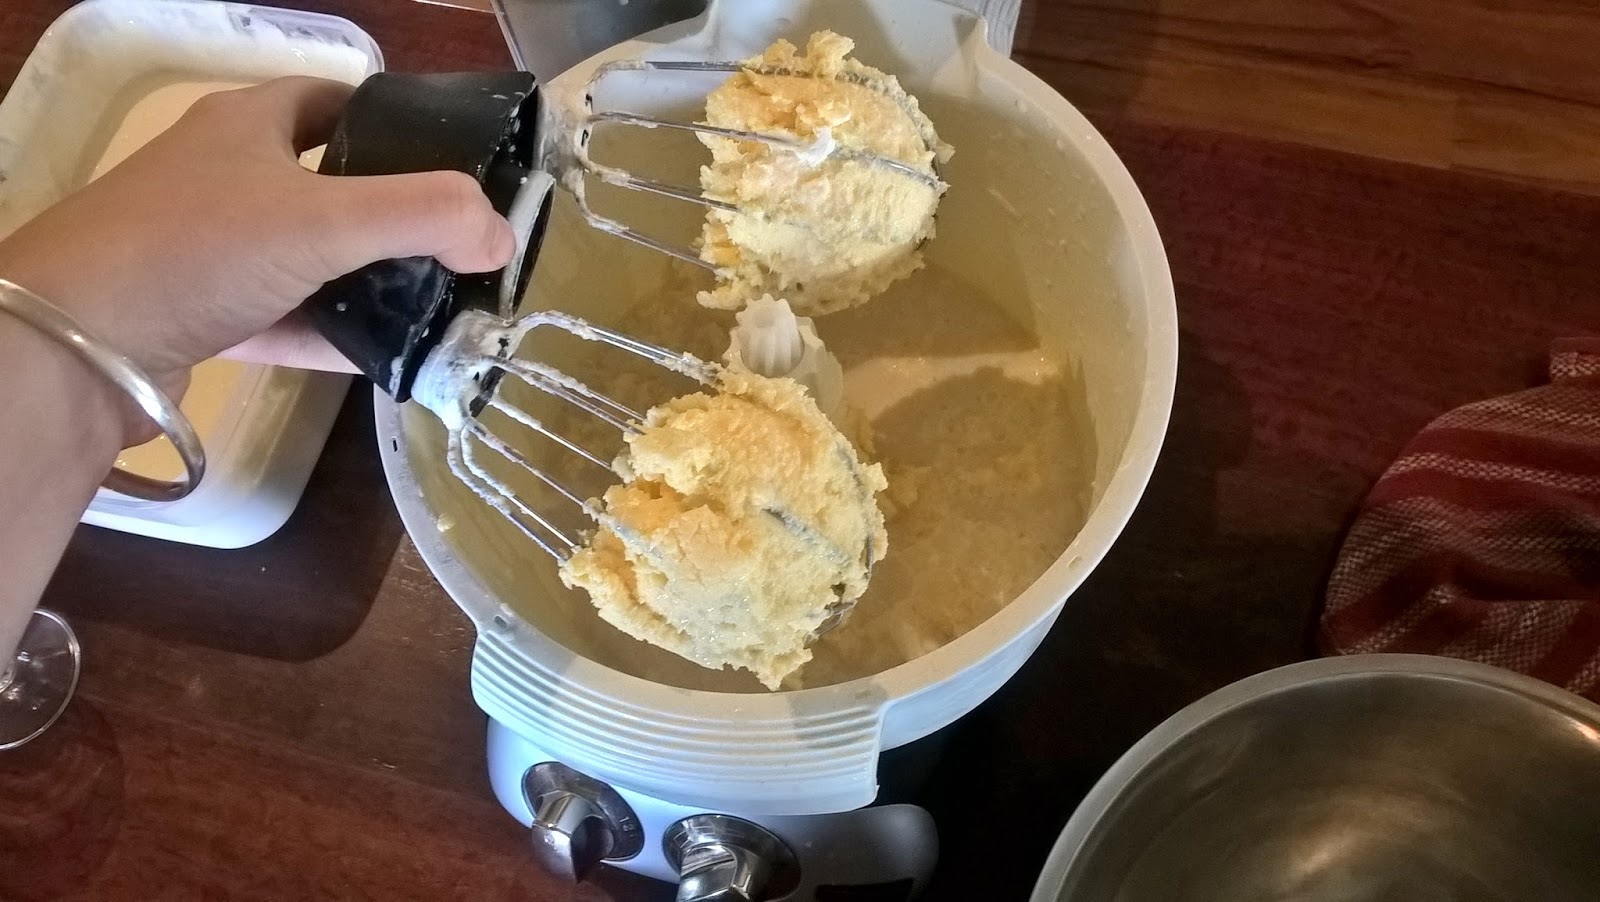
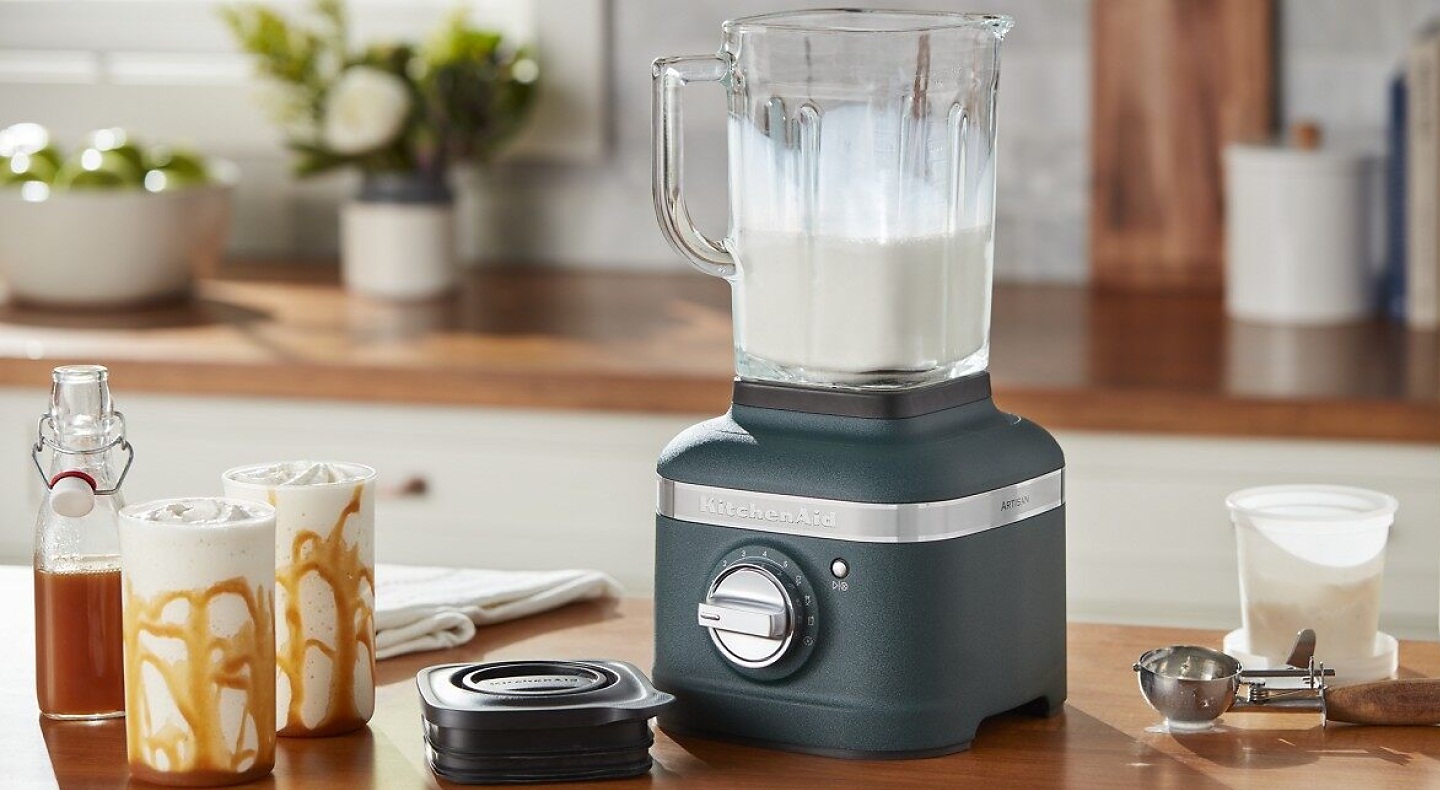
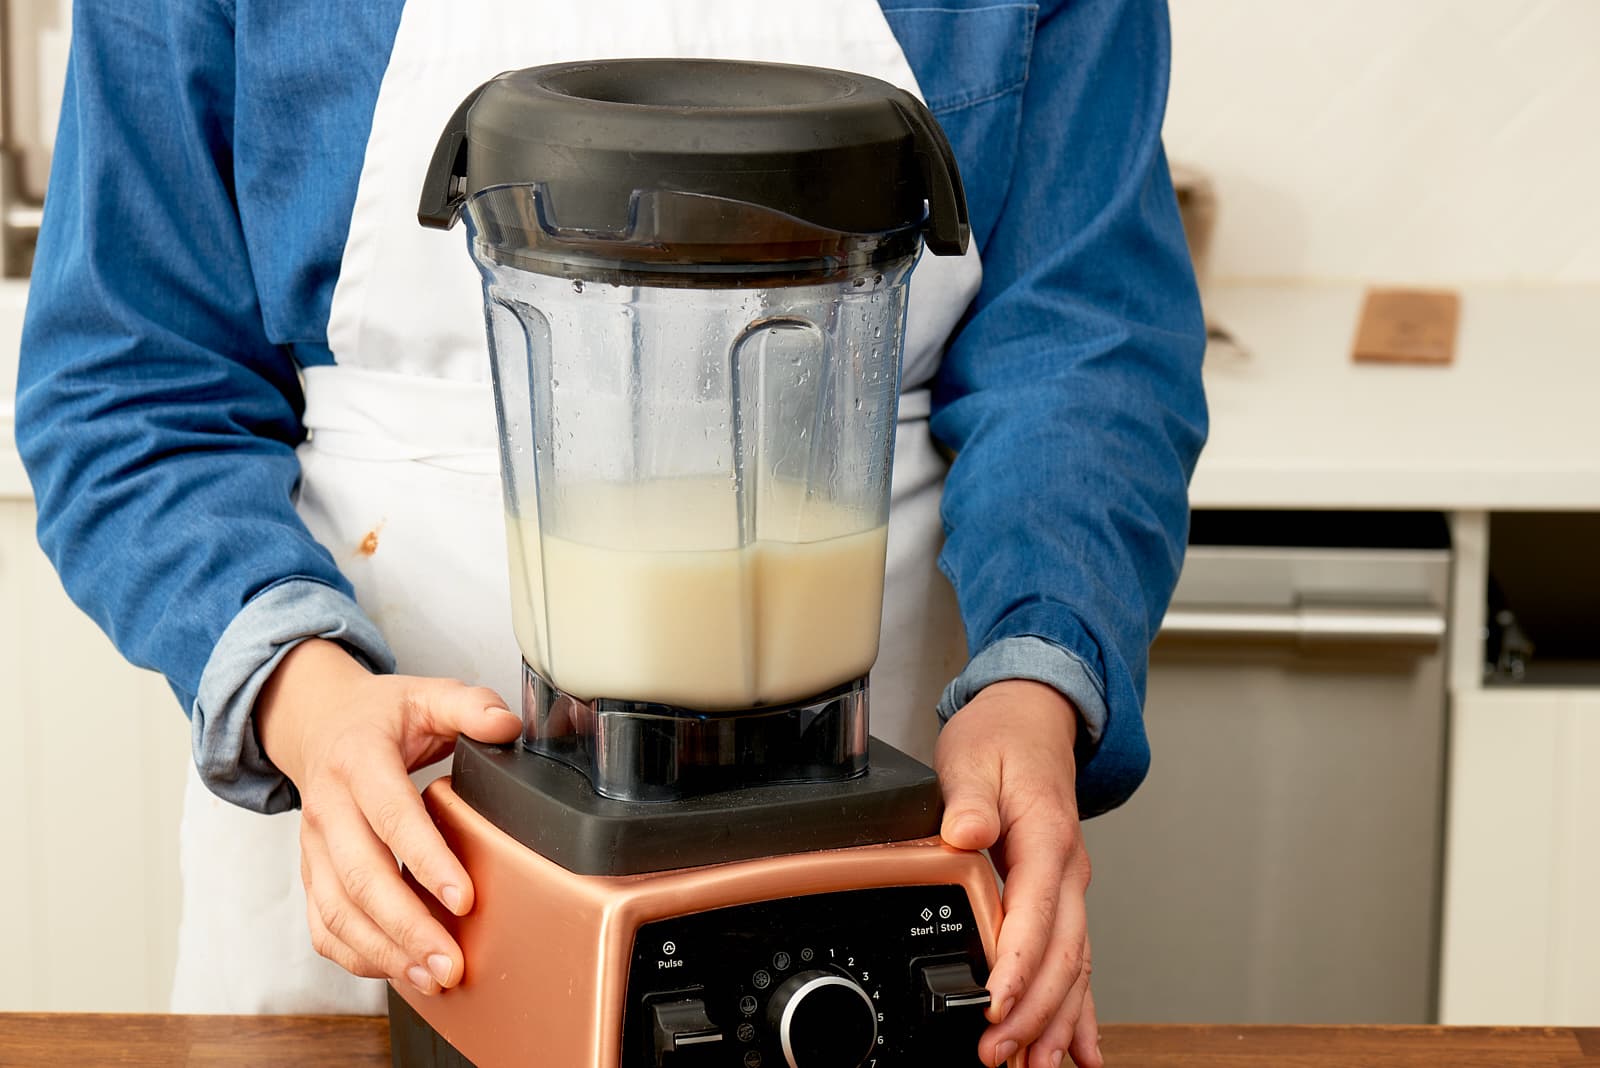
Step 3: Blending Cream
With the cream poured into the blender, it’s time to start blending and transforming it into butter. Before you begin, make sure that the lid is tightly secured on the blender.
Start by setting your blender to a low speed. This will prevent the cream from splattering or overflowing. Gradually increase the speed to medium-high as the cream starts to thicken.
Blending times may vary depending on the power of your blender and the amount of cream you’re using. Typically, it takes around 5-10 minutes of continuous blending to achieve the desired consistency.
As you blend, you’ll notice the cream transforming from a liquid to a whipped cream-like texture. Be patient and continue blending until you see distinct butter grains forming and a pale yellow liquid separating. The liquid is the buttermilk separating from the butterfat.
If necessary, stop the blender and scrape down the sides using a rubber spatula. This will help ensure that all the cream is evenly blended and no pockets of liquid are left behind.
Once you have achieved a clearly separated mixture of butter grains and buttermilk, it’s time to move on to the next step: separating the buttermilk from the butter.
Read more: How To Make Nut Butter In A Blender
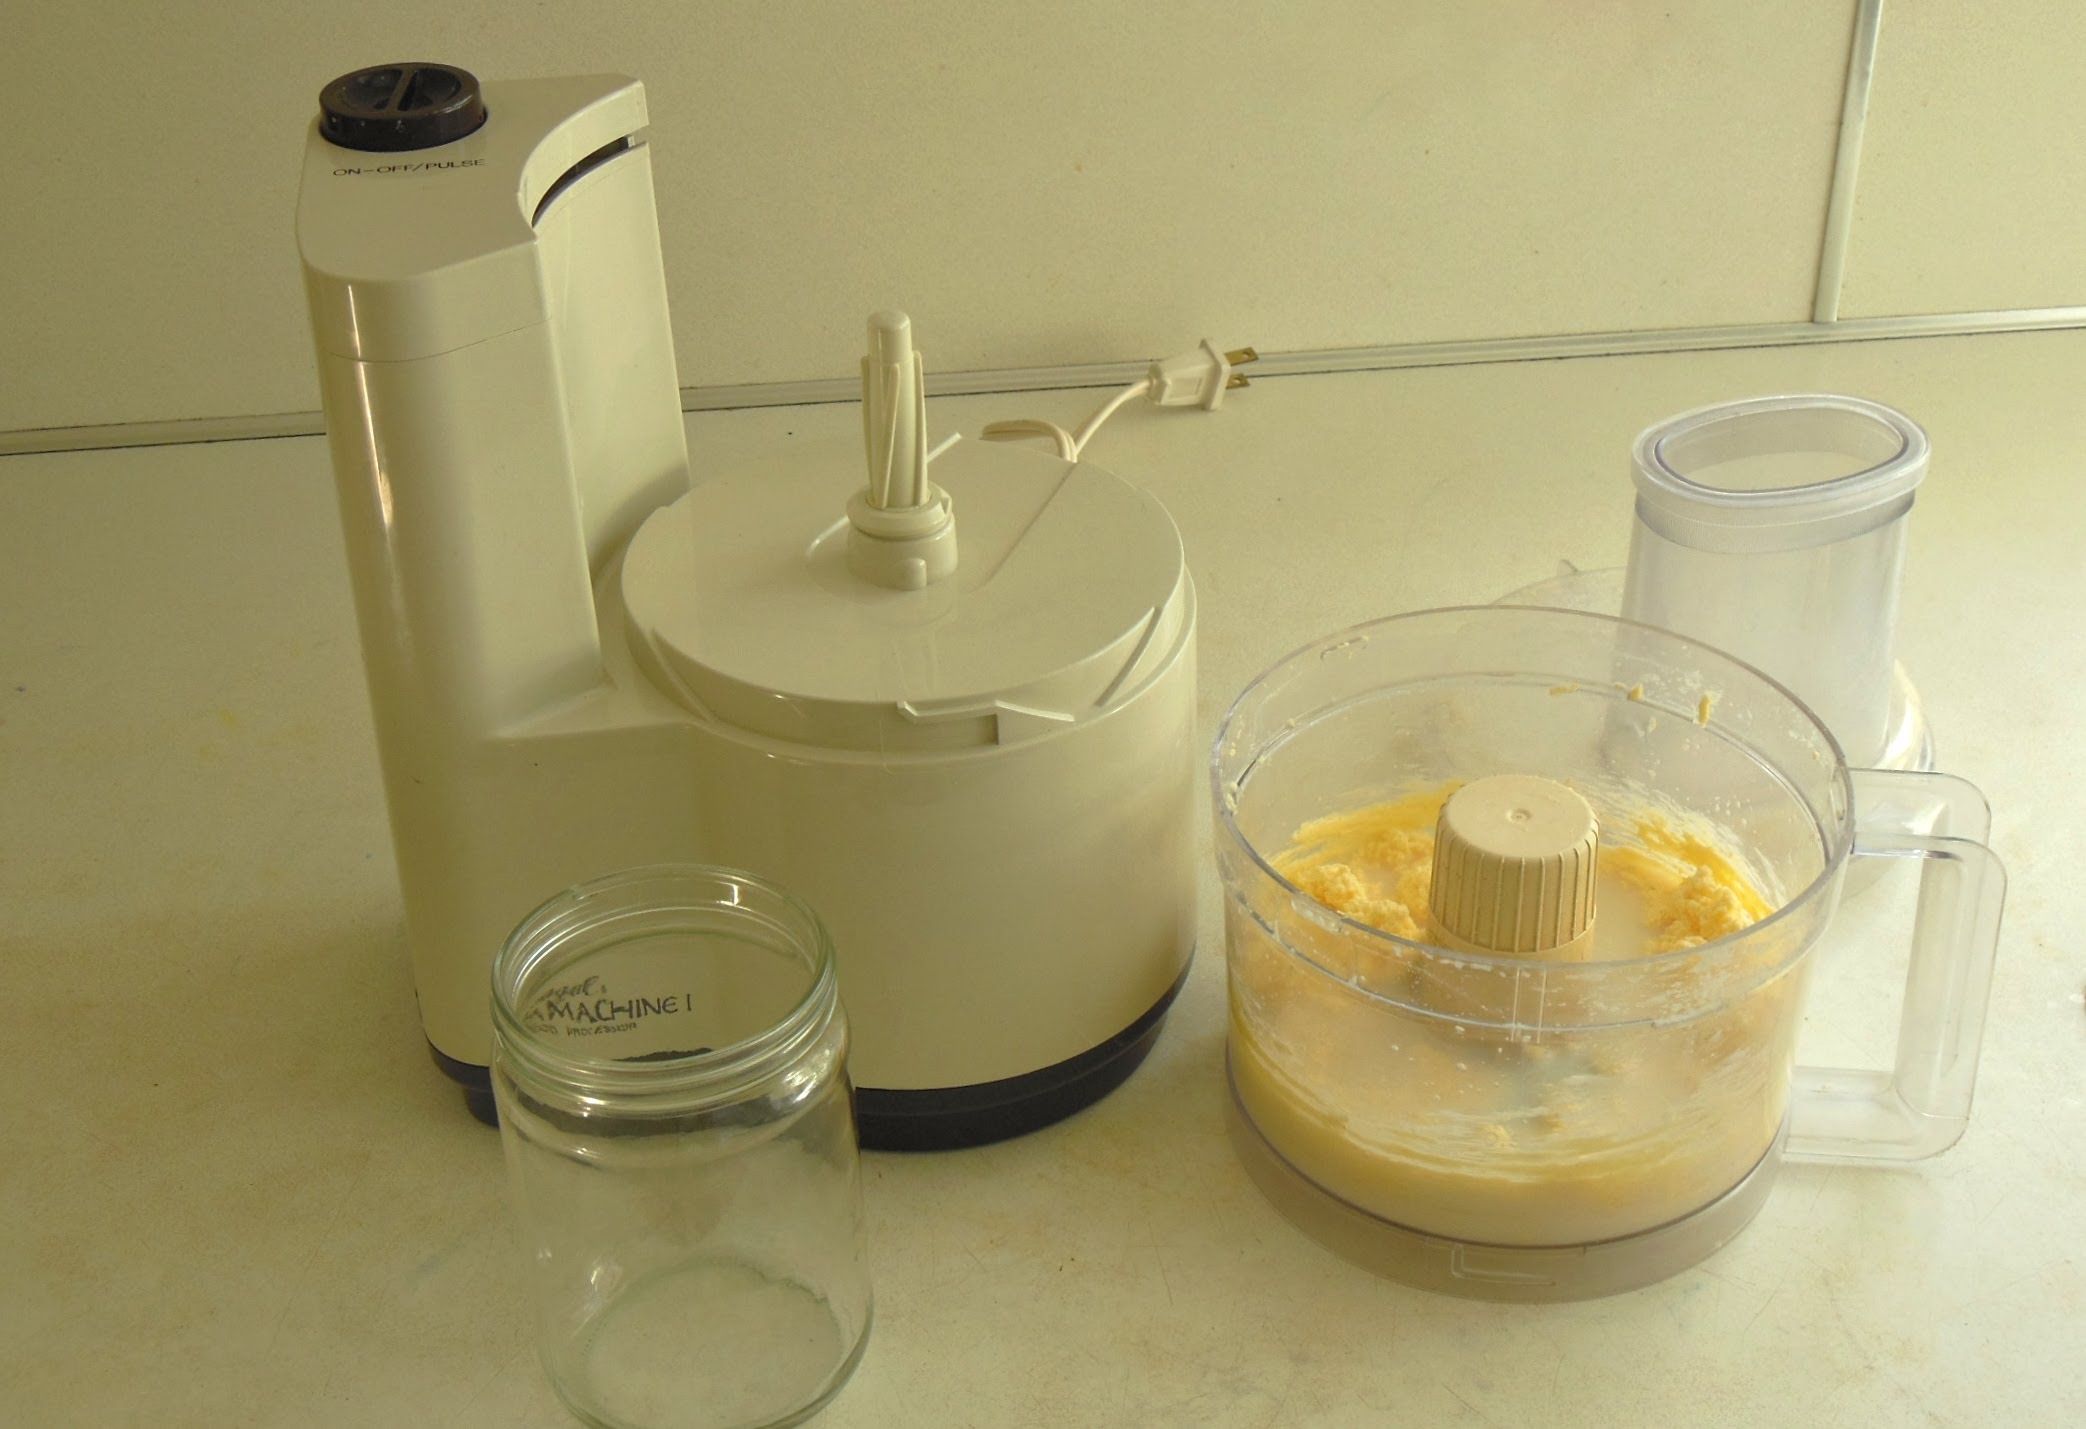
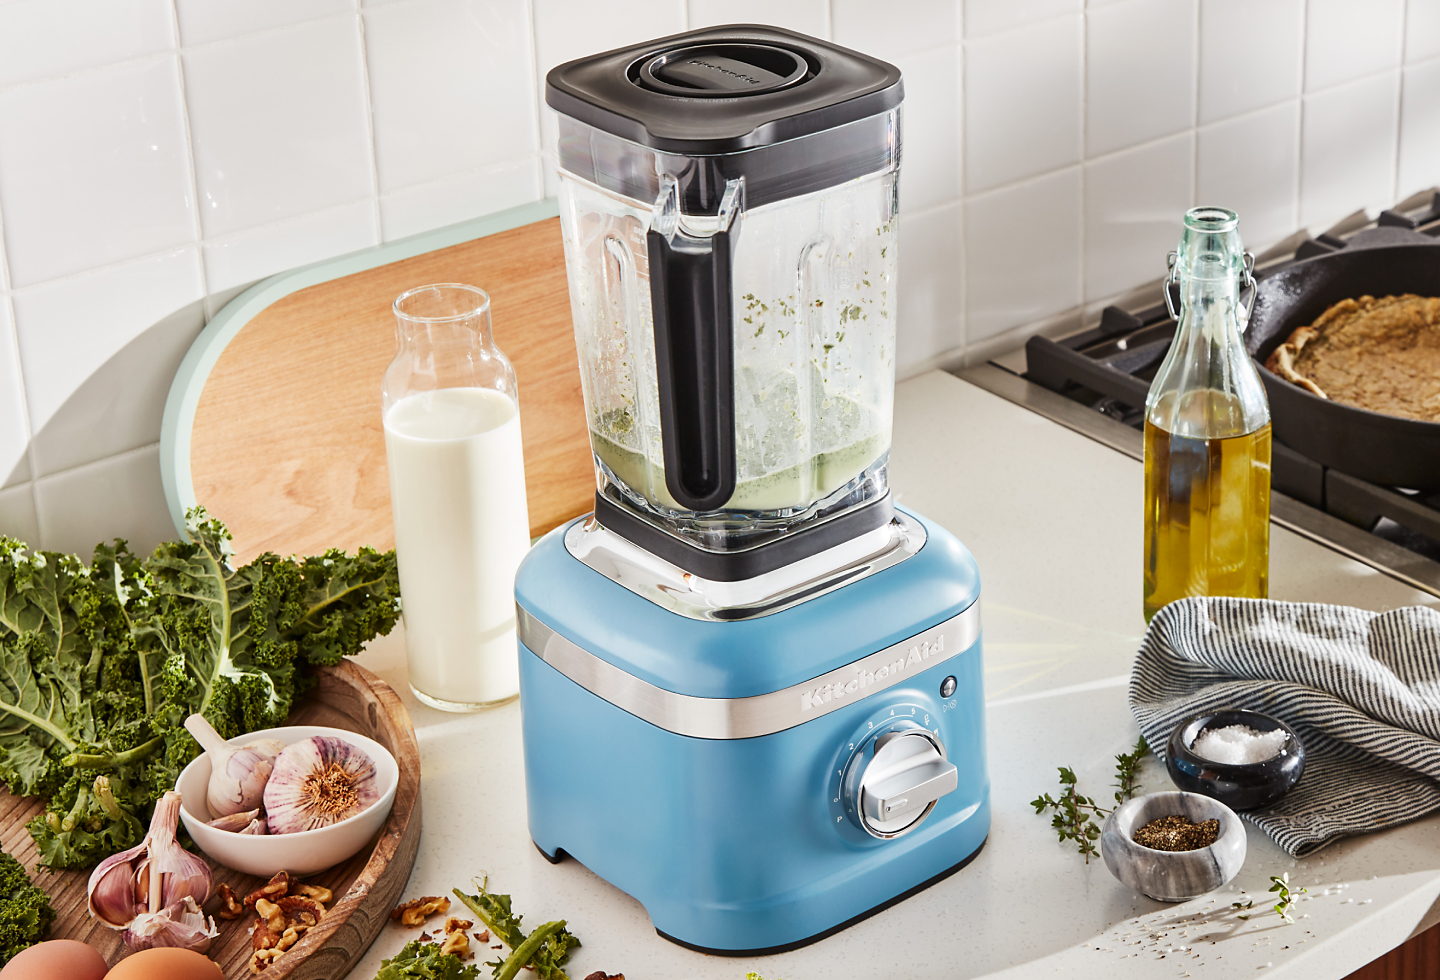
Step 4: Separating Buttermilk
After blending the cream, you’ll notice that the mixture has separated into butter grains and buttermilk. Now, it’s time to separate the two.
Place a fine-mesh strainer or cheesecloth over a bowl or container to catch the liquid. Carefully pour the contents of the blender into the strainer, allowing the liquid (buttermilk) to strain through while the butter grains remain in the strainer.
Gently press down on the butter grains with a spatula or the back of a spoon to remove any excess buttermilk. This will help in preserving the butter’s freshness and prevent it from spoiling quickly.
At this point, you can collect the buttermilk in a separate container and save it for future use in baking or cooking. Homemade buttermilk has a rich flavor and can be a fantastic addition to a variety of recipes.
Now that the buttermilk is separated, it’s time to move on to the next step: straining the butter.
To make butter in a blender, use heavy cream and blend on high speed until the butter separates from the buttermilk. Then strain and rinse the butter under cold water. Enjoy homemade butter!
Step 5: Straining the Butter
Now that the buttermilk has been separated from the butter, it’s time to strain the butter to remove any remaining liquid. This will help in achieving a smoother and longer-lasting butter.
Place the butter grains back into the blender jar or transfer them to a clean bowl. Fill the jar or bowl with cold water, covering the butter completely. Gently swirl the water around, making sure to agitate the butter grains.
Next, pour out the water, being careful to retain the butter in the jar or bowl. Repeat this process a few times until the water runs clear. This step is crucial as it helps to remove any residual buttermilk that could cause the butter to spoil quickly.
Once you have strained the butter thoroughly, it’s time to move on to the next step: washing the butter.
Note: If you prefer your butter unsalted, you can skip the next step (Step 6) and proceed directly to Step 7: Adding Salt (Optional).
Step 6: Washing the Butter
Washing the butter is an important step that helps to remove any remaining buttermilk and ensures a longer shelf life for your homemade butter. This process involves rinsing the butter with cold water to remove any trace of buttermilk.
Using your hands or a spatula, gently knead or press the butter under a stream of cold water. This will help to further extract any remaining buttermilk from the butter. The water will turn cloudy as the buttermilk is washed away.
Continue kneading and rinsing the butter until the water runs clear and free from any traces of buttermilk. This may require multiple rinses, especially if you started with a larger quantity of cream.
As you wash the butter, you will notice that it becomes firmer and its texture starts to change. This is a sign that you have successfully removed the excess buttermilk from the butter.
Once the butter is thoroughly washed and all traces of buttermilk have been removed, it’s time to move on to the next step: adding salt (optional).
Step 7: Adding Salt (Optional)
Adding salt to your homemade butter is entirely optional, but it can enhance the flavor and give your butter a savory touch. If you prefer unsalted butter, feel free to skip this step.
To add salt to your butter, let the washed butter sit at room temperature for a few minutes until it becomes more malleable. This will make it easier to incorporate the salt evenly.
Start with a small amount of salt, about ¼ teaspoon for every 1 cup of cream used. You can adjust the amount to suit your taste preferences. Kosher salt or sea salt work well for this purpose.
Sprinkle the salt evenly over the softened butter and use a spatula or your hands to gently mix it in. Make sure the salt is evenly distributed throughout the butter.
When adding salt, keep in mind that a little goes a long way. It’s easier to add more salt later if needed, so it’s best to start with a smaller amount and adjust accordingly.
Once the salt is incorporated, your homemade butter is ready to be stored.
Read more: How To Make Butter In Kitchenaid Mixer
Step 8: Storing the Butter
Now that you have successfully made your own homemade butter, it’s time to store it properly to ensure its freshness and longevity.
First, transfer the butter into a clean glass jar or an airtight container. Make sure the container you choose is thoroughly cleaned and dry.
If you prefer a traditional butter shape, you can press the butter into a butter mold or shape it into a log using parchment paper. This adds a touch of elegance and makes it easy to slice when needed.
Store the butter in the refrigerator to maintain its freshness. Cold temperatures will help to extend its shelf life and prevent any spoilage. Properly stored homemade butter can typically last for about 2-3 weeks.
However, if you have made a larger batch and cannot use it all within that timeframe, you can freeze the butter. Simply wrap it tightly in plastic wrap or place it in a freezer-safe container. Frozen butter can retain its quality for up to 6 months.
Remember to label your stored butter with the date to keep track of its freshness.
When ready to use the butter, allow it to soften at room temperature before spreading or baking with it. Softened butter is easier to work with and provides a smoother texture.
Now that your homemade butter is stored and ready to use, feel free to enjoy it on toast, in recipes, or however you prefer!
Conclusion
Congratulations! You have successfully learned how to make butter in a blender. Making your own butter at home is not only a fun and rewarding experience, but it also allows you to have full control over the quality and flavor of your butter.
By following the step-by-step process outlined in this article, you can create delicious homemade butter that is free from additives and preservatives.
Remember to start with high-quality heavy cream, use a blender capable of handling thick liquids, and take your time during the blending process to ensure the best results.
Experiment with different flavors by adding herbs, spices, or honey to customize your butter to suit your preferences. Let your creativity shine and enjoy the process of creating your own unique homemade butter.
Whether you spread it on warm bread, use it in cooking and baking, or give it as a thoughtful homemade gift, your freshly made butter is sure to impress!
So, don’t be afraid to roll up your sleeves and embark on the journey of making your own butter. Not only will you have a tasty and wholesome product, but you’ll also have the satisfaction of knowing that you made it from scratch.
Get creative, have fun in the kitchen, and enjoy the fruits of your labor with every creamy, buttery bite!
Frequently Asked Questions about How To Make Butter In Blender
Was this page helpful?
At Storables.com, we guarantee accurate and reliable information. Our content, validated by Expert Board Contributors, is crafted following stringent Editorial Policies. We're committed to providing you with well-researched, expert-backed insights for all your informational needs.
0 thoughts on “How To Make Butter In Blender”