Articles
How To Make Butter From Cream In A Mixer
Modified: October 18, 2024
Learn how to make butter from cream using a mixer in this informative article. Discover simple steps and enjoy homemade butter.
(Many of the links in this article redirect to a specific reviewed product. Your purchase of these products through affiliate links helps to generate commission for Storables.com, at no extra cost. Learn more)
Introduction
Butter is a versatile and delicious ingredient that can elevate the flavor of any dish. While it is readily available at grocery stores, there’s something special about making your own butter from scratch. Not only does homemade butter taste absolutely amazing, but the process itself can be incredibly satisfying.
In this article, we will guide you through the steps of making butter from cream using a mixer. This method is quick, easy, and does not require any specialized equipment. Whether you’re a seasoned home cook or just starting out in the kitchen, you’ll be able to create your own creamy, flavorful butter in no time.
But before we dive into the process, let’s take a look at the equipment and ingredients you’ll need.
Key Takeaways:
- Elevate your culinary skills by making butter from cream in a mixer. Enjoy the rich, creamy flavor of homemade butter with minimal equipment and simple steps. Get creative and experiment with unique flavor combinations!
- Transform ordinary cream into a versatile and delicious ingredient. With just a few steps, you can have full control over the ingredients and flavors of your butter. Enjoy the satisfaction of creating your own rich and creamy homemade butter!
Read more: How To Cream Butter Without Mixer
Equipment Needed
To make butter from cream in a mixer, you’ll need the following equipment:
- A stand mixer or a hand mixer with bowl and beaters attached
- A fine-mesh strainer or cheesecloth
- A spatula or wooden spoon
- A container for storing the butter
Make sure your mixer is in good working condition and the beaters are clean. The fine-mesh strainer or cheesecloth will be used to separate the butter from the buttermilk, so choose whichever option is more convenient for you.
Now, let’s move on to the ingredients needed to make butter.
Ingredients
To make butter from cream in a mixer, you’ll need the following ingredients:
- Heavy whipping cream: Use high-quality heavy cream for best results. Avoid using light cream or half-and-half, as they have lower fat content and may not separate properly.
- Cold water: You’ll need a small amount of cold water to rinse the butter later in the process.
- Salt (optional): If you prefer salted butter, you can add a pinch of salt to enhance the flavor. This step is entirely optional and can be skipped if you prefer unsalted butter.
It’s important to note that the amount of cream you use will determine the yield of butter. Generally, one cup of cream will yield approximately half a cup of butter. Adjust the quantities according to your desired amount of butter.
Now that you have gathered all the necessary equipment and ingredients, let’s move on to the step-by-step process of making butter from cream in a mixer.
Step 1: Chilling the Cream
The first step in making butter from cream in a mixer is to chill the cream. The cold temperature helps in achieving better separation of the butterfat from the liquid.
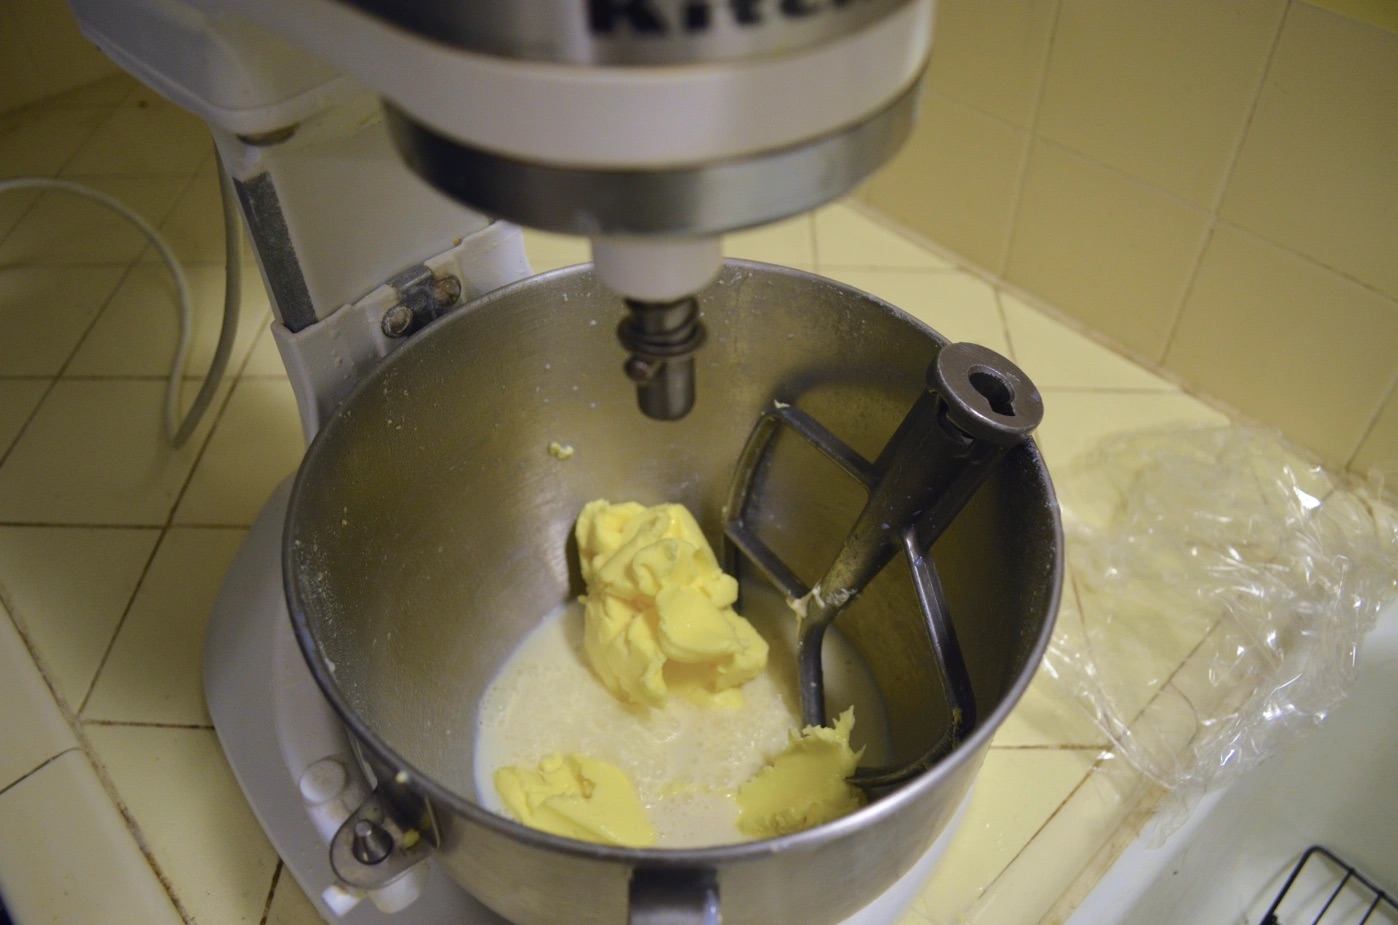
Start by pouring the desired amount of heavy whipping cream into the mixing bowl of your mixer. Make sure the cream is cold, straight from the refrigerator. You can also chill the mixing bowl beforehand for best results.
If you’re using salted butter, this is the point where you can add a pinch of salt to the cream. The salt will evenly distribute and enhance the flavor of the butter.
Once the cream is in the bowl, attach the beaters to your mixer and secure the bowl in place. Now, it’s time to move on to the next step of the process: mixing the cream in the mixer.
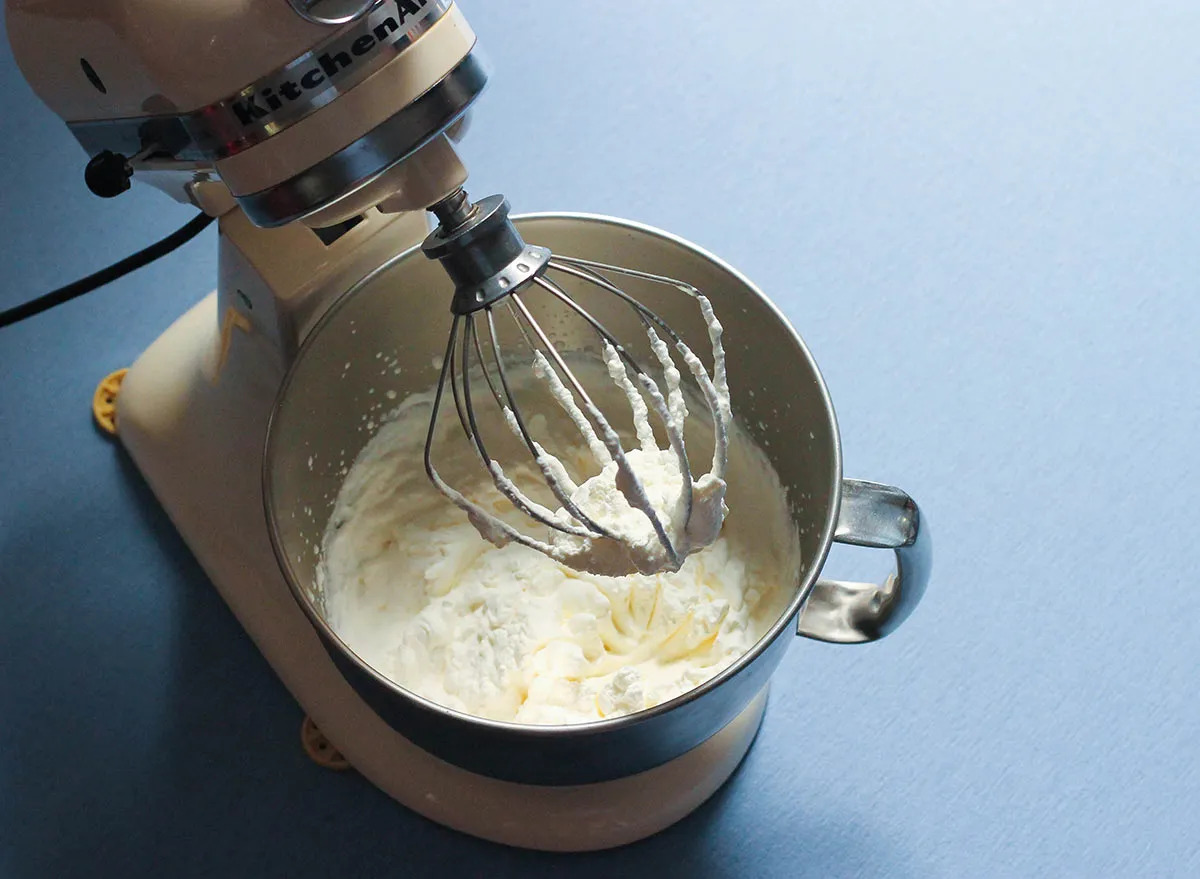
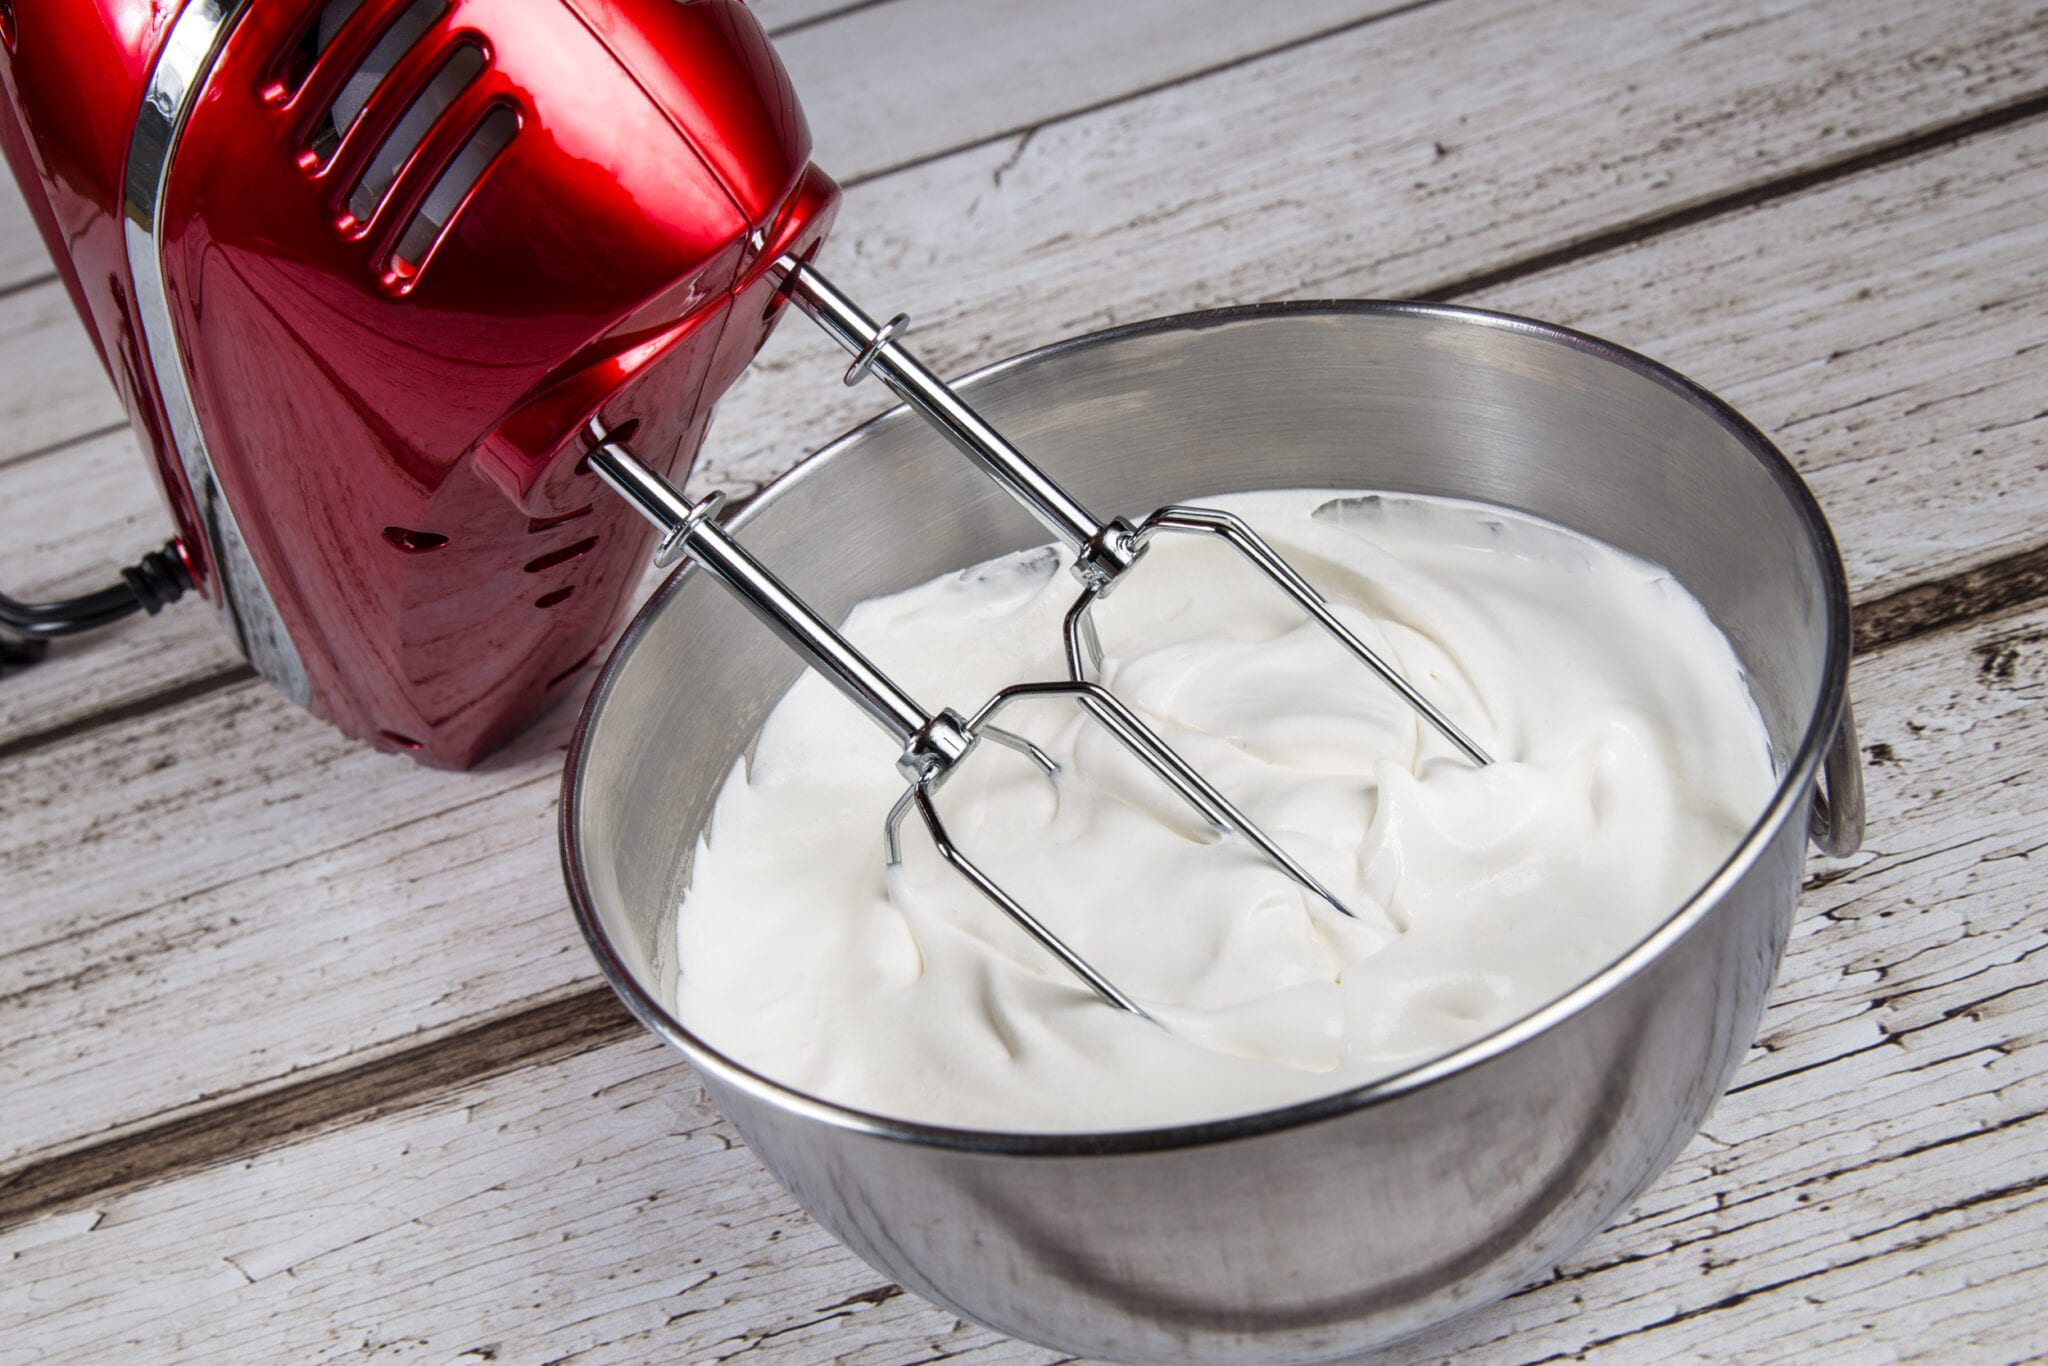
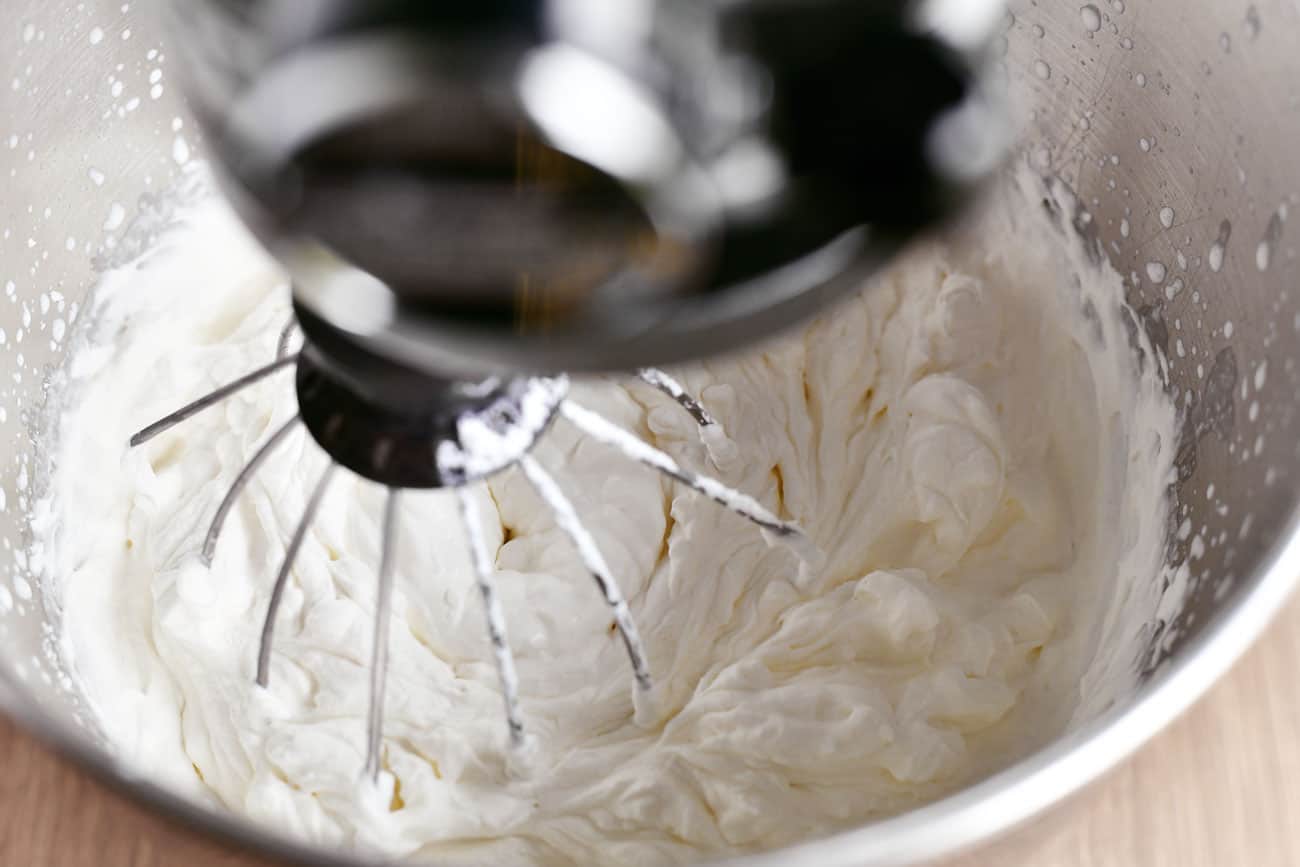
Step 2: Mixing the Cream in the Mixer
With the chilled cream in the mixing bowl, it’s time to begin the process of turning cream into butter. Start the mixer on a low speed setting to avoid splashing the cream everywhere.
As the cream gets whipped, the fat molecules in the cream will start to stick together, forming clumps. Gradually increase the speed of the mixer to medium-high and continue beating the cream.
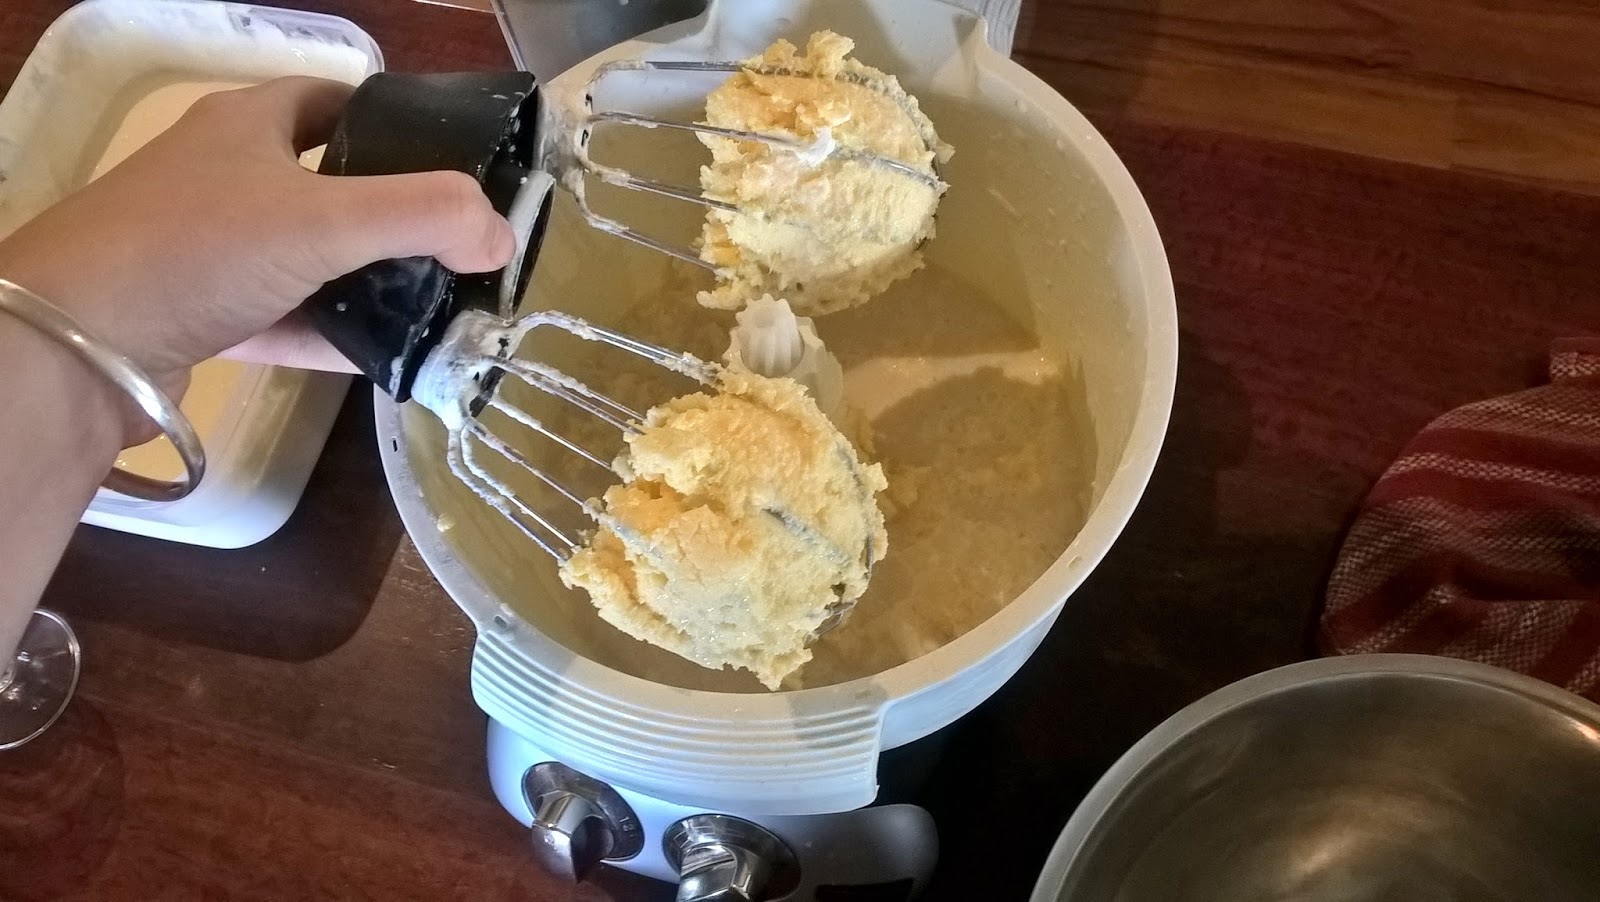
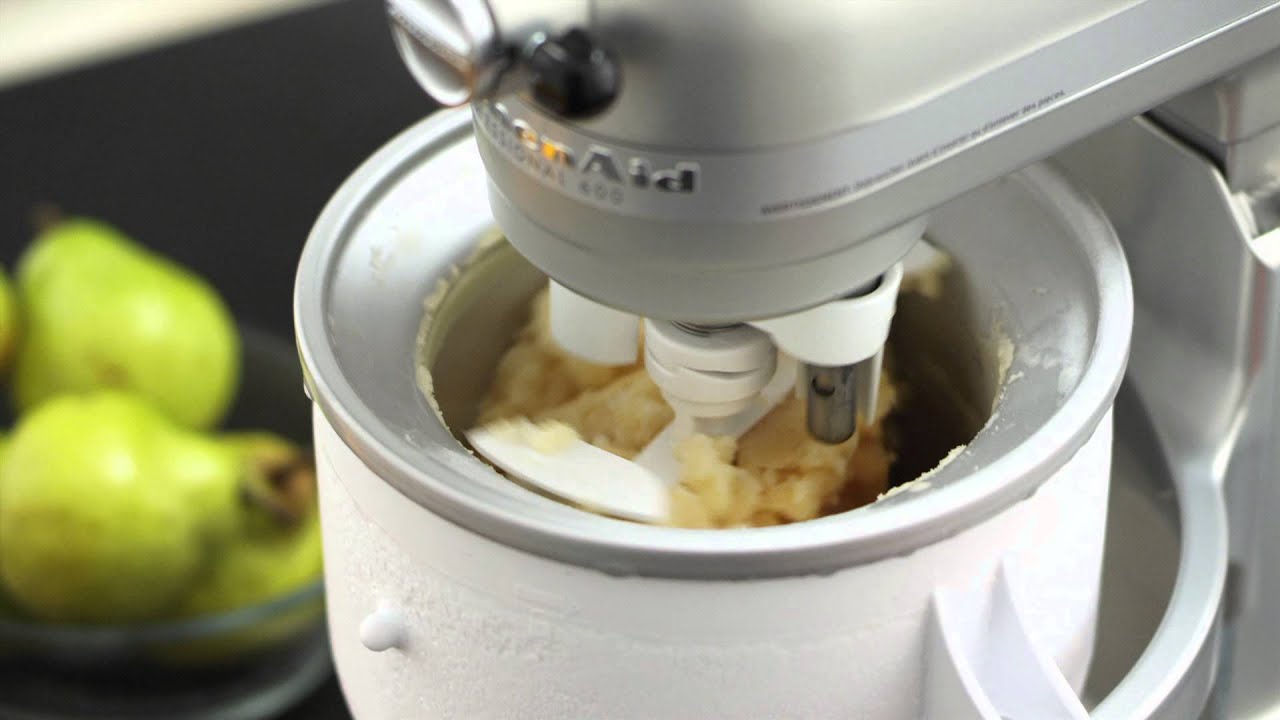
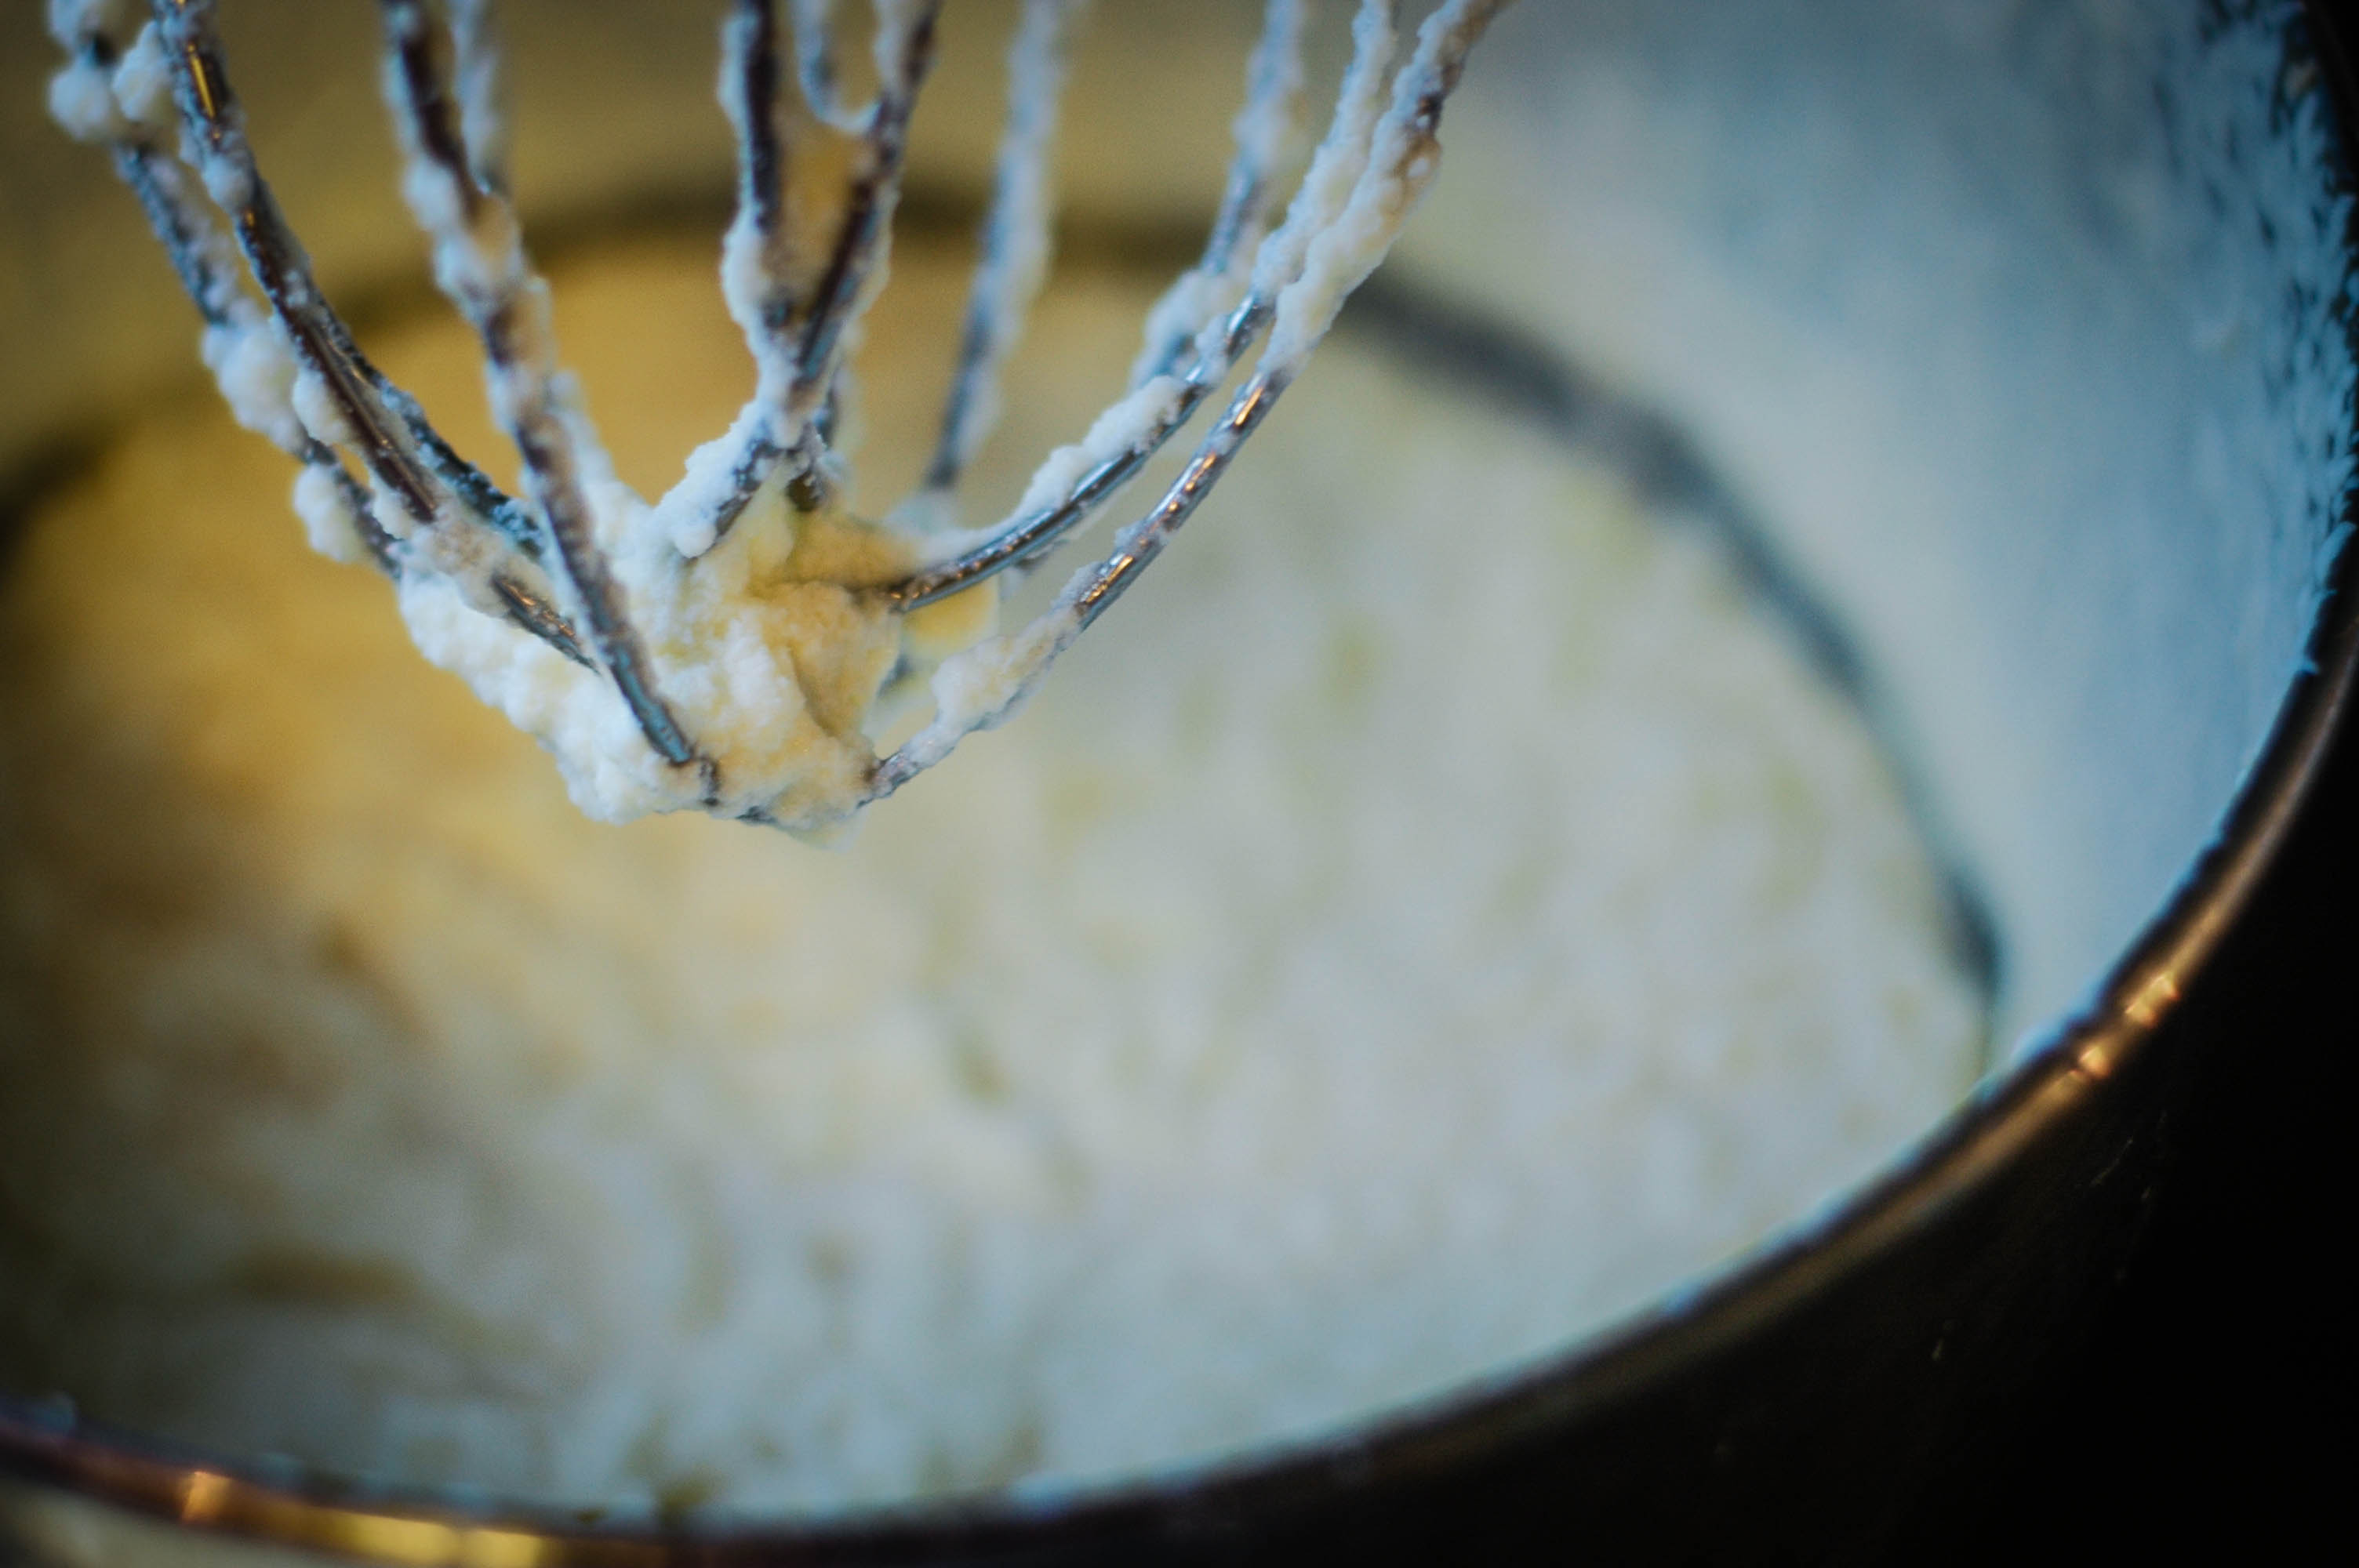
After a few minutes of mixing, you will notice the cream thickening and turning into whipped cream. Keep mixing until you start to see a noticeable yellowish liquid forming in the bowl – this is the buttermilk separating from the butterfat.
Continue mixing until the butterfat begins to clump together and separate from the liquid completely. This should take around 8-10 minutes of mixing, but this can vary depending on the speed and power of your mixer.
Once the butter has formed into clumps and separated from the buttermilk, it’s time to move on to the next step: separating the butter from the buttermilk.
Chill the cream and mixer bowl before starting. Whip the cream on medium-high speed until it separates into butter and buttermilk. Rinse the butter under cold water and knead to remove excess liquid. Enjoy your homemade butter!
Step 3: Separating the Butter from Buttermilk
After mixing the cream in the mixer, you’ll now need to separate the butter from the buttermilk. This step involves straining out the liquid and retaining the butterfat.
Place a fine-mesh strainer or cheesecloth over a bowl or sink. Slowly pour the contents of the mixing bowl into the strainer, allowing the buttermilk to drain out. Gently press down on the clumps of butter to remove any excess liquid.
Once the majority of the buttermilk has been strained out, transfer the butter to a clean bowl or surface. Be careful not to squeeze or knead the butter too much at this point, as you want to keep it in clumps for the next step.
If you’re using cheesecloth, you can gather the corners of the cloth and squeeze out any remaining buttermilk from the butter. This will help to remove any excess liquid and prevent the butter from spoiling quickly.
Now that you have separated the butter from the buttermilk, it’s time to move on to the next step: washing the butter.
Step 4: Washing the Butter
In this step, we’ll wash the butter to remove any remaining buttermilk. Washing the butter helps to improve its shelf life and prevents it from turning rancid quickly.
Fill a bowl with cold water. Take the clumps of butter and submerge them in the water. Gently knead and squeeze the butter in the water, allowing the water to turn cloudy. This will help to remove any traces of buttermilk that may still be clinging to the butter.
Drain the cloudy water and repeat the washing process until the water remains clear. This usually takes about 2-3 washes. By the end of washing, the butter will have a clean, creamy appearance.
Once you’re satisfied with the cleanliness of the butter, it’s time to move on to the next and final step: shaping and storing the butter.
But before that, if you prefer salted butter, this is the point where you can add an additional pinch of salt to the washed butter and knead it gently to distribute the salt evenly.
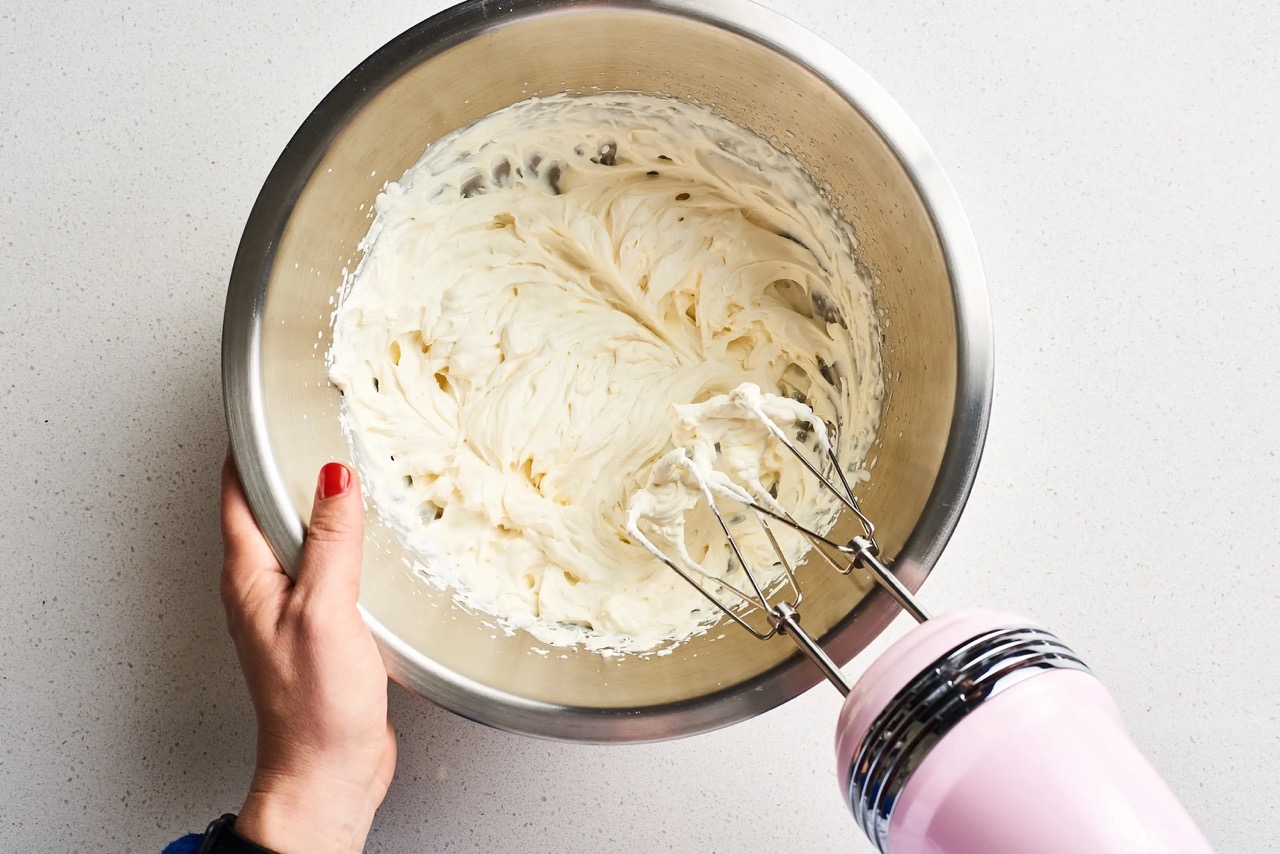
Step 5: Shaping and Storing the Butter
Now that you have washed the butter, it’s time to shape and store it for future use. Follow these steps to finish the process:
- Transfer the washed butter to a clean surface or bowl. Use a spatula or wooden spoon to gently press and shape the butter into a desired form. You can shape it into a block, roll, or any other shape that suits your preference.
- If you’re using a block or roll shape, wrap the butter tightly in plastic wrap or parchment paper. This will help to retain its freshness and prevent it from absorbing unwanted odors from the refrigerator.
- Place the wrapped butter in the refrigerator to firm up and further enhance its texture. Allow it to chill for at least one hour before using.
- Label the wrapped butter with the date of preparation to ensure freshness. Homemade butter can typically be stored in the refrigerator for up to a month, but it’s best to consume it within two weeks for optimal flavor.
Now that you have successfully made butter from cream using a mixer, you can enjoy the fruits of your labor! Use your homemade butter in recipes, spread it on bread, or simply savor it on its own.
Remember, although making butter from scratch is a fun and rewarding experience, it is important to handle and store the butter properly to maintain its quality. Enjoy the rich, creamy flavor of your homemade butter and experiment with different ingredients and seasonings to create your own unique variations.
Happy butter-making!
Tips and Tricks
Here are some helpful tips and tricks to ensure success when making butter from cream in a mixer:
- Make sure the cream is cold: Chilling the cream before mixing is crucial for achieving better separation of the butterfat from the liquid. Use cream straight from the refrigerator for best results.
- Don’t overmix: Be cautious not to overmix the cream, as this can result in a grainy texture in the butter. Once the butter has formed into clumps and separated from the buttermilk, stop mixing.
- Use a fine-mesh strainer or cheesecloth: To strain the buttermilk from the butter, use a fine-mesh strainer or cheesecloth. This will ensure you remove as much liquid as possible.
- Wash the butter thoroughly: Washing the butter helps to remove any remaining buttermilk, which helps extend its shelf life. Make sure to wash the butter in cold water until the water becomes clear.
- Add salt for flavor (optional): If you prefer salted butter, add a pinch of salt during the mixing process or after washing the butter. This will enhance the flavor of the butter.
- Experiment with flavors: Feel free to get creative and experiment with different flavors and seasonings. You can add herbs, spices, or even honey to the butter to create unique flavor combinations.
- Store the butter properly: Once shaped, wrap the butter tightly in plastic wrap or parchment paper and store it in the refrigerator. This will help to maintain its freshness and prevent it from absorbing unwanted odors.
By following these tips and tricks, you’ll be well on your way to making delicious homemade butter that can elevate your dishes and impress your family and friends.
Now go ahead and enjoy the fruits of your labor by incorporating your homemade butter into your favorite recipes!
Conclusion
Making butter from cream in a mixer is a simple and rewarding process that allows you to enjoy the rich, creamy flavor of homemade butter. With just a few steps and minimal equipment, you can transform ordinary cream into a delicious and versatile ingredient that can enhance the taste of any dish.
By chilling the cream, mixing it in the mixer, separating the butter from the buttermilk, washing the butter, and finally shaping and storing it, you can create your own batch of butter with ease. The process is not only enjoyable but also allows you to have full control over the ingredients and flavors of your butter.
Throughout the process, it’s important to remember a few key tips: keep the cream cold, avoid overmixing, strain out the buttermilk thoroughly, wash the butter to remove any remaining liquid, and store it properly to maintain its freshness.
Don’t be afraid to get creative and experiment with different flavors and seasonings. You can personalize your butter by adding herbs, spices, or even a touch of honey to create unique variations to suit your taste.
So why settle for store-bought butter when you can make your own from scratch? Whether you spread it on toast, use it in baking, or melt it over steamed vegetables, homemade butter is sure to impress with its unbeatable flavor and quality.
Enjoy the joy and satisfaction of creating your own butter, and savor the rich and creamy goodness it brings to your culinary creations. Happy butter-making!
Frequently Asked Questions about How To Make Butter From Cream In A Mixer
Was this page helpful?
At Storables.com, we guarantee accurate and reliable information. Our content, validated by Expert Board Contributors, is crafted following stringent Editorial Policies. We're committed to providing you with well-researched, expert-backed insights for all your informational needs.


0 thoughts on “How To Make Butter From Cream In A Mixer”