Home>Kitchen & Cooking>Kitchen Gadgets & Utensils>How To Make Butter In A Stand Mixer
Kitchen Gadgets & Utensils
How To Make Butter In A Stand Mixer
Modified: August 23, 2024
Learn how to make butter in a stand mixer with this easy tutorial. Discover the best kitchen gadgets and utensils for the job. Perfect your homemade butter today!
(Many of the links in this article redirect to a specific reviewed product. Your purchase of these products through affiliate links helps to generate commission for Storables.com, at no extra cost. Learn more)
**
Introduction
**
Welcome to the wonderful world of homemade butter! There's something truly magical about transforming a humble ingredient like cream into a rich and flavorful spread that elevates everything it touches. In this guide, we'll explore the delightful process of making butter using a stand mixer, a convenient and efficient method that yields delicious results.
The beauty of making butter at home is not just the unparalleled freshness and flavor it offers, but also the sense of connection to tradition and craftsmanship. As you embark on this culinary adventure, you'll discover the joy of creating a staple ingredient from scratch and gain a deeper appreciation for the art of food preparation.
Whether you're a seasoned home cook or a newcomer to the world of DIY kitchen creations, learning how to make butter in a stand mixer is a rewarding experience that's sure to impress your taste buds and inspire your culinary creativity. So, roll up your sleeves, gather your ingredients, and let's dive into the delightful process of crafting your very own creamy, velvety butter.
Key Takeaways:
- Making butter in a stand mixer is a fun and rewarding process that transforms cream into a delicious spread. With just a few ingredients and simple steps, you can create your own velvety butter at home.
- Don’t throw away the buttermilk! It can be used in baking, marinades, or dressings. Experiment with flavors, textures, and presentations to make your homemade butter truly unique and delightful.
Read more: How To Make Butter In Kitchenaid Mixer
Ingredients
Before embarking on your butter-making journey, it's essential to gather the key ingredients that will transform ordinary cream into a delectable spread. Here are the simple yet essential components you'll need:
- Fresh Heavy Cream: The star of the show, high-quality heavy cream is the primary ingredient for making butter. Look for fresh, high-fat content cream to achieve the best results.
- Sea Salt (Optional): For those who enjoy a hint of savory flavor in their butter, a pinch of sea salt can be added to enhance the taste.
That's it! With just one or two basic ingredients, you're well on your way to creating your very own batch of creamy, luscious butter. Now, let's move on to the equipment you'll need to bring this delightful endeavor to life.
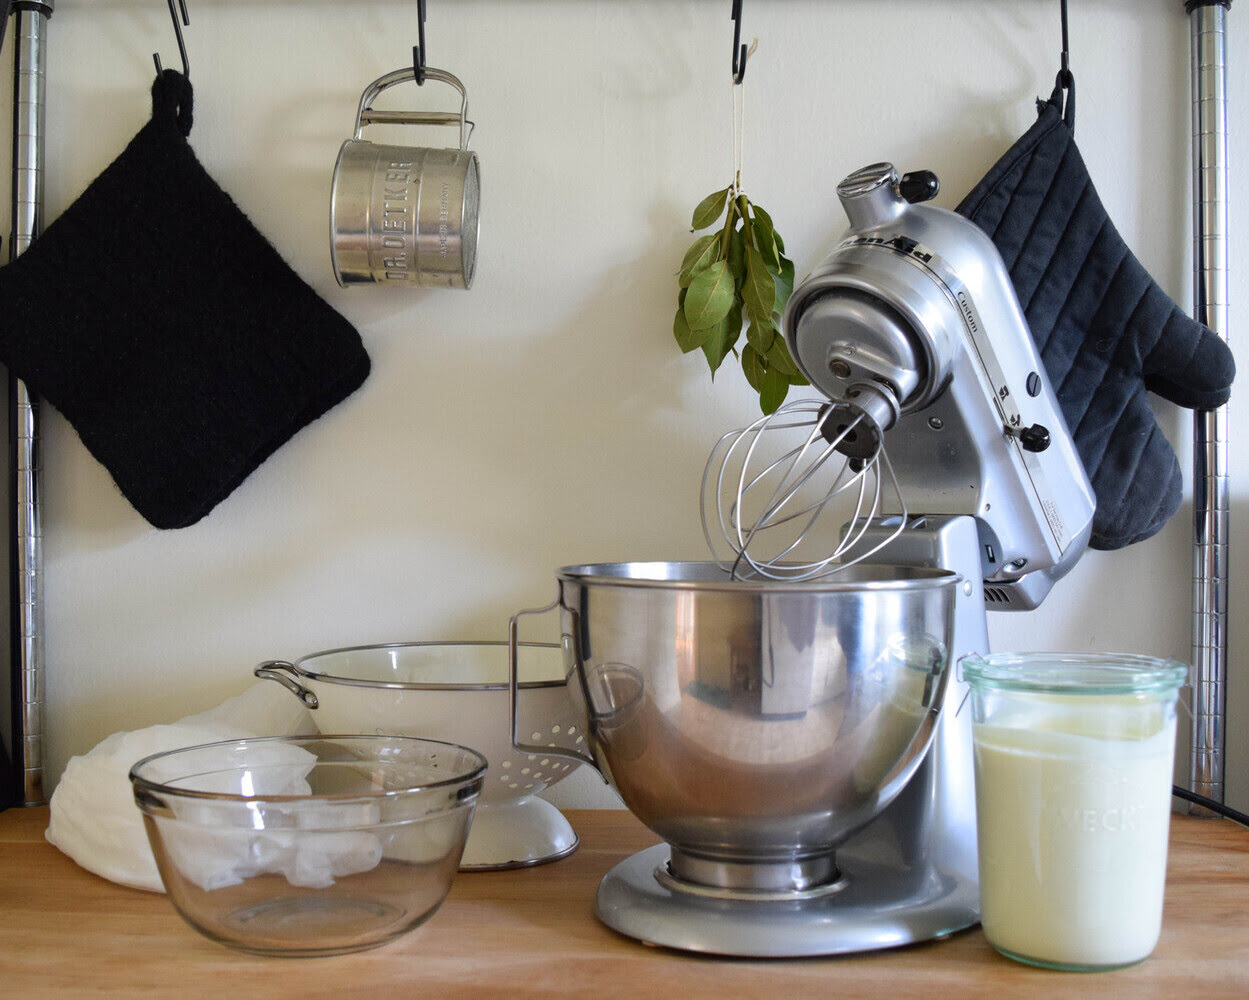
Equipment Needed
Now that you have your ingredients ready, it's time to gather the essential equipment for making butter in a stand mixer. Here's what you'll need:
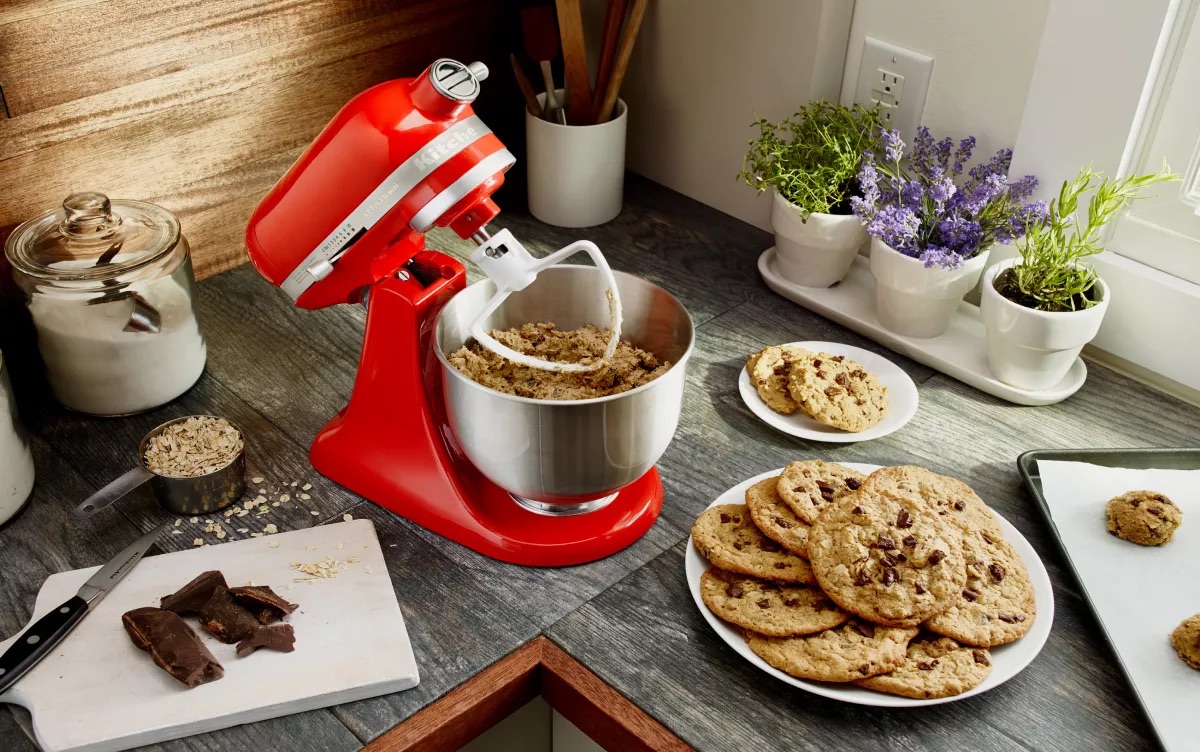
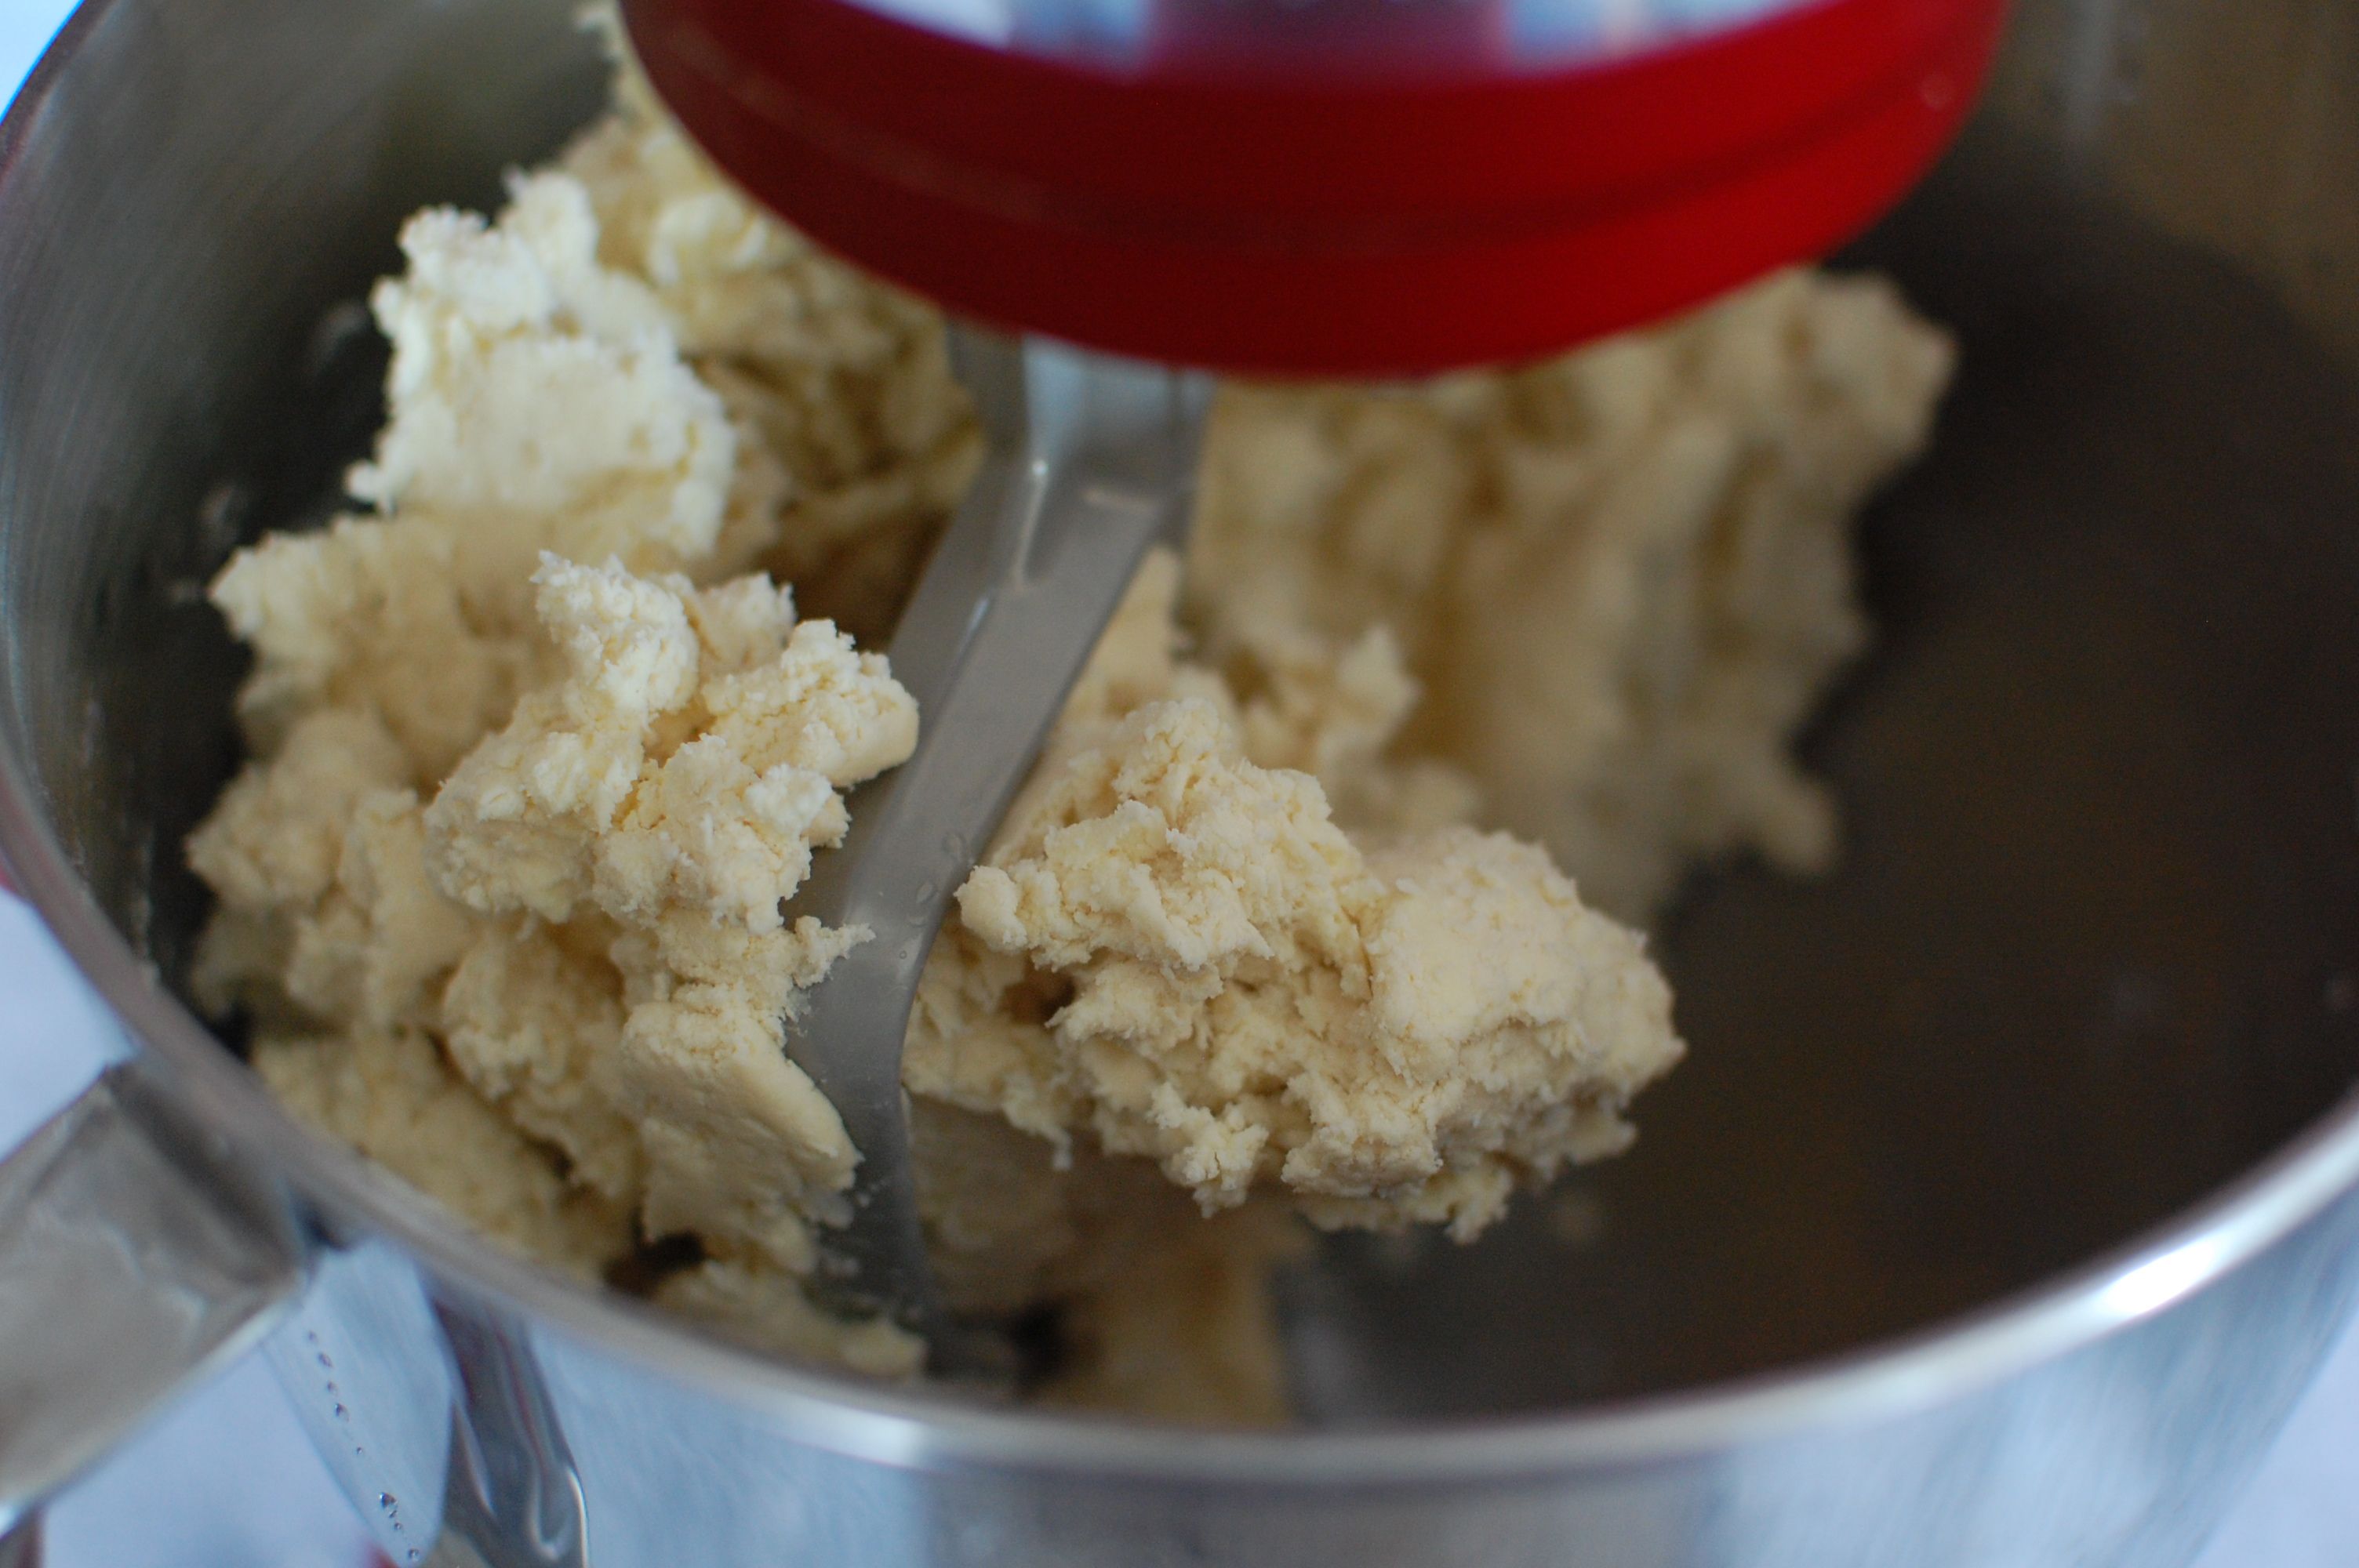
- Stand Mixer: A reliable stand mixer will serve as the powerhouse for churning the cream into butter. Ensure that the mixer is equipped with a whisk or paddle attachment for optimal results.
- Measuring Cup: A measuring cup is handy for accurately portioning the heavy cream, ensuring consistency in your butter-making process.
- Spatula: A flexible spatula will come in handy for scraping down the sides of the mixing bowl and ensuring that all the cream is thoroughly incorporated.
- Storage Container: Once your butter is ready, you'll need a clean, airtight container to store it in. Consider using a glass jar or a designated butter dish for convenient access.
With these basic tools at your disposal, you're well-equipped to embark on your butter-making adventure. Now, let's dive into the exciting process of transforming cream into velvety butter using your stand mixer.
To make butter in a stand mixer, use heavy cream and beat it on high speed until it separates into butter and buttermilk. Then, strain and rinse the butter to remove excess buttermilk.
Steps to Make Butter in a Stand Mixer
Now comes the exciting part – the step-by-step process of creating butter using a stand mixer. Follow these simple instructions to embark on your butter-making journey:
- Prepare the Stand Mixer: Begin by attaching the whisk or paddle attachment to your stand mixer. Ensure that the bowl and attachment are clean and dry before starting.
- Pour the Heavy Cream: Measure the desired amount of fresh heavy cream and pour it into the mixing bowl of the stand mixer.
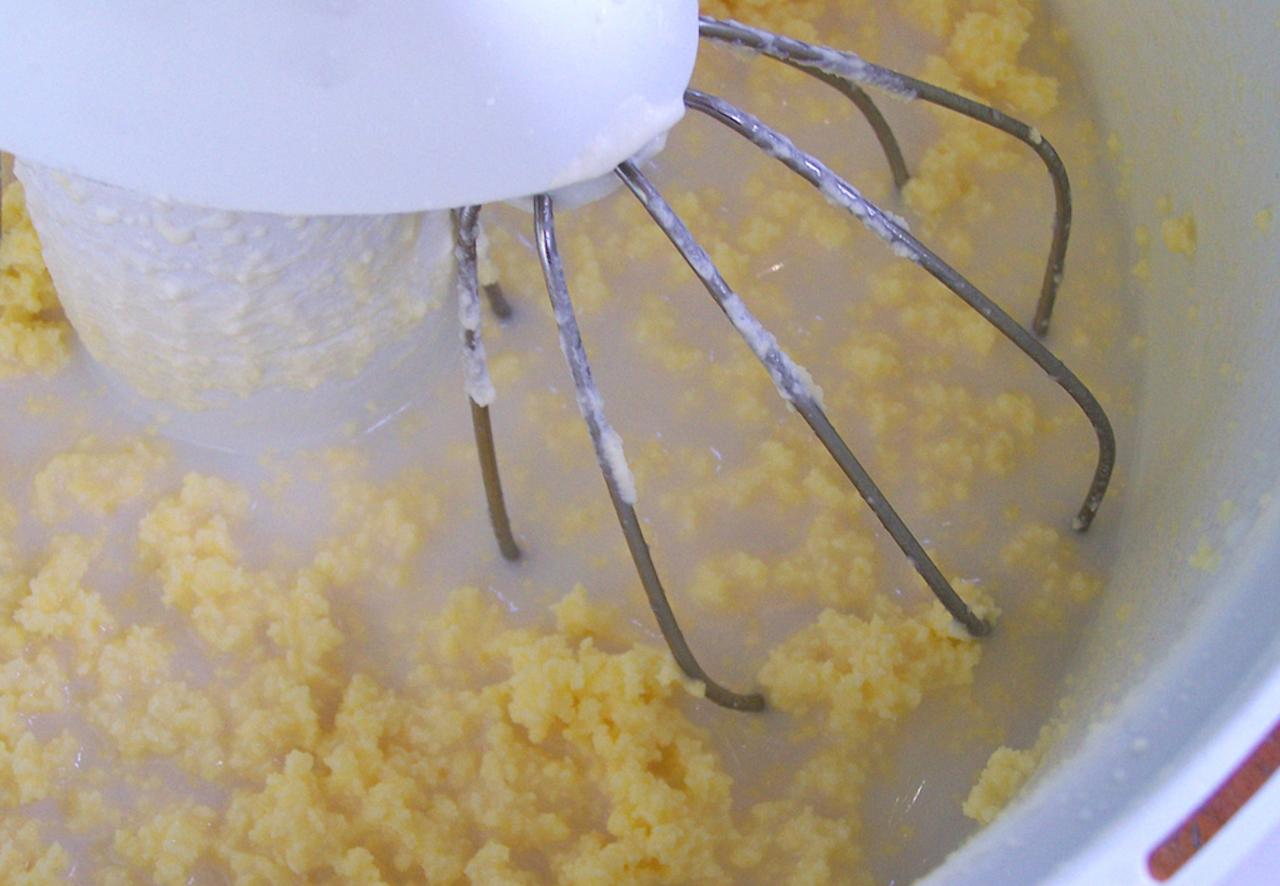
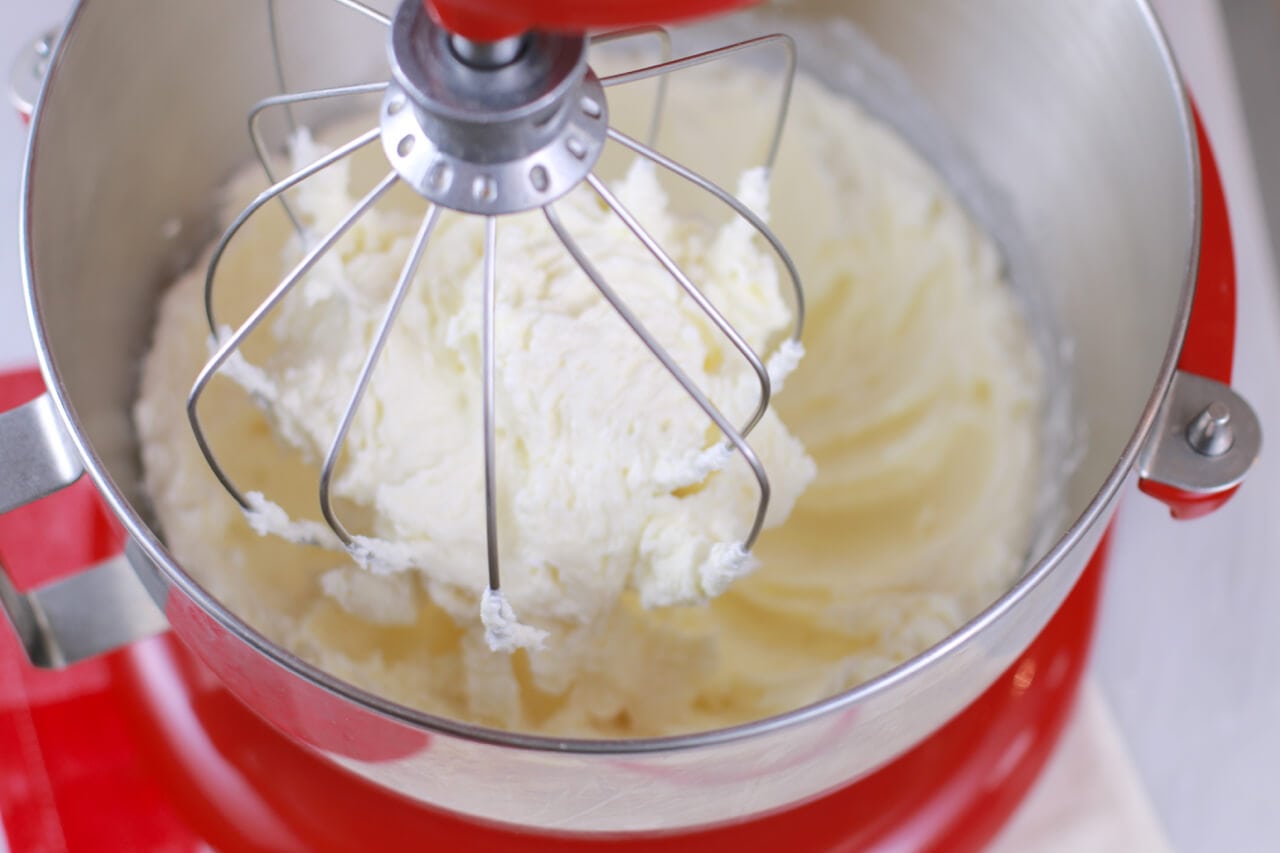
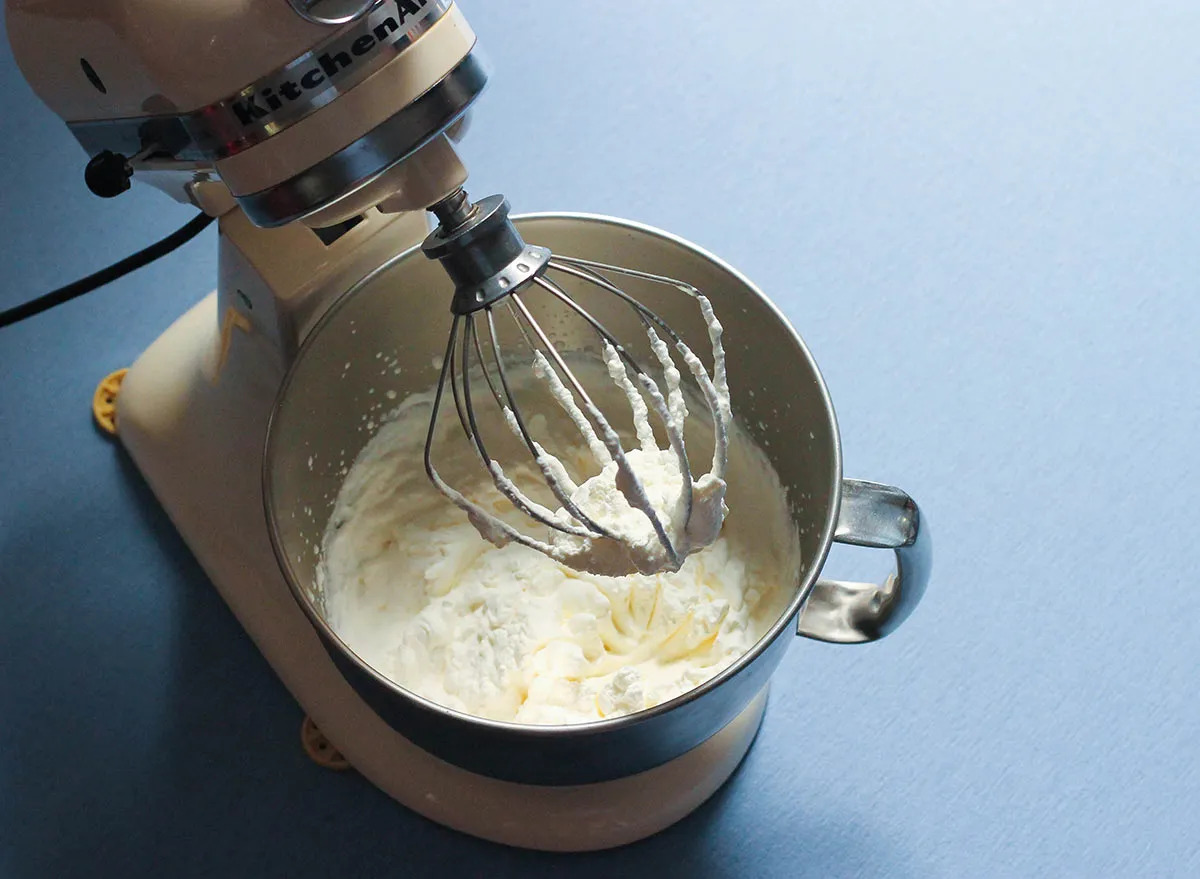
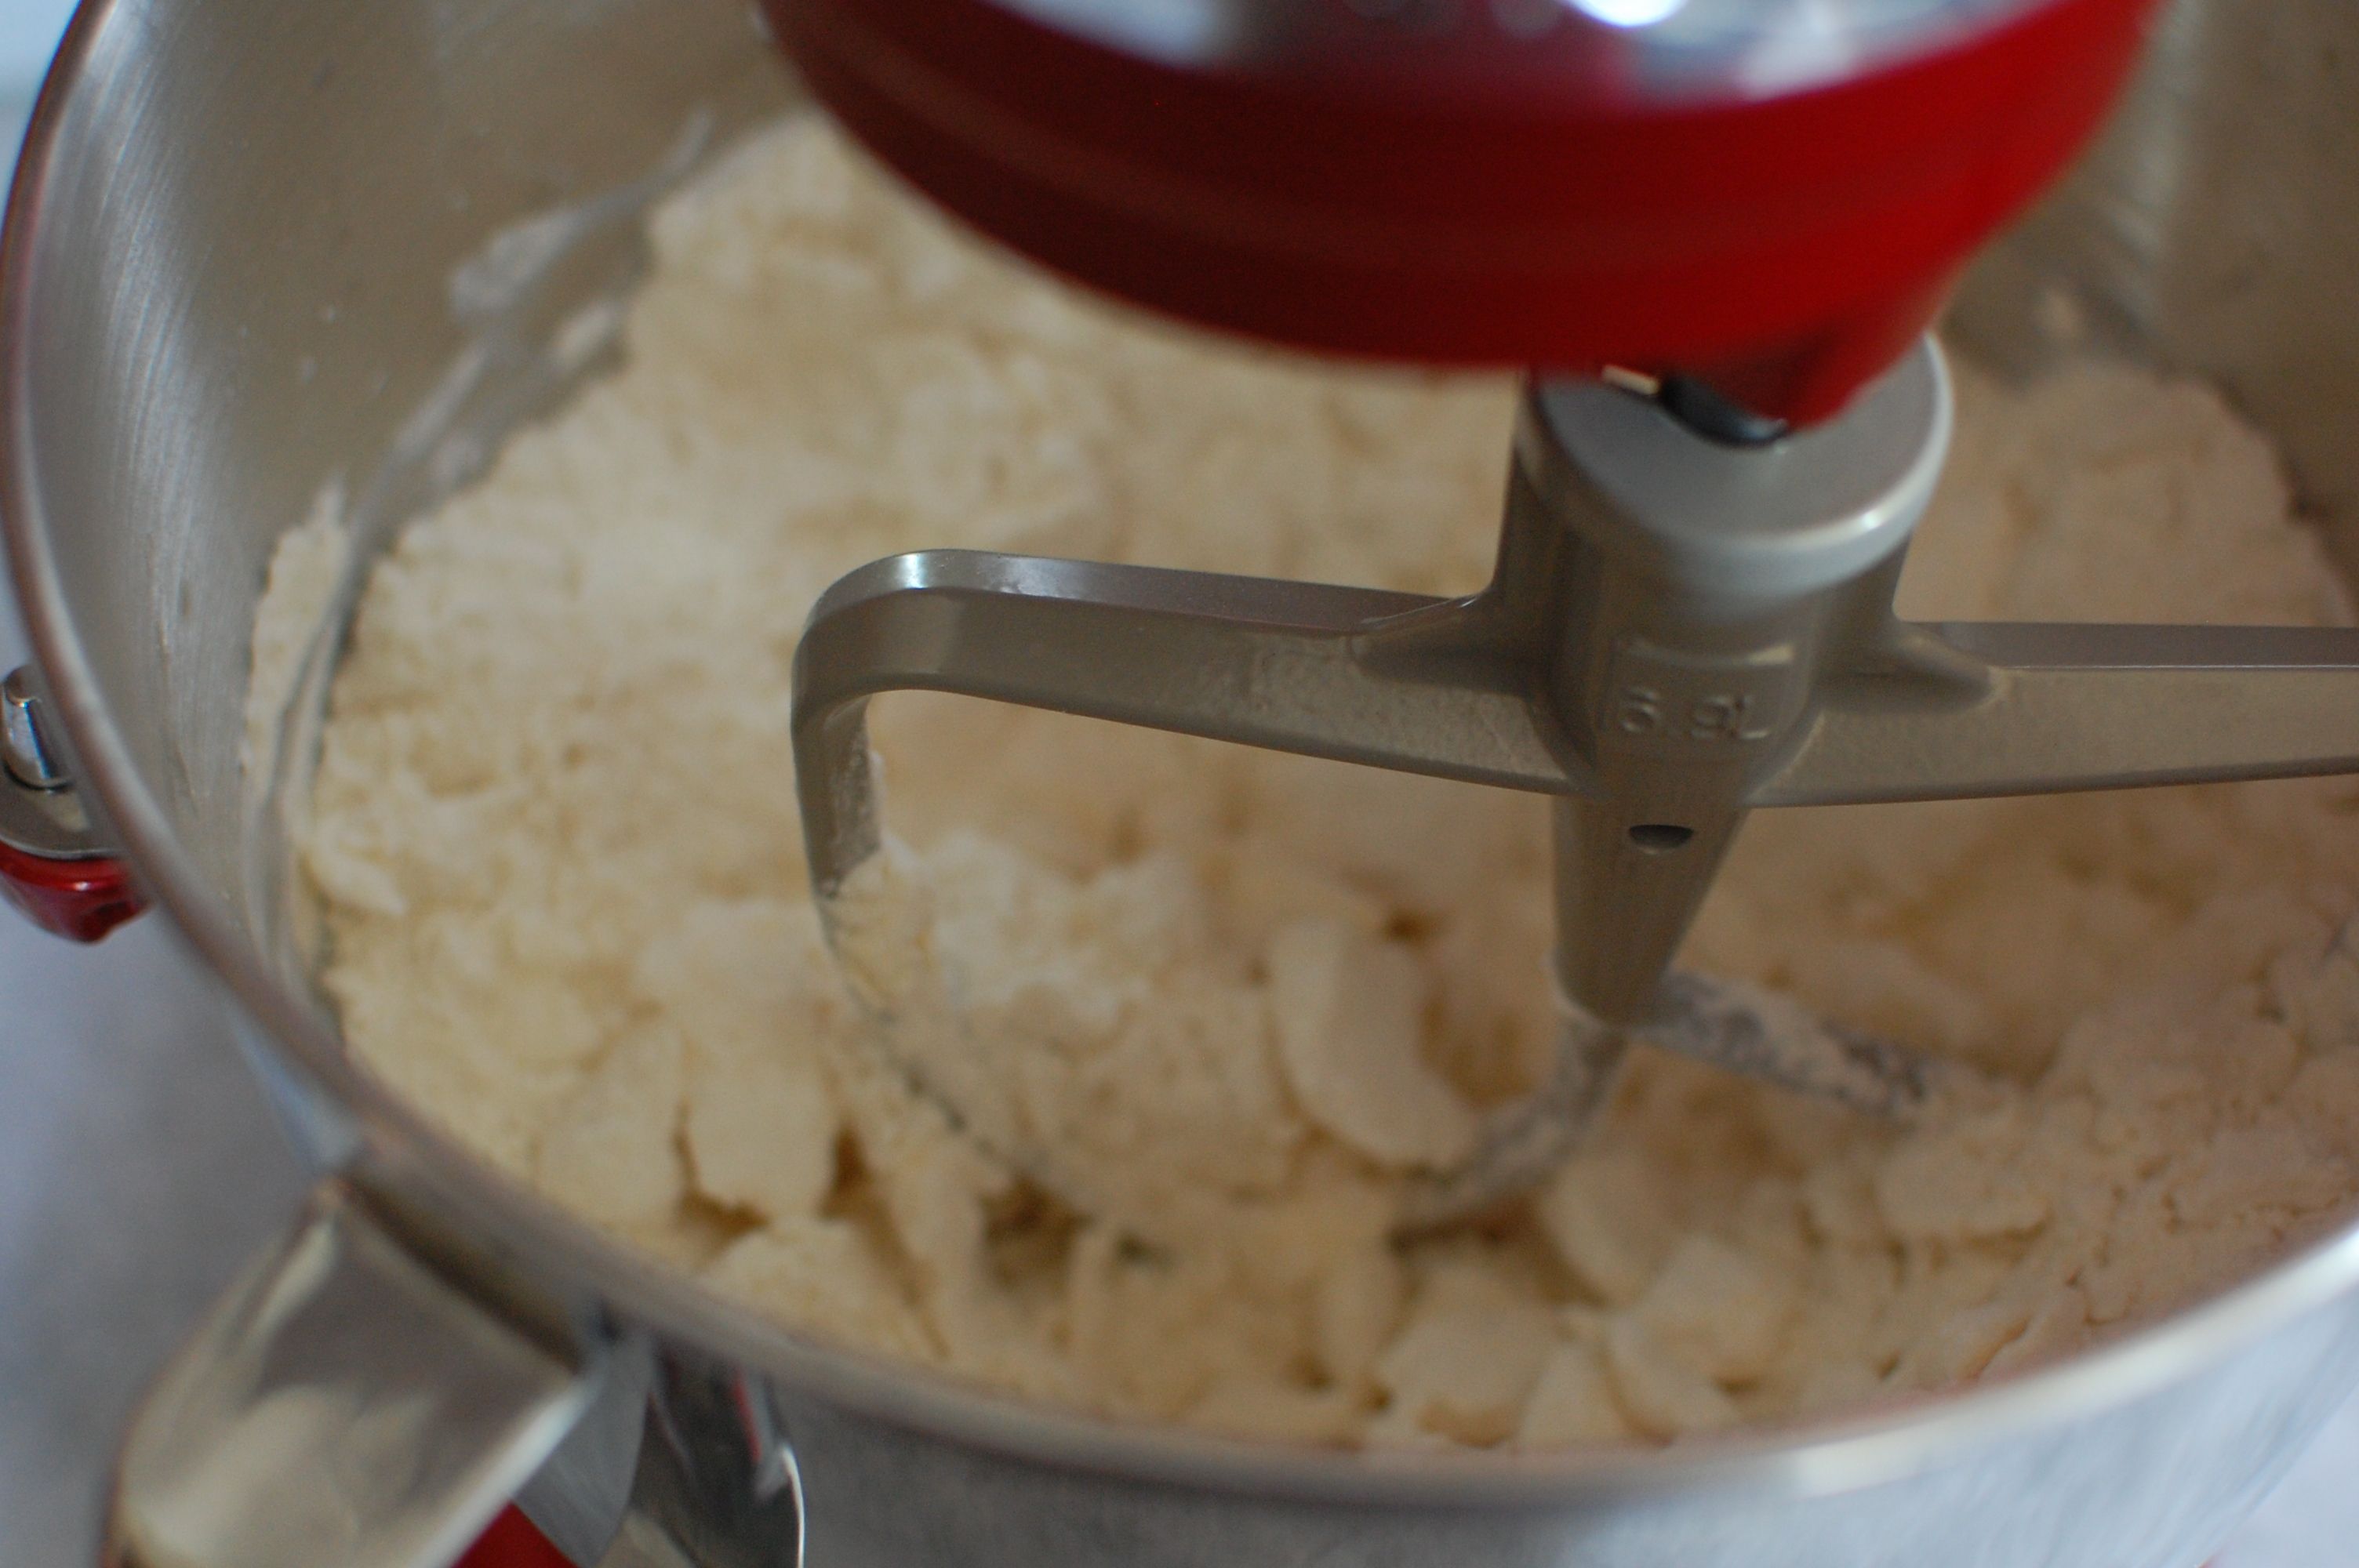
- Start Mixing: Set the stand mixer to a medium-high speed and begin whisking the cream. Initially, the cream will form soft peaks, resembling whipped cream. Continue mixing, and you will notice a transition from whipped cream to a thicker consistency.
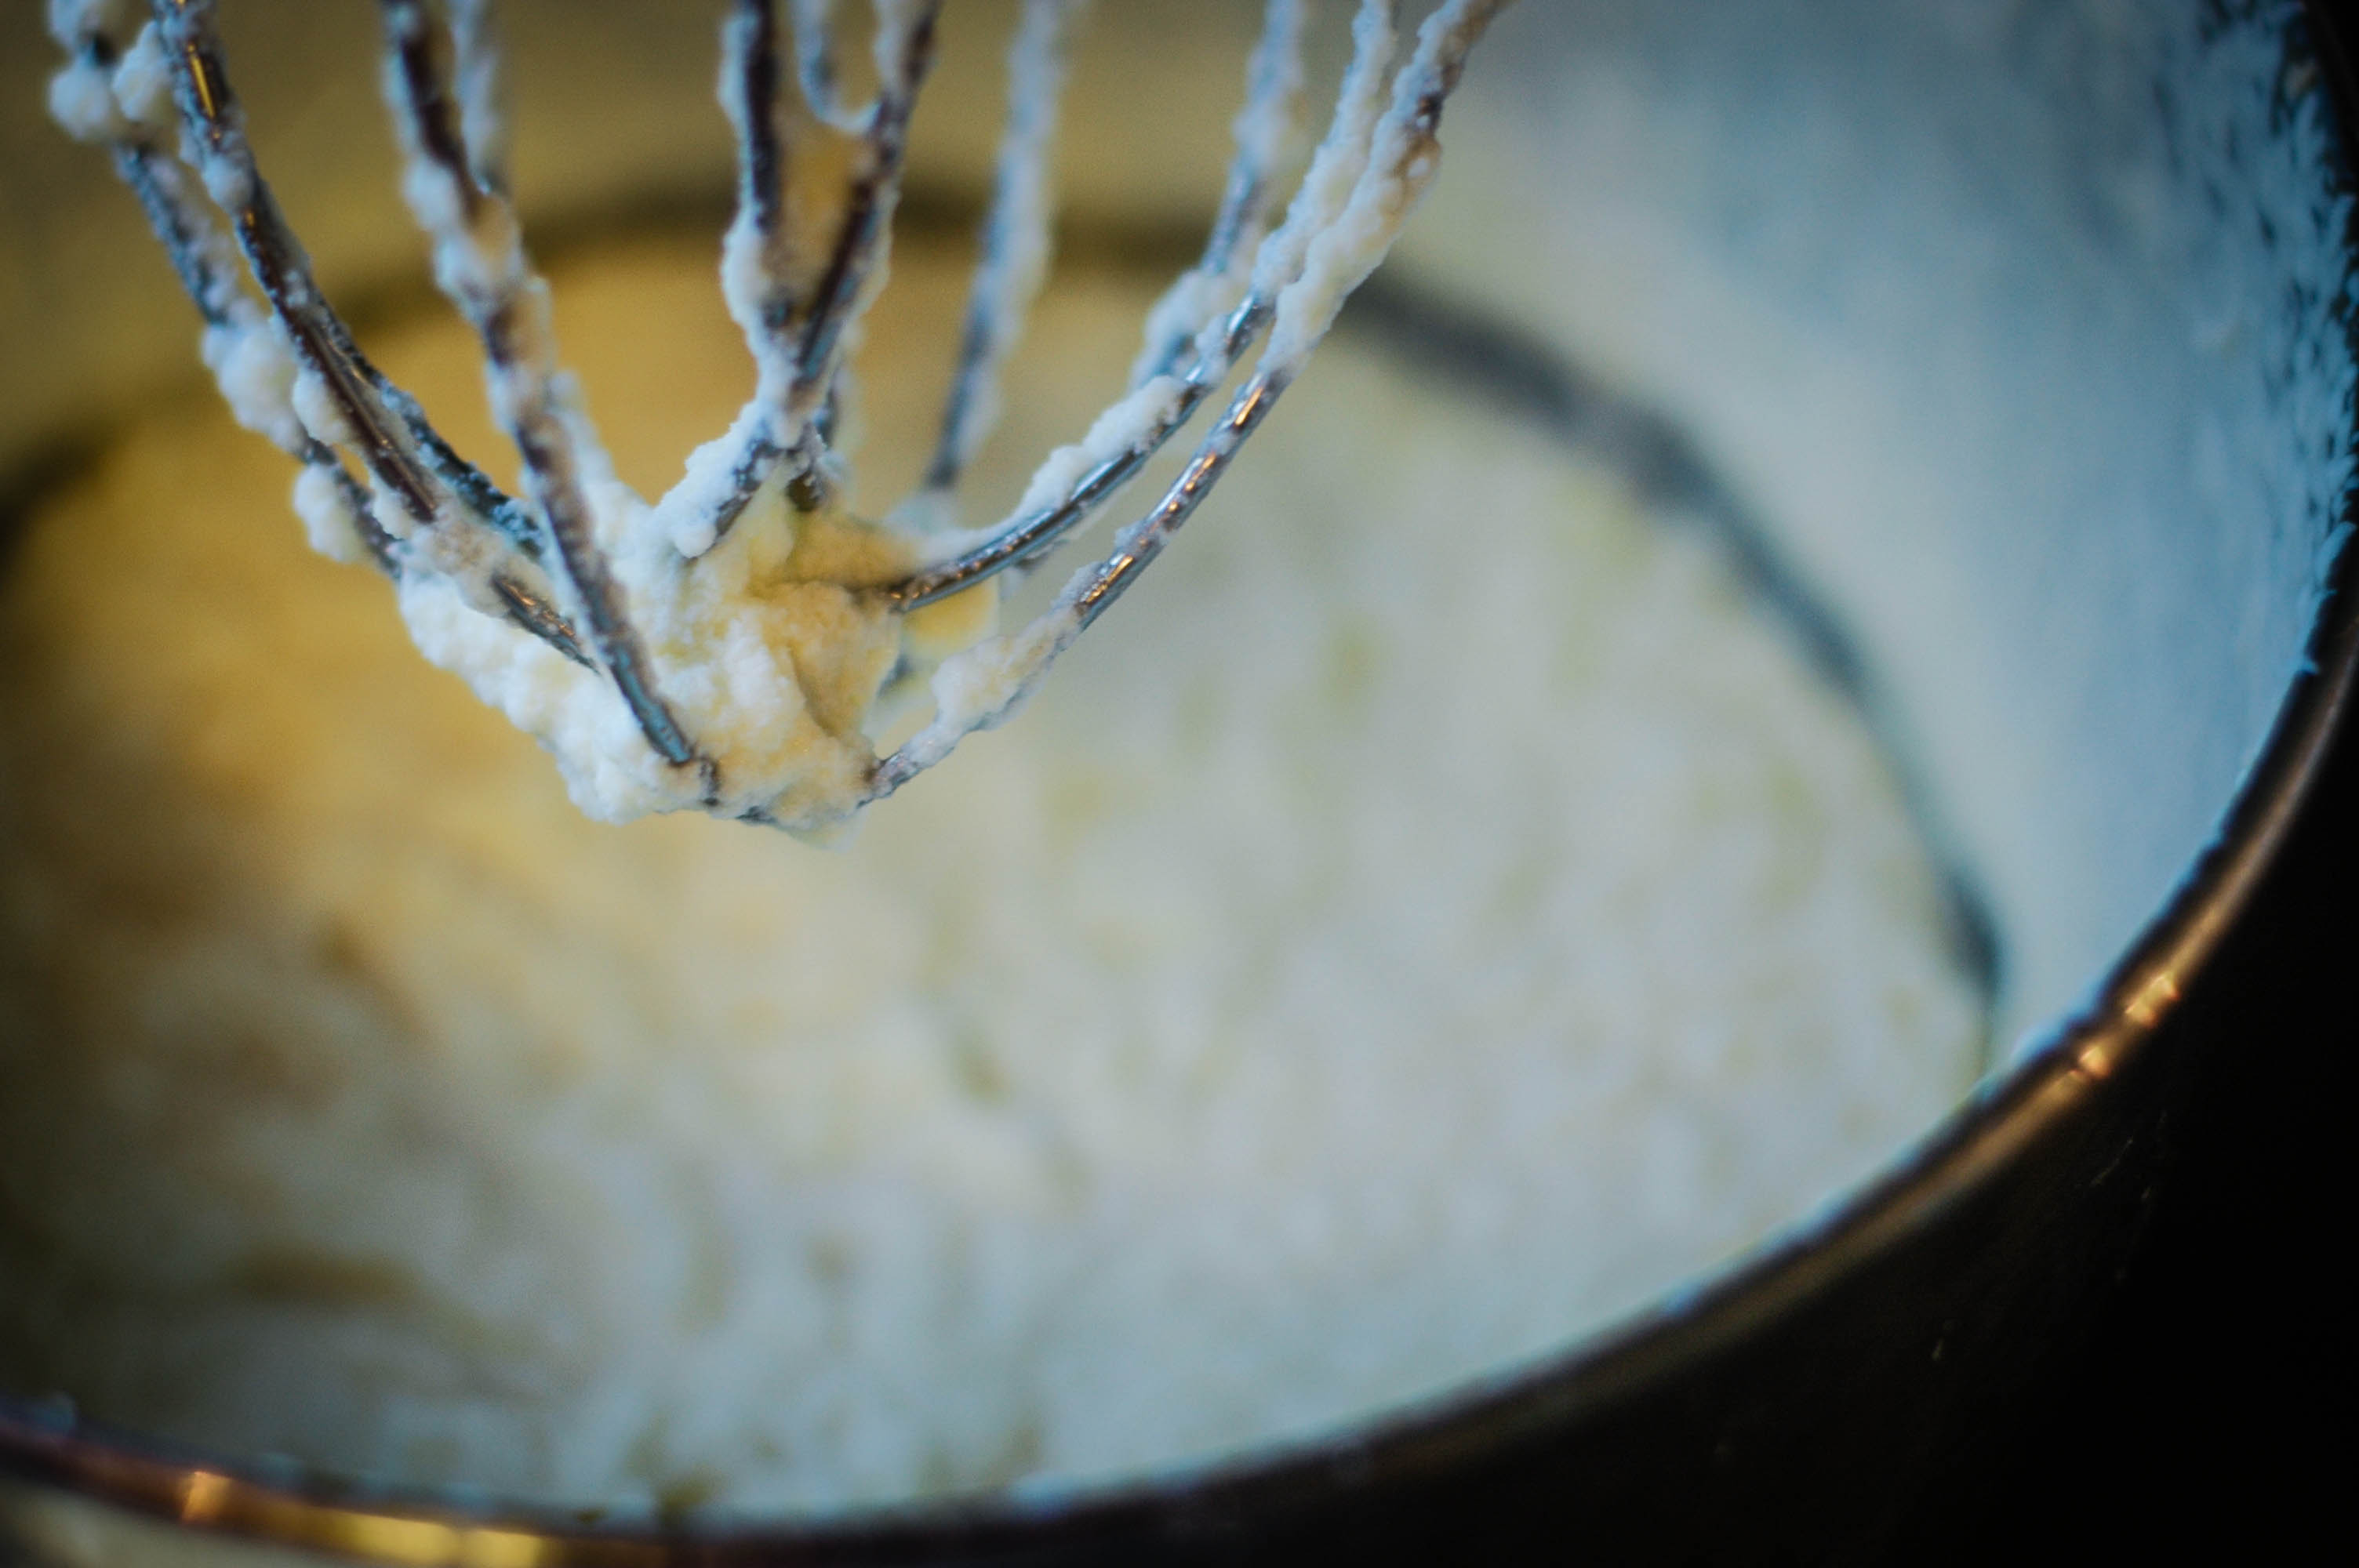
- Monitor the Progress: As the mixing continues, the cream will undergo a remarkable transformation. It will start to separate into butterfat and buttermilk. This process typically takes several minutes, so be patient as the magic unfolds.
- Drain the Buttermilk: Once the butterfat has visibly separated from the buttermilk, stop the mixer. Using a spatula, carefully transfer the butterfat to a fine-mesh strainer set over a bowl. Gently press the butterfat with the spatula to release any trapped buttermilk.
- Rinse the Butter: Rinse the butter under cold running water while gently kneading it with the spatula. This step helps remove any remaining buttermilk, which can cause the butter to spoil more quickly.
- Add Salt (Optional): If desired, sprinkle a pinch of sea salt over the butter and gently incorporate it for a subtle savory flavor.
- Store the Butter: Transfer the freshly made butter to a clean container or butter dish. Seal it tightly and refrigerate to maintain its freshness.
Voila! You have successfully transformed humble heavy cream into delectable, homemade butter using your trusty stand mixer. Now, let's explore some helpful tips and delightful variations to enhance your butter-making experience.
Tips and Variations
As you continue to explore the art of making butter in a stand mixer, consider these valuable tips and delightful variations to elevate your homemade butter-making experience:
- Quality Matters: Opt for high-quality, fresh heavy cream with a higher fat content for superior flavor and texture in your homemade butter.
- Buttermilk Utilization: Don’t discard the buttermilk produced during the butter-making process. It can be used in baking, marinades, or salad dressings for added richness and flavor.
- Custom Flavored Butters: Experiment with incorporating various herbs, spices, or honey into your butter for unique and flavorful variations. Try adding chopped herbs like rosemary or thyme for a savory twist, or honey for a sweet and indulgent spread.
- Texture Control: Adjust the mixing time in the stand mixer to achieve your preferred butter consistency, whether you prefer a softer, spreadable texture or a firmer, more structured form.
- Room Temperature Butter: For a softer texture and easier spreadability, allow your homemade butter to come to room temperature before serving.
- Artisanal Presentation: Consider shaping your butter into decorative molds or rolling it into logs before chilling to create visually appealing and artisanal presentations.
- Storage and Shelf Life: Properly store your homemade butter in an airtight container in the refrigerator. It can typically be kept for several weeks, but always check for signs of spoilage before use.
By incorporating these tips and exploring creative variations, you can infuse your homemade butter with unique flavors and textures, adding a delightful touch to your culinary creations. Now that you’ve mastered the art of making butter in a stand mixer and discovered ways to personalize your butter, it’s time to savor the fruits of your labor.
Read more: How To Make Butter From Cream In A Mixer
Conclusion
Congratulations on mastering the art of crafting delectable butter in a stand mixer! By transforming simple heavy cream into a velvety, flavorful spread, you’ve embarked on a delightful culinary journey that brings a sense of tradition and craftsmanship into your kitchen.
As you savor the fruits of your labor, take pride in the fact that you’ve created a staple ingredient from scratch, infusing it with your own personal touch and creativity. Whether you choose to enjoy your homemade butter on warm, freshly baked bread, incorporate it into your favorite recipes, or share it with loved ones, the satisfaction of crafting such a fundamental component of the culinary world is truly rewarding.
Remember, the journey of homemade butter-making doesn’t end here. Embrace the opportunity to experiment with different flavors, textures, and presentations, allowing your creativity to flourish and your culinary skills to evolve. From custom-flavored butters to artisanal presentations, there are endless possibilities to explore as you continue to hone your butter-making expertise.
So, the next time you reach for a creamy dollop of your homemade butter, revel in the knowledge that you’ve mastered a time-honored craft and added a touch of homemade goodness to your culinary repertoire. With each batch of butter you create, you’re not just making a delicious spread – you’re cultivating a connection to the art of food preparation and celebrating the joys of homemade goodness.
Now, armed with the knowledge, tips, and variations shared in this guide, continue to delight in the process of creating your very own homemade butter, infusing it with your unique flair and savoring every moment of this delightful culinary adventure.
Frequently Asked Questions about How To Make Butter In A Stand Mixer
Was this page helpful?
At Storables.com, we guarantee accurate and reliable information. Our content, validated by Expert Board Contributors, is crafted following stringent Editorial Policies. We're committed to providing you with well-researched, expert-backed insights for all your informational needs.


0 thoughts on “How To Make Butter In A Stand Mixer”