Articles
How To Make Butter In Kitchenaid Mixer
Modified: October 20, 2024
Learn how to make butter in your Kitchenaid mixer with this step-by-step guide. Find articles, tips, and tricks to achieve perfect homemade butter every time.
(Many of the links in this article redirect to a specific reviewed product. Your purchase of these products through affiliate links helps to generate commission for Storables.com, at no extra cost. Learn more)
Introduction
Butter adds a delicious richness to any dish and can elevate the flavors to a whole new level. While store-bought butter is readily available, there’s nothing quite like the satisfaction of making your own homemade butter. Not only does it allow you to have complete control over the ingredients, but it also gives you the opportunity to customize the flavors to your liking.
One of the easiest and most convenient methods to make butter at home is by using a KitchenAid mixer. The powerful motor and attachments of a KitchenAid mixer make the process quick and effortless. Whether you’re a seasoned home cook or a beginner in the kitchen, making butter in a KitchenAid mixer is an enjoyable experience that yields incredibly creamy and flavorful results.
In this article, we will take you through a step-by-step guide on how to make butter in a KitchenAid mixer. We will cover everything you need to know, from the required ingredients and equipment to the method of churning the cream, separating the butter and buttermilk, and adding optional seasonings. So, put on your apron and let’s get started on this delightful culinary adventure!
Key Takeaways:
- Elevate your culinary creations by making creamy, flavorful homemade butter in your KitchenAid mixer. Enjoy the satisfaction of creating something wonderful and the freedom to customize flavors to your liking.
- Embrace the delightful culinary adventure of making butter in a KitchenAid mixer. From churning cream to adding optional flavors, enjoy the hands-on process and savor the unmatched taste and quality of homemade butter.
Read more: How To Make Butter In A Stand Mixer
Required Ingredients and Equipment
Before diving into the process of making butter in a KitchenAid mixer, let’s gather all the necessary ingredients and equipment:
- Fresh heavy cream: Aim for a high-quality heavy cream with a high fat content. The higher the fat content, the creamier and richer your butter will be. You can use pasteurized or unpasteurized cream, depending on your preference.
- Salt (optional): If you prefer salted butter, you can add a pinch of salt to enhance the flavor. Use a fine-grained salt like kosher or sea salt.
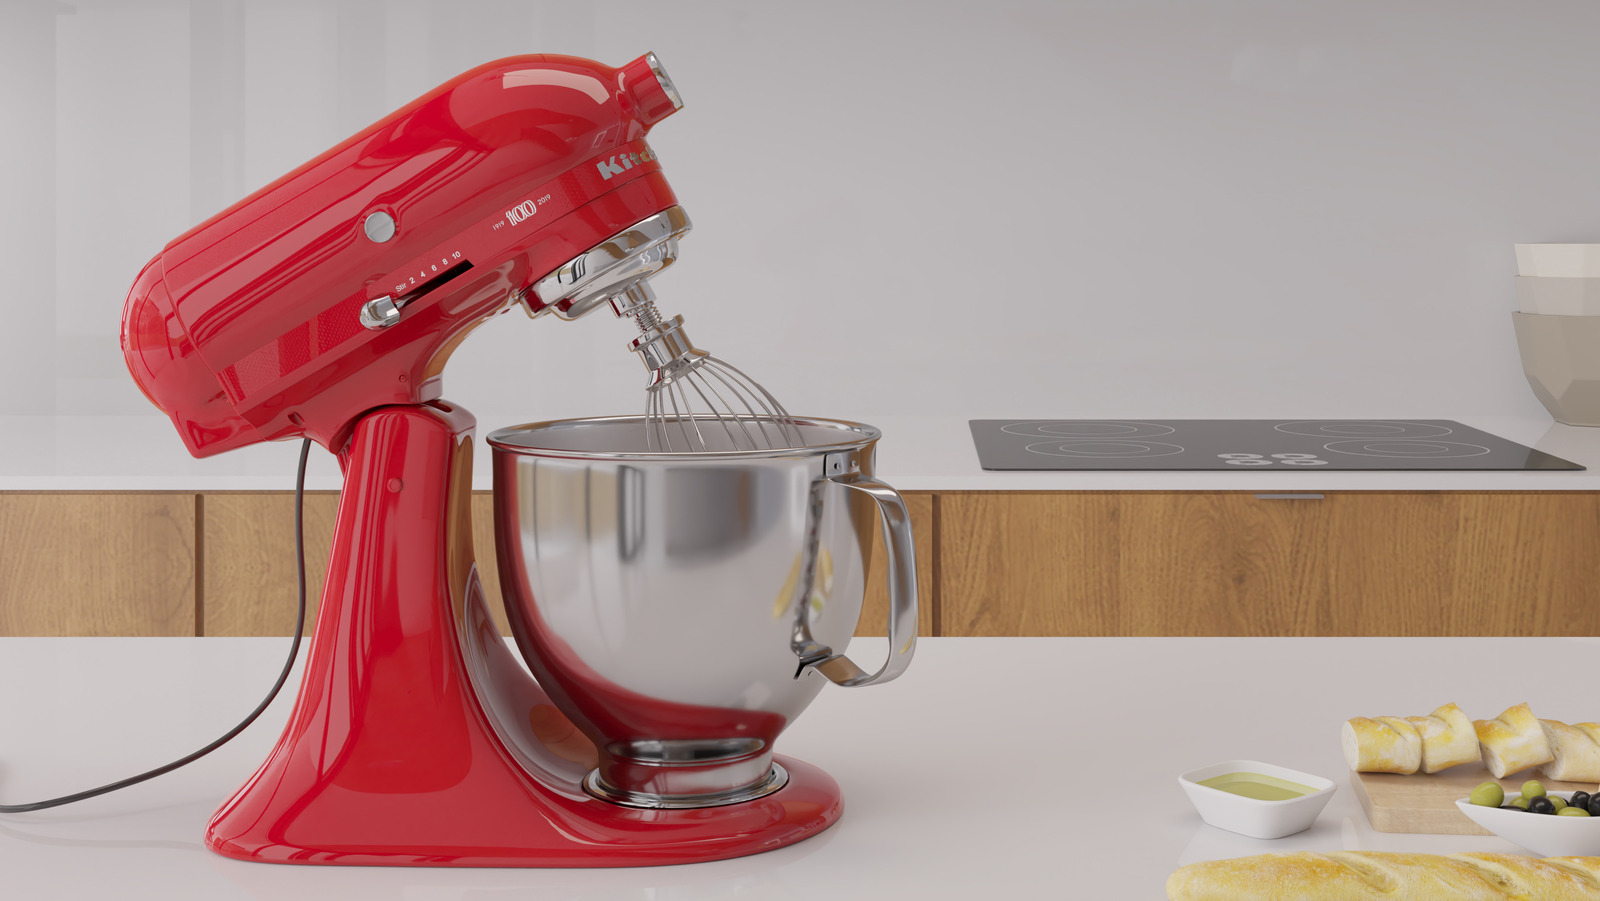
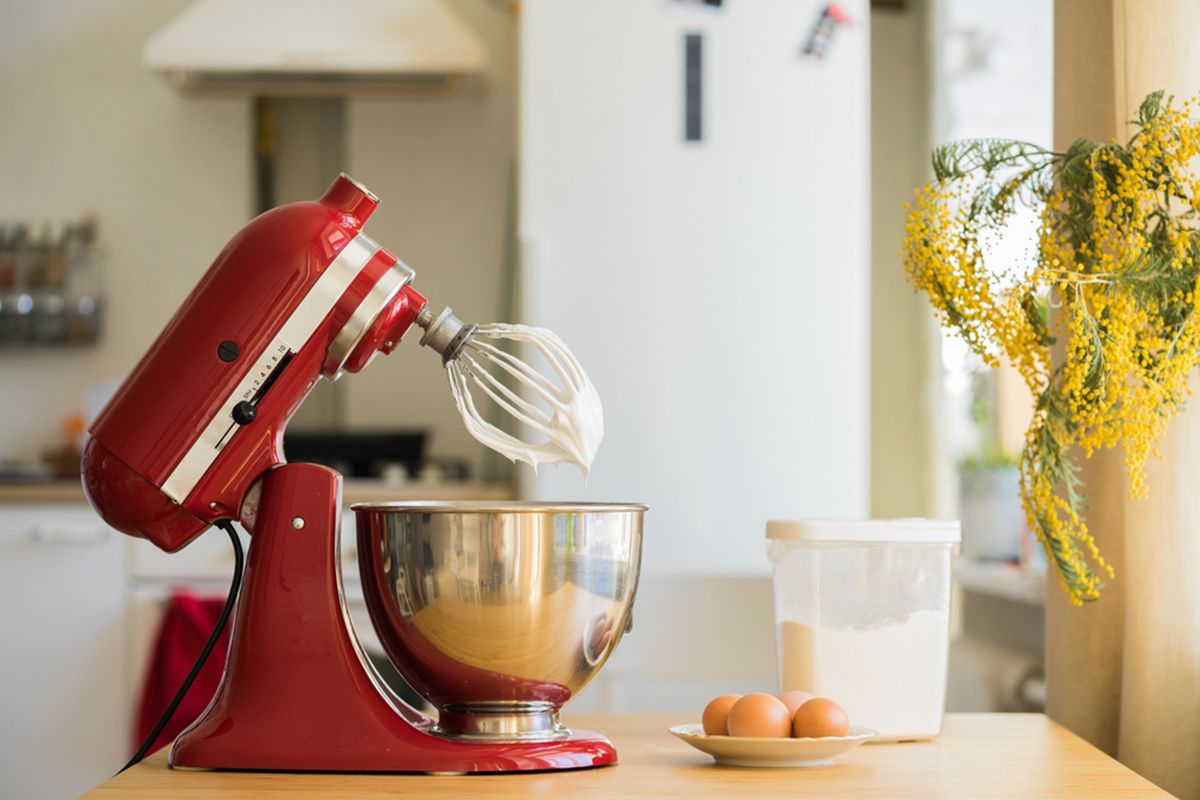
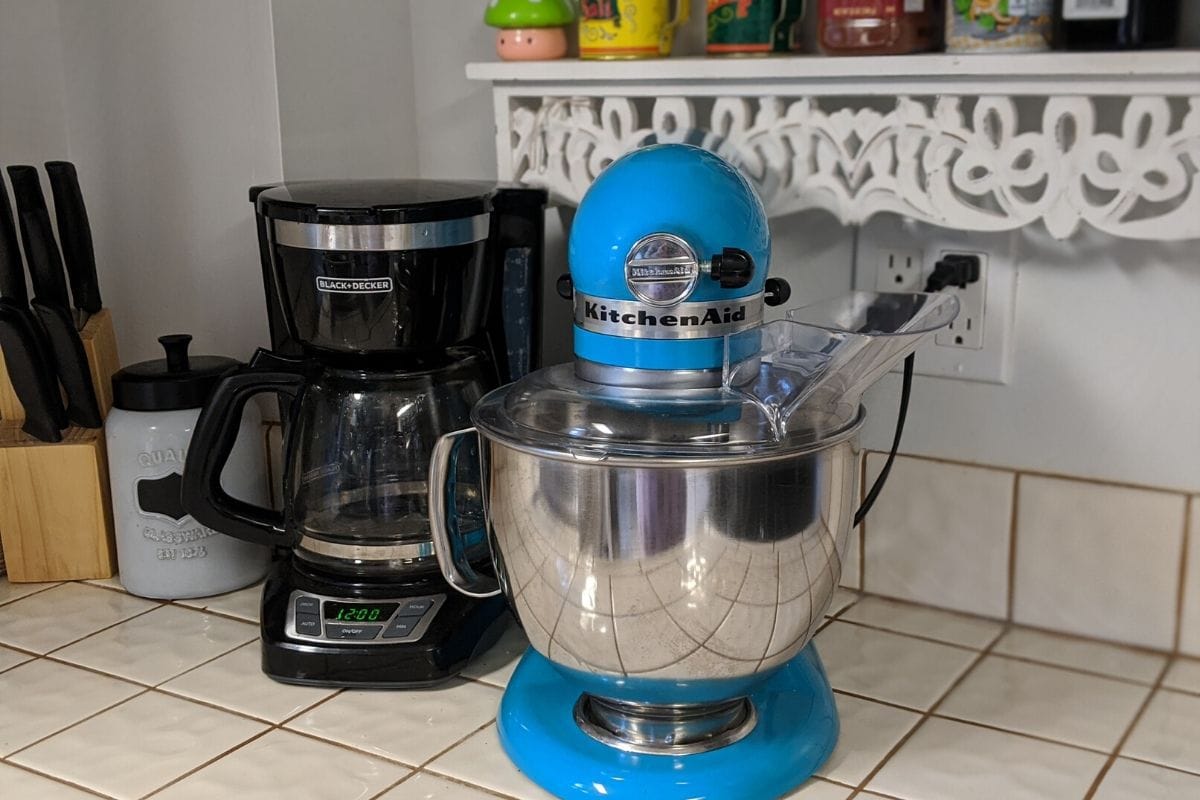
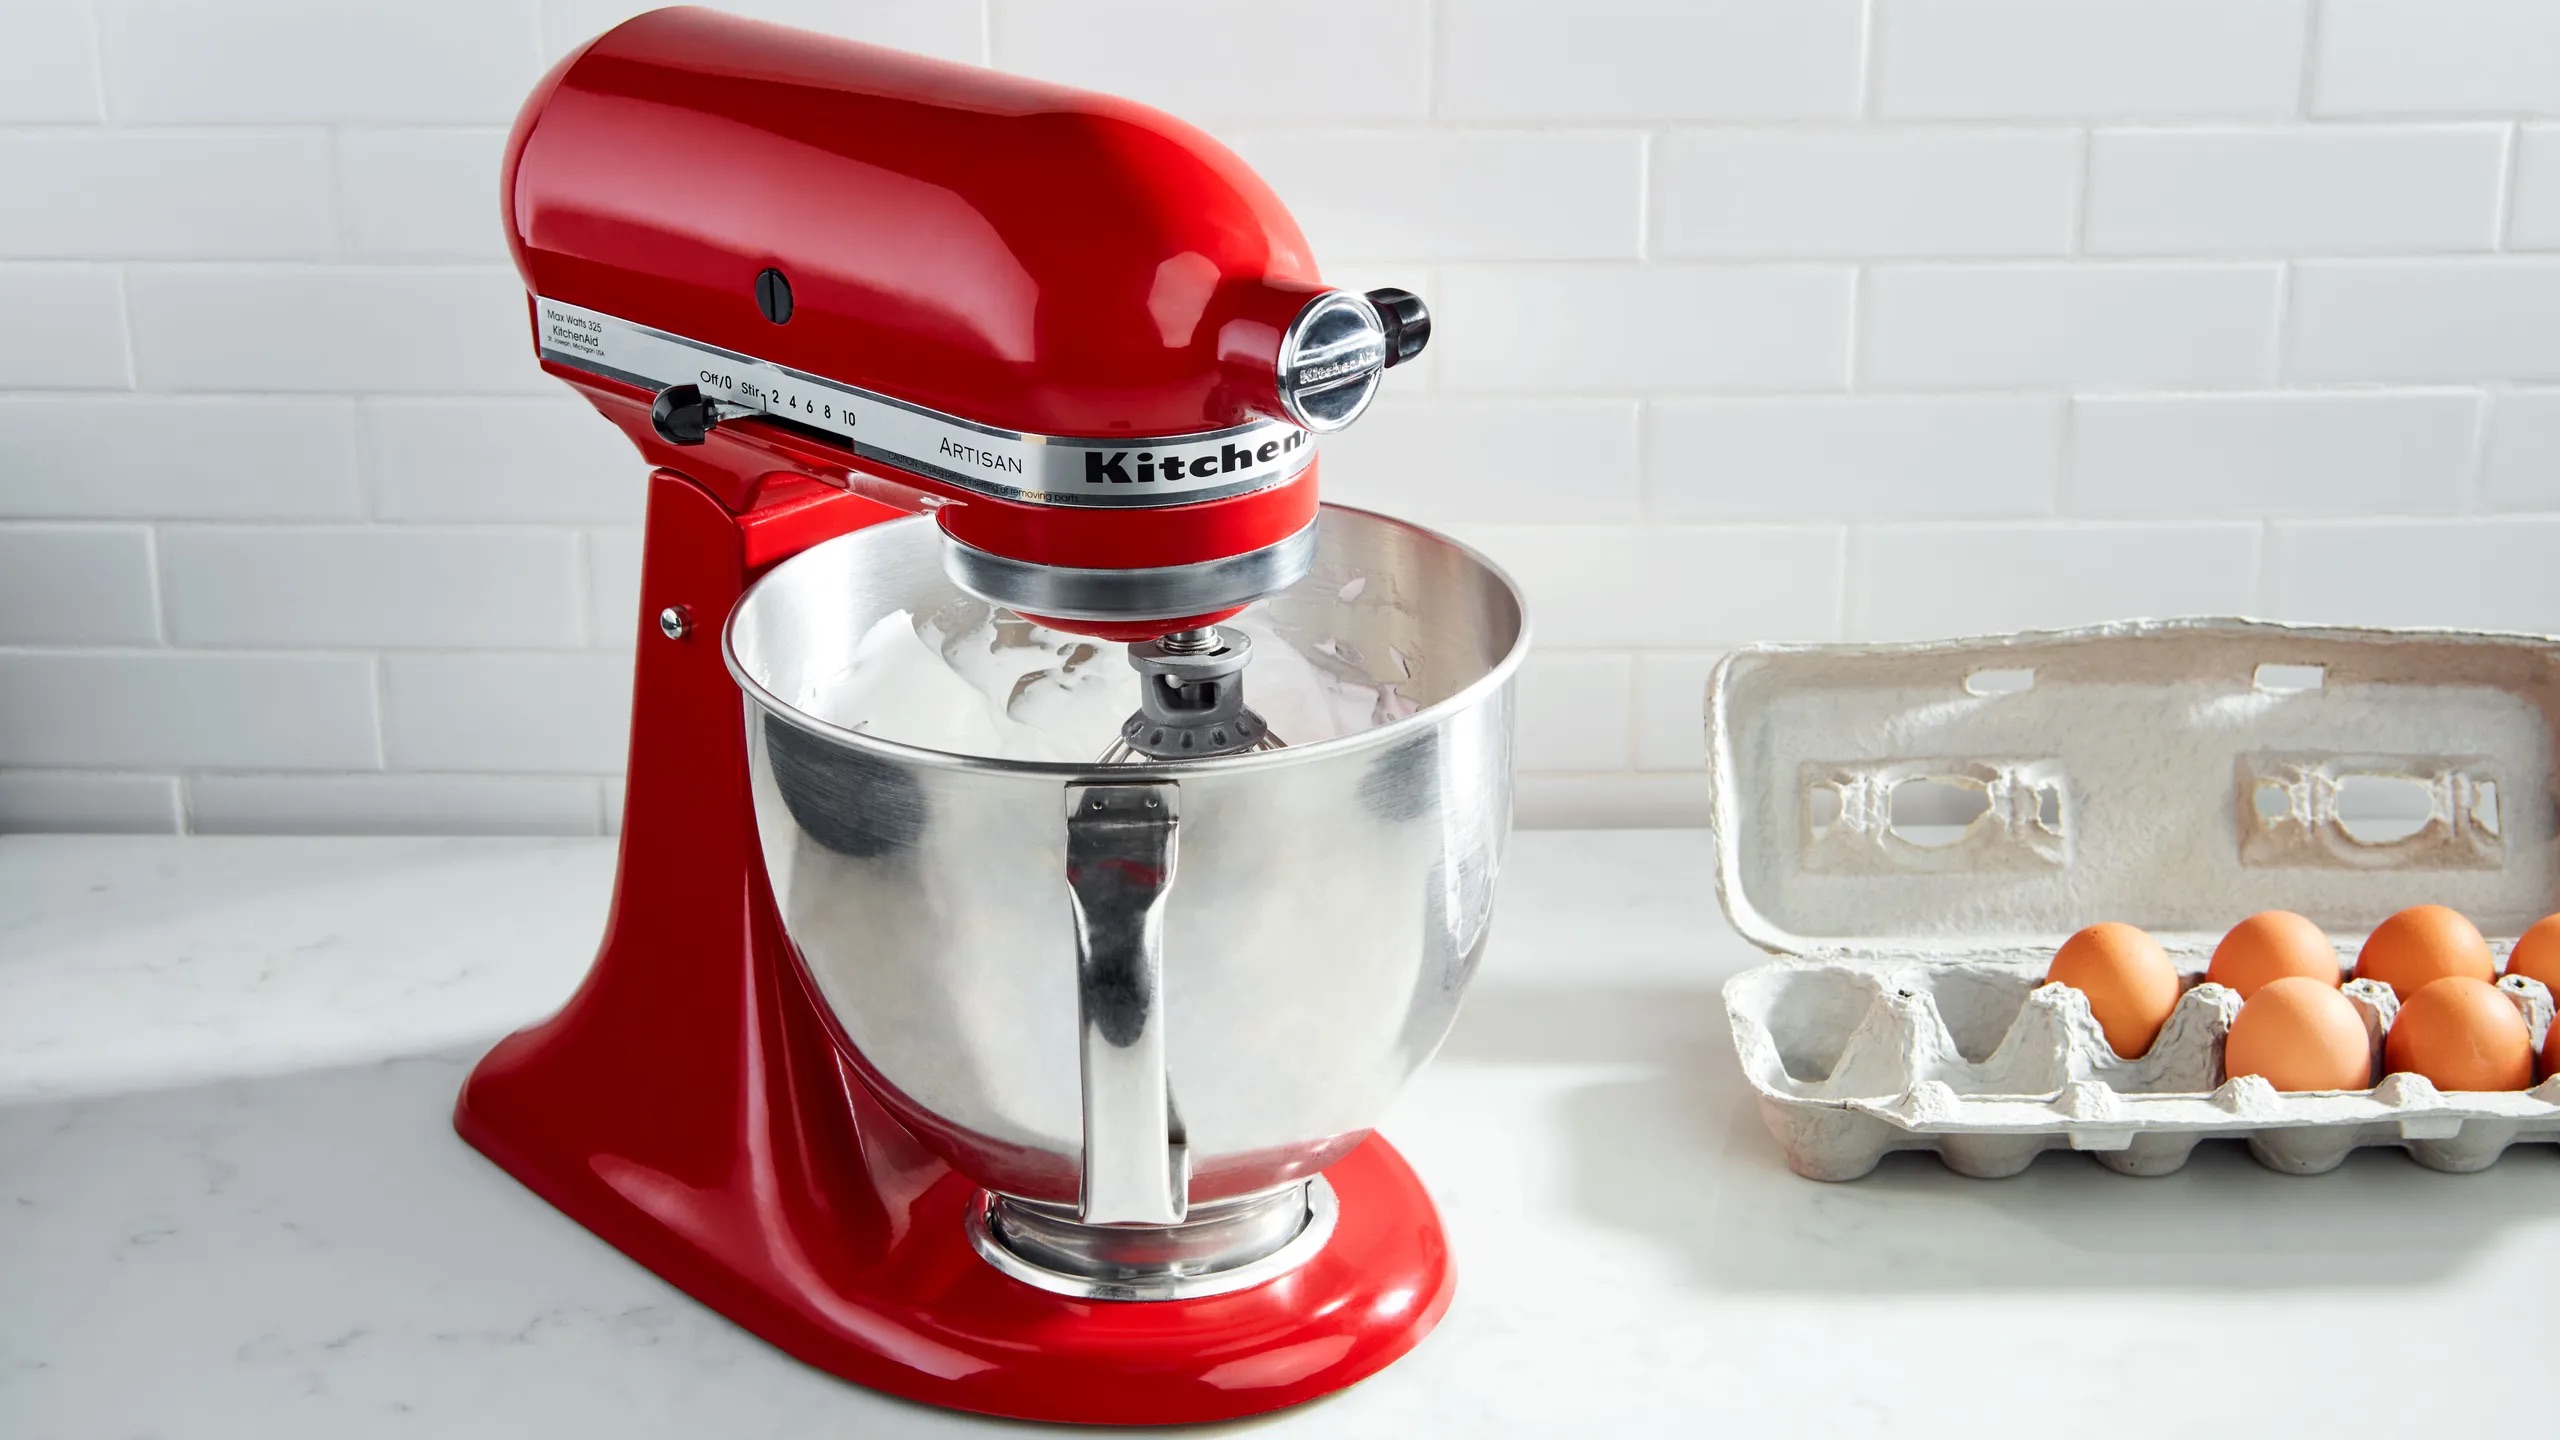
- KitchenAid mixer: You will need a KitchenAid stand mixer with the whisk or paddle attachment. The powerful motor of the mixer will make the churning process quick and efficient.
- Mixing bowl: Use a large mixing bowl that can comfortably fit the amount of cream you are using. Stainless steel or glass bowls work best for this purpose.
- Spatula: A spatula will help you scrape down the sides of the bowl and ensure that all the cream is properly incorporated into the butter.
- Cheesecloth or fine-mesh strainer: You will need a cheesecloth or fine-mesh strainer to separate the butter from the buttermilk.
- Container or butter mold: Choose a container or butter mold to store your homemade butter. You can use a glass jar, silicone mold, or wrap the butter in parchment paper to shape it into a log.
Now that we have everything we need, let’s move on to the step-by-step process of making butter in a KitchenAid mixer.
Step 1: Preparing the Mixer
Before we start churning the cream, it’s important to properly prepare the KitchenAid mixer to ensure smooth and efficient operation. Follow these steps to get your mixer ready:
- Ensure that the KitchenAid mixer is clean and dry. It’s essential to have a sanitary workspace to avoid any contamination.
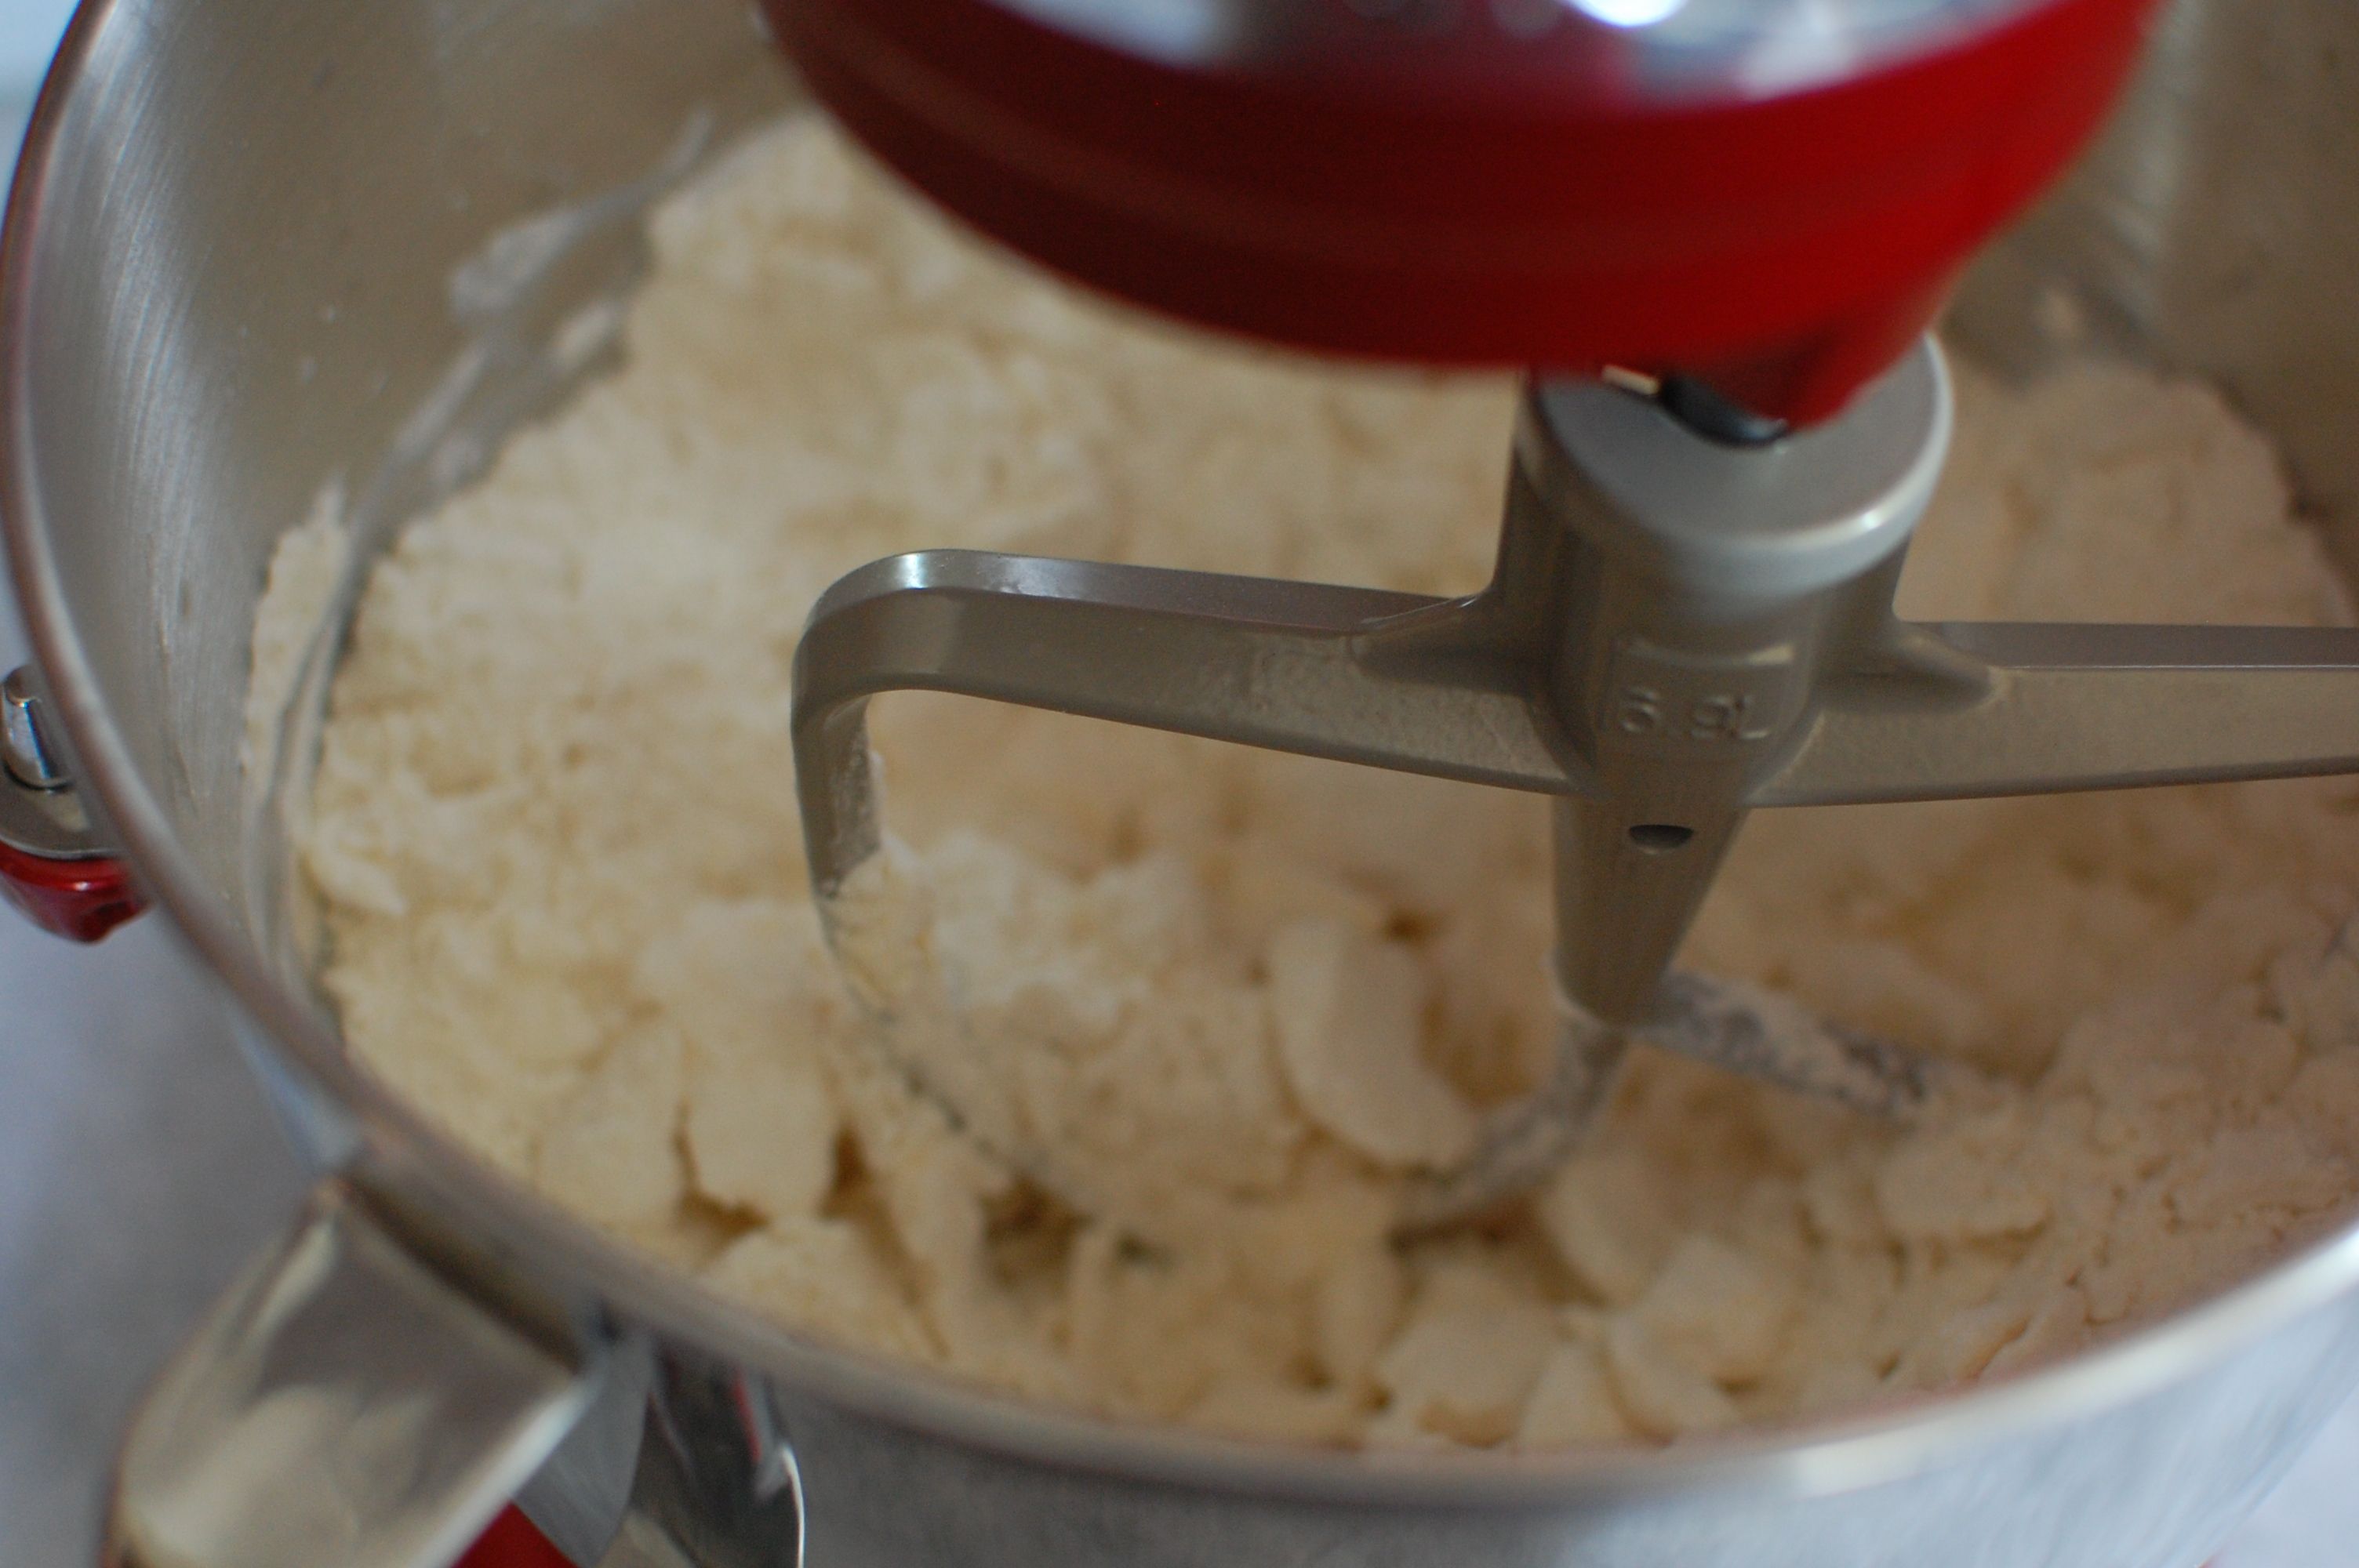
- Attach the whisk or paddle attachment to the mixer. The whisk attachment will result in a lighter and fluffier texture, while the paddle attachment will give you a denser and creamier butter.
- Place the mixing bowl securely onto the KitchenAid mixer. Make sure it’s locked into place to prevent any accidents or spills.
- Double-check that the speed control lever is set to the lowest speed setting. This will prevent the cream from splattering as it begins to whip.
- Start the mixer and let it run for a few seconds to ensure that the attachment is properly secured and the mixer is functioning smoothly.
- Once you have confirmed that everything is in place, you’re ready to move on to the next step of the butter-making process.
With the mixer prepared and ready to go, let’s move on to collecting the ingredients for our homemade butter.
Step 2: Gathering the Ingredients
Now that the KitchenAid mixer is set up and ready, it’s time to gather the ingredients needed to make homemade butter:
- Pour the desired amount of fresh heavy cream into the mixing bowl of the KitchenAid mixer. The amount of cream you use will depend on how much butter you want to make. Remember that the cream will expand in volume as it is whipped, so leave some room in the mixing bowl to accommodate this expansion.
- If you prefer to make salted butter, add a pinch of salt to the cream. This will give your butter a subtle and delicious savory flavor. Adjust the amount of salt according to your taste preferences. Keep in mind that you can always add more salt later, so it’s better to start with a little and add more if needed.
Once you have the cream and optional salt ready, it’s time to move on to the next step: churning the cream in the KitchenAid mixer to transform it into creamy, homemade butter.
Step 3: Churning the Cream
With the cream and optional salt in the mixing bowl, it’s time to start churning and transforming it into delicious homemade butter. Follow these steps to churn the cream using your KitchenAid mixer:
- Turn on the KitchenAid mixer at the lowest speed setting to begin the churning process. This gentle speed will help whip the cream without splattering it.
- Allow the mixer to run continuously, scraping down the sides of the bowl occasionally with a spatula to ensure even mixing.
- As you continue to whip the cream, you will notice it transforming from a liquid to a thicker consistency. This is the process of the cream turning into butter.
- Be patient as this process may take several minutes, especially if you’re using a larger amount of cream. The speed and time required can vary depending on various factors like the fat content of the cream and the speed of your mixer.
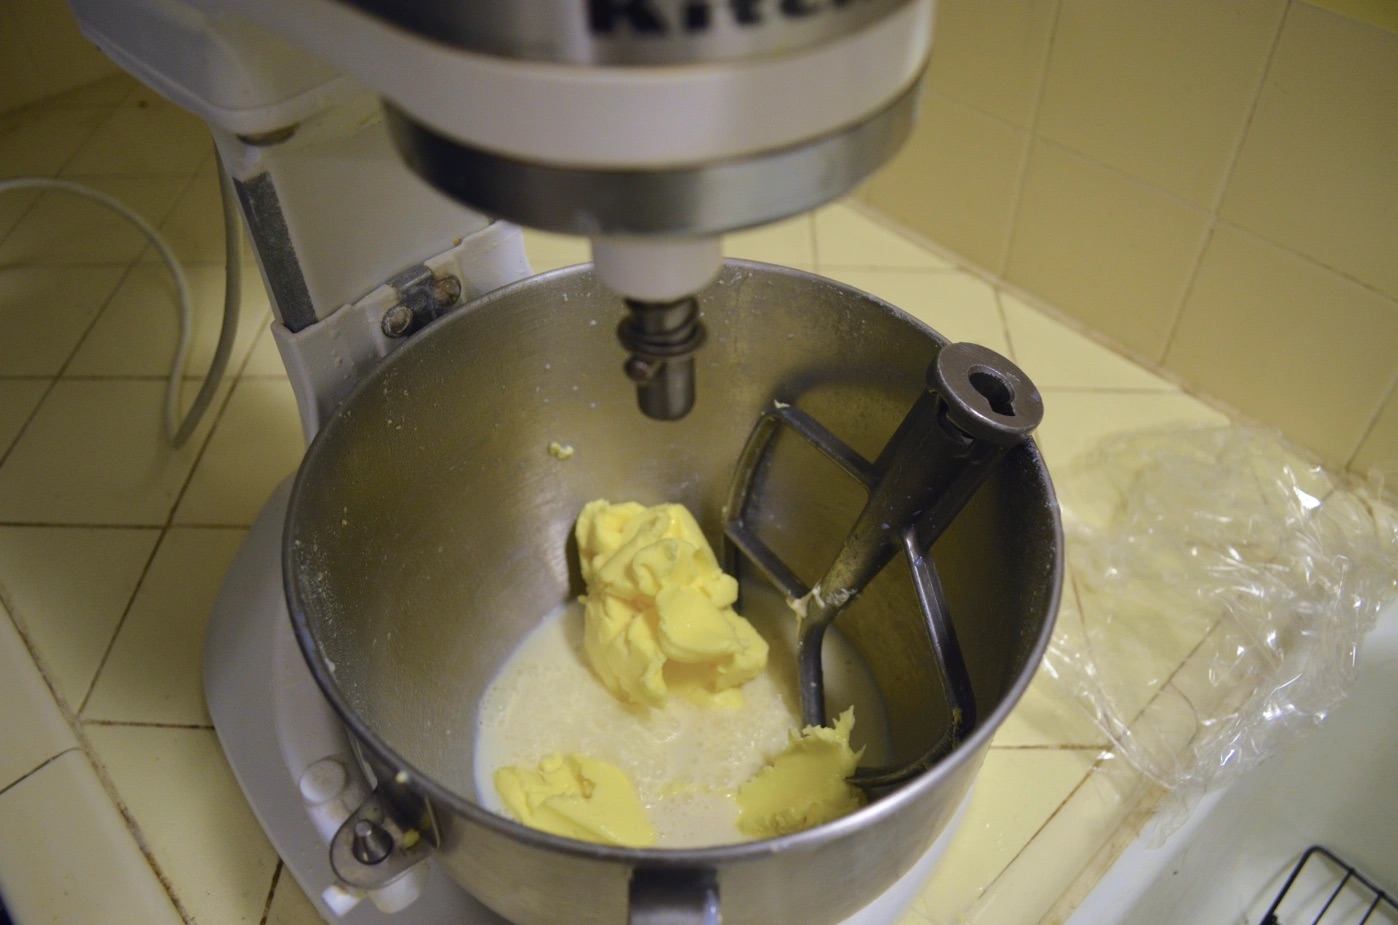
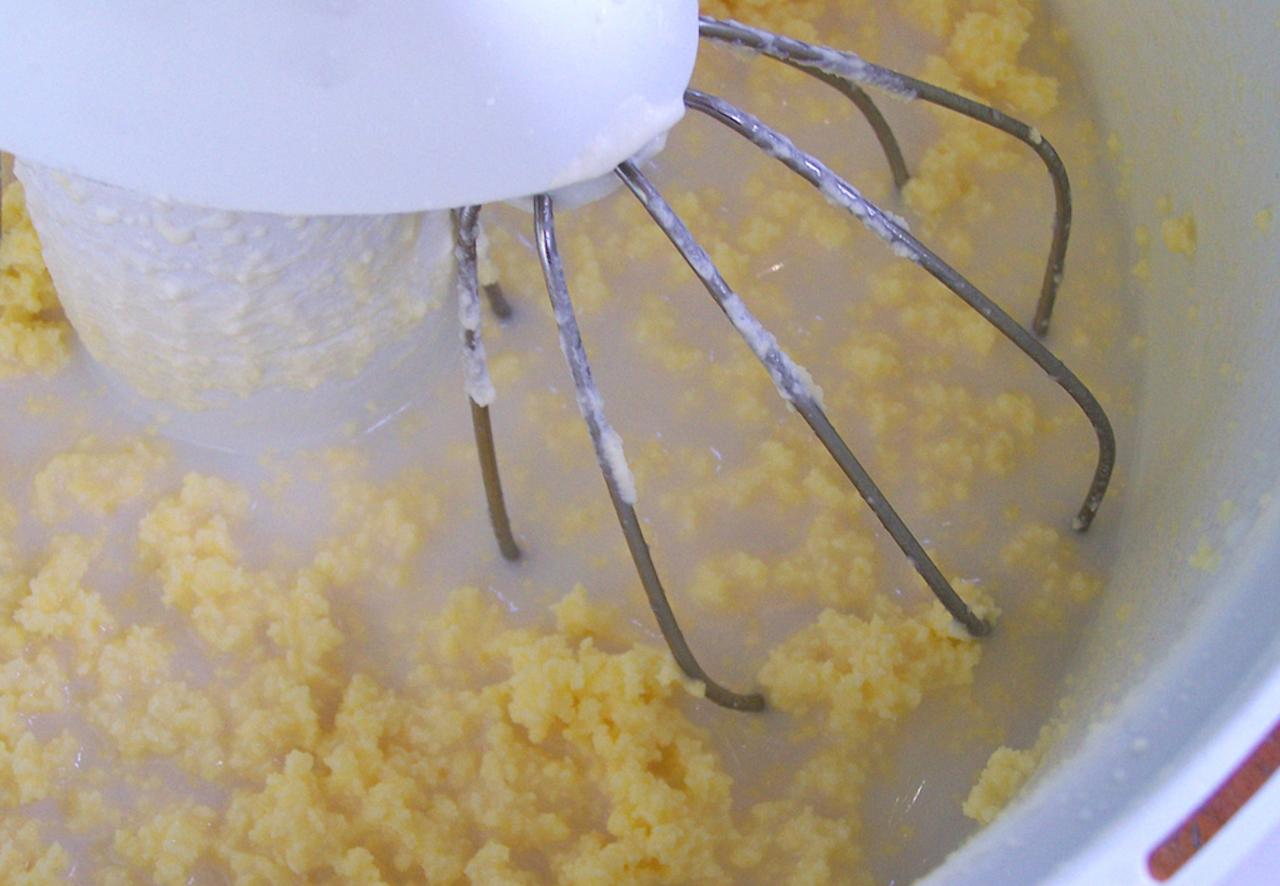
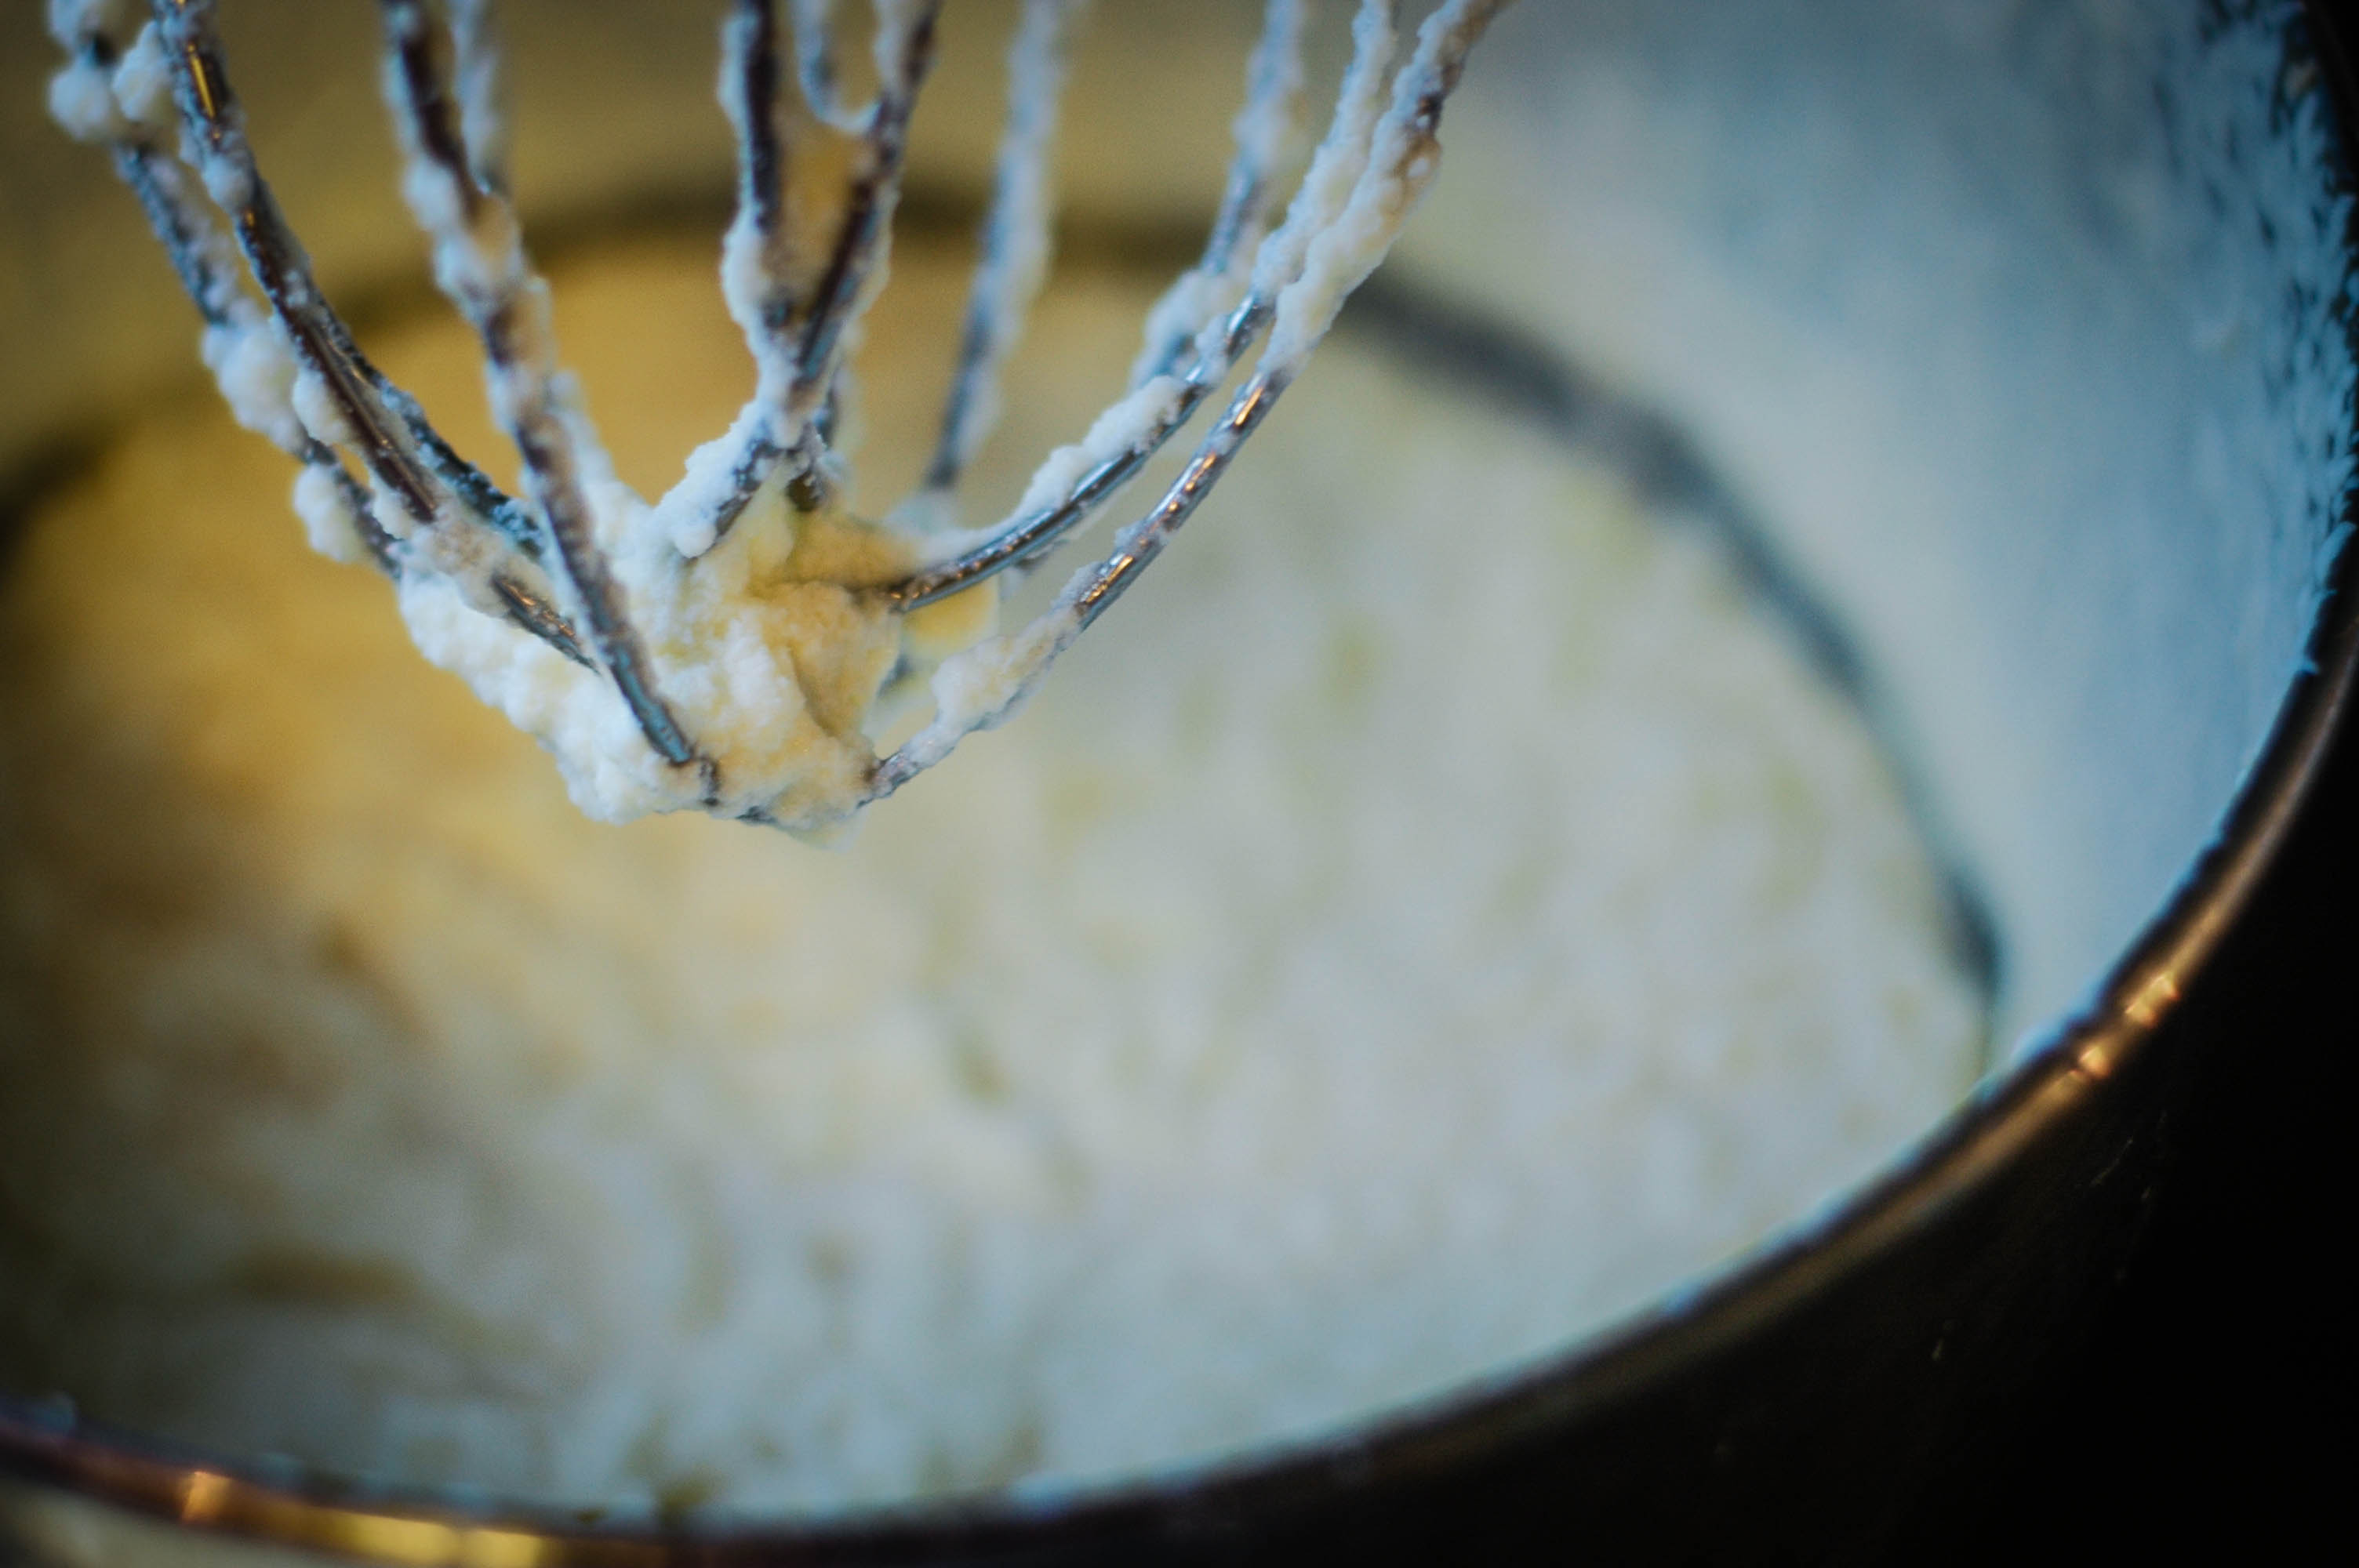
- Keep a close eye on the cream as it whips. You will notice that it transitions through different stages – from liquid to soft peaks and eventually to a grainy texture. This coarse texture is a good indication that the butter is beginning to form.
- Continue to whip until the cream completely separates into butter solids and buttermilk. At this stage, you will see pale yellow globules surrounded by a liquid – the butter solids are the actual butter, and the liquid is the buttermilk.
Once the cream has transformed into butter solids and buttermilk, proceed to the next step to separate them and prepare the homemade butter for washing.
To make butter in a KitchenAid mixer, use heavy cream and beat it on medium-high speed until it separates into butter and buttermilk. This usually takes about 10-15 minutes. Then, strain the mixture to separate the butter from the buttermilk.
Read more: How To Make Butter From Cream In A Mixer
Step 4: Separating the Butter and Buttermilk
Now that the cream has turned into butter solids and buttermilk, it’s time to separate the two components. Follow these steps to separate the butter from the buttermilk:
- Stop the KitchenAid mixer and remove the mixing bowl from the mixer stand.
- Place a cheesecloth or fine-mesh strainer over a separate container or bowl.
- Gently pour the contents of the mixing bowl, which includes the butter solids and buttermilk, into the cheesecloth or strainer.
- Allow the buttermilk to strain through the cheesecloth or strainer, collecting in the container below. You can save the buttermilk for later use, such as in baking or cooking.
- Once the buttermilk has drained, gather the edges of the cheesecloth and gently squeeze it to remove any remaining buttermilk. Be careful not to squeeze too hard or the butter solids may be forced through the cheesecloth.
- Open the cheesecloth and transfer the butter solids in the center onto a clean surface.
Now that the butter solids have been separated from the buttermilk, it’s time to proceed to the next step – washing the butter to remove any remaining buttermilk and create a smoother texture.
Step 5: Washing the Butter
After separating the butter solids from the buttermilk, it’s important to wash the butter to remove any remaining buttermilk. Washing the butter not only helps improve its flavor but also extends its shelf life. Follow these steps to wash the butter:
- Transfer the butter solids onto a clean surface or into a bowl.
- Using very cold water, pour a small amount over the butter. The cold water helps to solidify the butter and wash away any residual buttermilk.
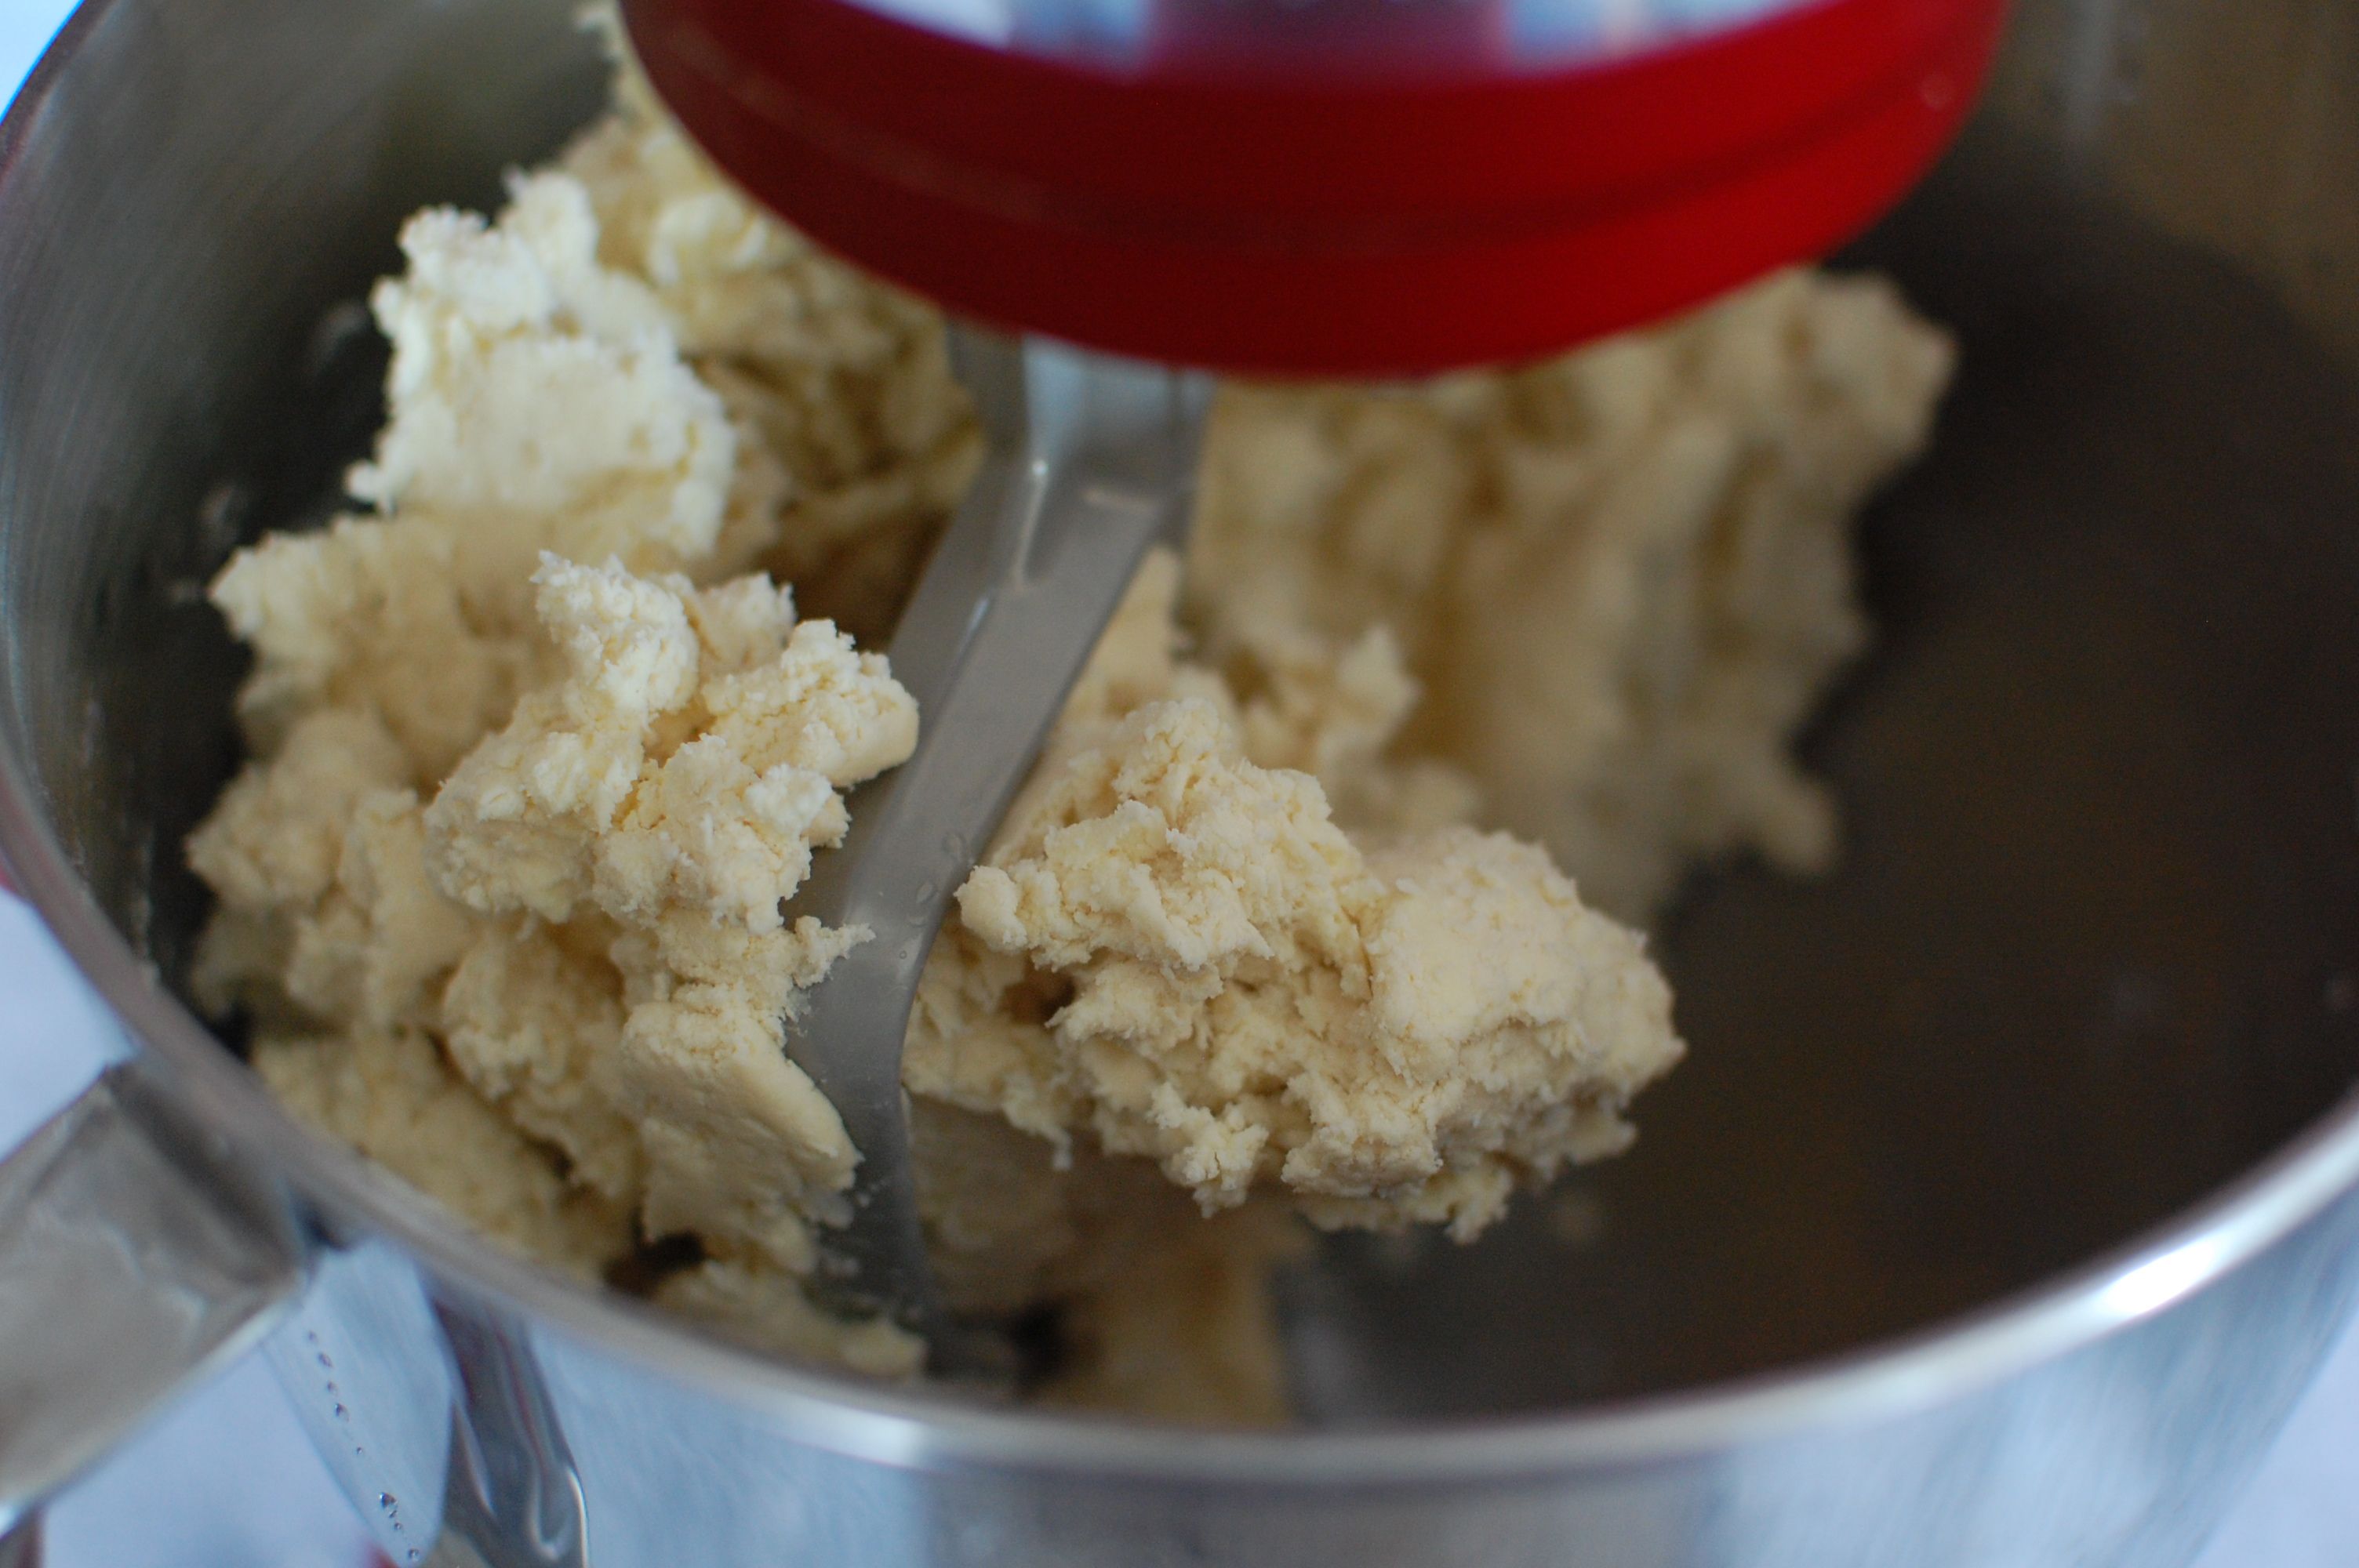
- Using clean hands or a spatula, gently work the water into the butter, pressing and kneading it. This process helps to remove any remaining buttermilk and further solidify the butter.
- As the water becomes cloudy with buttermilk, pour it out and repeat the process with fresh cold water. Continue rinsing and kneading the butter until the water runs clear and there’s no trace of buttermilk left.
- Be careful not to overwork or melt the butter while washing. Keep it in a solid state to maintain the desired texture.
- Once the butter is thoroughly washed, shape it into a block or desired shape using spatula or hands.
Congratulations! You have successfully washed the butter, removing any residual buttermilk. Now it’s time to add some optional flavors, such as salt, to enhance the taste of your homemade butter.
Step 6: Adding Salt (Optional)
If you prefer salted butter, you can add a touch of salt to enhance the flavor of your homemade butter. Follow these steps to add salt to your butter:
- Take the washed butter block or shaped butter and place it on a clean surface or in a mixing bowl.
- Sprinkle a pinch of fine-grained salt, such as kosher salt or sea salt, over the butter.
- Using a spatula or clean hands, gently knead the salt into the butter. Ensure that the salt is evenly distributed throughout the butter.
- Start with a small amount of salt and taste the butter. If you prefer a stronger salt flavor, add a bit more and continue to knead until the desired level of saltiness is achieved.
- Remember that it’s always easier to add more salt than to remove it, so start with a conservative amount and adjust to taste.
Adding salt is an optional step and depends entirely on your personal preference. If you prefer unsalted butter, you can skip this step and proceed to the final step of storing and using your homemade butter.
Step 7: Storing and Using the Homemade Butter
Now that your homemade butter is ready, it’s important to store it properly to maintain its freshness and quality. Follow these steps to store and use your homemade butter:
- Transfer the butter into a clean container or wrap it tightly in parchment paper to form a log shape. You can also use a butter mold or silicone mold for a decorative touch.
- Ensure that the container or wrapping is airtight to prevent oxidation and absorption of unwanted flavors from the surroundings.
- Store the butter in the refrigerator to keep it firm and extend its shelf life. Properly stored, homemade butter can last for several weeks to a few months.
- When using the homemade butter, consider removing it from the refrigerator a few minutes before you need it to allow it to soften slightly. This makes it easier to spread on bread or incorporate into recipes.
- Your homemade butter can be used in a variety of ways, such as spreading it on toast, bagels, or pancakes. It can also be used in baking, cooking, or as a luxurious topping for grilled meats or vegetables.
- Experiment with different flavor combinations by adding herbs, spices, or citrus zest to your butter. This allows you to customize the flavors and create unique and delicious variations.
- Additionally, you can use your homemade butter as a base for flavored compound butters. Mix in ingredients like garlic, herbs, or honey to create a versatile and flavorful spread.
Enjoy the creamy and delectable goodness of your homemade butter in a multitude of ways. Get creative, have fun, and savor the satisfaction of creating something wonderful in your own kitchen.
With these simple steps, you can now make delicious homemade butter using your KitchenAid mixer. So, get ready to elevate your culinary creations and enjoy the unmatched taste and quality of homemade butter.
Whether it’s for your everyday cooking or a special occasion, your homemade butter will add a touch of luxury and flavor to any dish. So go ahead, put your KitchenAid mixer to use, and embark on the delightful experience of making your own butter.
Read more: Kitchenaid Mixer What To Make
Conclusion
Making butter in a KitchenAid mixer is a rewarding and enjoyable process that allows you to create delicious and customized butter in the comfort of your own kitchen. With just a few simple steps, you can transform fresh heavy cream into creamy and flavorful homemade butter.
By following the step-by-step guide outlined in this article, you can successfully churn the cream, separate the butter and buttermilk, wash the butter, and even add optional flavors like salt to create your own signature butter. The result is a butter that is free from additives and preservatives, with a taste and texture that far surpasses store-bought varieties.
Not only does homemade butter allow you to have complete control over the ingredients used, but it also allows you to experiment and personalize the flavors to your liking. Whether you prefer unsalted butter for baking or salted butter for spreading on toast, making your own butter gives you the freedom to tailor it to your taste.
Furthermore, the process of making butter in a KitchenAid mixer is not only fun but also a great way to engage in hands-on culinary creativity. It provides a sense of accomplishment and satisfaction, knowing that you’ve created something delicious from scratch.
So, next time you’re in the mood for some homemade butter, bring out your KitchenAid mixer and follow this guide to enjoy the rich, creamy, and flavorful goodness of your own creation. Whether you savor it on freshly baked bread, use it in your favorite recipes, or share it with friends and family, your homemade butter is sure to impress and elevate any dish it touches.
Remember, making butter in a KitchenAid mixer is not only a practical and delicious endeavor but also a delightful culinary adventure that allows you to harness your creativity and enjoy the fruits of your labor. So, seize the opportunity and embark on this hands-on journey to craft your own delectable homemade butter.
Frequently Asked Questions about How To Make Butter In Kitchenaid Mixer
Was this page helpful?
At Storables.com, we guarantee accurate and reliable information. Our content, validated by Expert Board Contributors, is crafted following stringent Editorial Policies. We're committed to providing you with well-researched, expert-backed insights for all your informational needs.


0 thoughts on “How To Make Butter In Kitchenaid Mixer”